- Thread starter
- #141
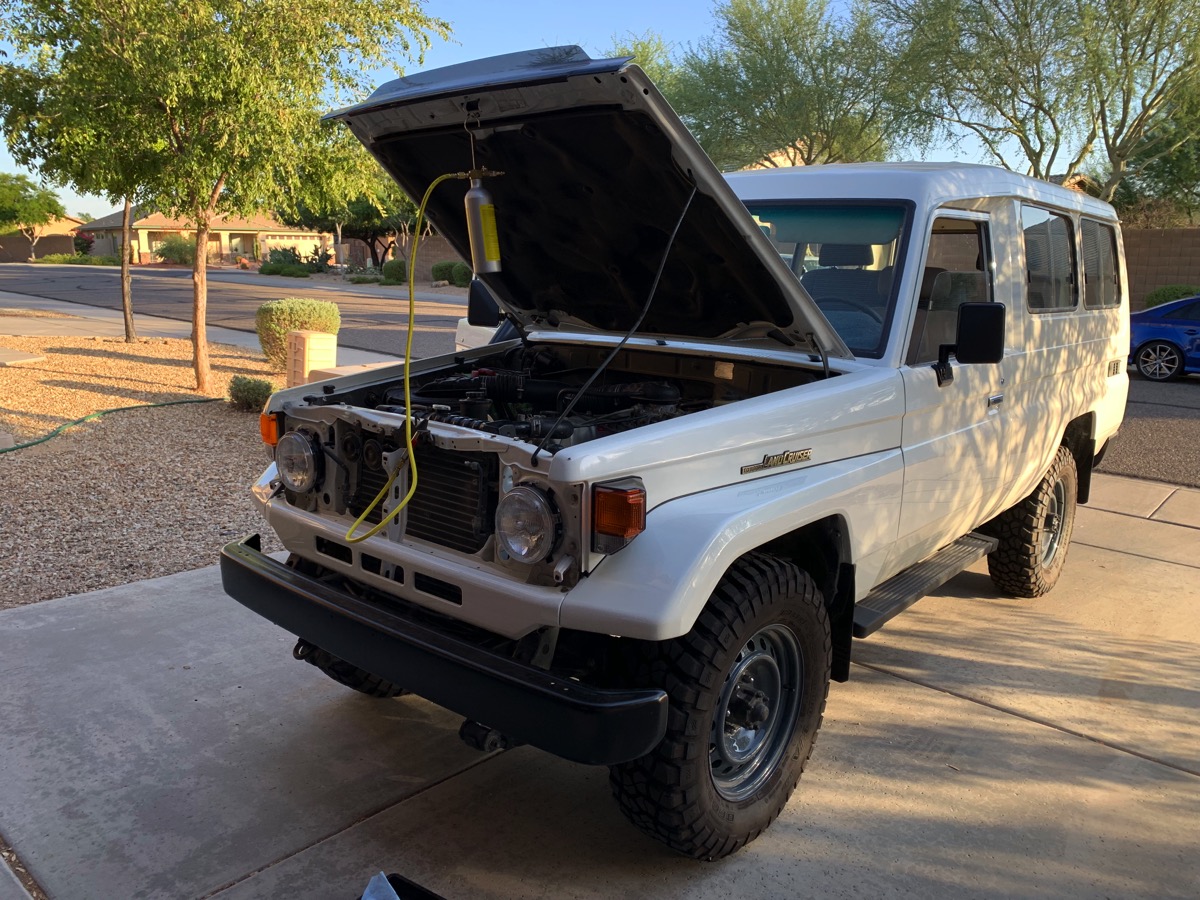
Of course! Once I get the AC working this'll be making its way all over AZ and to Copper State meetings.Glad to have you in the club and happy to see you're reppin!
Follow along with the video below to see how to install our site as a web app on your home screen.
Note: This feature may not be available in some browsers.
This site may earn a commission from merchant affiliate
links, including eBay, Amazon, Skimlinks, and others.
Of course! Once I get the AC working this'll be making its way all over AZ and to Copper State meetings.Glad to have you in the club and happy to see you're reppin!


Hi H, on our trip across America in our RJ77 the aircon would gradually stop working after about 20-30 minutes of operation. I concluded that the condenser was freezing up. My questions to you are:
1. Can you get access to clean the condenser without de pressurizing the system?
2. How hard was it to do all the removal?
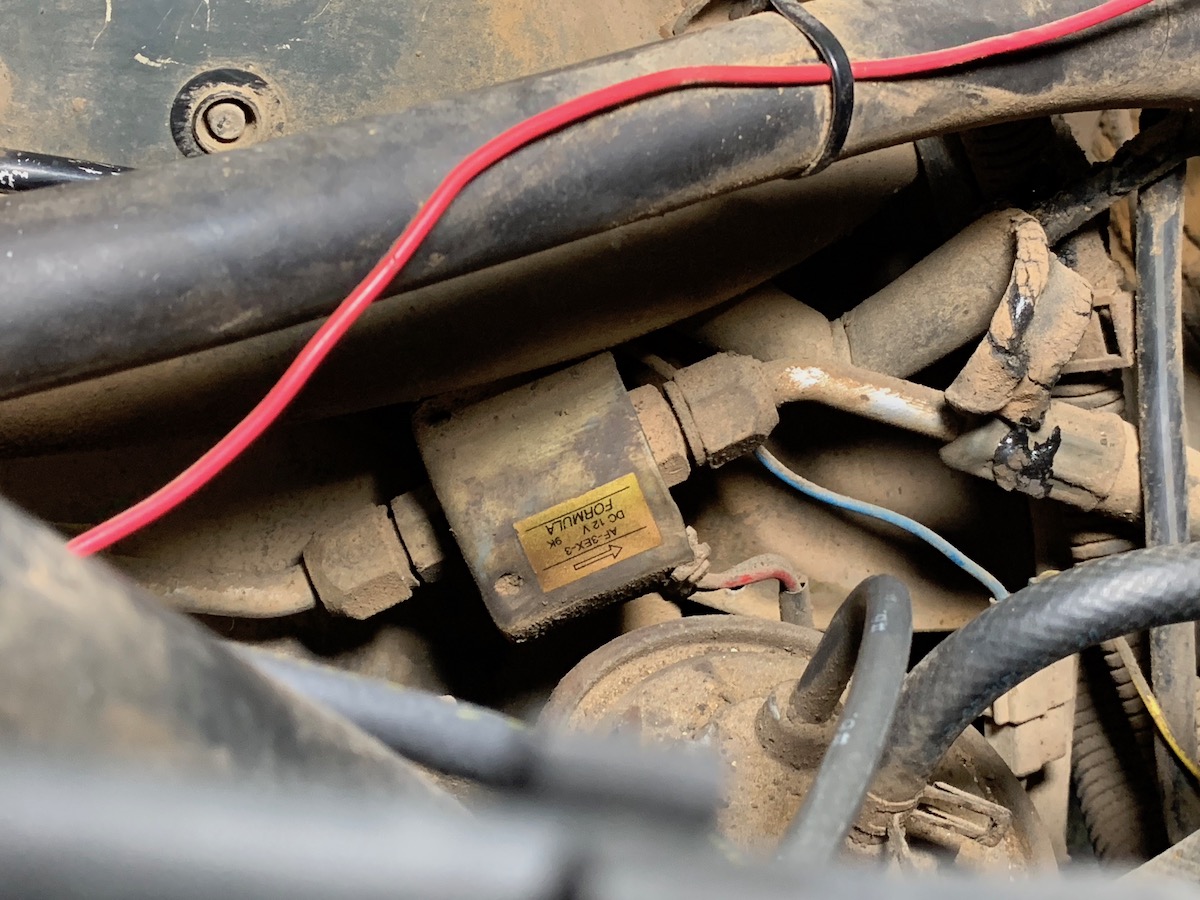
Impressive that you are taking this on yourself. Looks like a little UAE dust in there.
Thanks for writing this up. On my short list.


My 1998 Model 100 'Dhanno' that spent 10 years here in Dubai has now been back in Virginia for over a year. Despite the fact that we took the interior completely out, pressure washed the carpets and so on, each time I get in the truck there is a little tan sand that has drifted down over everything.Actually, this truck spent most of it's life in Oman. So what parts of Oman weren't inside the troopies of @c2dfj45 and @John Young and @MES are deposited inside mine!
Continuing on!
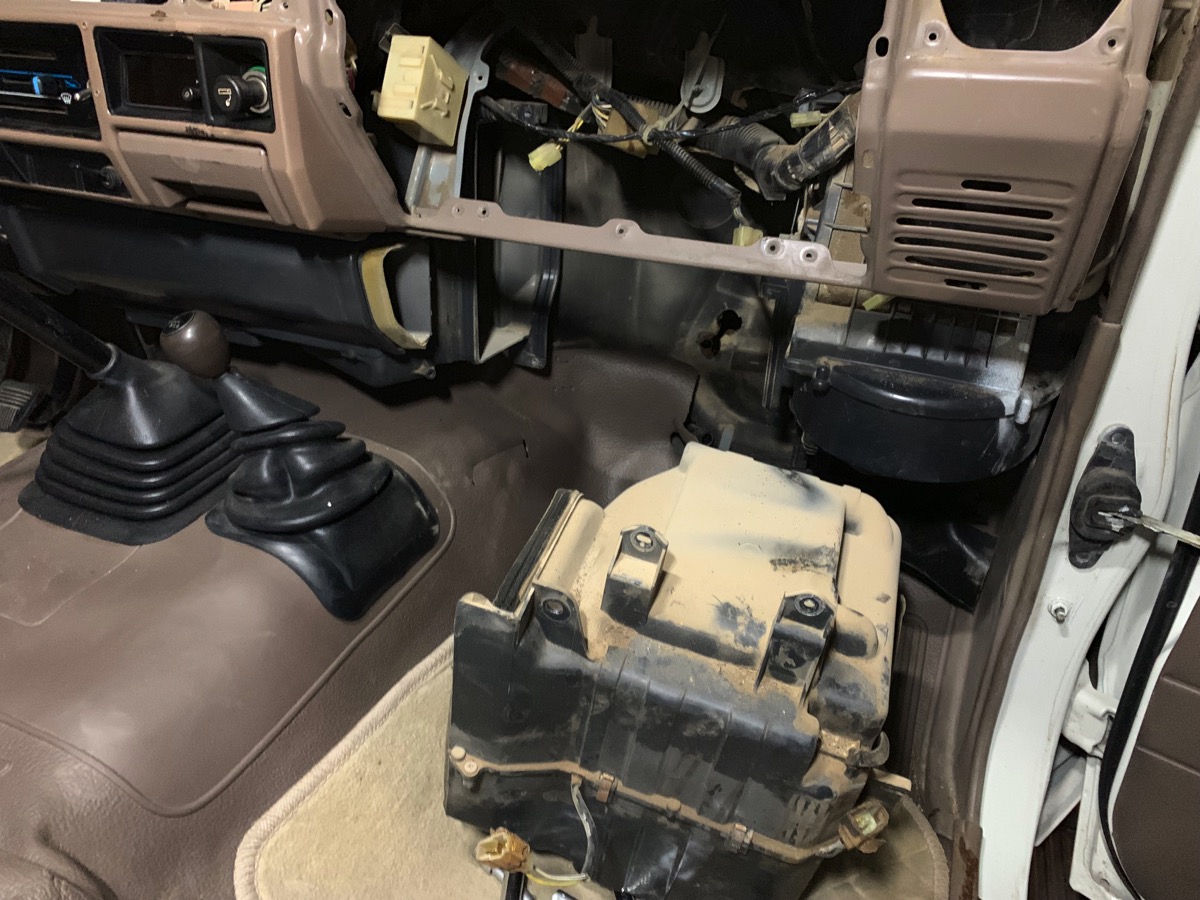
I've been continuing the dis-assembly, cleaning, and flushing of all components. The rear AC evaporator, mounted to the roof, was quite a task. I ended up removing the overhead console they'd built around it. It was purely cosmetic and was just in the way. Once the console was off I found this...
The pipes and expansion valve had been goobered up with some sort of asphalt-like goo. It was gross.
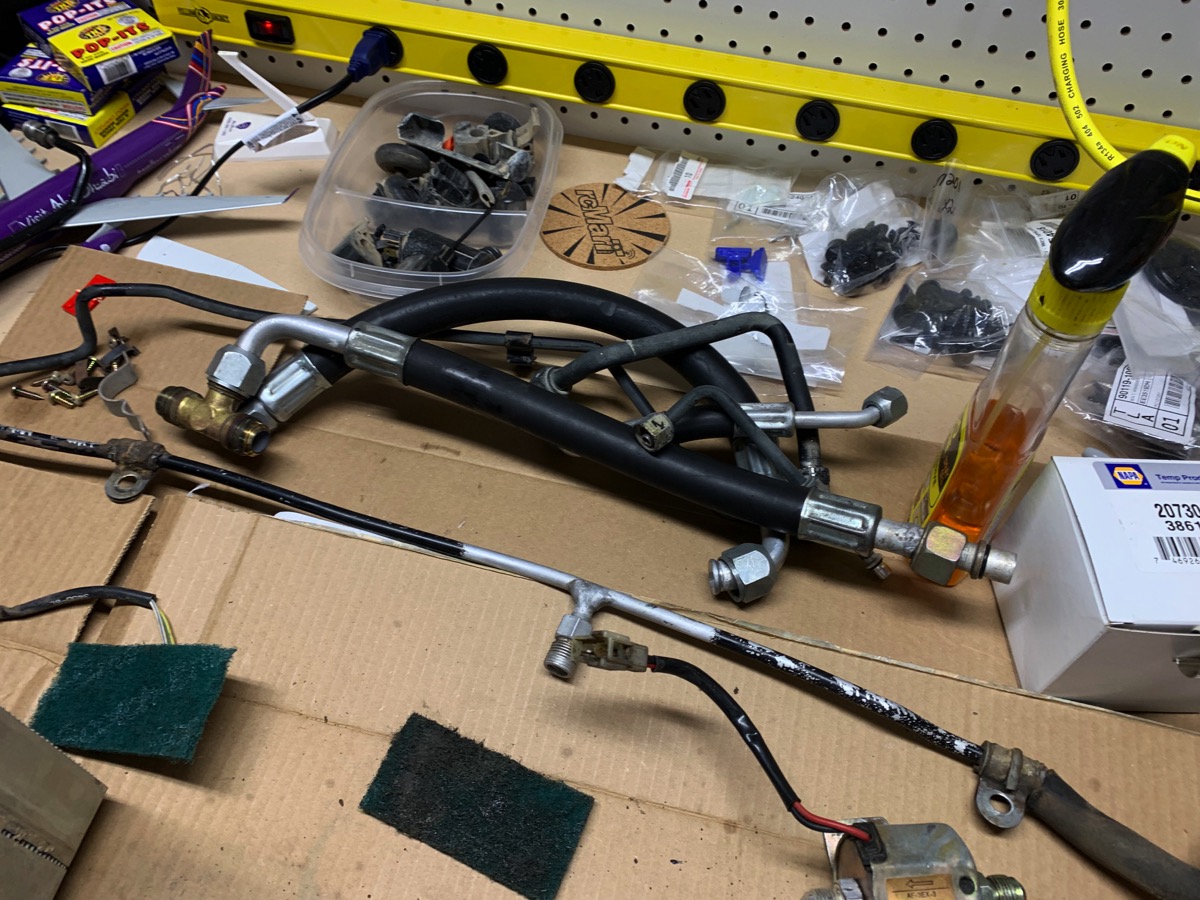
But after some goo gone and elbow grease I was getting it cleaned up okay. I finally resorted to mineral spirits and that cut it much quicker. Much better now...
Then I ran flush through the hoses and evaporator.
The gunk on the expansion valve is insulation....it helps maintain a constant temp in the valve....and to not freeze up. When we install aftermarket systems, there is always a roll of this stuff that you wad around the valve once it's installed. It might be called Presstite or something. I think home AC systems use something like it too. Maybe....not sure on that.
My 1998 Model 100 'Dhanno' that spent 10 years here in Dubai has now been back in Virginia for over a year. Despite the fact that we took the interior completely out, pressure washed the carpets and so on, each time I get in the truck there is a little tan sand that has drifted down over everything.
That gunk .... yuck. BTW, my Omani troopy has no rear aircon. And the front is not working at the moment either, although it was when I bought it. Being worked on now. And the tranny makes a noise like a spinning bearing above 55kph, so the poor old thing ain't drivable at the moment.
PS--given that you have two evaporators in your system, is your compressor some kind of jumbo unit?