Builds 1991 FJ75 moving to America (1 Viewer)

This site may earn a commission from merchant affiliate
links, including eBay, Amazon, Skimlinks, and others.

Got the truck out in the desert for a trail run with the Copper State Cruisers...

162newriver.jpg


163newriver.jpg


164newriver.jpg


And of course I took my boys along for the ride. They had a blast! And so did I.

165newriver.jpg


All in all I was very pleased with the Troopy's performance. The 3F and H55F did a wonderful job in 4LO. The longer wheelbase didn't present any issues on this trip. And the aired-down KM2's were fantastic. A fun truck to drive!
 
Hey Joel, great photos! What are the tires on your troopy again? Did you have to lift? I noticed on mine that the truck was going 96 kph per google maps when the speedometer indicated about 105. It has 175's on it now. Thinking about new rubber.

Also, what has been the reaction out there to your LHD troopy?
 
Last edited:
Thanks John!

Tires are BF Goodrich KM2's in 255/75/17. No lift. No spacers. I got the 17" steel rims in Sharjah... replace the split rims. Can give you a number for the guy if you want.

Living in the UAE, and hanging out here in the 70-series forum, you get accustomed to 70-series cruisers. But most people aren't accustomed to them at all. Reaction is general surprise and excitement amongst the Cruiser crowd... there's still quite a few folks who've never seen one in person. And I did have one person specifically note the LHD... that they thought they were all RHD.
 
So yeah, I pulled panels last weekend and started cleaning...

169nopanel.jpg

170nopanel.jpg


Some of what awaited me down in the rockers...

171rocker.jpg

172rocker.jpg


And man, any remotely horizontal surface was just coated in several millimeters of fesh fesh.

173morefesh.jpg

174ih8mudfesh.jpg


I stuck a screwdriver down in the rockers and scraped at the settled debris and broke it up and then vacuumed it all out.

175brokeup.jpg

176cleaner.jpg

177cleaner.jpg
 
And I found some curious damage with the panels off.

178damage.jpg


Something mangled the interior sheet metal here to the point that the body brace had to be re-welded. The exterior panel shows no signs of damage... or of having been cut and welded. It seems free and clear of any molesting. But the lower edge of the inner sheet metal where it meets the floor is all bent and warped. Nothing catastrophic. Just bizarre.
 
lol My windshield washers wouldn't work when I bought the truck. Discovered "concrete" in the last few inches of the hose and the nozzles were completely plugged. Washer bottle cap was missing when I bought the truck.
That fesh fesh can get anywhere.

Ordered some new ones but in the meantime got the hose unplugged with a good soak and a coat hanger. Wife's ultrasonic jewellery cleaner eventually unplugged the nozzles. I was pleasantly surprised it worked.
 
So yeah, I pulled panels last weekend and started cleaning...

169nopanel.jpg

170nopanel.jpg


Some of what awaited me down in the rockers...

171rocker.jpg

172rocker.jpg


And man, any remotely horizontal surface was just coated in several millimeters of fesh fesh.

173morefesh.jpg

174ih8mudfesh.jpg


I stuck a screwdriver down in the rockers and scraped at the settled debris and broke it up and then vacuumed it all out.

175brokeup.jpg

176cleaner.jpg

177cleaner.jpg

This is bringing back fesh-fesh nightmares. Lol. Funny that this looks almost identical to what was in mine...same amount too.
 
Sounds like a trip to Harbor Freight Tools is in order - an ultrasonic cleaner has been on my list for a while. Or I can build one @NeverGiveUpYota?

My wife has a Sharpertek. You should check them out.


Not your average jewelry cleaner.
 
My wife has a Sharpertek. You should check them out.


Not your average jewelry cleaner.

Man, after checking that website out, I’m going to have to start talking my wife into a “jewelry cleaner” as well. Wow...
 
Sounds like a trip to Harbor Freight Tools is in order - an ultrasonic cleaner has been on my list for a while. Or I can build one @NeverGiveUpYota?
Duct tape a palm sander to a stock pot or build your own like Chris, @cps432 did, if memory serves correct.
 
Duct tape a palm sander to a stock pot or build your own like Chris, @cps432 did, if memory serves correct.
lol yep I’ve done that before. Problem is you don’t really have control over the speed unless you get one with an adjustment. I made one temporarily one time trying to remove air bubbles from surfboard resin when I was doing some fiberglass work. Using the palm sander is more like the San Andreas fault in the 1990’s. It vibrates but it’s way too violent. I threw epoxy all over my shop. I suggest harbor freight.
 
The truck came with front signal housings that were faded and cracking. And it wasn't just the lenses... upon removal the entire bodies showed cracks and brittleness. So I bought new ones.

182newsignal.jpg


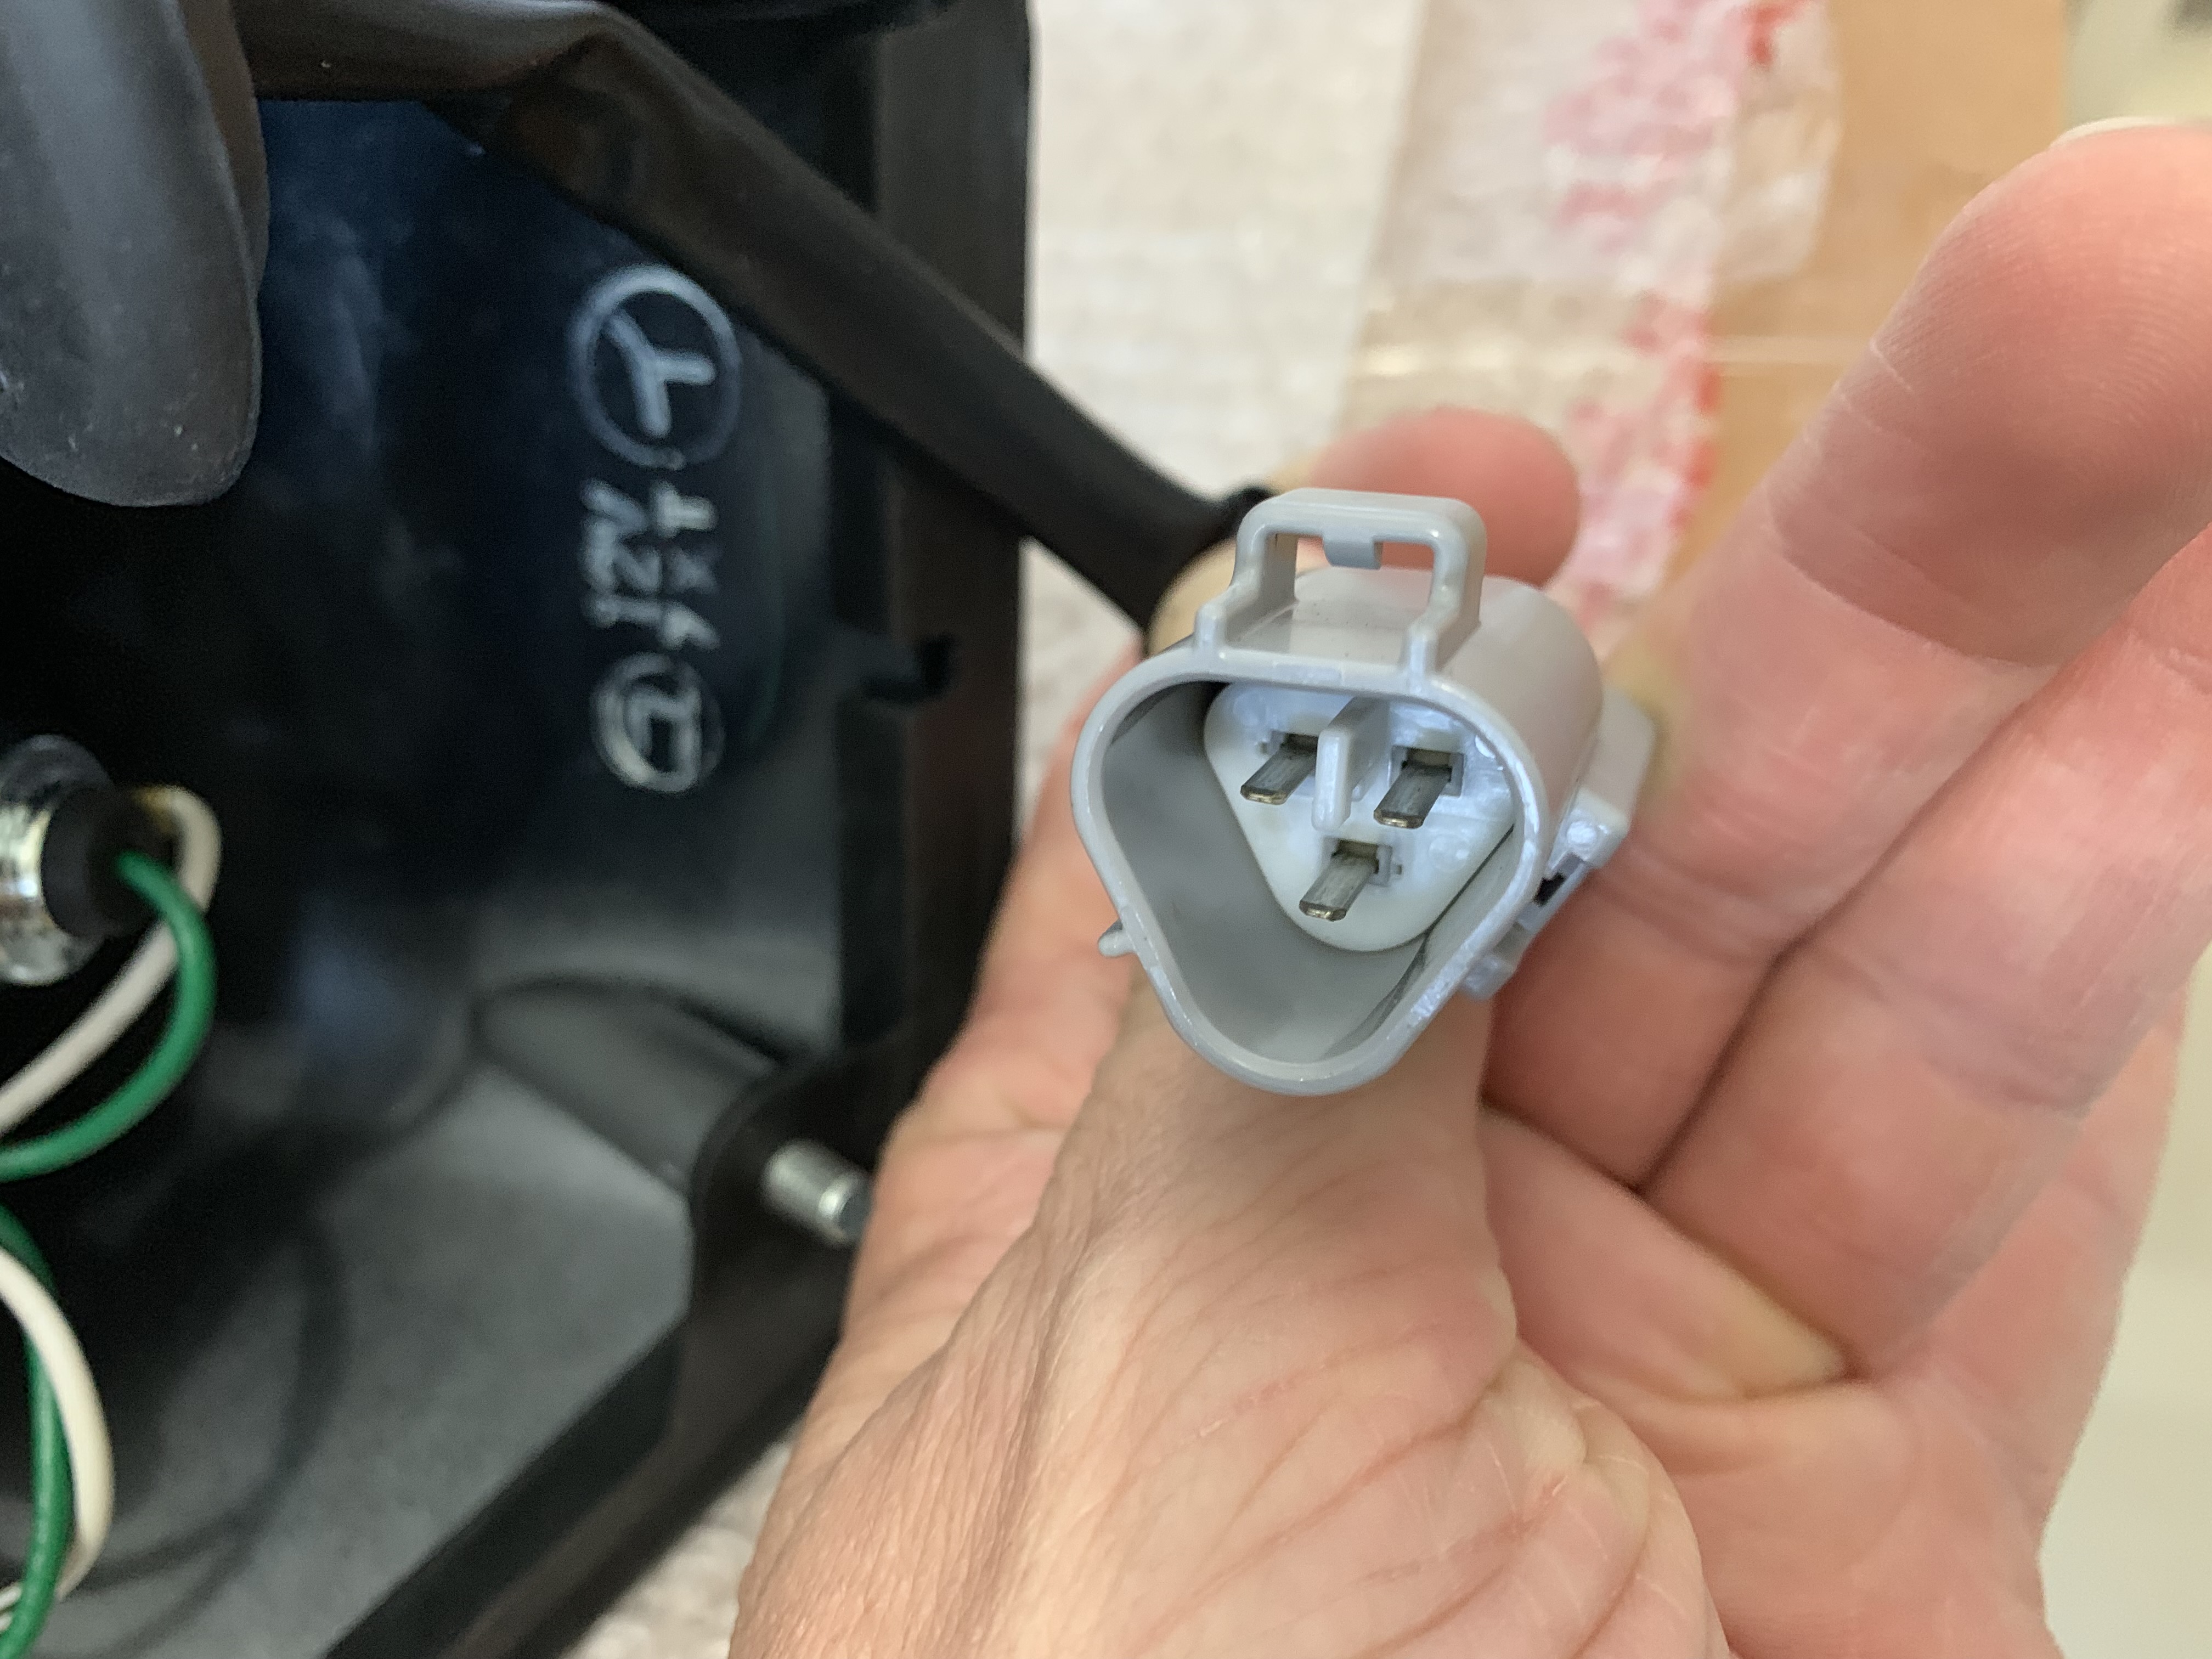
But they came with a newer style plug...
183newplug.jpg


And this was the old style...
184oldplug.jpg


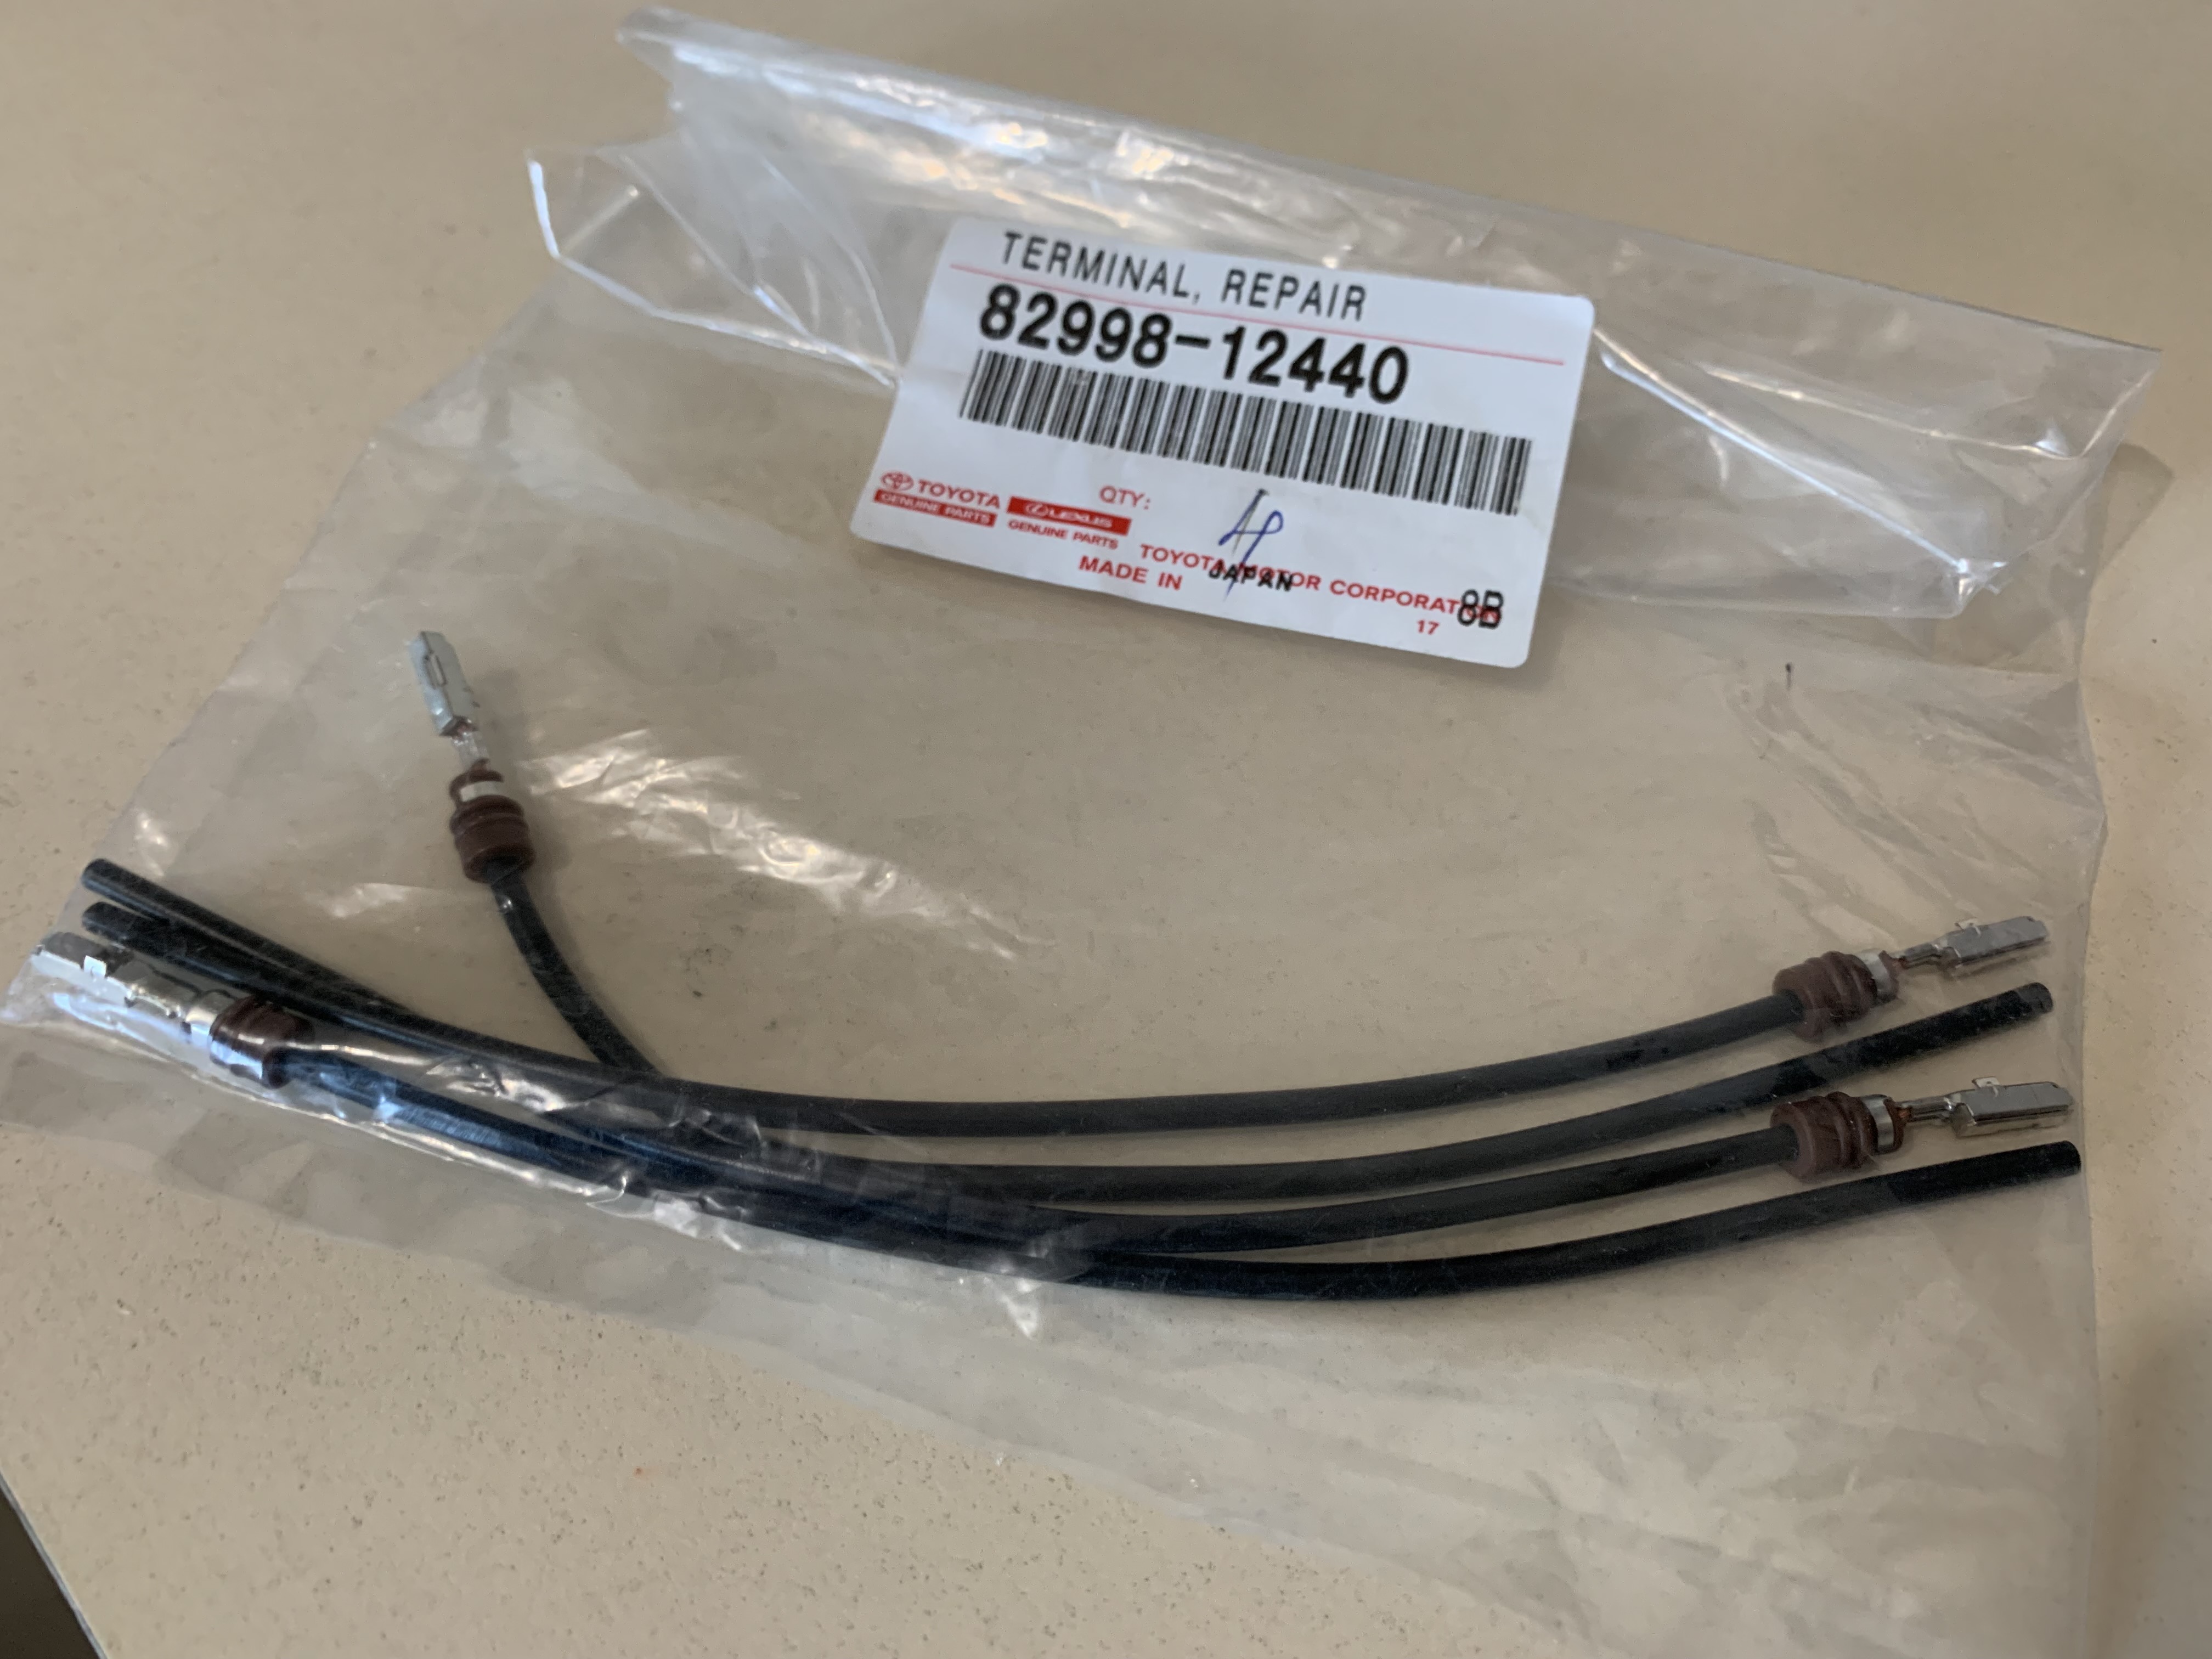
It didn't seem right to splice the old male plug onto the new housing... the new plug was in good condition and more waterproof than the older style. So after some research I managed to uncover the parts for replacing the old female plug on the harness.

185newhousing.jpg

186newterminals.jpg


The terminals just pushed into the new plug housing from the back until they snapped in. They are quite a tight fit.
187newconnector.jpg

188newconnector.jpg


Crimped and heat-shrink-tubed into the harness...
189crimpedin.jpg


And using some new hardware to bolt them in...
190newhardware.jpg


Done deal.
191newsignals.jpg
 
Now you have me wondering. I bought new lights a few weeks ago as spares. Mine are in excellent condition but if I recall correctly the replacement lenses weren't available but the complete units were. I don't recall the part number being a substitute for the original but I'll have to compare the connectors when I get home.

Edit: Just compared photos and my lights are different. Chrome bodies and the amber lens seems to return at a different angle. Regardless I'll check the connectors.
 
I bought new lights a few weeks ago as spares. Mine are in excellent condition but if I recall correctly the replacement lenses weren't available but the complete units were.
That's been my experience with buying parts for my '71 FJ40 build. For some of the lights, including rear license plate lamp and the front clearance lamps (on the lower corners of the earlier bibs) all I needed were new gaskets, which are NLA by themselves. However, the entire assemblies are available new, and are pretty affordable. So I've ended up with spare lenses, housings, bezels, etc.
 
A little project on my list that my boy and I crossed off a few weeks ago.

I've whined about the rear bumper in someone else's thread at some point. So many different component parts... and then so many different sizes/types of hardware.

My rear bumper had obviously been bumped by someone at some point and several parts were bent/dented. There was also some sort of brackets welded to it that I wanted off. So I used ToyoDIY parts diagrams from various year's Troopies to piece together what I needed and what was still actually available.

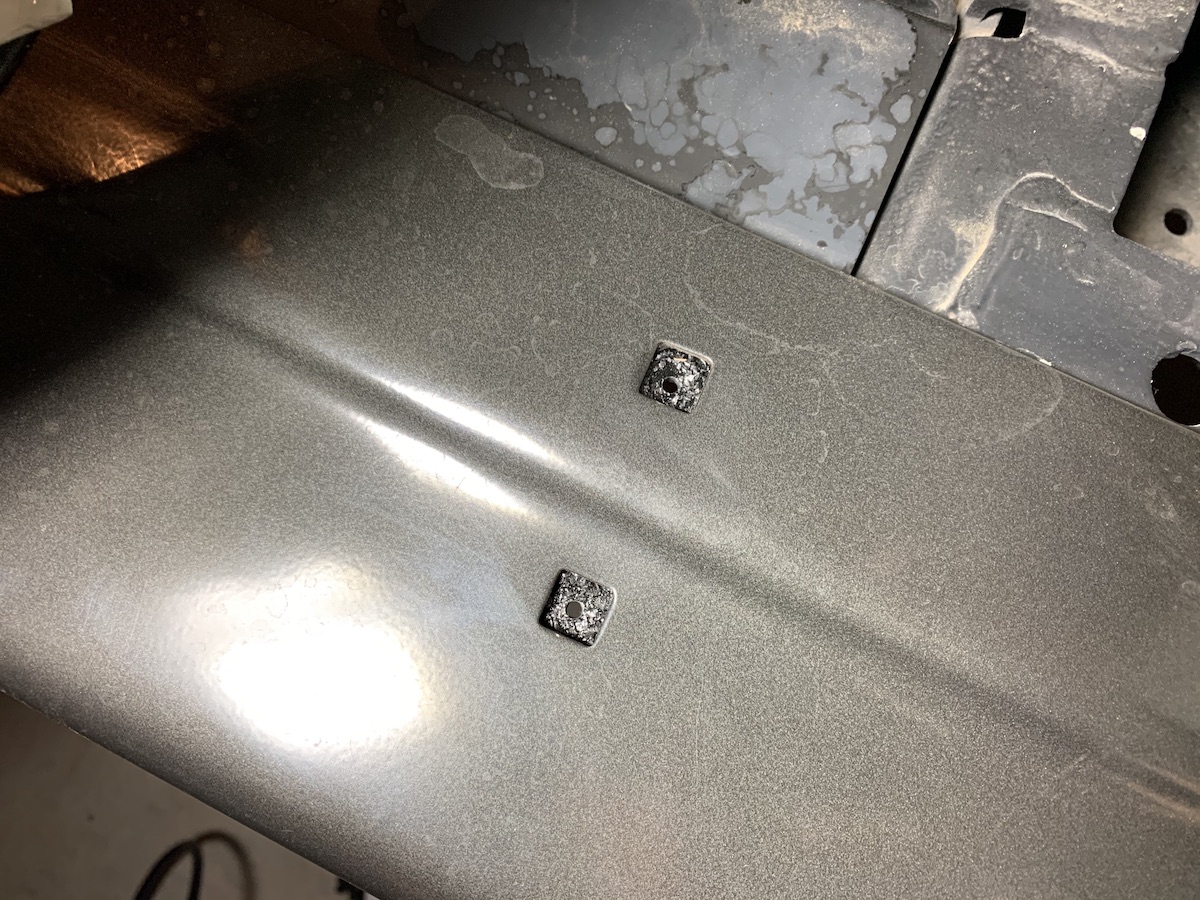
In the end, the driver's side bumper piece didn't align with the bracket to the rear cross member and I had two carriage bolt holes I couldn't fill.
192nobolts.jpg


These parts weren't exactly cheap and given my frustration with the rear bumper on the whole I decided to solve this myself.

So we drilled some pilot holes.
194drilled.jpg


And here's the underside, to see how the bracket is not aligned. It's clear that the parts weren't just off, this bracket must be meant for a different bumper piece.
195drilledunder.jpg


Here's what it looks like, correct, on the other side of the bumper. The bracket has rather large holes and the bolts utilized a nice wide-flanged nut that allows for alignment. If kept slightly loose this allows for moving things around and into position during assembly.
193otherside.jpg


So I widened the pilot holes and then repainted the bracket to seal it all up.
196newholes.jpg


And I had the required hardware on hand.
197newhardware.jpg


And all reassembled...
198withbolts.jpg

199addressed.jpg


I feel sooooo much better now that those carriage bolt holes are filled and the bumper is "whole". 🤣
 
I blame @c2dfj45 and @TonyP...
It’s gonna be awhile before I can apply this, but I’m excited to quiet down the interior of the Troopy.

3EFC7766-480D-432B-9A11-10705FFEBA24.jpeg
 
I blame @c2dfj45 and @TonyP...
It’s gonna be awhile before I can apply this, but I’m excited to quiet down the interior of the Troopy.

View attachment 2148740

Ha....I just pulled a gallon out to spray the back of the cab while we have the bed off. You'll enjoy working with that product...it's good stuff. Are you going to put down any Damplifier Pro first?
 

Users who are viewing this thread

Back
Top Bottom