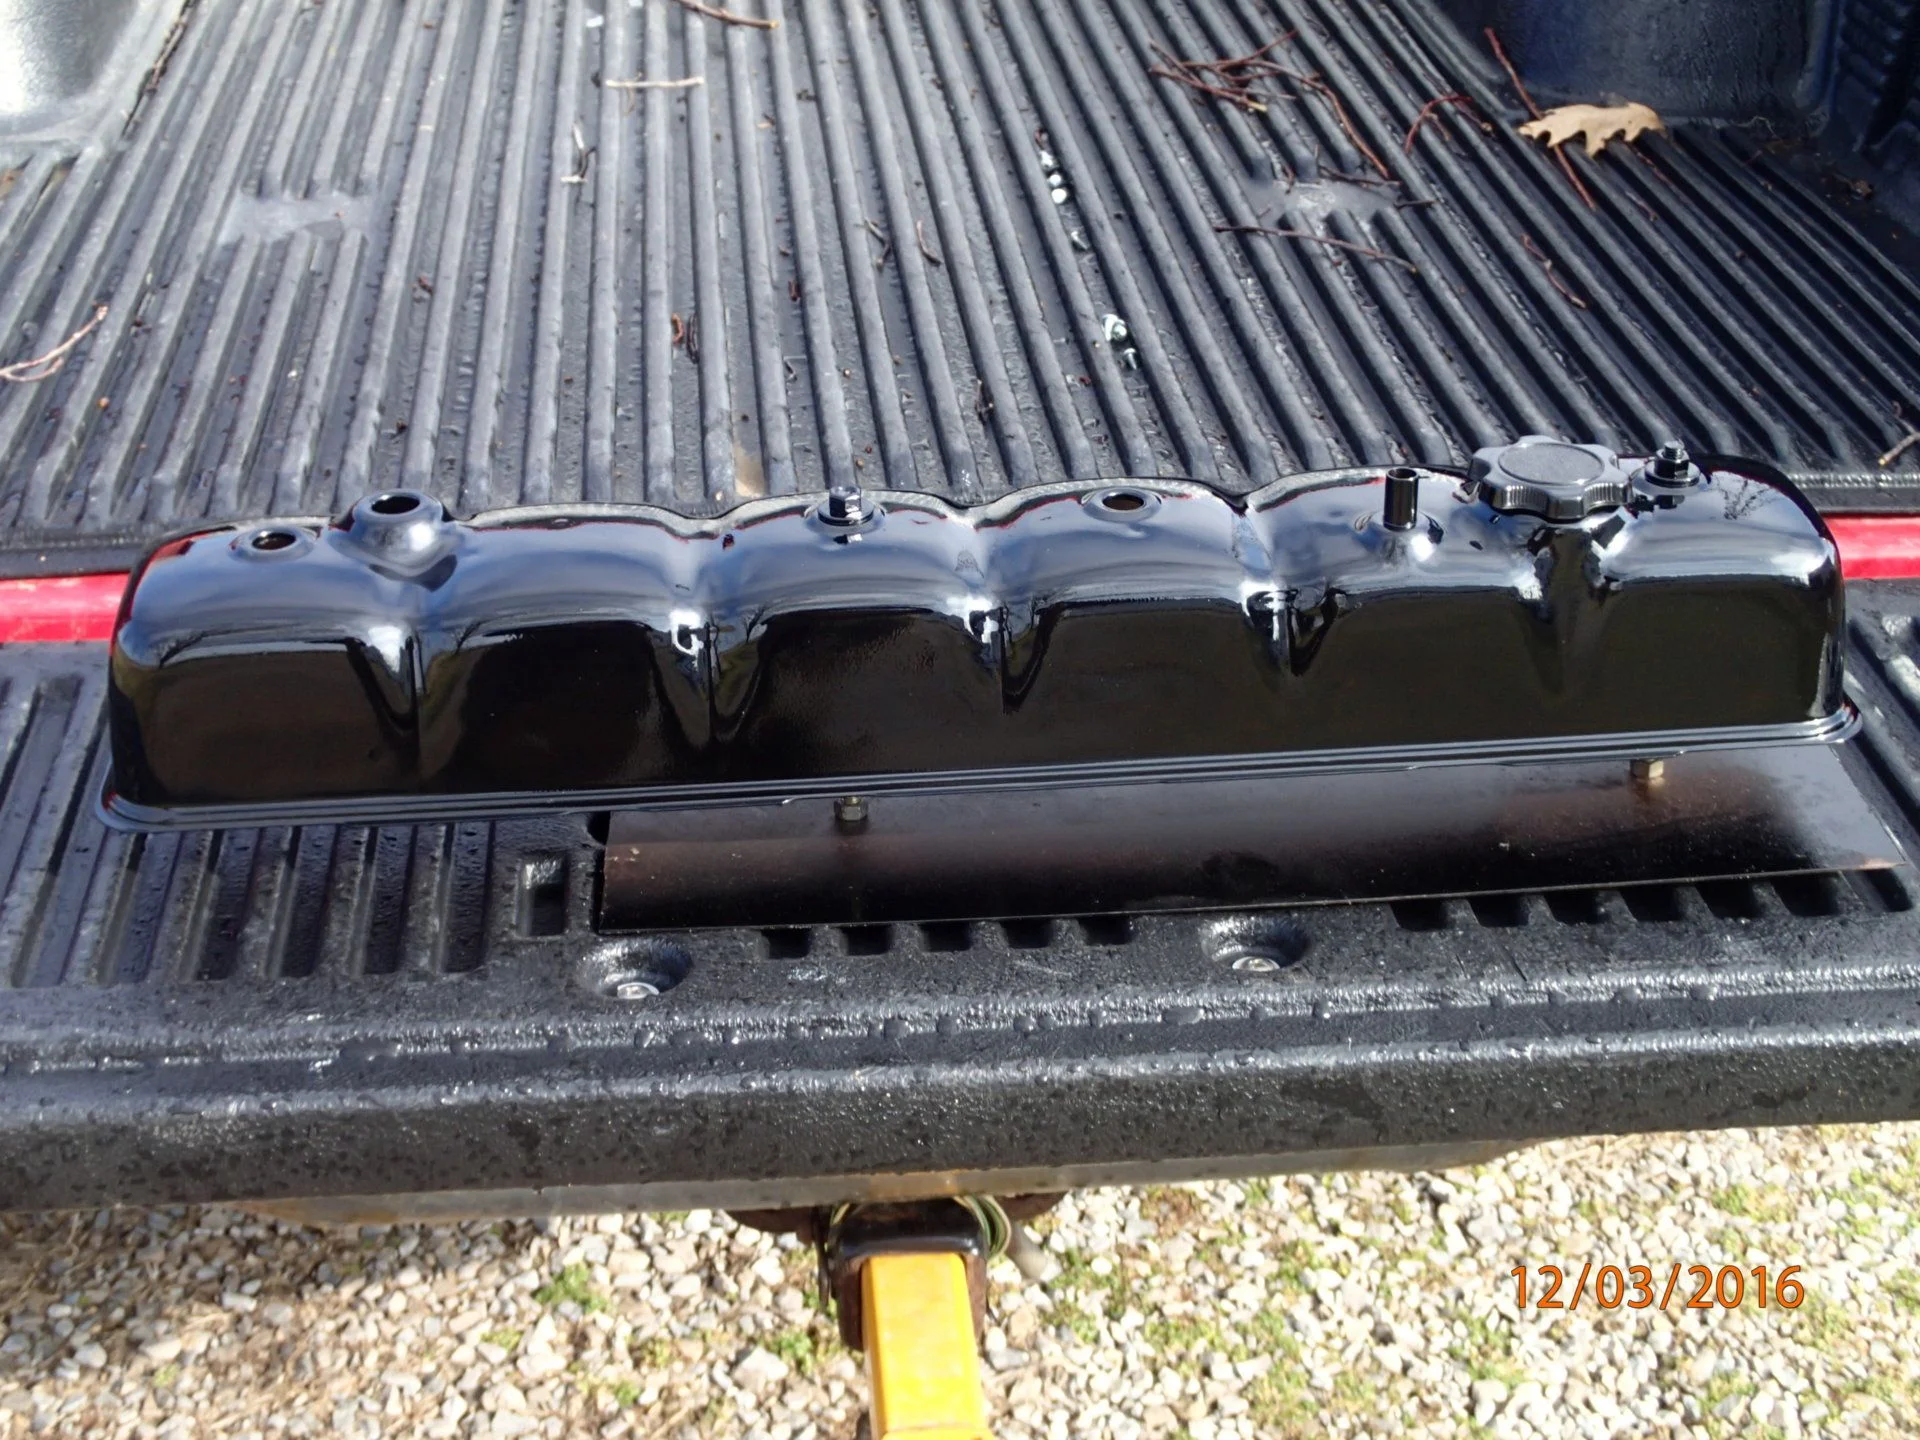
Wow what a nice looking valve cover
@mattressking !
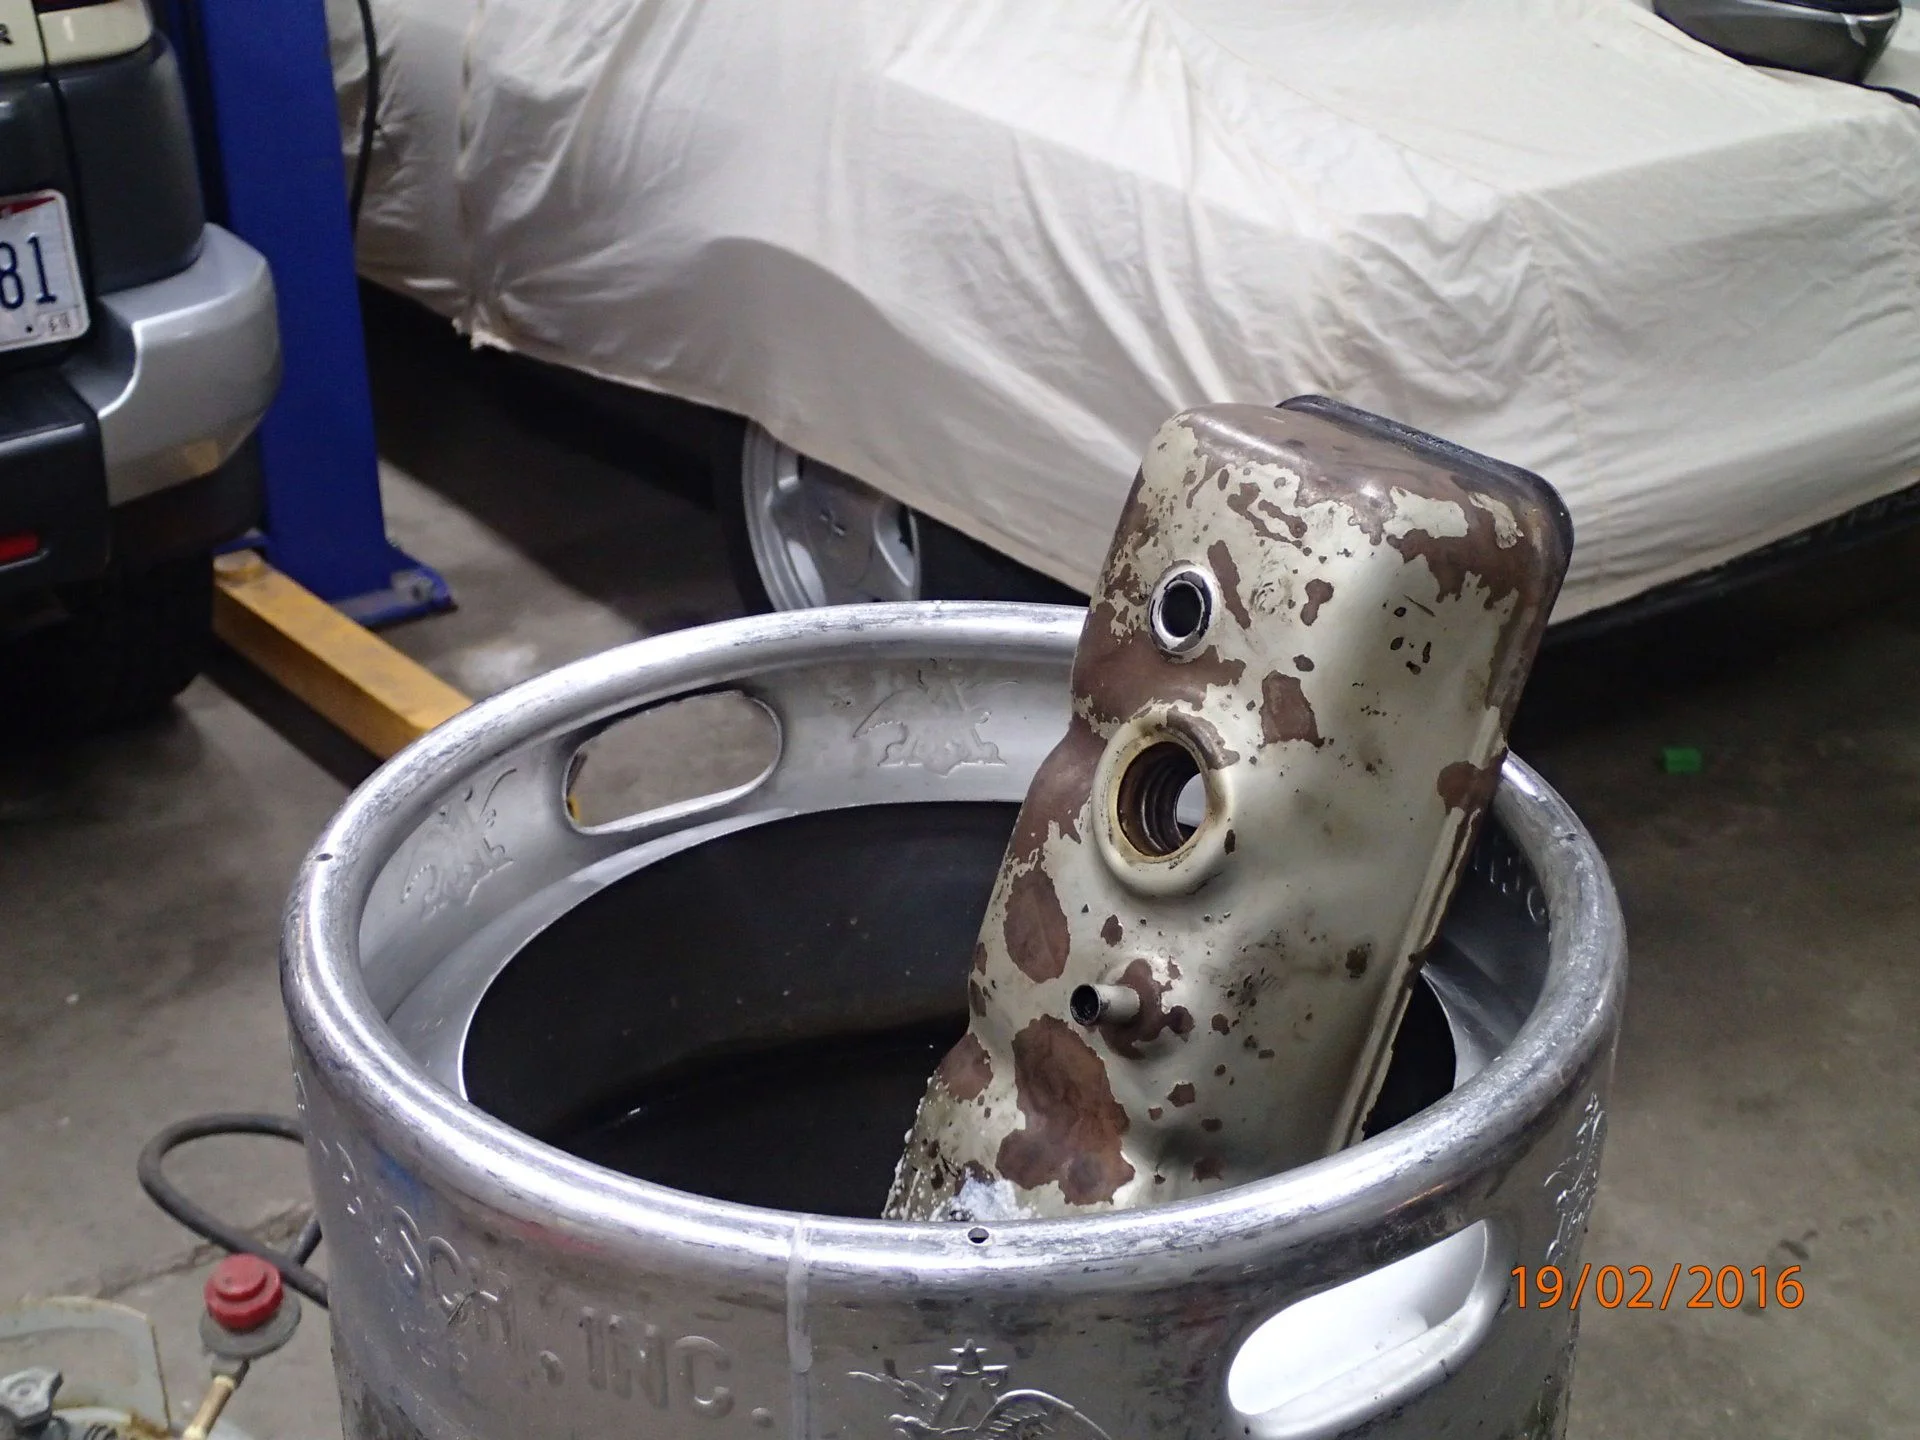
@cruisermatt - I read in one of the galley plug threads that I could simple turn the engine over and flush some of the shavings out (which would mean not taking off the valve cover). But then 1. Don't want any shavings in the motor 2. I am sure the valve cover gasket has never been replaced
Also, as I have been going through and fixing the engine compartment, steering components, etc I've been adding a little paint here and there. Nothing too flashy, just red or black. Does it do anything? Definitely on some of the parts that have rust or had rust, its a helpful inhibitor.
Anyway, appreciate all the help and advice.
I'll be heading out to the
Mud N Yer Eye 2019 Frolic this weekend, so likely will not get the valve cover and galley work finished until the following weekend.
Been in full-on recovery gear mode the last week.
I don't have a winch, but started my recovery gear setup.
Here's what I have so far ( feel free to judge me - I am a noob at the actual off-roading aspect of things):
If I get a flat or stuck gear
- 60" Hi-Lift Jack
- Hi-Lift Mate (for jacking up the tire) - #LM100
- Hi-Lift Base
- 8 ton bottle jack
- 3,500 lb ratcheting straps
- Rhino utility tool shovel/pick
- Viaair compressor ( model 88P) - portable air compressor attaches with alligator clips to battery
- ARB E-Z Deflator (ARB505)
- ARB 10000011 Speedy Seal Tire Repair Kit
- 2 pack Rhino 3/4" shackles
- Smittybilt CC330 3" x 30' Recovery Strap ( 30,000 lb capacity)
If something bad happens
- First Aid Kit (326 piece)
- Fire Extinguisher - First Alert - Vehicle & Marine - White
Stuff I'd like to get eventually
- Snatch Blocks
- Tree Guard Strap
- Winch ( I can use the Hi Lift in a pinch) - would like to get a Warn 8274 eventually with a synthetic line
- Rear ARB Locker
- On-Board Air Compressor