- Thread starter
- #61
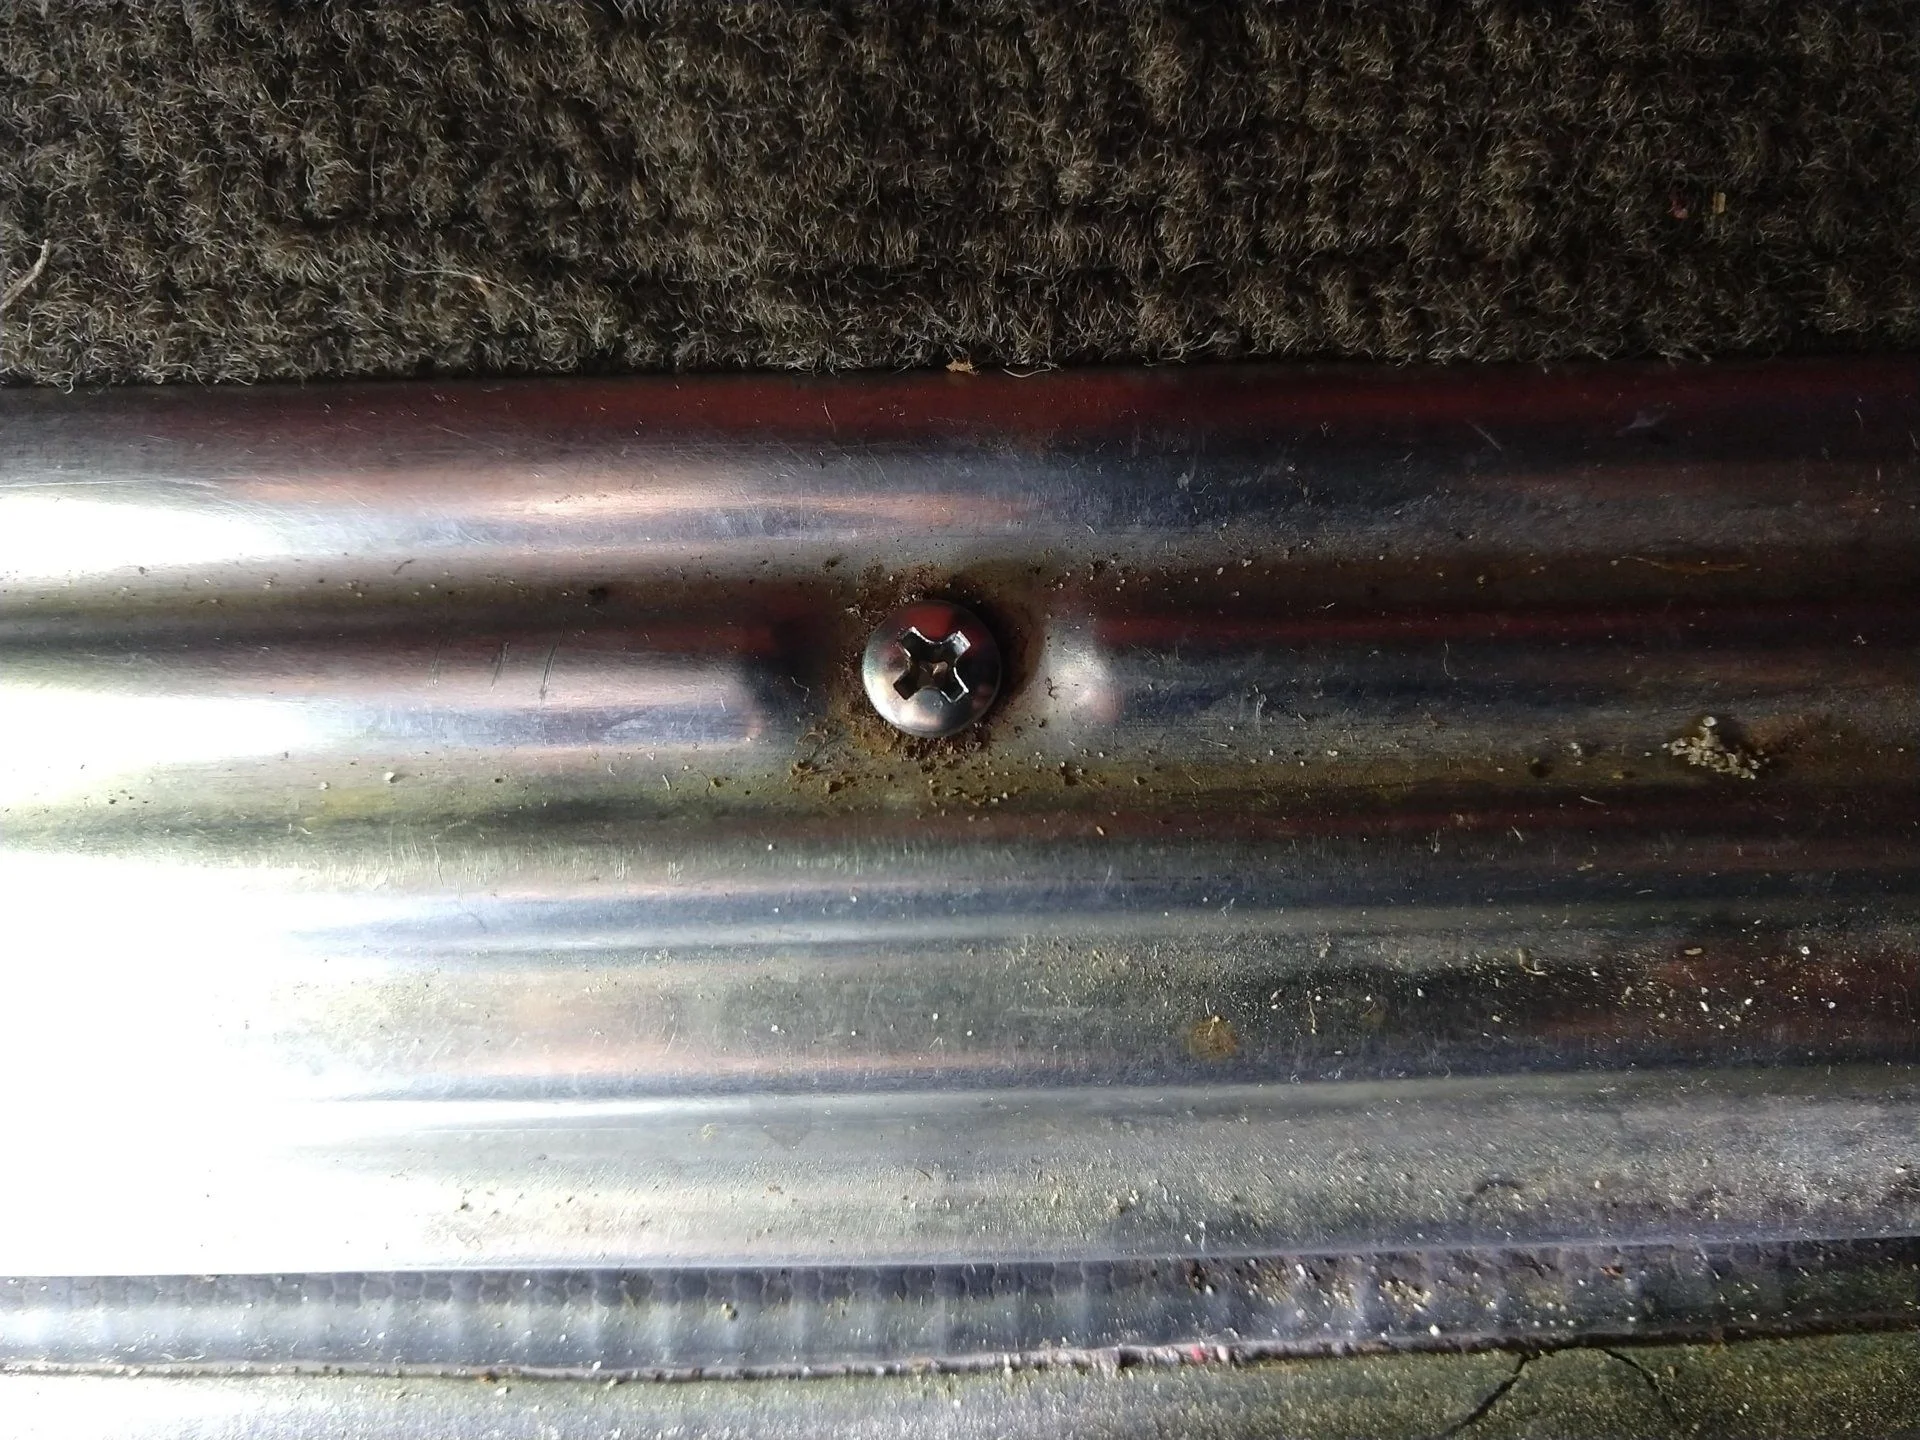
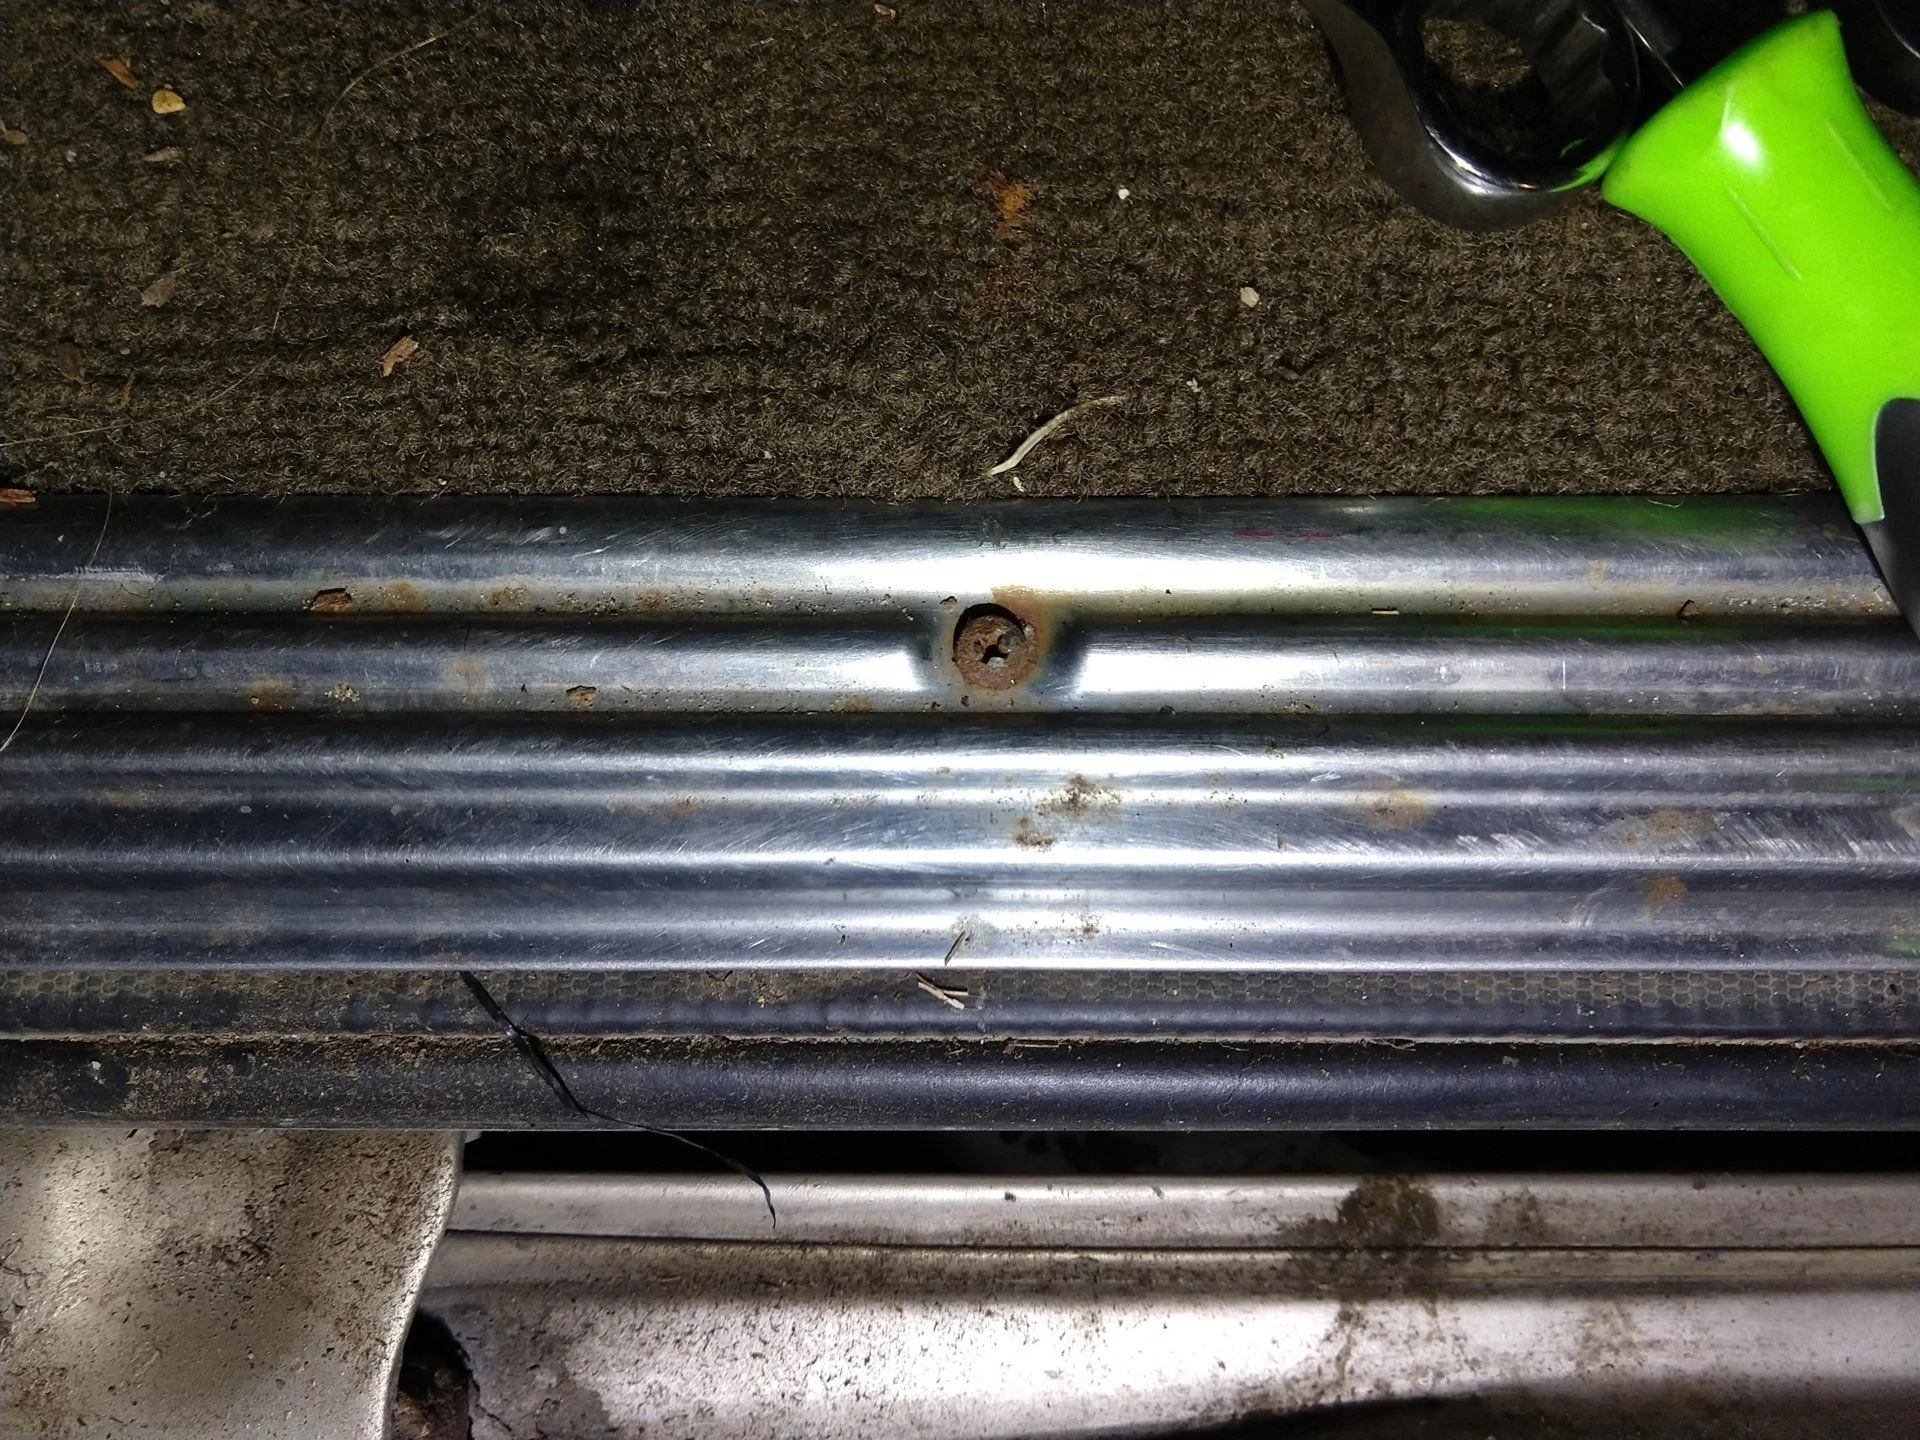
@cruisermatt good to know I should try andything stupid on these steps... But they look like fake slidera almost.
Follow along with the video below to see how to install our site as a web app on your home screen.
Note: This feature may not be available in some browsers.
This site may earn a commission from merchant affiliate
links, including eBay, Amazon, Skimlinks, and others.
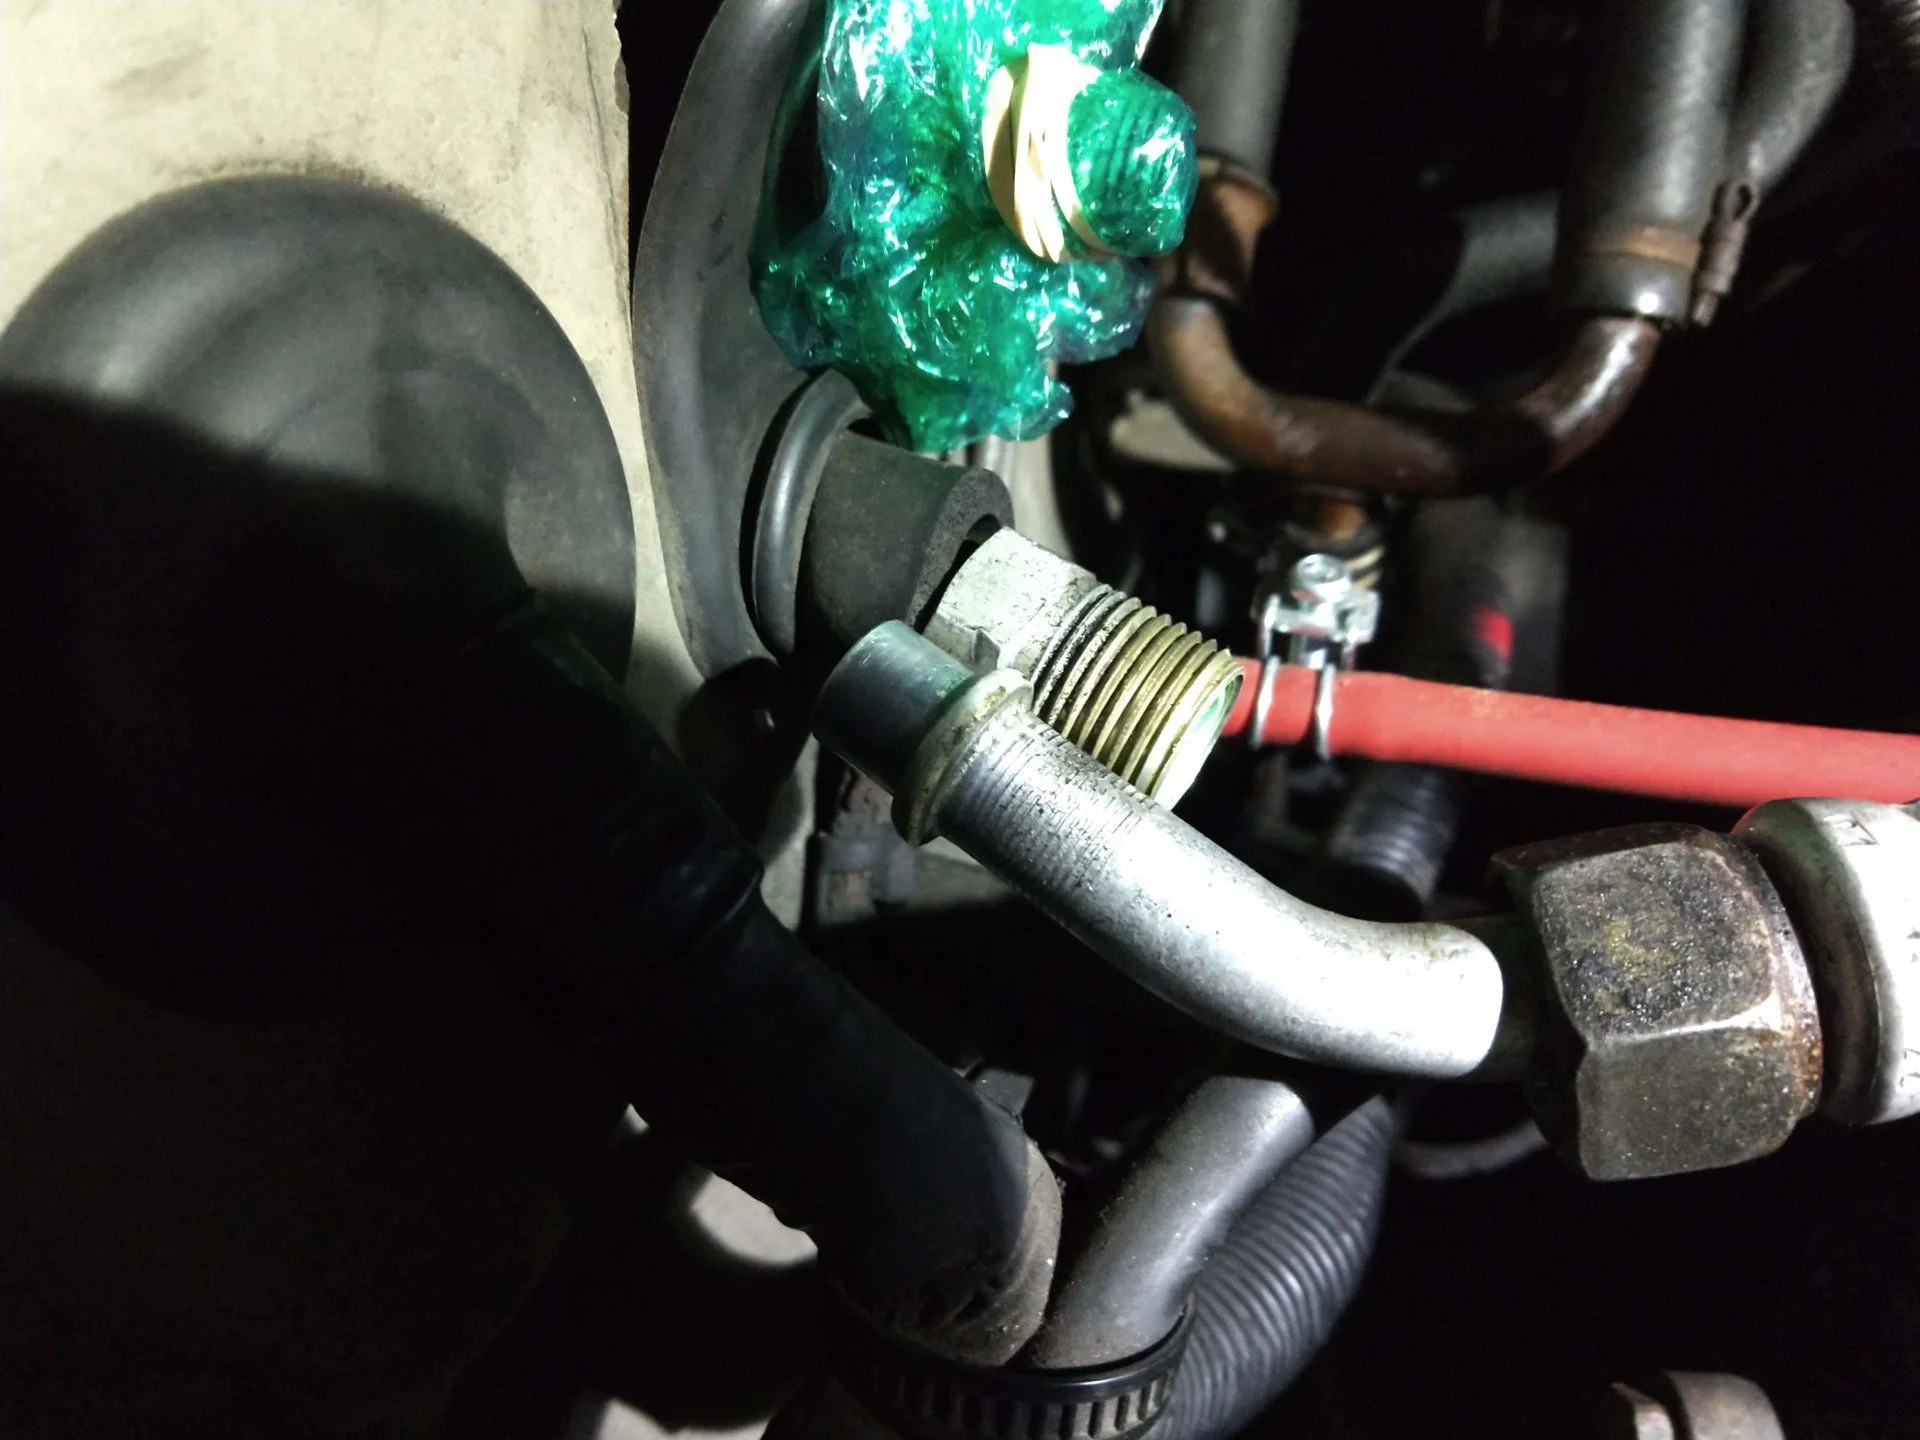
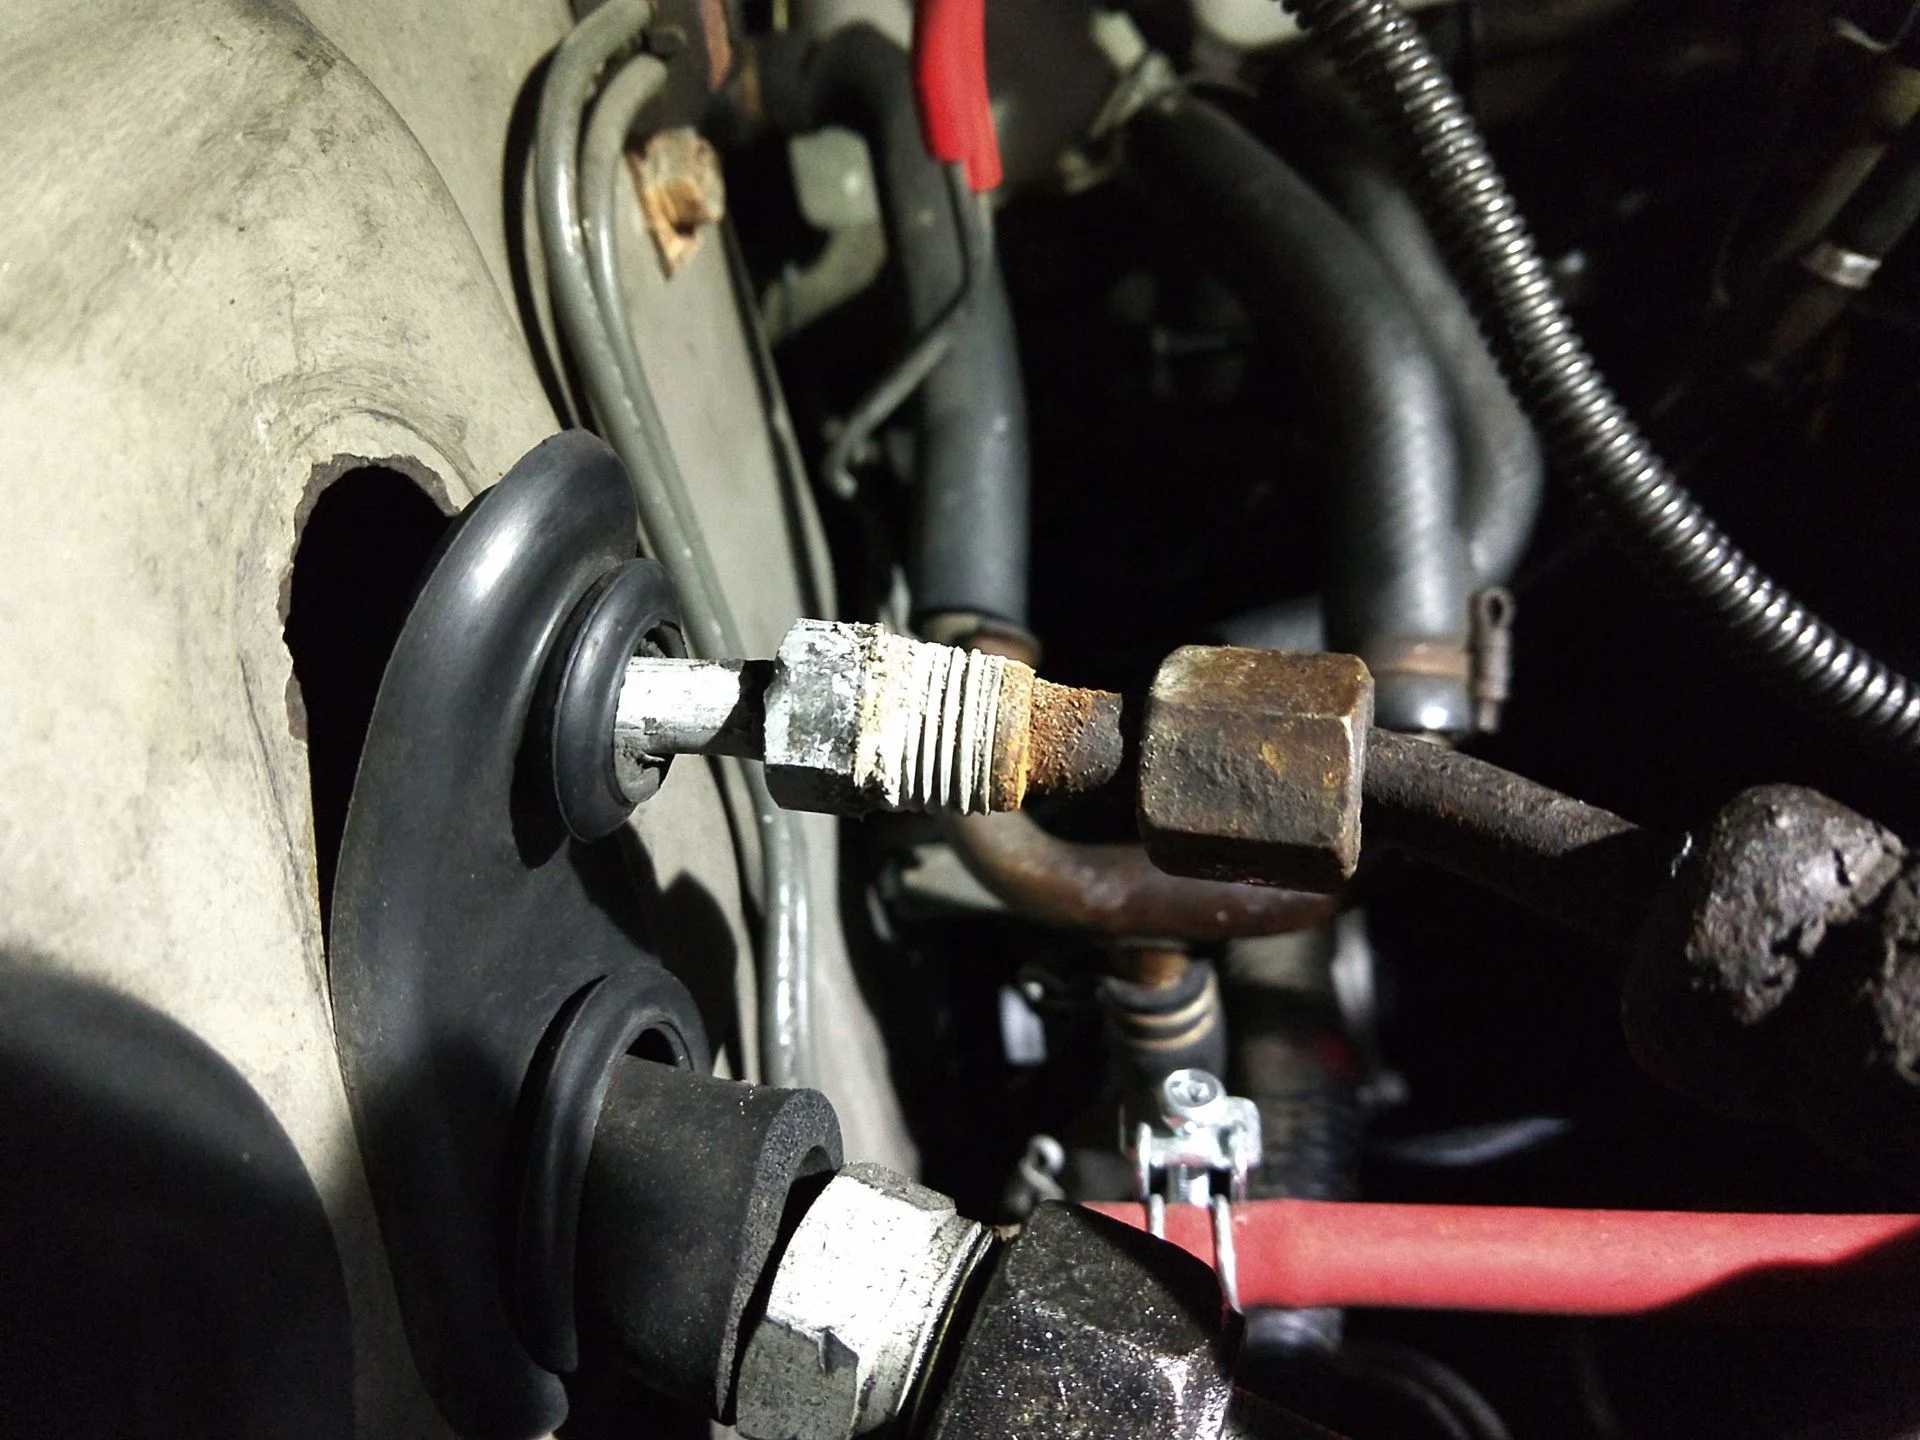
Got the auxiliary BM 20768 installed today. Went the lazy route and used the zipties through the radiator and ac condenser.
Had a little trouble with fittings using the stock BM fittings, but was able to get it some fittings over at Napa Auto that worked.
Also added an inline filter so hopefully that helps to make the transmission last a little bit longer .
Time will tell.
View attachment 1889877
View attachment 1889879
View attachment 1889880
View attachment 1889881
View attachment 1889878
Love it. That's a great idea I had not thought of. Makes total sense .One thing you might consider....
Get some 5/8 or 3/4" heater hose, cut about 1-2" sections, then cut them lengthwise to make them into sleeves.
Slide them over the trans hose where the hoses currently run through the headlight/radiator support area. Zip tie the sleeves to the hose.
If theres ang vibration/movement between sheetmetal and rubber, the sleeve will take the brunt of it, not the hose.
I did this on my FJ40 when/as needed. Old photo/setup, but shows what I mean. Very cheap and easy insurance.
View attachment 1890301
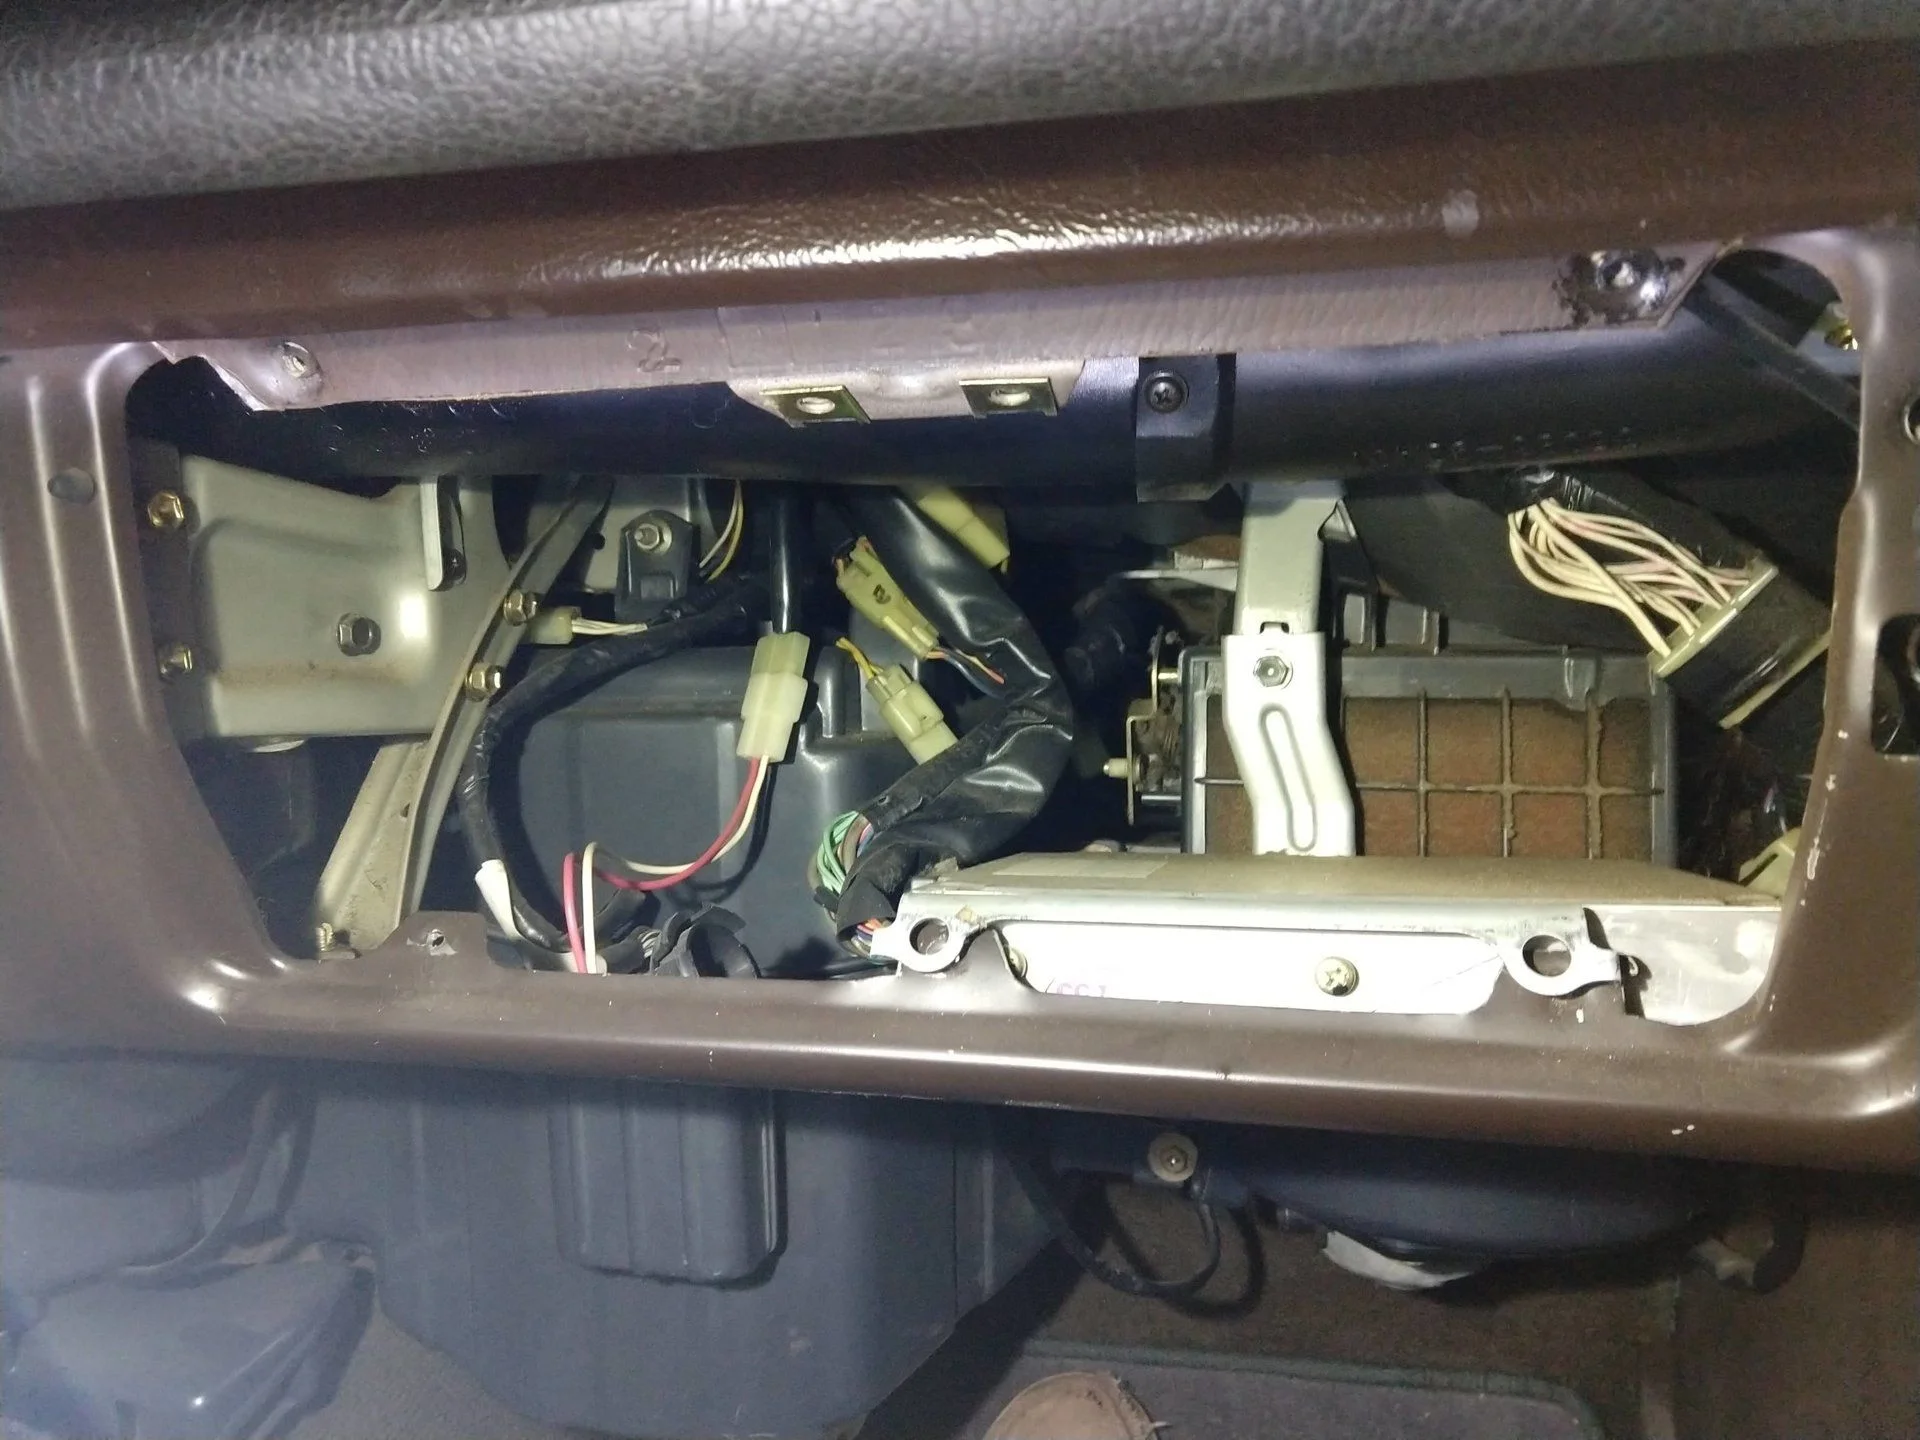
At around this point it was getting colder and I was more focused on fixing the radiator, replacing the water pump, thermostat, heater hoses, etc.
I got feedback on the forum that since I was replacing the AC Condenser I should consider replacing the Evaporator and the Expansion Valve.
So I finally bought the Evaporator Denso #476-0072 ($61.55 on Amazon Prime) and Expansion Valve ( $15 from RockAuto).
I looked into replacing the old AC lines from the compressor to the firewall and from the compressor to the Condenser, but unless I have a shop make these, I'll just reuse the existing lines.
If anyone has a better way of sourcing NOS or aftermarket AC hoses, please let me know.
Currently I am prepping to swap in the new Evaporator and Expansion Valve this weekend.
Great thread and good luck going forward! Does Coast appreciate that you're taking such good care of his Land Cruiser?I need a little bit of help at this point, so my son Coast stepped in for a moment, since I was having trouble getting the tie rod end to get loose from the pitman arm.
View attachment 1879707
@Wayne Jacobs lol. Yeah it will probably be his and then I can build out an FJ40 or get a 45 Troopy .Great thread and good luck going forward! Does Coast appreciate that you're taking such good care of his Land Cruiser?