
Took me 10 years to finally dive in and do the side cover and timing cover. Feels good when they are done.
Navigation
Install the app
How to install the app on iOS
Follow along with the video below to see how to install our site as a web app on your home screen.
Note: This feature may not be available in some browsers.
More options
Style variation
You are using an out of date browser. It may not display this or other websites correctly.
You should upgrade or use an alternative browser.
You should upgrade or use an alternative browser.
Member Builds and Stories
This site may earn a commission from merchant affiliate
links, including eBay, Amazon, Skimlinks, and others.
Nice work! Looks like a great start and a solid deal! Love the name, too.
- Thread starter
- #23
While I was looking into the status of the truck, its not until you pop the hood and jump under the drivetrain that you start to get a really good feel for the "bones" of the vehicle.
I found that the heat shields were corroded/falling apart and that multiple exhaust hangers were missing. In the forum I read that the heat shield has asbestos in the filler-layer, so I was careful to not mess around with it, but just remove it. I looked around on MUD and got the two rear heat shields for a reasonable price plus shipping. During that same time, I attempted to source some OEM used hangers.
It became apparent that to really become proficient at fixing up the Sawdust, that I would need to learn how to weld. I still have not taken up this skillset, but it is in the works for 2019 Goals!
- Thread starter
- #24
After carefully taking apart the Exhaust Manifolds and exhaust manifold heat shields, I saw they were pretty gross. It was time for a paint job.
I had read on the forum that some people had used a tractor supply graphite paint, since it stands up to the extreme heat of the exhaust. I bought some of this for the exhaust manifolds and gave them a good cleaning and prep job.
Meanwhile for the heat shields, I cleaned and prepped them as well, but I did not use a graphite paint, but a high-temperature paint with high-temp gloss.
Sometimes I questioned to what affect this would have for the truck. Its like that saying about a tree falling in a forest. Does it make a sound?
If no one sees the Exhaust Manifold painted - is it really painted ? Anyway, I think its worth getting into the details - as evidenced by my work.
I started to think about getting a sandblasting station set-up, so I could clean things more efficiently. I also started to think about getting a setup for powder coating. I think if I had a garage ( I have a shed), I would think about buying or creating an area for these, but its just not practical with my setup/ my wife probably does not agree that it is a worthwhile investment of our money and my time.
- Thread starter
- #25
The hub caps were not in a very beautiful state, so next up was a good cleaning with my wire wheel, wire brush.
I went to an art store and bought some Gold Paint pens to bring back the TOYOTA. I finished the caps with a clear coat so the work I did doesn't fall off. I think they turned out great. I also bought a few white paint pens as part of my rehab project for the mud flaps.


I went to an art store and bought some Gold Paint pens to bring back the TOYOTA. I finished the caps with a clear coat so the work I did doesn't fall off. I think they turned out great. I also bought a few white paint pens as part of my rehab project for the mud flaps.
- Thread starter
- #26
I am no Jonathan Ward - but I think I've been doing a decent job at bringing some sparkle back to Sawdust. A once neglected diamond in the rough is proving to clean up nicely.
Maybe not but you are the Bob Ross of FJ62's...Happy little Cruisers.I am no Jonathan Ward - but I think I've been doing a decent job at bringing some sparkle back to Sawdust. A once neglected diamond in the rough is proving to clean up nicely.
- Thread starter
- #29
As I had the engine bay wide open for heart surgery, I decided it was a good time to tackle the ever-present oil pan gasket leak.
I steadied my floor jack under the oil pan, while I deftly unwound each bolt securing it to the engine block.
It came off without any issues, which was great! I had read that some people had to use the bottle jack to pry it off in some cases.
Getting the gasket to stay was an issue, even after applying a hefty amount of RTV. However, with a few tricks, I was able to get it to work.
First, I added some twine around every single eyelet. This helped to keep the gasket in place as the RTV hardened.
Second, since the cork gasket kept shifting, I added some lumber to weigh it down on the RTV.
After waiting for a good two-three hours I took the wood off.
Positioning the oil pan under the engine block was not too hard. But I ended up using some long bolts to help align the oil pan to the engine block. This part was probably the most not-fun part of the job.
I ended up with a few different sized bolt heads, which not ideal - did the job. When I do this next time I aim to standardize all the bolt heads, but I worked with what I had on hand and what was available at my local Ace Hardware. I think next time I'll use some sort of threadlocker too.
- Thread starter
- #30
Happy New Year! I've decided to add some recent work...
First up was replacing my old rusty, barely functional Fuel Sending Unit.
Ever since I bought Sawdust I never felt confident that the amount of fuel in the vehicle was correctly displayed on the gauge. This caused me to refuel for gas more often than I would like. I knew that the truck has a 23.5 gallon capacity with the stock fuel tank, however, whenever I would get to Empty (at least by the gauge) and I would go to refill the tank, it would only take about 11.5 gallons.
Driving most often with my wife and small child on the weekend there was never an opportune time to test out just how much or little gas was in the tank.
So I decided it was time to buy a new Fuel Sending Unit.
I waited until Black Friday to buy the unit from one of the Toyota dealerships ( since I was seeing it listed on Cruiserparts and SOR for $$$).
The unit was $109 from Roseville Toyota near Sacramento ( with Free Black Friday shipping). I was not sure if it came with the new gasket or screws, so I bought a set of those two). Yes, the box did have the gasket and screws but the parts department didn't know. So now I have an extra set.
After some post-Christmas beers with @cruisermatt while out visiting Orlando to see family - he instructed me that it was NOT necessary to drop the fuel tank to reach the fuel sending unit.
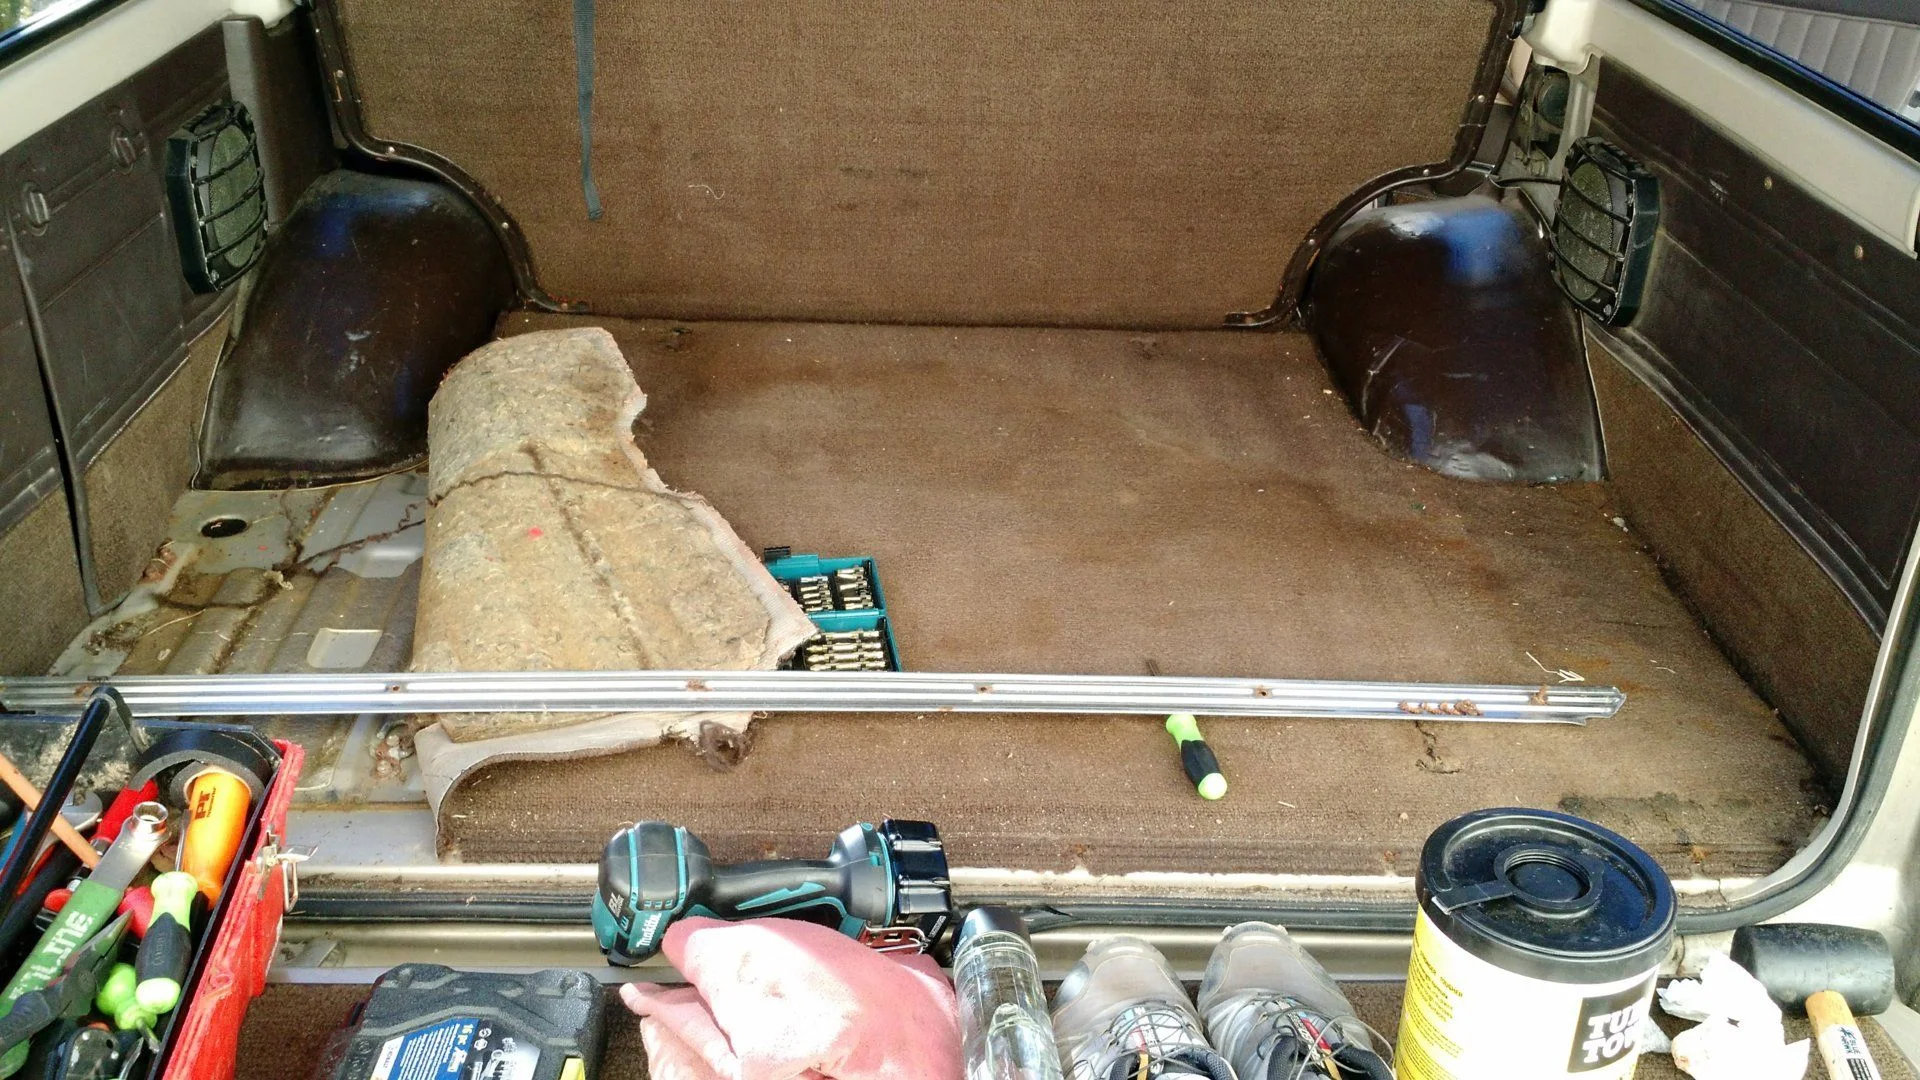
Step 1: Clean all the crap out of the back of the truck
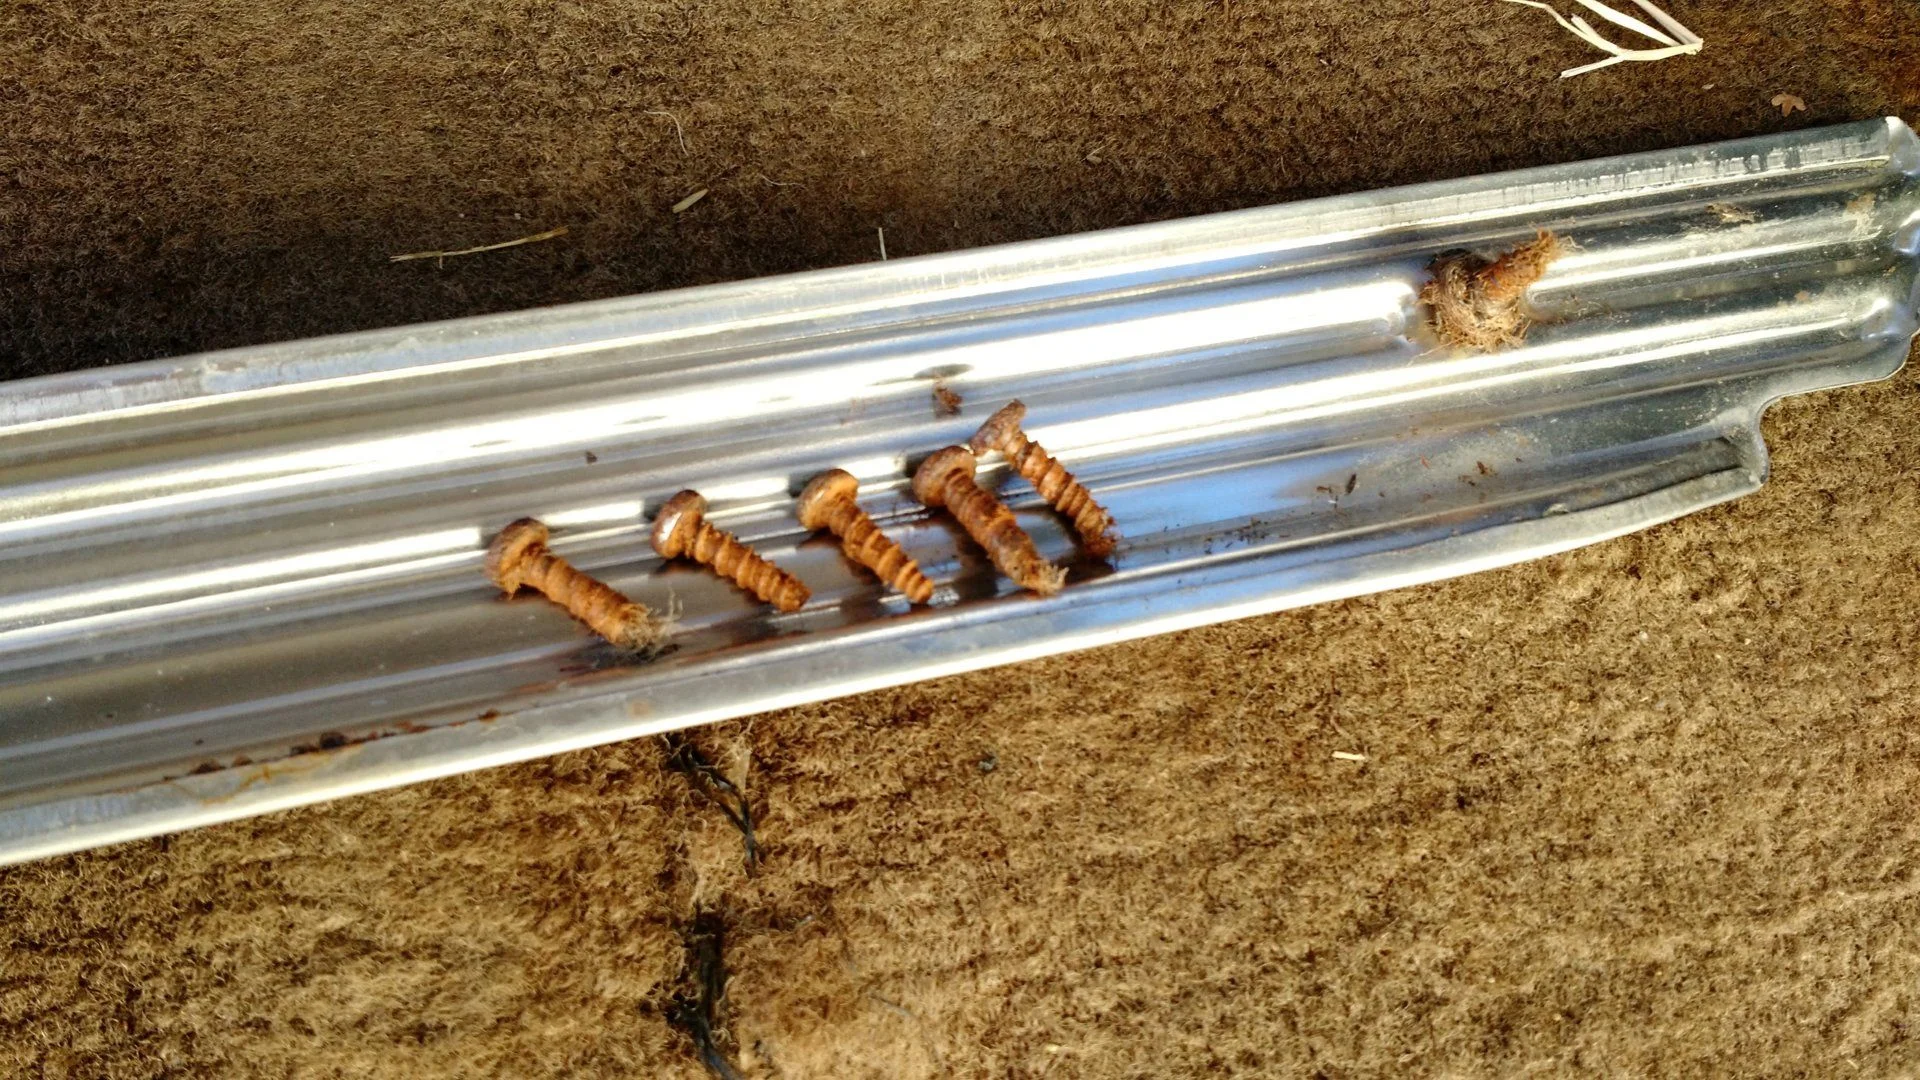
Step 2: Pull back the carpet and get the old screws out - I ended up buying replacement stainless steel screws from Ace Hardware ($3.50)
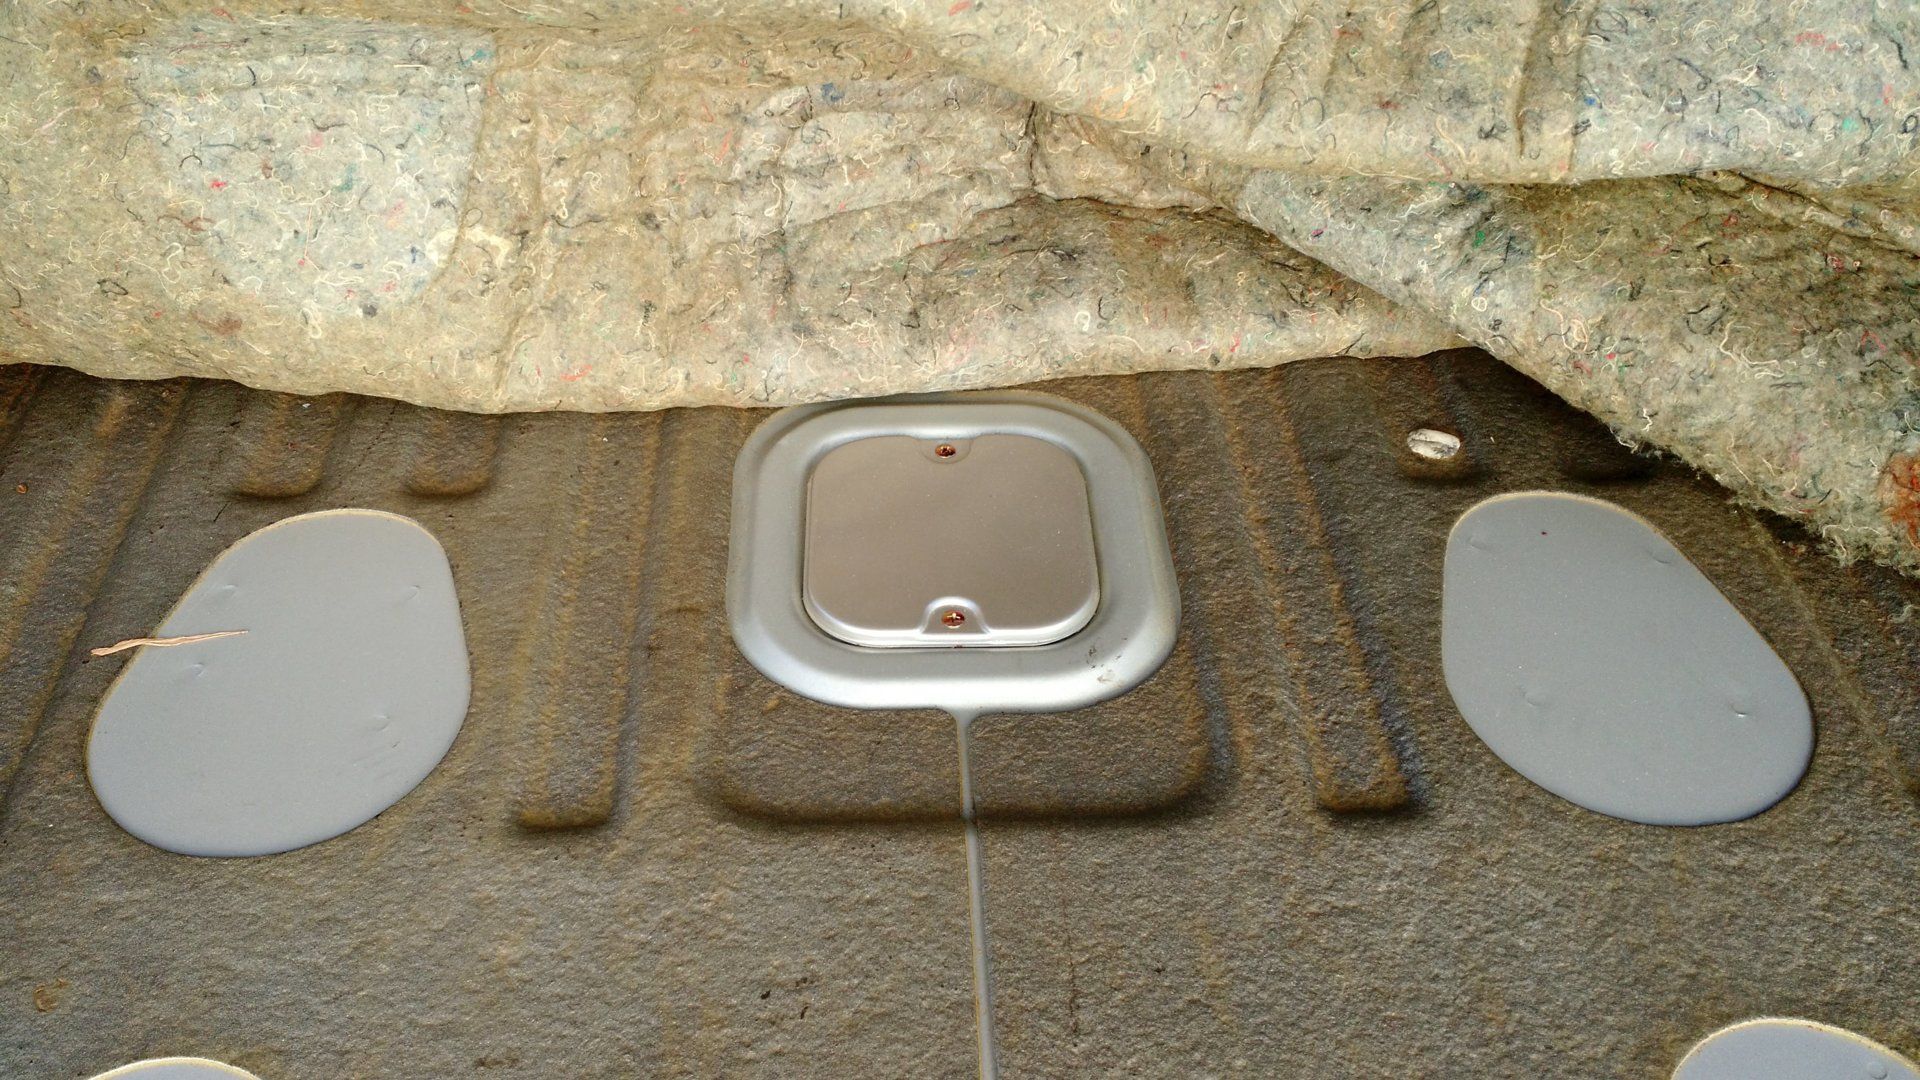
Step 3: Find the access cover and remove the two screws
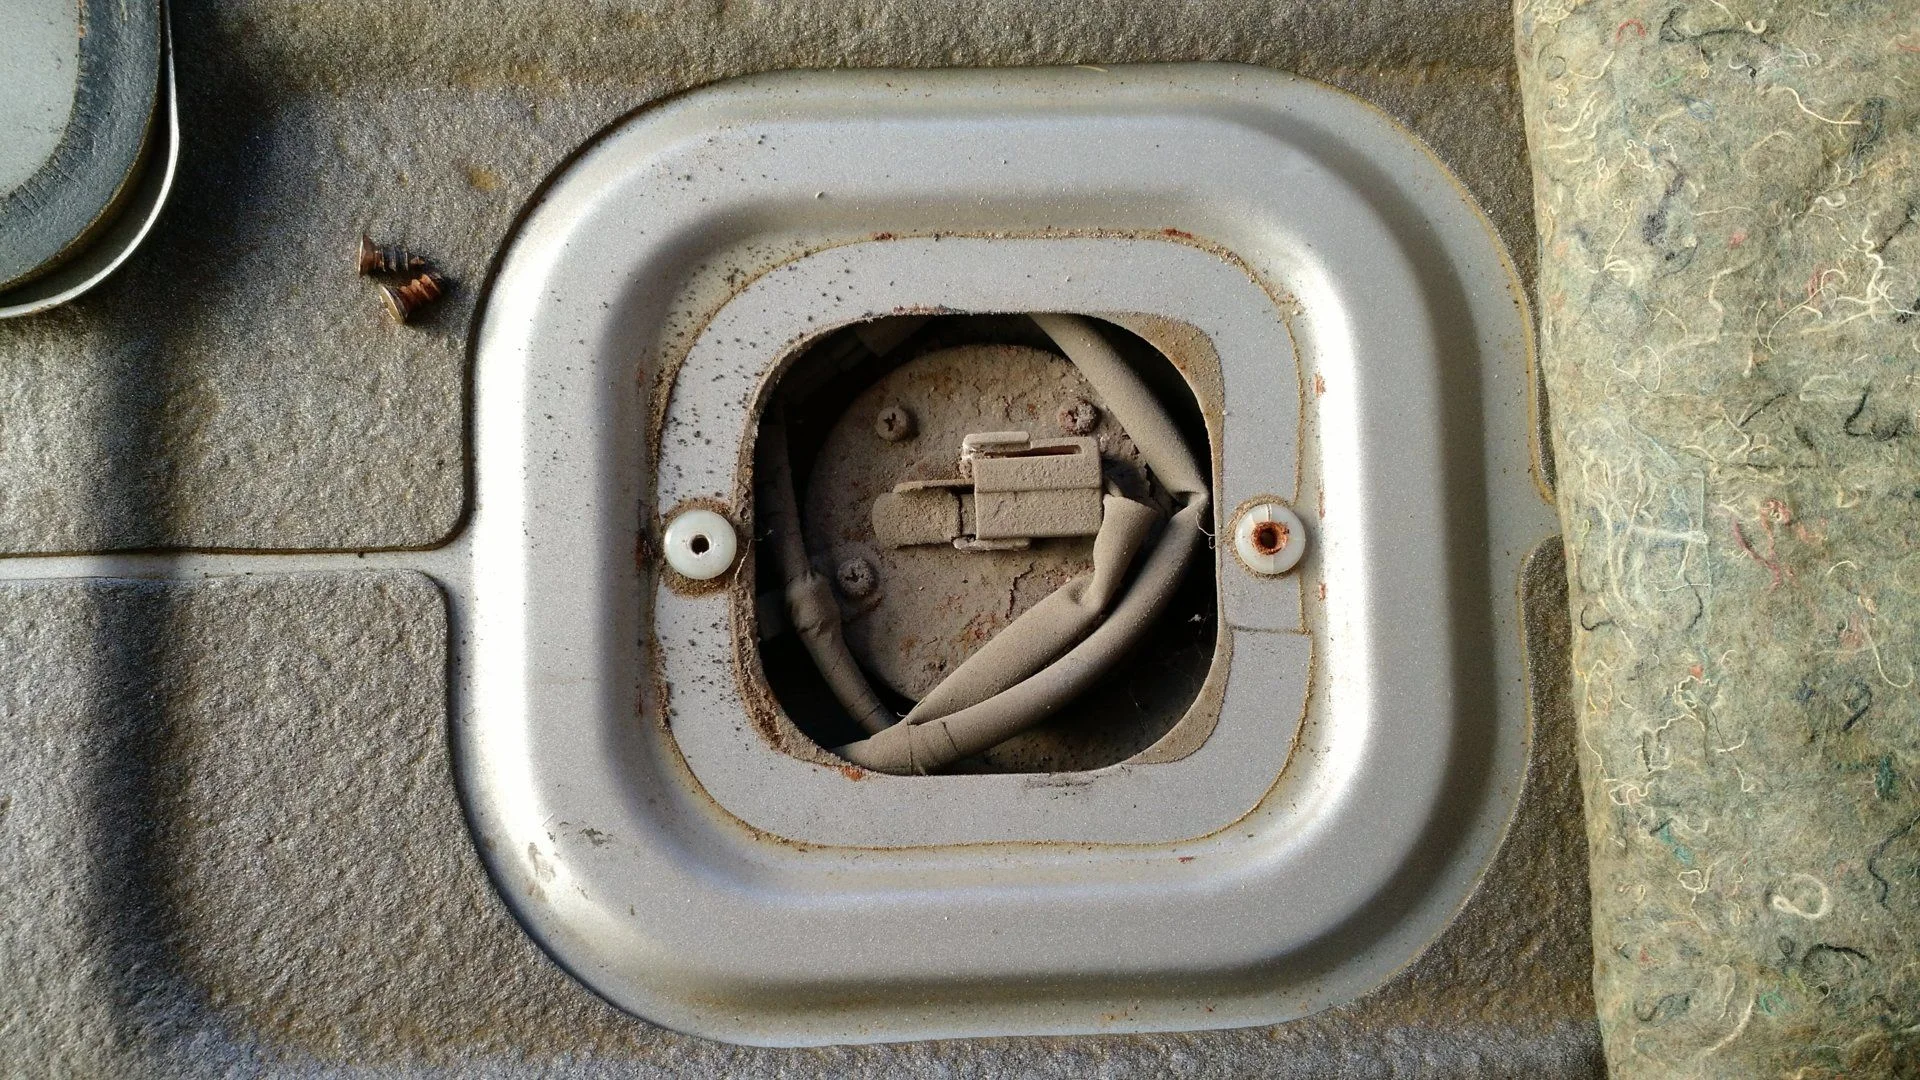
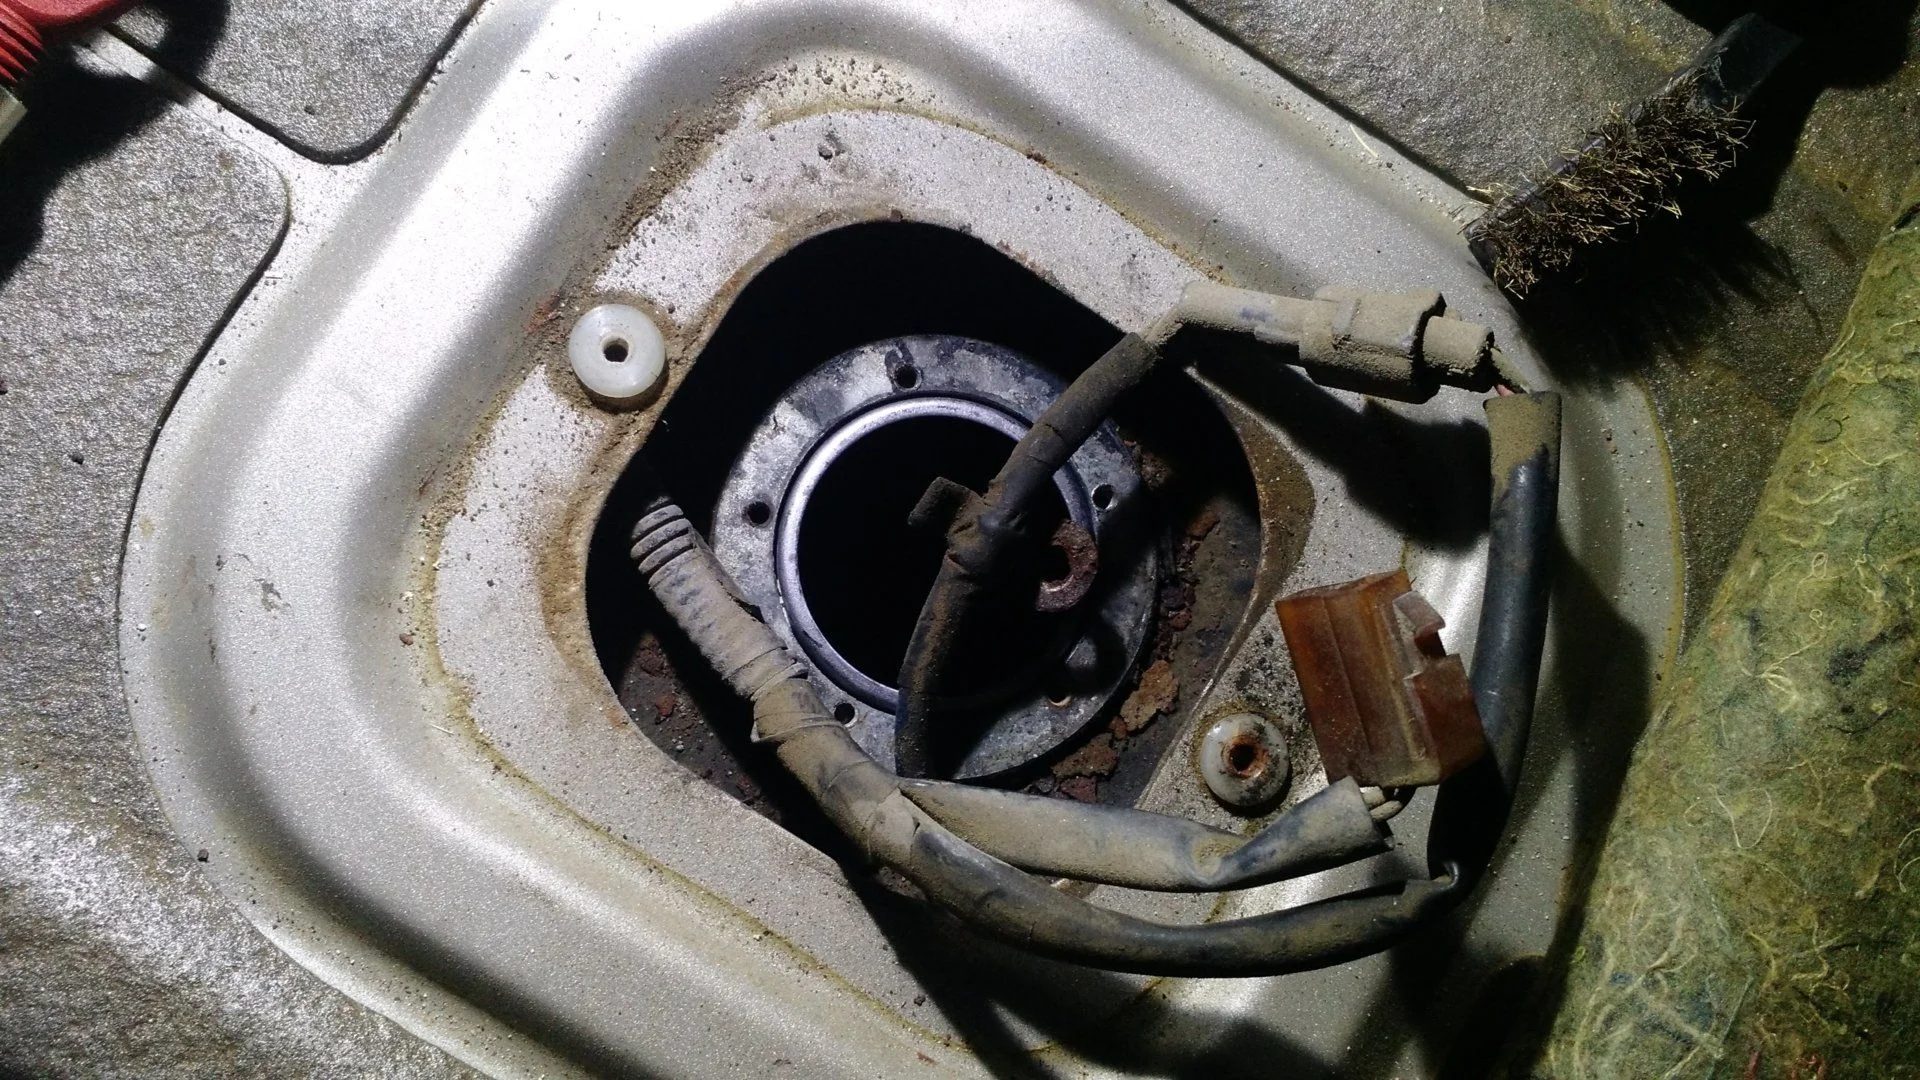
Step 4: Remove old rusty screws. I had to PB Blast and then use vice grips also disconnect the harness. This is also a good time to use a wire brush to clean up the area before removing the unit.
Step 5: Carefully take out the old unit at about a 45 degree angle.
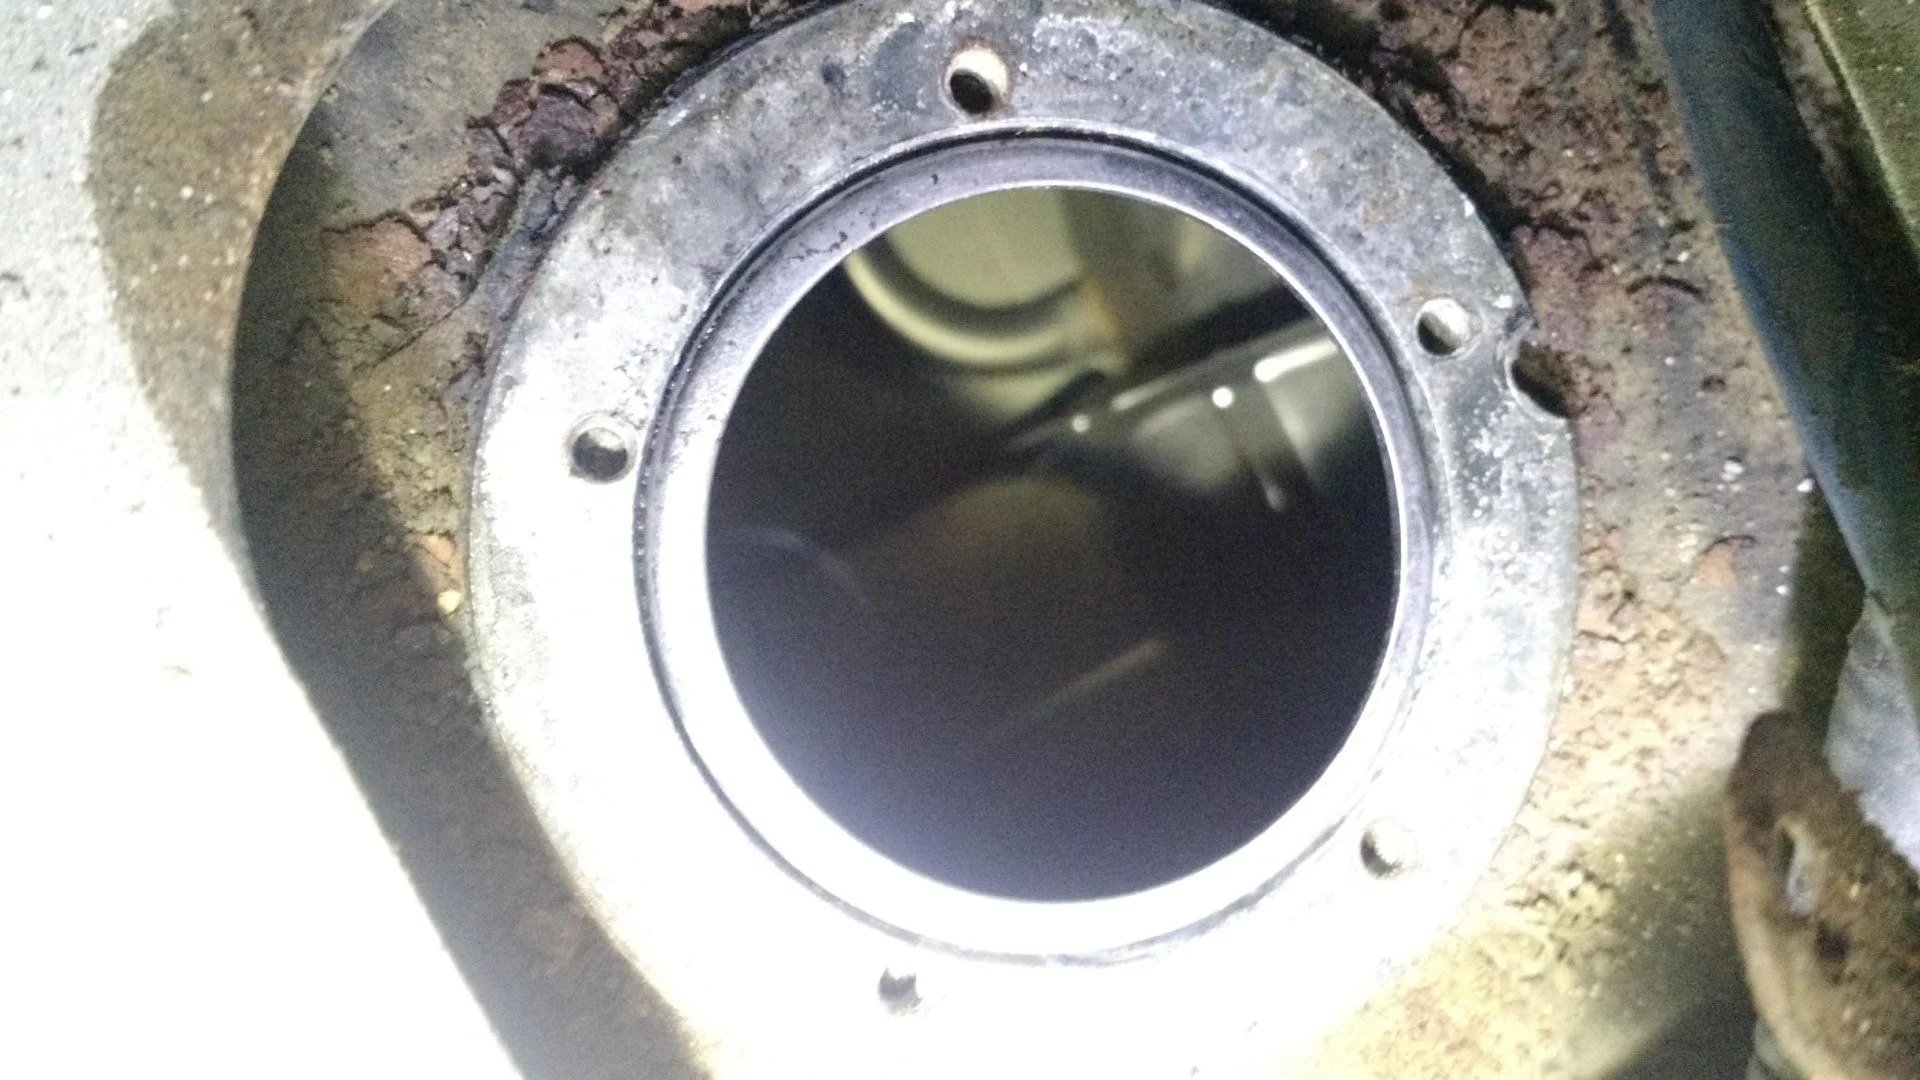
Step 6: Take a look inside to see how its looking. My fuel tank looked great. Didn't see any noticeable rust.
Step 7: Put in the new gasket on the new sending unit and insert the 5 screws
Step 8: Re-attach the old harness
Step 9: Close up the cover, put in the two screws and fold back the rear cargo carpet. Replace old rusted screws.
Step 10: Go get a full-tank of gas!!!
First up was replacing my old rusty, barely functional Fuel Sending Unit.
Ever since I bought Sawdust I never felt confident that the amount of fuel in the vehicle was correctly displayed on the gauge. This caused me to refuel for gas more often than I would like. I knew that the truck has a 23.5 gallon capacity with the stock fuel tank, however, whenever I would get to Empty (at least by the gauge) and I would go to refill the tank, it would only take about 11.5 gallons.
Driving most often with my wife and small child on the weekend there was never an opportune time to test out just how much or little gas was in the tank.
So I decided it was time to buy a new Fuel Sending Unit.
I waited until Black Friday to buy the unit from one of the Toyota dealerships ( since I was seeing it listed on Cruiserparts and SOR for $$$).
The unit was $109 from Roseville Toyota near Sacramento ( with Free Black Friday shipping). I was not sure if it came with the new gasket or screws, so I bought a set of those two). Yes, the box did have the gasket and screws but the parts department didn't know. So now I have an extra set.
After some post-Christmas beers with @cruisermatt while out visiting Orlando to see family - he instructed me that it was NOT necessary to drop the fuel tank to reach the fuel sending unit.
Step 1: Clean all the crap out of the back of the truck
Step 2: Pull back the carpet and get the old screws out - I ended up buying replacement stainless steel screws from Ace Hardware ($3.50)
Step 3: Find the access cover and remove the two screws
Step 4: Remove old rusty screws. I had to PB Blast and then use vice grips also disconnect the harness. This is also a good time to use a wire brush to clean up the area before removing the unit.
Step 5: Carefully take out the old unit at about a 45 degree angle.
Step 6: Take a look inside to see how its looking. My fuel tank looked great. Didn't see any noticeable rust.
Step 7: Put in the new gasket on the new sending unit and insert the 5 screws

Step 8: Re-attach the old harness
Step 9: Close up the cover, put in the two screws and fold back the rear cargo carpet. Replace old rusted screws.
Step 10: Go get a full-tank of gas!!!
- Thread starter
- #31
I also used my voltmeter to take a look on the new and old fuel sending units to make sure that they were reading correctly.
The old unit had so much rust on the tabs that connected to the wiring harness connectors that it barely read anything.
The new unit worked perfectly and I was able to get the full and empty readings from the voltmeter without any issue.
It should be set to Ohms at 200.

The old unit had so much rust on the tabs that connected to the wiring harness connectors that it barely read anything.
The new unit worked perfectly and I was able to get the full and empty readings from the voltmeter without any issue.
It should be set to Ohms at 200.
- Thread starter
- #32
Next project that I am currently working through is my leaky Power Steering Gearbox. I was able to get it off the truck with some friendly persuasion over the weekend.
The pitman arm puller was not quite working for me to get the Tie Rod disconnected, so luckily this only created one trip to the store. Otherwise, I bought the Gates 349480 rebuild kit from RockAuto for about $27 ( plus SH). I've been able to get the Steering Gear box removed from the truck, here are a few findings.

The pitman arm puller was not quite working for me to get the Tie Rod disconnected, so luckily this only created one trip to the store. Otherwise, I bought the Gates 349480 rebuild kit from RockAuto for about $27 ( plus SH). I've been able to get the Steering Gear box removed from the truck, here are a few findings.
- Thread starter
- #33
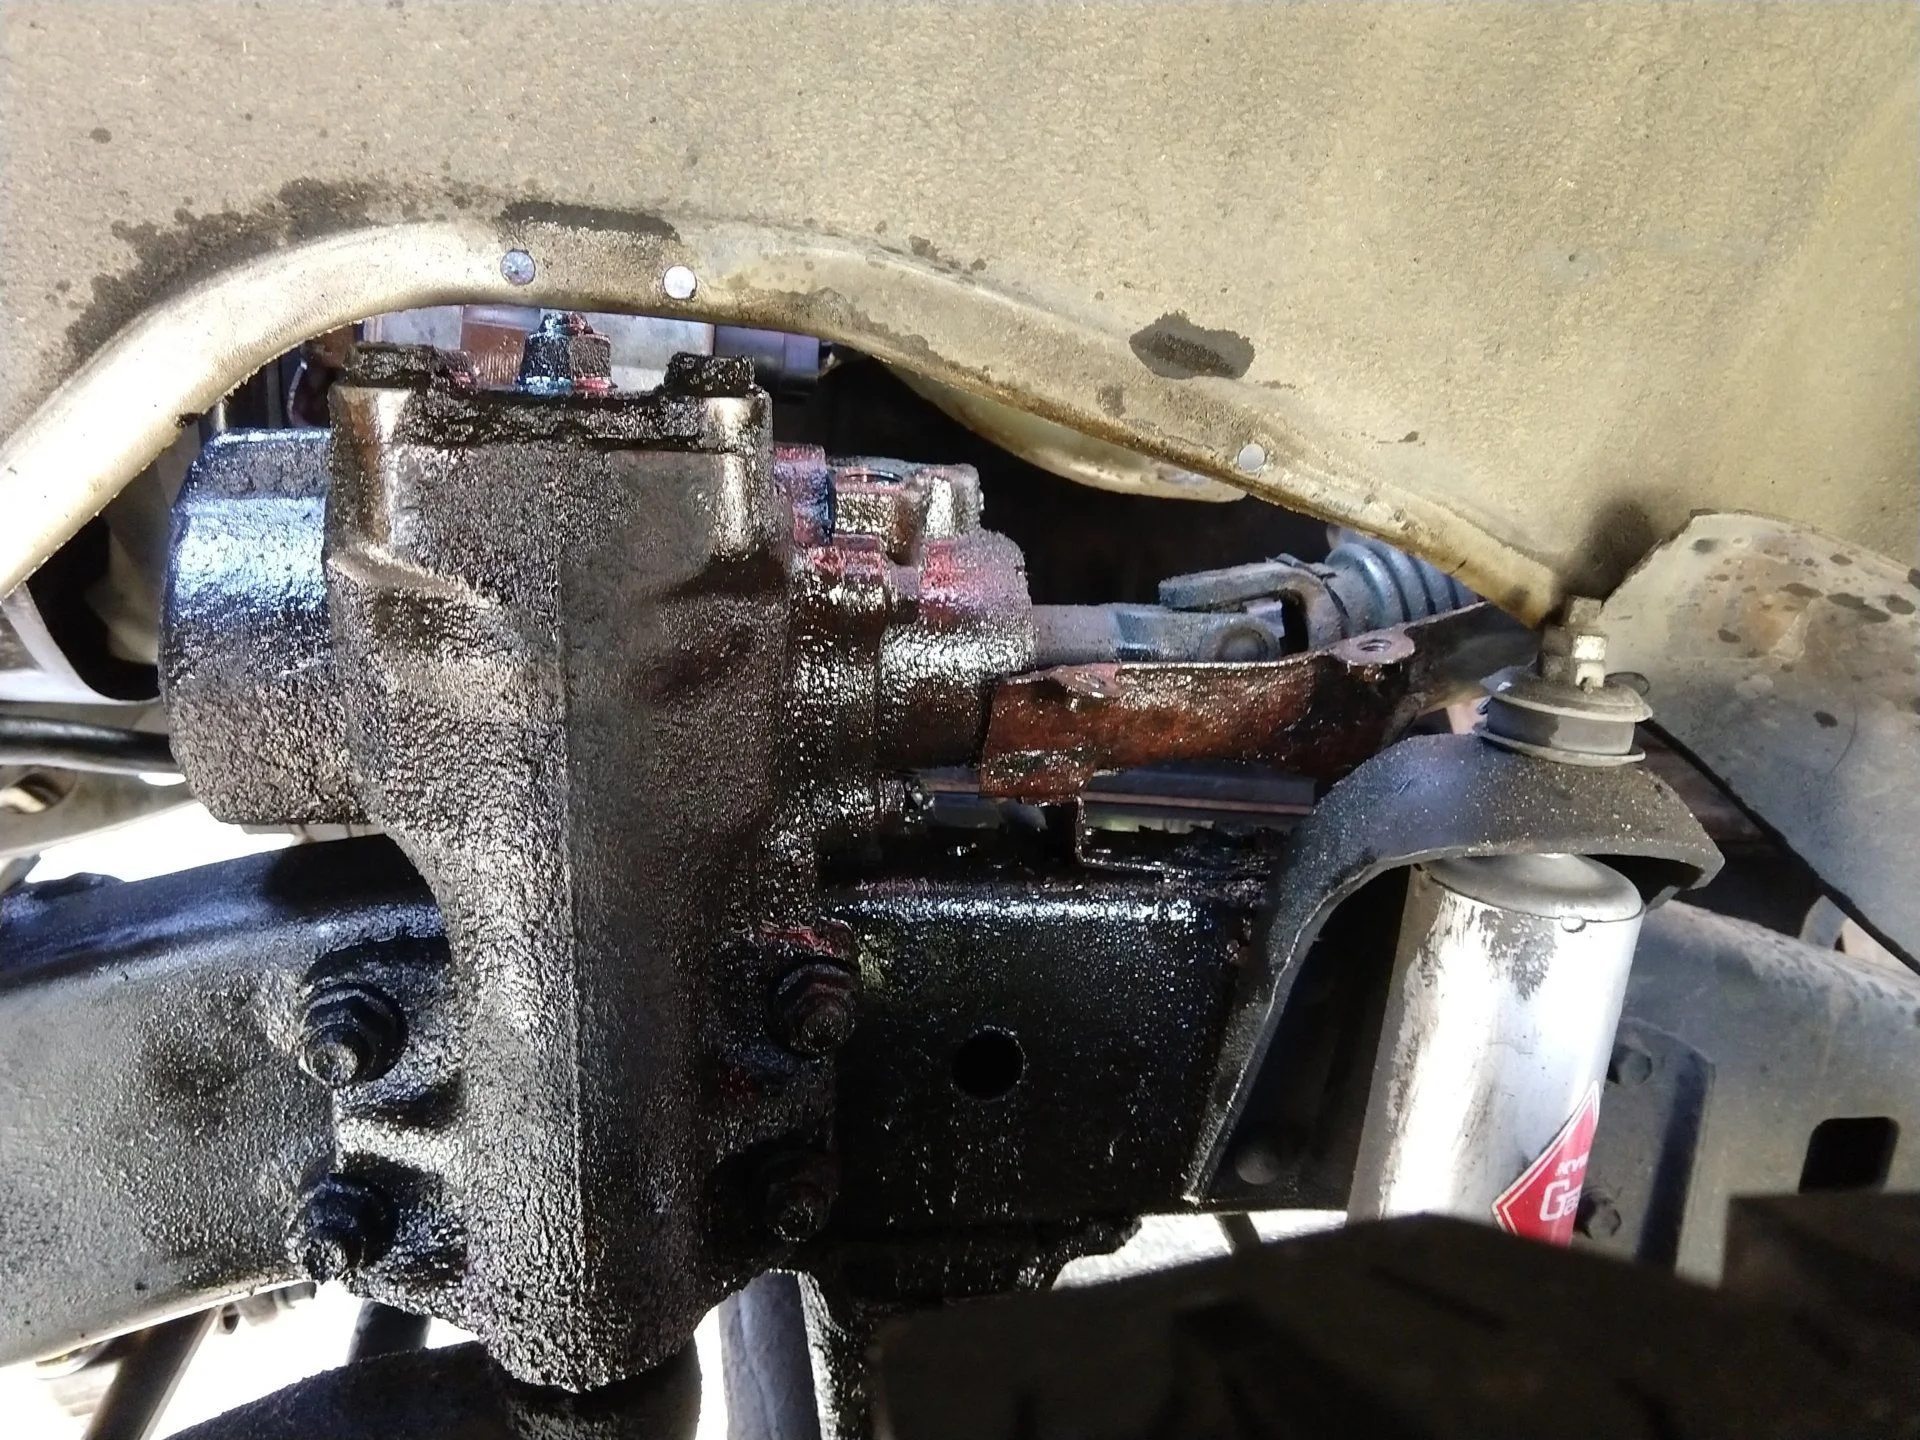
First, get the area ready for work. I was lazy, so I didn't initially take my DS tire off, but opted to just take off the inner fender apron. This gave me good access to the gearbox. It also made it a bit easier to get the High Pressure and Return Hoses off from the box.
- Thread starter
- #34
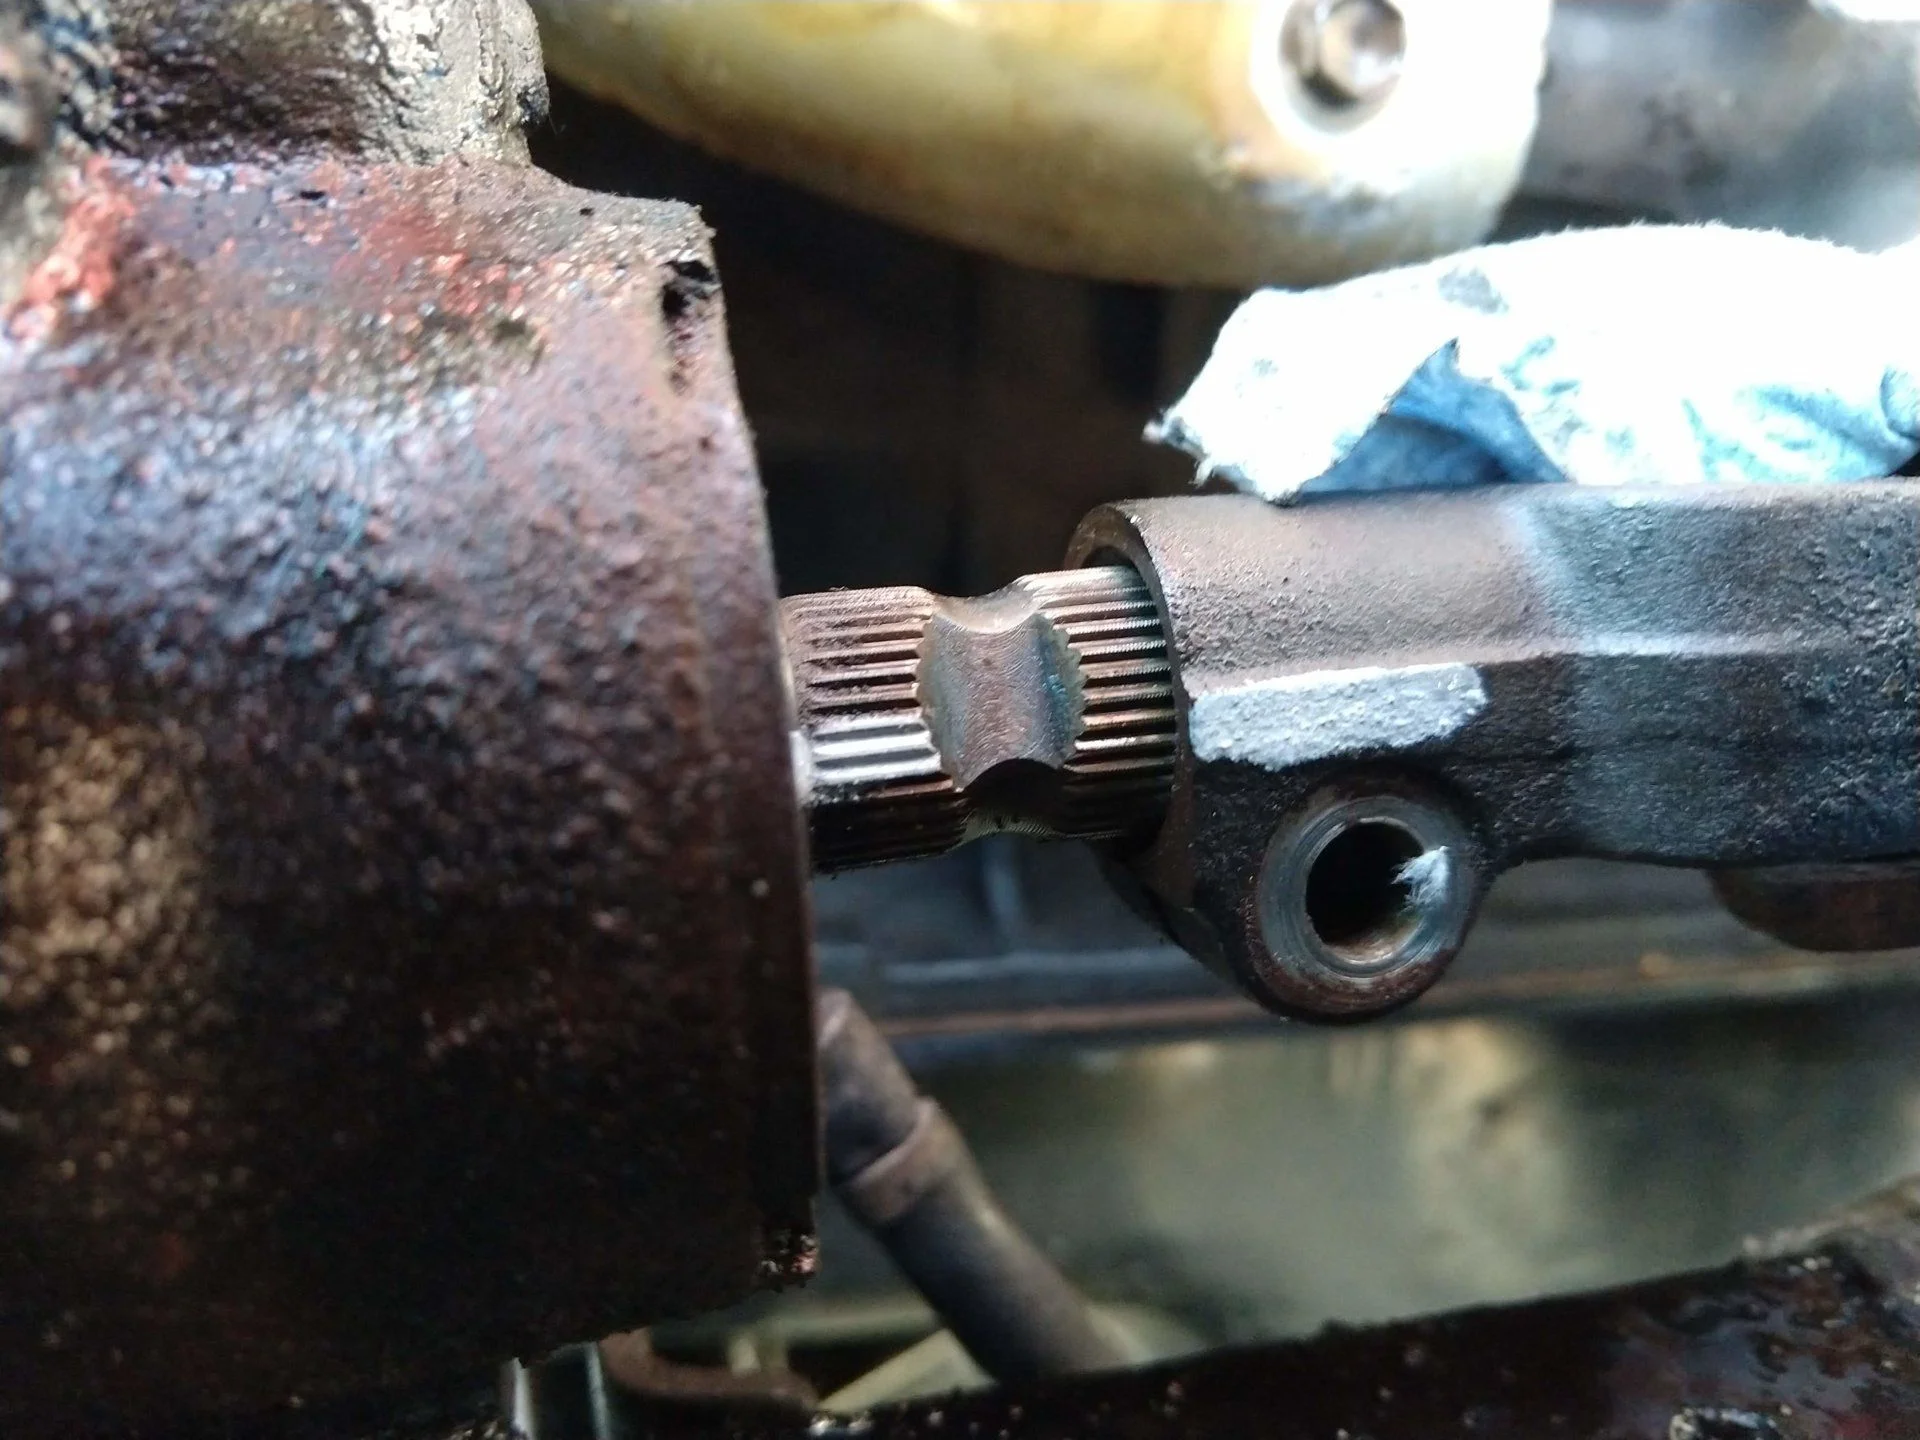
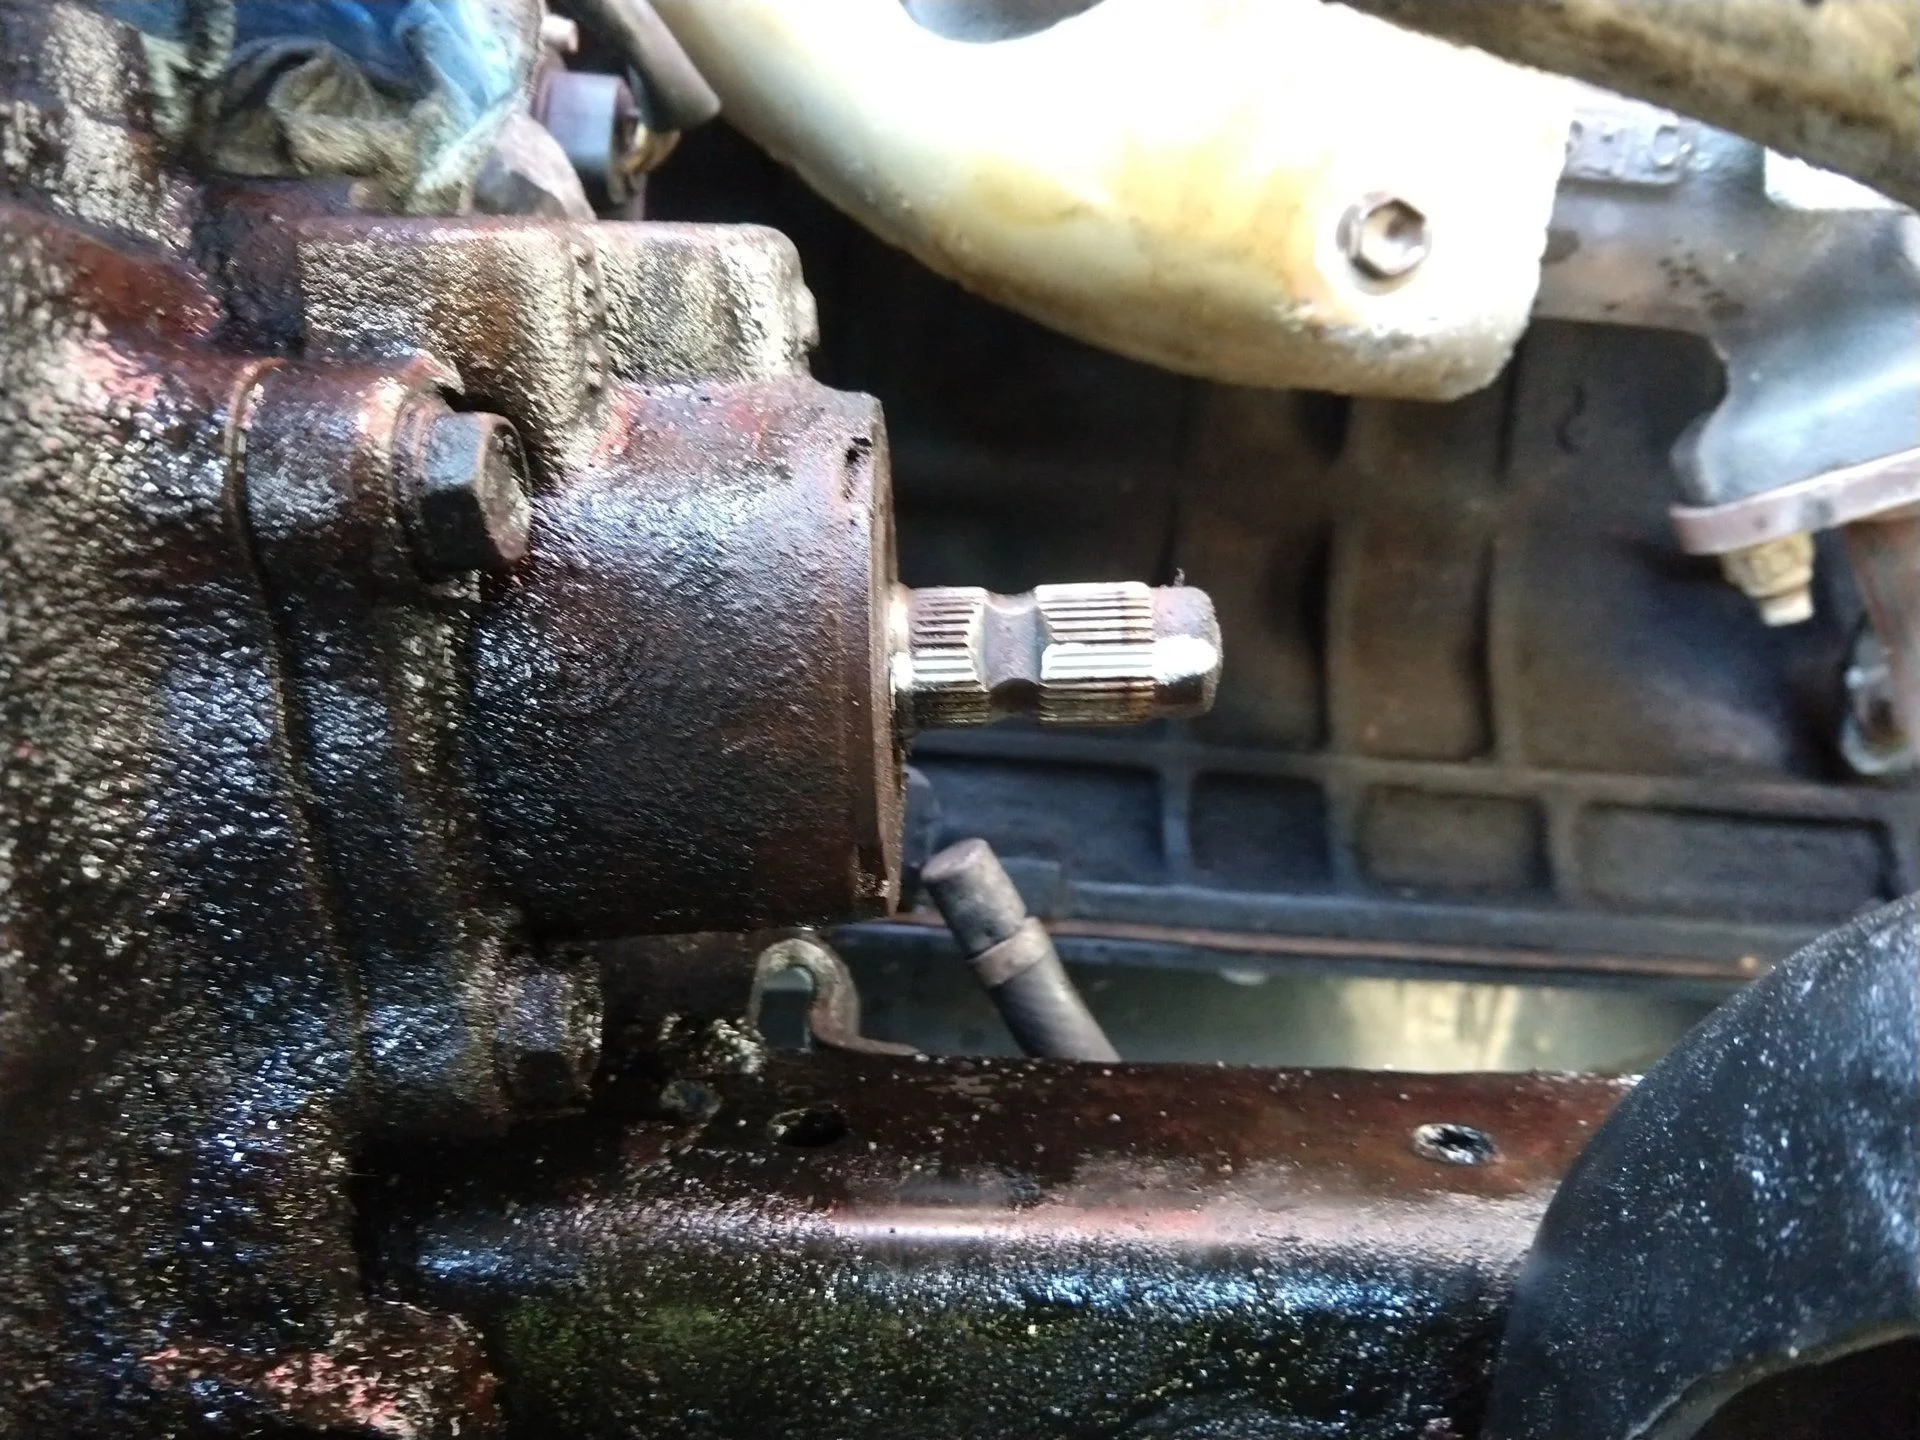
Next step was to get the protector of the intermediate steering shaft off. I had to blast this with some PB Blaster since it was so gross. There are three 12mm in total to get it off.
I also decided to mark the gear box worm, although I have read that this is not entirely important.
Also, I'd like to point out that I read through previous threads like this awesome one by @ufg8r Power Steering Gearbox Reseal
I also decided to mark the gear box worm, although I have read that this is not entirely important.
Also, I'd like to point out that I read through previous threads like this awesome one by @ufg8r Power Steering Gearbox Reseal
- Thread starter
- #35
I need a little bit of help at this point, so my son Coast stepped in for a moment, since I was having trouble getting the tie rod end to get loose from the pitman arm.

- Thread starter
- #36
I was not getting anywhere with the 17mm bolts holding the PS Gear Box onto the Chassis and could not fit my Makita Impact into the wheel well, so I decided to take off the wheel finally. This really opened things up.
It took some persuasion but the 4 bolts eventually came loose. In order to get them off you have to have a 17mm on the interior of the chassis.

It took some persuasion but the 4 bolts eventually came loose. In order to get them off you have to have a 17mm on the interior of the chassis.
- Thread starter
- #37
Next step was to pull the unit off the truck. Its damn heavy. Have a nice piece of cardboard ready to absorb the grossness.
Its sitting downstairs in my house right now. I bought a 32 mm socket today to get the pitman off ( although multiple people have said this is not necessary).
I am still curious what to do about the Spanner Wrench - is this really required to move forward in the rebuild? What have people used?
Power Steering Gearbox Reseal In this posting, he uses an Autocraft 2 3/5 Wheel Bearing tool, it looks like its about $22 + $10 for shipping + tax. Advance Auto Parts - Down for Maintenance
Anyone have a great spanner wrench they can recommend?
Definitely seeing how your gear box rebuild goes, I have to do the same thing. Keep up the great work!
I am still curious what to do about the Spanner Wrench - is this really required to move forward in the rebuild? What have people used?
Power Steering Gearbox Reseal In this posting, he uses an Autocraft 2 3/5 Wheel Bearing tool, it looks like its about $22 + $10 for shipping + tax. Advance Auto Parts - Down for Maintenance
Anyone have a great spanner wrench they can recommend?
If you have to buy a tool for this I wouldn't necessarily recommend buying that tool. I already had it on hand so made it work. If I hadn't had it already I would have searched out and bought a spanner. Good luck with the reseal, mines still going strong.
Hi, Nice work, great American made tools can be picked up cheap at estate sales. A large vise also is Very helpful. Mike