Incredibly grateful for Mark being willing to take this special project on!
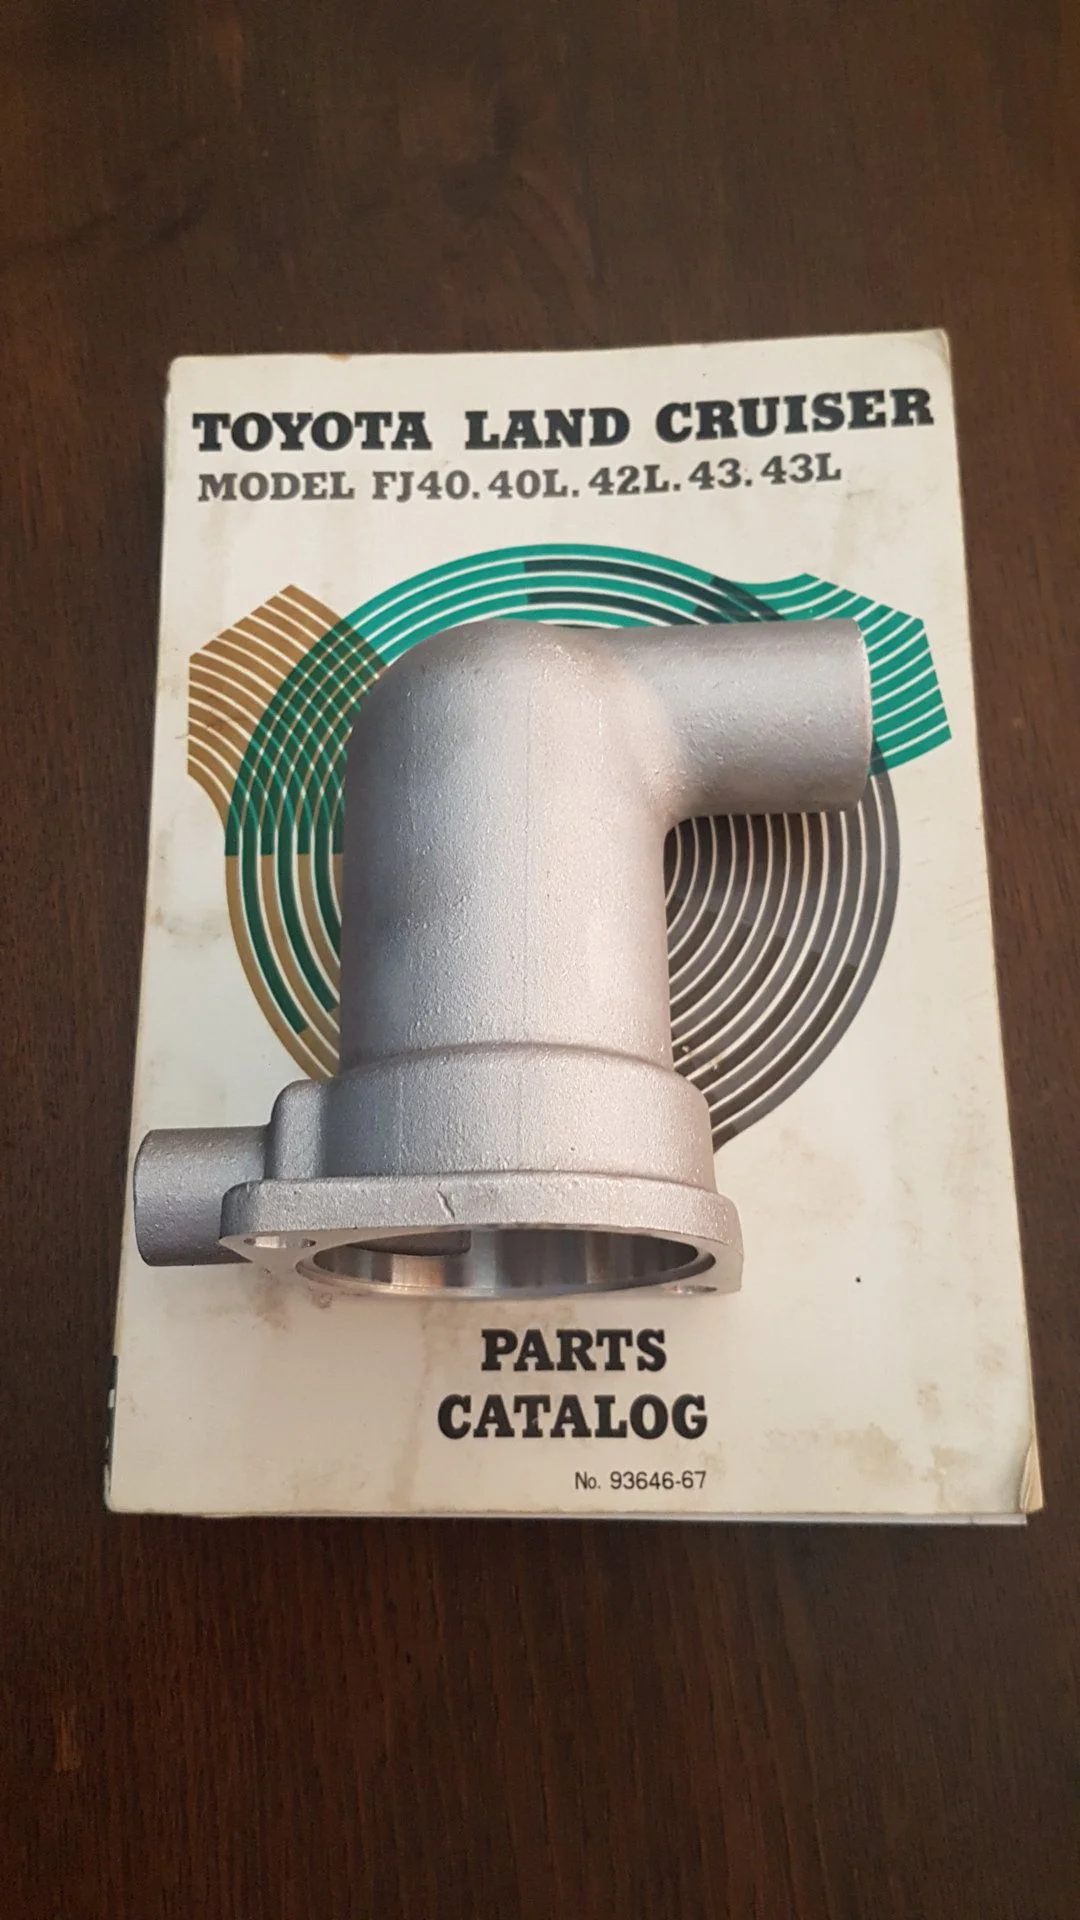
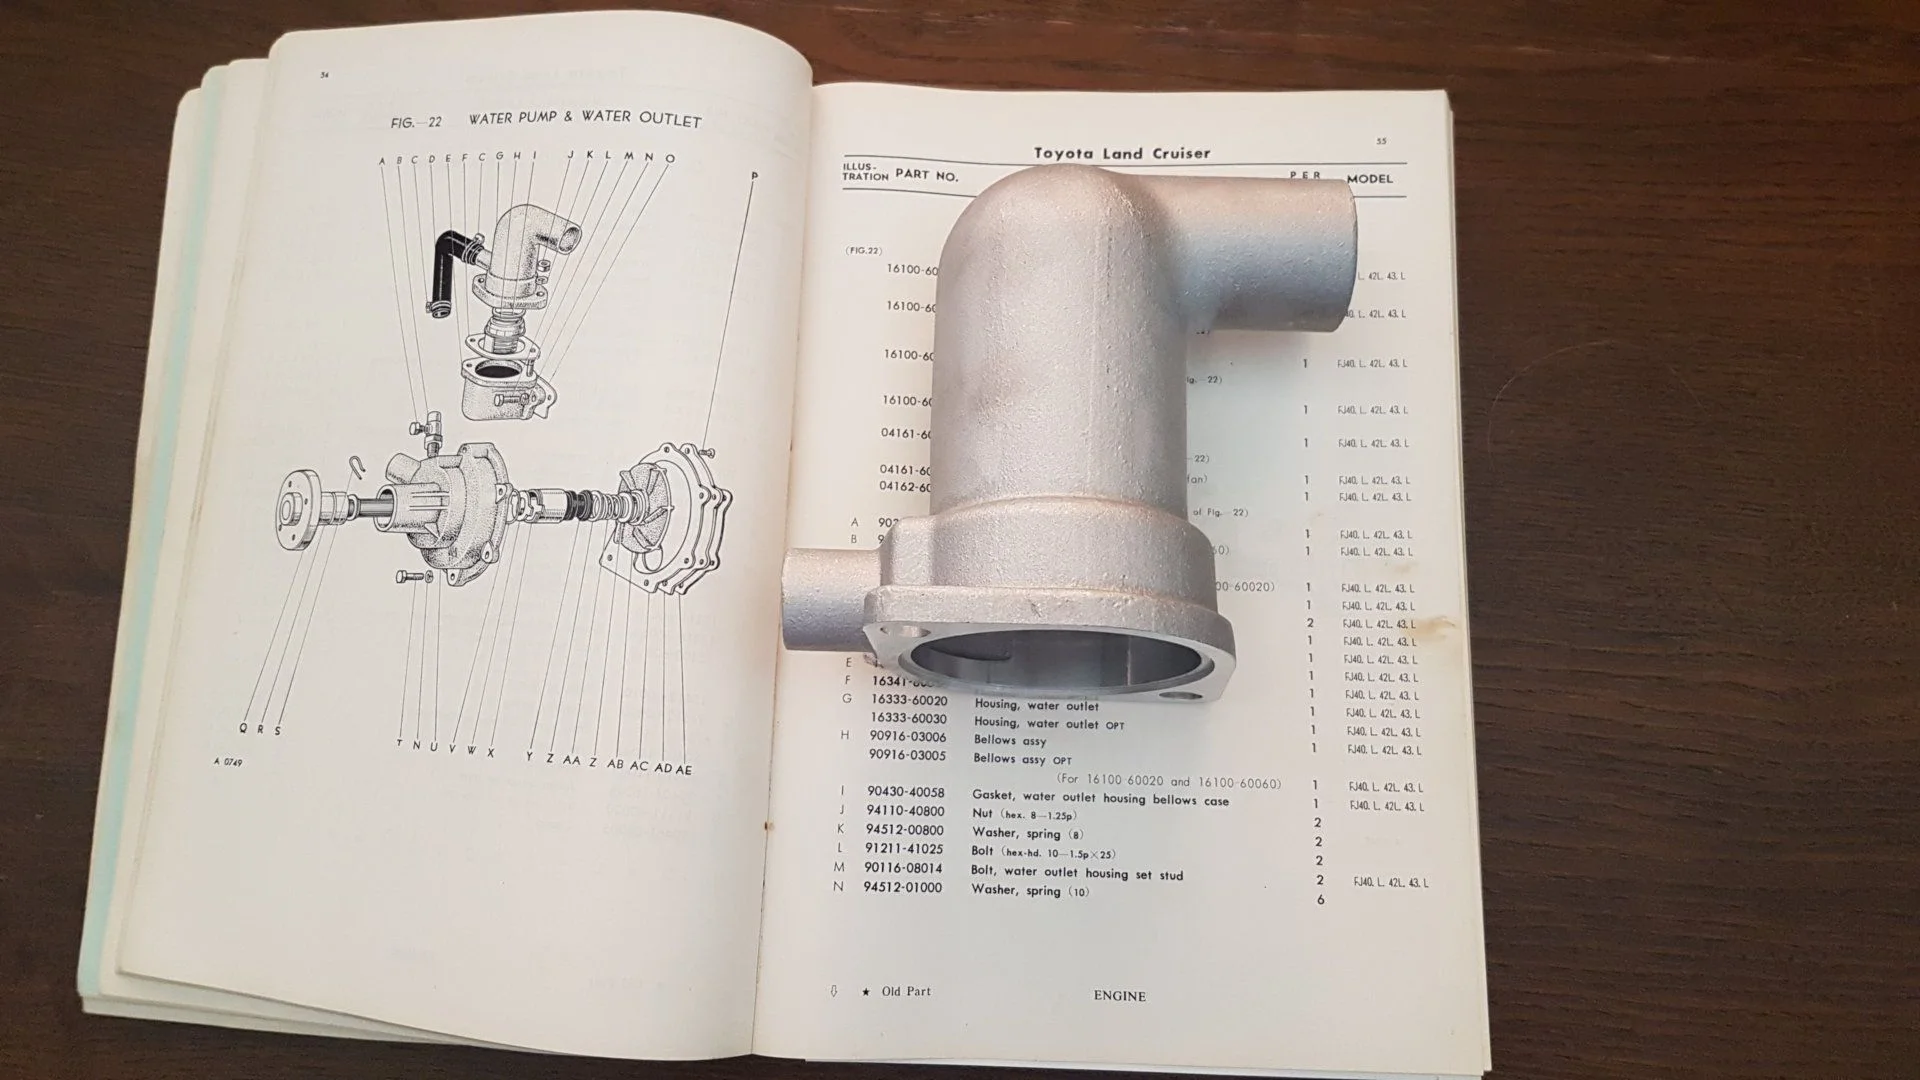
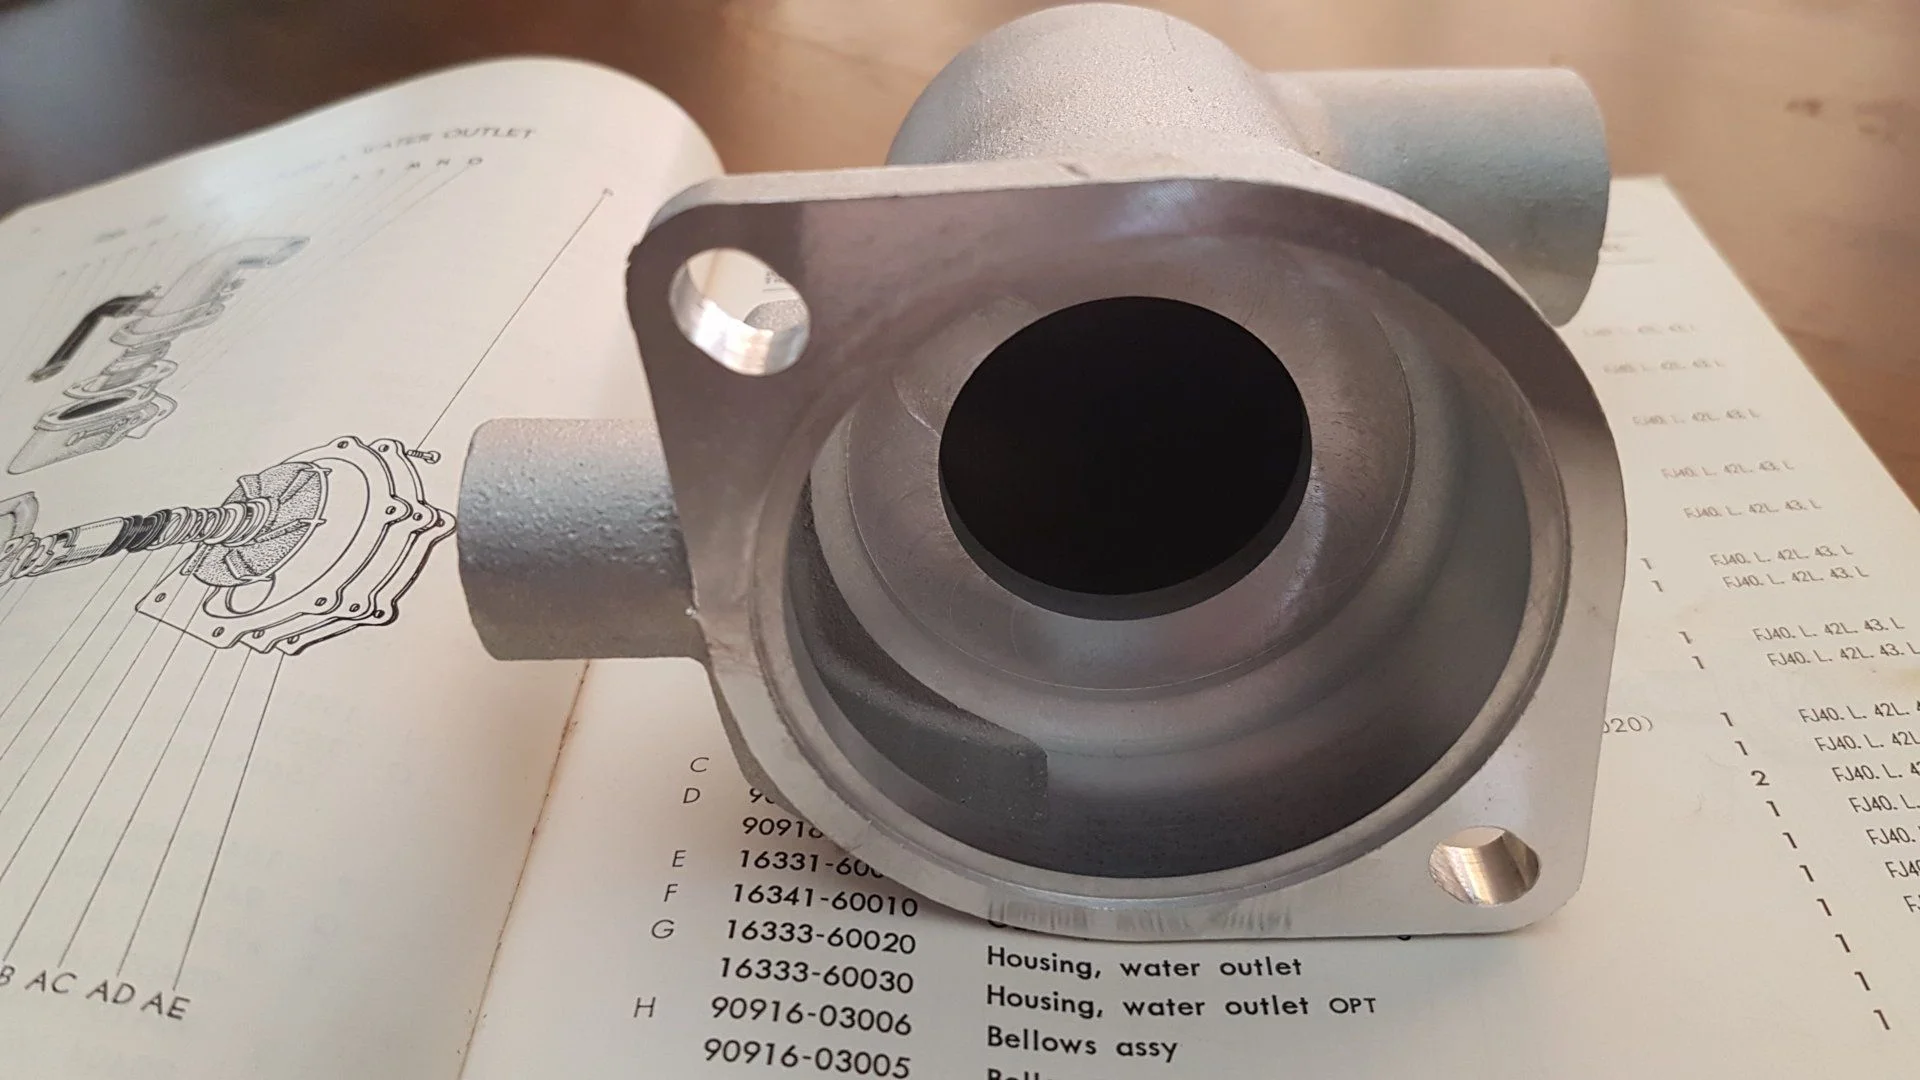
@Cruiserhiggs is working on the engine now with one of the local machine shops - we are looking for information on the F135 to try to get the motor rebuilt, get parts etc. I have a scanned in version of the FJ25 motor repair manual that has a lot of the info but does anyone know if this is for the F135 or the F120? Want to make sure we are looking at the correct information. Here’s a link to the manual we are looking at
kids and I are on another long summer camping trip, but the body guy just bought a new Pullmax for this project so I’m hoping that starts to move along better. He has his own shop but had planned to use the machine at his employer on nights / weekends but his boss put the kibosh on that so we have been looking for a machine for his home shop and it arrived yesterday. I’m generally an optimist at heart but this project is slowly turning me into a realist (which is what most pessimists call themselves!). I know it’ll get done because I won’t let it stall but I’ve realized I have to just relax and let it move at it’s own pace.
let me know if anyone can confirm that manual’s engine type, or if anyone has any more F135 info anywhere.


 wasn’t cheap but nobody in the US wanted to touch them.