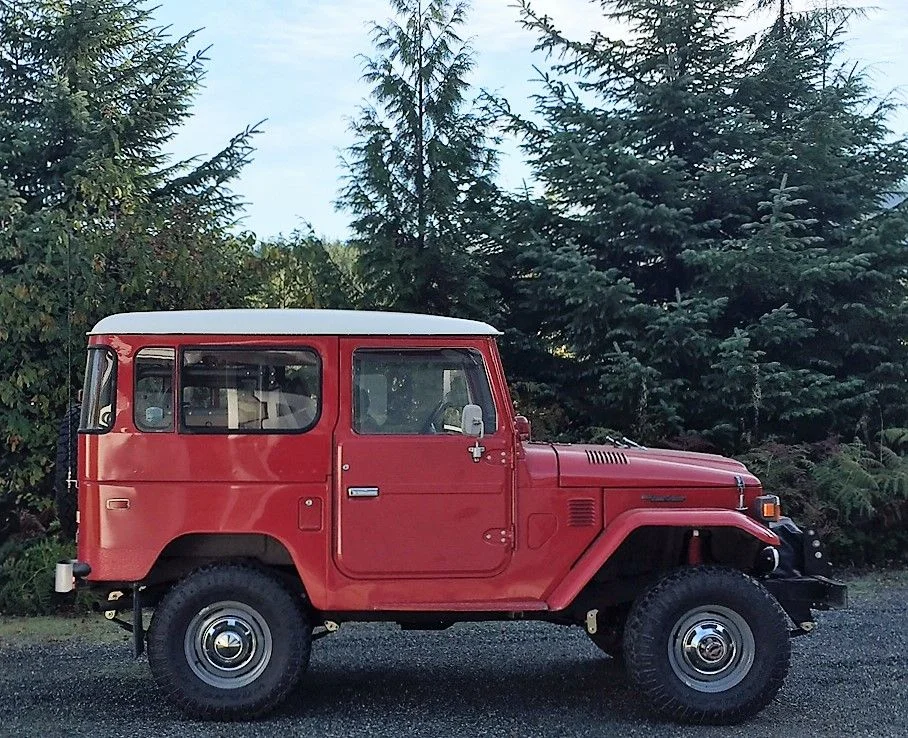
Mike's 1978 FJ40 Build (1 Viewer)

This site may earn a commission from merchant affiliate
links, including eBay, Amazon, Skimlinks, and others.

78fj40mg

TLCA #23510
Joined
Sep 13, 2008
Threads
65
Messages
4,063
Location
PNW, WA.
Website
forum.ih8mud.com
Last edited:
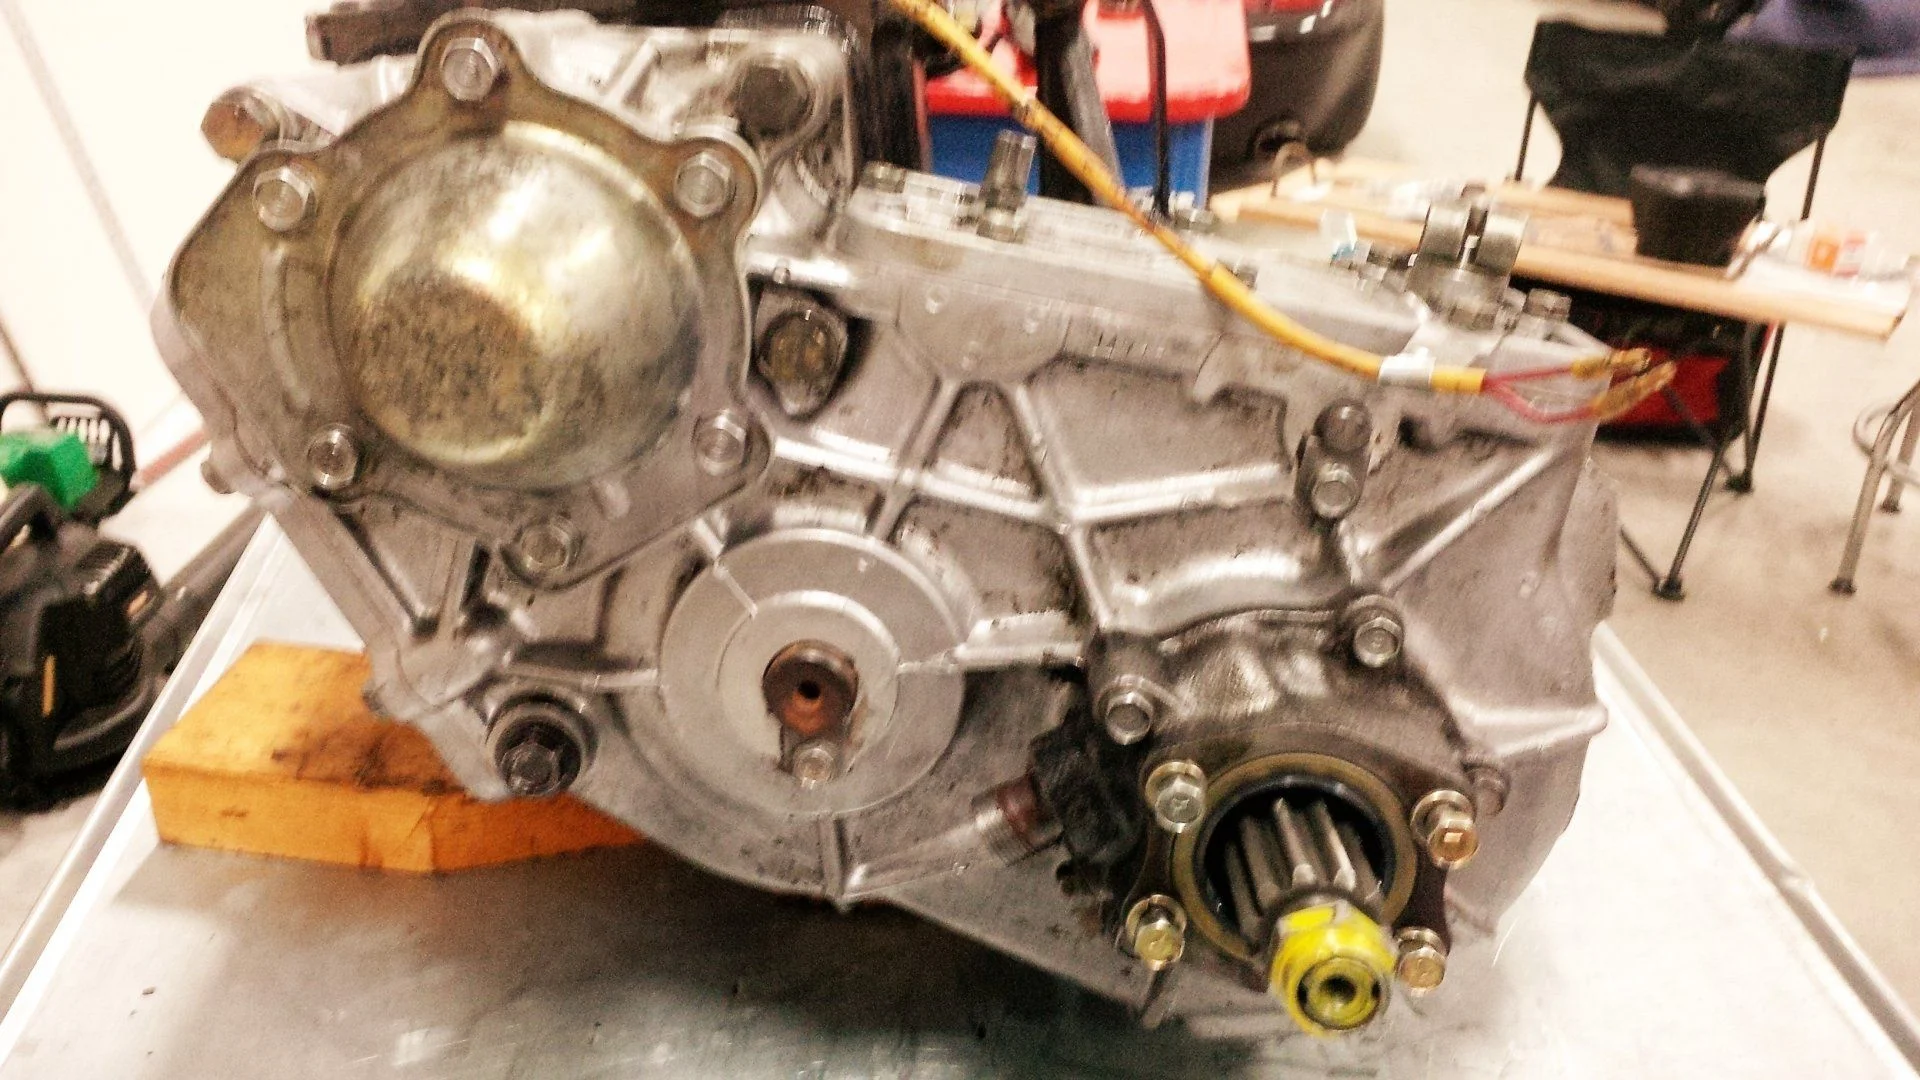
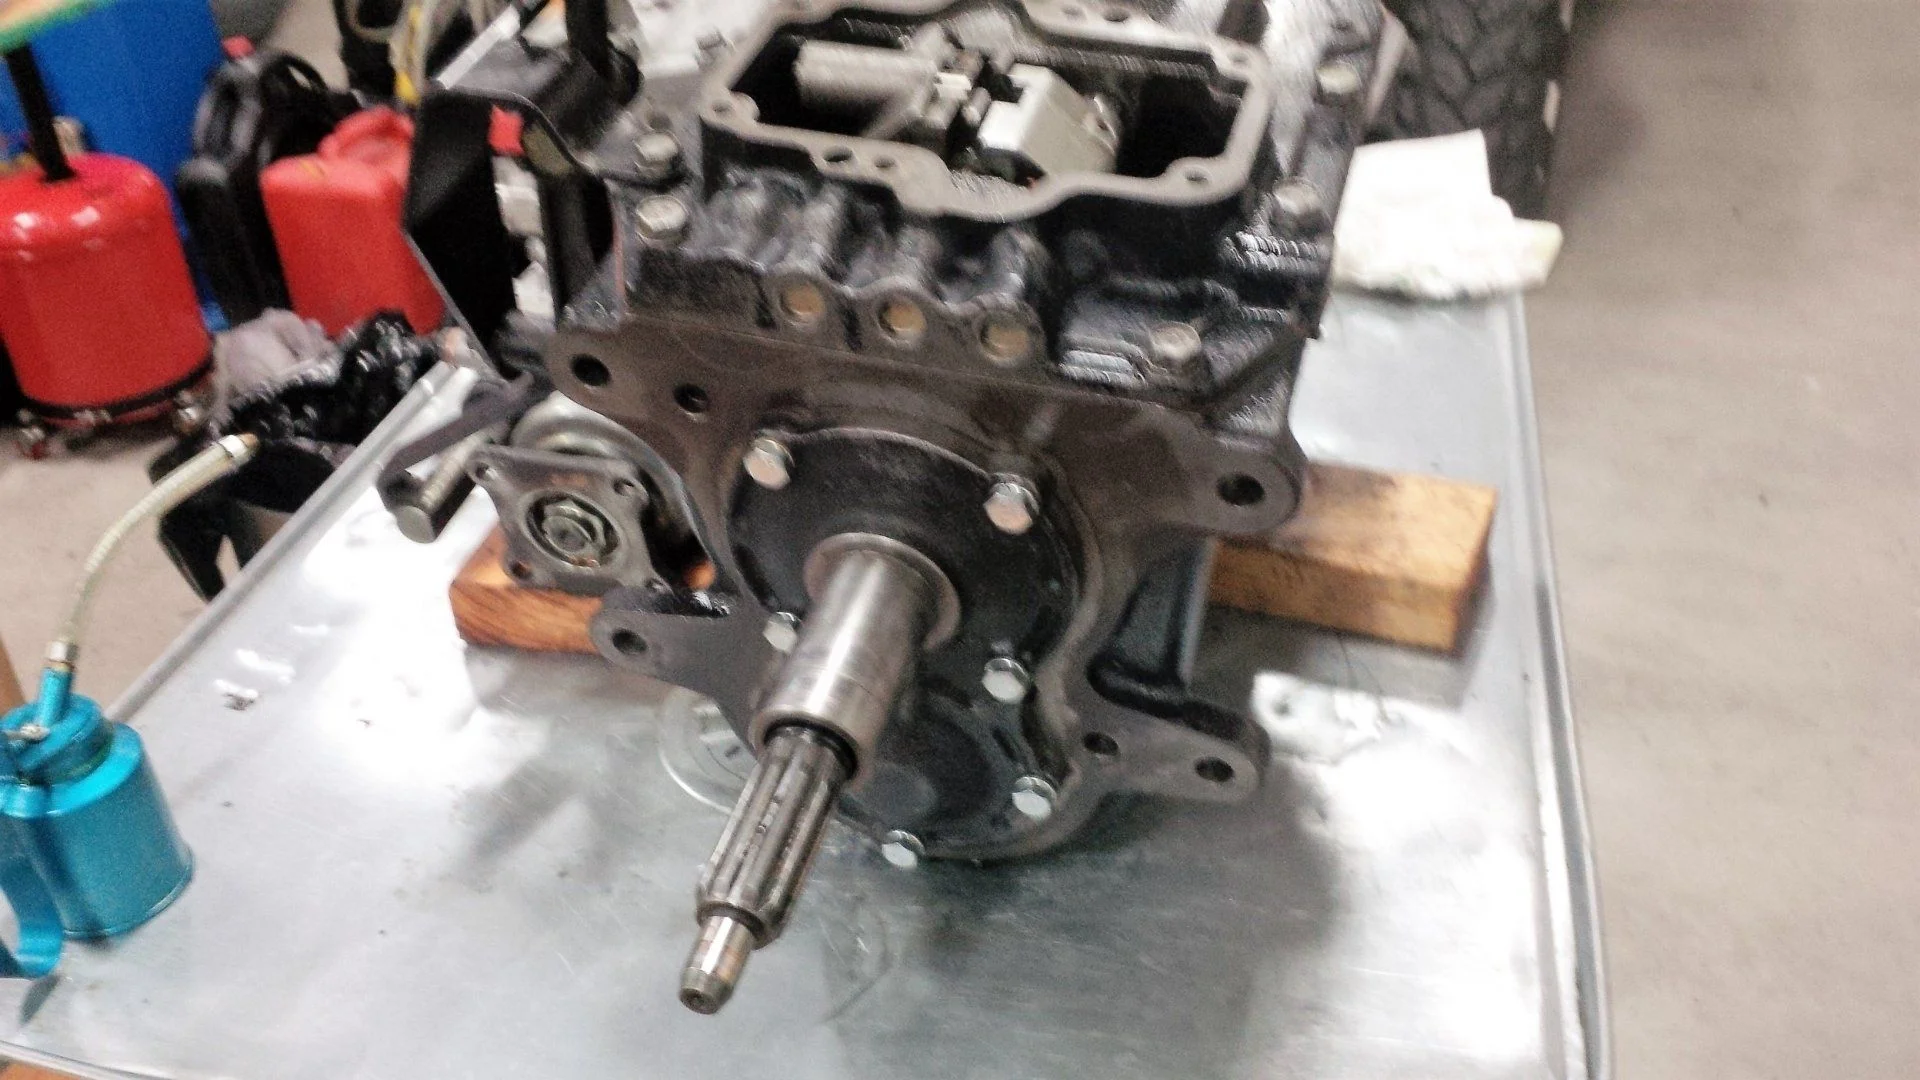
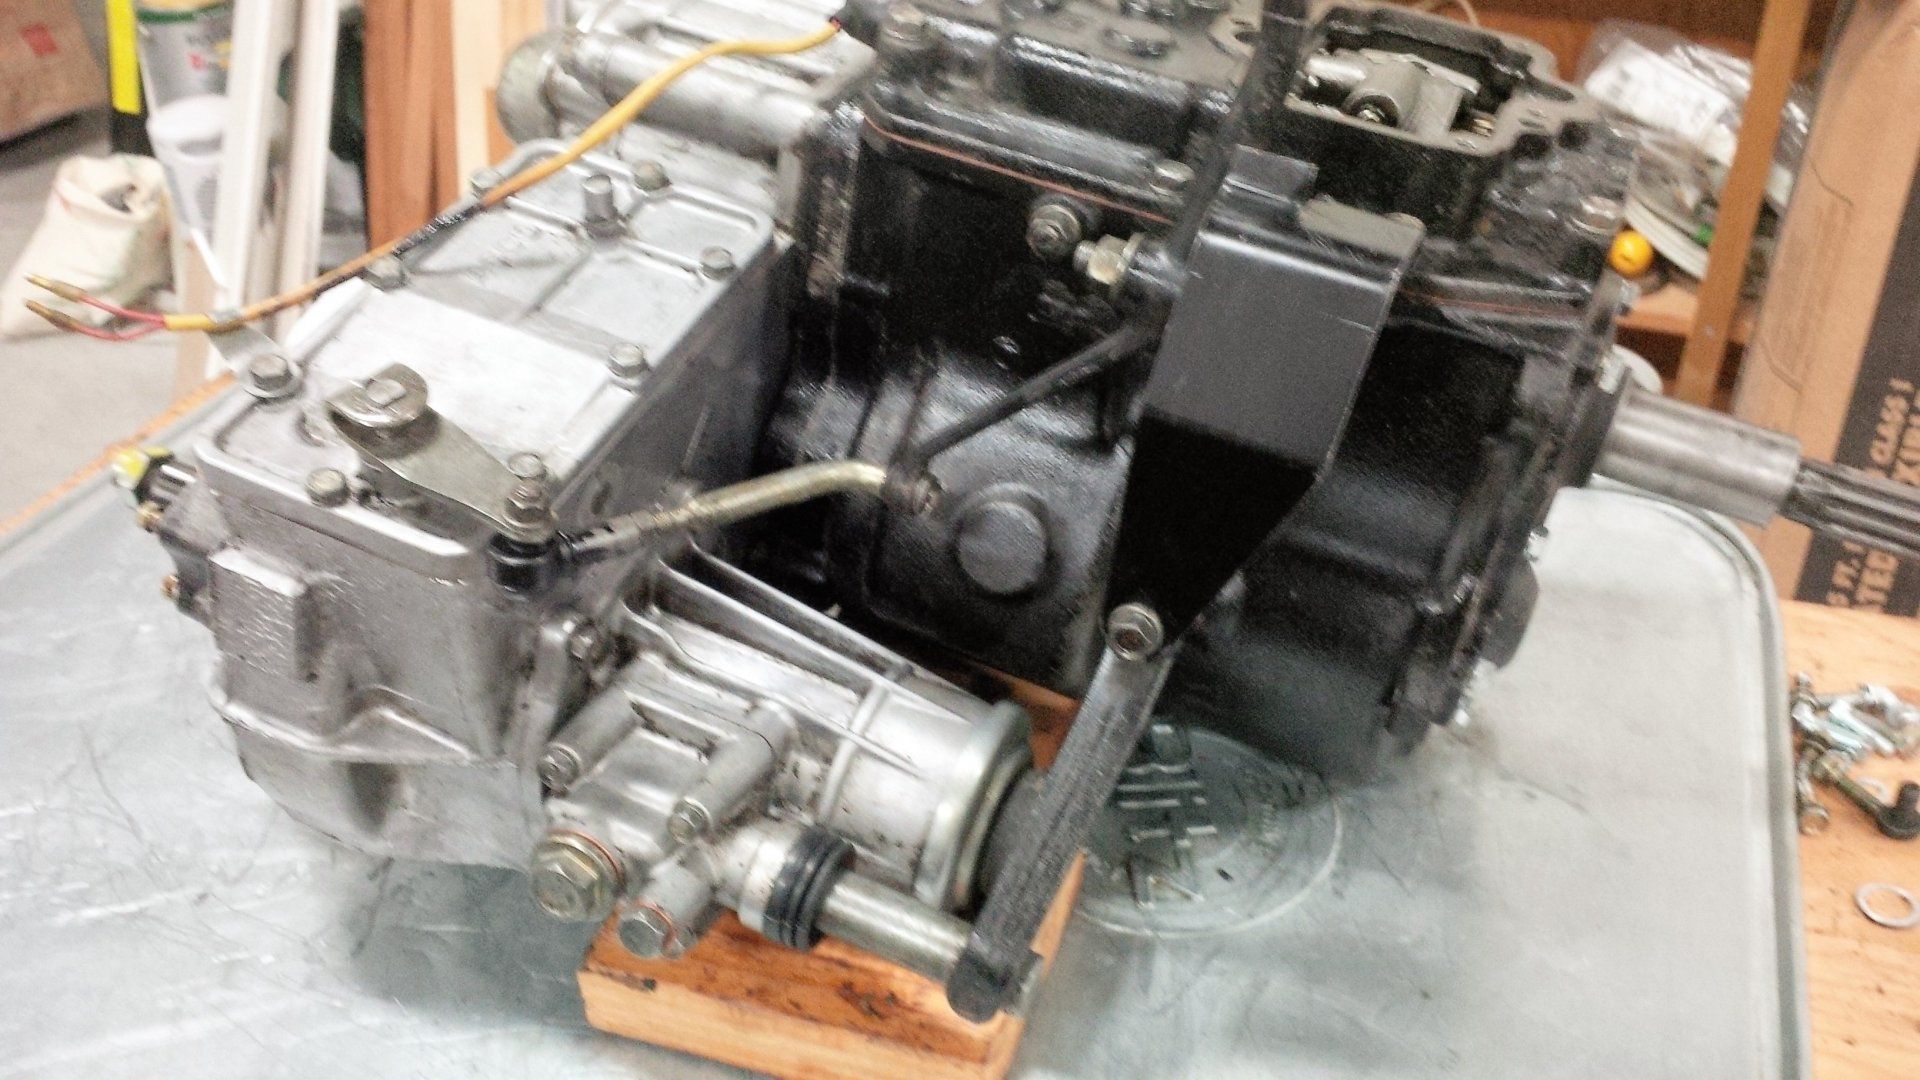
With the 2F RMS, FMS leaking it was time to re-seal the 2F engine, transmission, and transfer case on my 1978 FJ40. I removed the tranny and TC and began with the cleaning process, once all cleaned up I started the breakdown and removal of the old and crusty gaskets and seals. Unfortunately I did not document the transmission and TC re-seal but was straight forward and without any glitches. While in-there I decided to do a clutch replacement as well, which will included: disk, pressure plate, pilot bearing and resurfacing of the flywheel.

Here are some pics:
full


IMG_20140511_122532_zpsfb049f5c.jpg


IMG_20140720_114532_zpsf2cf200c.jpg


Re-sealed
IMG_20140720_114513_zpsba5a30c8.jpg
 
Last edited:
full


full


New plunger boot
full


New seal
IMG_20140720_114947_zps261e4b9b.jpg


Oil pan removed
full


IMG_20140718_174601_zps3af4e645.jpg


Oil pan ready to be cleaned
28516-1416160734-3ec30139f5e7e42f00116abd22bc3de7.jpg


Installed new RMS and pilot bearing, used the bread method to remove old and seized pilot bearing.
IMG_20140718_173411_zpse95e8d1f.jpg


IMG_20140718_173357_zps52556ced.jpg


Last night I removed the radiator and water pump

IMG_20140720_114630_zps86bf8887.jpg
 
Last edited:
Today taking more pictures:

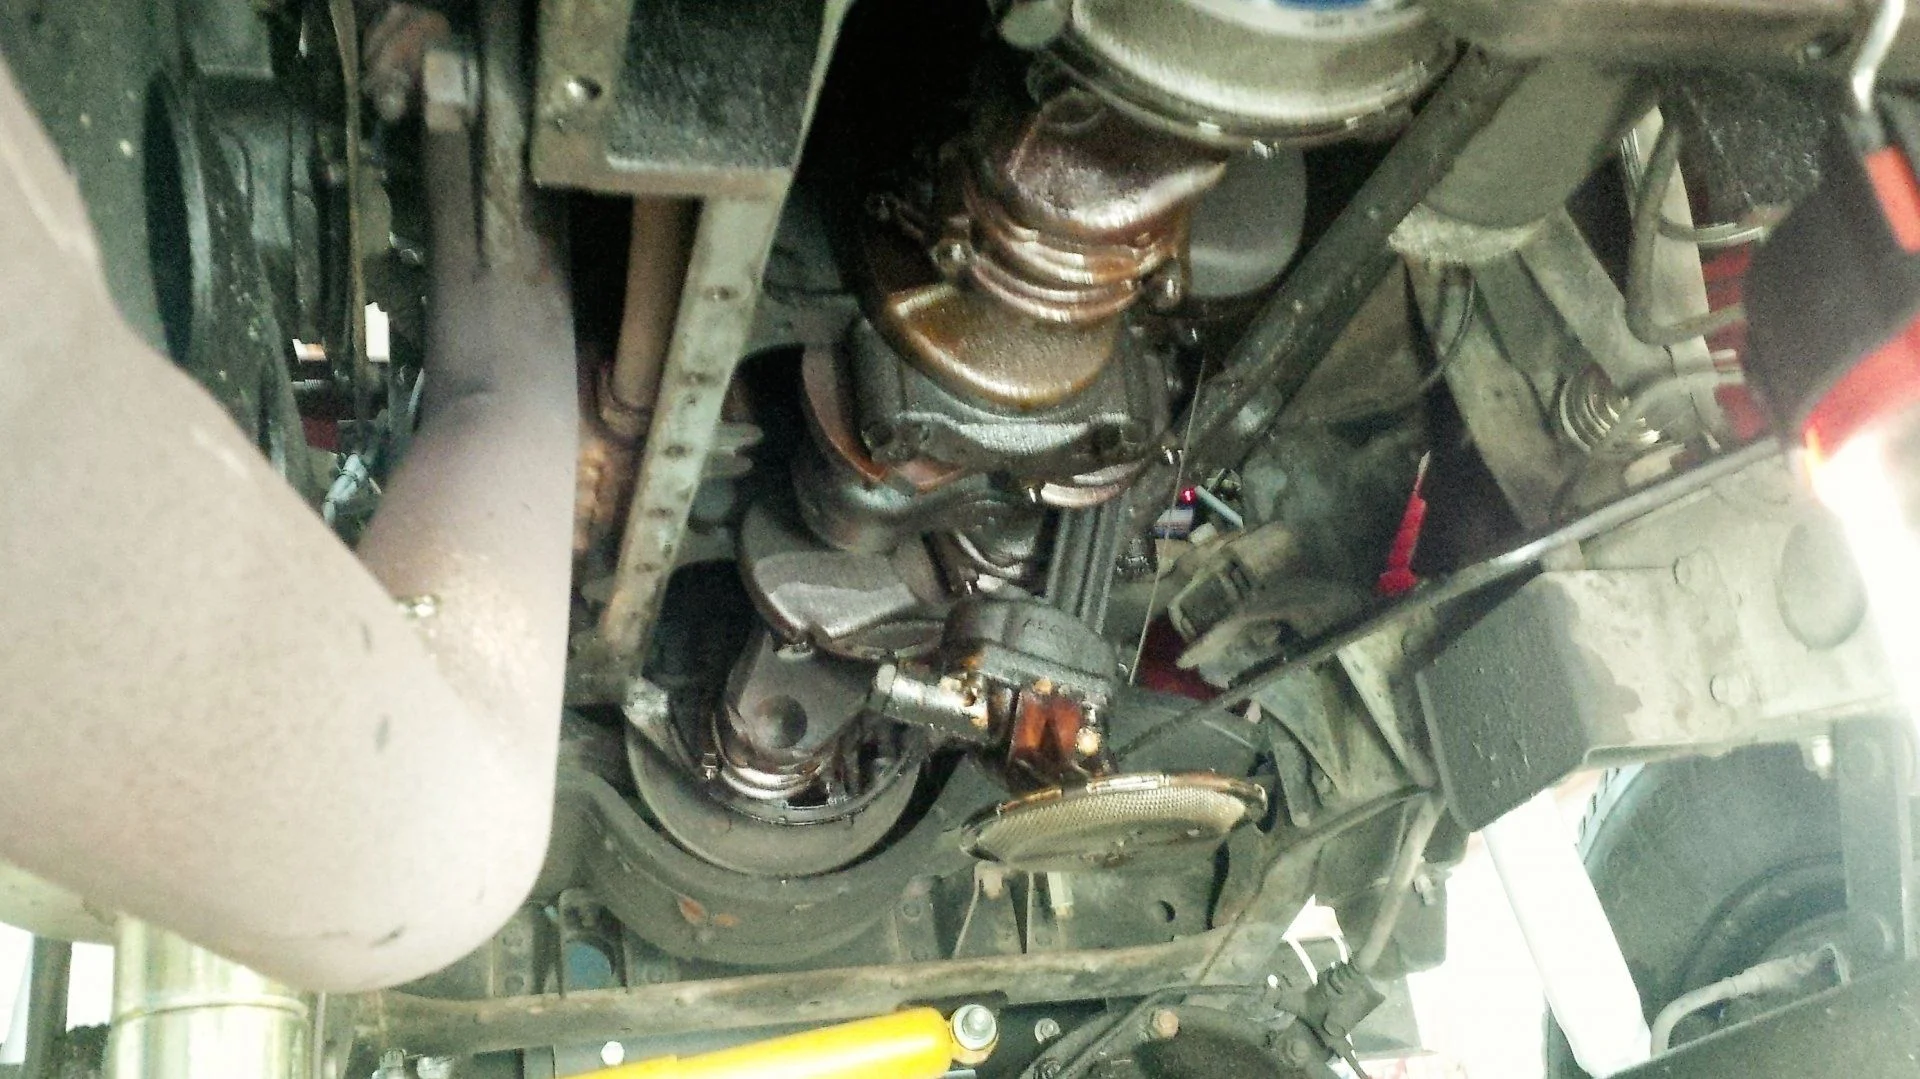
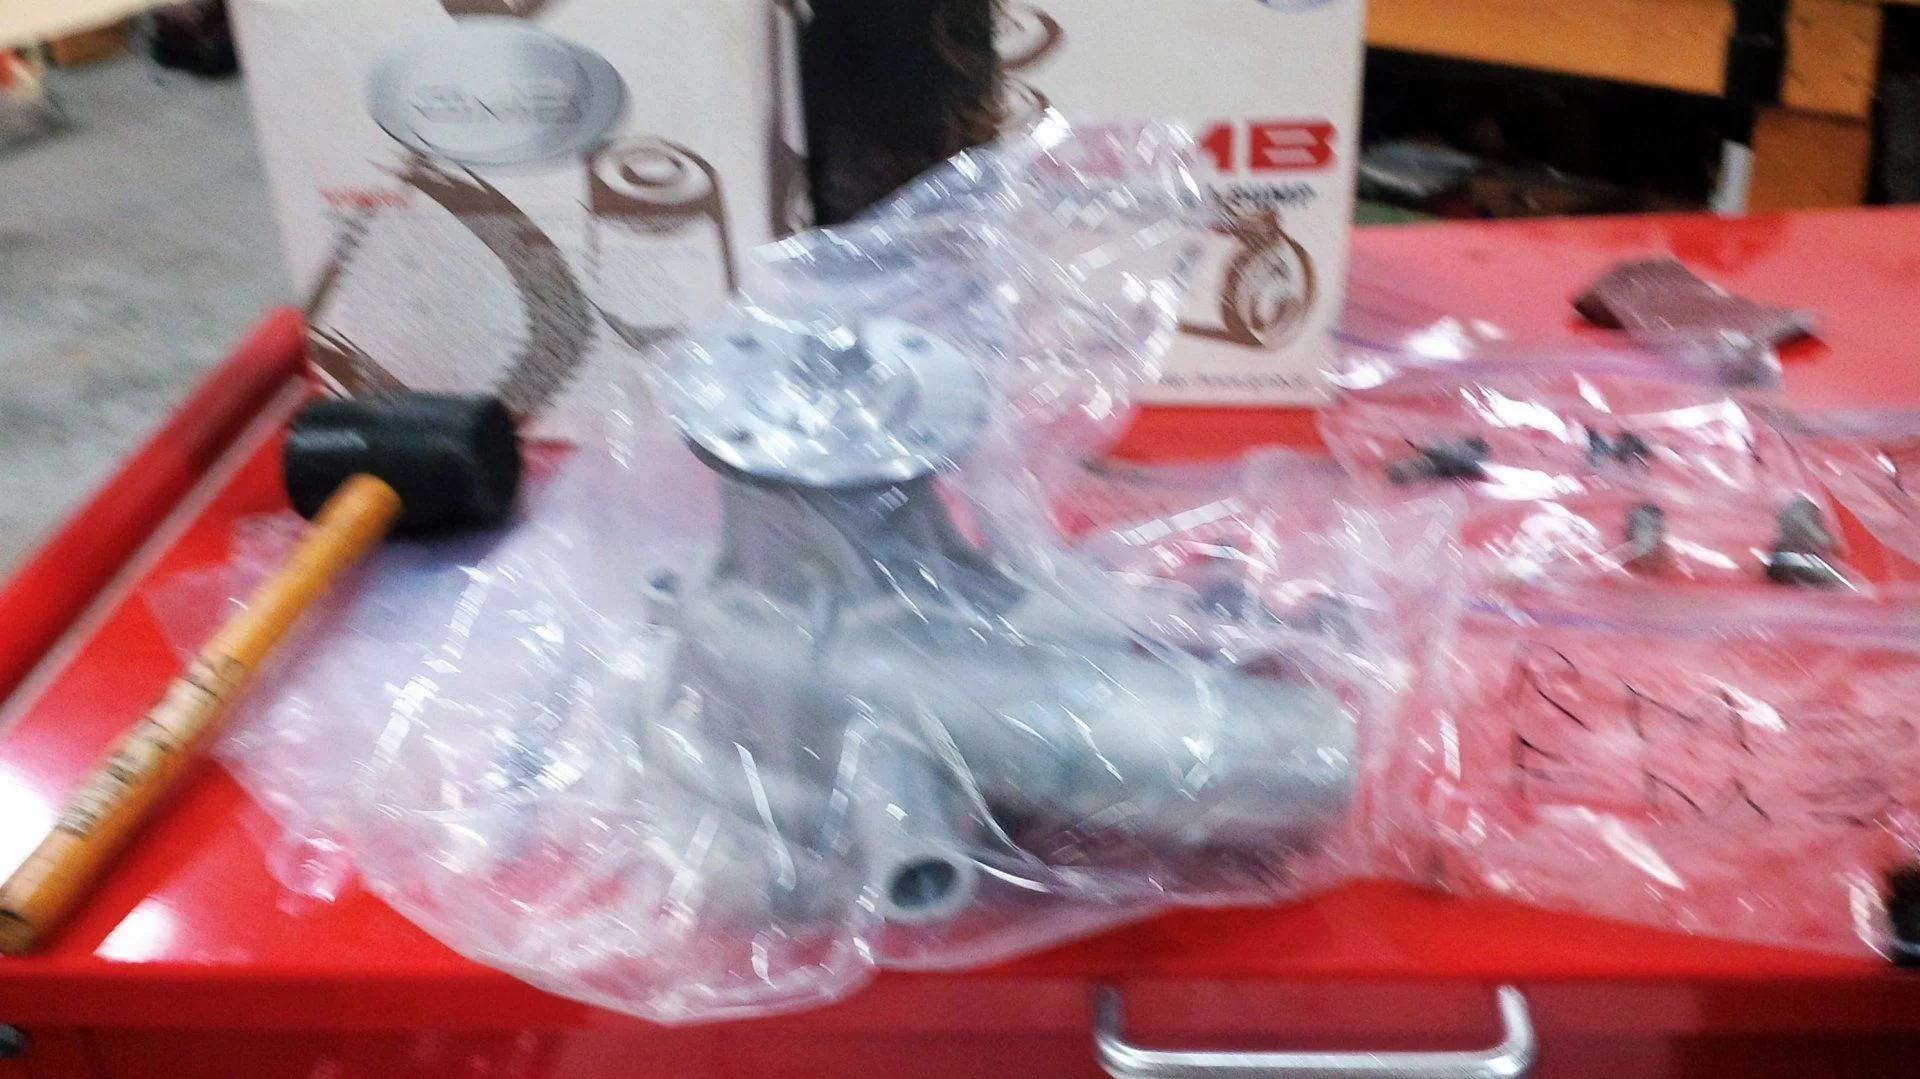
Timing cover is covered with old oil turned to grease what a mess, this are will be cleaned and fitted with seals, gaskets and new water pump, the old pump wasn't that old but didn't like the sound it was making, maybe a bad bearing. I've got two brand new water pumps from my previous TLC which was another red one a 1978 as well.

New water pump
full


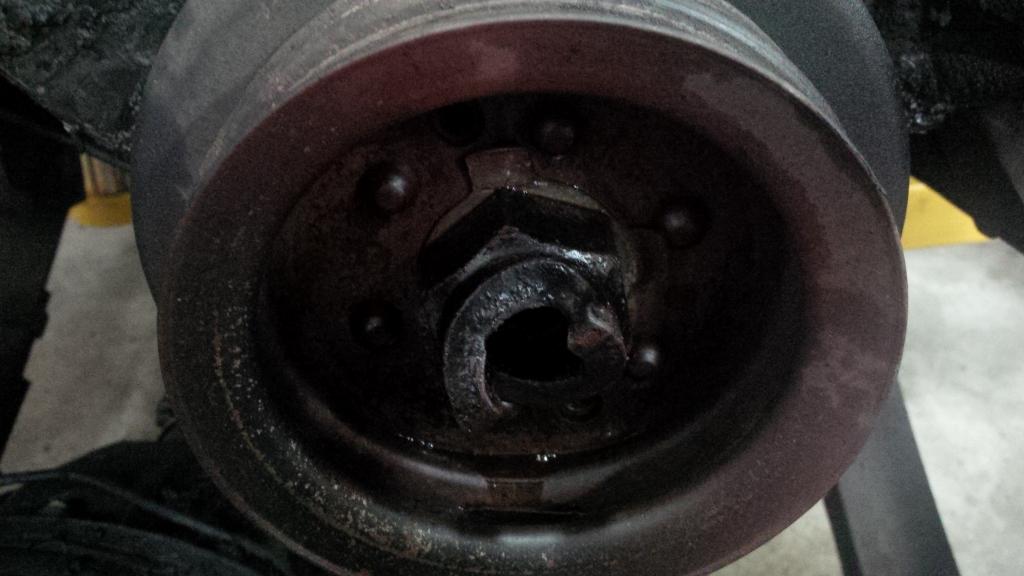
Timing cover and crank pulley
IMG_20140720_114739_zps992874d1.jpg


I'm having an issue trying to remove the crank pulley, any ideas as to the size socket I will need and any tricks for removing it?
 
Last edited:
Here's how I loosened the nut on the crank pulley. (I don't remember the size of the nut holding the crank pulley, or the pounds of torque that hold the nut in place, but it will be tight)

First I removed the radiator and all items that would be in the way of access to the crank pulley. The socket I used was a 3/4" drive. I found a pipe that would slip over the handle of the 3/4" breaker bar and was long enough to have the end rest on the frame while the socket is in place on the crank nut. If my feeble memory is working right (been several years ago that I did this), when standing looking at the front of the motor the end of the breaker bar/pipe will need to rest on the passenger side frame rail. Use tape, string, whatever, to make sure the socket and breaker bar will stay on the nut on the end of the crank.

Next, remove the coil to distributor wire. You DO NOT want the motor to fire and start running. Also, you DO NOT want to be standing anywhere near the front of the motor now. Using the starter, very quickly engage the starter and let it disengage as fast as possible. The strength and gearing of the starter will use whatever looseness/slack there is in the socket/breaker bar and the pipe extension against the frame rail just like an impact hammer and will loosen the crank nut.

Don
 
that seams like alot of work, if it were me i would have at least put new bearings in that Tcase, and plastic gauge main and rod bearings,


as far as the crank nut, its a 46 mm nut, and a proper impact will take it right off
 
Last edited:
I got the flywheel back from the machine shop ($40 at NAPA) and it looks good, here's a pic:

IMG_20140724_205733_zps39d65ad5.jpg
 
Last edited:
I've been soaking the crank pulley nut with WD40 for a week now while waiting for the 46 mm socket to arrive, it will be here on Monday.
Hopefully the nut extraction will be easy, we'll see on Monday. I'll be using one of two impact wrenches that I have, NOT HF brand.

IMG_20140726_105344_zpsa5921925.jpg


This is the socket I purchased on eBay, it was not expensive but hopefully will do the job.

$_35.JPG
http://www.ebay.com/itm/331242289781?ssPageName=STRK:MEWNX:IT&_trksid=p3984.m1439.l2649
 
Last edited:
I hope you just forgot to mention throw-out bearing

Pete, I got a complete kit throwout bearing, pilot bearing, clutch plate and pressure plate. New pilot bearing already installed:

IMG_20140718_173411_zpse95e8d1f.jpg
 
Yesterday I spent most of the day cleaning the oil pan, it was so ugly with leaking oil turned into muck that it clogged my parts washer. This what it looks like now:

IMG_20140726_105234_zpsa6387844.jpg


Next step after sanding it is to paint it with high temp engine paint.
 
IIRC, the breaker bar should rest atop the drivers side frame rail for a LHD rig...
 
Nice thread, I also have a red '78 and clutch is good but would like to do it my self when the time comes..............nice work!!!:clap:
 
IIRC, the breaker bar should rest atop the drivers side frame rail for a LHD rig...

Thanks! If the impact wrench fails to remove the nut then I'll be using a 3/4" drive breaker bar and hopefully it will do the trick.
 
Nice thread, I also have a red '78 and clutch is good but would like to do it my self when the time comes..............nice work!!!:clap:

Thanks for the kind words! It's rewarding doing your own work, however, with some heavy parts like the tranny/TC removal was a pain since I do not have anyone to lend me a hand but managed so far thanks to the tranny jack. Getting the tranny/TC of the jack and on to a work table I used my two post lift to lower it down, there were many steps involved in moving everything safely to a work table.
 
I received the 46 mm socket today and got right to removing the crank pulley. I first used a ti-down strap and wrapped it around the pulley many times and then around the frame, I used my impact wrench and the nut came right off with no issues.

IMG_20140728_154203_zps3799e2d2.jpg


Then I used my home made puller to remove the pulley and it popped right off.

IMG_20140728_160133_zps7a22abc7.jpg


IMG_20140728_165351_zps28ec56df.jpg
 
FYI don't need a strap when using an impact. Another FYI-on bolts this large inch sizes work fine. Don't know what 46 is in inch though.
 

Users who are viewing this thread

Back
Top Bottom