What have you done to your Land Cruiser this week? (53 Viewers)

This site may earn a commission from merchant affiliate
links, including eBay, Amazon, Skimlinks, and others.

Hi,

Can you tell us more about the rebuild process? A friend has a leaky PS gearbox in a a LJ-73 that needs attention.

Thanks,

Alan

Alan,
I was very surprised at how easy it was to do the rebuild. I had never had one apart before.
I did do a couple of searches on here and these are two things no one mentioned.
On disassembly the top cover of the gear box has the backlash adjusting bolt in it, and to remove the top cover, after you remove the 4 bolts, you need to thread that adjusting bolt out of the cover, as you do it will push it off the gearbox housing.
On the steering shaft side, you really need a axle nut socket(4 prong spanner socket) to remove the spanner nut. After that it all slides apart for cleaning.
I bought the seal kit(no bearings) from Cruisercrap, I couldn't find the kit on there site, but when I called them they said they had it.
Hope that helps, Let me know if you have any questions about it.
Matt
 
View attachment 1405550 Made a nut plate for the d/s seat pedestal, tied in the d/s rocker to the support, chased all the bolt holes View attachment 1405549And was about to cut the main beam and got cold feet, glad I didn't now. Wasn't thinking about the tub being upside down and almost made the cut outs to big, small pad goes inside not the wider one.View attachment 1405558 So all this scribbling has got to be cleaned off and redone, going to use square tubing for the mounts. View attachment 1405560 Thank god!

Your tub is going to be bionic when it's done!
 
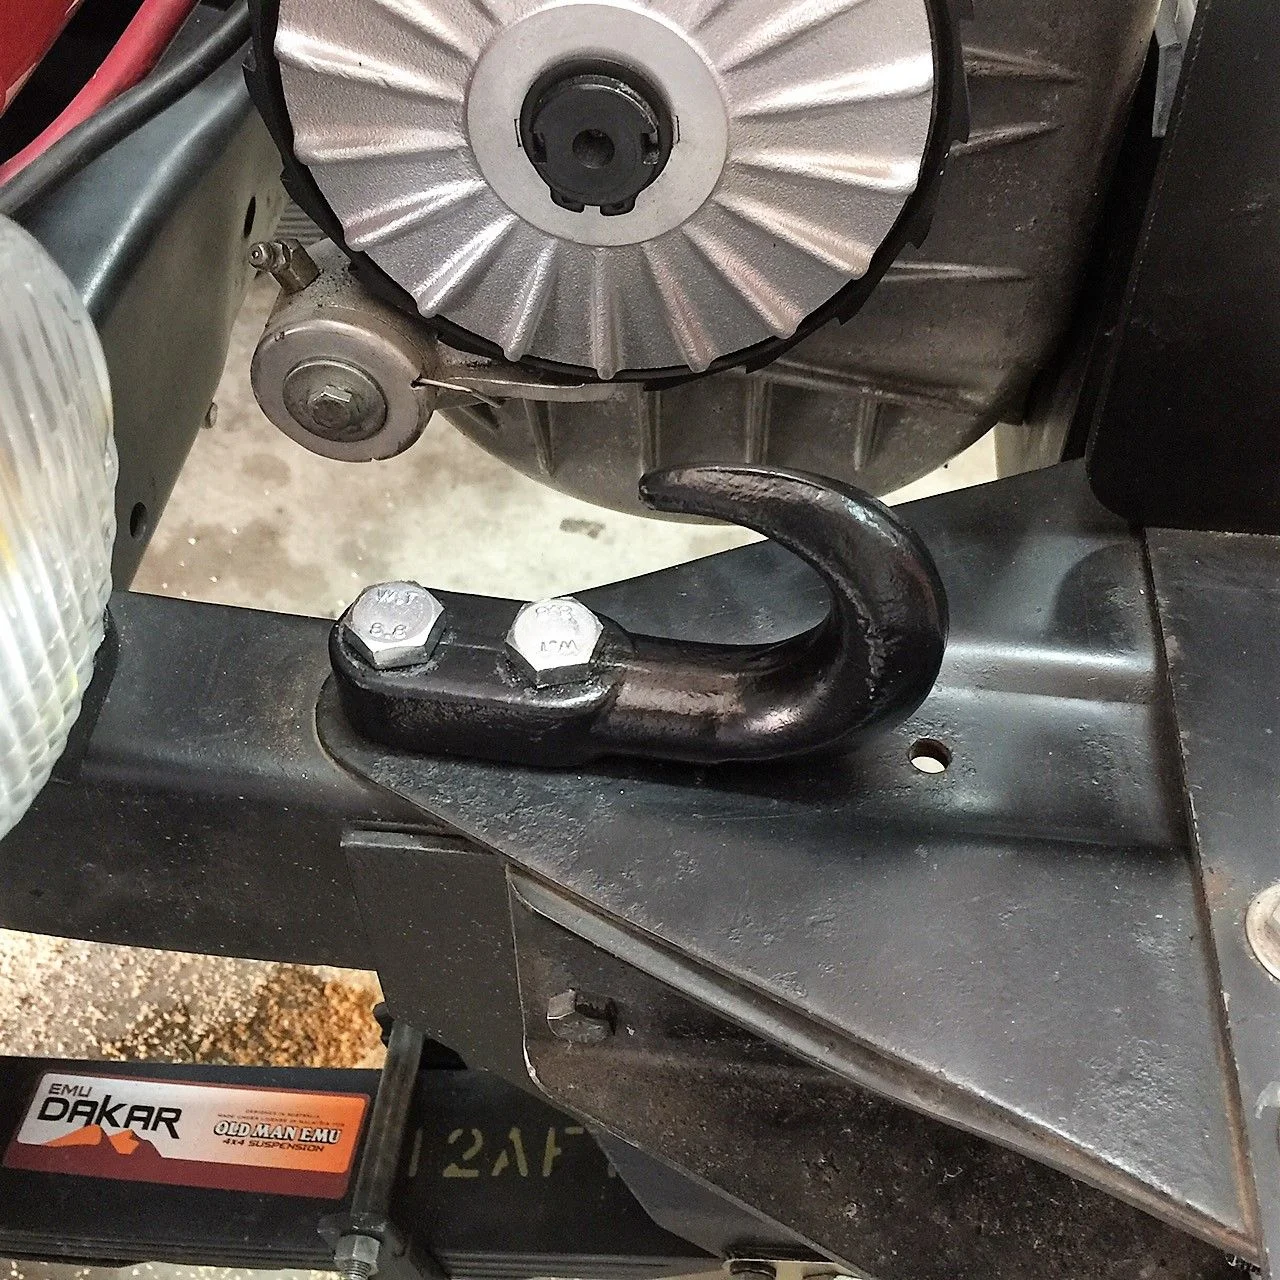
Installed my newly acquired J hook, now the passenger side matches the driver side, I like symmetry ~ part of my OCD.

full
I did the same last year on my '76 FJ40 - part of it is the engineer in me.
 
What did you paint the end of your brake shaft with on the 8274? Looks like a good solution to keep it from rusting.

I used primer and Rust-Oleum satin black 3 coats.
 
Cleaned as much grime off as I had patience for (six hours worth) threw some paint on the frame, changed the hose and put it back together. This 53 year old paint is amazing.

Note: the brake hose now has the factory g-string holding it up.
IMG_0976.webp
 
Gave the mule a much needed bath....

View attachment 1405878

Oh the diamond plate! Reminds me of how my 40 looked when I bought it in 10/14. Hand cut and homemade, all it did was hide the existing rust and hold more moisture next to the deteriorating metal. They tried to stop further water penetration using silicone sealant but that was spotty at best.
 
More little stuff. Was reading the '76 FJ40 emissions literature I copied from an old Mitchell manual at the local library - great resource. Especially interested in the Power Valve Control System (PVCS) once I learned about (or remembered) the Throttle Position Switch. So I took a look at the accelerator pedal. Forever, since I bought the vehicle more than 15 years ago, the accelerator pedal hits the side of the transmission hump before being fully depressed. It hasn't really been an issue for me because most of the driving I've done is around town and on the trails immediately outside of town. I now realize the limited pedal travel may be keeping the paddle at the top of the pedal assembly from depressing the TPS, therefore limiting the proper functioning of the power valve inside the carburetor at (or near) wide open throttle. So while in the big city (Albuquerque) yesterday, waiting for my parts to be brought down to the parts counter at American Toyota up the street, I stopped by Copper State Bolt & Nut Company to see what they had in the way of beveled washers to use as a shim (or shims) where the accelerator pedal assembly bolts to the firewall. They have boxes of 100 but sell them individually if you ask for smaller quantities. This morning I went out and installed one of the washers under the mounting bracket at the lower bolt, thick side towards the center of the vehicle. It was just enough to shim the bracket so the pedal can be fully depressed and clear the transmission hump. I then adjusted the position of the TPS on its bracket by sliding it on the slot and tightening the bolt so that the switch is depressed by the paddle but doesn't limit the pedal travel. Next up - perform the component and system tests of the PVCS per the Mitchell manual. Hopefully everything will check out OK so I can enjoy (hopefully) better performance on the highway. Right now it has trouble getting much past 55 mph on flat ground.

Pedal-Shim.webp
 
Got some color chip samples in from Monstaliner and found a match that I'm really pleased with. Gonna order the 2-gallon tintable kit fairly soon and then it's time for a new paint job! As much as it pains me to remove all the OEM paint, it's really just not in good enough shape to keep, not the exterior anyway. It's all scratched (can't just buff it out at this point) and mild rust is beginning to plague the 40's poor old body (damn Louisiana humidity!) The interior is cleaner and will stay for now (which is why a good match is a priority for me) but the exterior paint needs a makeover.
20170221_175937.webp
20170221_175948.webp
 
@4Cruisers what kinda shape are your plastic bushings in? My 76 had one missing. That left a big gap between the pedal bracket hole that the pedal pivot shaft goes through. I shimmed mine like you did, one of these days I'll install the bushing.
 
Finally got around to installing the rear hatch glass. Found a local "old school" glass shop and dropped off the hatch. They cut and installed for $121. The glass I had got from another Mudder was too small. I can only assume that the glass on these hatches changed from year to year.

View attachment 1405919
New OEM glass (part #68131-90306) still shows as available.
 
@4Cruisers what kinda shape are your plastic bushings in? My 76 had one missing. That left a big gap between the pedal bracket hole that the pedal pivot shaft goes through. I shimmed mine like you did, one of these days I'll install the bushing.
I'll have to take a look this morning when I go out to check the function of the switch.
 
Got some color chip samples in from Monstaliner and found a match that I'm really pleased with. Gonna order the 2-gallon tintable kit fairly soon and then it's time for a new paint job! As much as it pains me to remove all the OEM paint, it's really just not in good enough shape to keep, not the exterior anyway. It's all scratched (can't just buff it out at this point) and mild rust is beginning to plague the 40's poor old body (damn Louisiana humidity!) The interior is cleaner and will stay for now (which is why a good match is a priority for me) but the exterior paint needs a makeover.
View attachment 1406963 View attachment 1406964

Look forward to updates on this. I'd like to do the inside of the beds on Ruftoys and the Karma Cruiser, which are both dune beige, and both left covered up. And the rear quarters on Ruftoys have long since lost all hope of being returned to stock.

Is this liner flat, gloss or semi?
 
More little stuff. Was reading the '76 FJ40 emissions literature I copied from an old Mitchell manual at the local library - great resource. Especially interested in the Power Valve Control System (PVCS) once I learned about (or remembered) the Throttle Position Switch. So I took a look at the accelerator pedal. Forever, since I bought the vehicle more than 15 years ago, the accelerator pedal hits the side of the transmission hump before being fully depressed. It hasn't really been an issue for me because most of the driving I've done is around town and on the trails immediately outside of town. I now realize the limited pedal travel may be keeping the paddle at the top of the pedal assembly from depressing the TPS, therefore limiting the proper functioning of the power valve inside the carburetor at (or near) wide open throttle. So while in the big city (Albuquerque) yesterday, waiting for my parts to be brought down to the parts counter at American Toyota up the street, I stopped by Copper State Bolt & Nut Company to see what they had in the way of beveled washers to use as a shim (or shims) where the accelerator pedal assembly bolts to the firewall. They have boxes of 100 but sell them individually if you ask for smaller quantities. This morning I went out and installed one of the washers under the mounting bracket at the lower bolt, thick side towards the center of the vehicle. It was just enough to shim the bracket so the pedal can be fully depressed and clear the transmission hump. I then adjusted the position of the TPS on its bracket by sliding it on the slot and tightening the bolt so that the switch is depressed by the paddle but doesn't limit the pedal travel. Next up - perform the component and system tests of the PVCS per the Mitchell manual. Hopefully everything will check out OK so I can enjoy (hopefully) better performance on the highway. Right now it has trouble getting much past 55 mph on flat ground.

View attachment 1406854

John

I don't know about you, but with my size 14 feet, it's too damn close between the skinny pedal and the brake already, and I'd be worried about any mod that moves them closer.

Mark
 
John

I don't know about you, but with my size 14 feet, it's too damn close between the skinny pedal and the brake already, and I'd be worried about any mod that moves them closer.

Mark
Mine are size 13 - my best friend and college roommate called them gunboats. The pedal only moved over ~1/4", just enough to clear the transmission hump.

BTW, here's a nice flow chart for checking out the Power Valve Control System:
 

Attachments

Users who are viewing this thread

Back
Top Bottom