- Thread starter
- #281
Random question,
How did you wire your DRL lights in your bumper? I Just installed my IM Premium Bumper but left the DRLs un wired for now.
Thanks!

Follow along with the video below to see how to install our site as a web app on your home screen.
Note: This feature may not be available in some browsers.
This site may earn a commission from merchant affiliate
links, including eBay, Amazon, Skimlinks, and others.
Random question,
How did you wire your DRL lights in your bumper? I Just installed my IM Premium Bumper but left the DRLs un wired for now.
Thanks!
One of the sad casualties of bumping around Moab was my DIY drawers in the back. The bumping around fully loaded with a fridge and dog on top finally did them in. Not a huge surprise given it was a big box with butt-joints. The bottom of the side pieces split and the outer box became an parallelogram:
View attachment 2754971
My kids are pretty attached to them - so we decided to say goodby and save the drawer faces as a memento. Today after 6 weeks of waiting, I replaced them with a set of Dobinson's drawers with a roller-top. Other than being unable to avoid scratching interior plastic - installation was uneventful and straightforward. The fit is very good, but very tight.
Here's the last pic of them free of German Shepard hair:
View attachment 2754975
I also moved my bluesea panel to the right side of the truck given that a) it would have been obscured by the wing and b) there is tons of room on passenger side because my truck does not have the ML subwoofer.
View attachment 2754979
Also very happy that both my ARB fridge and Goal Zero will fit on the slide:
View attachment 2754976
View attachment 2754977
One fitment note, I used a multi-tool to notch out the cargo net hooks so that its easier to snug down the wings:
View attachment 2754980
This install is permanent - such so that I cut the seatbelts and scrapped my third row seats. Here to stay!
Bummer. Your drawers inspired me to build my own. Cool that you saved the fronts though, which are awesome.
The new drawers look great though and the blue sea panel install looks slick. What was the install like?
Me too! If I were to do it over again would have done rabbit joints and maybe some sort of gusset inside the main box to tie it all together side-to-side.
Not sure which install, but if you are talking about blue sea it’s very easy. I ran some two conductor wire (10 or 12 gauge, can’t remember) from my under hood fuse block through firewall gland, ran along door sill and to cargo area.
In back, the rear panels are super easy to pop out. You unscrew the kick plate in back door and the cargo net hooks, then start popping clips. I made a small cut it the panel behind the plastic to run wiring to the cubby behind the panel.
For the panel itself if I just cut a clean hole with a multi-tool.
New drawers look good! When empty, do they make noise/rattle at all?One of the sad casualties of bumping around Moab was my DIY drawers in the back. The bumping around fully loaded with a fridge and dog on top finally did them in. Not a huge surprise given it was a big box with butt-joints. The bottom of the side pieces split and the outer box became an parallelogram:
View attachment 2754971
My kids are pretty attached to them - so we decided to say goodby and save the drawer faces as a memento. Today after 6 weeks of waiting, I replaced them with a set of Dobinson's drawers with a roller-top. Other than being unable to avoid scratching interior plastic - installation was uneventful and straightforward. The fit is very good, but very tight.
Here's the last pic of them free of German Shepard hair:
View attachment 2754975
I also moved my bluesea panel to the right side of the truck given that a) it would have been obscured by the wing and b) there is tons of room on passenger side because my truck does not have the ML subwoofer.
View attachment 2754979
Also very happy that both my ARB fridge and Goal Zero will fit on the slide:
View attachment 2754976
View attachment 2754977
One fitment note, I used a multi-tool to notch out the cargo net hooks so that its easier to snug down the wings:
View attachment 2754980
This install is permanent - such so that I cut the seatbelts and scrapped my third row seats. Here to stay!
New drawers look good! When empty, do they make noise/rattle at all?
very cool, from which vendor did you source the drawers, Exit Offroad?
Great thread! I have Made so many bookmarks. Which spacers did you use when you went to the 18s? I have been going back and forth on whether to stick with my stock 20s or switch to 18s. I think I may make the change, but want to be sure I am sure what additional pieces I would need. Thanks for documenting all of this!
Thanks for the thread link.EDIT: Here is the truck as of October 2020:
View attachment 2485323
View attachment 2485328
Read on to see how I got here!
Hi everyone! I picked up an '08 LX a few months ago and started poking around here but haven't started a thread yet.
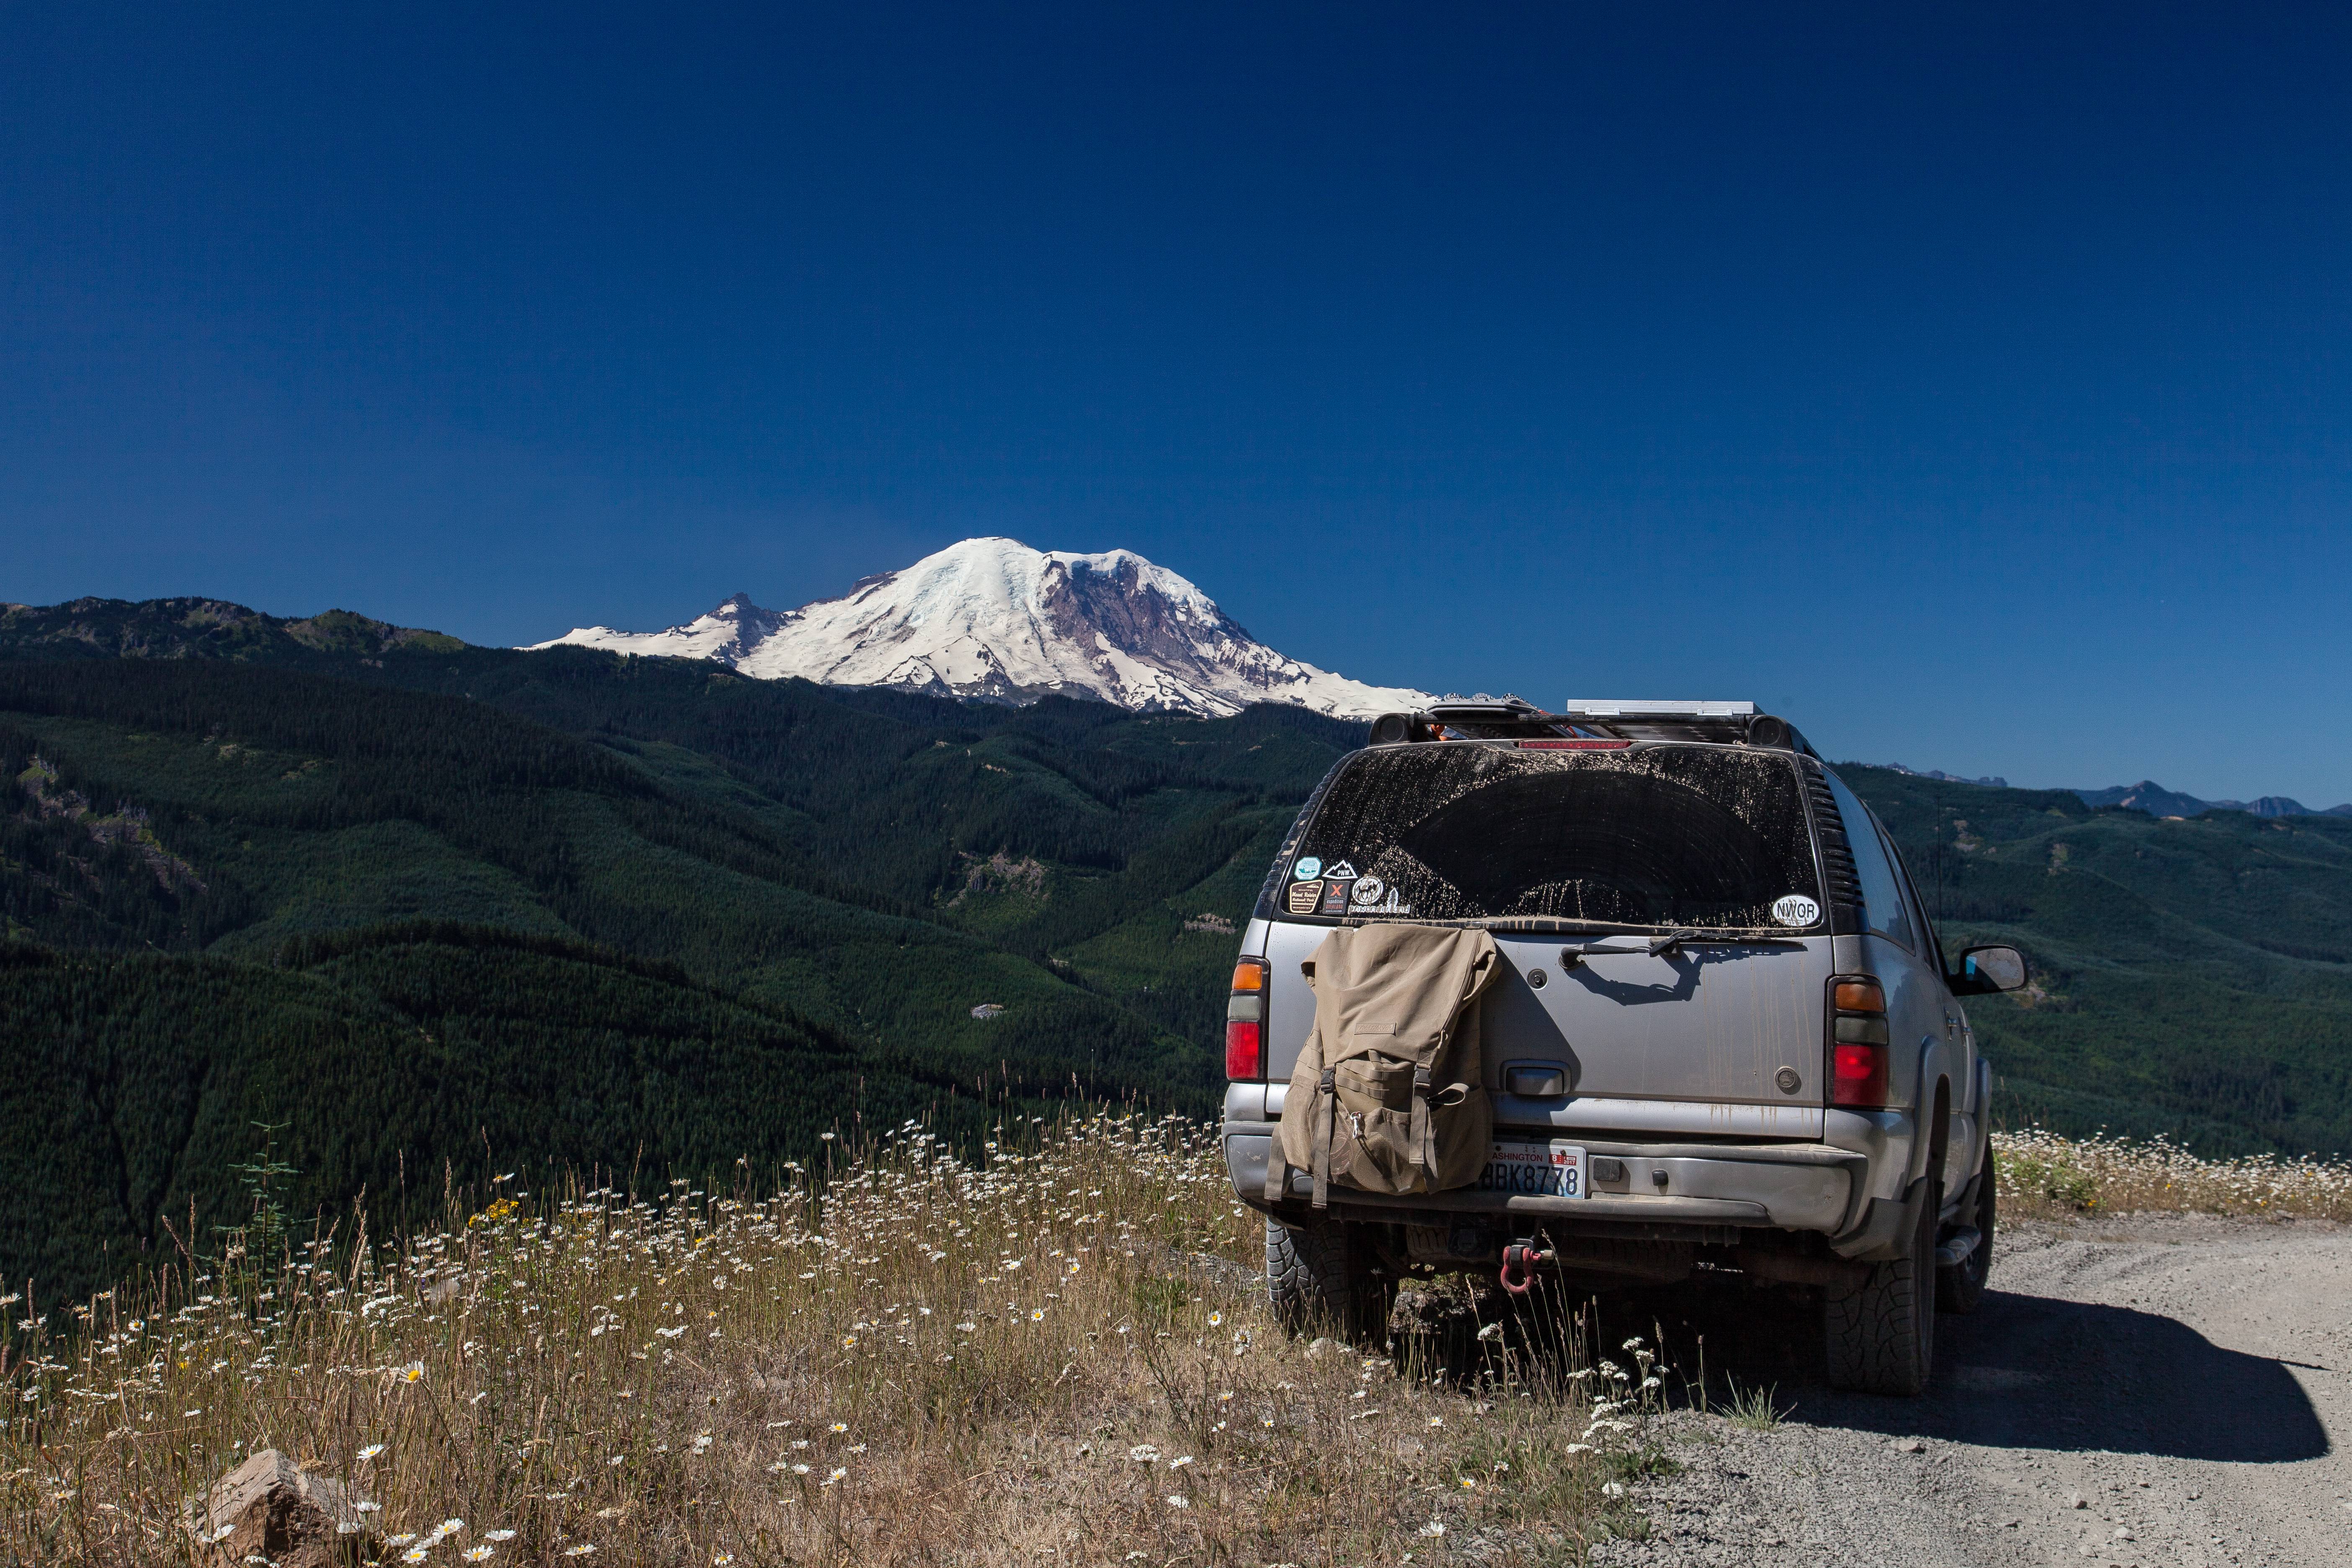
I came from a 2004 Suburban (build) that I used to drag kids, wife, and dog all over WA:
![]()
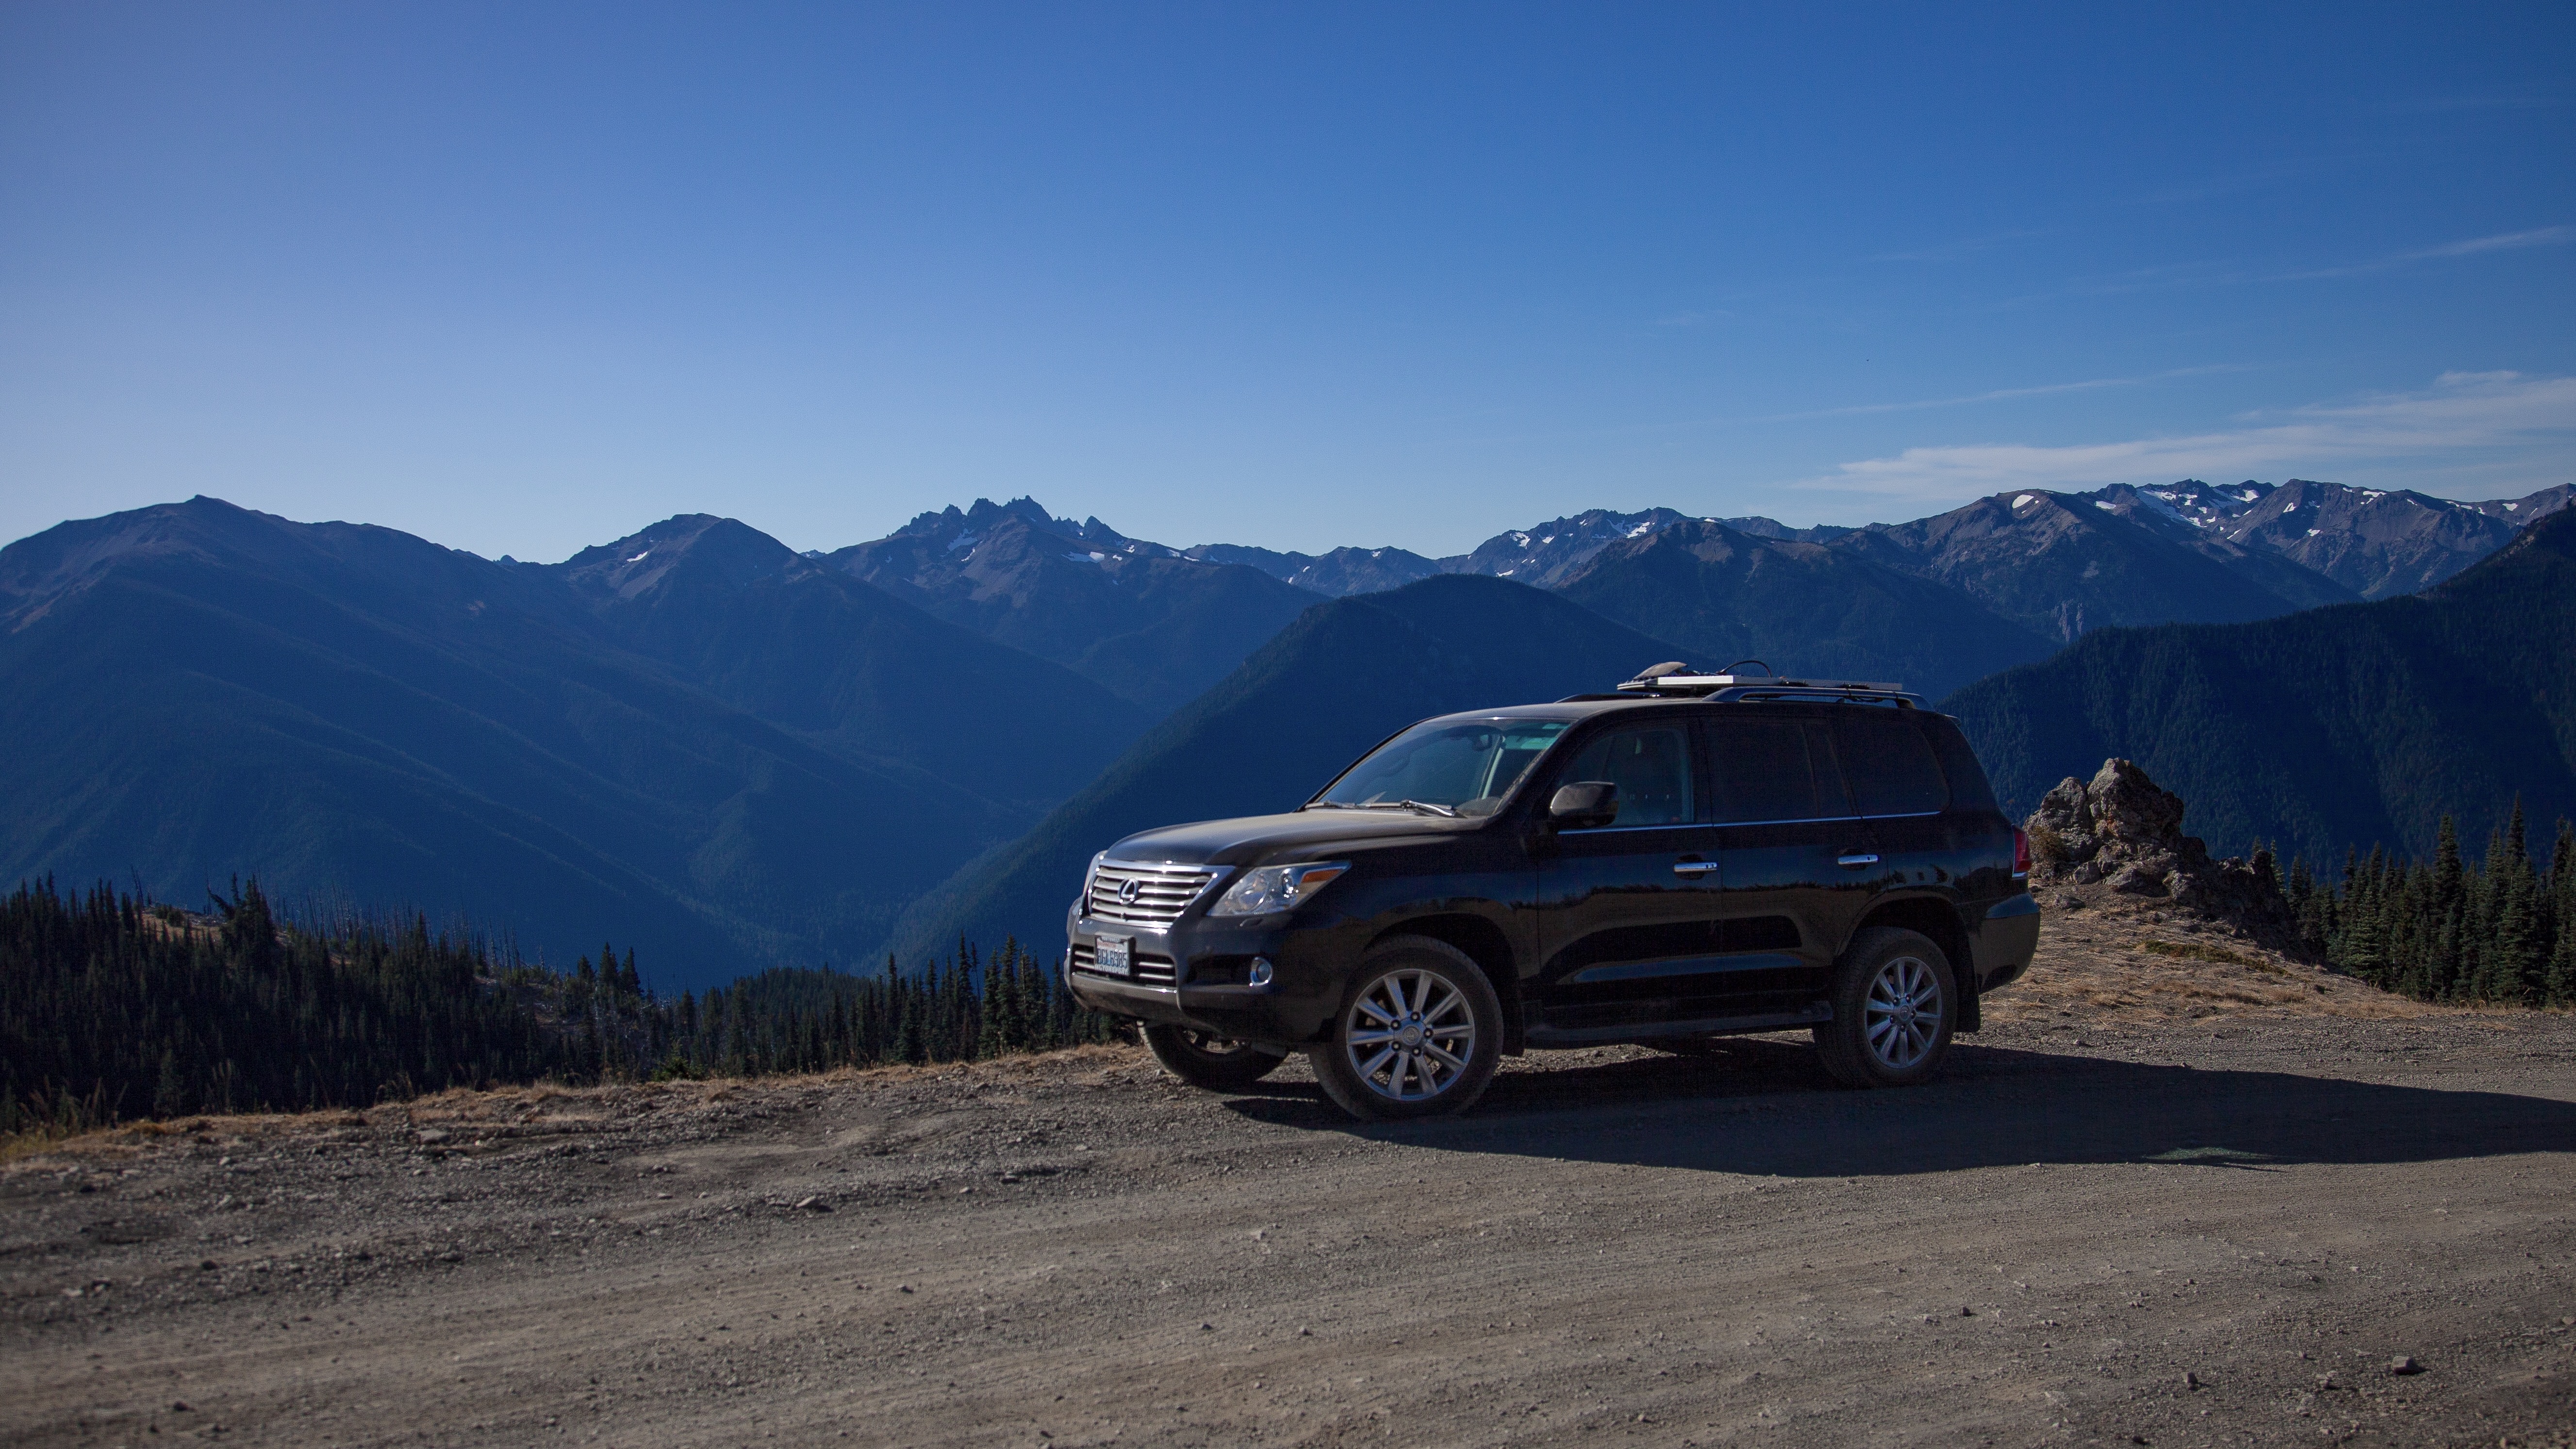
Aside from a full set of Weathertechs, My LX is totally stock. It appears to have never left the pavement in its 94k miles.
So first thing is first:
![]()
![]()
I didn't have a lot of confidence in the 275/55 Bridgestone Duelers but they did great. I'll likely move up to a D or E rated LT tire in the next year or so.
I was totally blown away with this thing even in stock form. I love love love AHC off road. It's amazing how much articulation it has while remaining smooth and quiet.
Other than tires, my next focus will be replacing the AHC shocks. One has a small leak and the other 3 are starting so show seepage. The dealer cost is astronomical - so I may DIY.
More to come!
Thanks for the thread link.
you are going to laugh your butt off….we have a 2004 Tahoe Z71 right now and I have spent a lot of time on your thread on EP LOL. We lucked into it at the local Acura dealership about 2 years ago. 1 owner, legitimate old man truck with 80k. Every single little option on it. 102k miles on it now. We’d be crazy to ever get rid of it.
Is that stove attachment the only thing you used? You didn't have a camera location kit correct? I need to do something similar but I'm in Texas and I need a front plate.When I first relocated my camera I stuck it in the pocket for the Jack point because I didn’t really see a better option.
View attachment 2796295
Over time I grew to hate it because it 1) was dorky 2) put the camera at greater risk for damage 3) was off center. This camera is stupid expensive so damaging another would be no bueno.
Well…I set aside a stainless steel bracket from a new range because I couldn’t unsee that it looked like the perfect camera relocation bracket. So I prototyped it up, and by prototyped I mean sat it where I thought should go:
View attachment 2796301
Perfect spot. To hard mount it I drilled some holes though the back of the bumper to hold the bracket, and some rivnuts to mount the camera to the bracket:
View attachment 2796304
Perfect fit! It’s not perfectly centered yet but luckily the holes in the bracket are slotted.
Washington state does require a front plate, so there’s that. I will likely make a magnetic mount that sits below the camera and covers the fairlead. Although not super worried, it’s a secondary offense here…
Is that stove attachment the only thing you used? You didn't have a camera location kit correct? I need to do something similar but I'm in Texas and I need a front plate.
I haven’t had a front plate for like 13 years. I got one parking ticket and that’s it. Well worth the cost. I think it looks way better withoutWhen I first relocated my camera I stuck it in the pocket for the Jack point because I didn’t really see a better option.
View attachment 2796295
Over time I grew to hate it because it 1) was dorky 2) put the camera at greater risk for damage 3) was off center. This camera is stupid expensive so damaging another would be no bueno.
Well…I set aside a stainless steel bracket from a new range because I couldn’t unsee that it looked like the perfect camera relocation bracket. So I prototyped it up, and by prototyped I mean sat it where I thought should go:
View attachment 2796301
Perfect spot. To hard mount it I drilled some holes though the back of the bumper to hold the bracket, and some rivnuts to mount the camera to the bracket:
View attachment 2796304
Perfect fit! It’s not perfectly centered yet but luckily the holes in the bracket are slotted.
Washington state does require a front plate, so there’s that. I will likely make a magnetic mount that sits below the camera and covers the fairlead. Although not super worried, it’s a secondary offense here…
I haven’t had a front plate for like 13 years. I got one parking ticket and that’s it. Well worth the cost. I think it looks way better without
Ditto on the no-front-plate looking better! Previous owner of mine never installed one... "sorry officer, I don't have any mounting holes in my bumper...".Thanks, enabler!