Builds Travis’s PNW LX570 (3 Viewers)

This site may earn a commission from merchant affiliate
links, including eBay, Amazon, Skimlinks, and others.

Blue Sea distribution panel
One last chore was to clean up my under hood electrical. It was already a mess, adding auxiliary lights and a winch just made more mess.

There were two problems
  1. I didn’t really have the tools or knowhow to cut cables for the accessories I already had so I just rolled them up and stuffed them under the compressor
  2. My factory terminals don’t really offer much in terms of additional points to mount accessories

Here is everything untied - and that was before the winch.

8F2466CB-CD3F-424B-AD2B-0181ADCF5281.jpeg


So I got to work and ordered a bluesea fuse block, Slee terminal extensions, lots of cable, lugs, and a hydraulic crimper.

Here is the after:
19BC78E5-B7DE-4296-9576-B54A20CAF113.jpeg


Everything is secured using heavy duty Velcro. I did this so I can still get access below but also because I know that I keep fiddling with arrangement.

I also may go ahead and shorten up the big power Wires a bit more.

the big cutoff switch came with the winch - I love the added piece of mind.

The fuse block is for my rear power point, lights, and an always hot lead for my compressor switch because I’m too lazy to tap ignition power. I have a 100a breaker in front of the panel.

I’m probably one accessory away from something like an sPod, but will cross that bridge soon.
 
One last chore was to clean up my under hood electrical. It was already a mess, adding auxiliary lights and a winch just made more mess.

There were two problems
  1. I didn’t really have the tools or knowhow to cut cables for the accessories I already had so I just rolled them up and stuffed them under the compressor
  2. My factory terminals don’t really offer much in terms of additional points to mount accessories

Here is everything untied - and that was before the winch.

View attachment 2465693

So I got to work and ordered a bluesea fuse block, Slee terminal extensions, lots of cable, lugs, and a hydraulic crimper.

Here is the after:
View attachment 2465697

Everything is secured using heavy duty Velcro. I did this so I can still get access below but also because I know that I keep fiddling with arrangement.

I also may go ahead and shorten up the big power Wires a bit more.

Looks good. Just get something to cover up those positive connection points and terminals. One dropped wrench and you will be battery welding. (don't ask how I know this)

Also, if you reverse the location of the breaker and fuse block, you can shorten up all of those cables considerably.
 
One last chore was to clean up my under hood electrical. It was already a mess, adding auxiliary lights and a winch just made more mess.

There were two problems
  1. I didn’t really have the tools or knowhow to cut cables for the accessories I already had so I just rolled them up and stuffed them under the compressor
  2. My factory terminals don’t really offer much in terms of additional points to mount accessories

Here is everything untied - and that was before the winch.

View attachment 2465693

So I got to work and ordered a bluesea fuse block, Slee terminal extensions, lots of cable, lugs, and a hydraulic crimper.

Here is the after:
View attachment 2465697

Everything is secured using heavy duty Velcro. I did this so I can still get access below but also because I know that I keep fiddling with arrangement.

I also may go ahead and shorten up the big power Wires a bit more.

the big cutoff switch came with the winch - I love the added piece of mind.

The fuse block is for my rear power point, lights, and an always hot lead for my compressor switch because I’m too lazy to tap ignition power. I have a 100a breaker in front of the panel.

I’m probably one accessory away from something like an sPod, but will cross that bridge soon.

Gotta love a little 5S
 
Looks good. Just get something to cover up those positive connection points and terminals. One dropped wrench and you will be battery welding. (don't ask how I know this)

Also, if you reverse the location of the breaker and fuse block, you can shorten up all of those cables considerably.

Hey thanks! I appreciate the tip!
 
Hey, let me ask, where do you poke through the firewall in the driver side?
 
Hey, let me ask, where do you poke through the firewall in the driver side?

There is a big rubber gland under the ABS unit where the main wiring harness passes through. There are two “nubs” on the gland that you can cut and pass wires through.

If you take off the kick panel inside you can push or pull wires through.
 
Excellent thank you.
 
All guidance system are fully operational.

71836823-B020-4722-B2A2-E170B9C52B29.jpeg


I used ARB camera relocation kit which comes with a harness and bracket. The holes for some reason don’t quite match up with my LX camera so I ended up drilling them out a bit.

A6015158-7BFF-4C57-9698-F628FF05C483.jpeg


I don’t love this placement but it was the second best spot. The first being where the license plate is.

37E387AF-93AF-4BE4-ABBA-3D12A847ABA8.jpeg


My theory behind passenger side vs driver is that generally speaking I can spot my front left from the driver seat vs totally blind on passenger side.
 
Last edited:
Over the last week I've had a faint mildew smell in the truck. At first I assumed it was the roof rack so I re-sealed everything but still had the smell after confirming the headliner was dry.

Today I noticed that my A-pillar was soaked - like dripping. Again I assumed roof rack but the headliner between the front-most mount and the A-pillar was dry. So I popped the windshield trim and discovered that it was a swamp. Completely clogged up with mud and rotten needles:

IMG_0397.JPG


Hoping to a) get a break from the rain b) that fixes it.

Send good vibes.
 
Escaped the rain in Seattle this weekend. Things get very different just a hundred miles east:

1162C899-567E-46BA-AD33-EE2658CE7504.jpeg

90CF45BB-0661-4ADF-8068-1D58760B9E77.jpeg


After replacing my accumulators and flushing most of the fluid, the truck just felt so dialed. It was like falling in love again. I’m also super happy with the rack and bullbar. No extra wind noise or squeaks - and mileage was just as abysmal as before so no penalty.

lx390Zo.jpg

No regrets on the recent changes. The bumper and winch and lights are such a classic look. It gives me heart eyes 😍 every time I look back.

It looked right at home.
 
I relocated my air coupler to my front bumper. Easy 1 🍌 job using the arb kit.

0A43164B-8E85-4912-829A-11545EF77230.jpeg


85055361-AAD2-423F-AA89-B579AF50ED9A.jpeg


I’ve got a dust cover coming to make sure gunk stays out of the coupler.

One thing of note - the ARB kit comes with an adapter and a 90 degree fitting to run off the compressor. Unless you plan on clocking the compressor, this will not fit under the hood.

Instead I used the lower profile 90 fitting that came with the compressor that’s for the solenoid and it clears fine:

2988AFF2-44CD-4F1B-9E2F-763F5C245CD3.jpeg


I didn’t like having naked stainless snaking though the fender so I put some split loom in areas where there was metal and/or electrical.

My switch is still under the hood in the Slee bracket. I plan on finally moving that into the cab.
 
One thing of note - the ARB kit comes with and adapter and a 90 degree fitting to run off the compressor. Unless you plan on clocking the compressor, this will not fit under the hood.
It looks like it won't fit, but it does fit. Mine is setup that way. It leaves a small impression in the foam/insulation that's on the bottom of the hood, but that's the only downside that I can tell.

Either way, nice job on your setup!
 
It looks like it won't fit, but it does fit. Mine is setup that way. It leaves a small impression in the foam/insulation that's on the bottom of the hood, but that's the only downside that I can tell.

Either way, nice job on your setup!
Thanks!

I must have not tightened enough because I snapped it first hood close 😱. The low profile one clears with lots of room.
 
Thanks!

I must have not tightened enough because I snapped it first hood close 😱. The low profile one clears with lots of room.

Hmm.... I wonder if I'm misunderstanding things. You're talking about the quick-disconnect air output chuck, right? And by "default" it is meant to point up (vertically) from the compressor? If so, then that's how mine is. I wasn't are there were low-clearance (vs. normal?) ones, not sure which I have.
 
I'm turning 40 in just a few weeks and my very supportive spouse signed off on some goodies. Lots of surprises ahead!


Here's the first—

LuPA7eJ.jpg


C4icxAw.jpg


aKe2ZA3.jpg


As I mentioned in earlier posts — despite extruded aluminum crossbars being a totally OEM+ way to make your factory rack more functional — I was ready for more square footage. I've been hauling around a gigantic Thule ski box that is falling apart, rather than replace it I want to move to hard cases for camping gear up top. The big advantage of a rack like this is raw square footage. It's just huge.

Like most upgrades — I probably over thought this choice. It was a three way race between FrontRunner, Rhino Rack, and this Prinsu.

  • FrontRunner is the ubiquitous choice. Their biggest advantage is their clever mounting options and accessory catalog. It's also the most expensive and doesn't include a fairing. For me the downside is that I find it to be pretty ugly. It's like 6" off the roof line. Someone on this forum (I can't remember who) described it as ping pong table on the roof.
  • Rhino Rack was almost my first choice. I love how low profile it is and the look of the backbone system. However I talked myself out of it due to the fore/aft arrangement of the channels. I still occasionally might want to use my Thule and the RR would make it hard.
  • Prinsu — I have always loved the look of this rack but got a little spooked about some posts here about mounting and spacers etc

What set me over the edge with the prinsu is that it can be used with basically any brand of accessory - especially with the two accessory panels I added.

Ordering was easy - but Prinsu did kind of blow it and forgot to include hardware. To their credit they air mailed me new stuff but I lost a weekend.

Installation was harder than it should have been - but mainly because of the normal nightmares involved with cracking open the rack. The driver side rail was totally fine - but passenger was a different story. When I installed my land cruiser rack I spun two (two!) of the freaking mounts and nutserted them back in. This time around the nutserts spun so I had to pop them out, drill holes, and go up a bolt size.

Seriously - every time I tough the roof it takes a year off my life.

Everything is buttoned up, tight, and coated in prodigious amounts of non-hardening sealant. It's supposed to rain this weekend, fingers crossed.

Stay tuned for more birthday surprises!
Still pleased with your Prinsu?

I'm wavering on going the 8020 route. But I have a feeling I will end up still wanting a Prinsu and just burning an extra $250 now on the DIY methods.
 
Still pleased with your Prinsu?

I'm wavering on going the 8020 route. But I have a feeling I will end up still wanting a Prinsu and just burning an extra $250 now on the DIY methods.

Very pleased 👍 
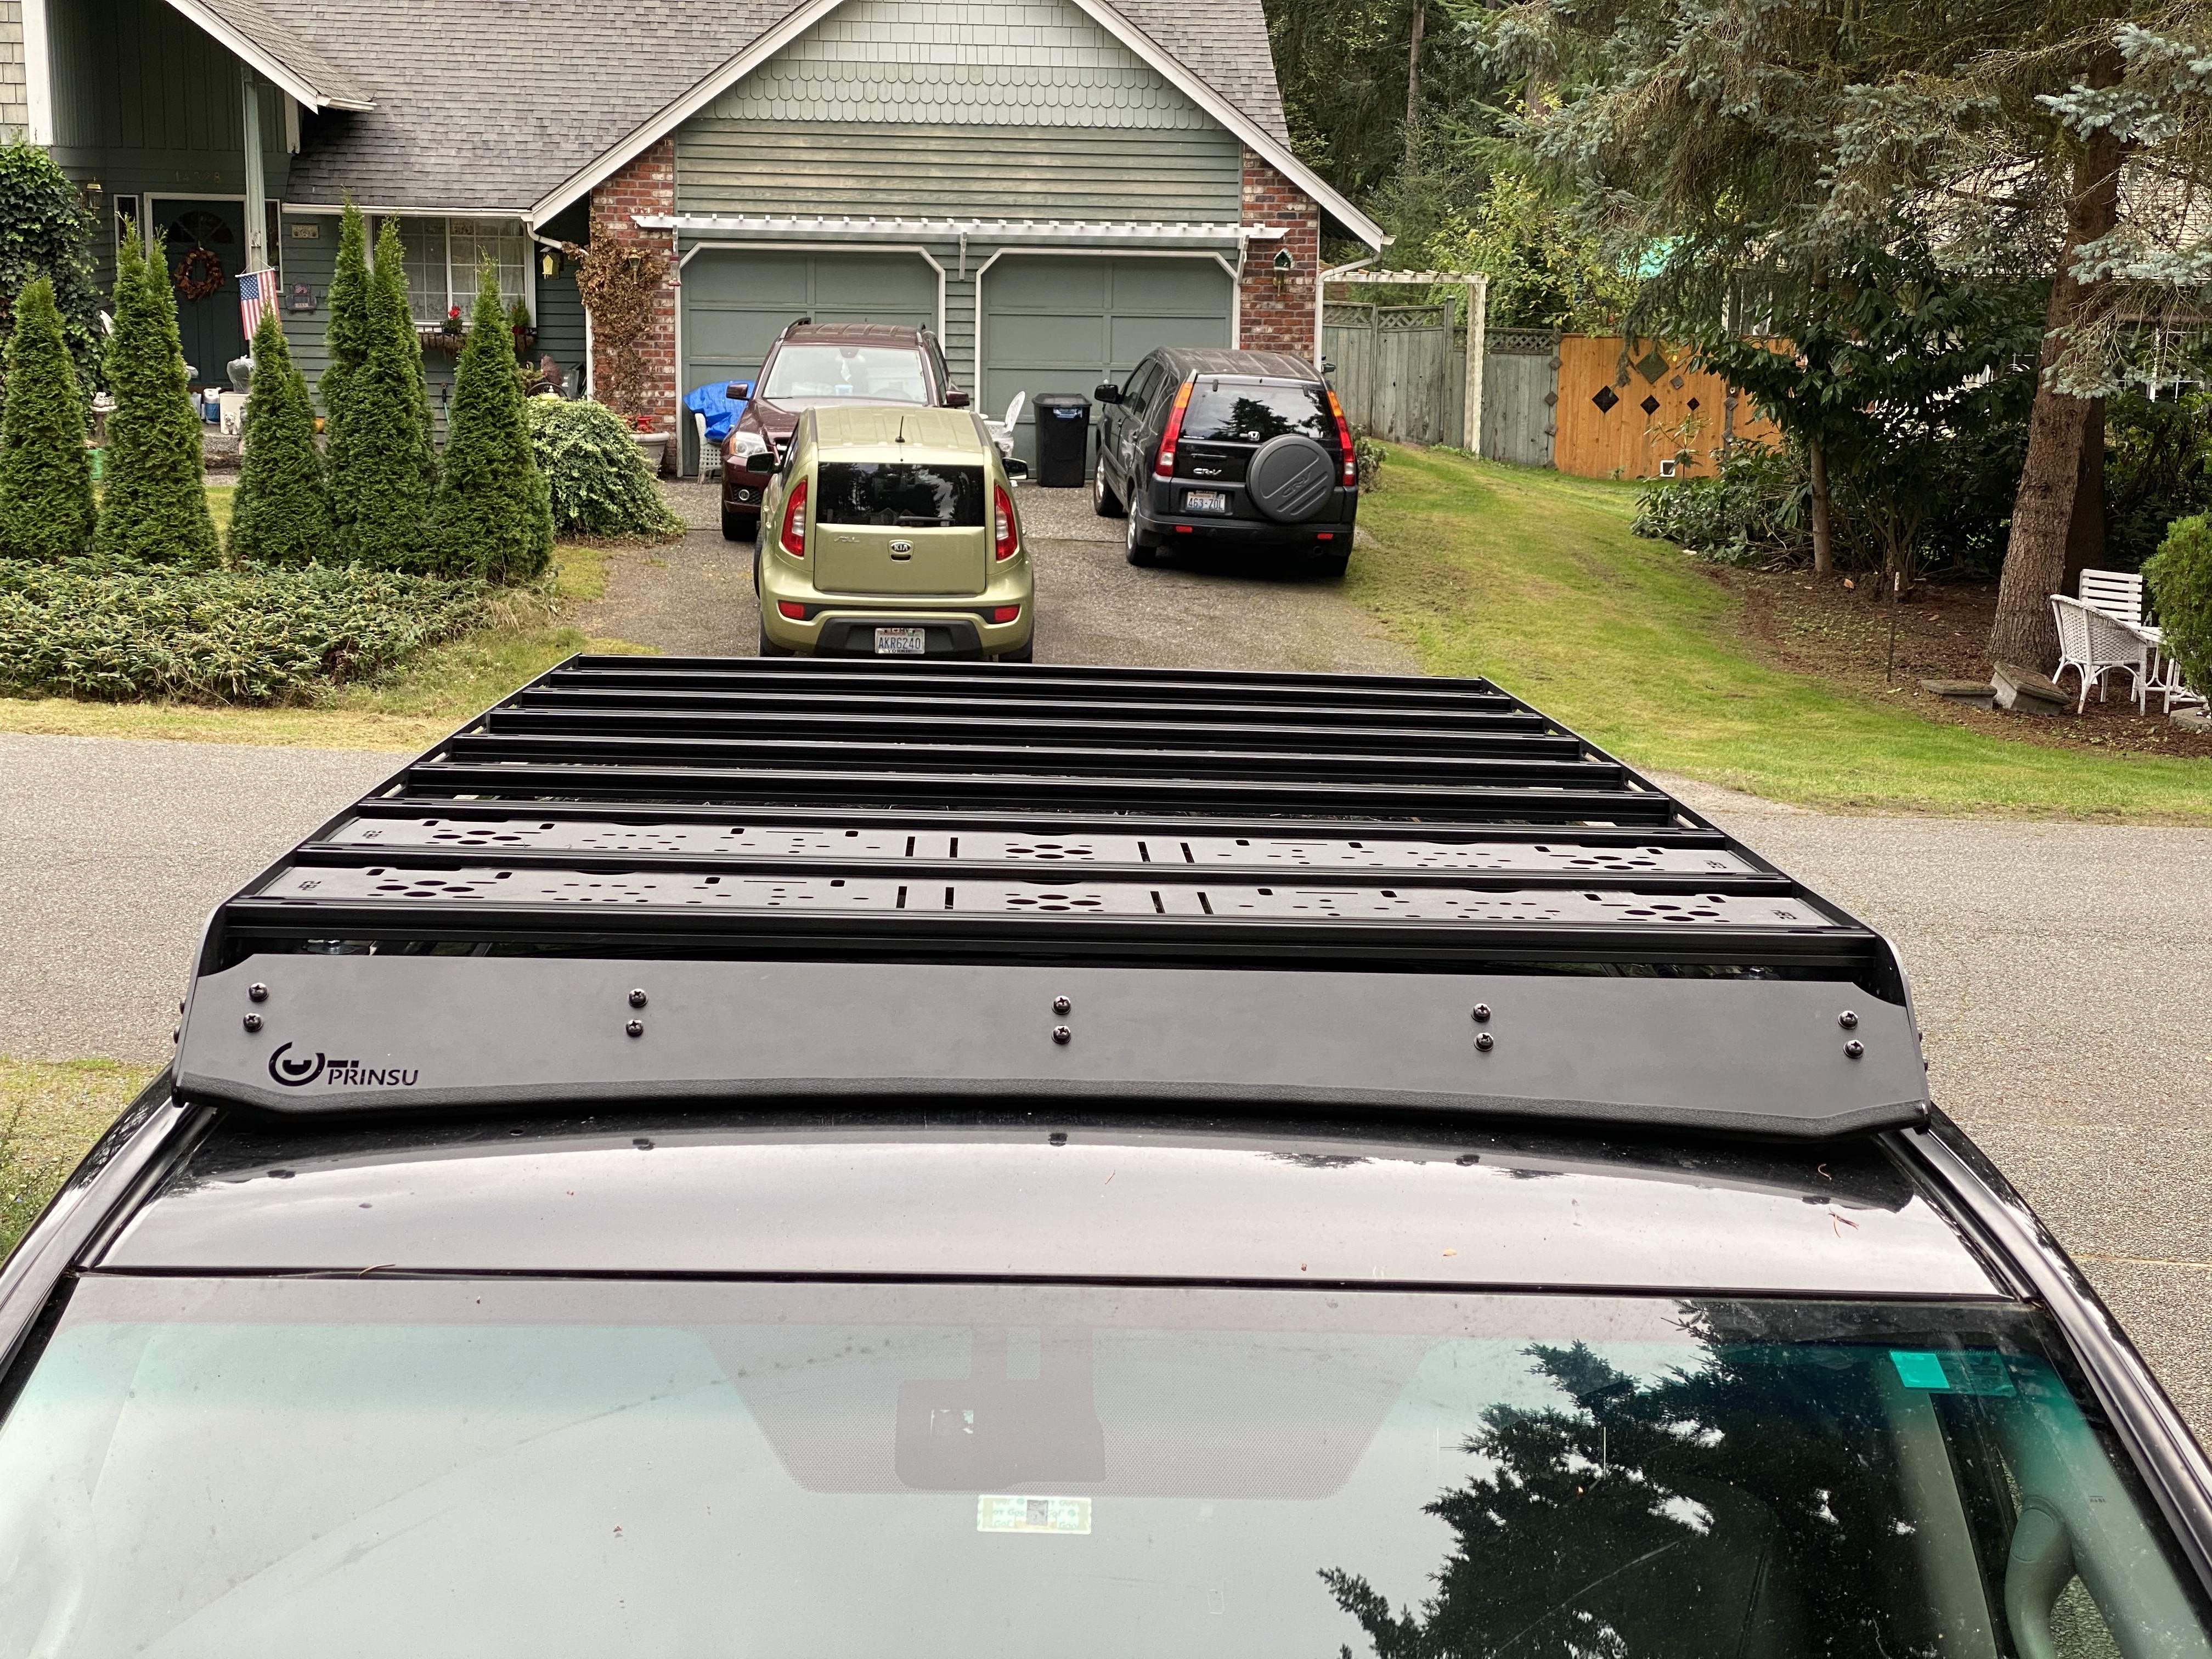
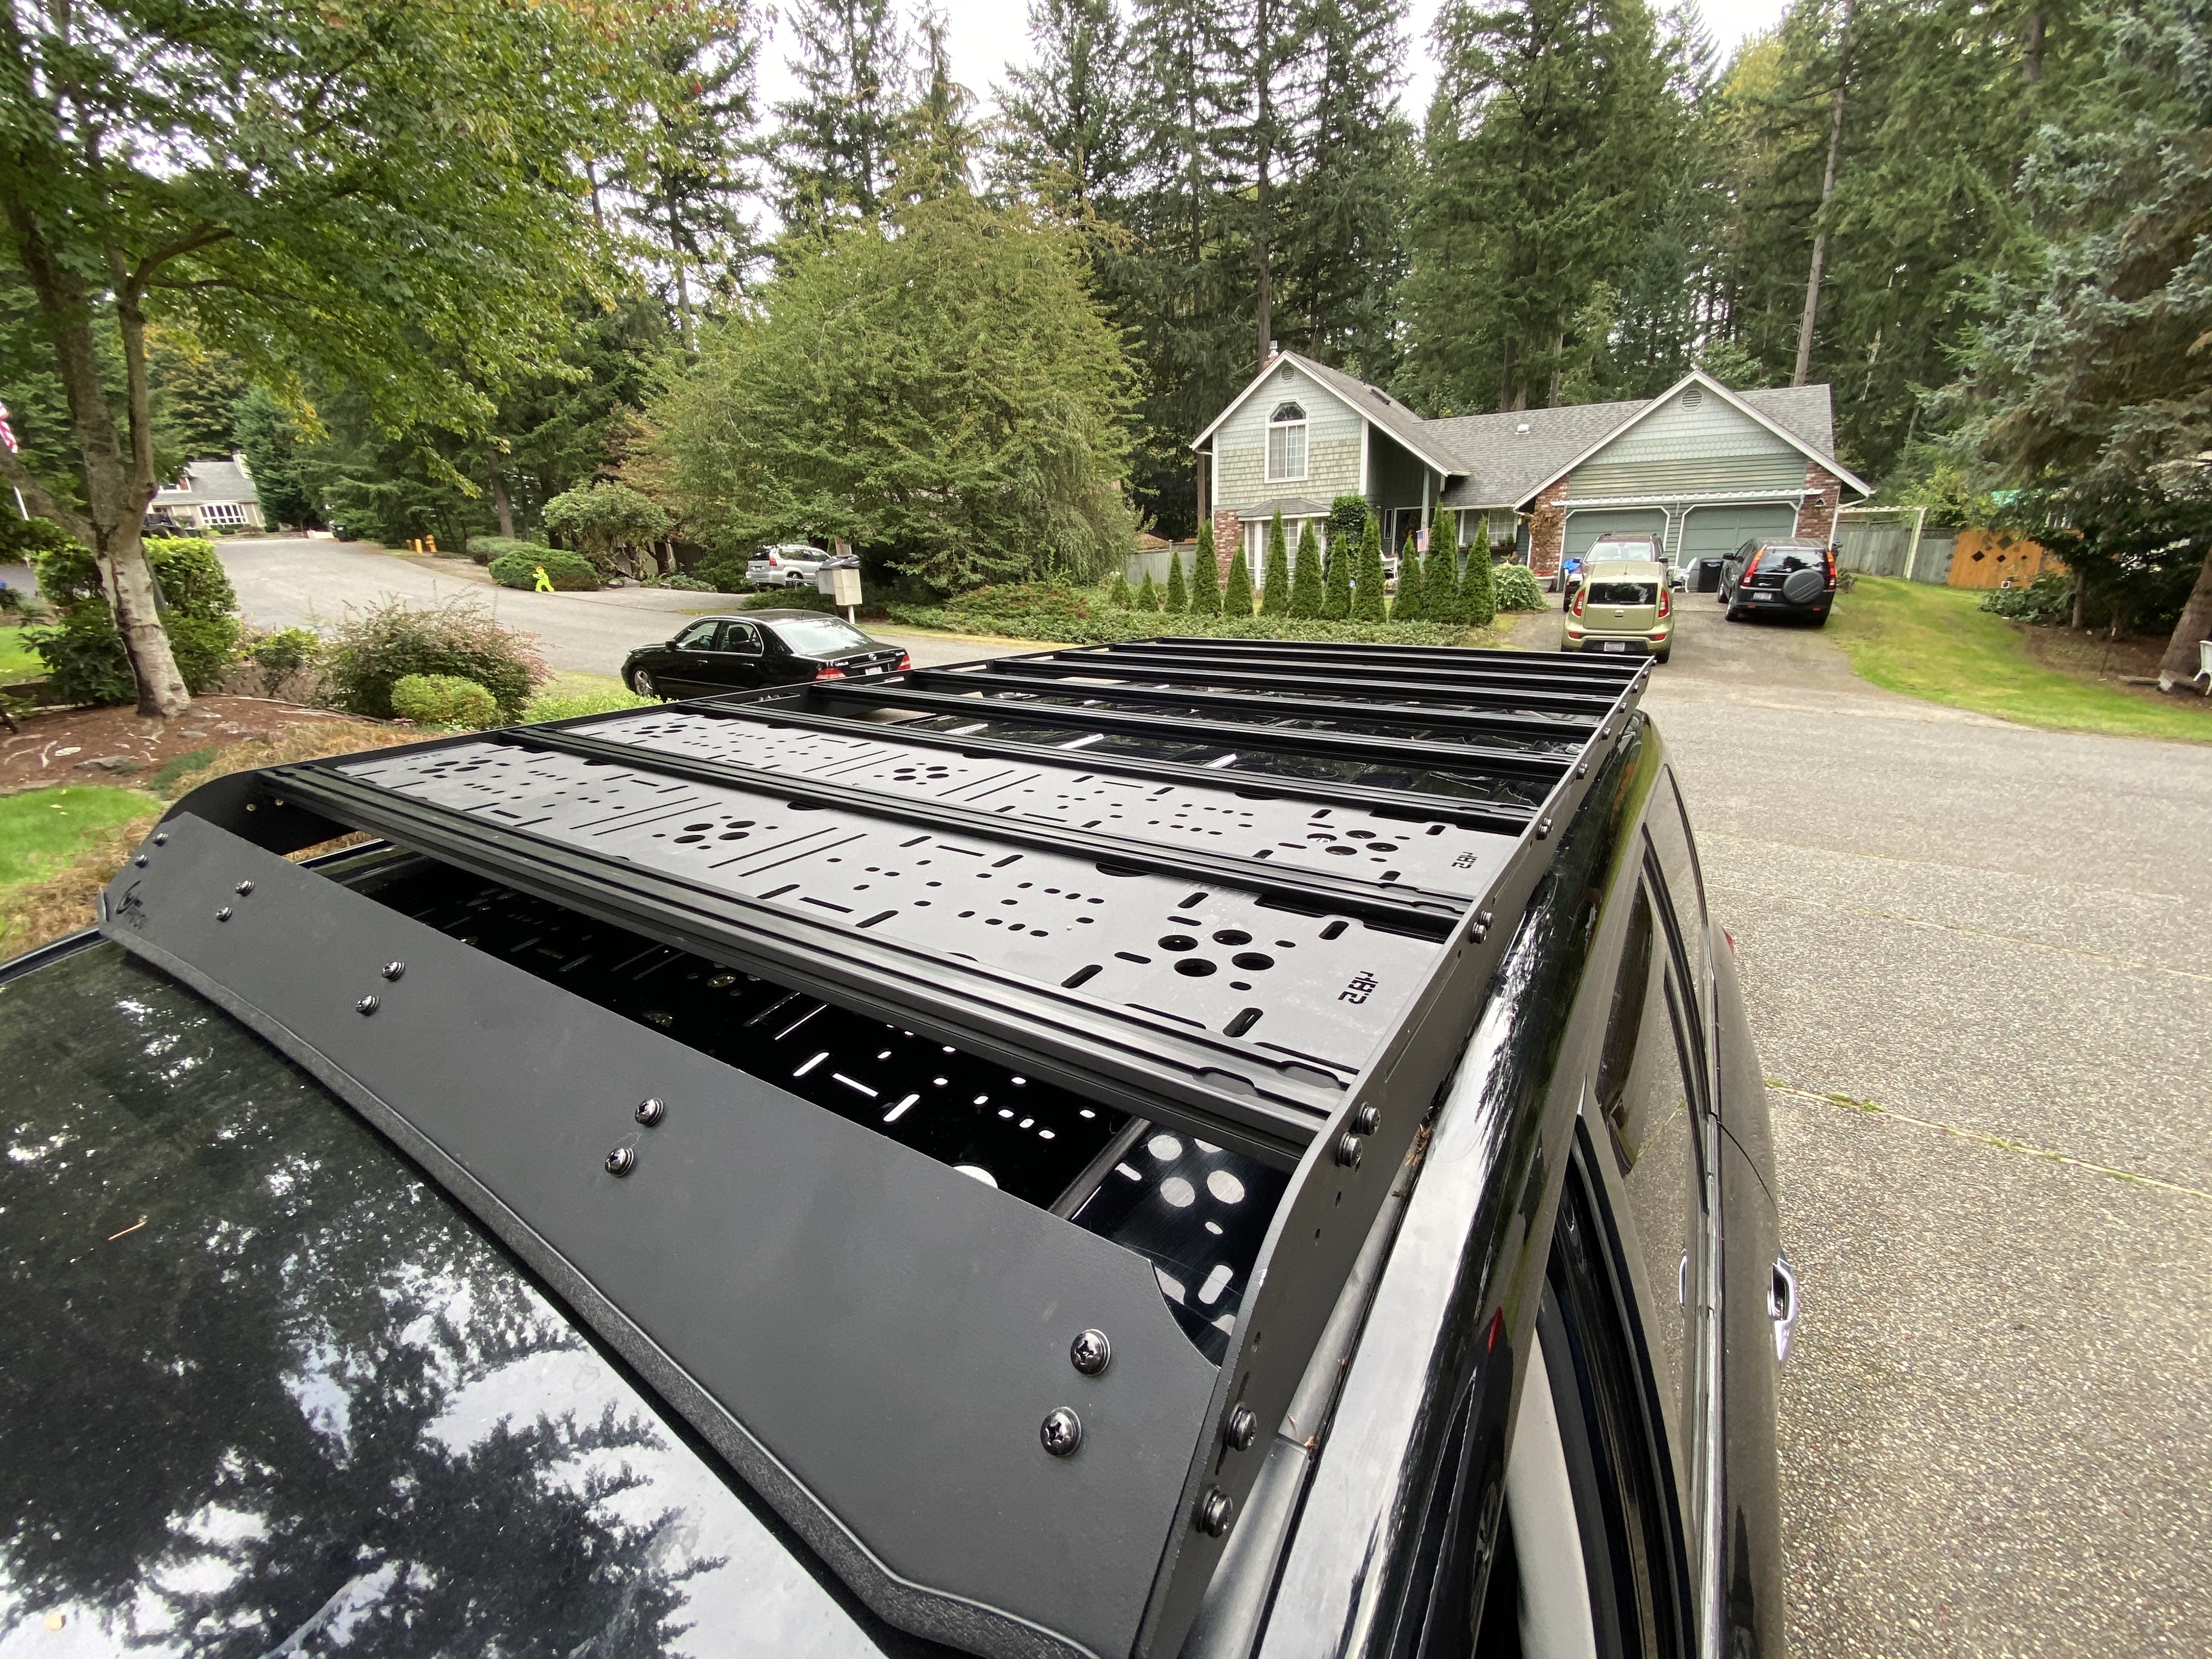
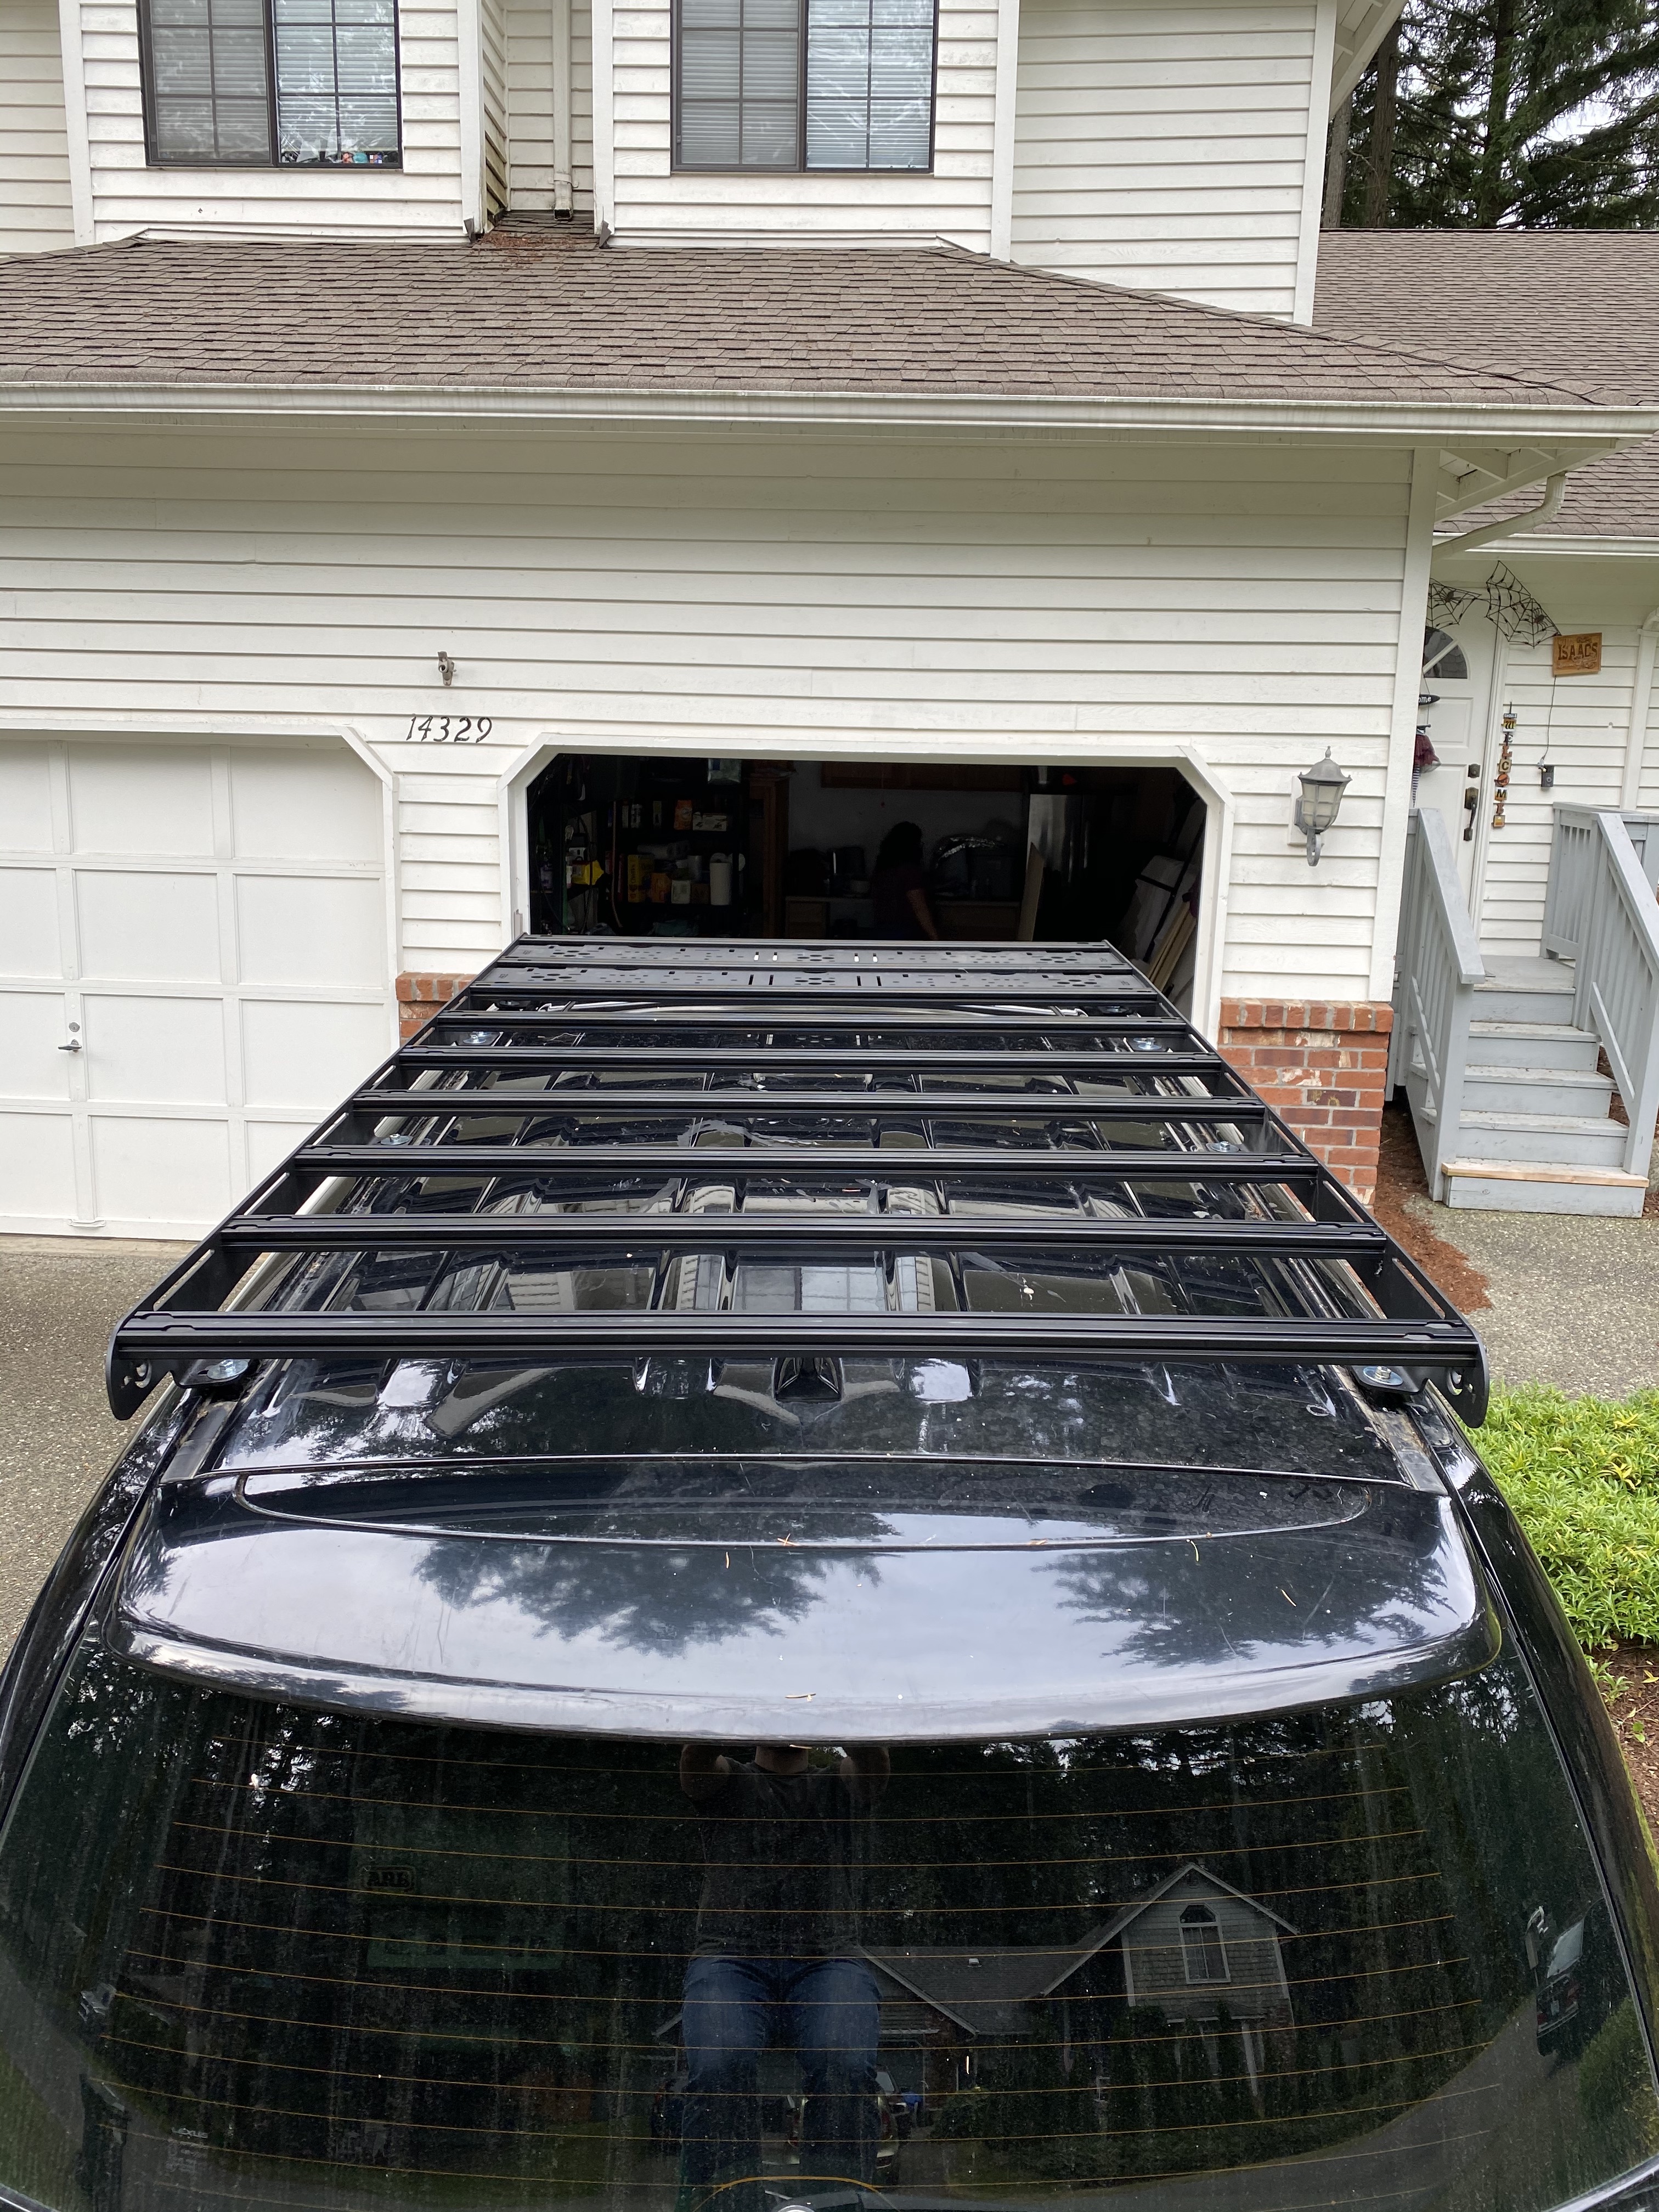
The extra square footage is amazing.
 
Buttoned up a couple of fun projects this week:

1. Finished moving my air filler to my bull bar by adding an external switch:

A10FB8DF-34B6-458A-BA4C-BAF8ADA36DE5.jpeg


I added an IP86 rated marine grade switch in the bumper skin:

3644E385-1C12-4D0F-B3FA-6171A4591F7B.jpeg


The relay is on ignition power so no risk of tampering when the truck is off. I love love love not having to pop the hood to air up. It’s so nice.

To keep gunk out of the fuller I capped it with a Wits End pacifier:

12981EC9-0CE4-479F-AA49-8900AC590BE7.jpeg


2. I ordered a national Luna tap light two months ago that just showed up after long back order. I originally wanted to mount to my Kaon shelf and tap the third row seat power but just couldn’t get excited about pulling my drawers and the interior panel to run power. So for now it’s on the hitch where my light from Brendan was:

42AE087B-8EDA-47D0-91A7-55B70C2C5FBA.jpeg


It’s and expensive light but I can see why. It’s very bright and having a red mode is super nice.
 
Last edited:
3. Replaced the cast hook that came with the Badland winch with a Factor 55 flatlink - no brainer upgrade along with ditching my bow shackels for soft shackles

3BF82B34-EFC4-41B2-B478-7119D9EDD6ED.jpeg


I actually had to shave a few millimeters off of the cable clasp on the Badlands winch in order to make it fit without grinding. No biggie - a couple of passes on my bench grinder and a couple of coats of paint to prevent rust.
 
Wouldn't want to be the guy holding up that face in the fast lane.
 

Users who are viewing this thread

Back
Top Bottom