I personally like going back with new fasteners in Stainlees Steel (5mm, 6mm, 8mm)This Evening, I Promised My Ol'Girl I'd Start Her Rebuild.
As this month (March) is my 1979 40's 40th Birthday, and she remains destraught in bits & pieces all throughout the house, I'm KNOWING I'm needing to do something FAST - prior to the month's end !!! ..... Soooo, I've just now put it upon myself to do SOMETHING, starting this evening, about my far too long-running, atrocious neglect of her & her perpetually saddened spirit.
Prior to being completely dissembled a number of years ago (the date of year is on this board somewhere, but I'm not going to look for it. ... too depressing for me), she had already been sitting in the 3-car garage (and two residential garages prior to that) for some 20-something years, not ever driven. It's been soooo long since she's been driven (or APPROPRIATELY loved), that, let's just say, it's been since the early 90's, when I snagged her with love & passion into my life that she had been driven (graduated college & then toted around the States for my then career - of course in need to be without her).
So, a few years back, to rectify garage-induced, Georgia moisture upon her '79 Japanese sheet metal, and that of vehicle-wide rubber decay, her complete tear-down & sandblasted chassis was my own, somehow justified answer to that. Regardless, for me, her delayed rebuild has so far merely been a money & priority issue - an actual big deal to me, but an obvious to all of us here poor (very poor) excuse.
Whatever
Sooo, this evening, to begin (by forcefully placing one foot forward) - that I begin 'walking' in the respectably correct direction for her (my beloved 40), I'm going to reinitiate my life-journey with my 40 via full reinventory all of her fasteners & small parts (all of which are individually ziplock bagged). Within the next few days, or week or so, when able, I intend to redetermine the individual condition of each fastener & part, vehicle-wide. Fortunate for me, the entire vehicle is pretty much in outstanding condition. I won't go as far as saying 'pristine.' But overall, she's actually pretty close to that. - - I Can Not Wait to see how STELLAR she will be when her rebuild is finished.
QUESTION #1 :
I recall the majority of her fasteners are in good condition, albeit dirty, etc. Will it be better to purchase a tumbler & tumble-clean the existing fasteners; and to then have them zinc plated ? -OR- Is it better to simply purchase one or more kits of new, plated fasteners, and disregard the majority of the existing, foregoing the expense to clean & plate them ? -Or- Is cleaning & plating the better conditioned of the existing, PLUS, purchasing one or more kits of new fasteners - - the more logical or common ?
QUESTION #2 :
After the cleaned fasteners are zinc plated, and/or the new ones received, is it a GOOD Idea or a far too REDUNDANT Idea to then have those same fasteners Black or Olive Drab chromate plated ?
Thanks !! ... And PLEASSSSSSE WISH ME BEST OF LUCK ON THIS ... (that I get my rear-end in gear on this looooong-overdue project of MY LONGTIME LOVE) !!!!
View attachment 1933714
~Skydog
Navigation
Install the app
How to install the app on iOS
Follow along with the video below to see how to install our site as a web app on your home screen.
Note: This feature may not be available in some browsers.
More options
Style variation
You are using an out of date browser. It may not display this or other websites correctly.
You should upgrade or use an alternative browser.
You should upgrade or use an alternative browser.
What have you done to your Land Cruiser this week? (33 Viewers)
- Thread starter IH8MUD
- Start date
This site may earn a commission from merchant affiliate
links, including eBay, Amazon, Skimlinks, and others.
More options
Who Replied?")

oregon fj
Serial rescuer of old vehicles
Sold out again. I doubt I will do another batch, but it could happen if there is enough demand.
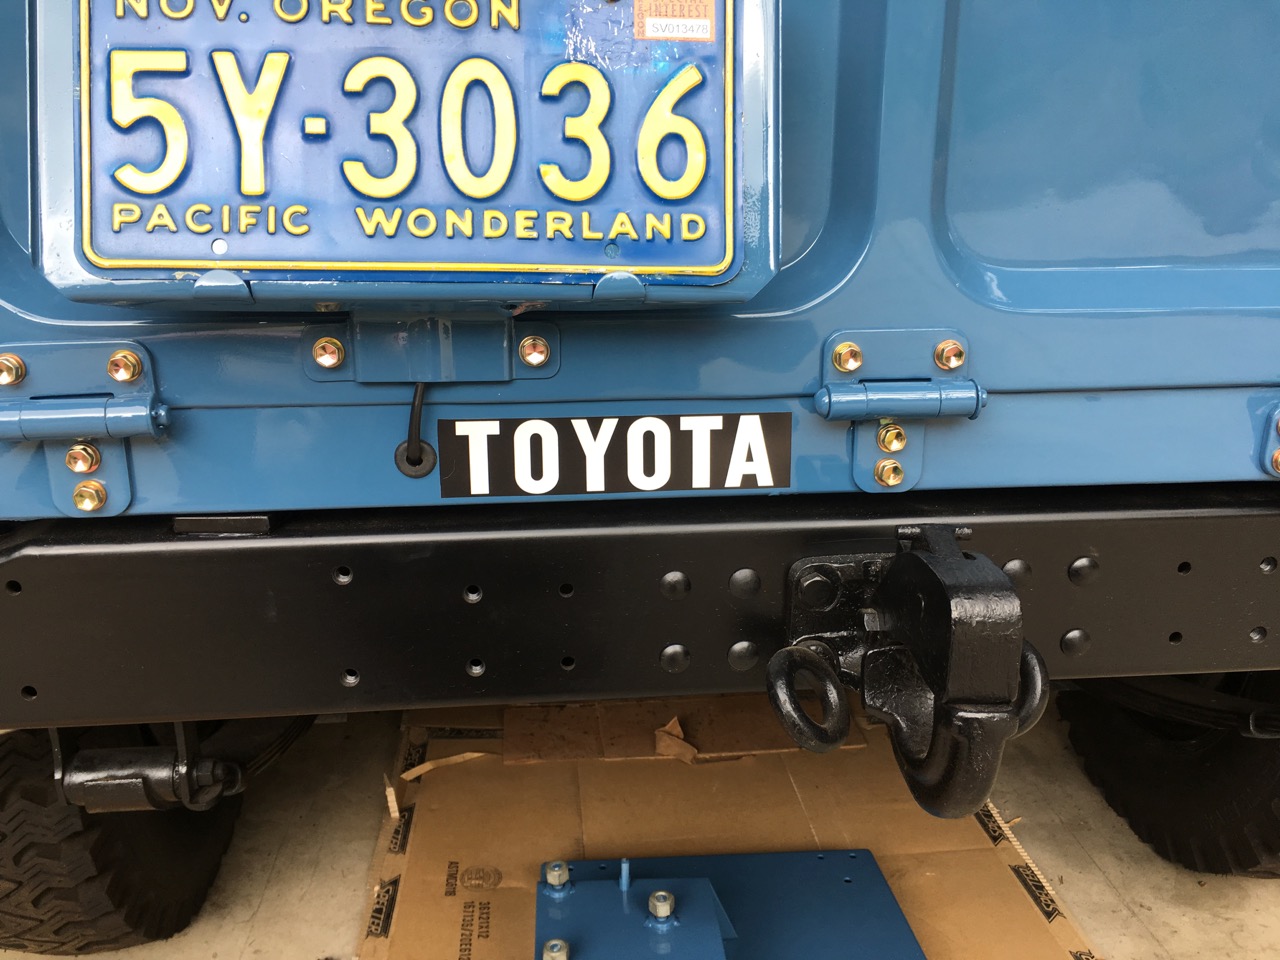
Received the final legacy from my recent FJ40 FST project - the final batch of repro reflective sill stickers for '64-65 FJ40s. Looking for homes for the last 6.

Repro Toyota sticker for FJ40 rear sill - Now bulk sales only
Now that the last of the 6th batch is gone, I am quitting the retail sticker business. I've got too many other things going on to spend time packing and mailing these one or two at a time. So as of now, I will only do bulk sales, in multiples of 15 (15, 30, 45, etc.) shipped to a single address...forum.ih8mud.com

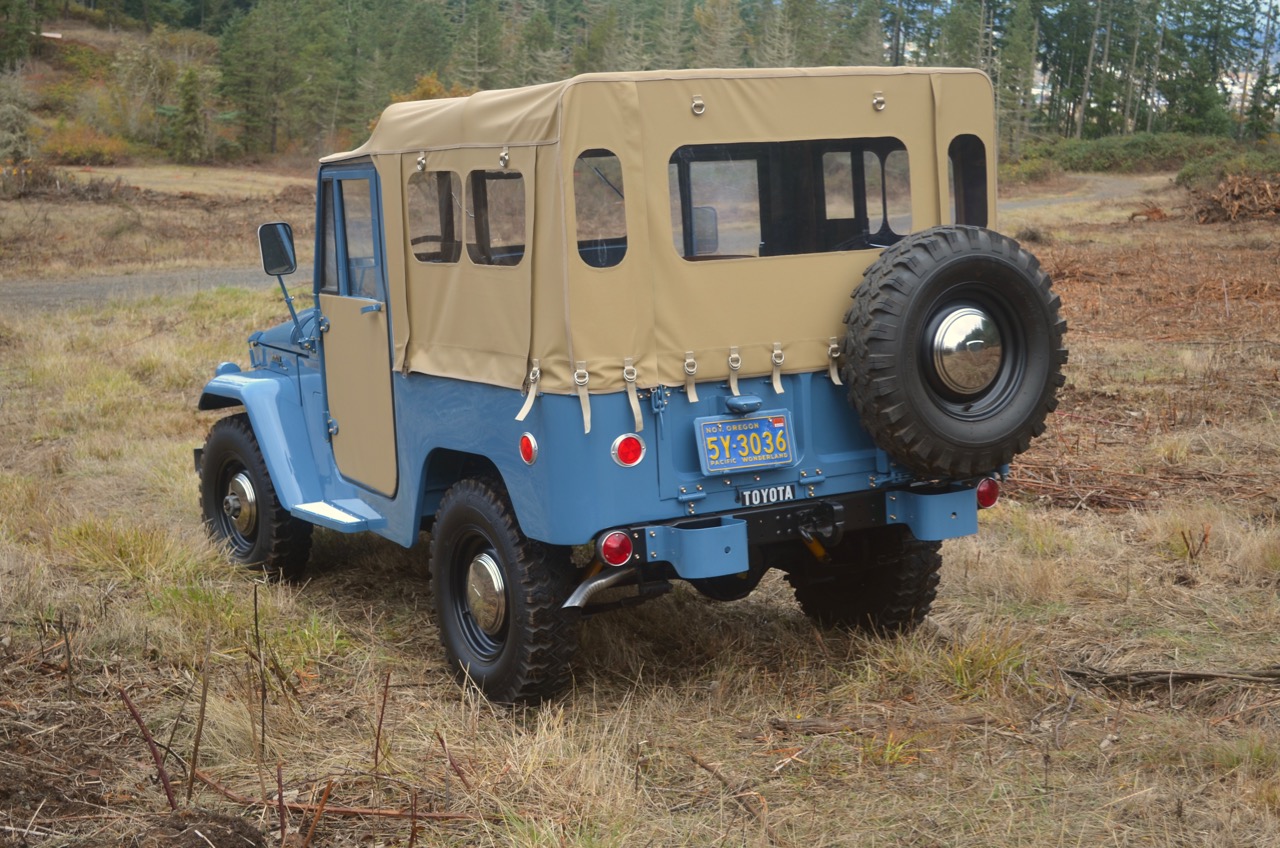
Far from done but at least I can take these guys out now. What started as "I'm just gonna scab some steel over these rust holes so the body doesn't fall off the frame" ended up with the body off, sand blasting, an Aqualu 3/4 tub, primer, paint, more sand blasting, more primer, more paint, yada, yada, yada. Eighteen months later I can drive it again. On to the next project!

cruiserkreutz
SILVER Star
I'd buy one.Sold out again. I doubt I will do another batch, but it could happen if there is enough demand.
I love that bikini top setup. where did you get the extensions/hoop for the rear? Is it a standard size bikini top other than that? ThanksFar from done but at least I can take these guys out now. What started as "I'm just gonna scab some steel over these rust holes so the body doesn't fall off the frame" ended up with the body off, sand blasting, an Aqualu 3/4 tub, primer, paint, more sand blasting, more primer, more paint, yada, yada, yada. Eighteen months later I can drive it again. On to the next project!
View attachment 1944799
I bought a cool new key chain from 65swb45, and Mark threw in a freshly rebuilt carb. Now I just to find an engine to put in on.

I love that bikini top setup. where did you get the extensions/hoop for the rear? Is it a standard size bikini top other than that? Thanks
It's a Deluxe SOR Standard Family SummerTop from Specter. It gives the dogs some shade when we're out exploring. I get about five years out of them but that's five years of outside all the time and driven nearly everyday. The hoop is just conduit. I bought a couple 90 bends and a straight piece and welded them together. I probably found something at Home Depot that made an inner sleeve where the pieces connect. If you know an electrician they could bend it out of a single piece pretty easily I image. A 1/4" bolt through the roll bar and conduit and a 10-32 screw through a welded-on tab at the end hold it on. If you get your geometry right it will fold forward against the roll bar when you want to take the bikini top off; just remove the two screws and it pivots on the bolts.
I made this one in an afternoon to see if my idea would work. I figured if it did I'd make a proper one with sturdier tabs, paint it and generally make it presentable but it's worked so well for the past seven years I've never bothered to redo it.
firefighterjed
SILVER Star
Finished my dash knob work! I’m a little embarrassed to admit how annoyed I was by the aftermarket choke cable. I freshened up all the lettering in the other knobs, installed the switch for the flood/spot lights and re furbished and installed an OEM choke pull. I am very happy.


@firefighterjed nice work on that choke nob I need to get my original back in my ‘78
jim land
SILVER Star
 Got to the cabin for ice fishing , 700km round trip, she was flying at 120km/h on the relatively flat highway and 80km/h on the hills in 4 th gear , average 13 L/100km
jim land
SILVER Star
With april weather


thecrazygreek
A.K.A. TheCraftyGreek
Don't make me do math.... ")
Cummins R2.8 is installed and putting the first full days of driving on it before wrapping up the final details. I can't describe how much better it drives, gobs of power in every gear that is delivered smooth and evenly. I haven't stopped smiling since I started it up 


18 mpg(us)Don't make me do math....
80 km/h = 50 mph
120 km/h = 75 mph
700 km = about 435 miles
My best 100 mile highway run with a 350 was 20 mpg(us)... which is part of why I've not gone Diesel.
At €1,77 a ltr that would be €161,07 on petrol here.
View attachment 1945462
View attachment 1945464
View attachment 1945468
View attachment 1945469
View attachment 1945470
My DD does an average of 4,5 ltr diesel in winter time.
18 mpg(us)
80 km/h = 50 mph
120 km/h = 75 mph
700 km = about 435 miles
My best 100 mile highway run with a 350 was 20 mpg(us)... which is part of why I've not gone Diesel.
I still want to know how you pull these types of MPG. Especially with your “up-armored” tub...with a Q-jet on my 283 I returned around 13mph average. On the super mild (stock) 350 I replaced the 283 with I get about 10mpg. I’ve been goin back and forth about messing with the jets and rods to see if I can do better but 18mpg seems very likely unattainable.
Installed old rack I found, rewelded, added floor and powdercoated. Next I'm getting rid of these tires/wheels and going back to oem steelies with pizza-cutters.

jim land
SILVER Star
I still want to know how you pull these types of MPG. Especially with your “up-armored” tub...with a Q-jet on my 283 I returned around 13mph average. On the super mild (stock) 350 I replaced the 283 with I get about 10mpg. I’ve been goin back and forth about messing with the jets and rods to see if I can do better but 18mpg seems very likely unattainable.
3b and h55 is the answer , 10 L/100km (23mpg) when I dont push her , like 60mph instead of 75mph
Similar threads
Users who are viewing this thread
Total: 34 (members: 18, guests: 16)