Builds Cummins R2.8 H151 Swap into 1993 FZJ80 (2 Viewers)

This site may earn a commission from merchant affiliate
links, including eBay, Amazon, Skimlinks, and others.

I'm curious why you went to the trouble of brazing the fitting to the low pressure line on the reservoir just to go and clamp the hose to a barb adapter anyways? Why not just clamp the hose directly to the unmodified reservoir?
Basically the LC uses metric sized hardline which is not available in the USA. -6AN hose is almost the correct size but a little too small. So while it is possible to install it with some wd-40 when its off the vehicle, after several months of use you will have to cut the hose off the reservoir hardline to be able to remove it. Then this will require a completely new hose or a splice with a double male barb.

Its rather interesting that the AT cooler stuff works great with standard 3/8'' hose, I suspect that its designed this way intentionally to keep people from doing stupid things, just like all the different gas fittings we have with the intention of keep inert and combustible gasses separate, you know how some things are reverse thread and others are not. Just a hunch? No lo se guey.

But as it stands now, everything is done correctly and should be easy to service with simple tools in the field should it be necessary.
 
I had a free hour last night so I redid the oil filter housing lines. I should have thought ahead last time, using -10AN hose over a 6 inch span is not a good idea, the stuff is just not workable at that length, on top of that the hose ends are like 3 inches long so that just compounds the problem.

So I changed the hardline routing off of the engine to make the flex lines much longer. Then I changed the bracket to support the hardlines.


I used some scraps to make a few gussets...


My wife snapped this picture, she thinks I belong in the nut house for doing all of this...

Much easier to use 90 degree fittings at the end of the hardlines then trying to put 90 degree bends in, my bender does not have a tight radius so the bends end up taking lots of space.


Once I get the oil pressure sender installed in the cummins housing and fab up some softlines we should be good to go. The OEM harness reaches the place where I have mounted the oil filter housing so this part of the wiring will require zero mods, I like the sound of that.
 
Super cool build! I've got a 12v first gen in my driveway and would love to put that in my 80... I'm really enjoying seeing your design work, it's excellent. My previous job involved a lot of reverse engineering using various scanners and a lot of CAD work. Would love to do it in the automotive world. Kudos for the quality of this swap, definitely picking up a lot of knowledge here. Will be staying tuned! Cheers.
 
Super cool build! I've got a 12v first gen in my driveway and would love to put that in my 80... I'm really enjoying seeing your design work, it's excellent. My previous job involved a lot of reverse engineering using various scanners and a lot of CAD work. Would love to do it in the automotive world. Kudos for the quality of this swap, definitely picking up a lot of knowledge here. Will be staying tuned! Cheers.
Thank you for those kind words.
Nothing better than a mechanical 6BT. I still can't believe people put 1100 pound engines in 80 series but as many have demonstrated on here the chassis and axles seem to take it like a champ. I still can't believe people can cram that beast in there!!
 
Guess I got enough crap for another update. As of today the power steering system is done, sans a few hose clamps which I need to get from McMaster-Carr.

Got a parker hose made today, total cost was about 40 bucks including fittings.


Here is the hardware used at the pump end, I was locked into -6AN since all the banjo fittings I could find only come with -6AN, its about the same size as the FZJ80 setup so time will tell how it works...

Cooling system is wrapped up, ended up splicing off the shelf hoses together, getting custom hoses was just to expensive in my opinion.

The lower radiator hose is my least favorite, the original hose was from some old F800 truck, it only needed to be cut in the middle and clocked, other than this it was very close to drop in. I might be able to get another hose and do a better job in the future, I will save that for the first cooling flush...


Upper radiator hose has to snake around the alternator pulley, no rubber could do that so I fabbed up a little tube thing to get the job done.


The little blue hose is my way of plugging that nipple on the t-stat housing. Its plastic and I figured that I could not drill and tap it for a plug. I hope the small bypass of the thermostat does not effect engine temps much.

I also got a start on the exhaust system, not much right now. I am fresh out of tubing and all my saw blades are dull, so it looks like not much is going to get done this weekend except yard work...:mad:

I did manage to get this flex coupler mocked up, I also need to get a few mandrel bends.
 
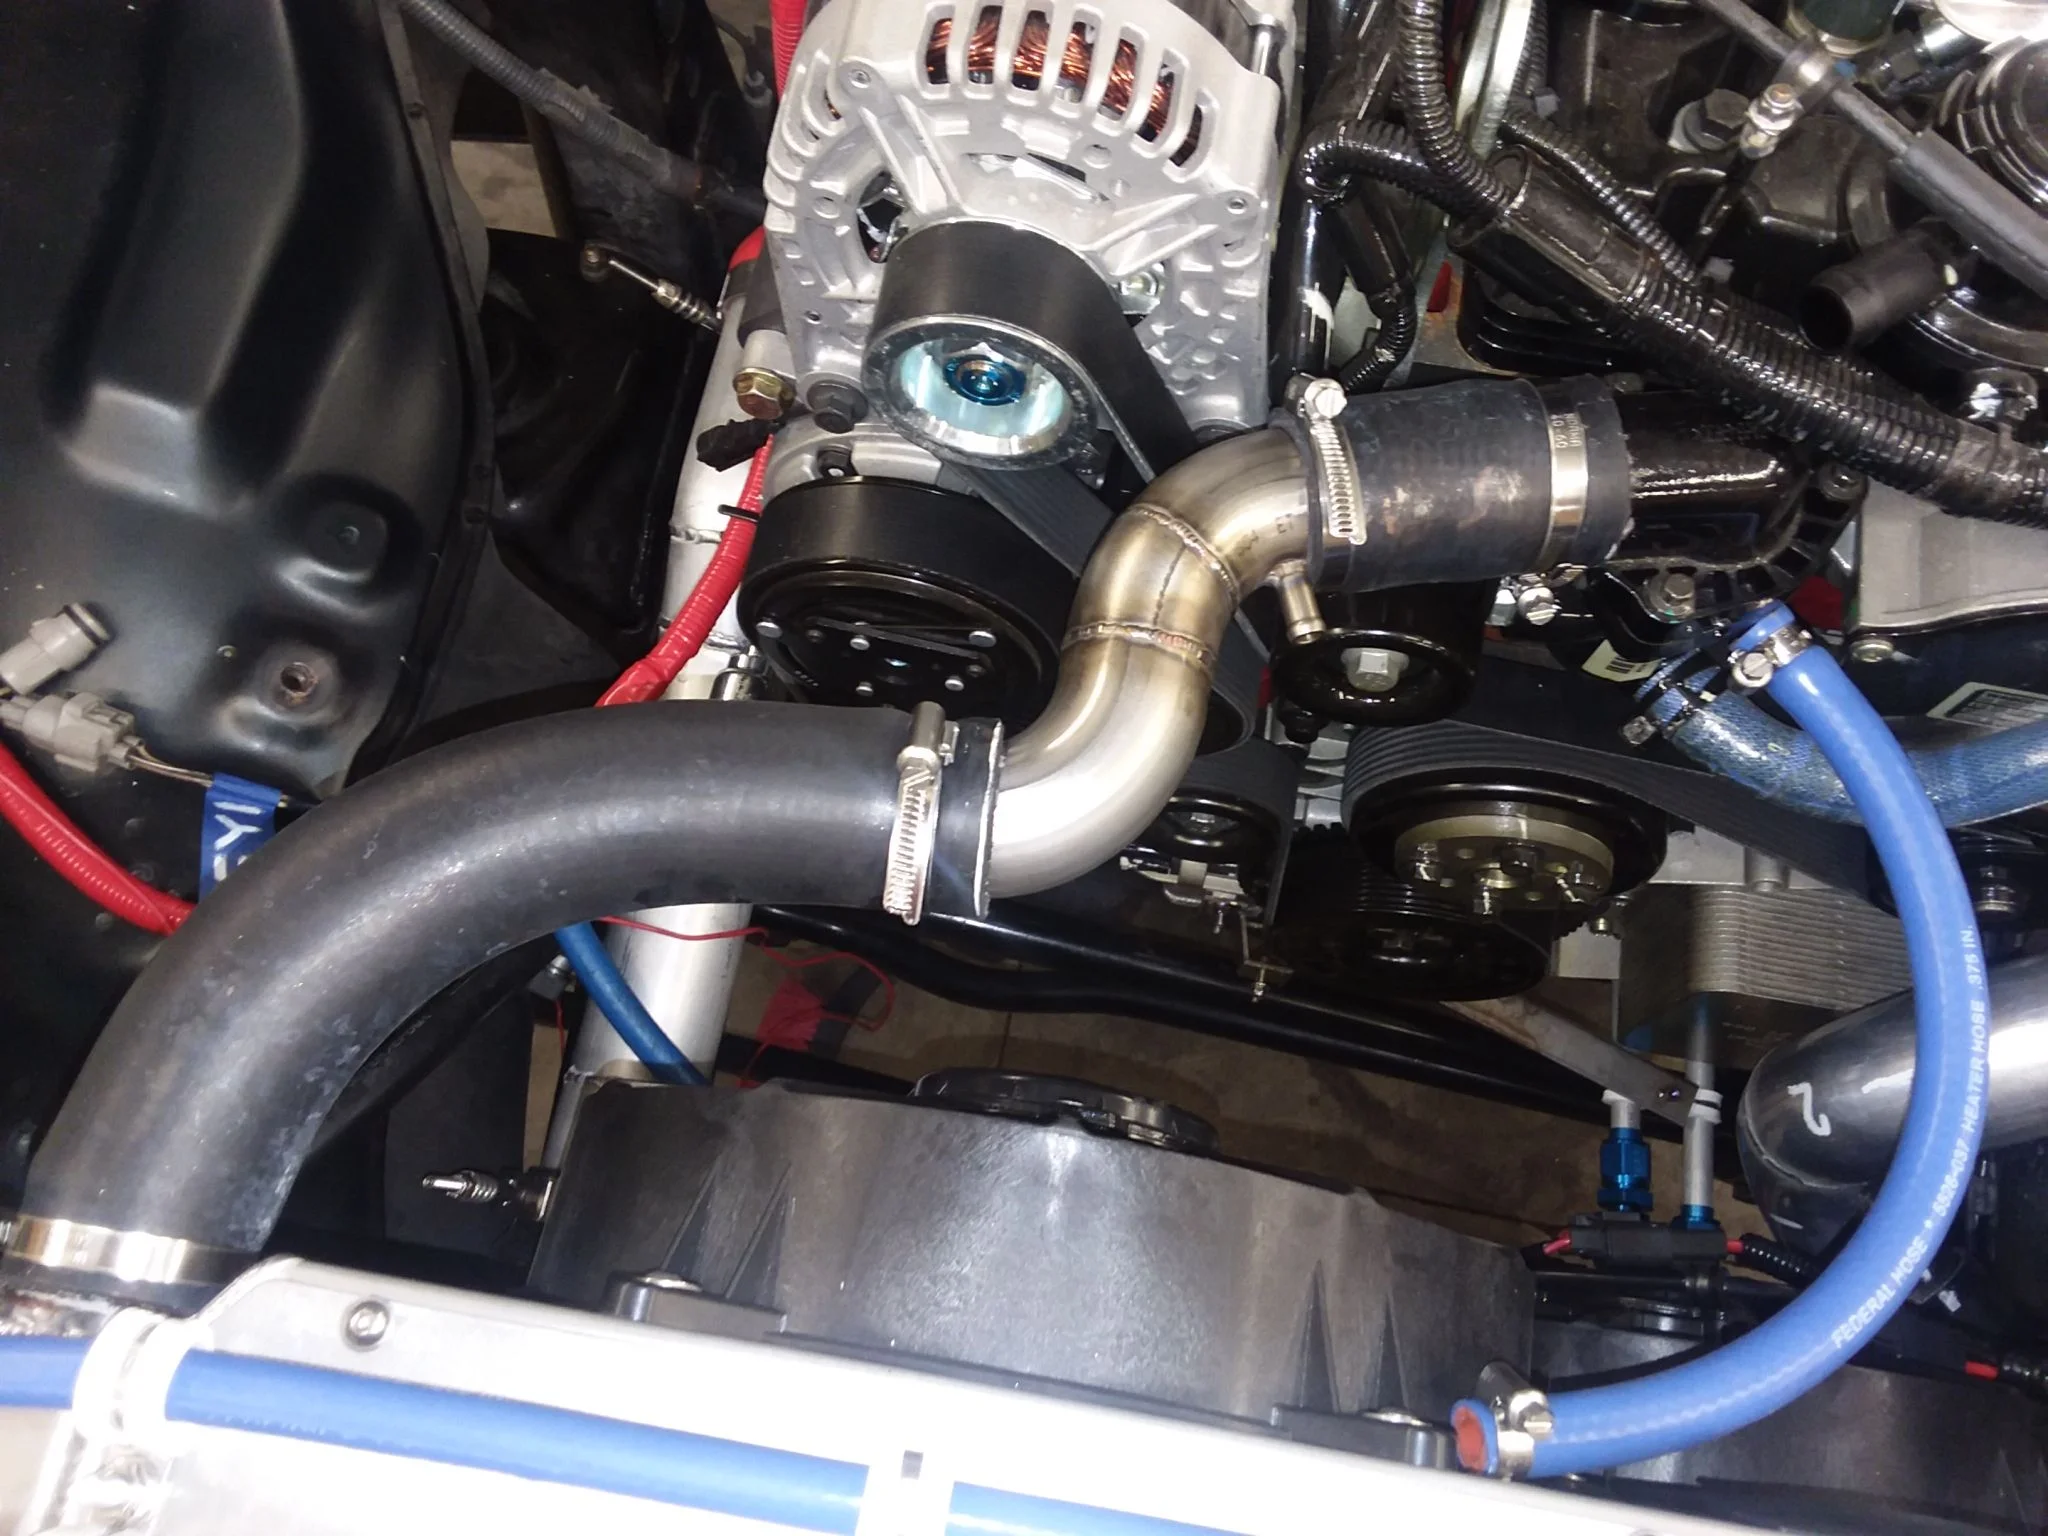
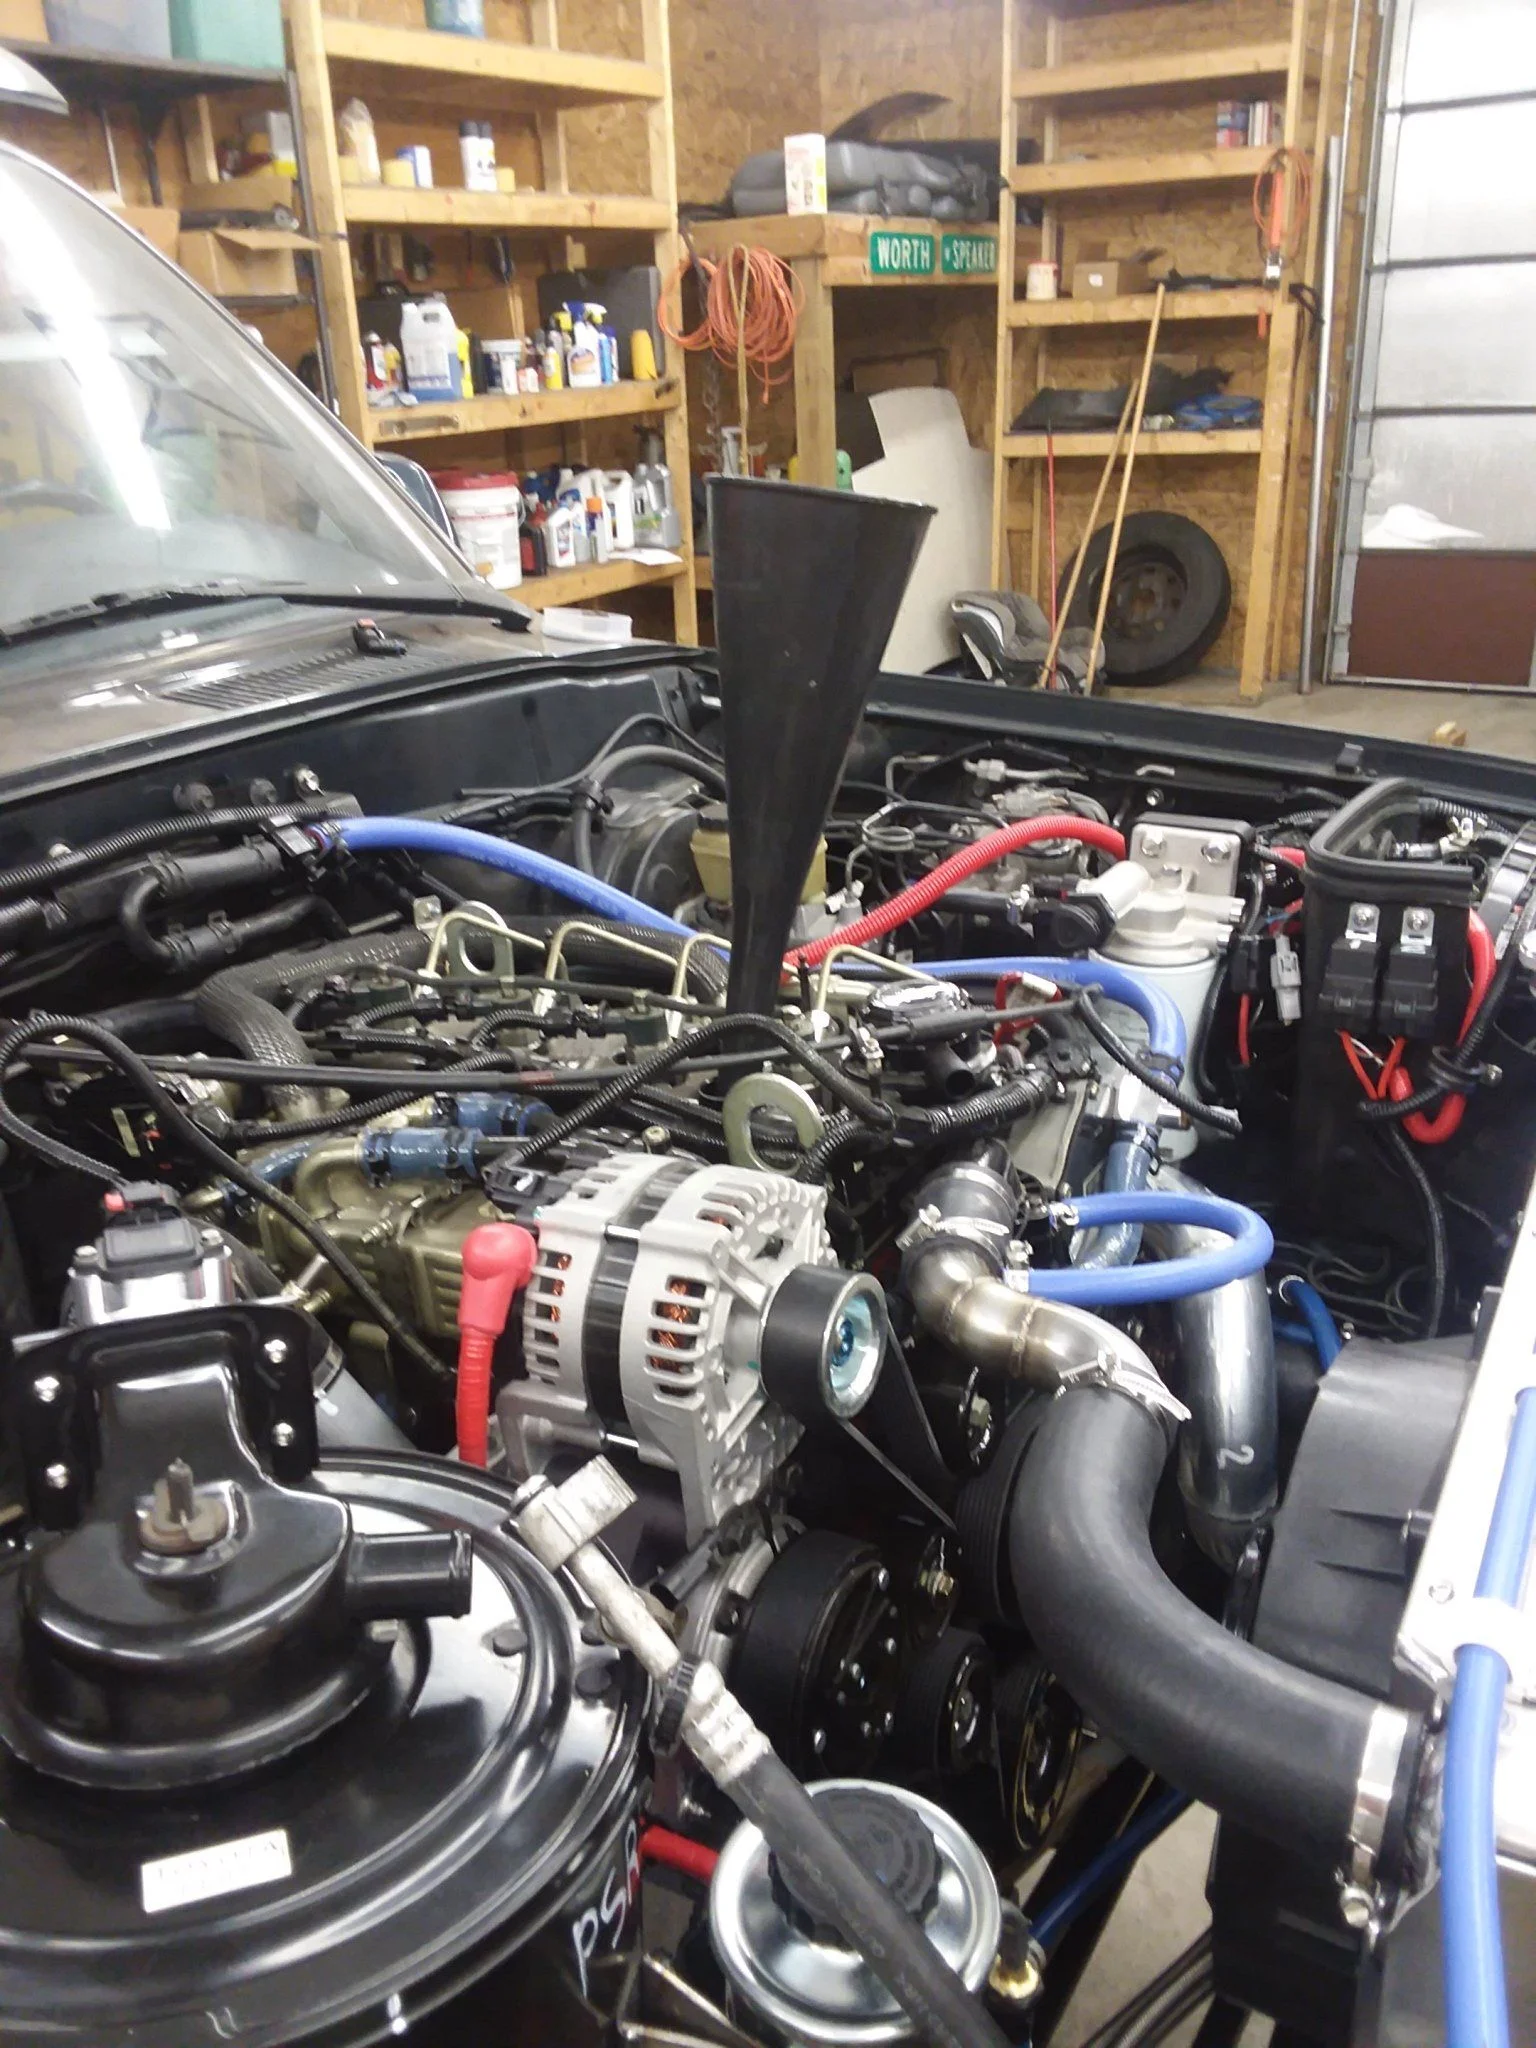
Things are finally starting to take their final form and I should be ready for the first start up within a week or so.
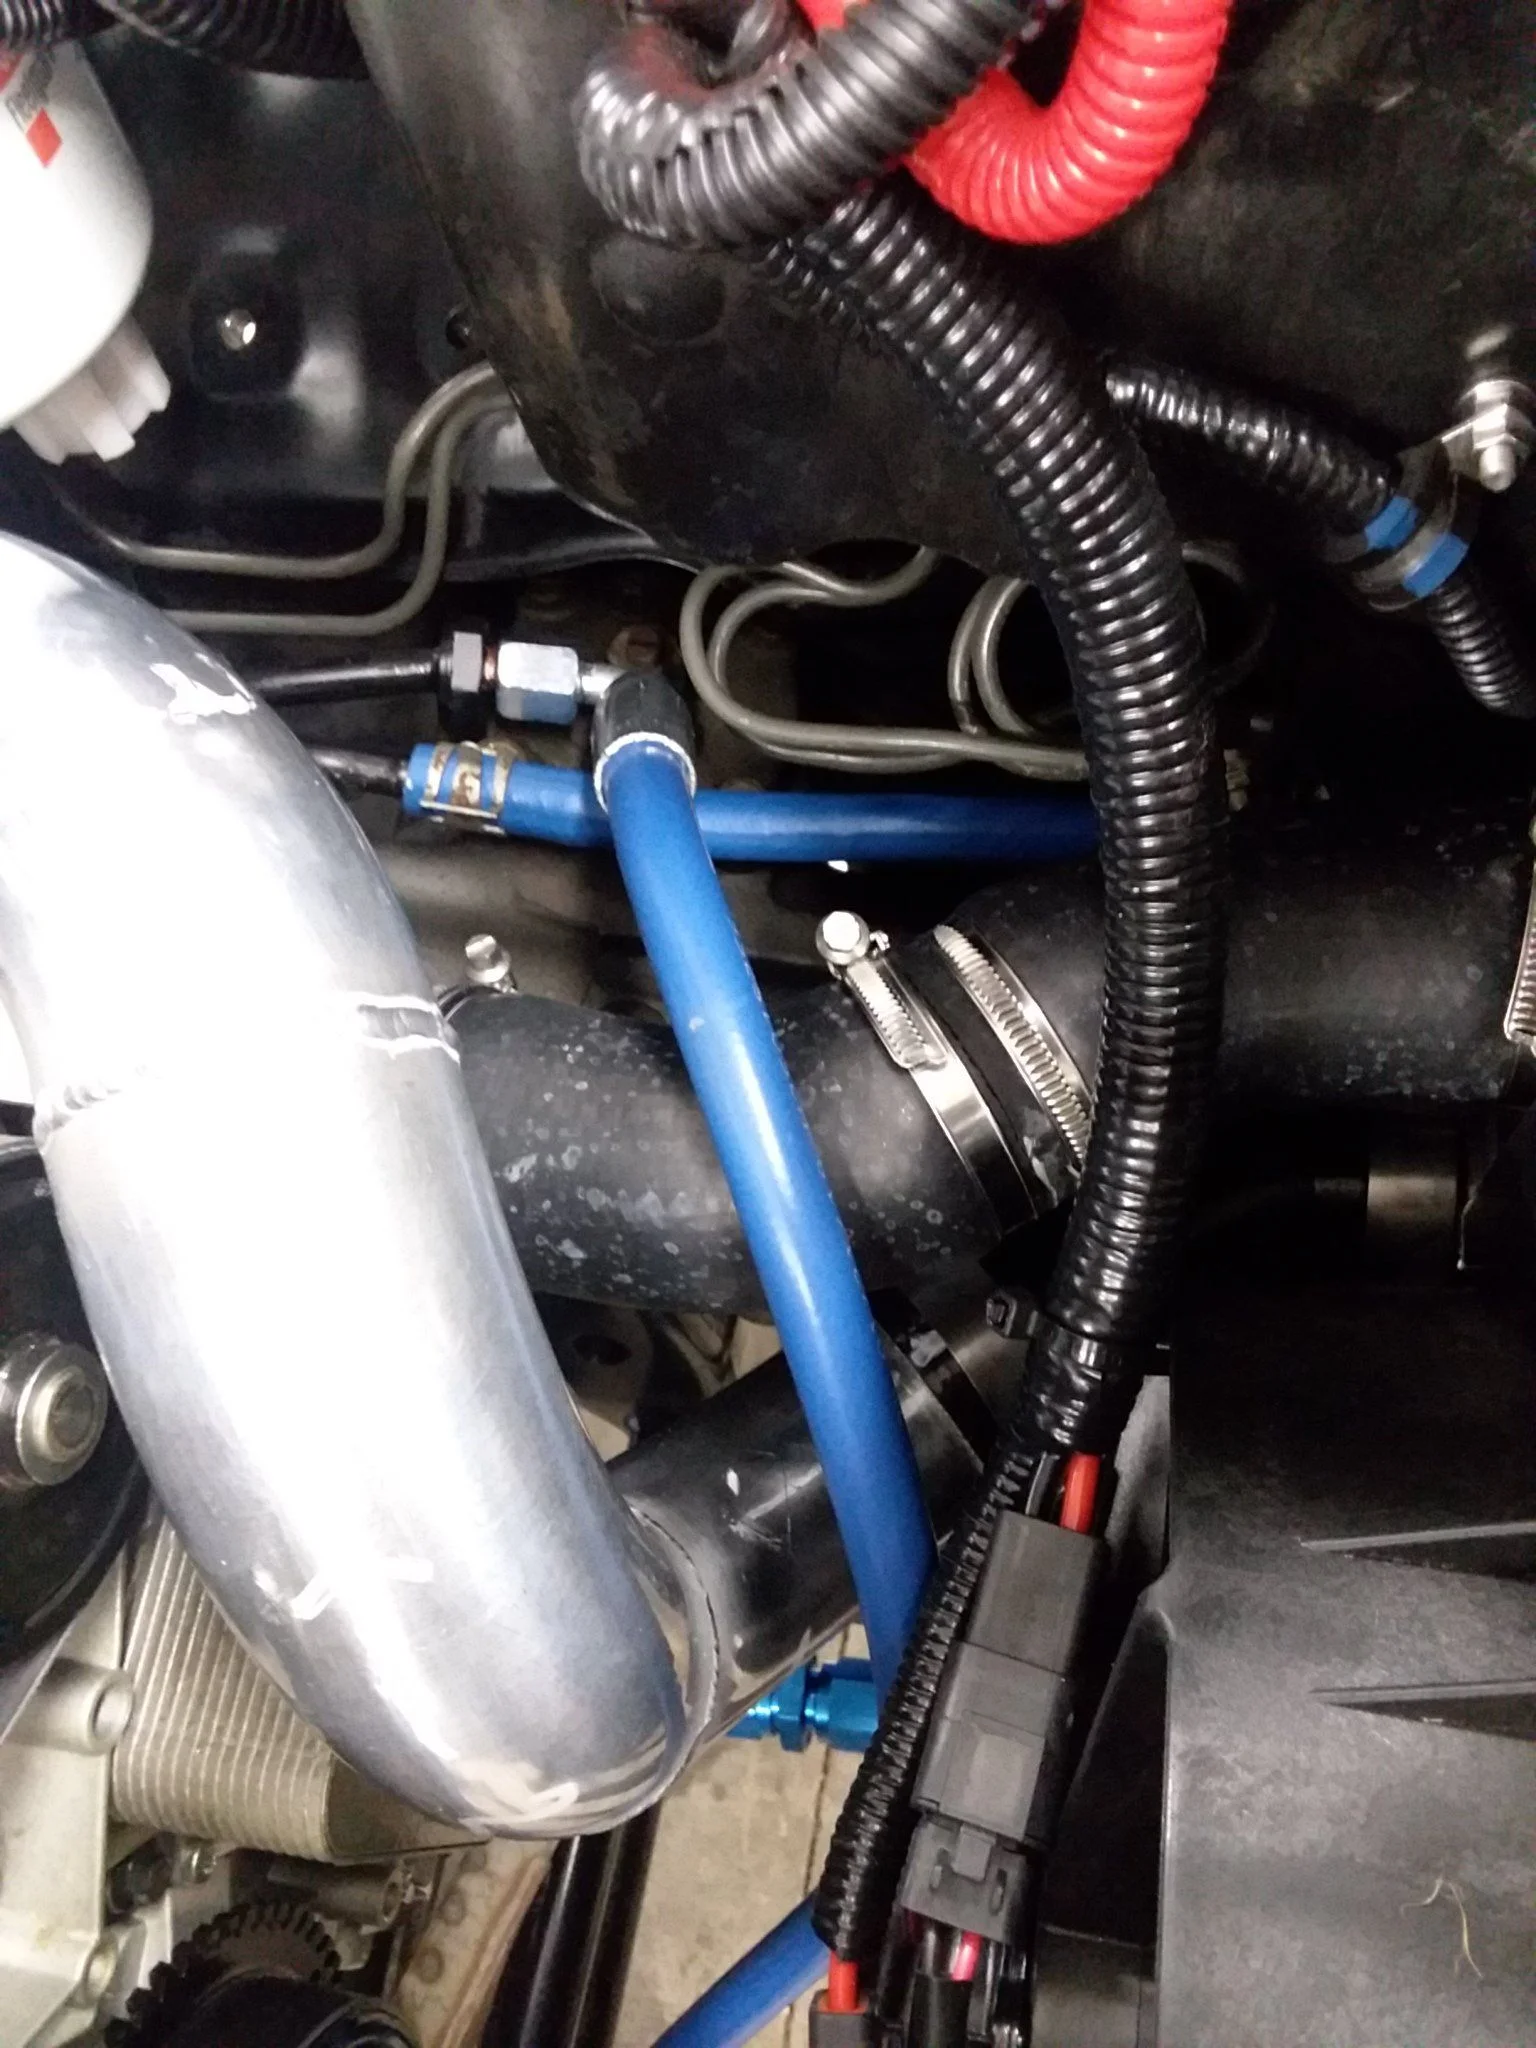
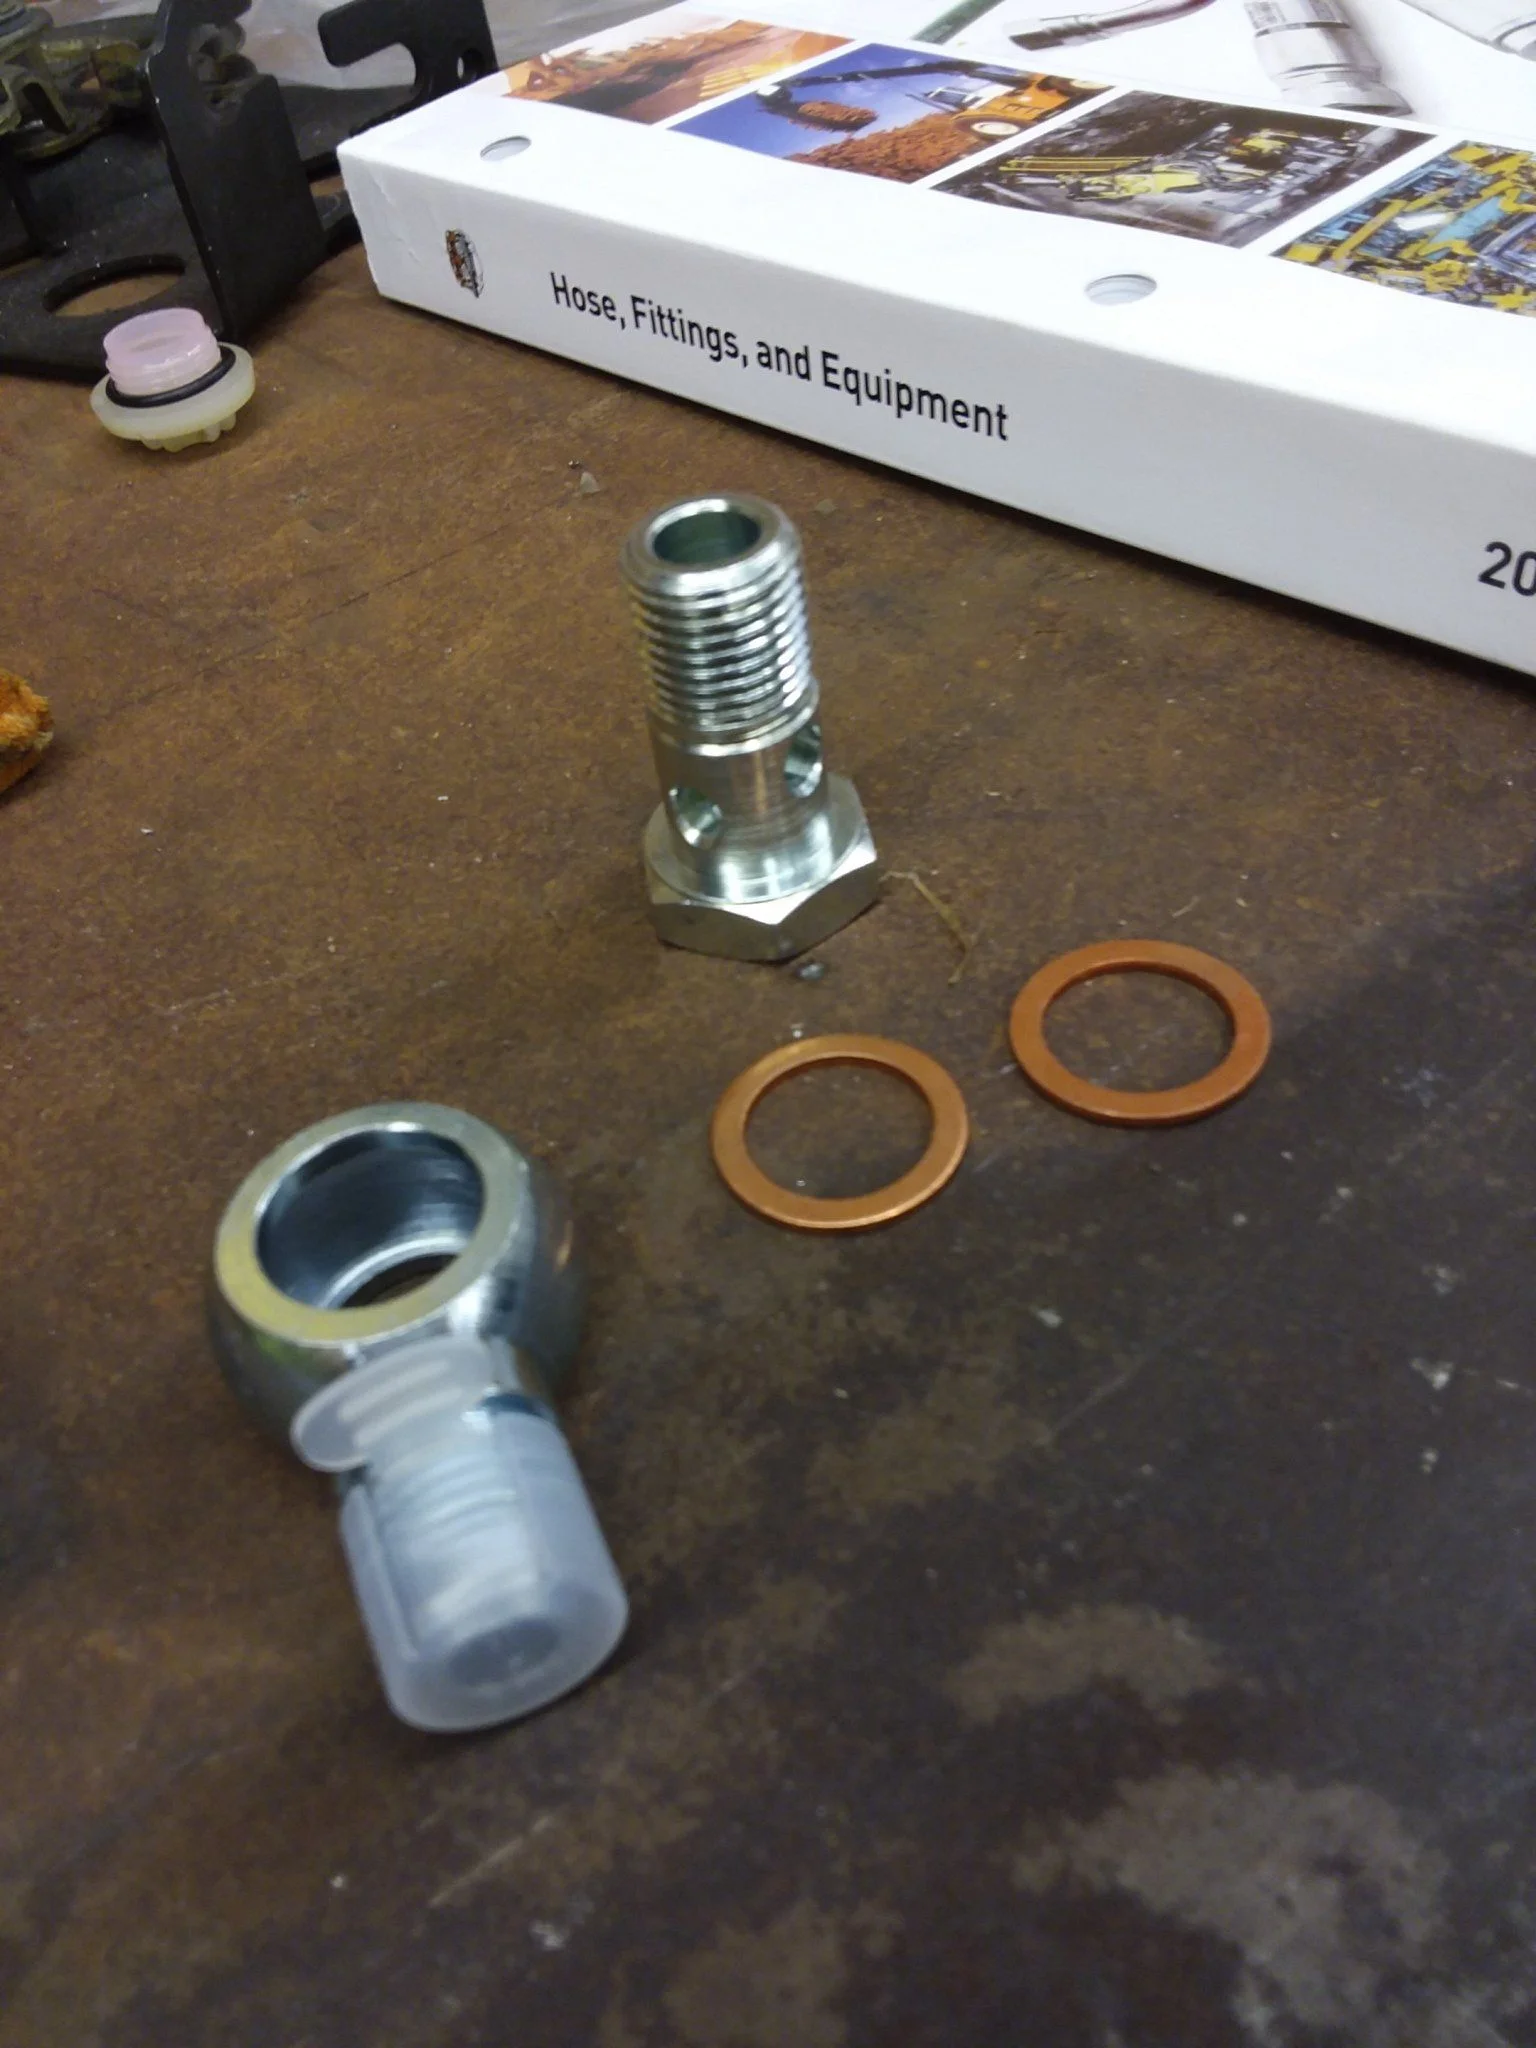
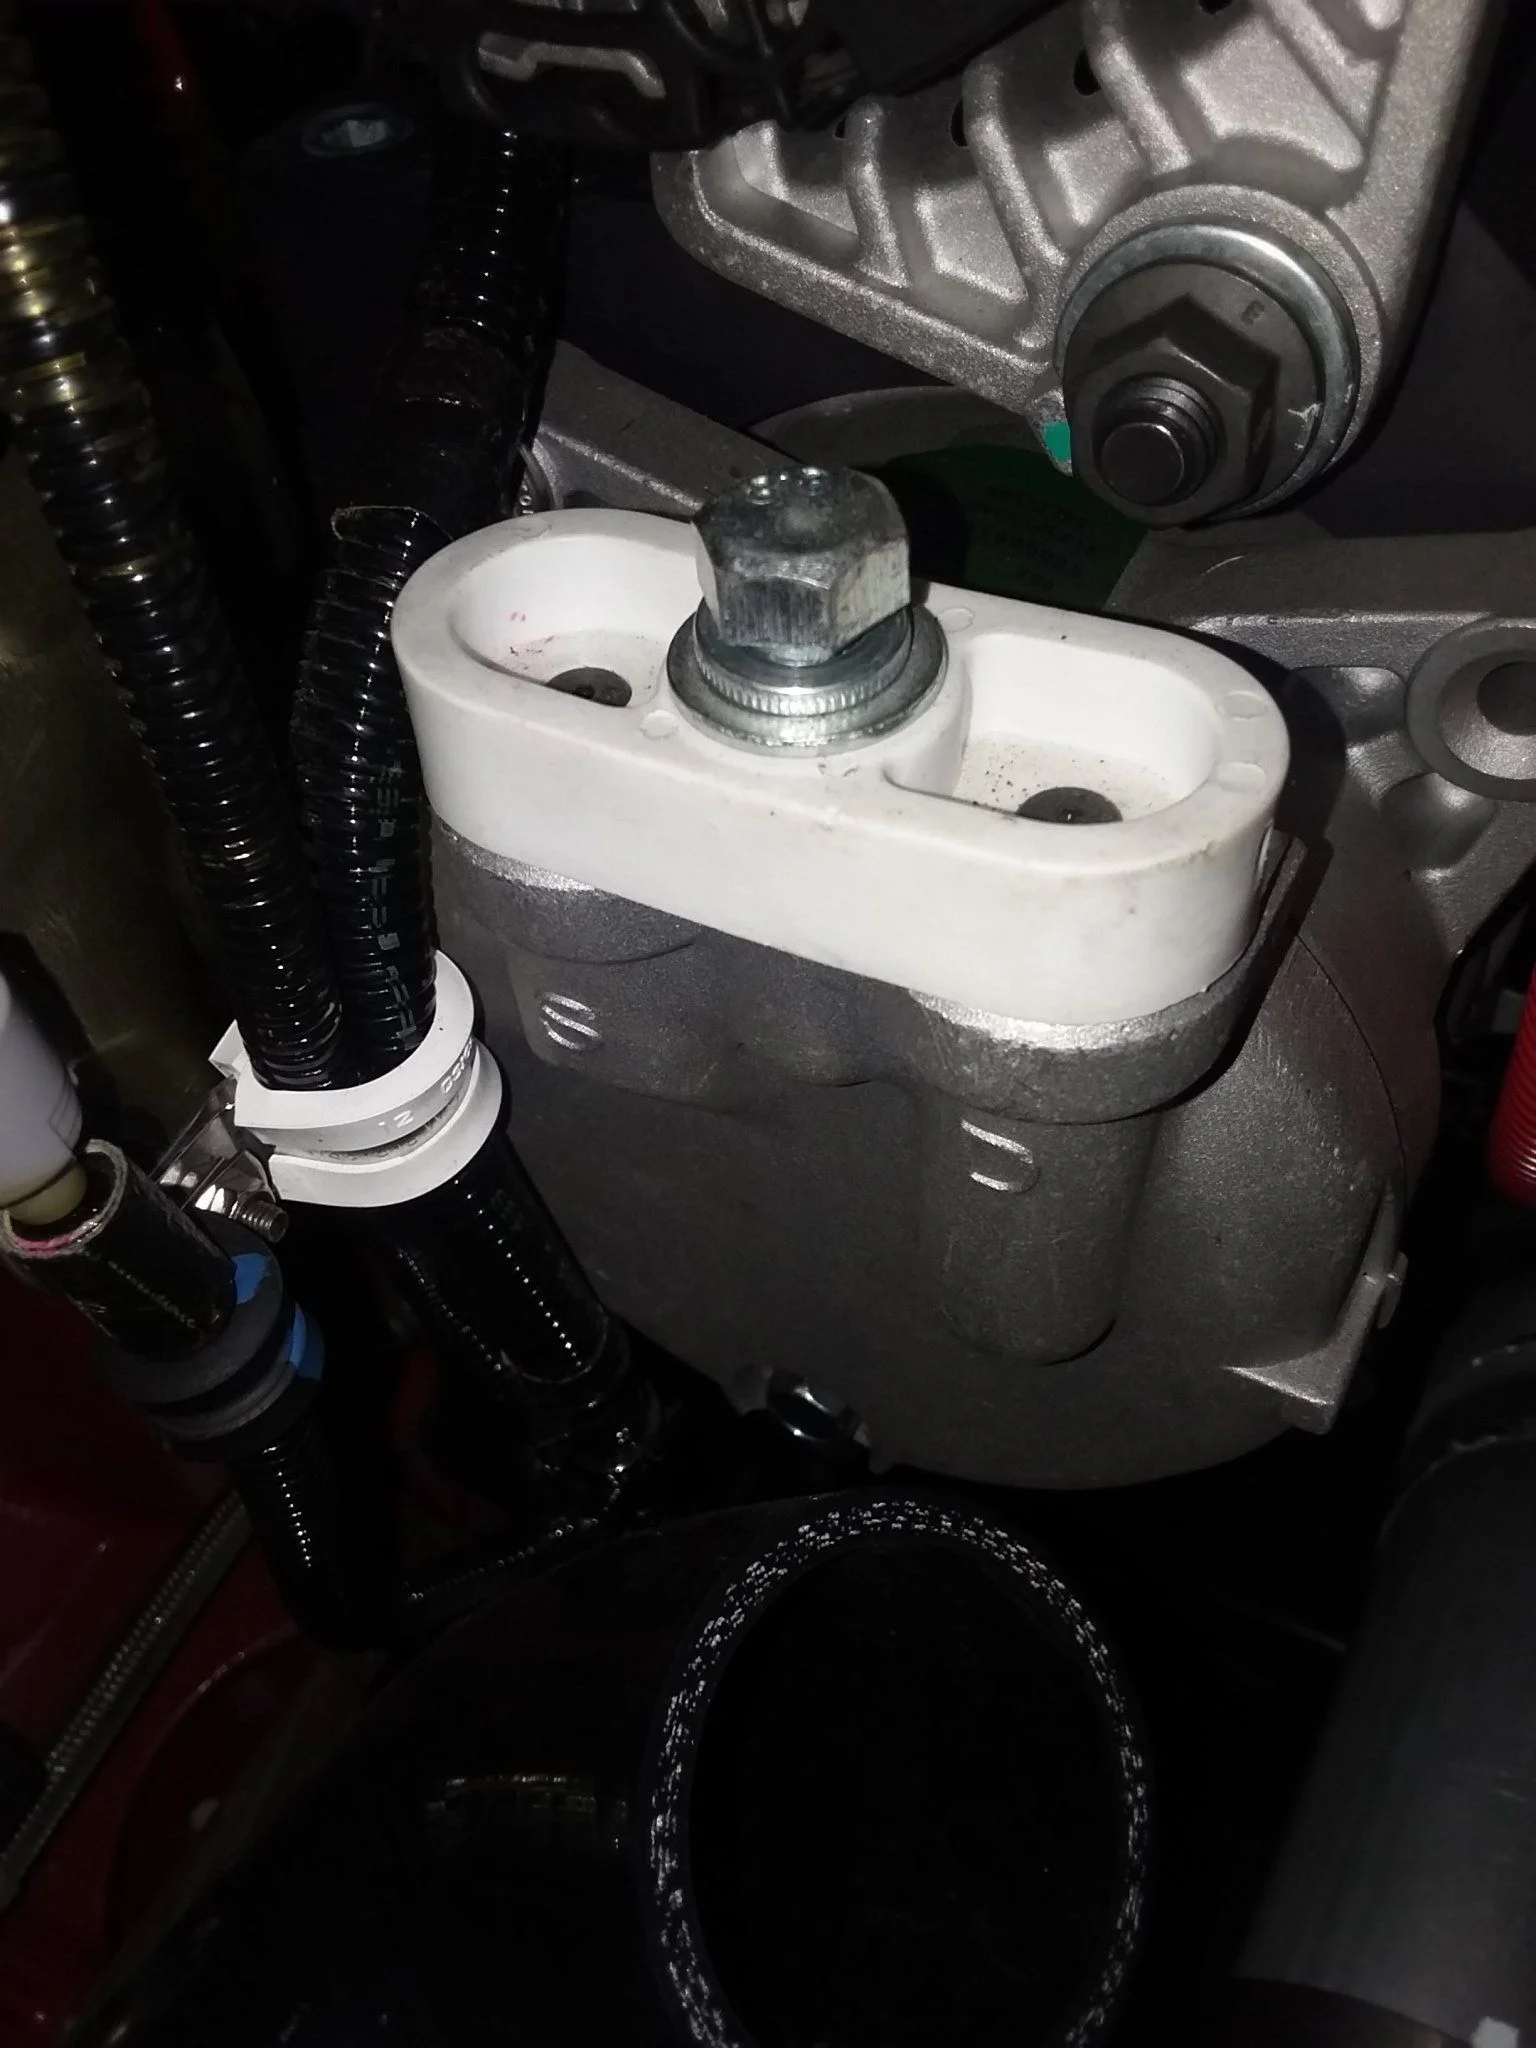
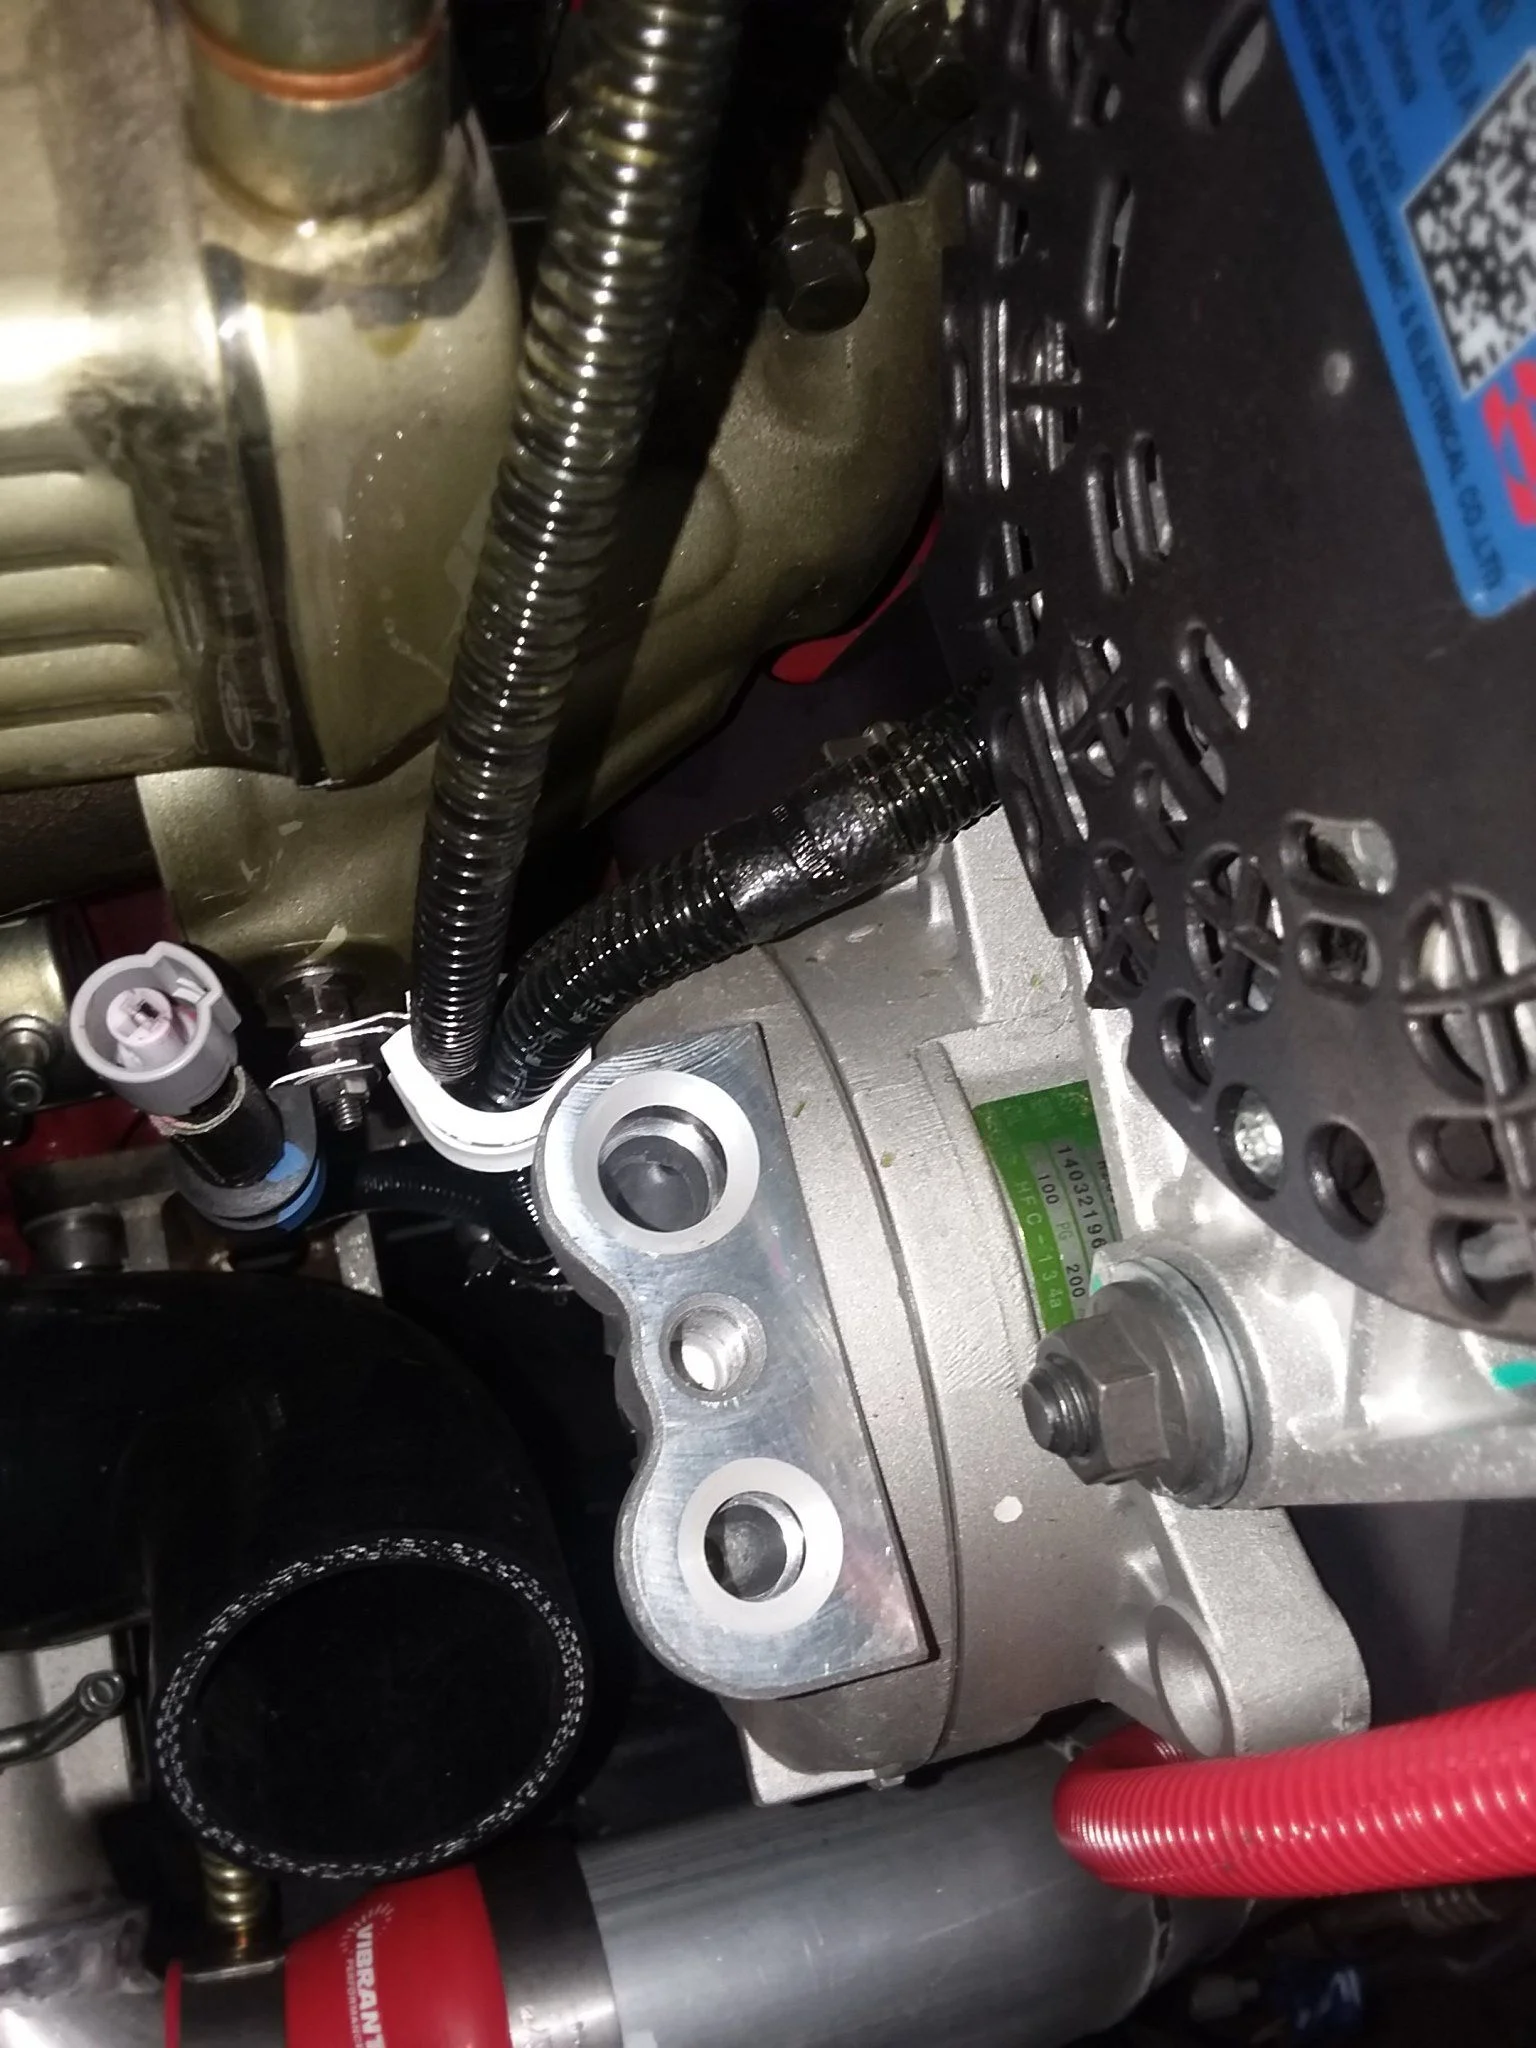
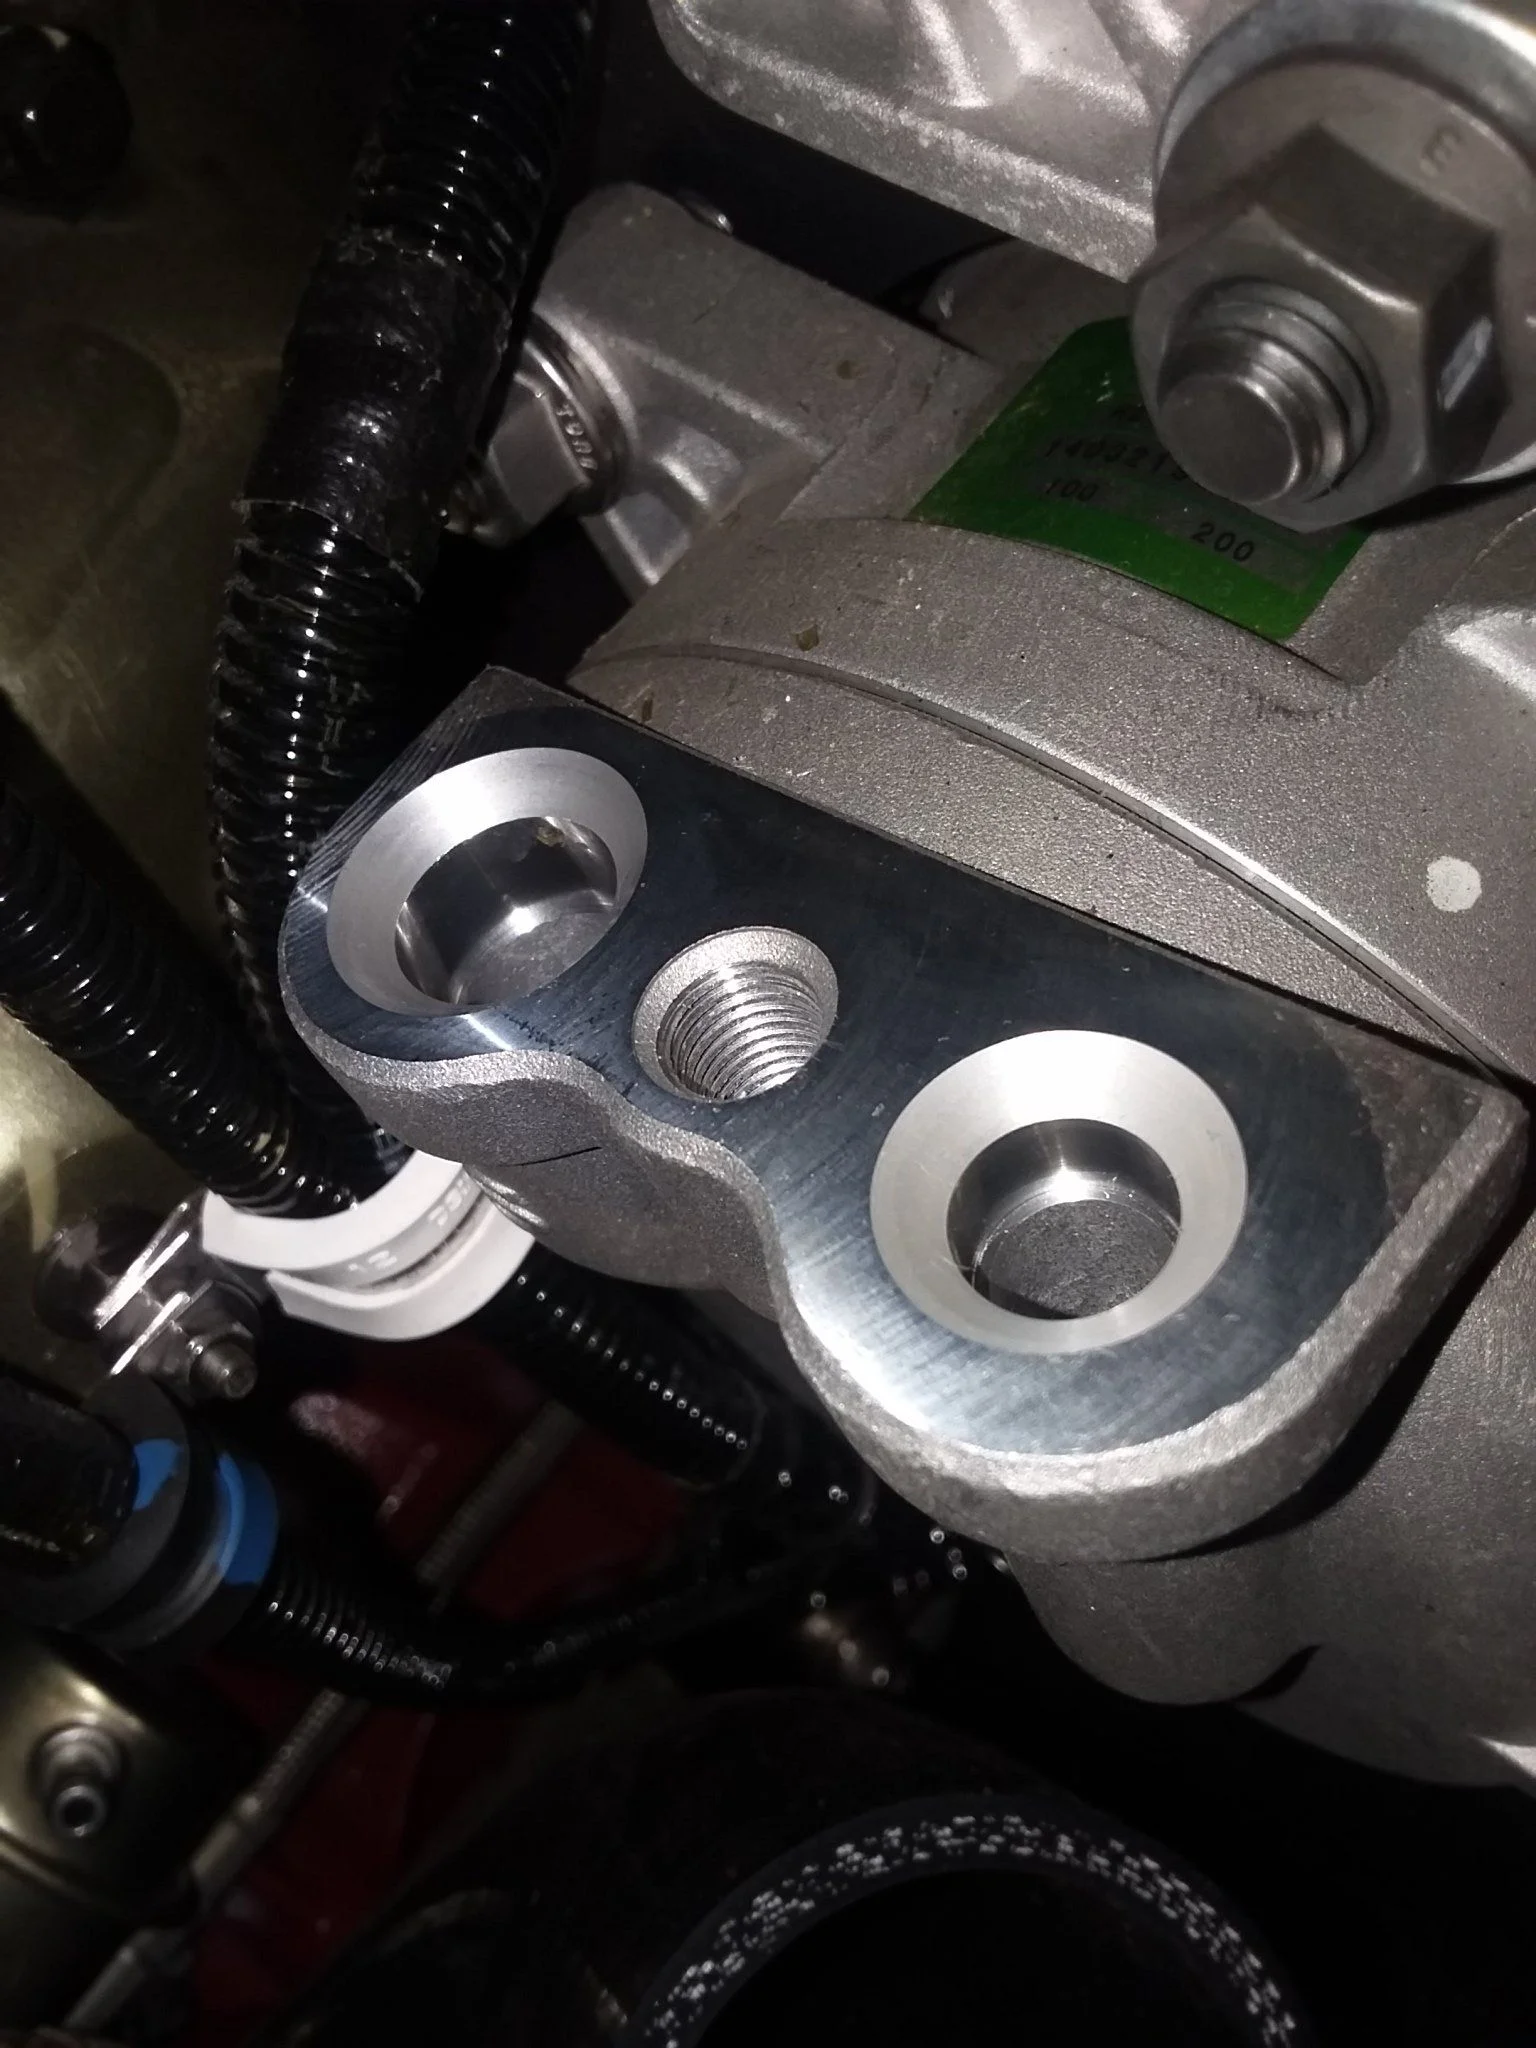
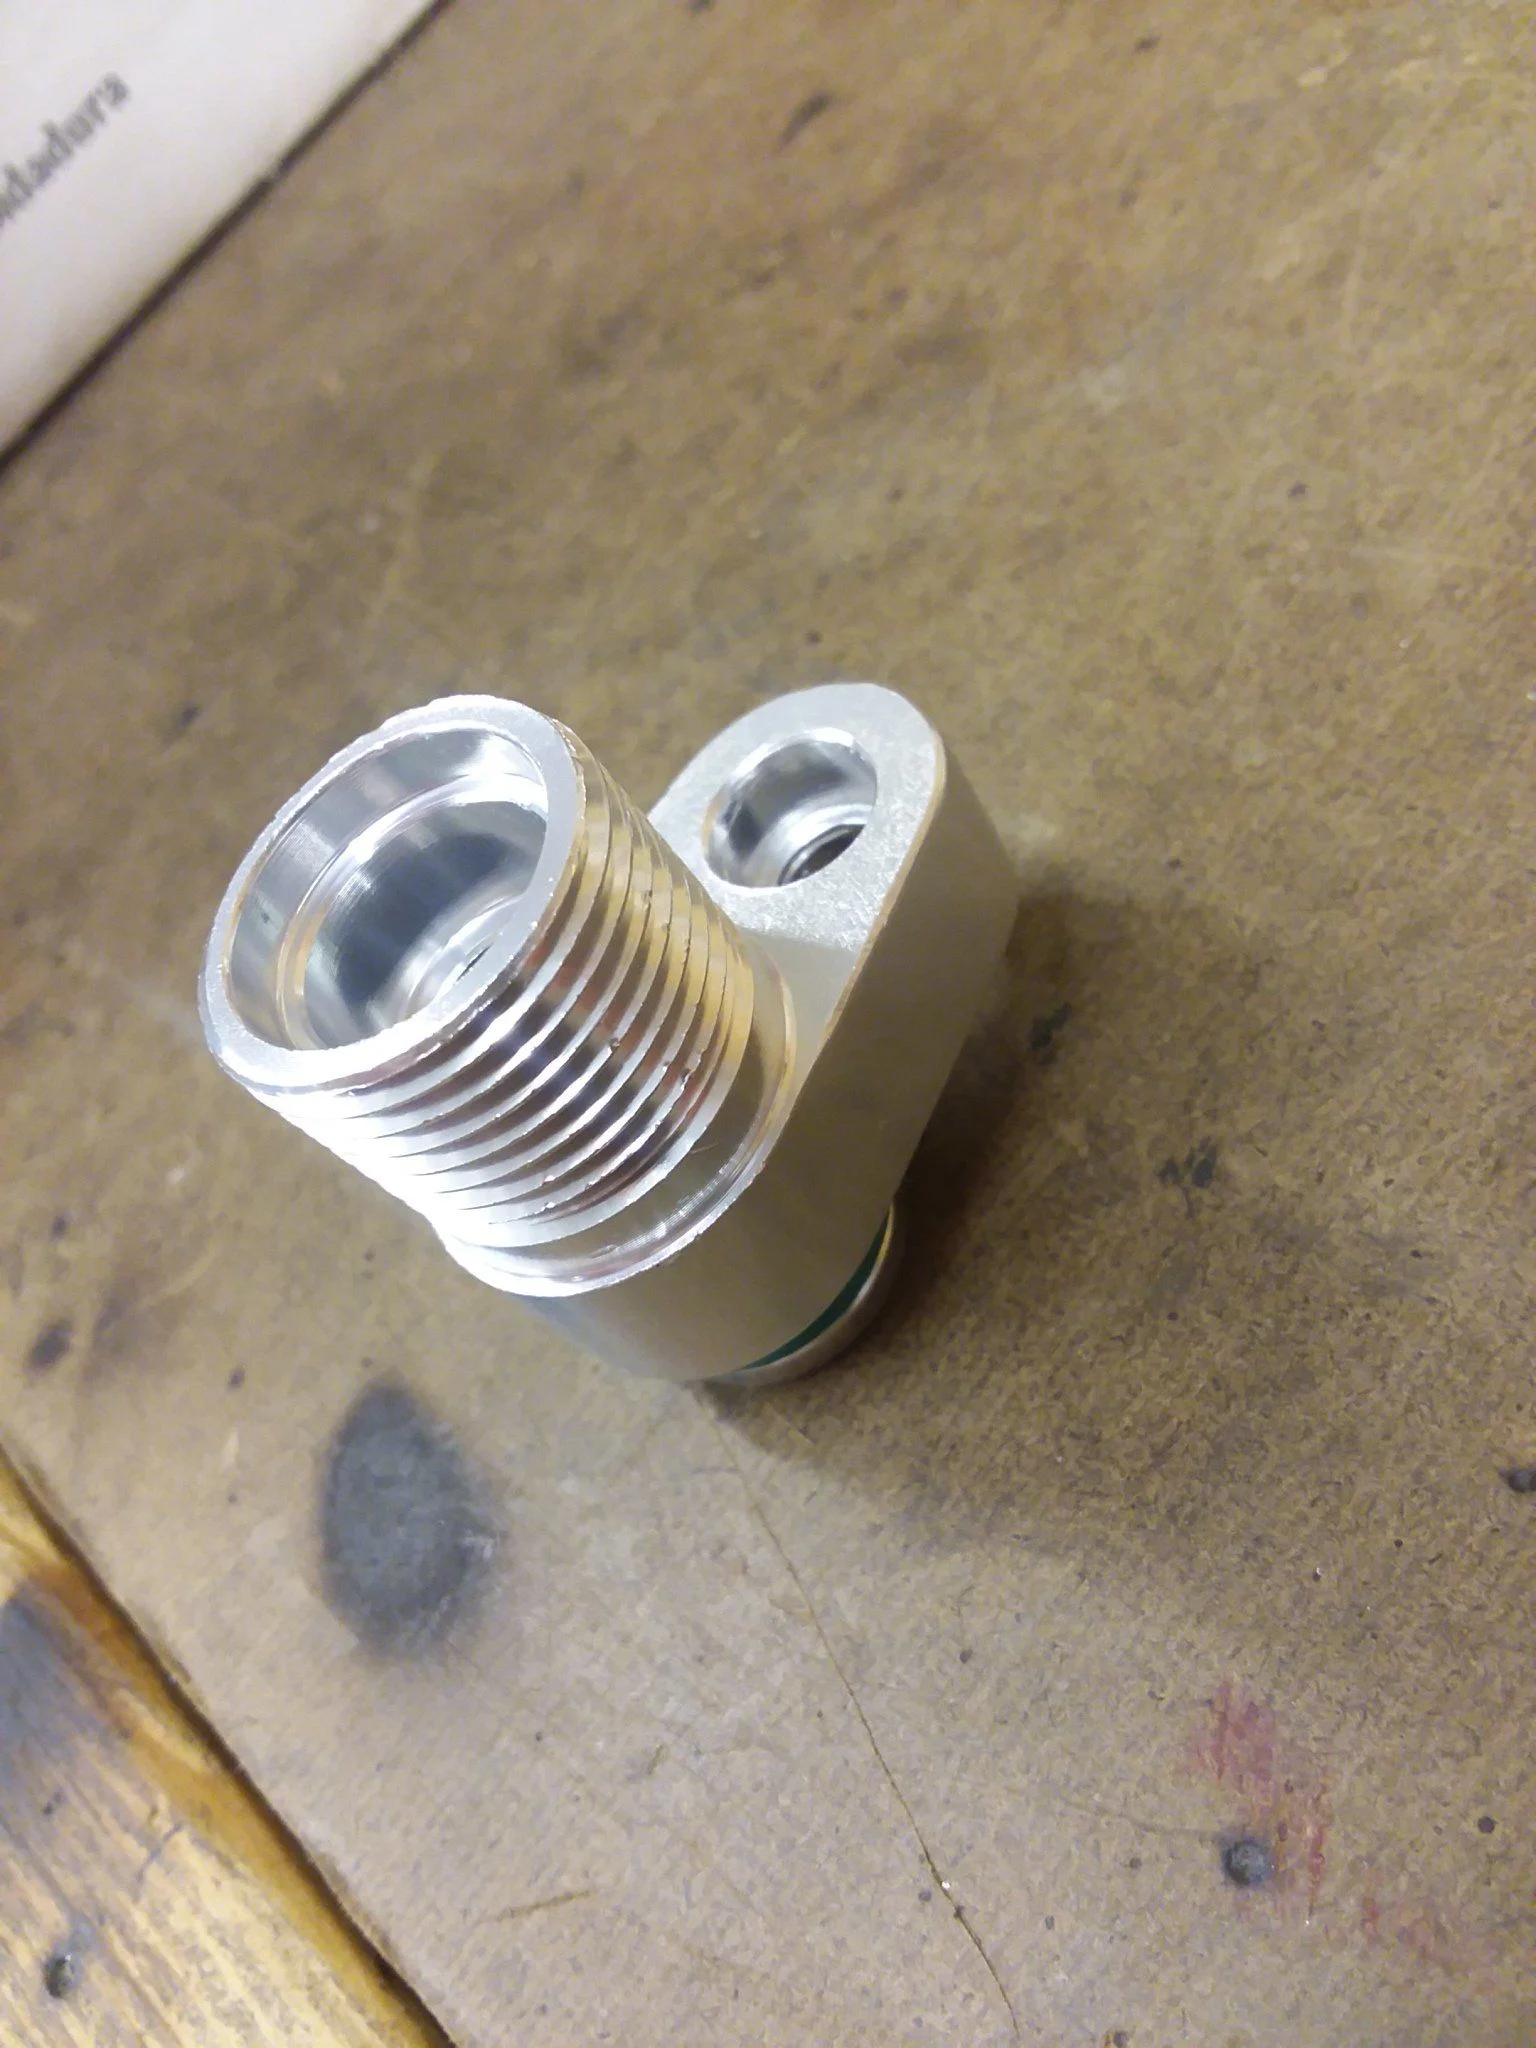
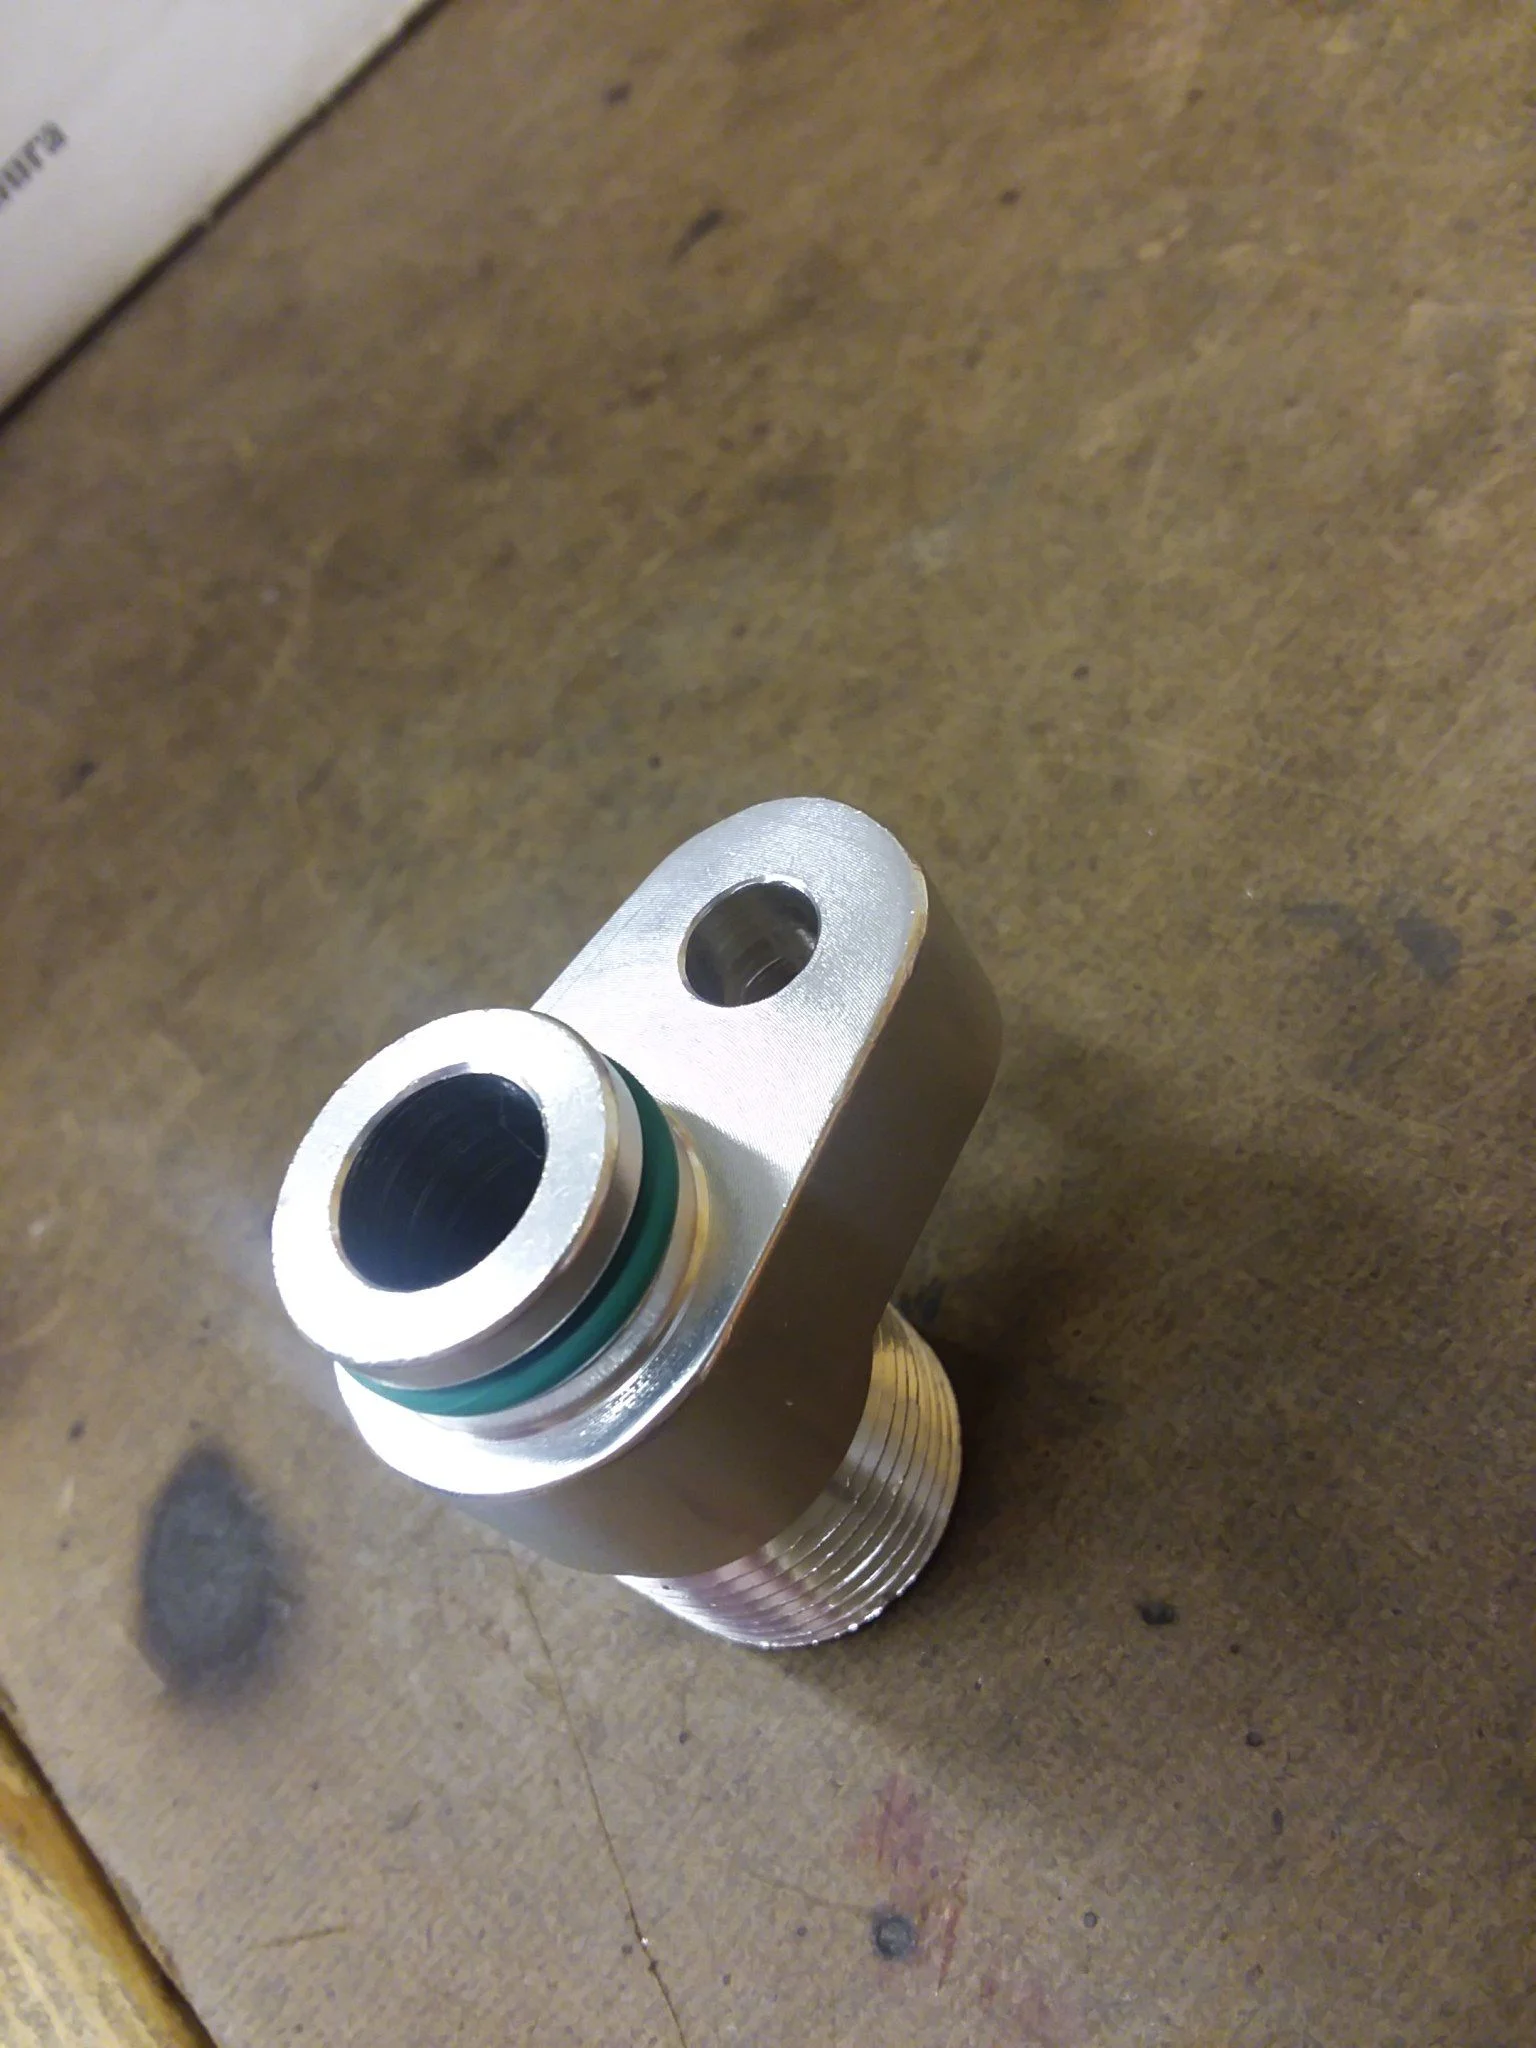
I spent some time trying to figure out the AC system and the fittings I will need to gather up. Does anyone out there have any info they can share about the Cummins AC compressor? They cannot provide anything useful, what I am looking for is an adapter block to take the o-ring seal fittings to #8 and #10 male thread fittings, this way I can get stuff at my local parker store and have the hoses made locally.

Here are a few pictures of the compressor. I measured about 1.75'' center to center on between the suction and discharge port. I have dispatched an email to coldhose, perhaps they can help.


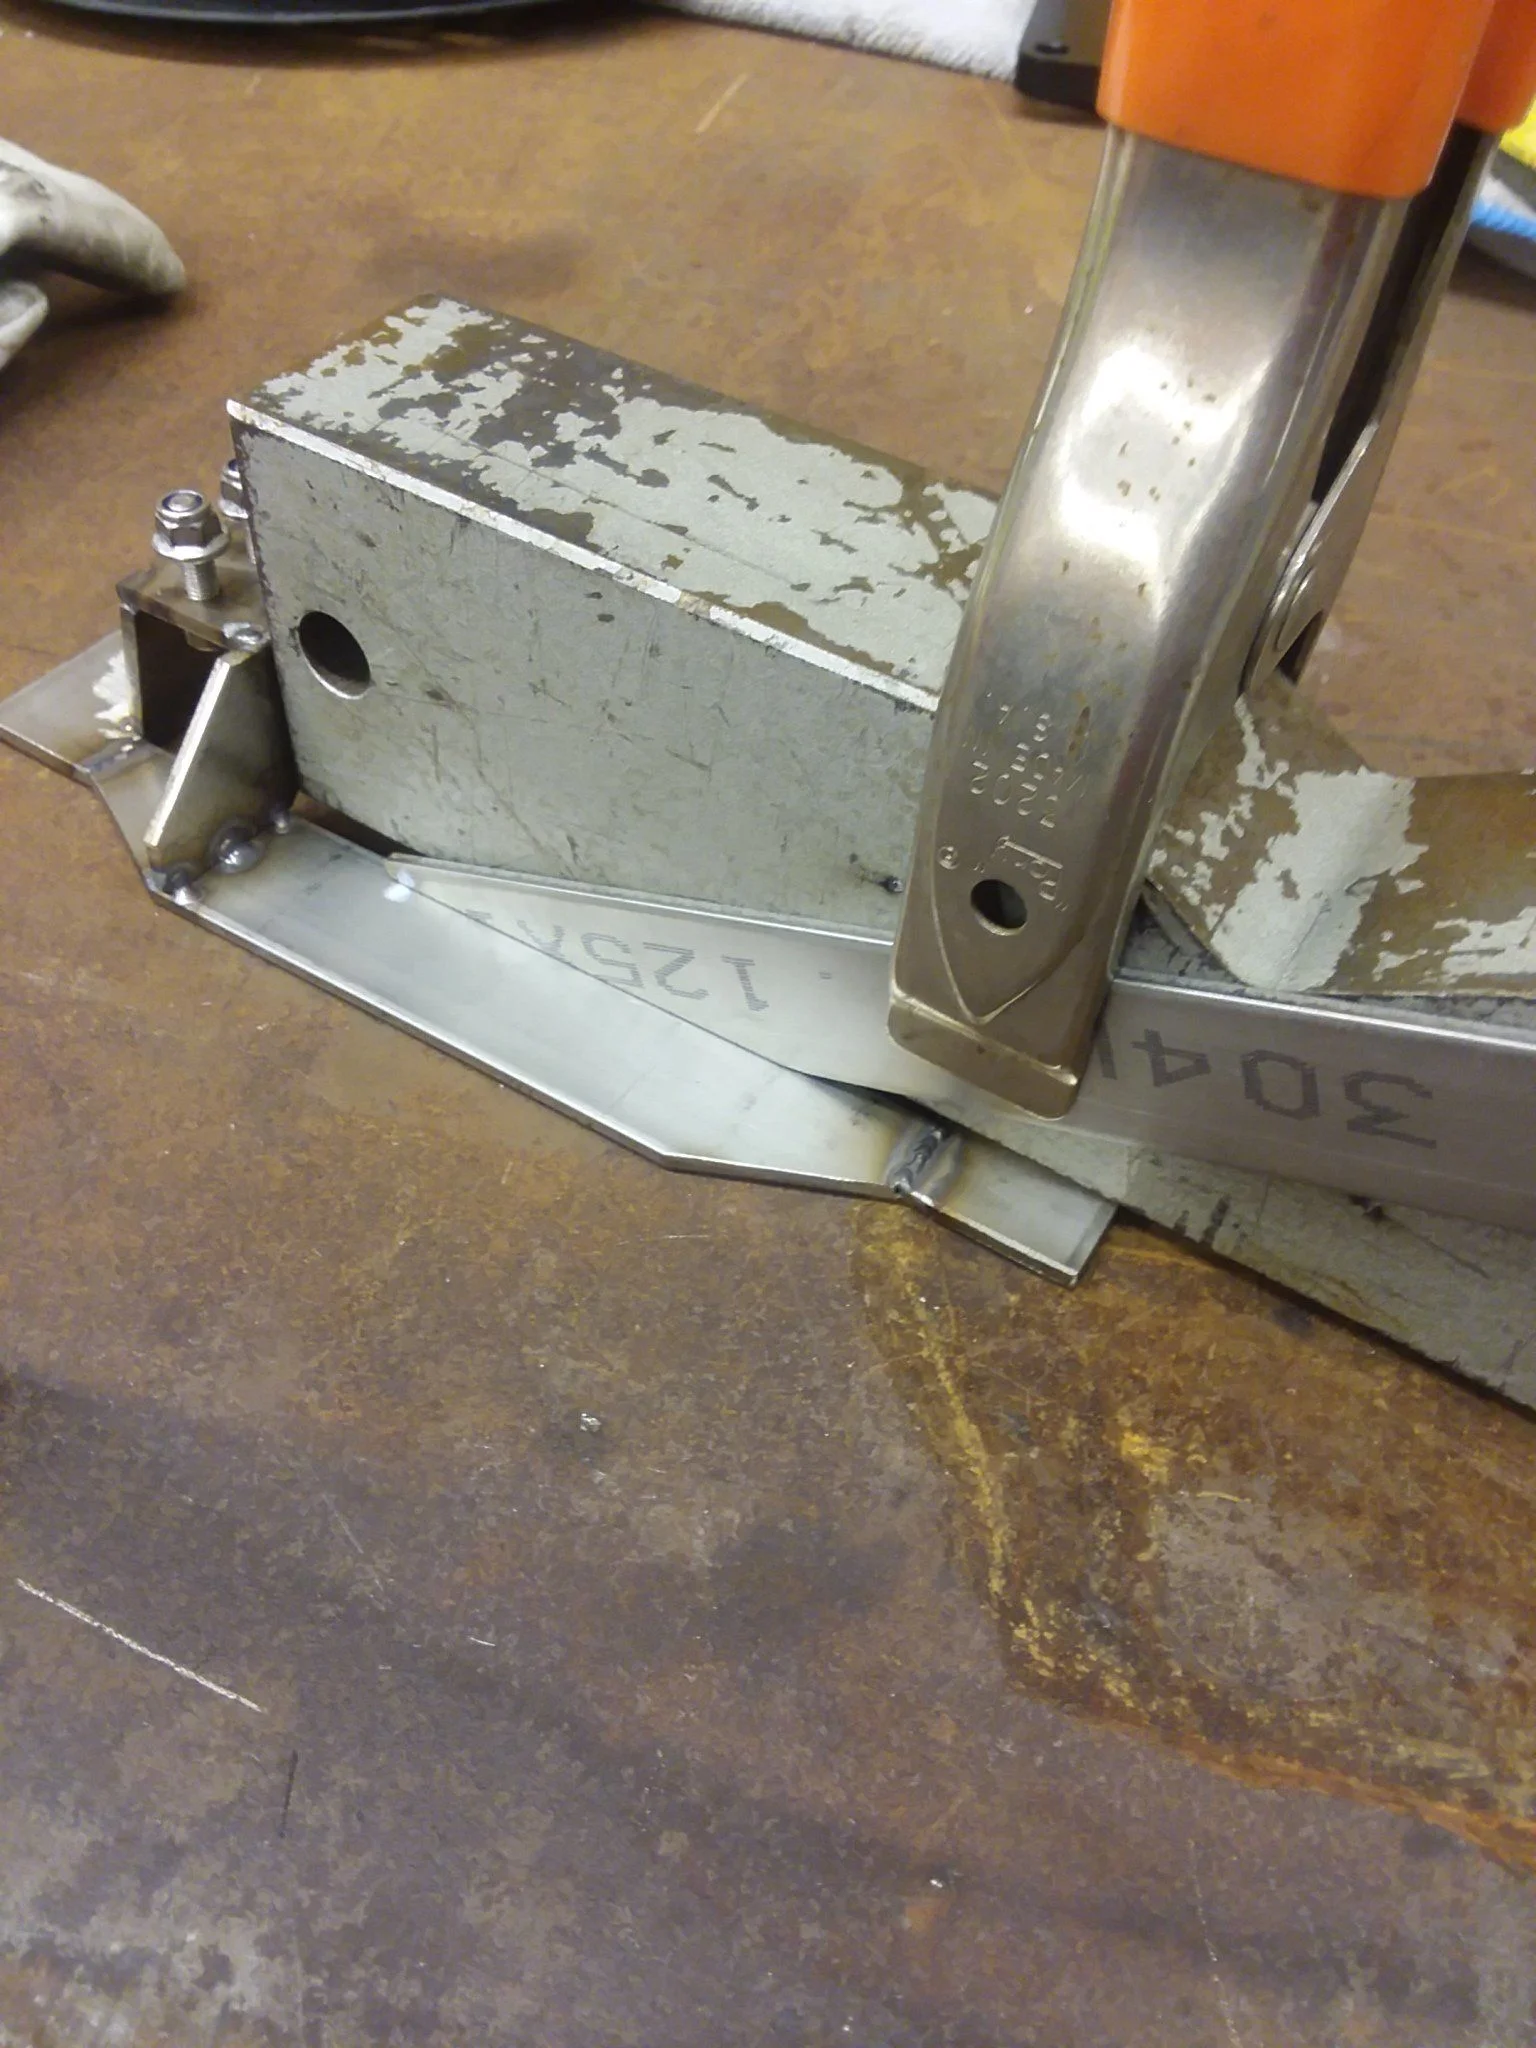
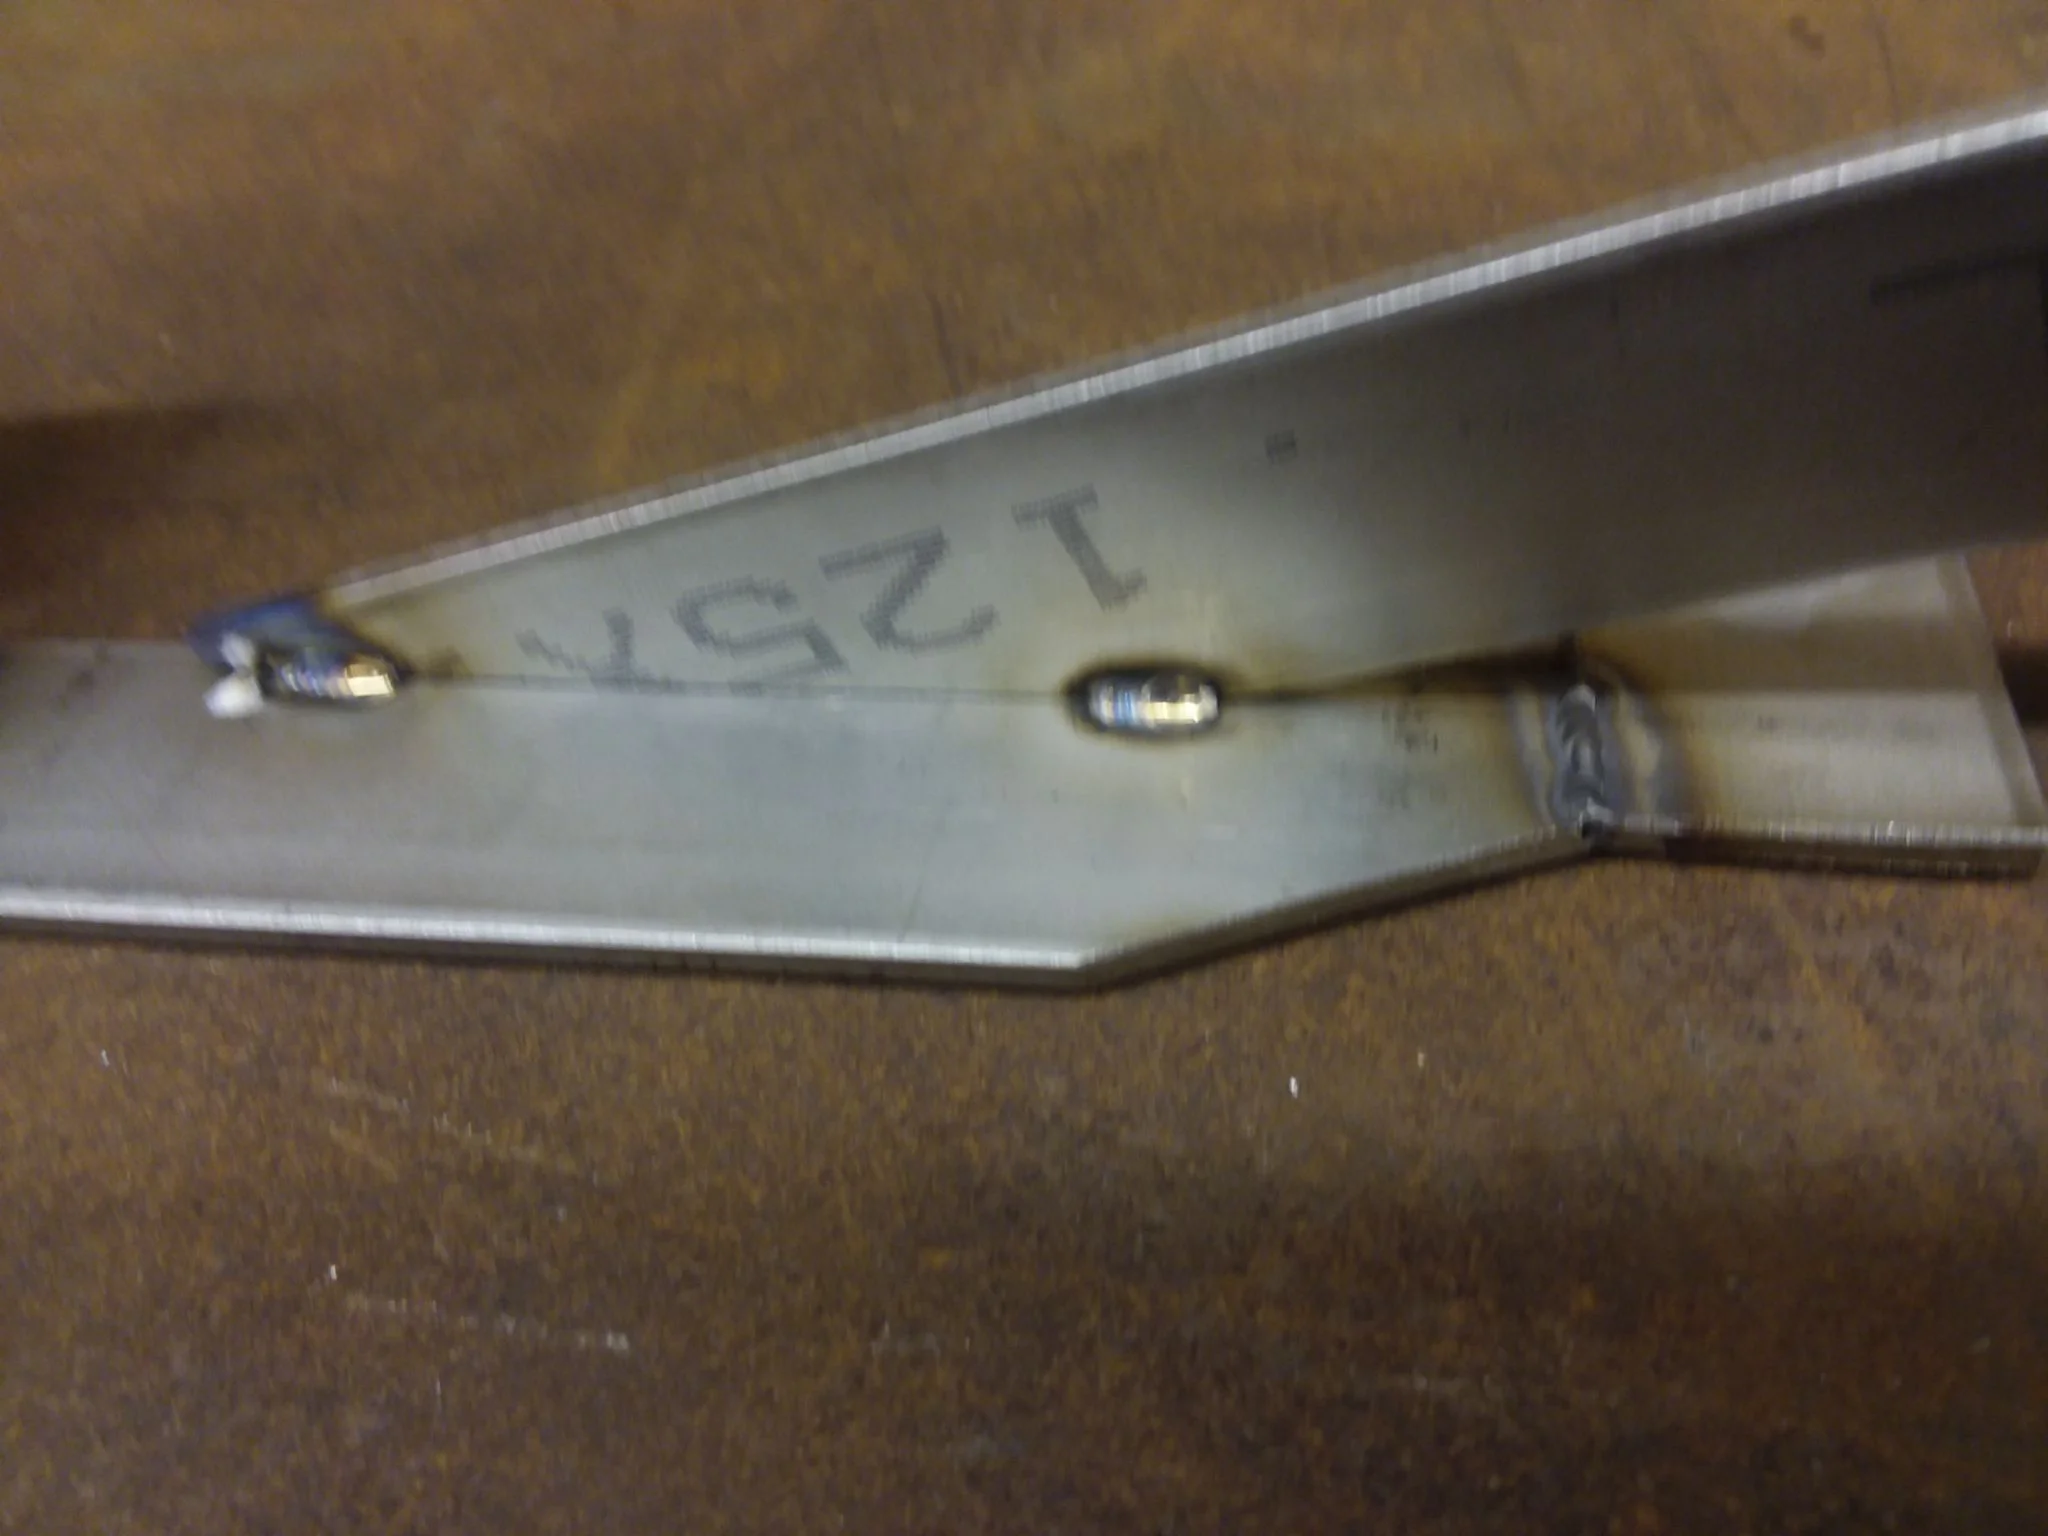
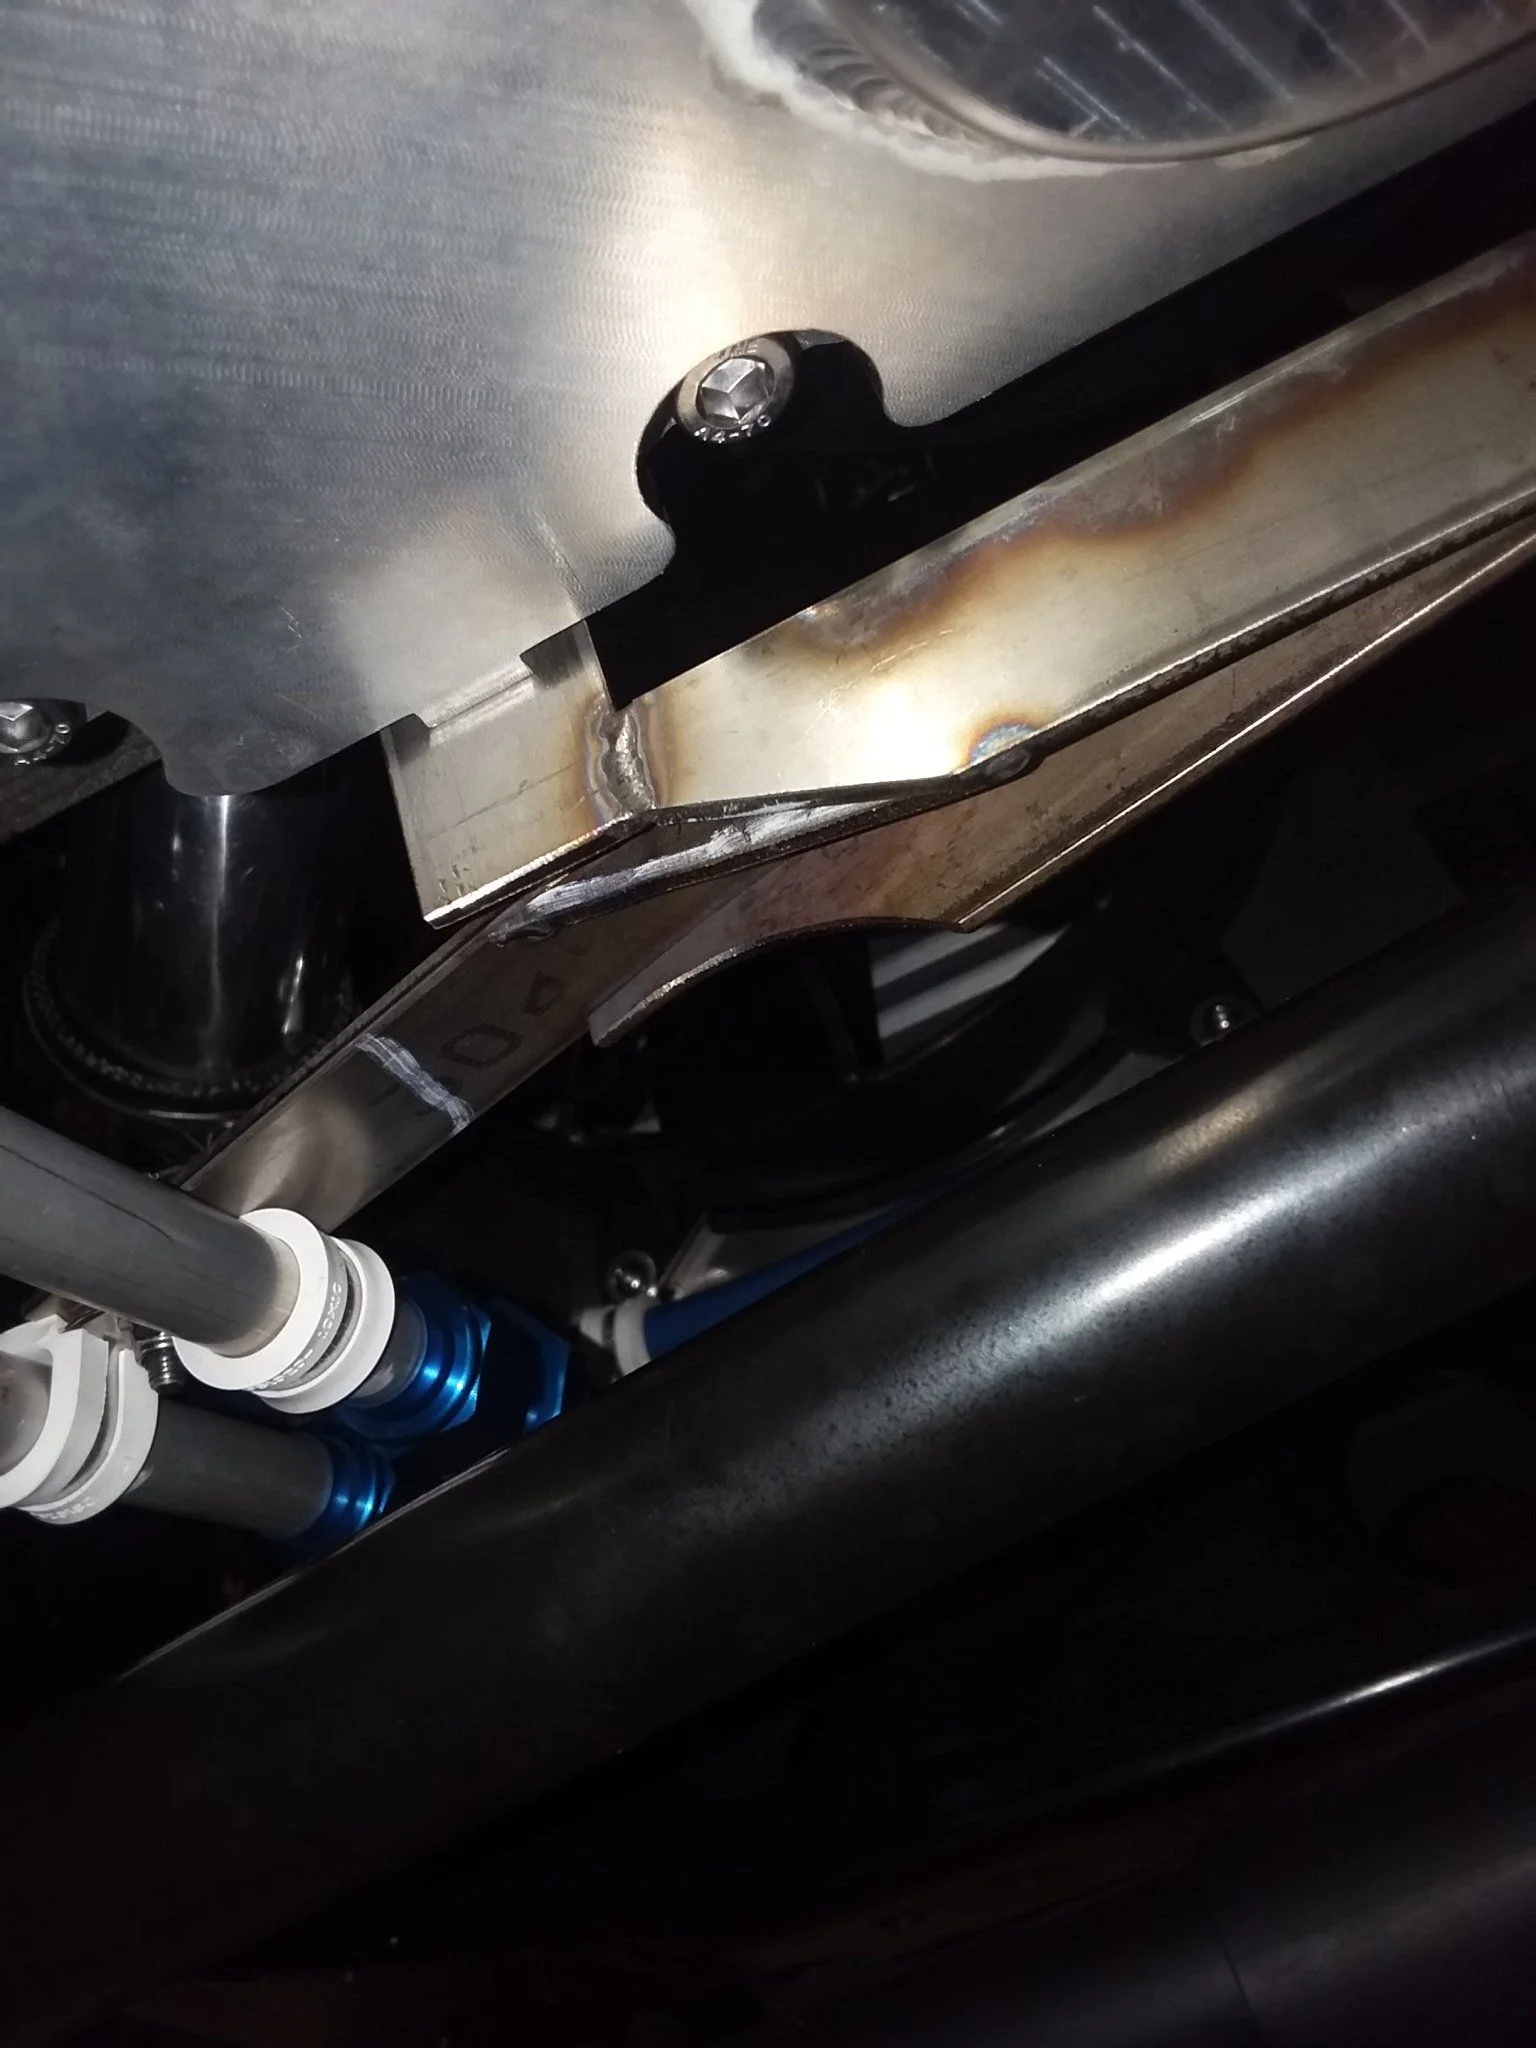
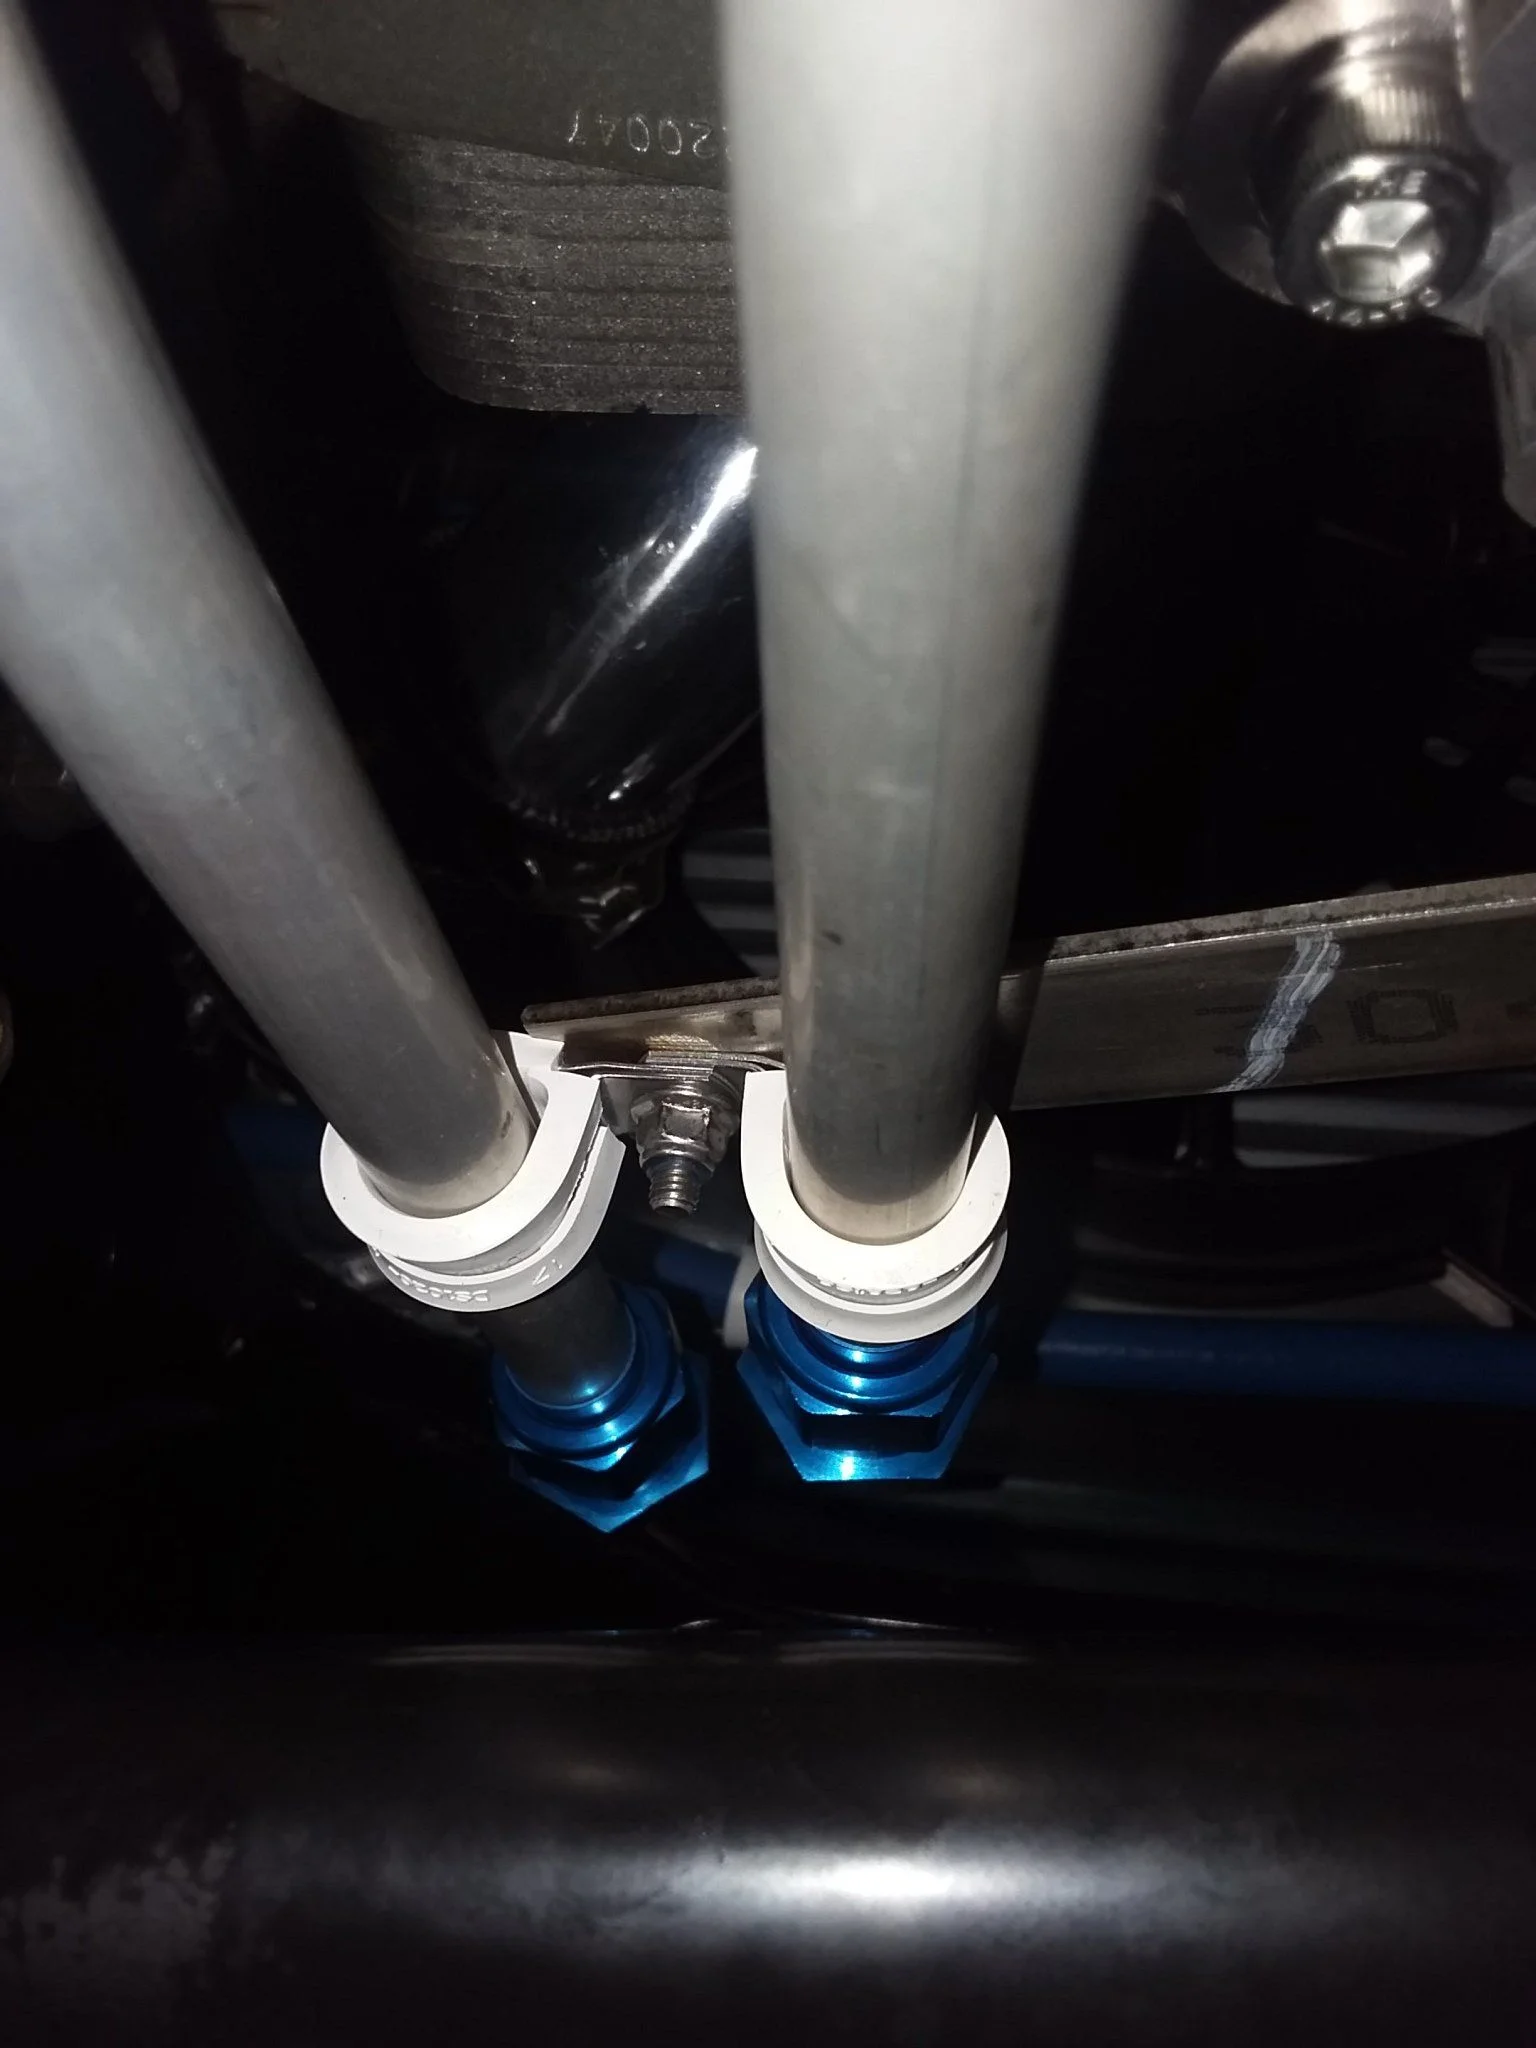
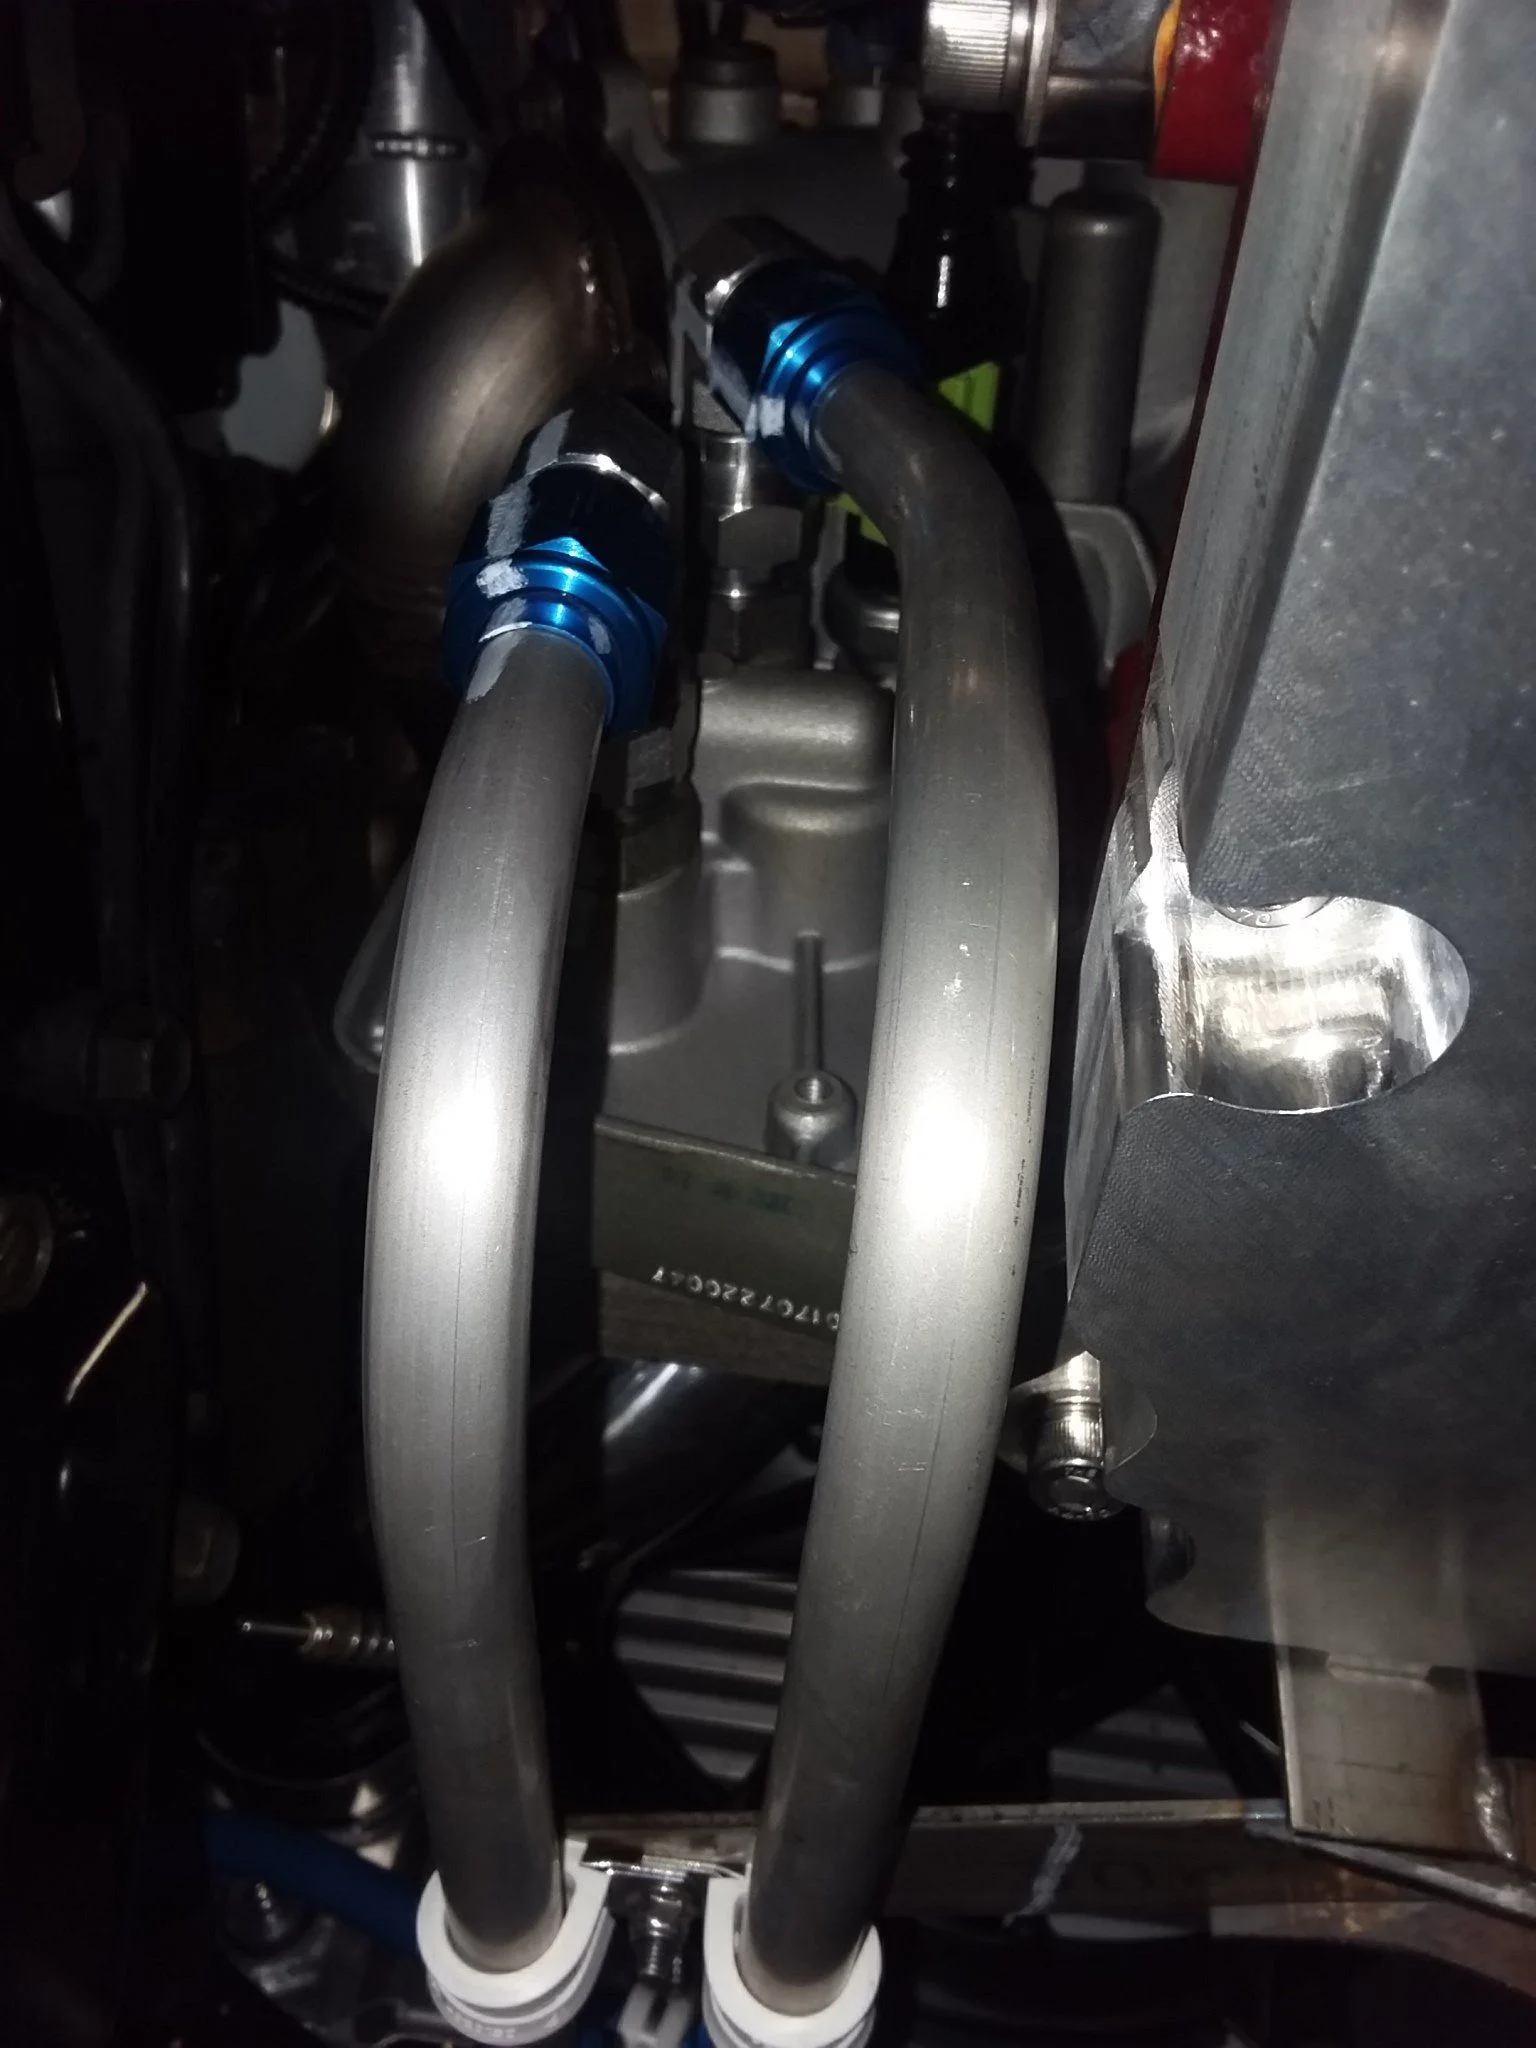
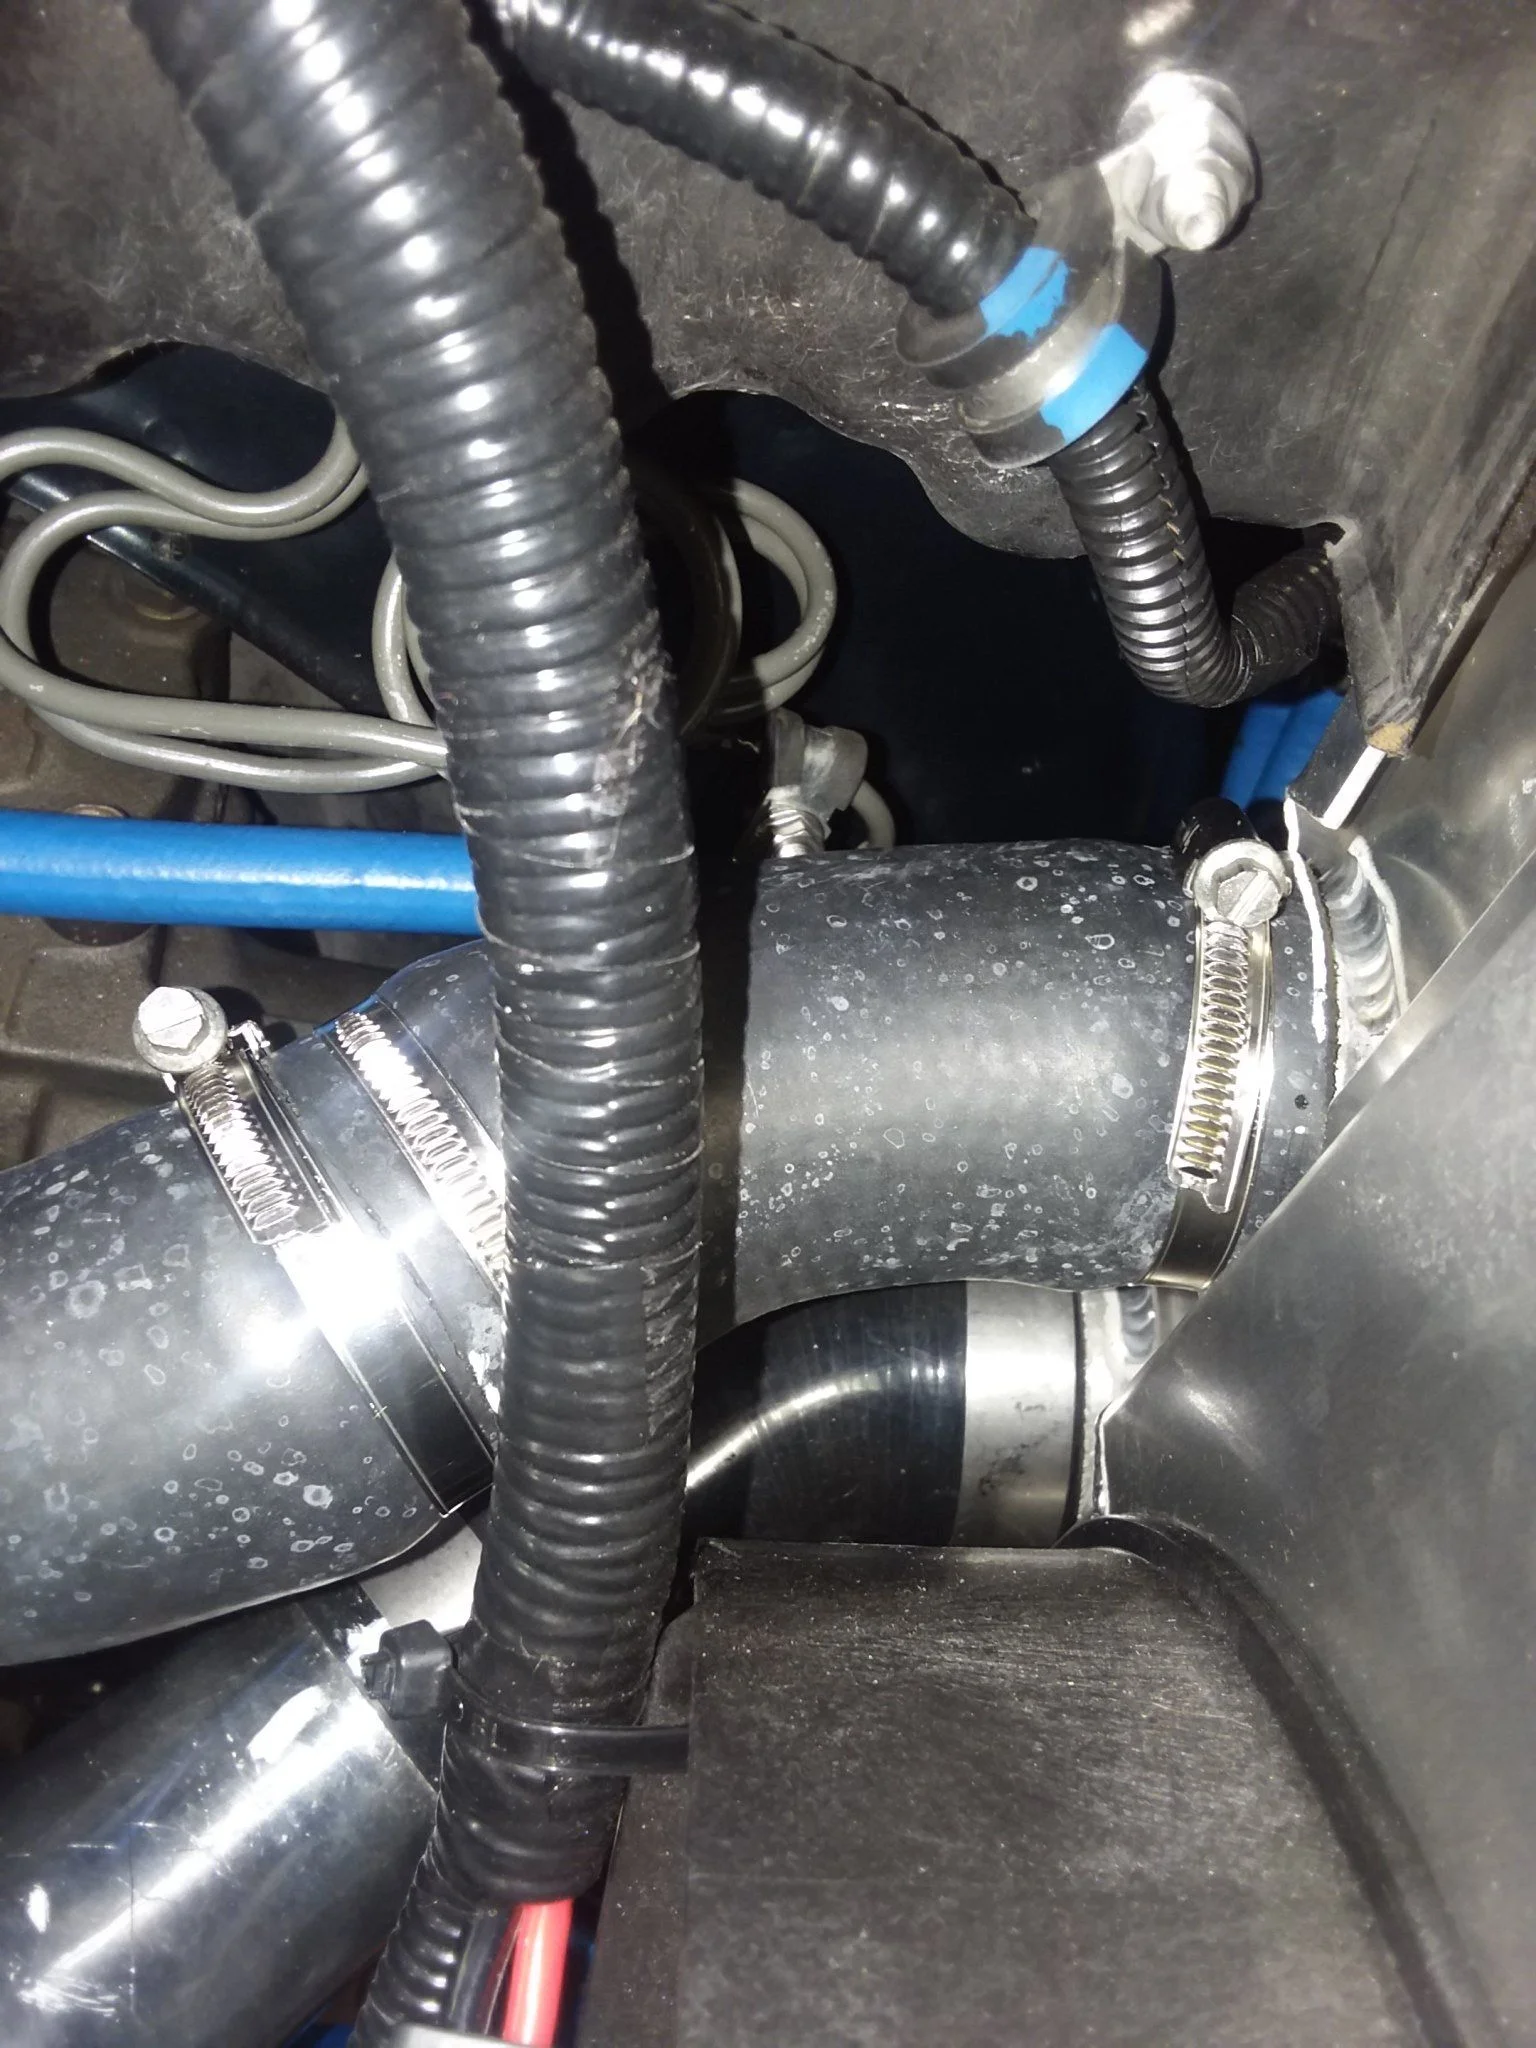
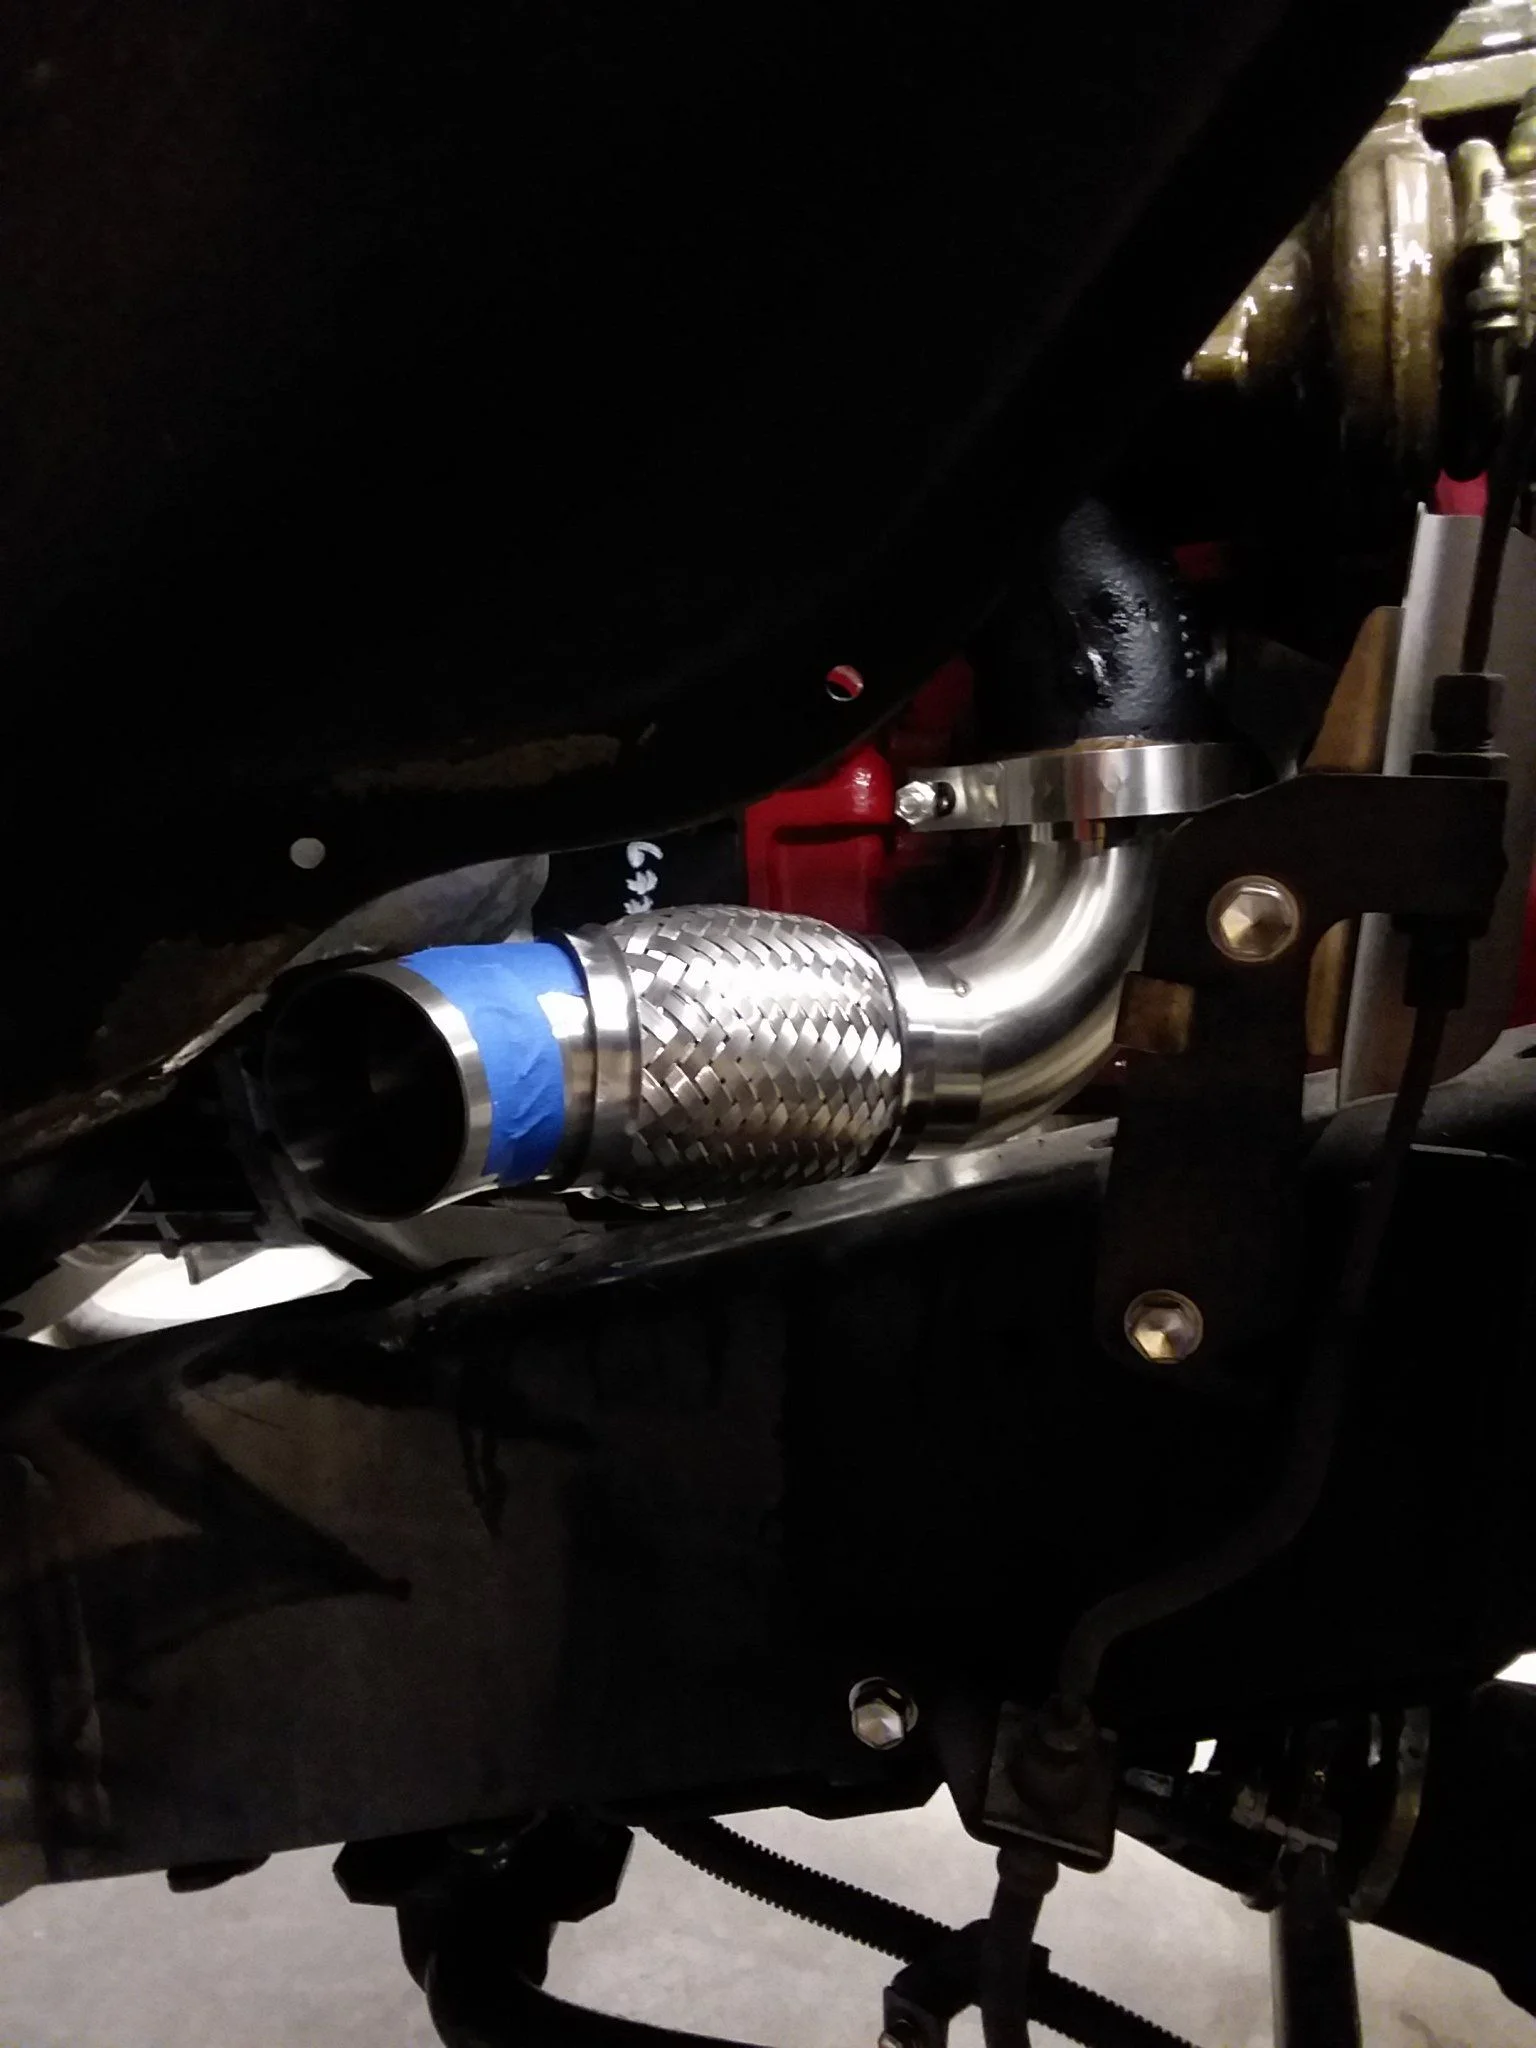
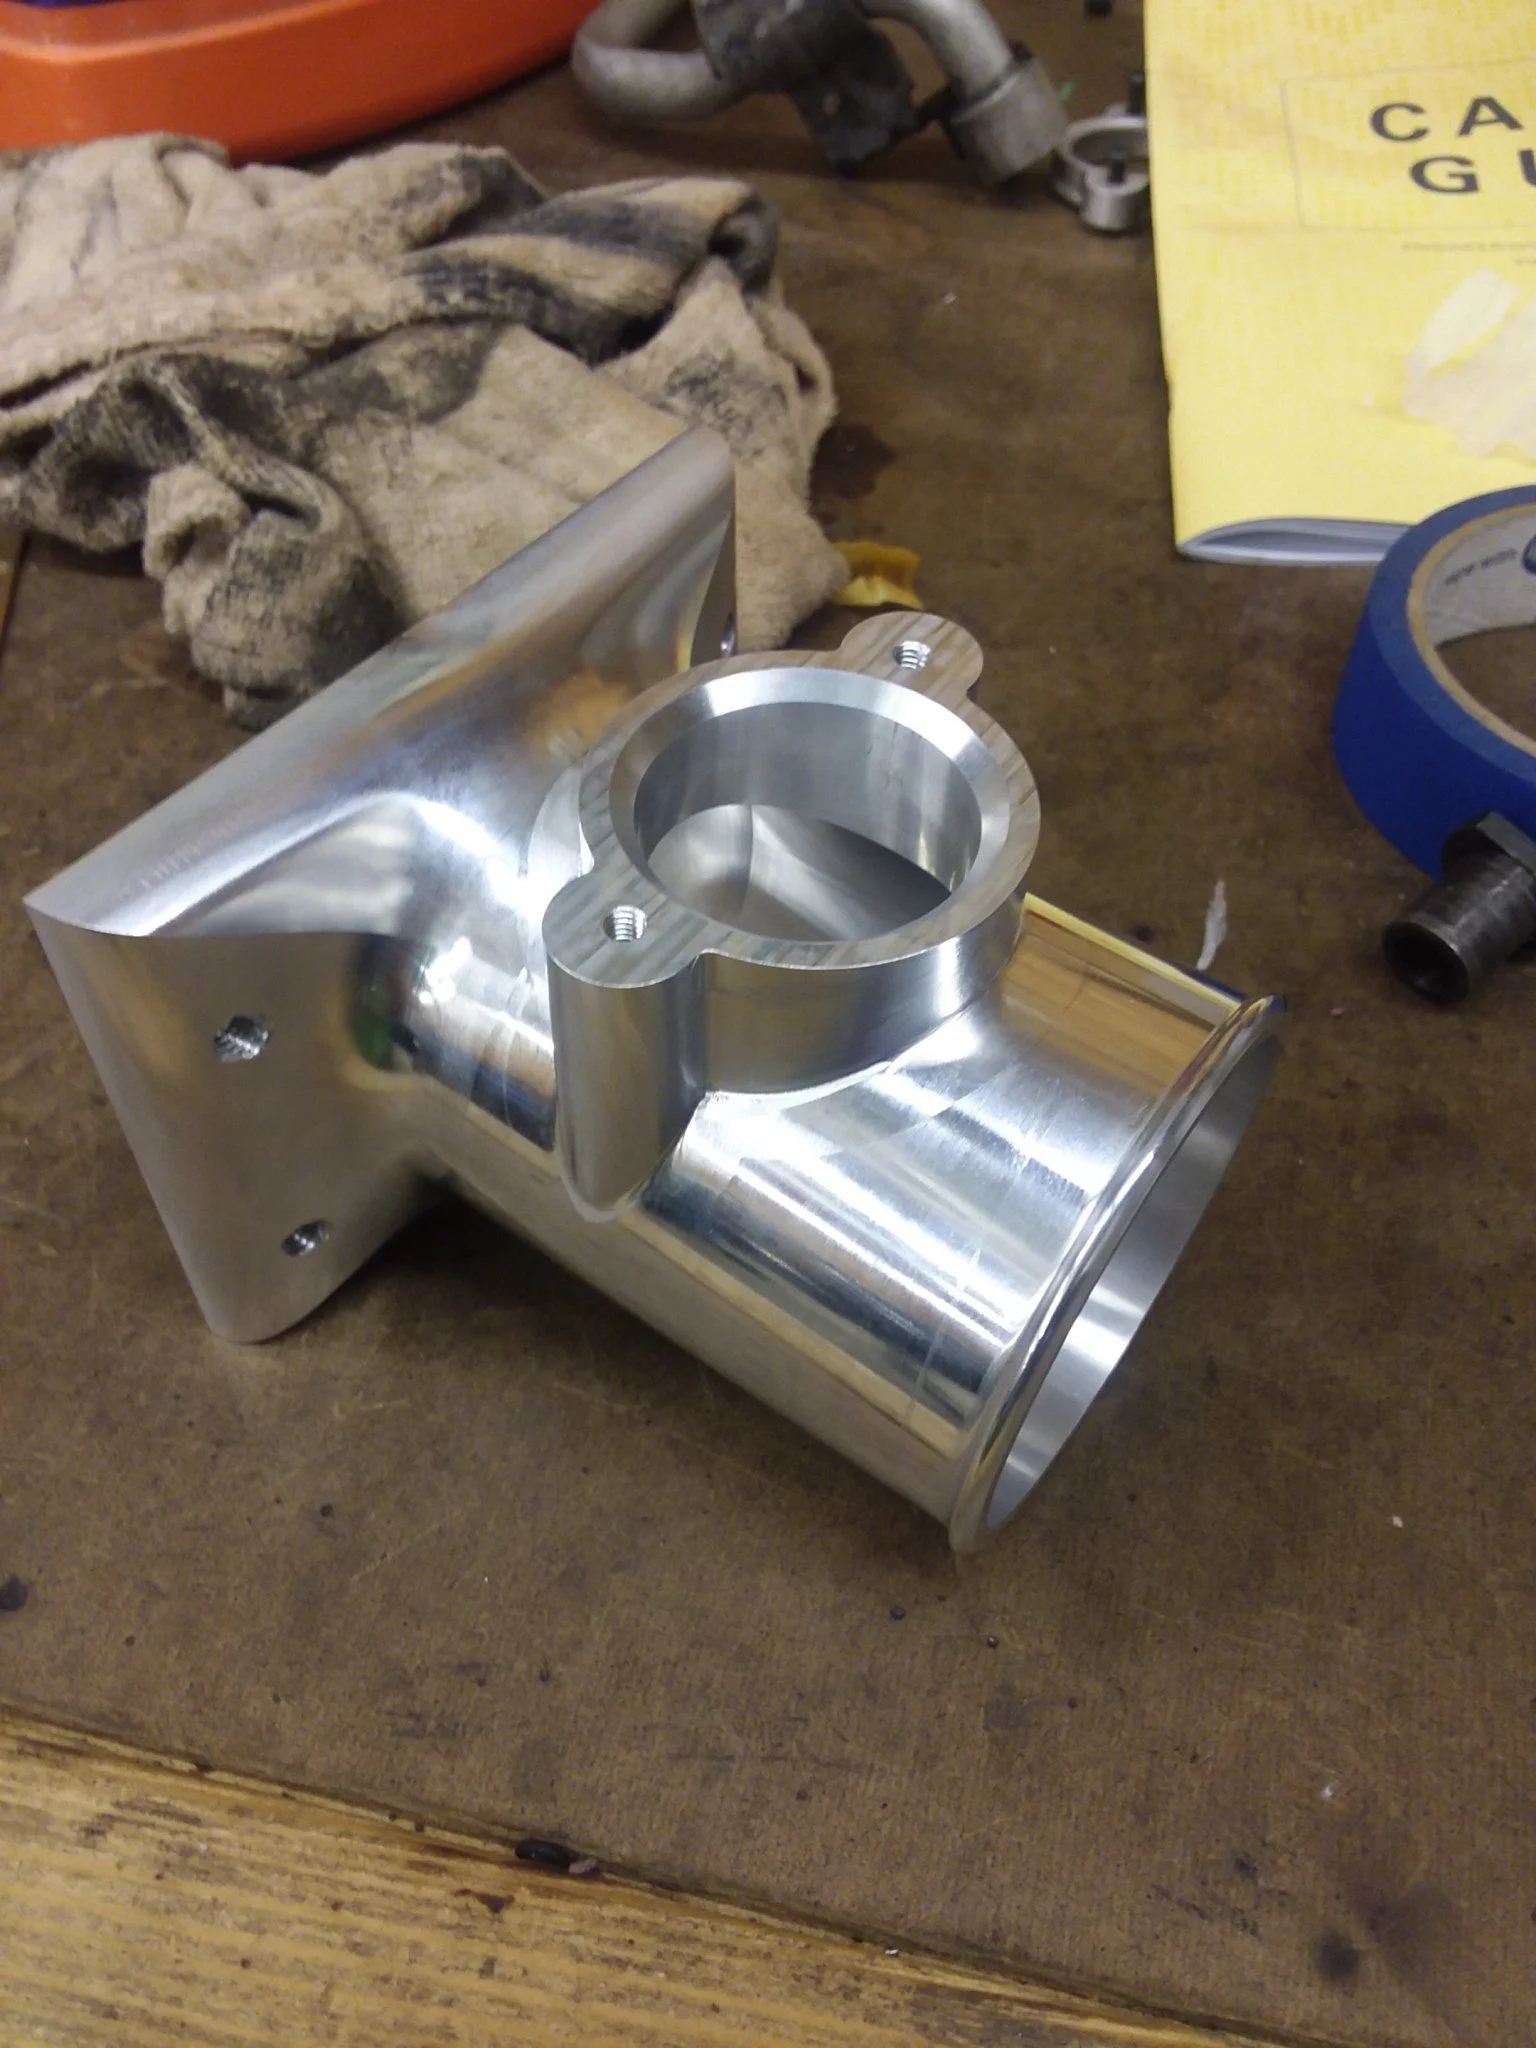
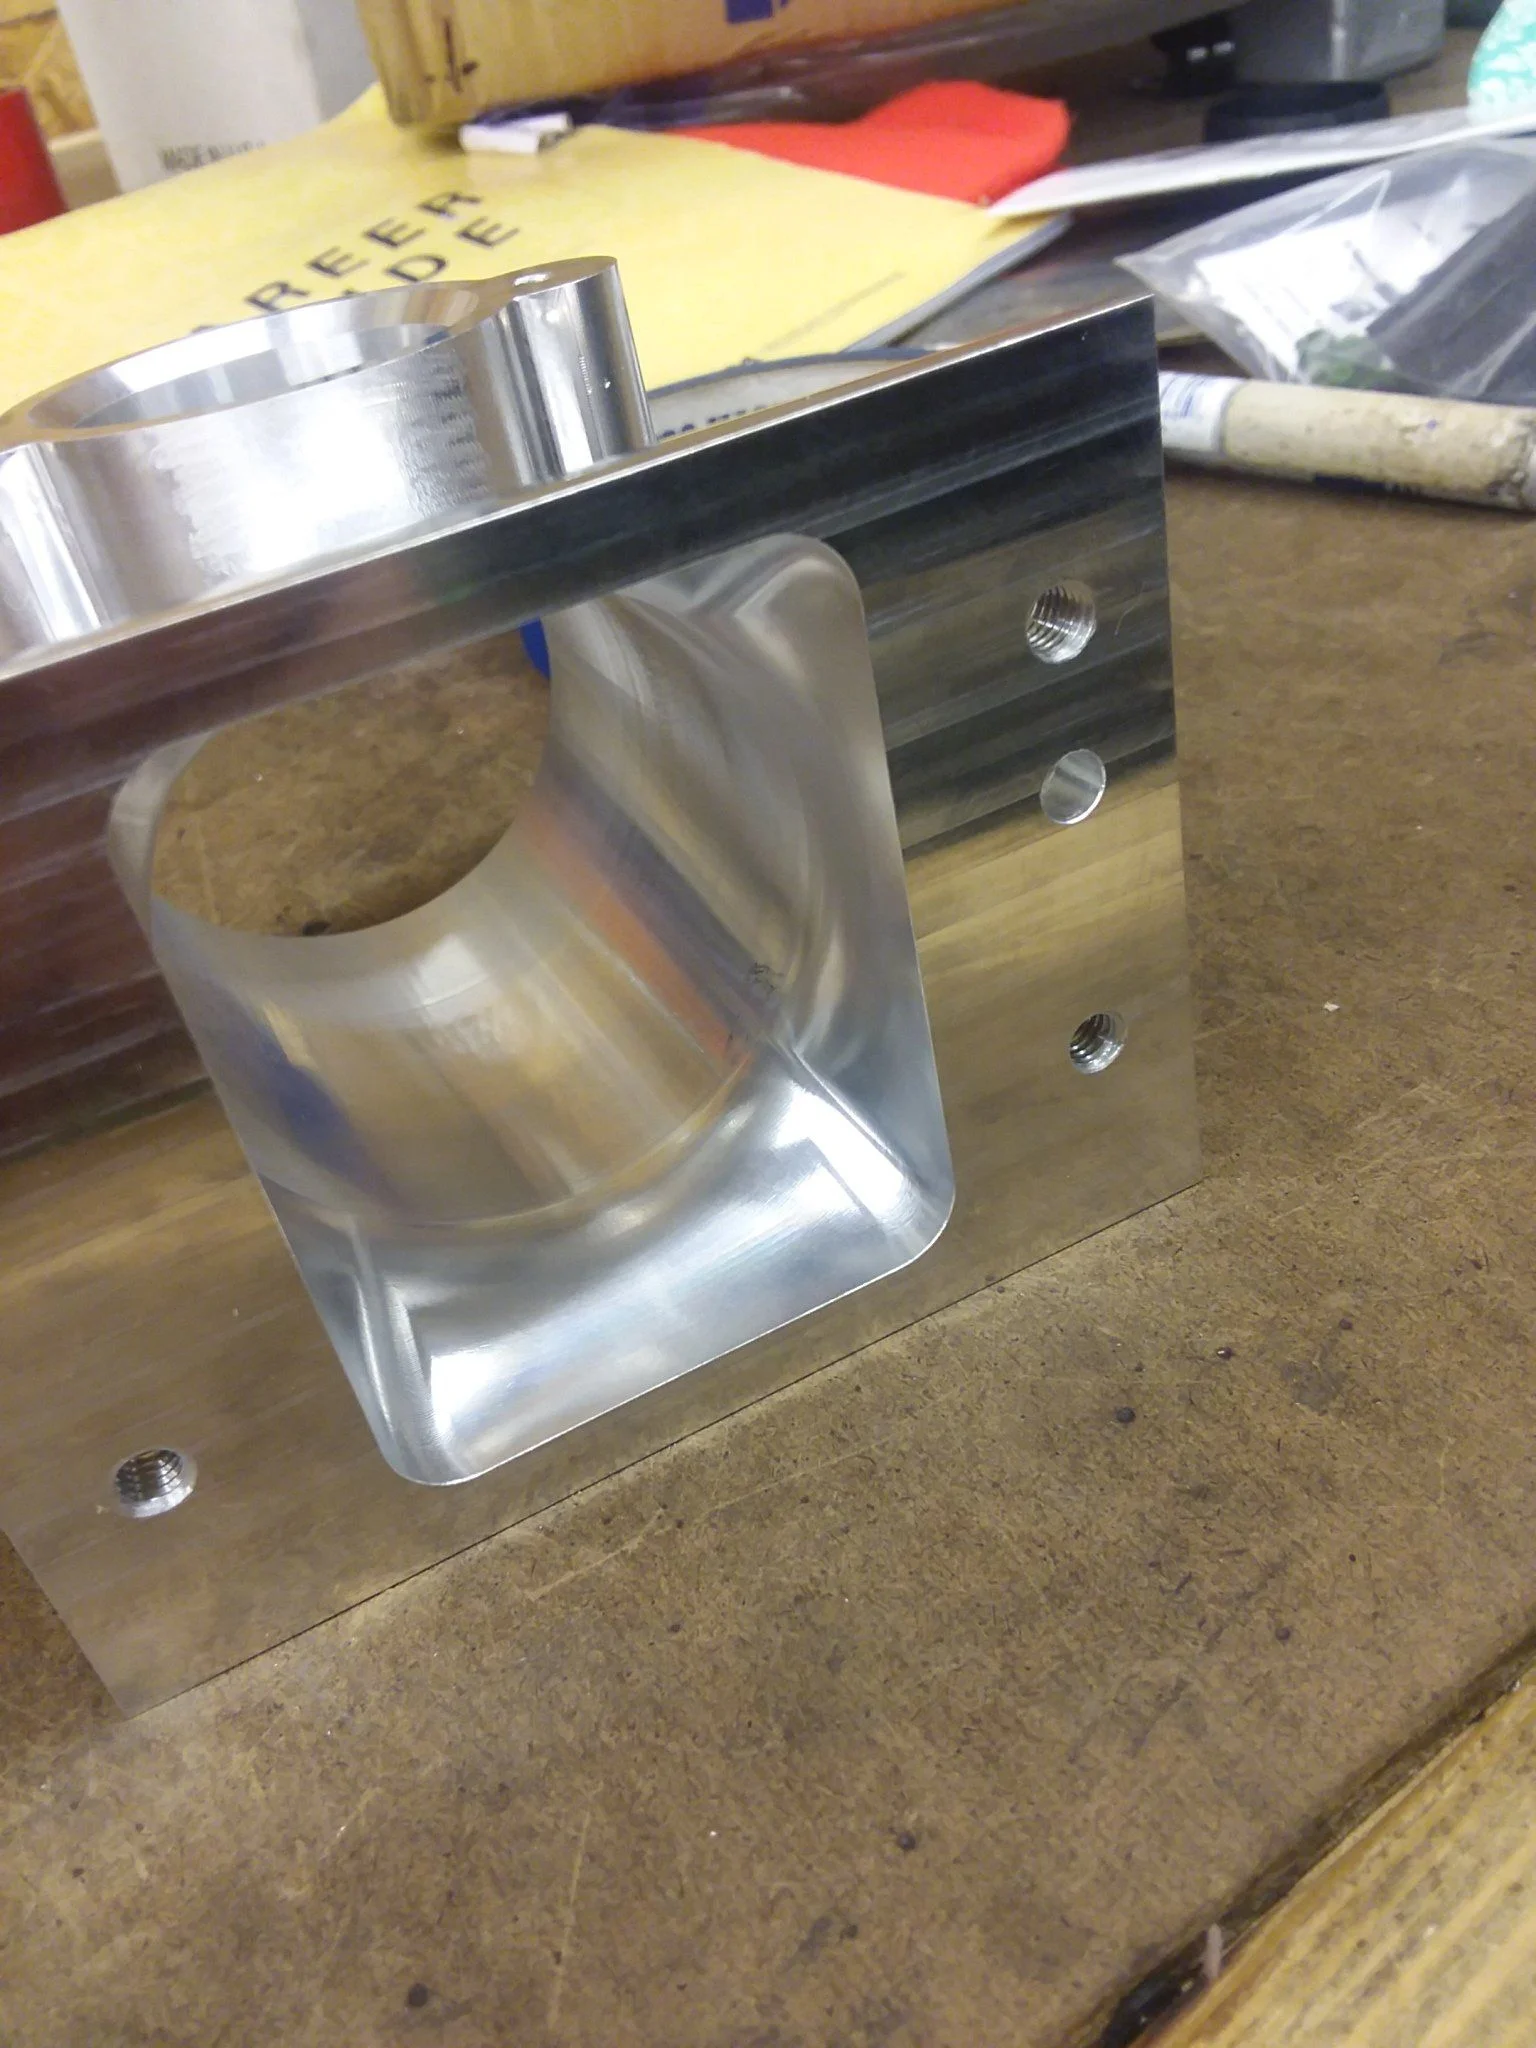
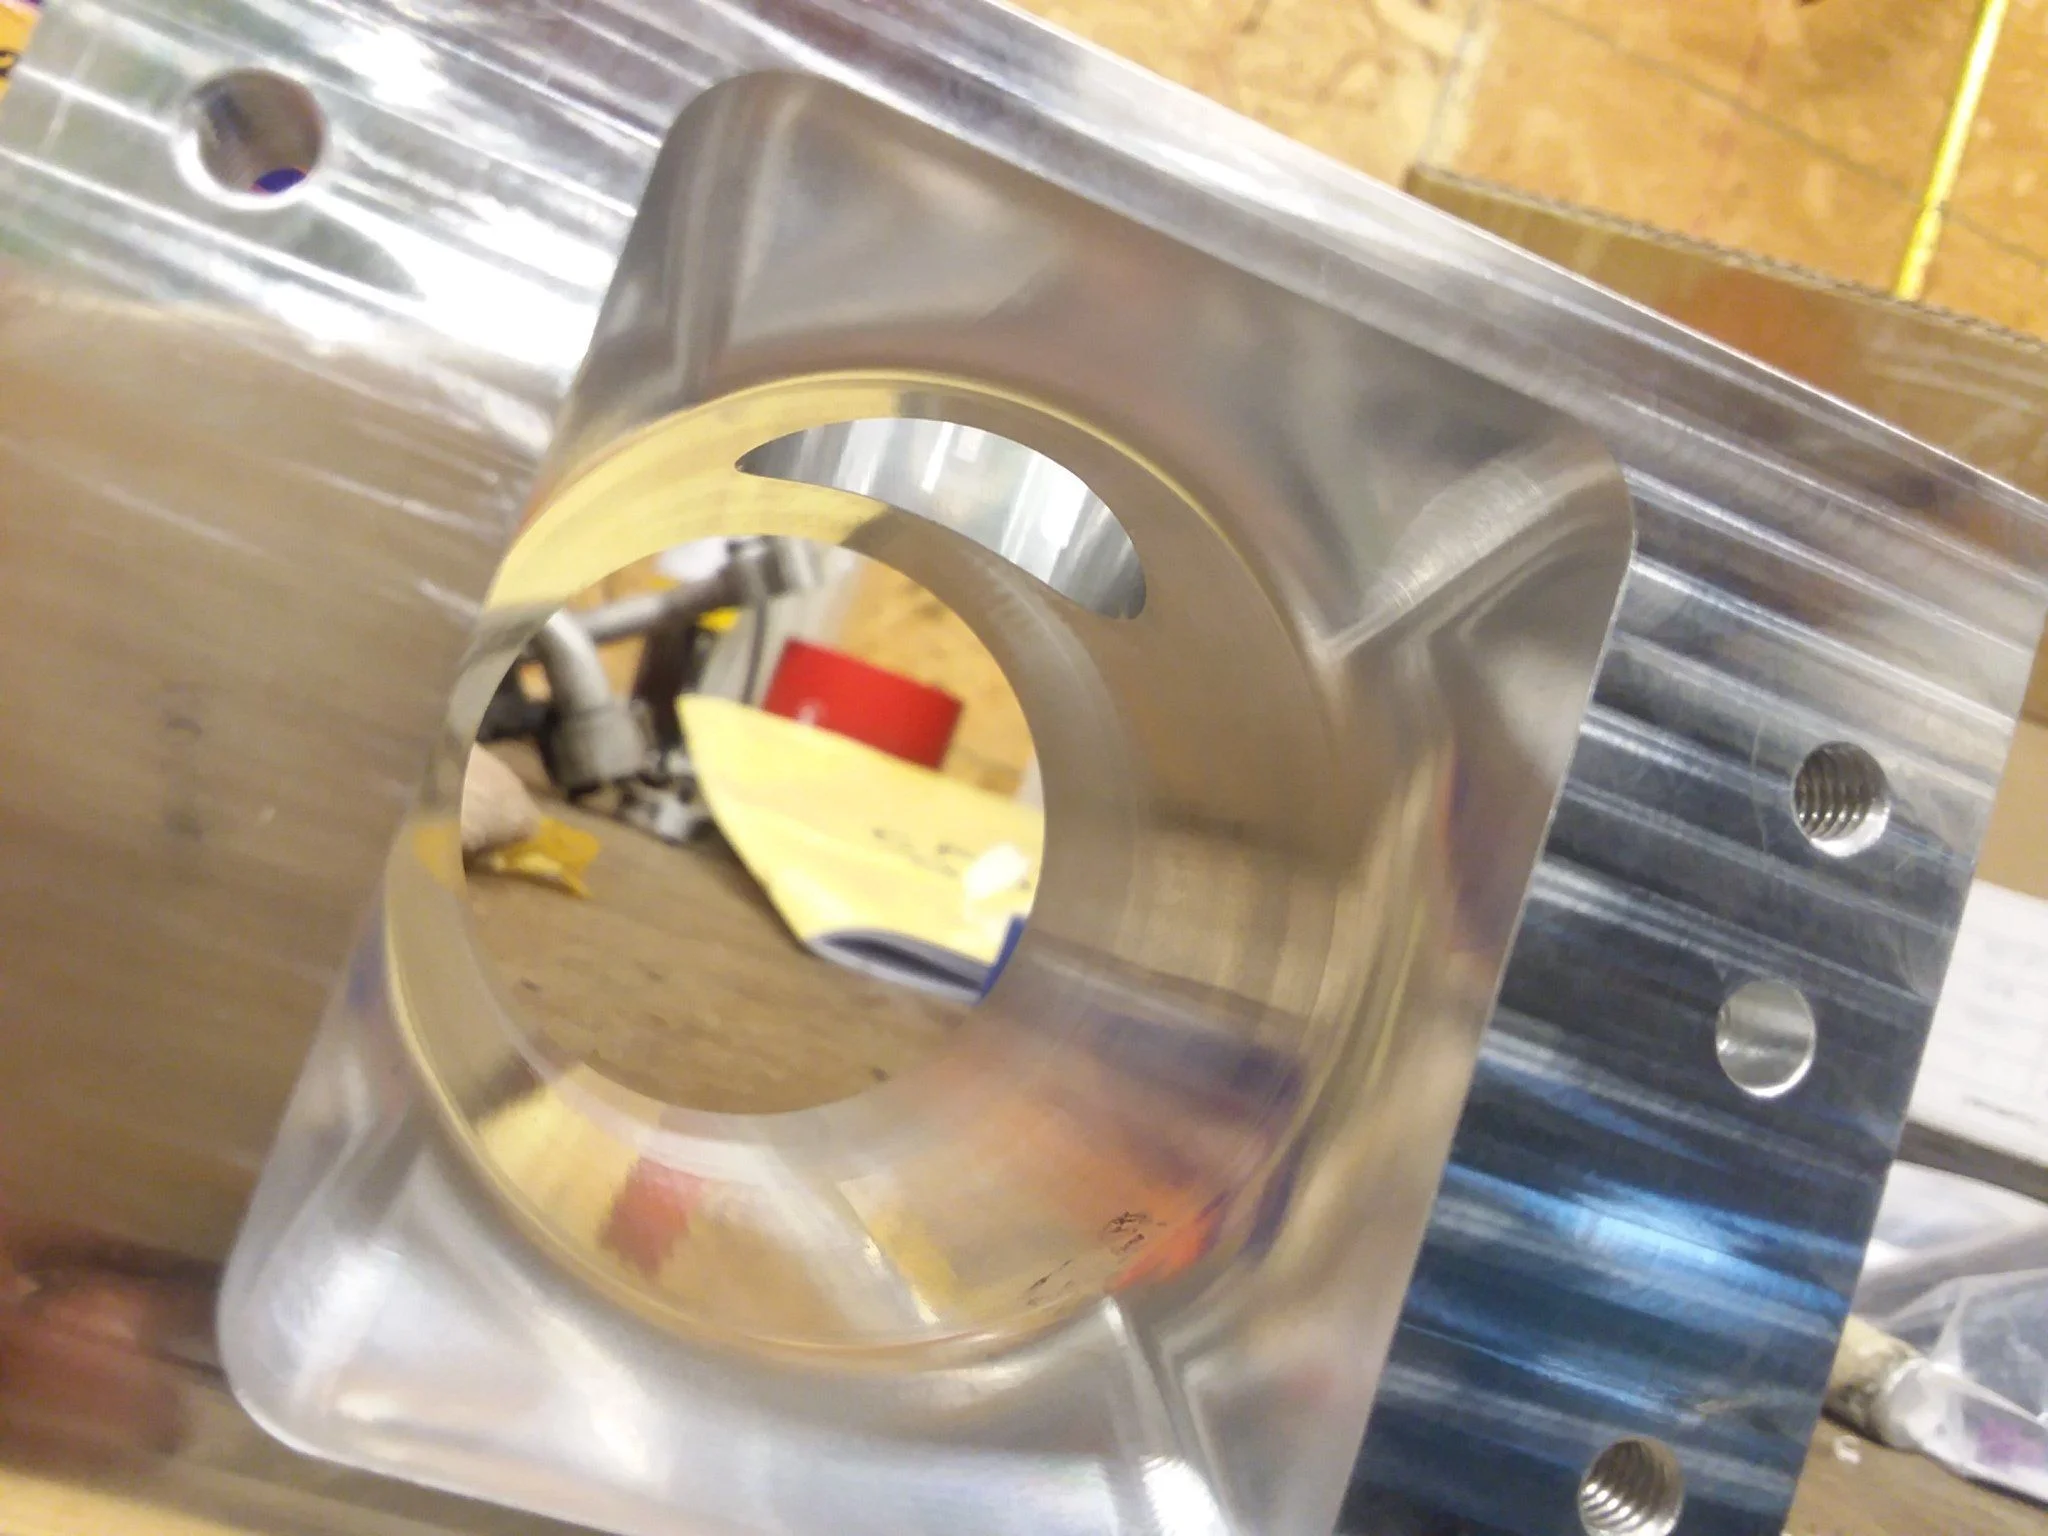
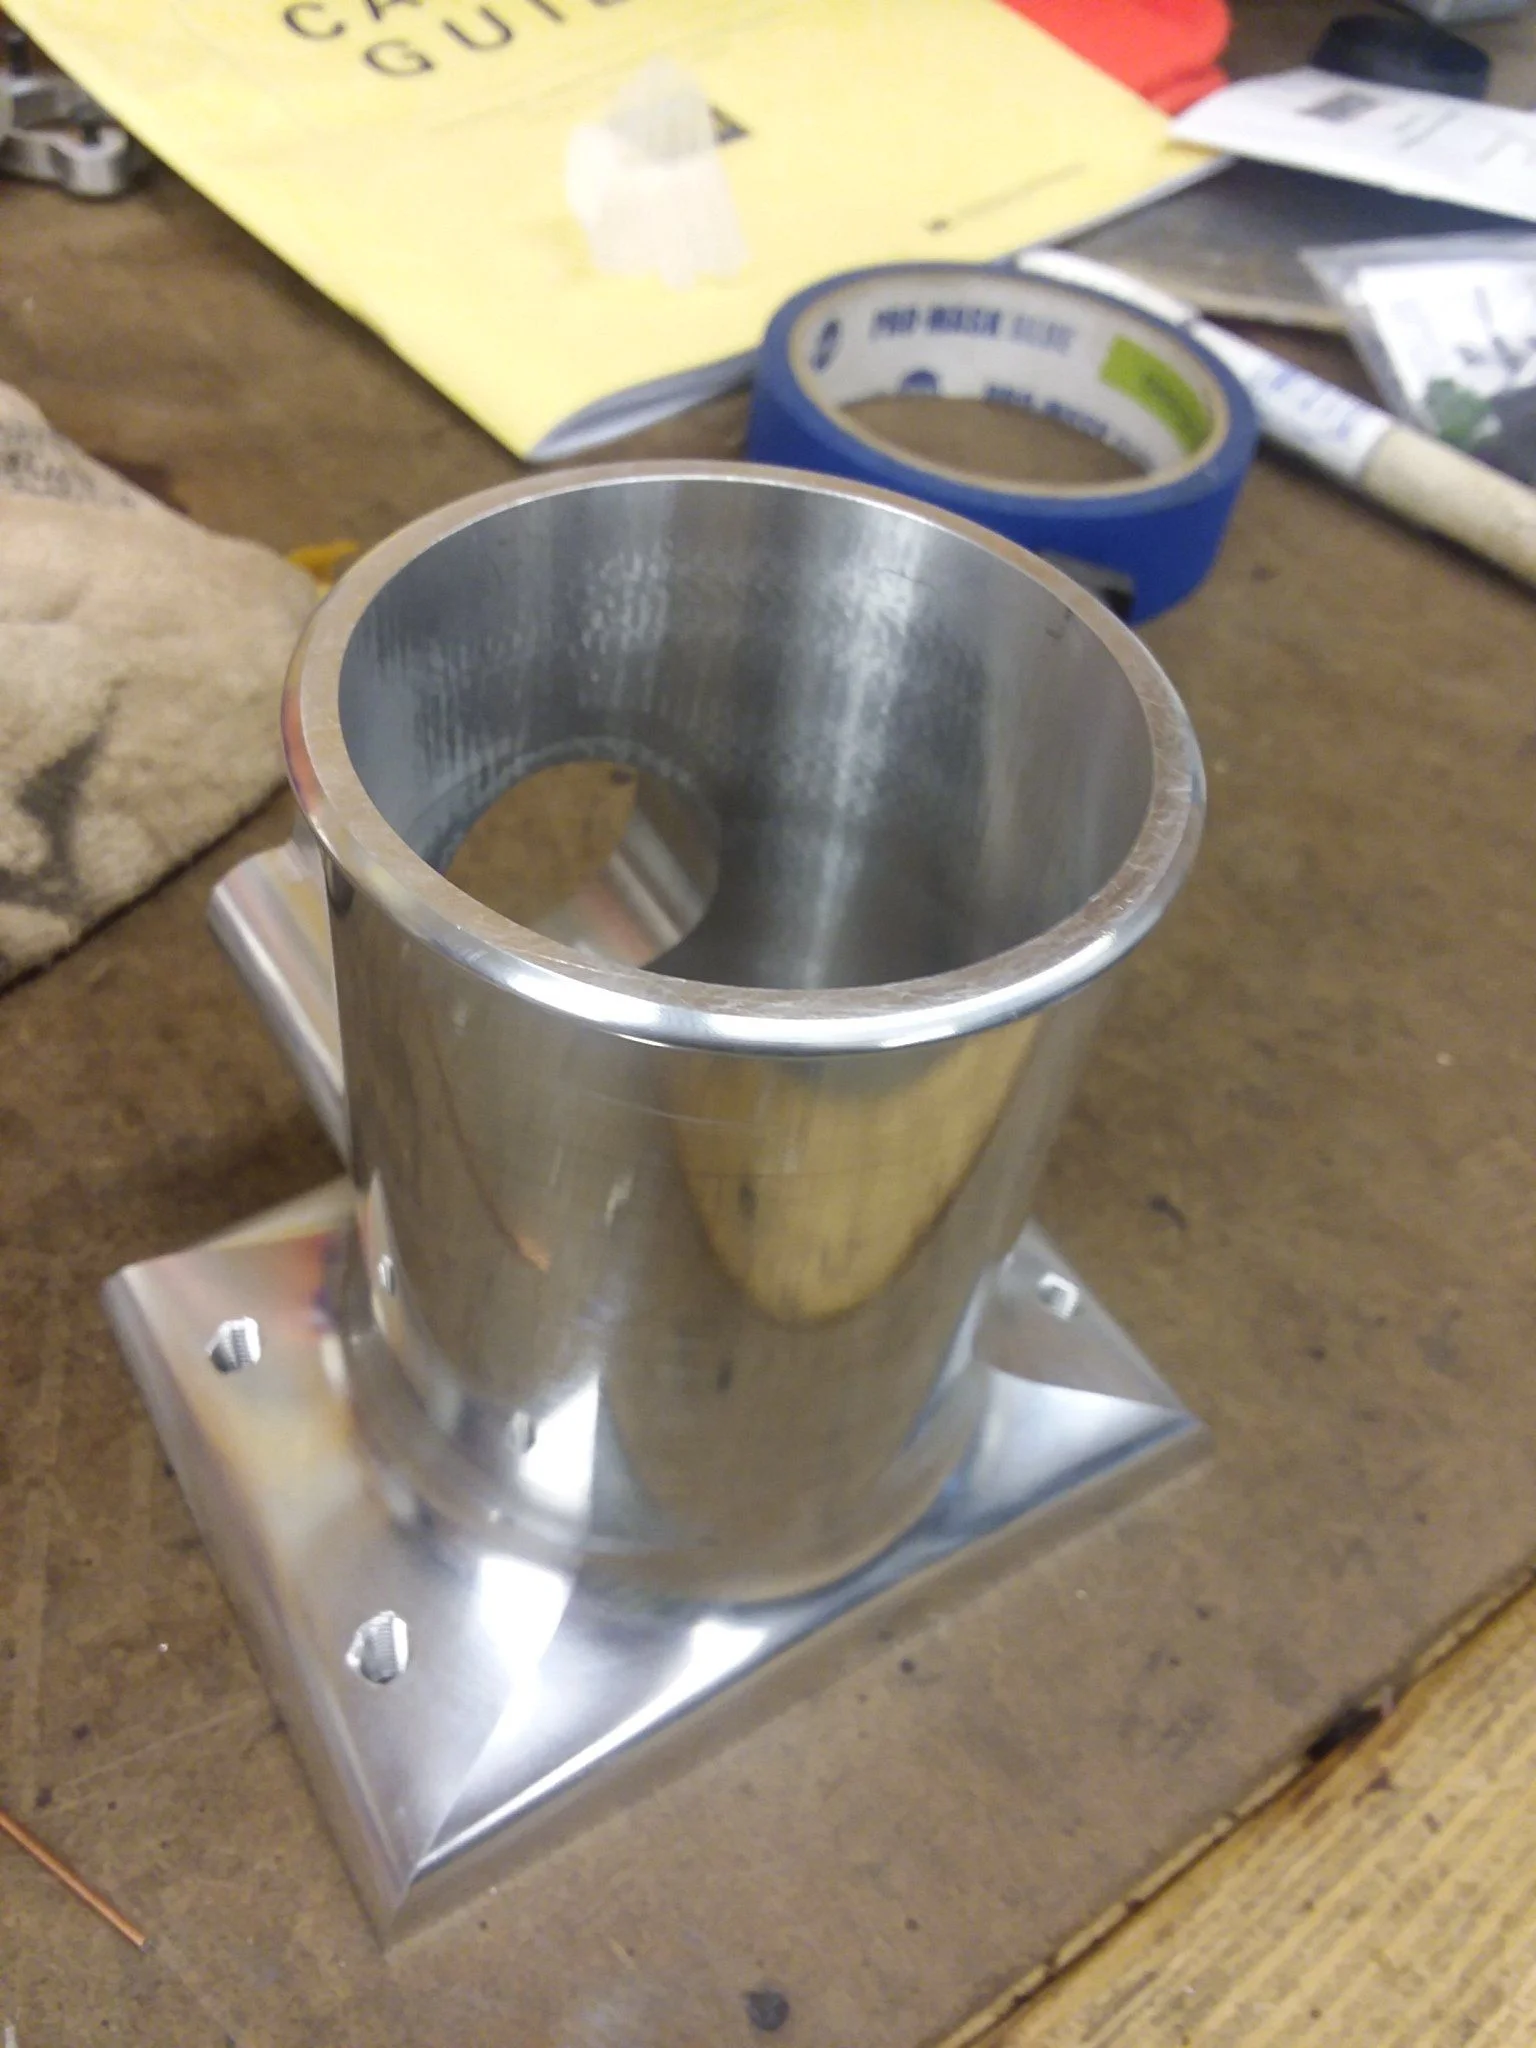
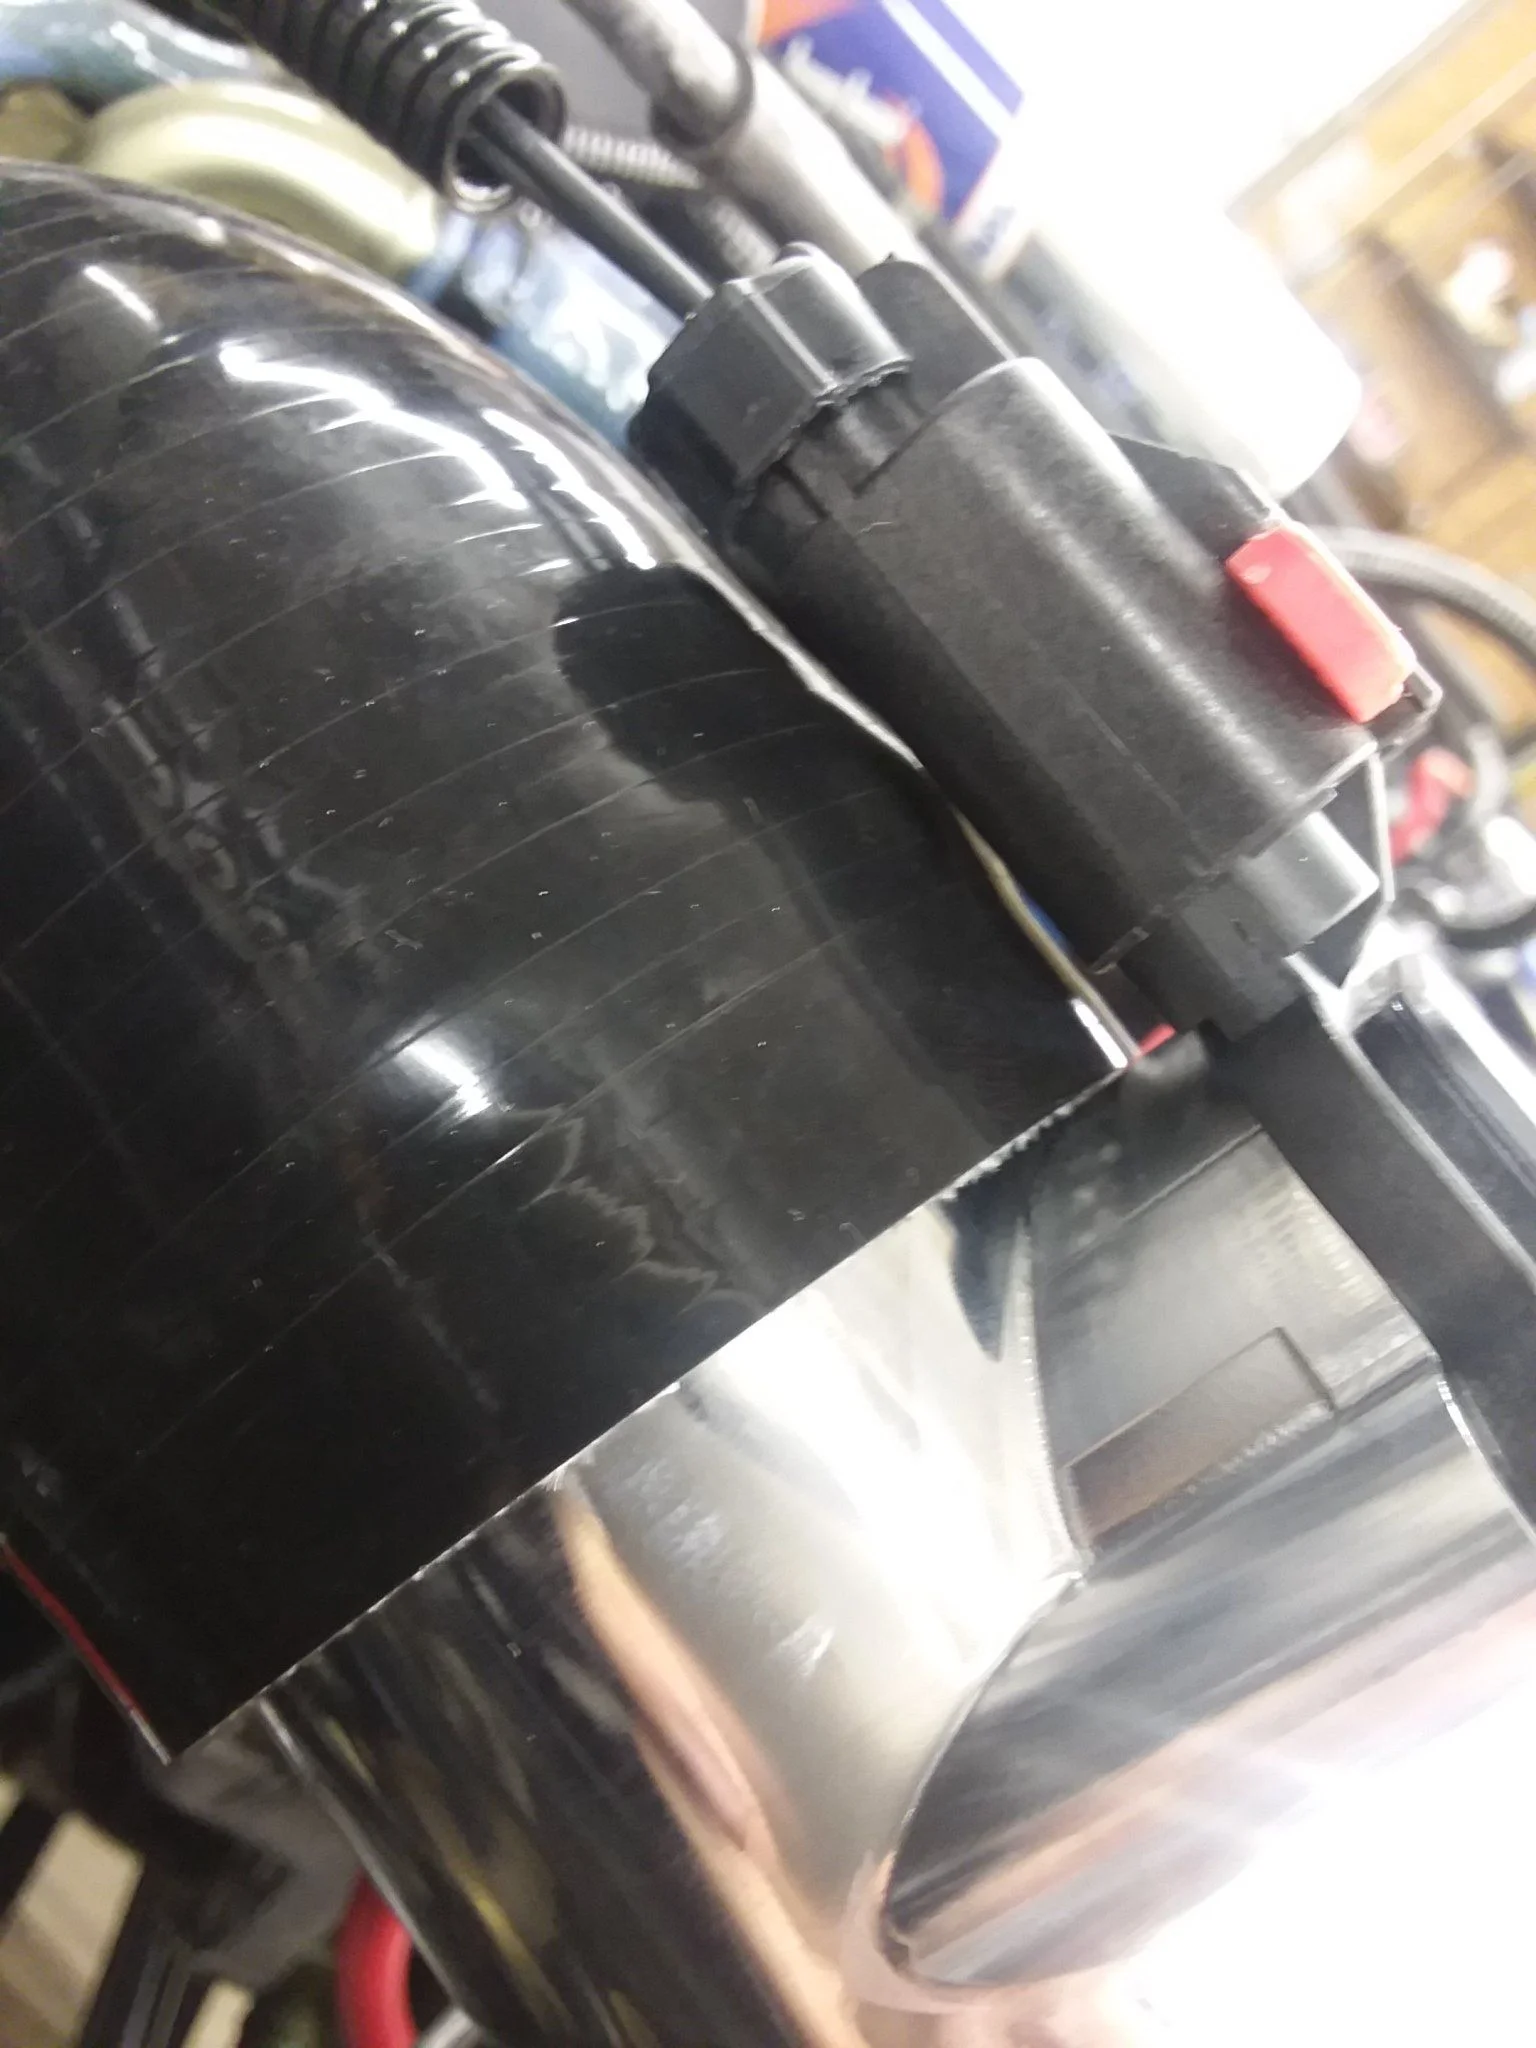
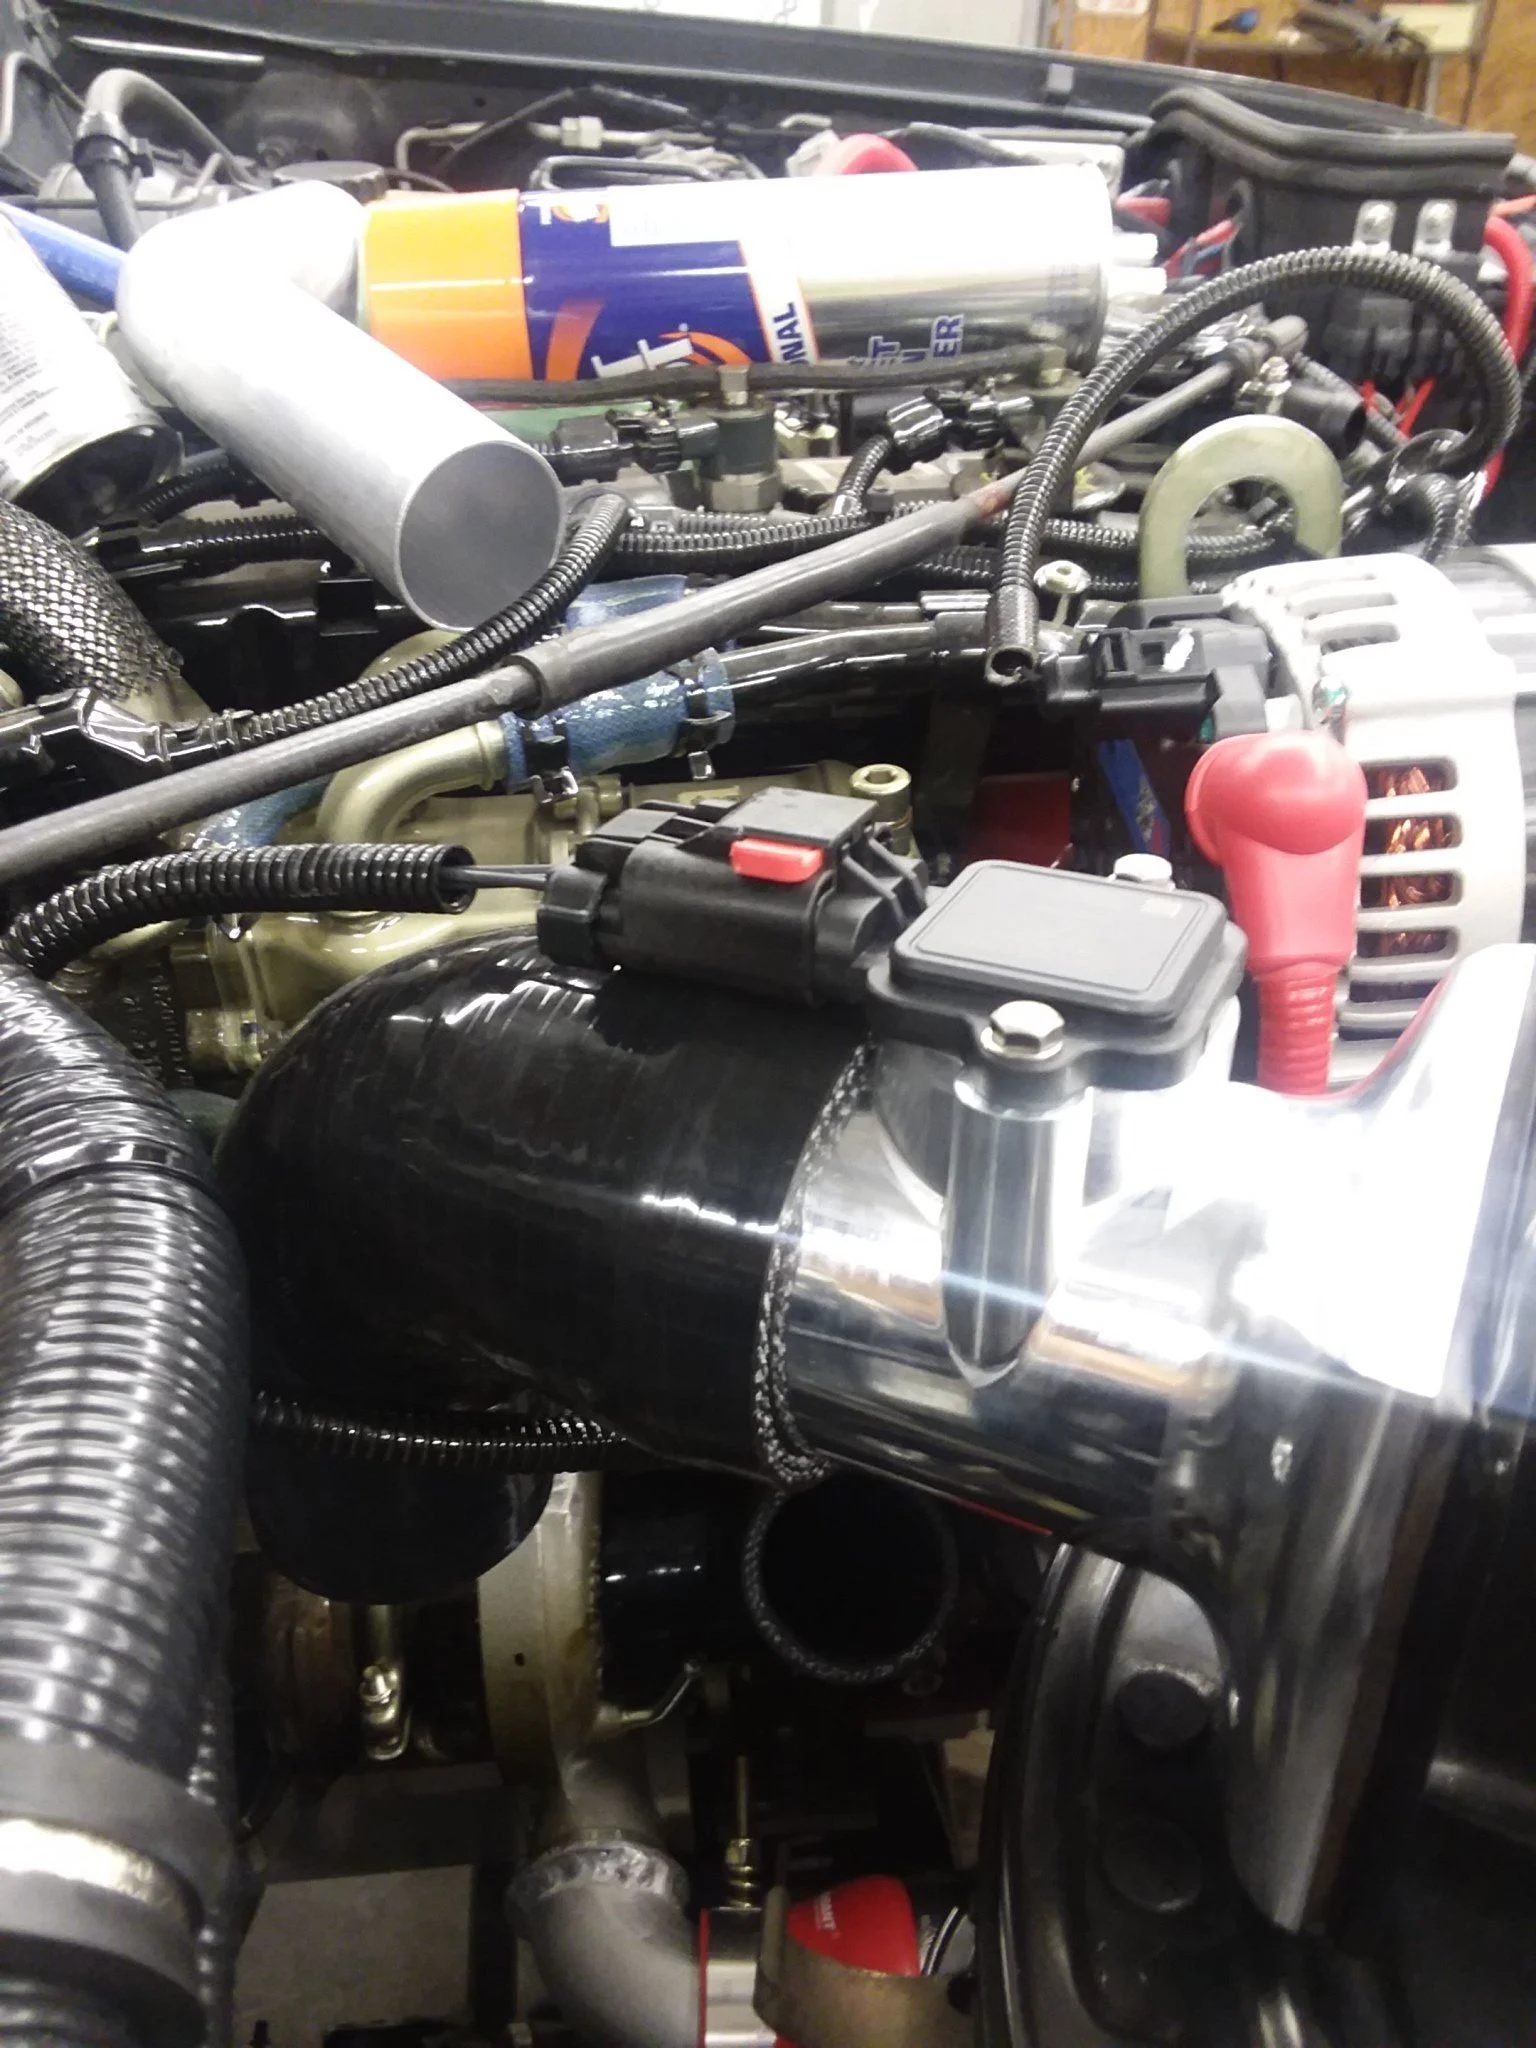
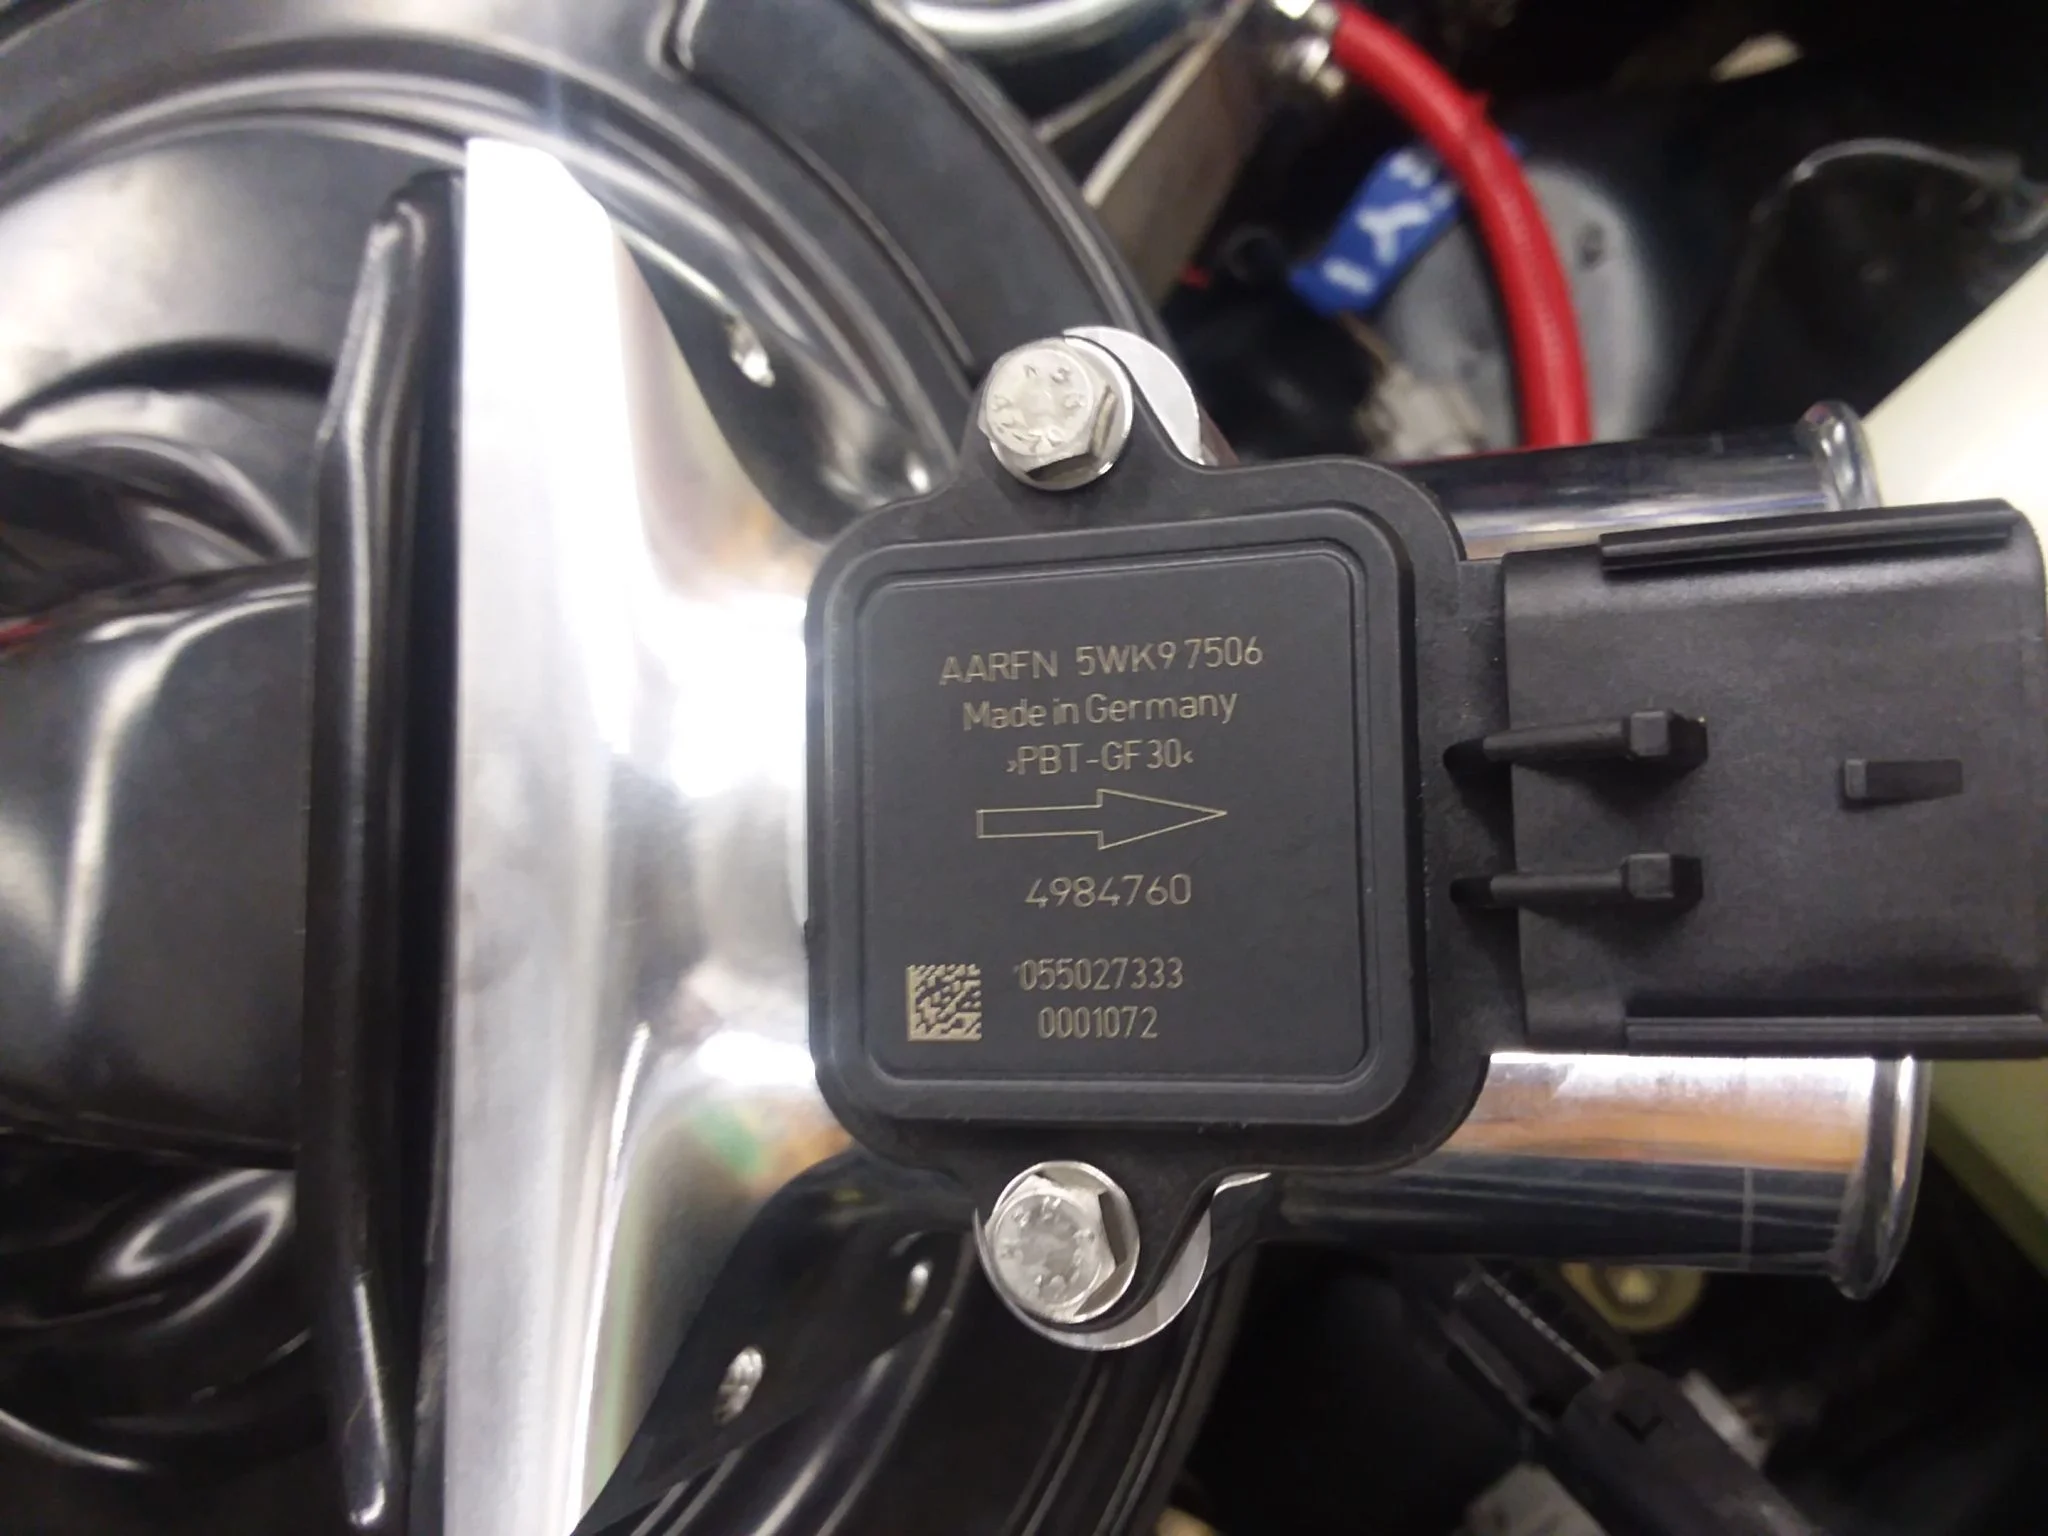
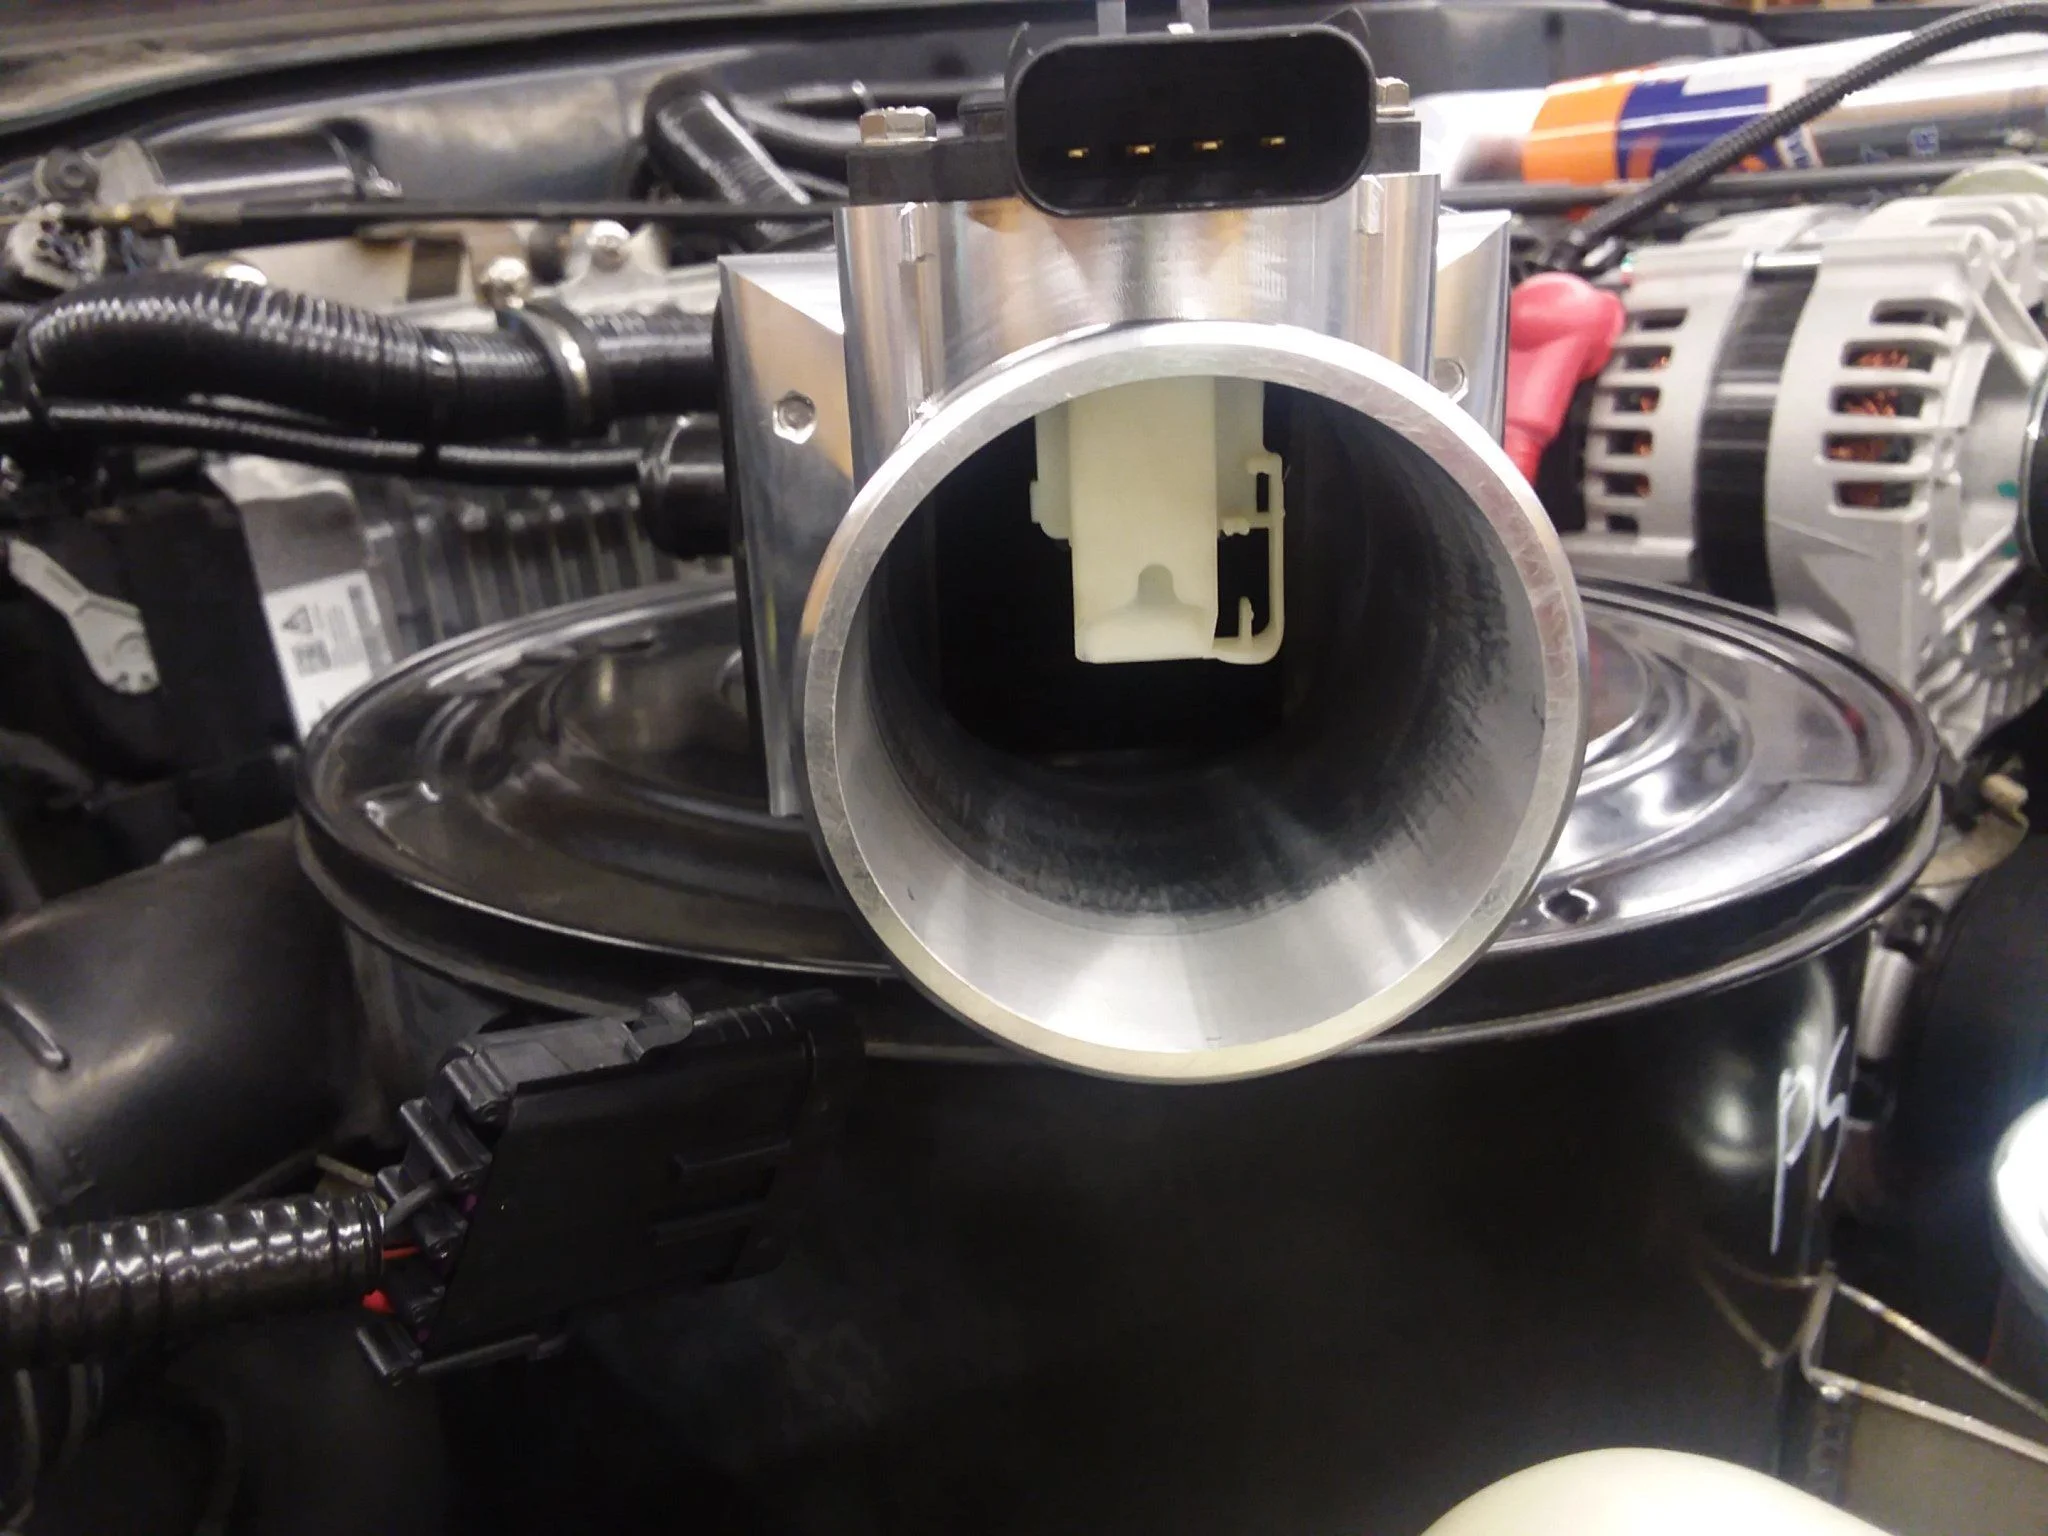
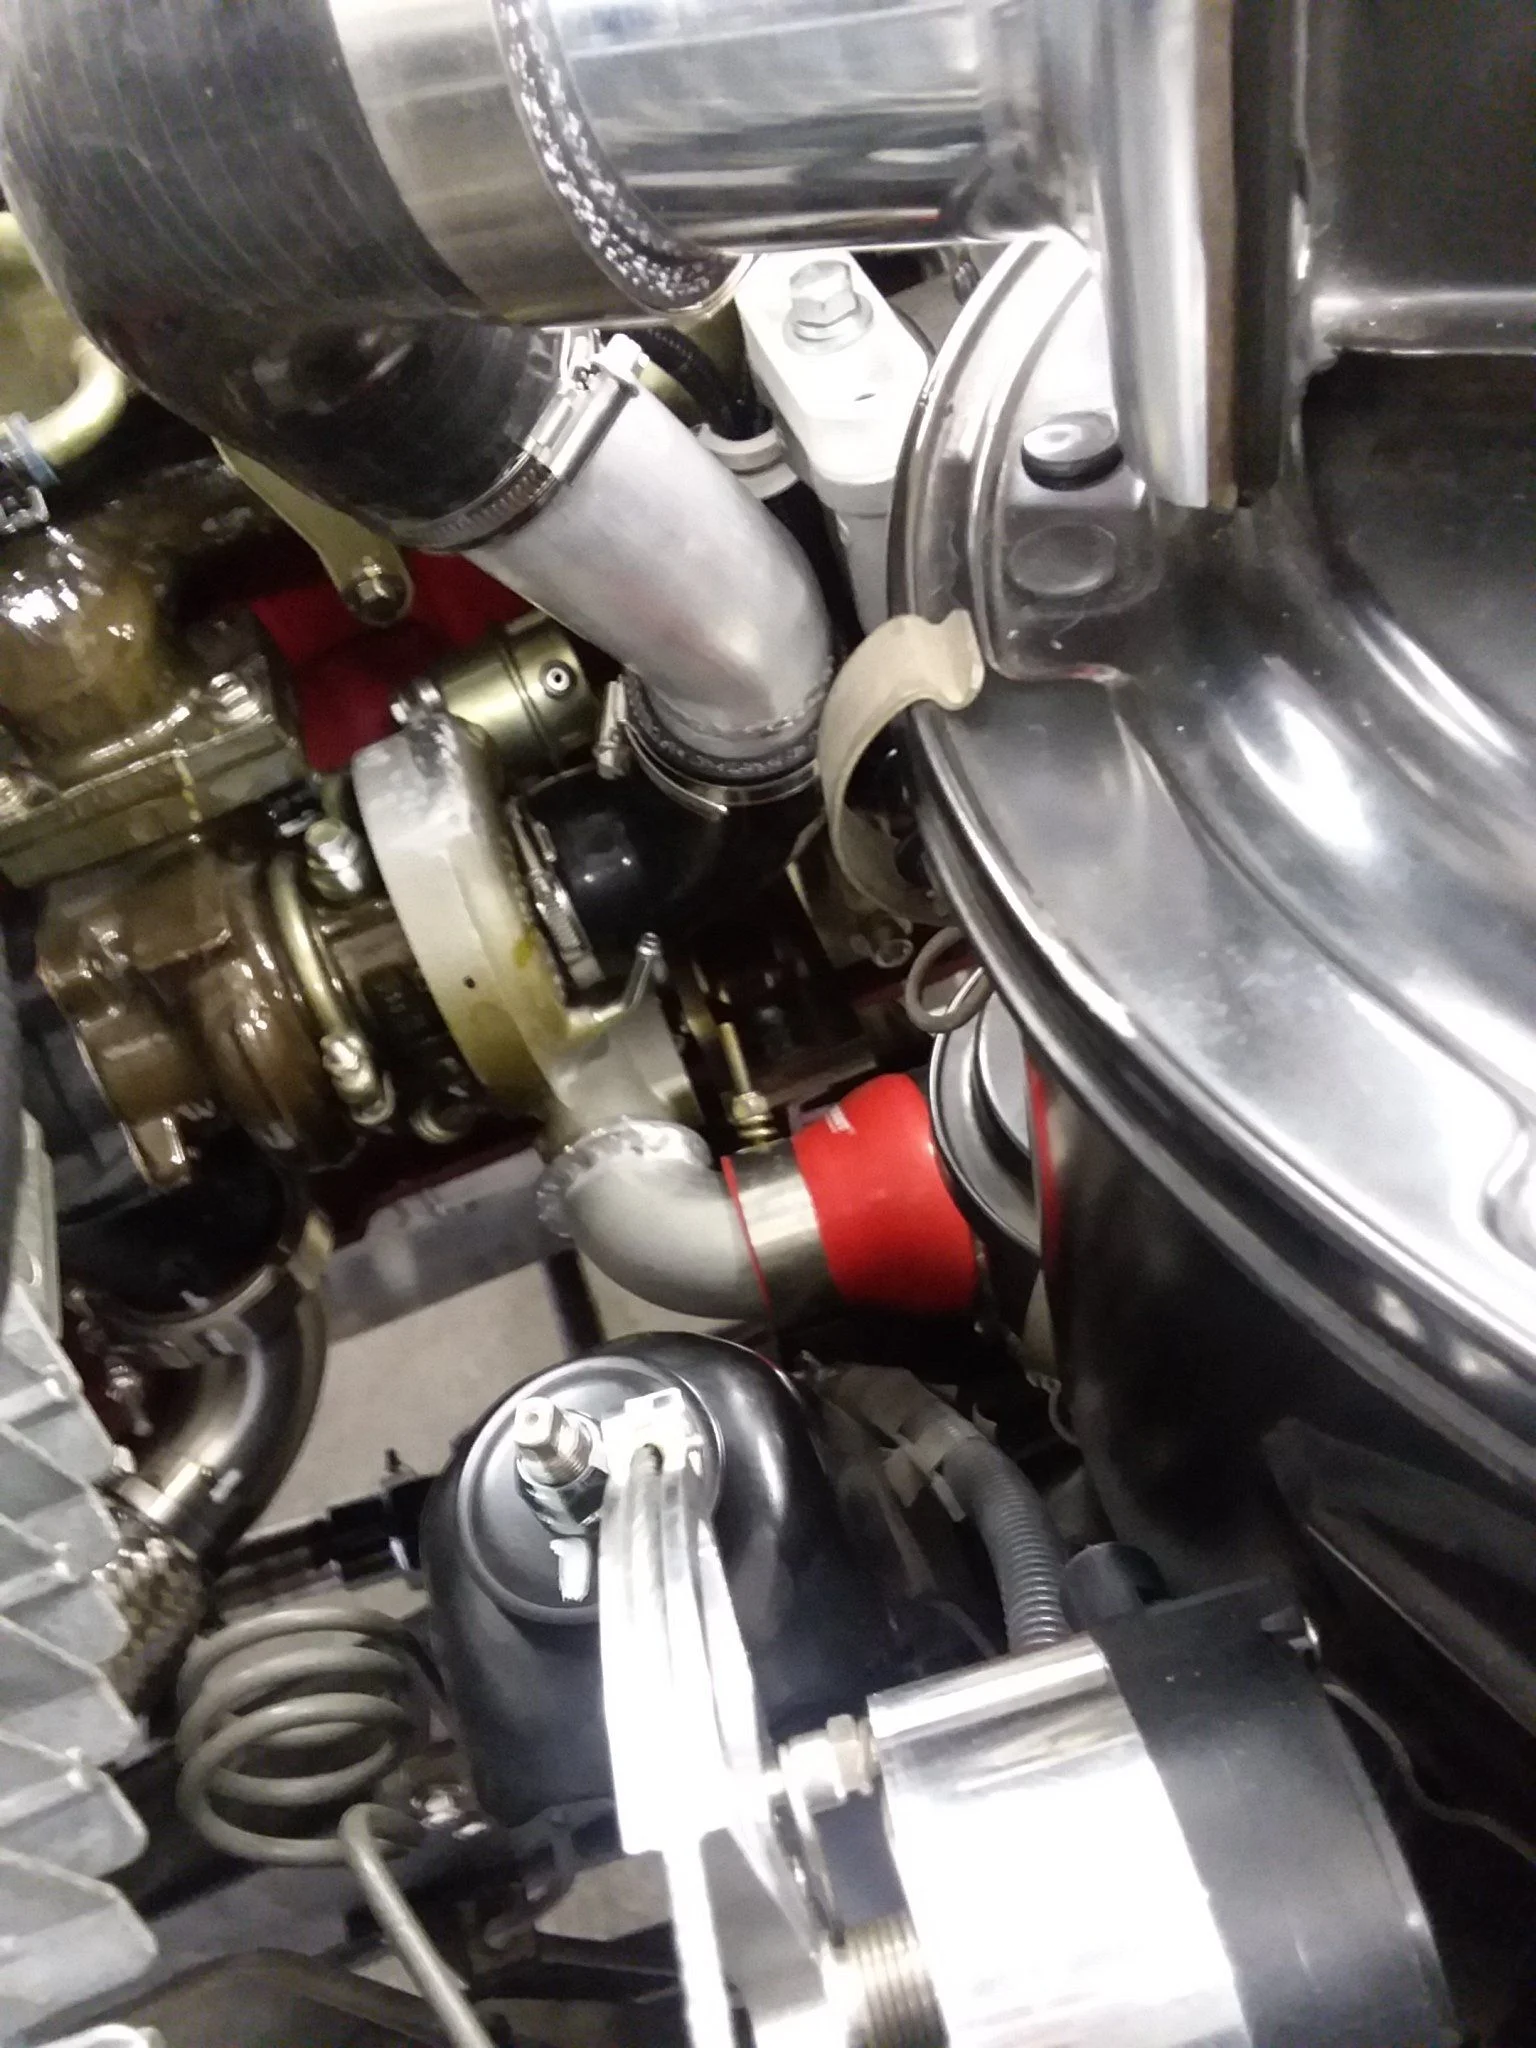
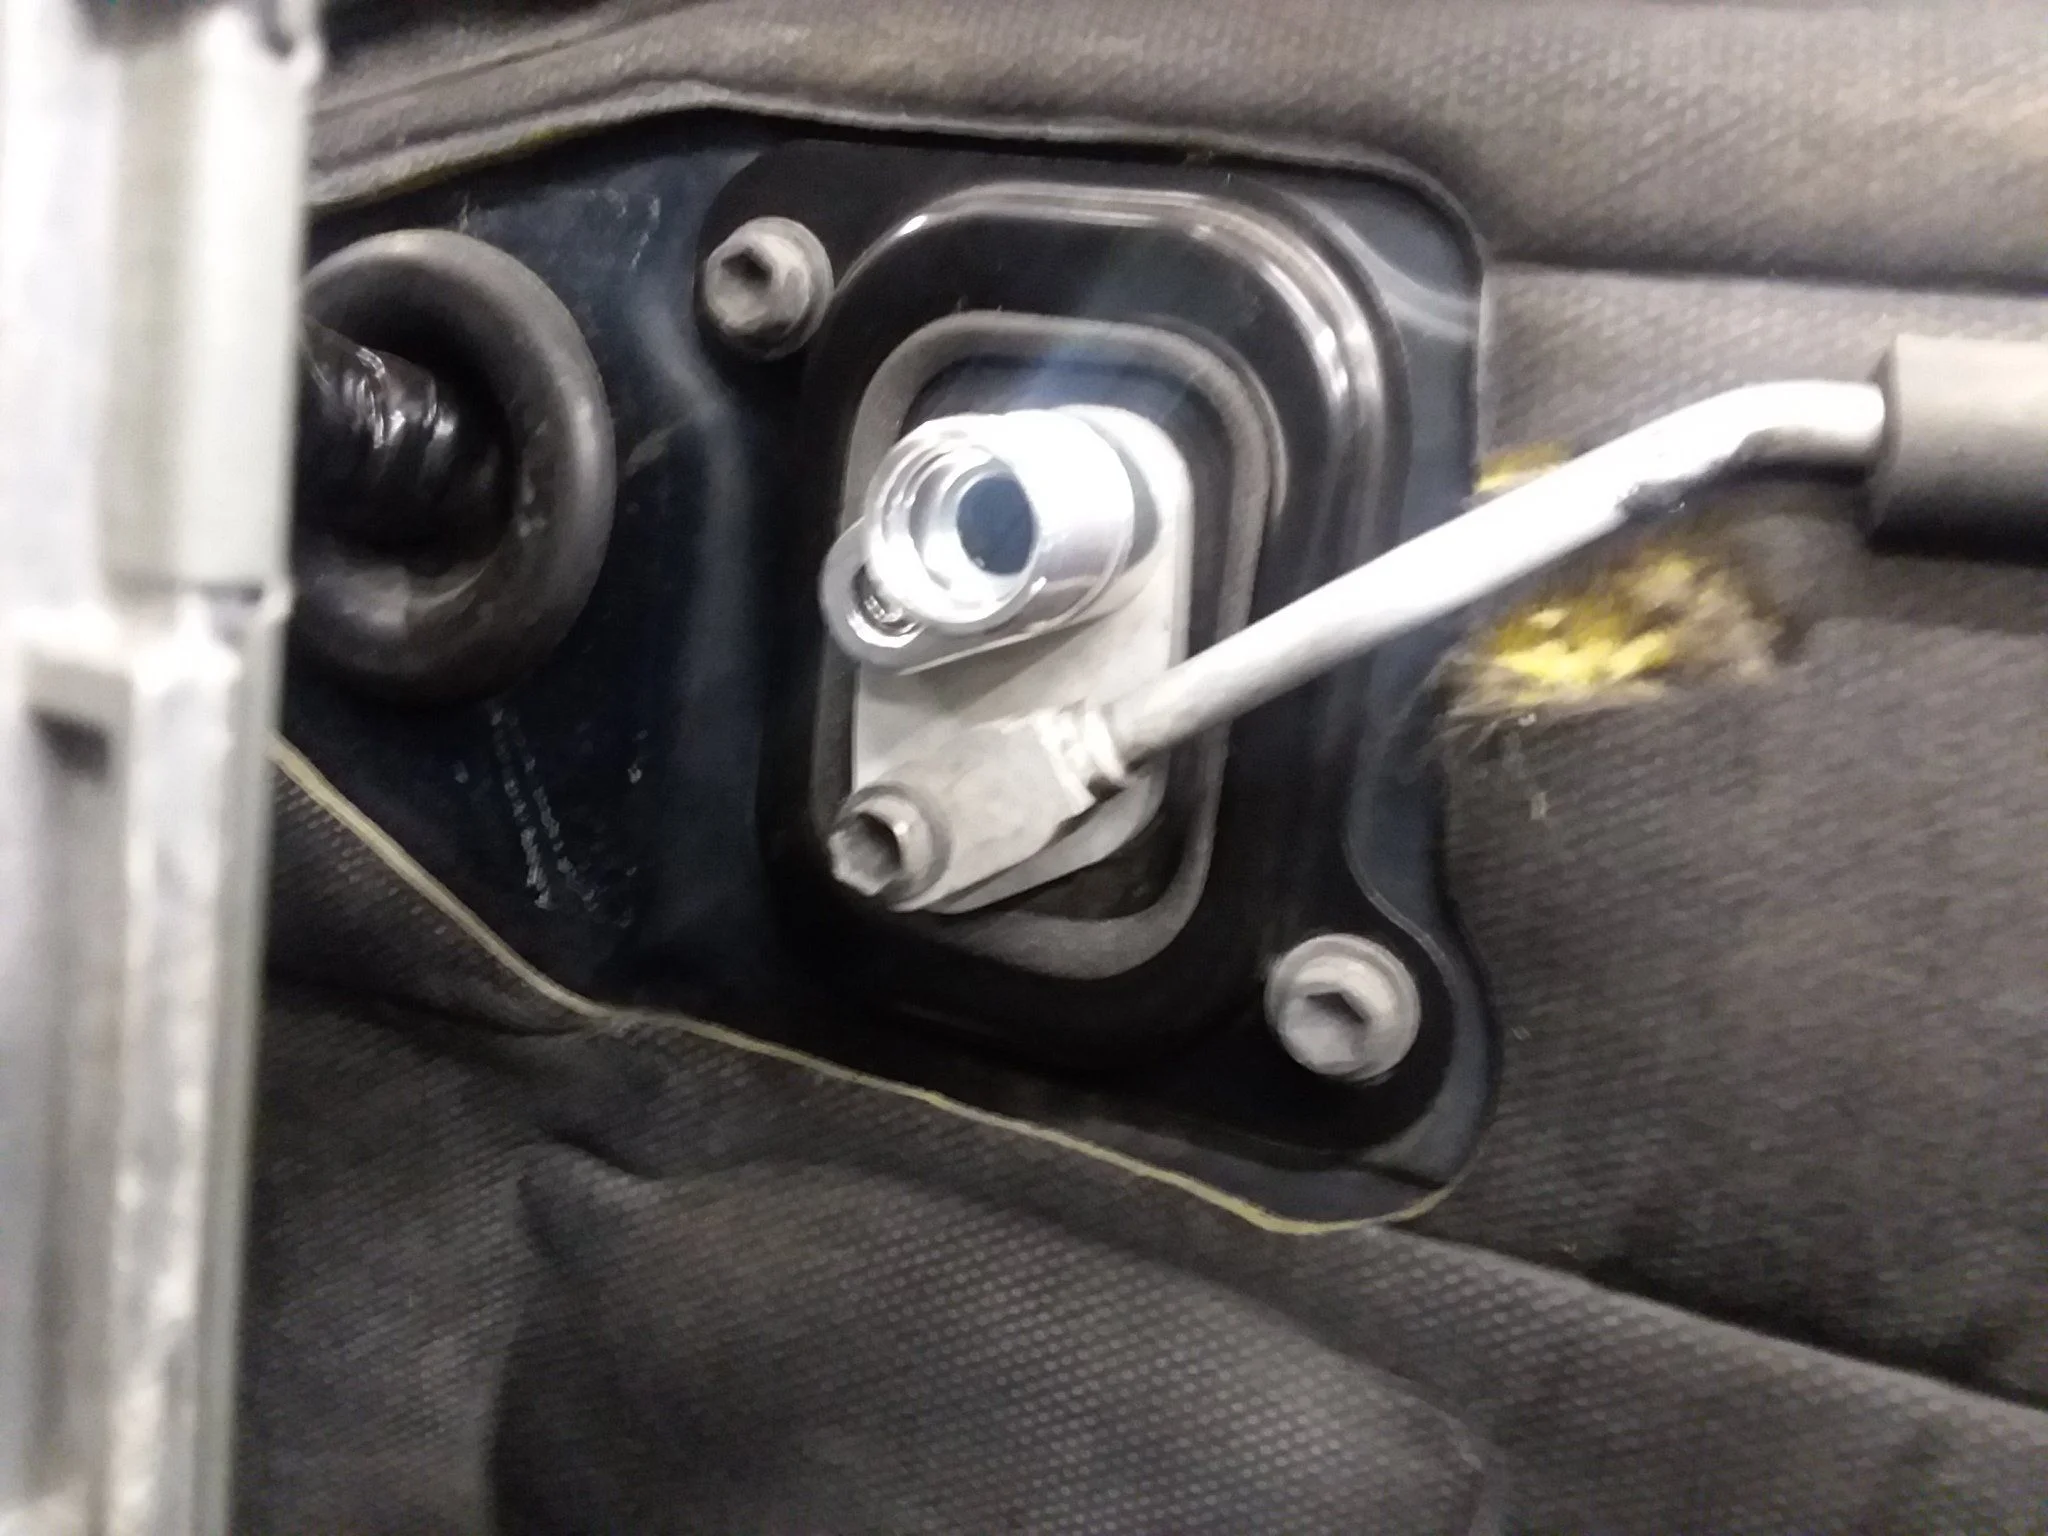
This is not my highest concern right now however. The air intake system has been a thorn in my side for a long time, in particular the mounting of this MAF sensor. Well I think I have it all worked out finally. I designed this little part that hooks right up to the 1FZ airbox top, then I can use a pair of silicone 90 degree elbows to get down to the turbo.


It was a pain because I need to keep this part as short as possible to keep the intake plumbing away from the EGR cooler, I wish I could rip that pos off. I also tried to keep as much of the Cummins geometry as possible since they already did their calibration work, this added some challenges since I need room under the sensor connector for the silicone elbow and the connector body.


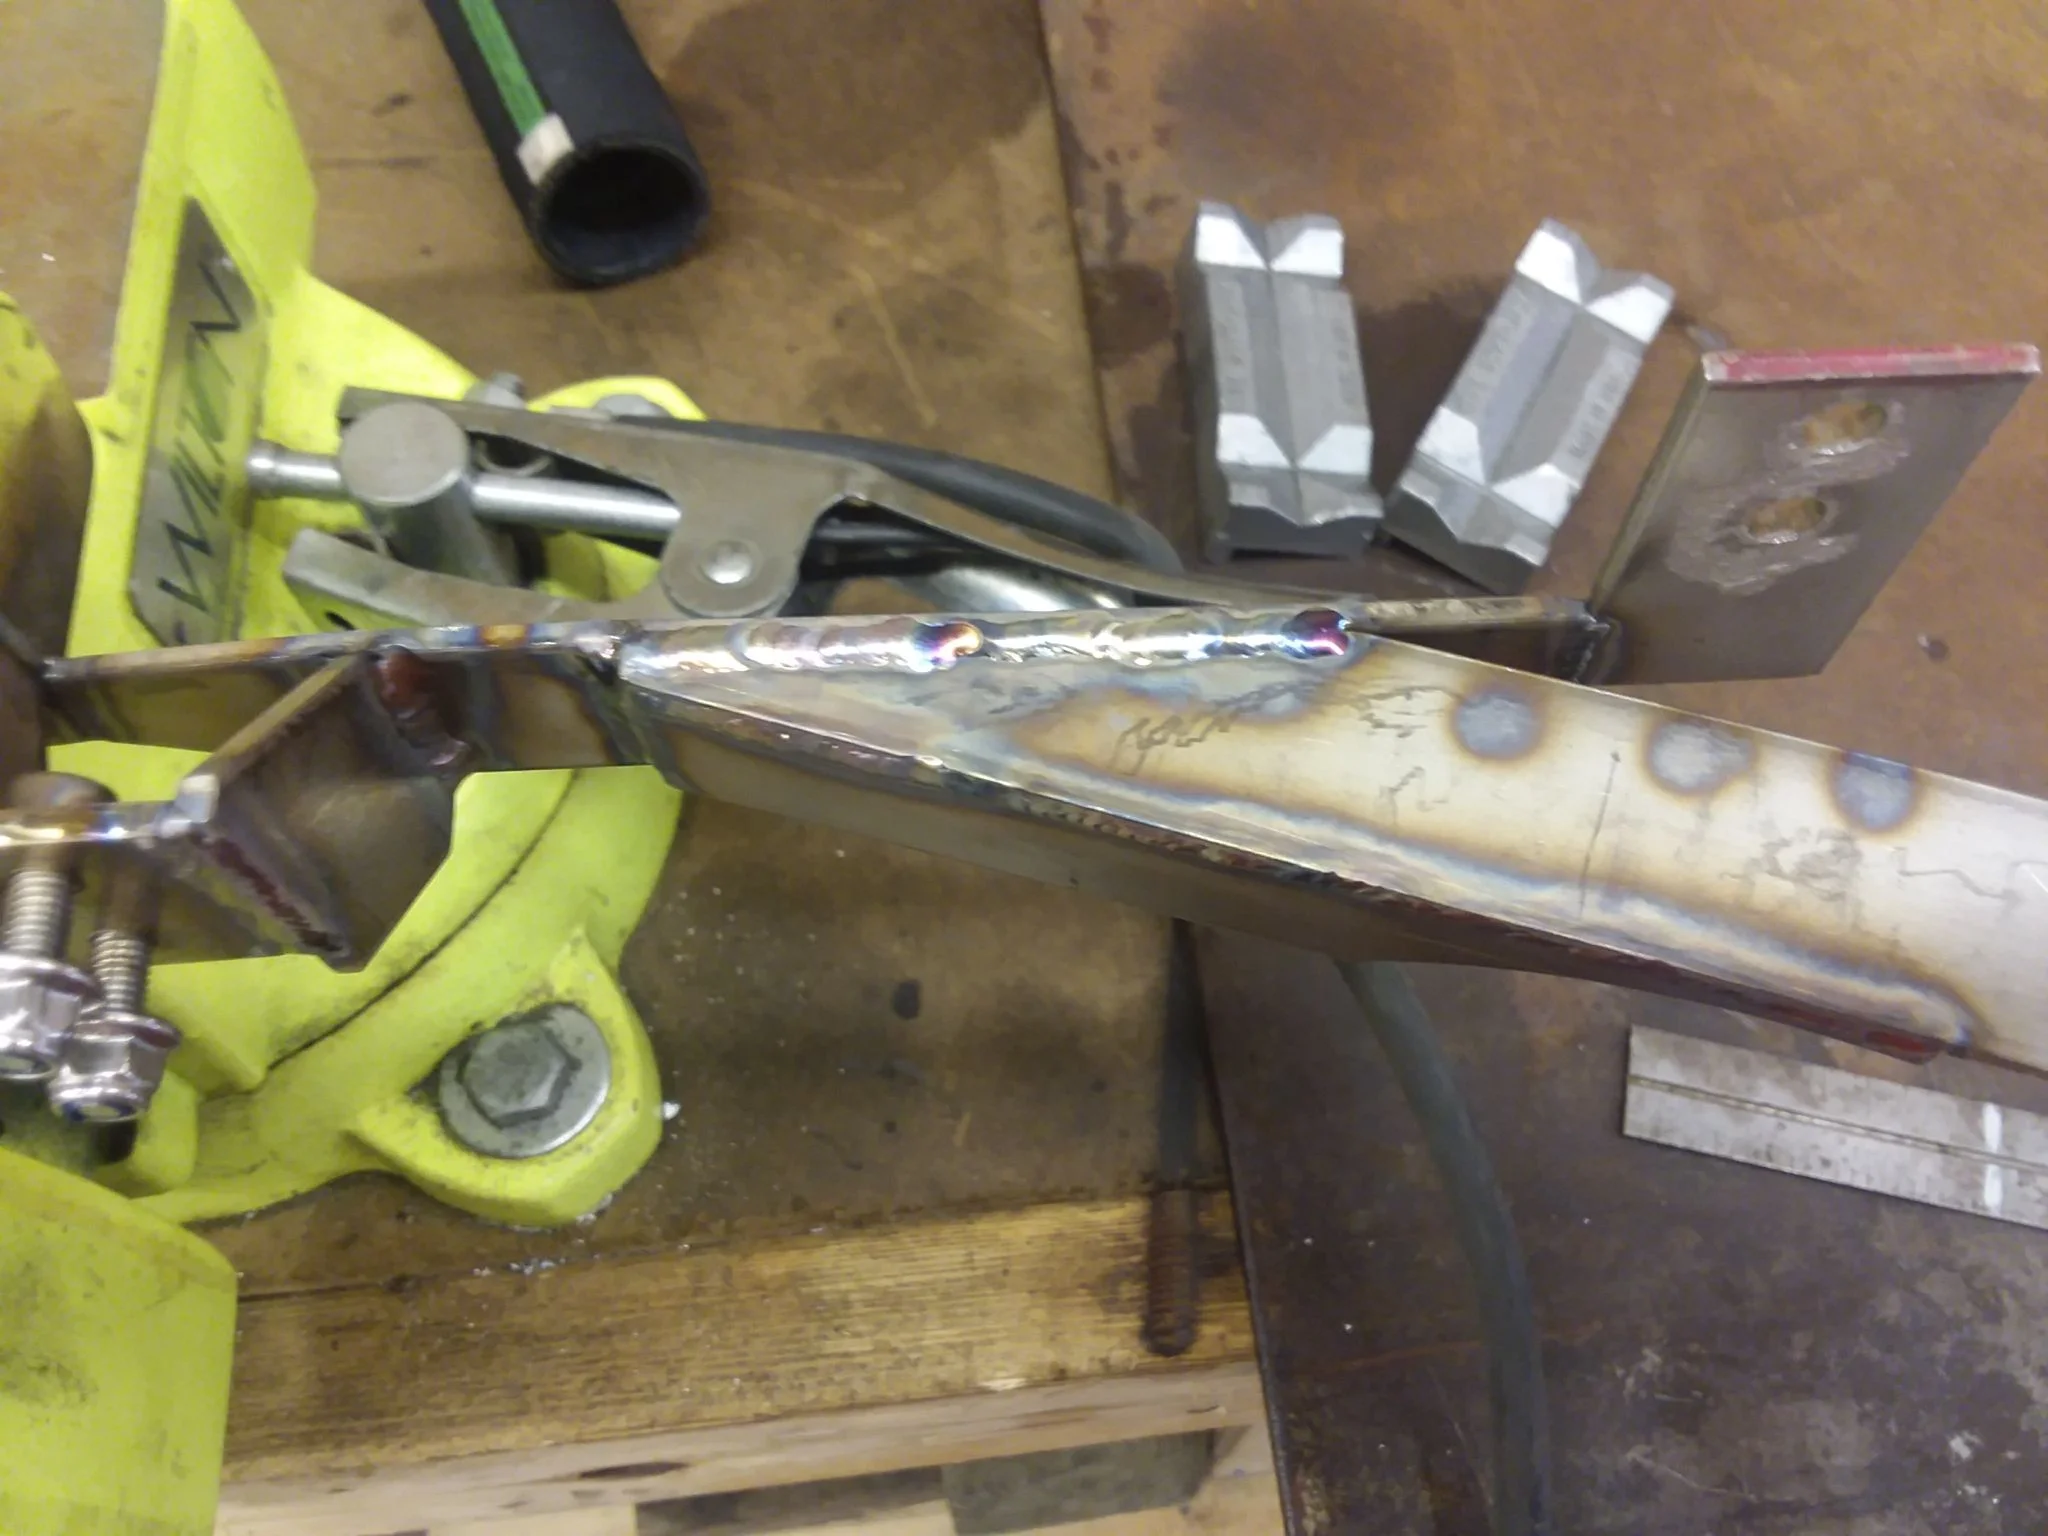
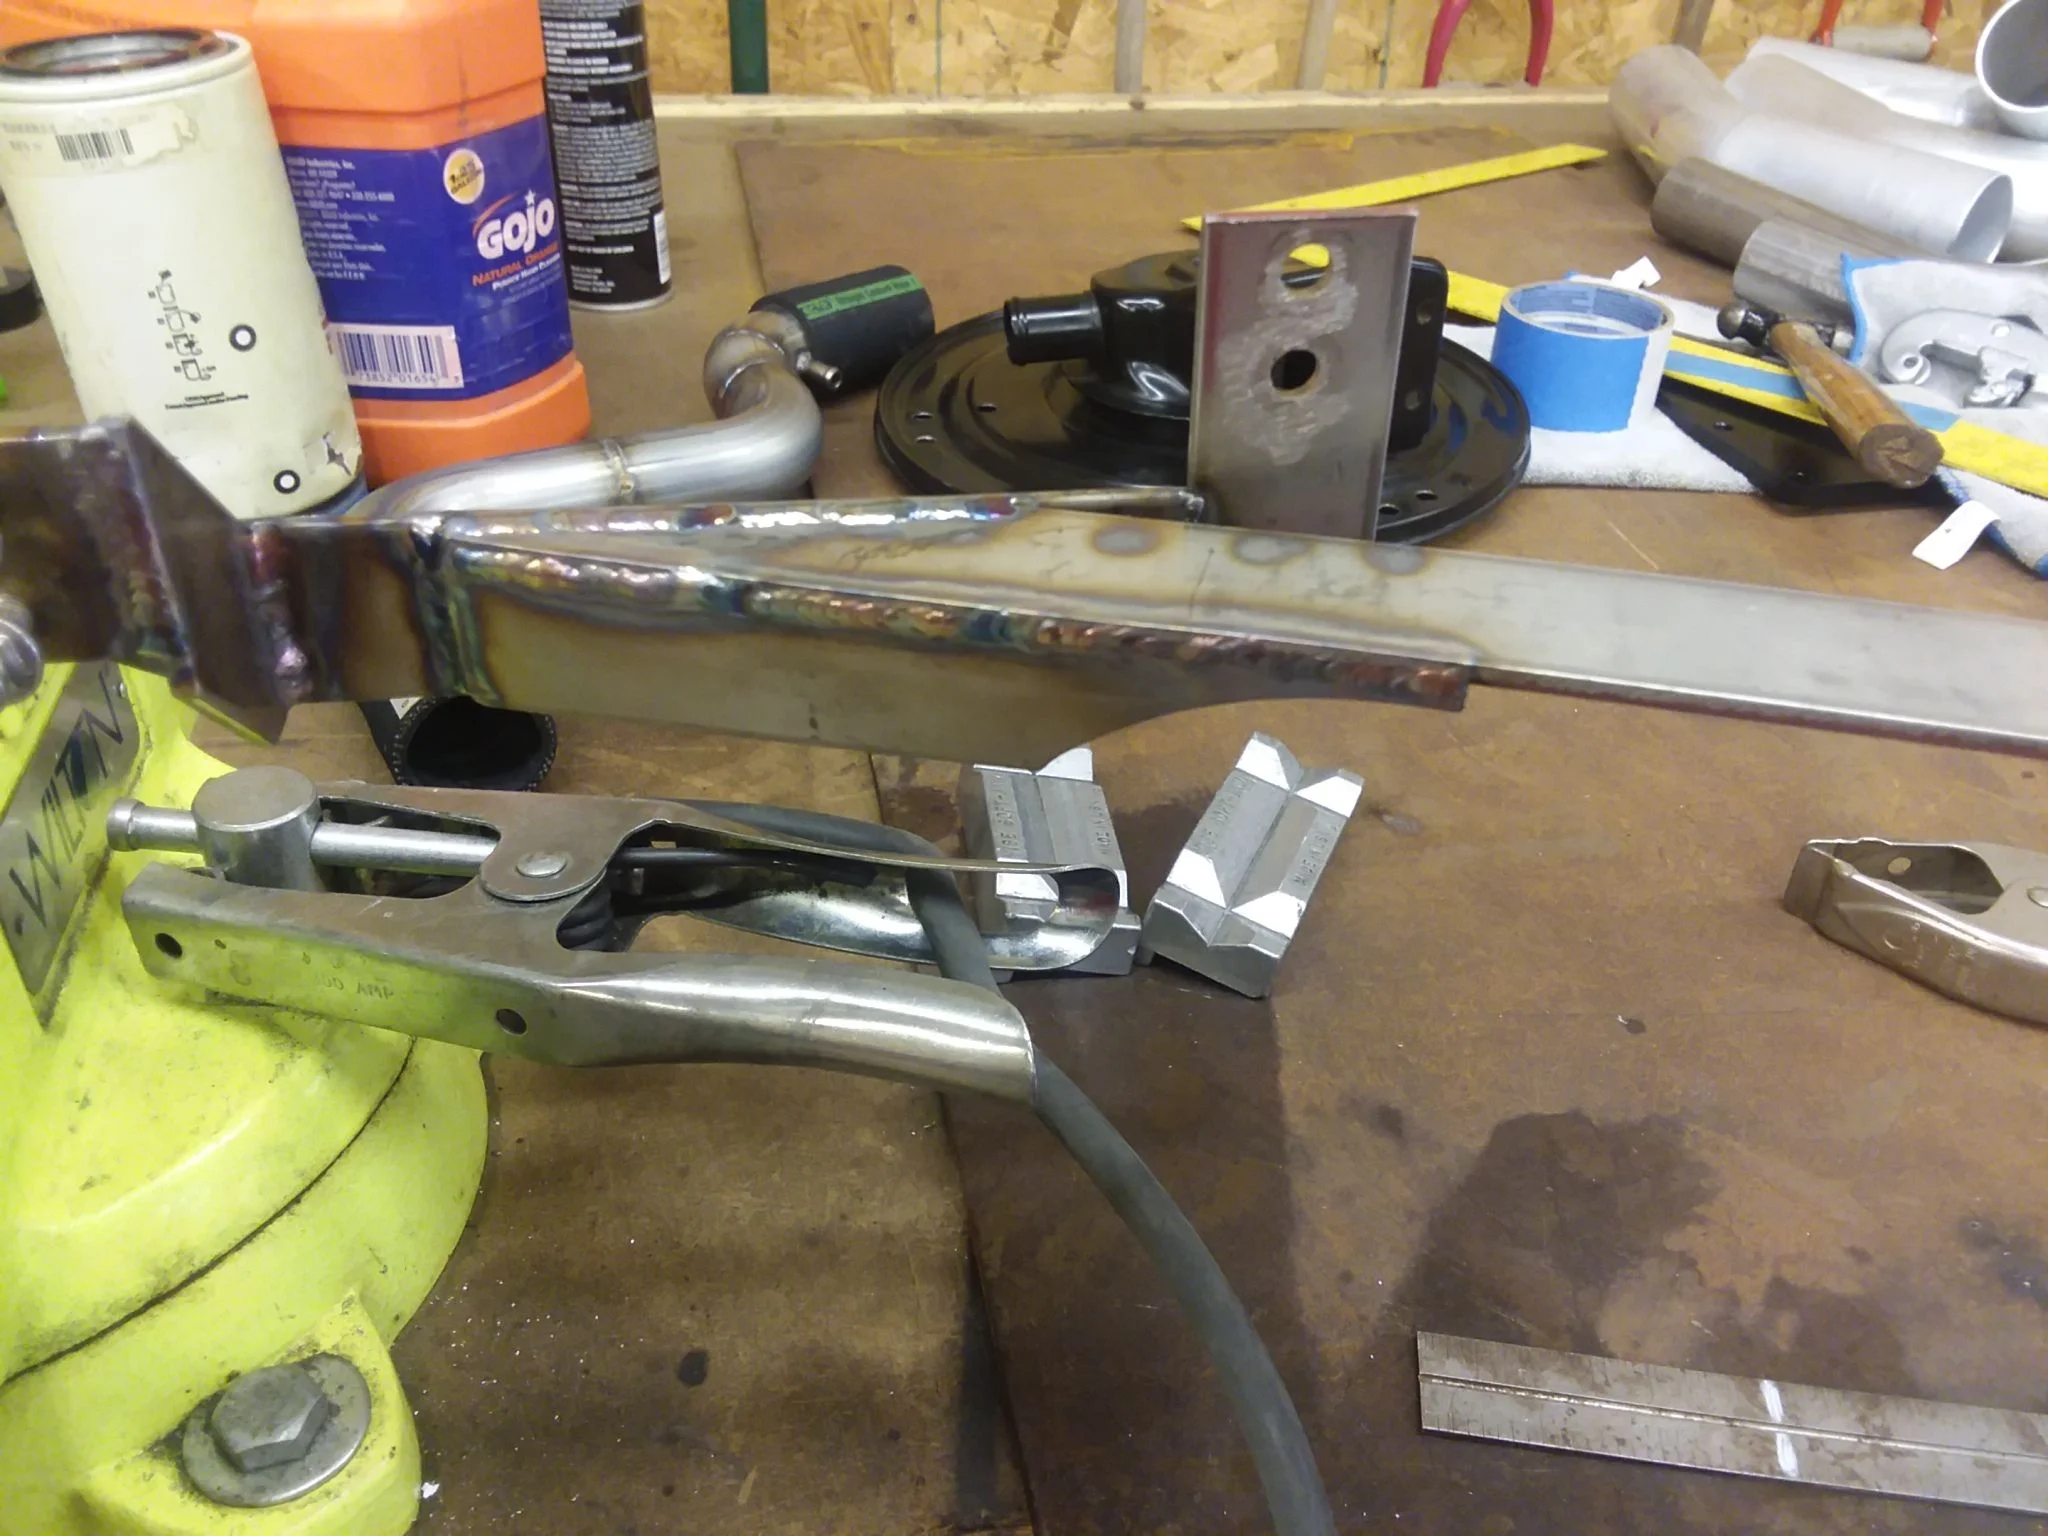
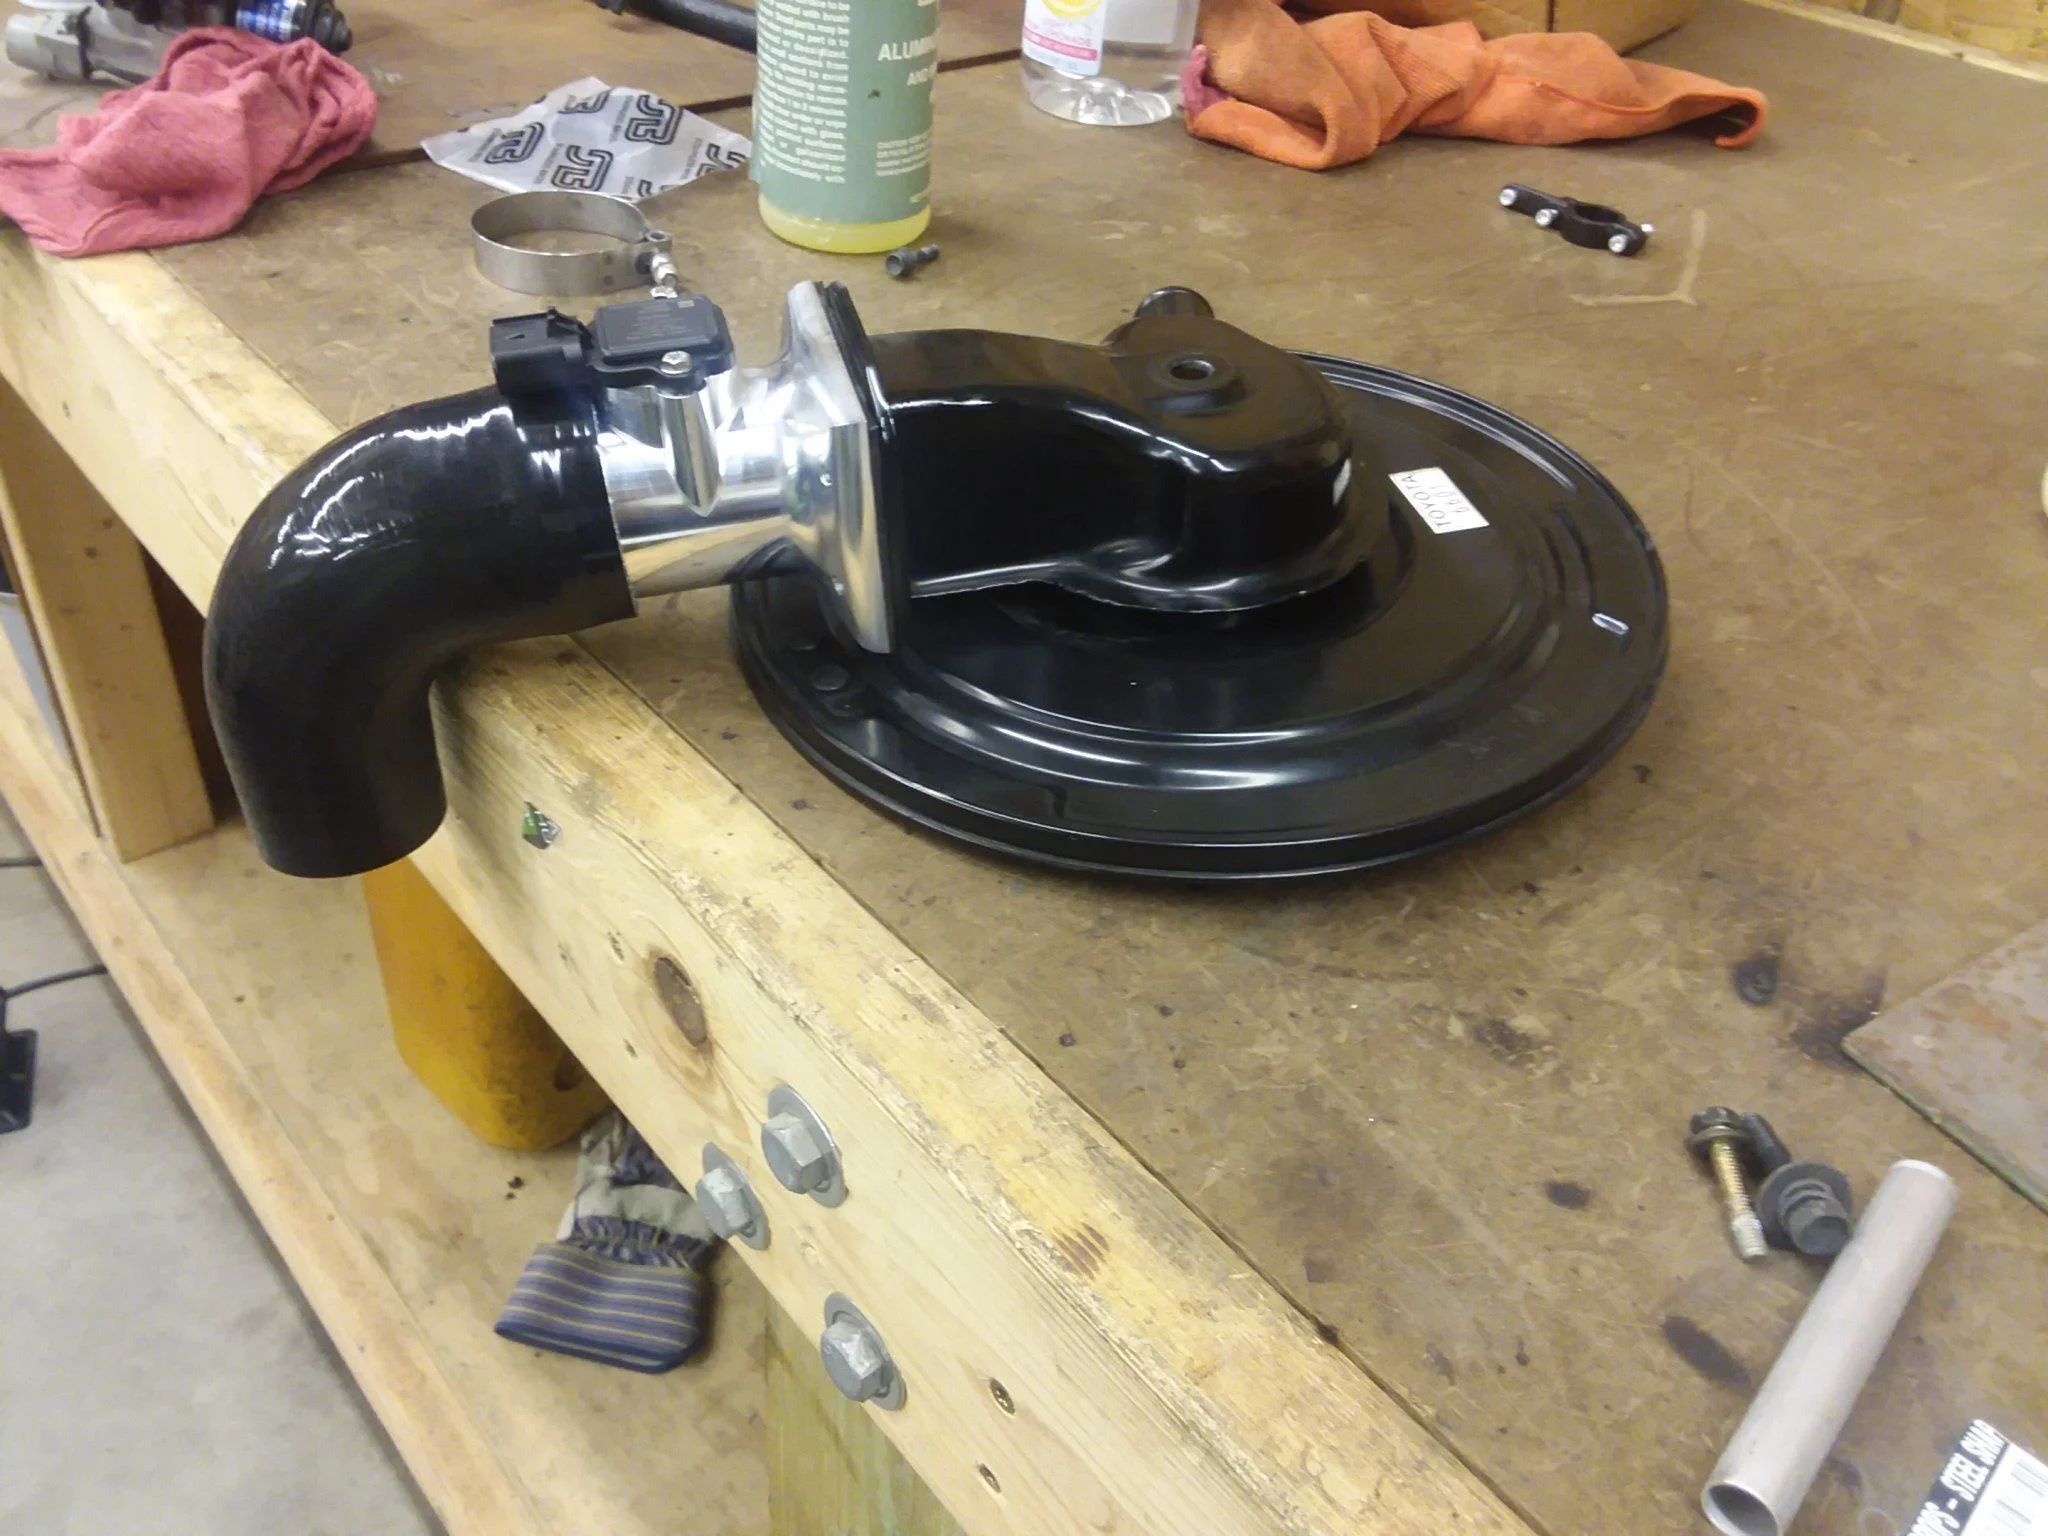
Here is an over view of the airbox top assembly..

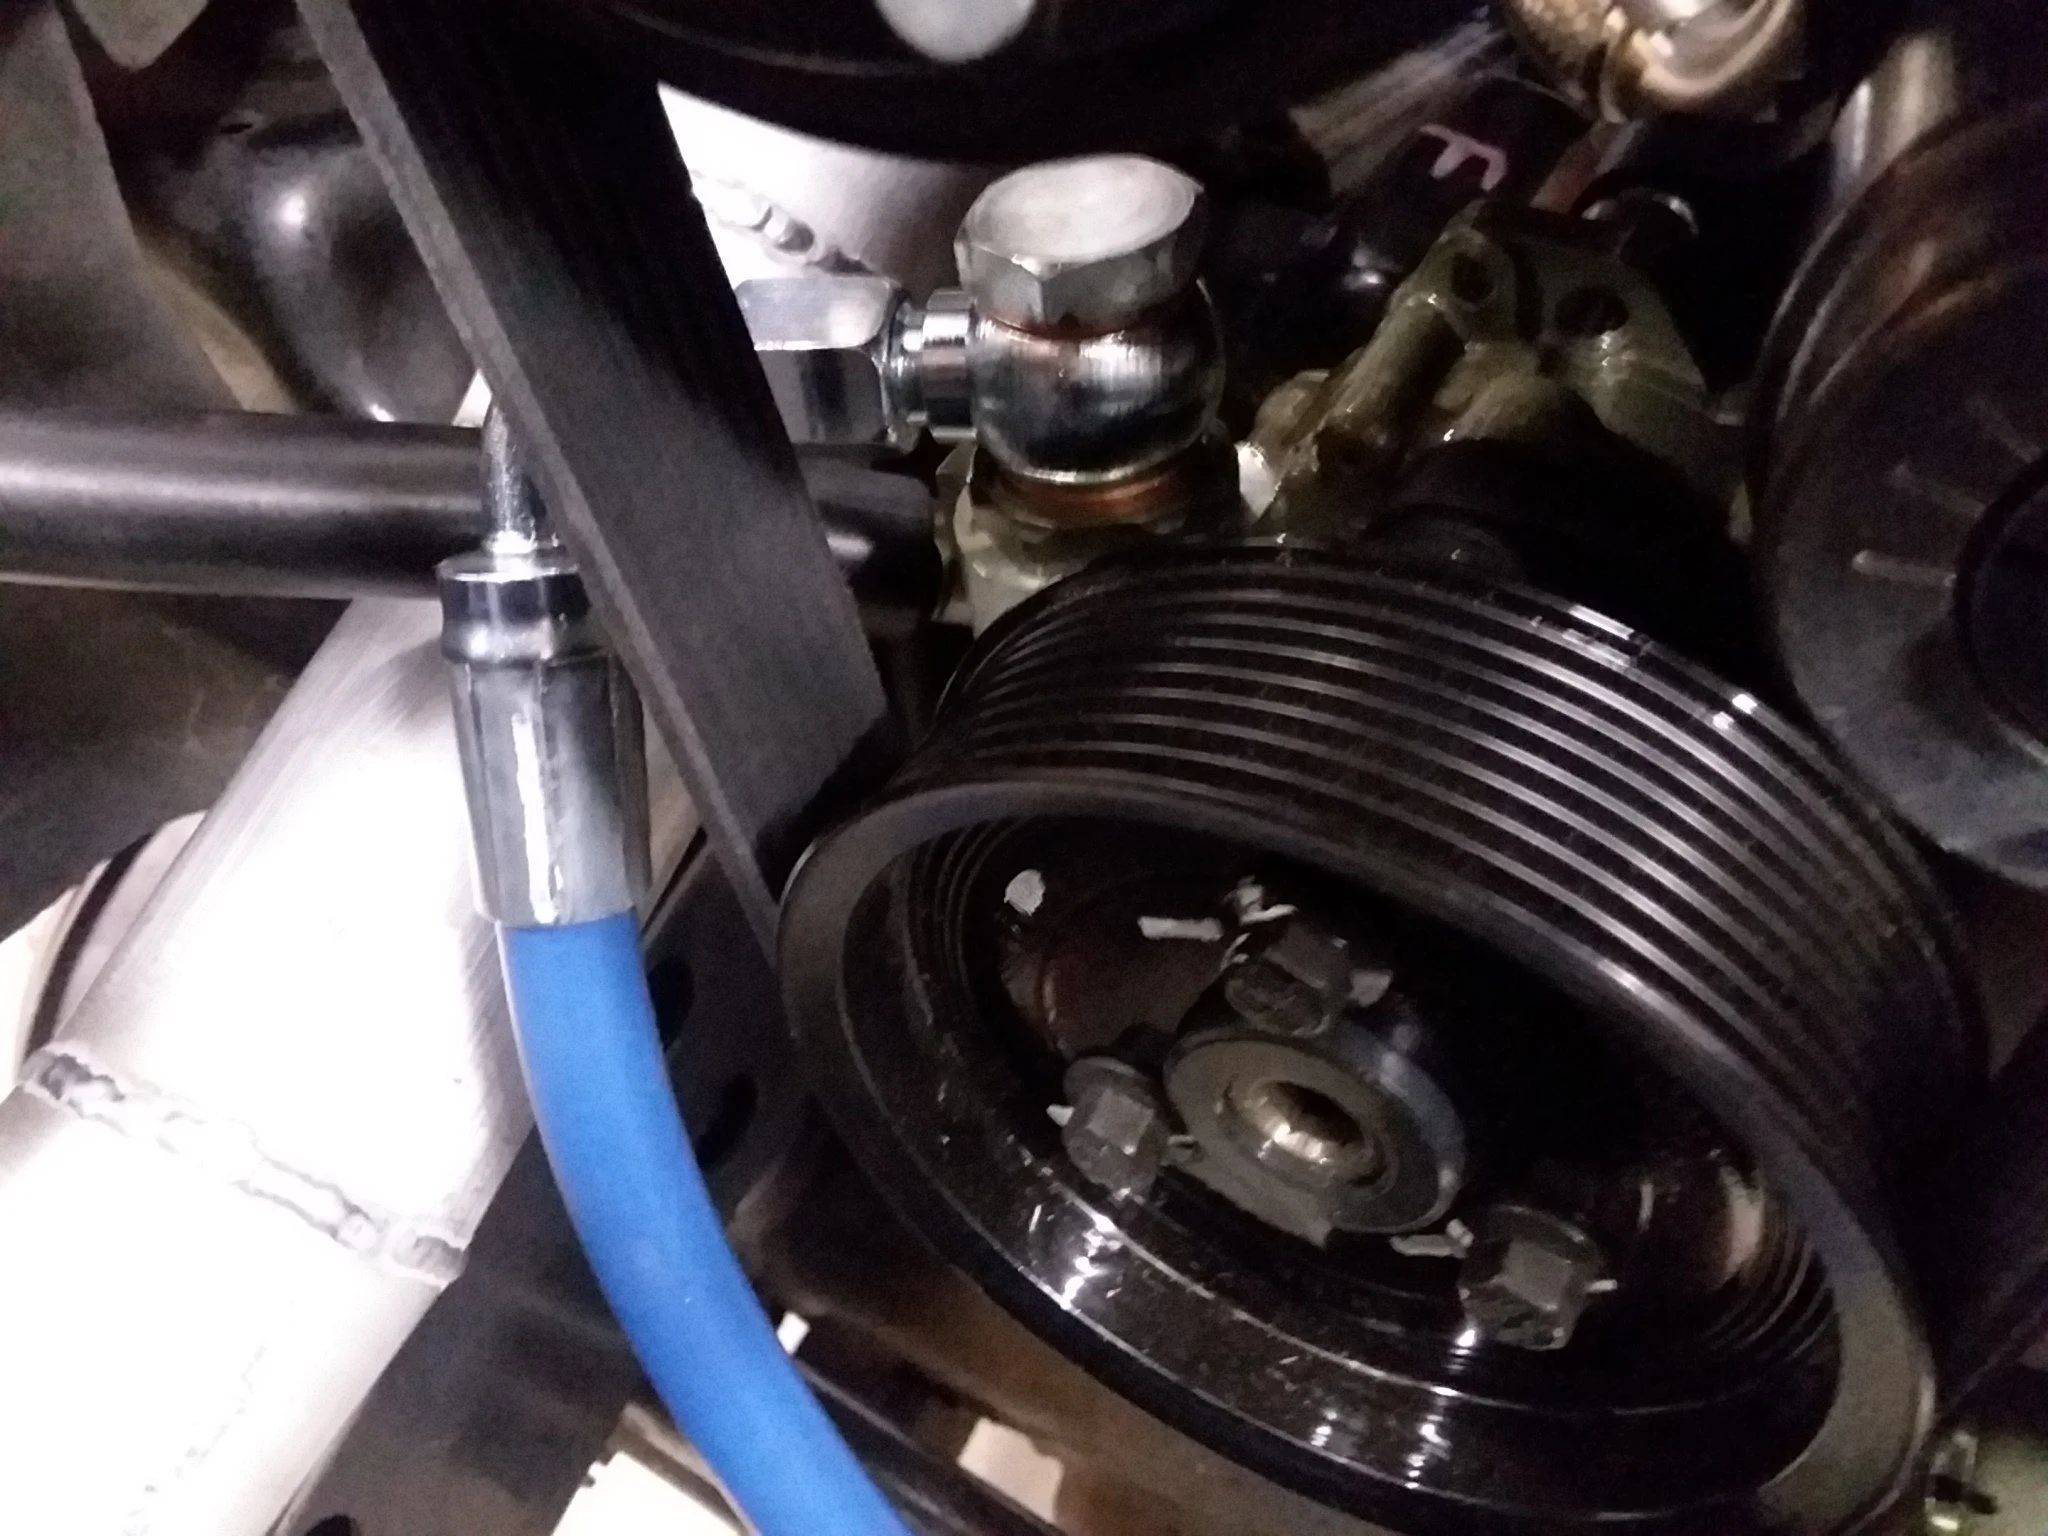
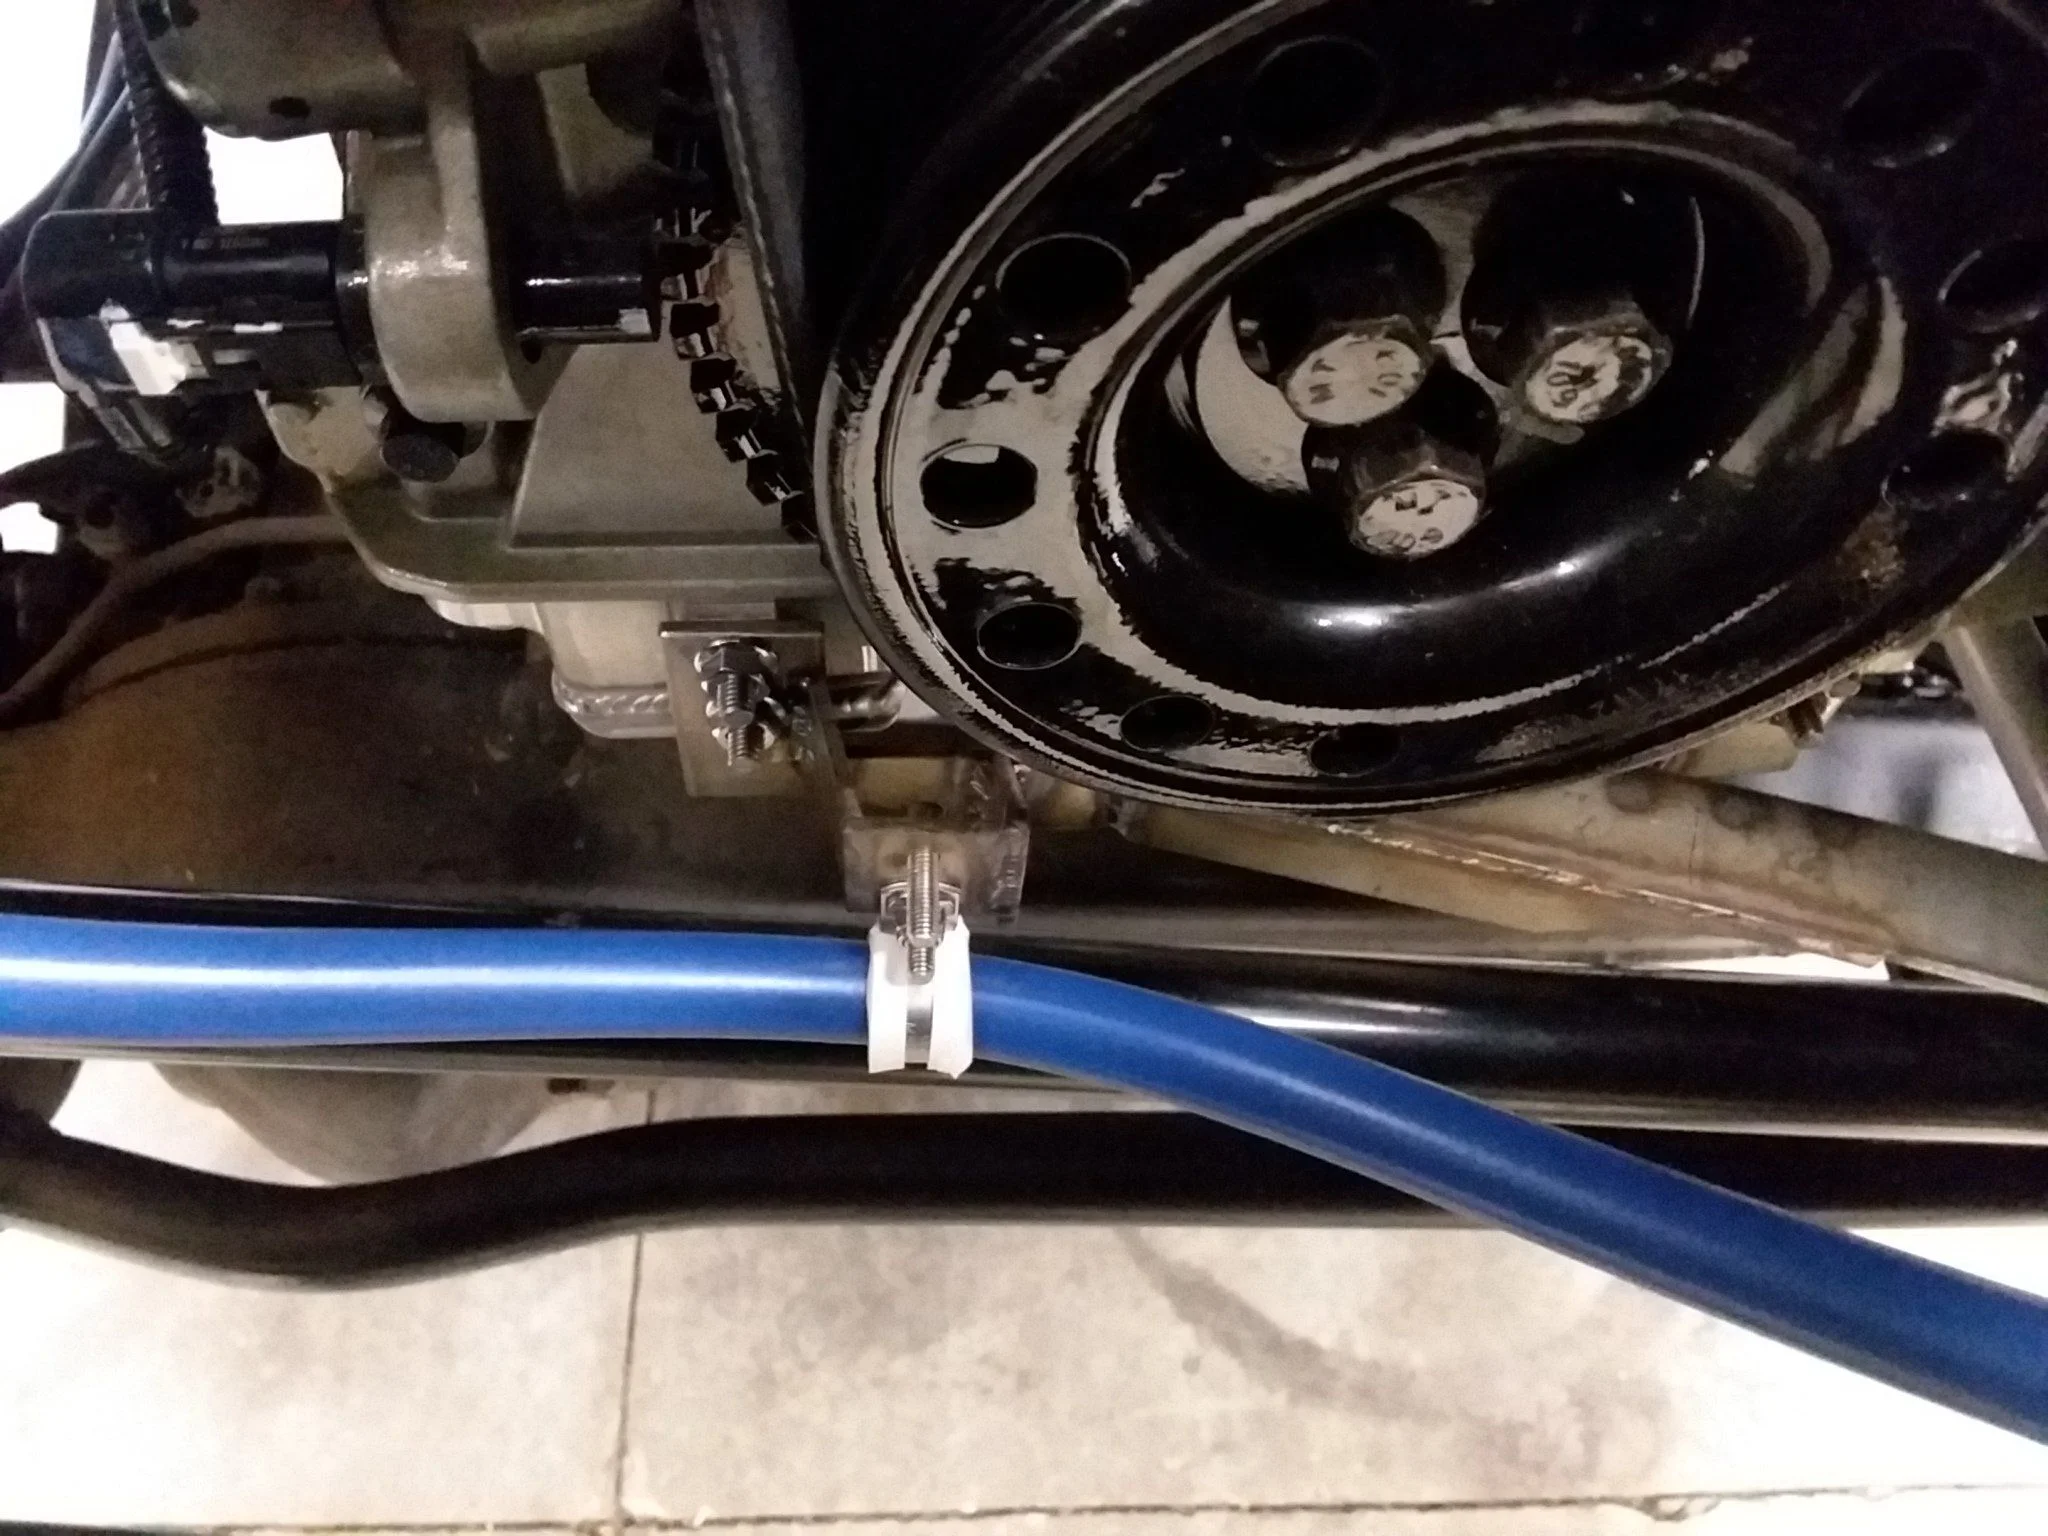
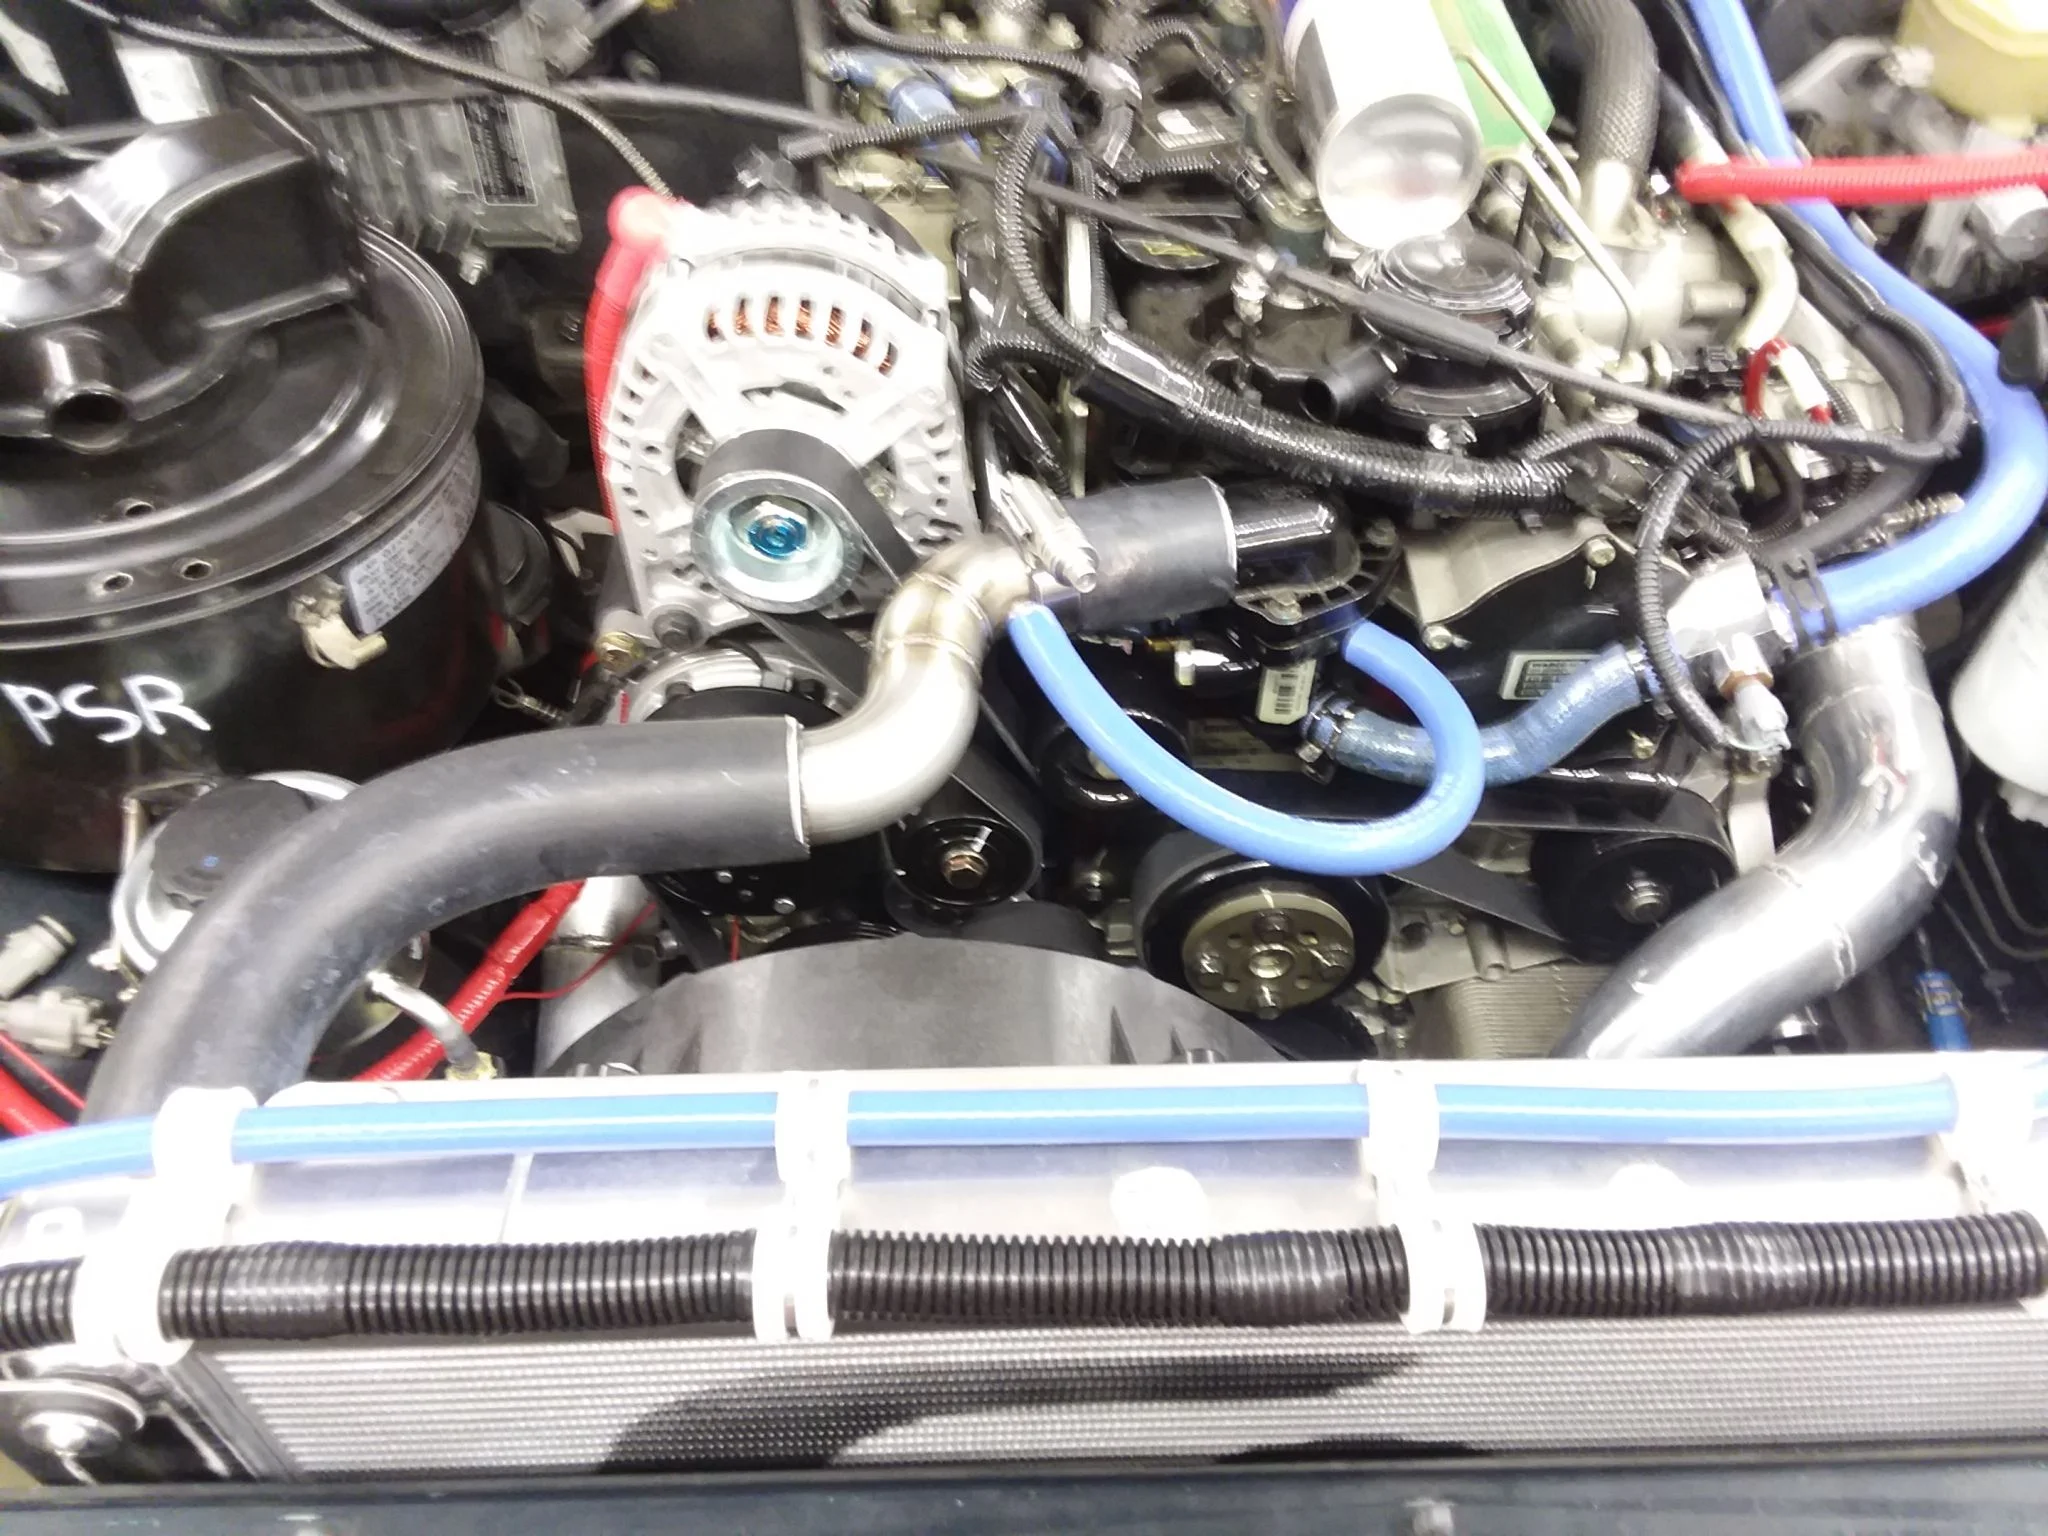
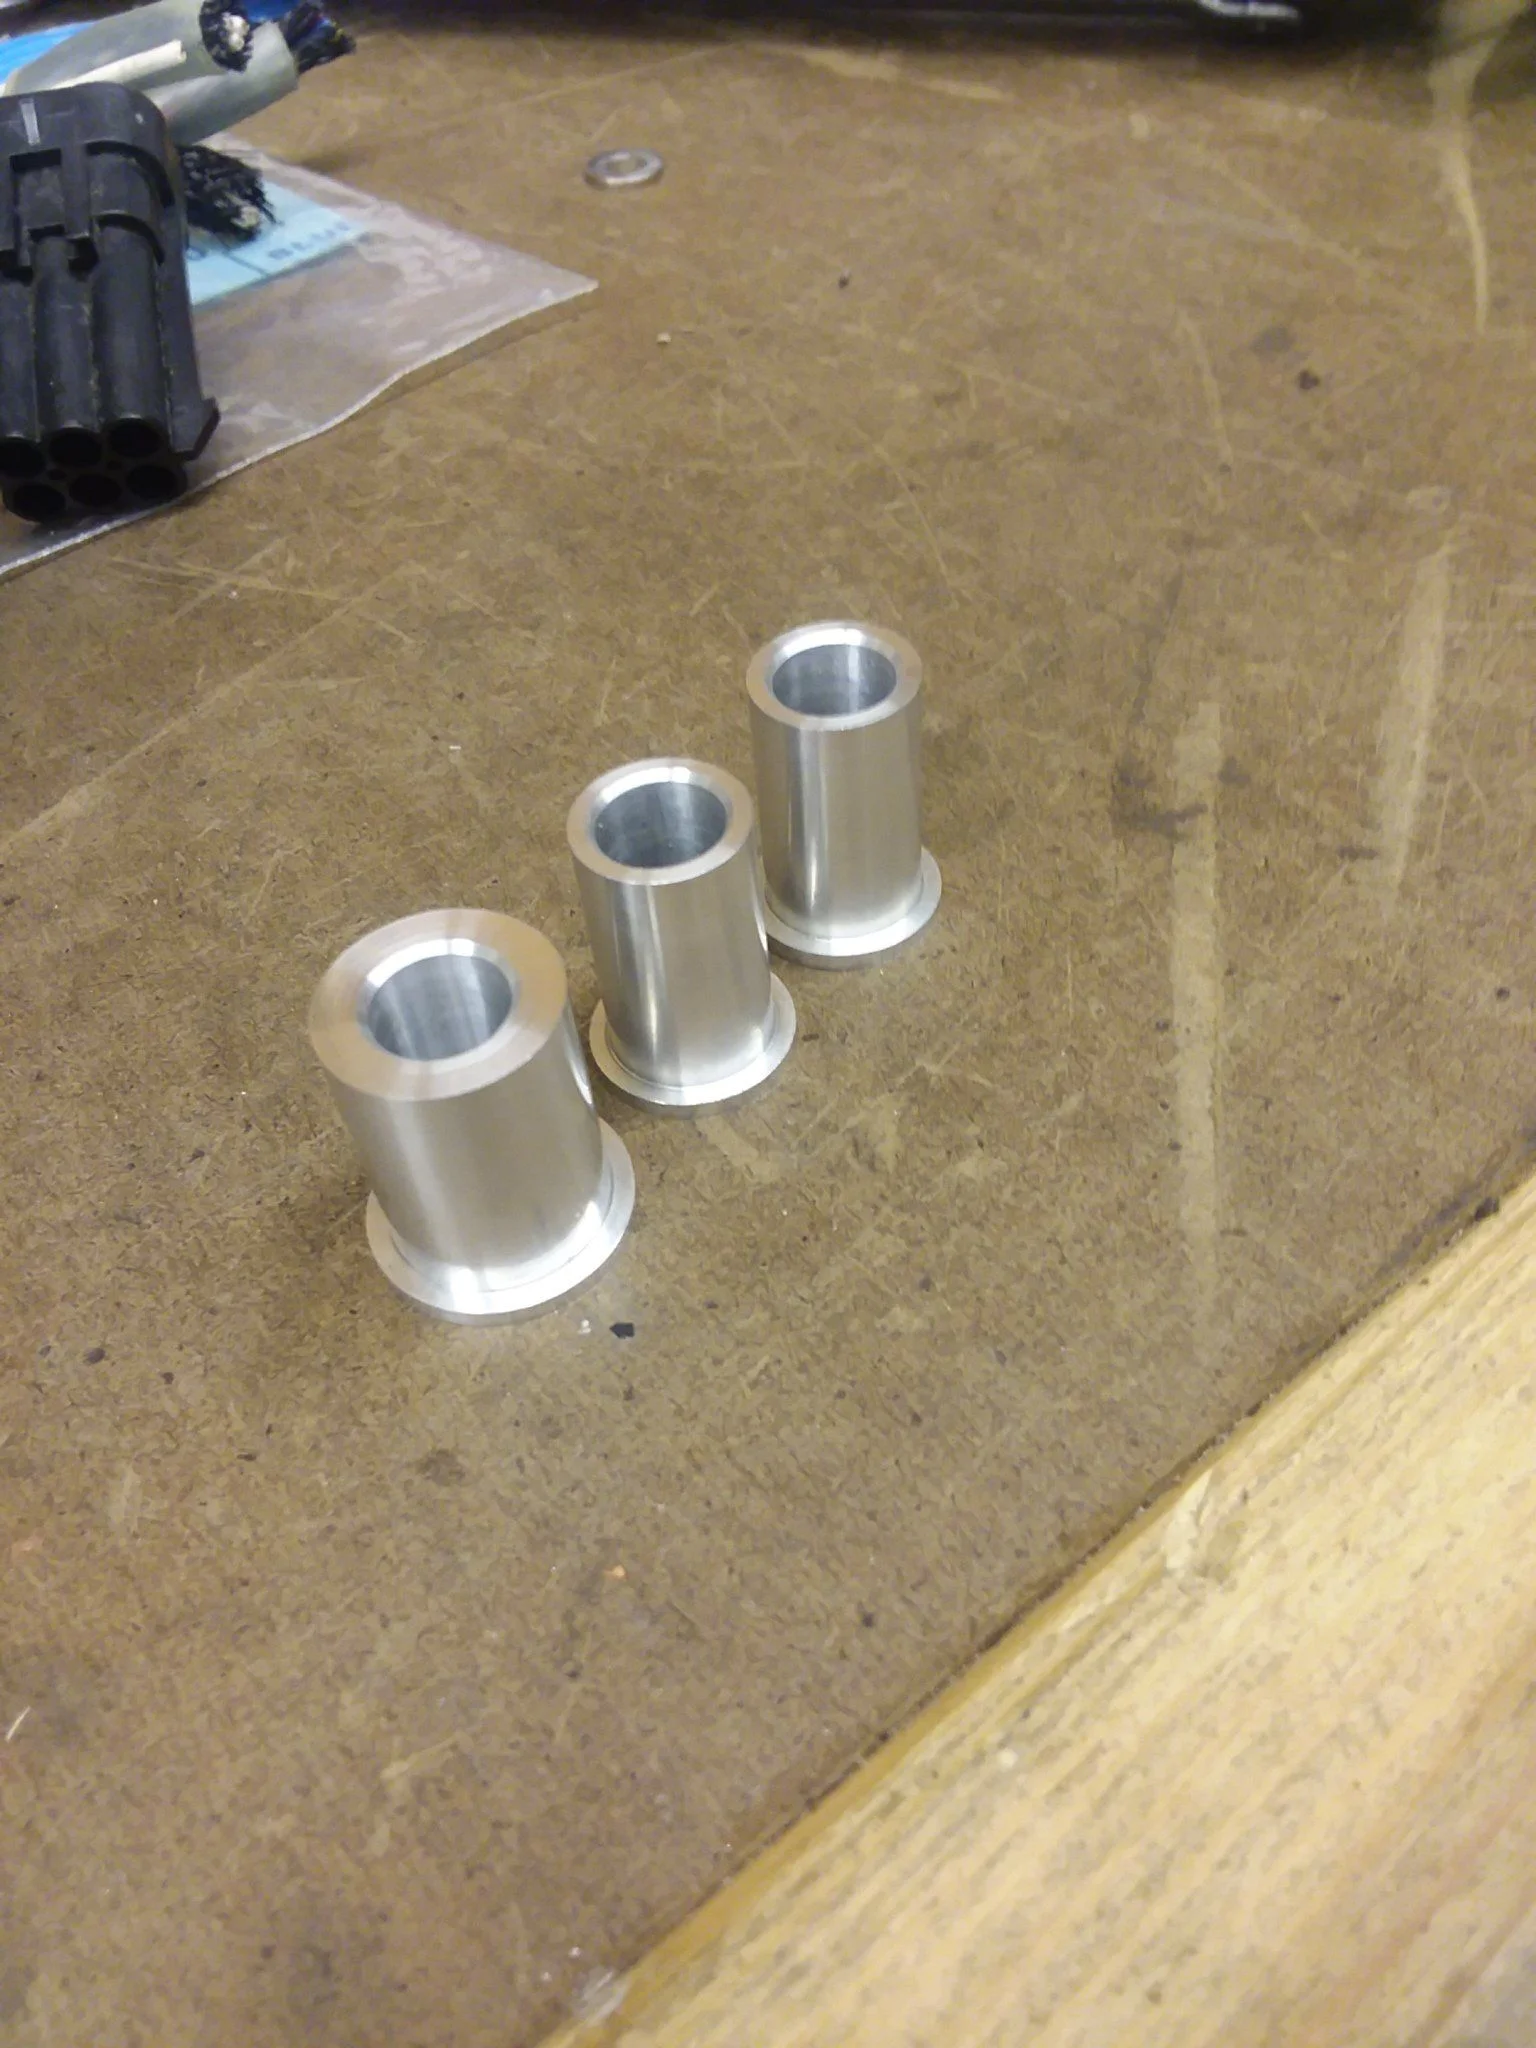
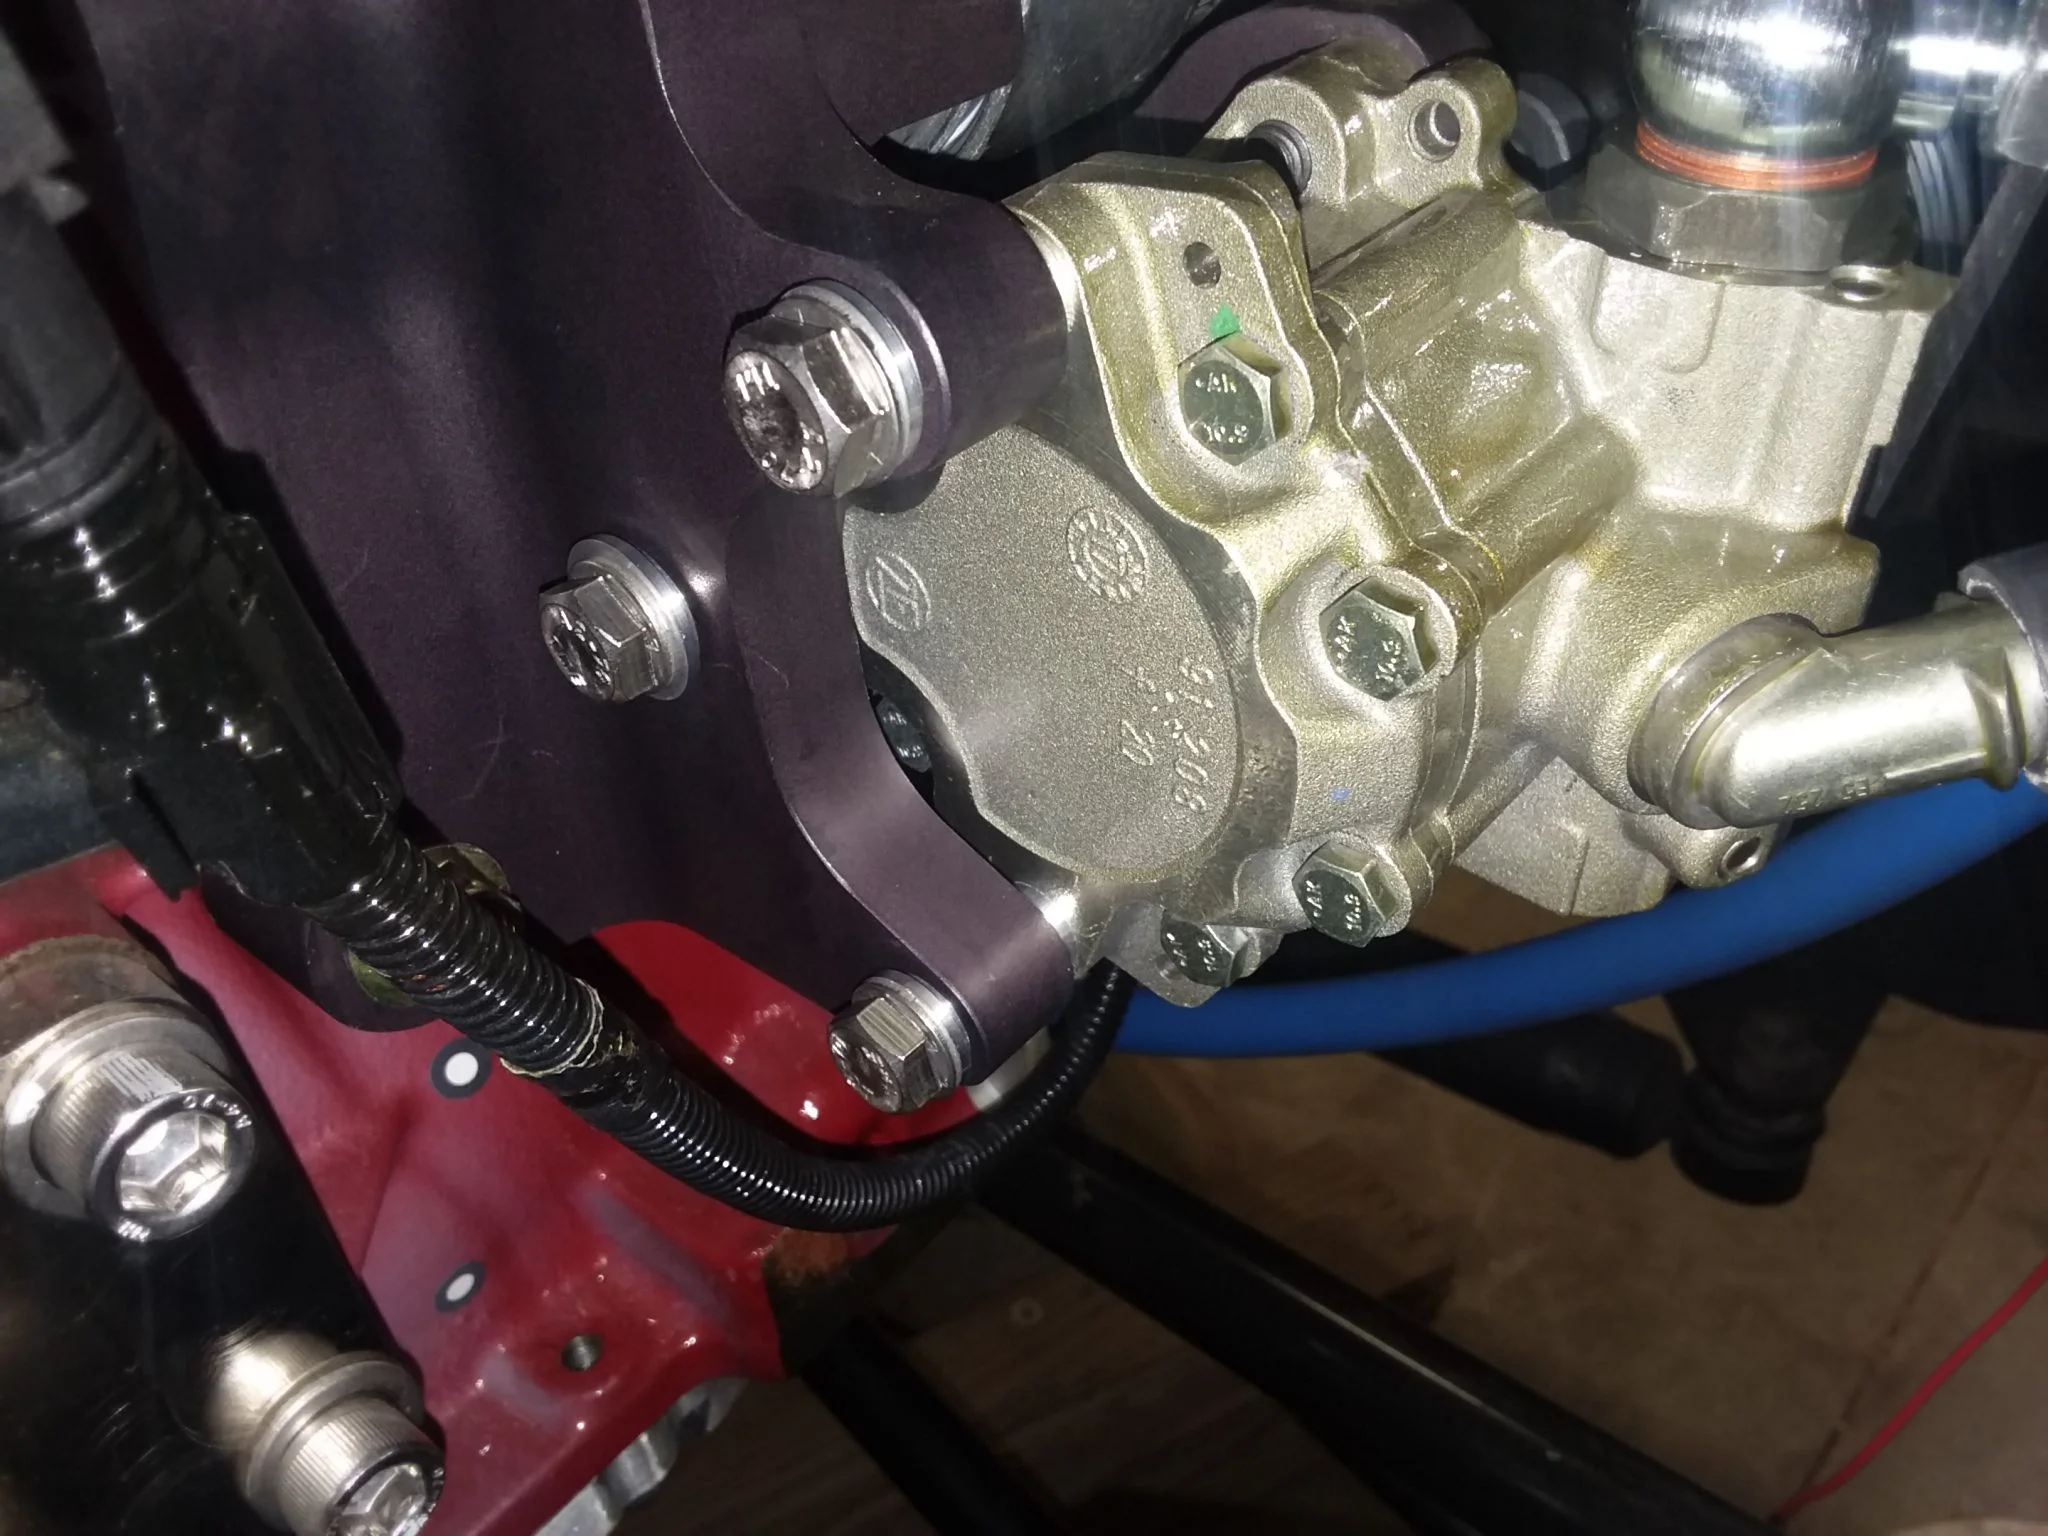
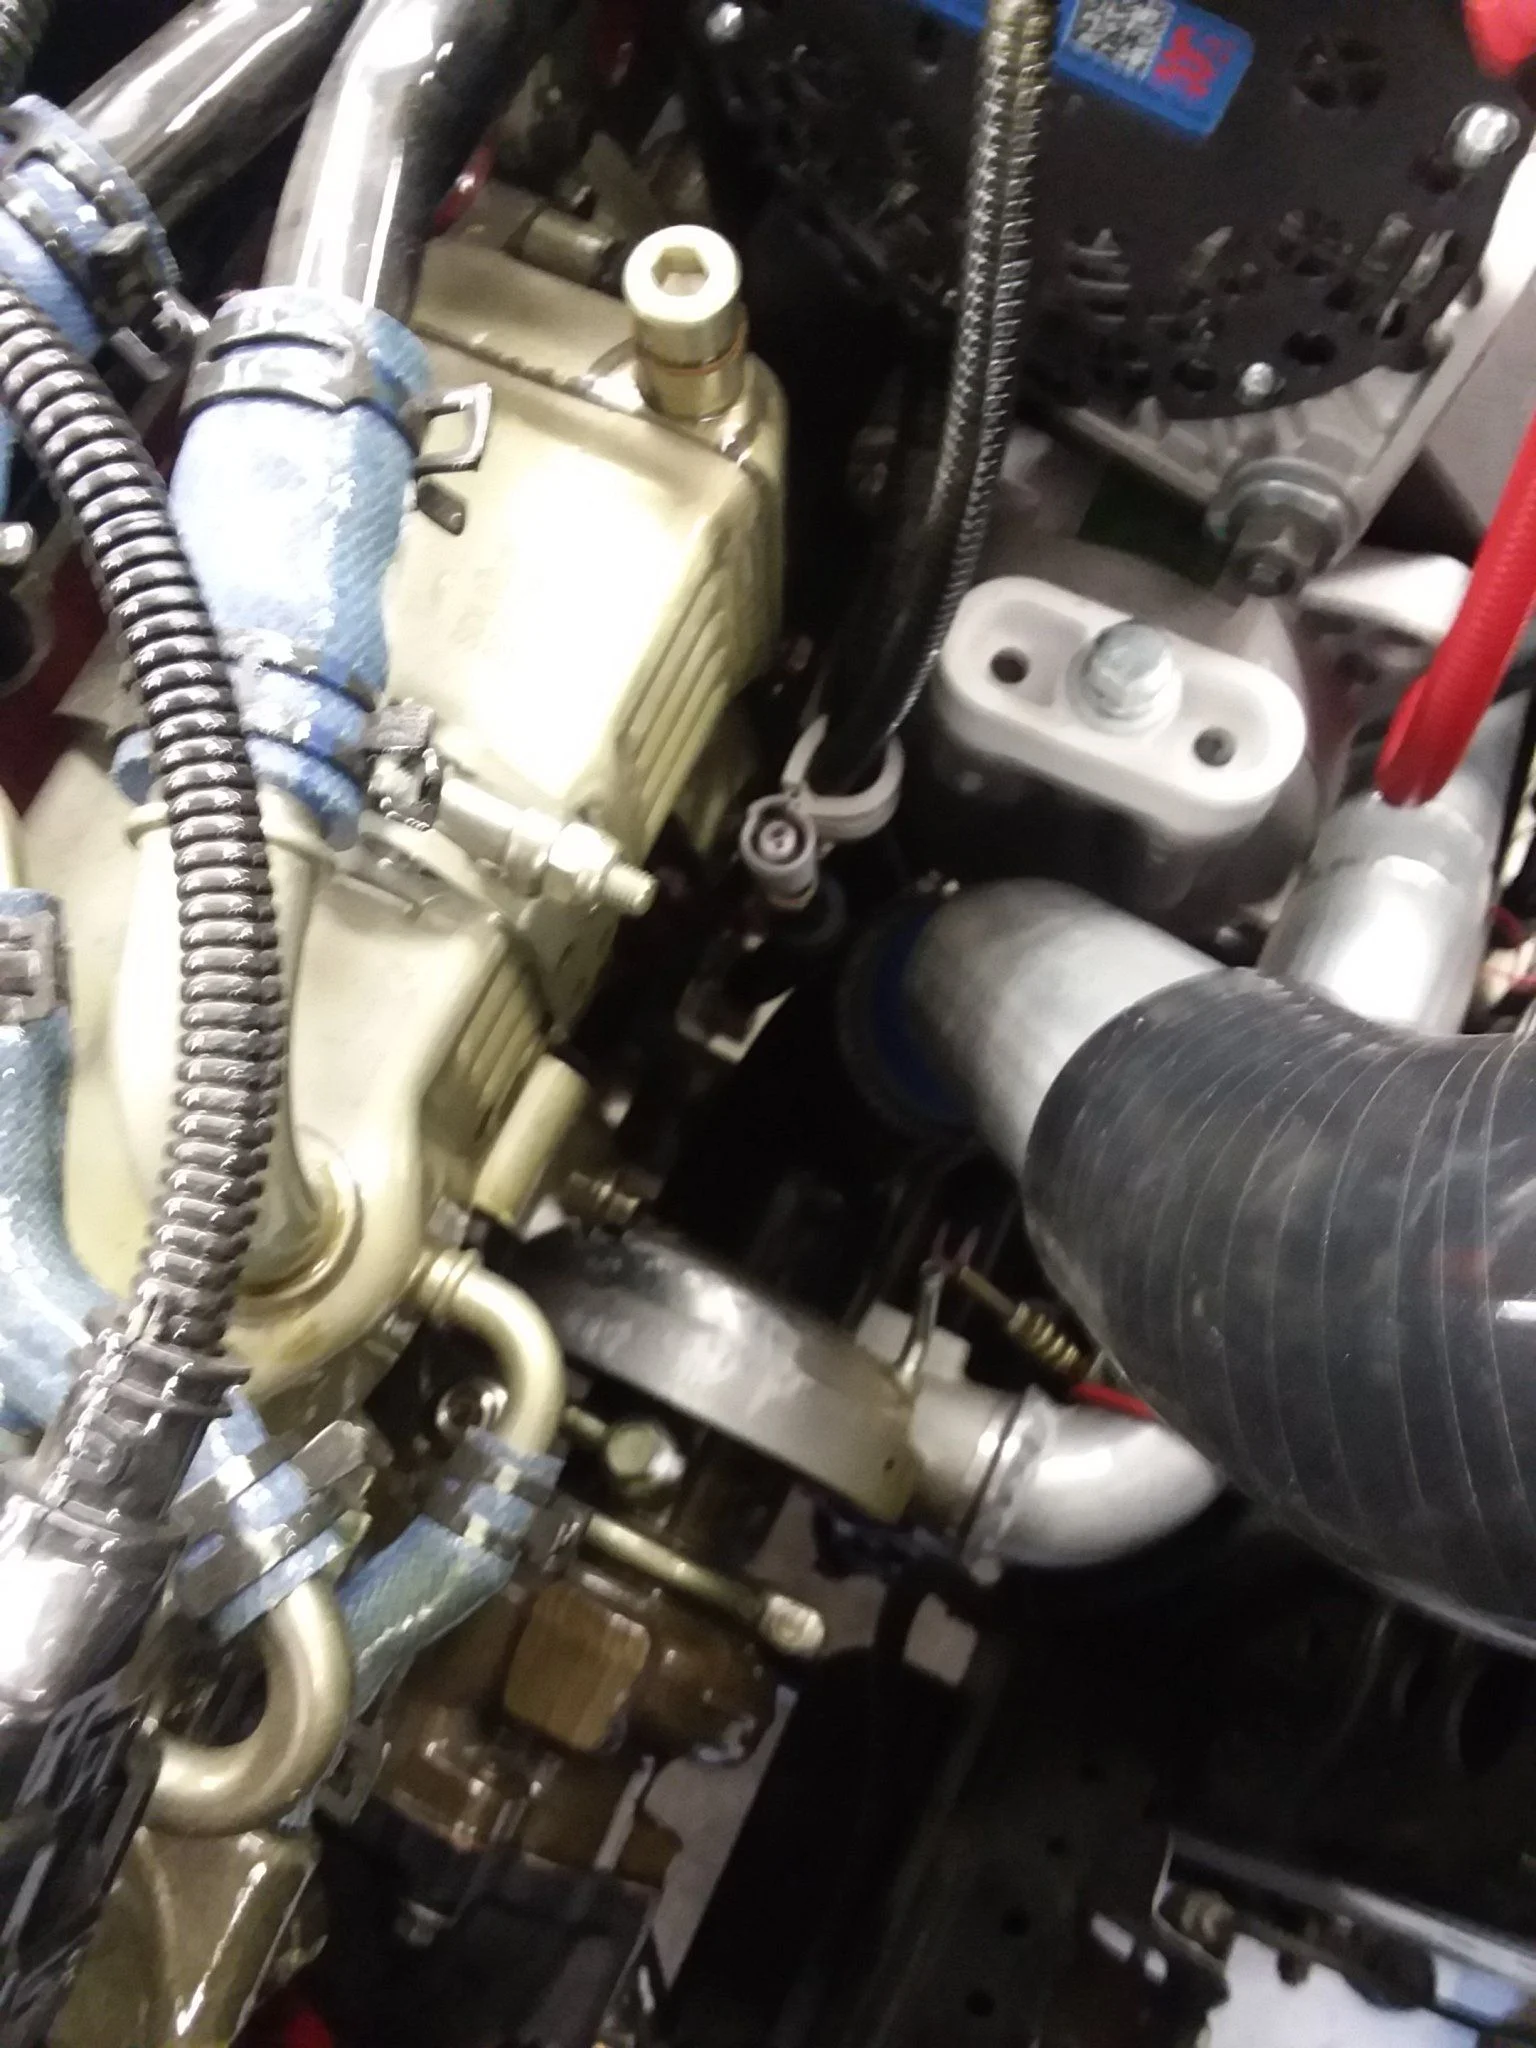
The power steering pump also came with a supporting dowel that bolts to its backside. Well I lost mine somehow. Long story short is that Cummins is not able to provide the parts since they come from some mysterious supplier, you know what that means! Gotta do it the hard way, I turned this out on a lathe. You would also think that the fancy Axis industries bracket would come with dowels but you would be wrong, it does however come with 3 mounting holes for the back side of the pump, I used all three of them.


Now the pump is supported via all six of its bolt holes, I better not have any problems with it, ever!

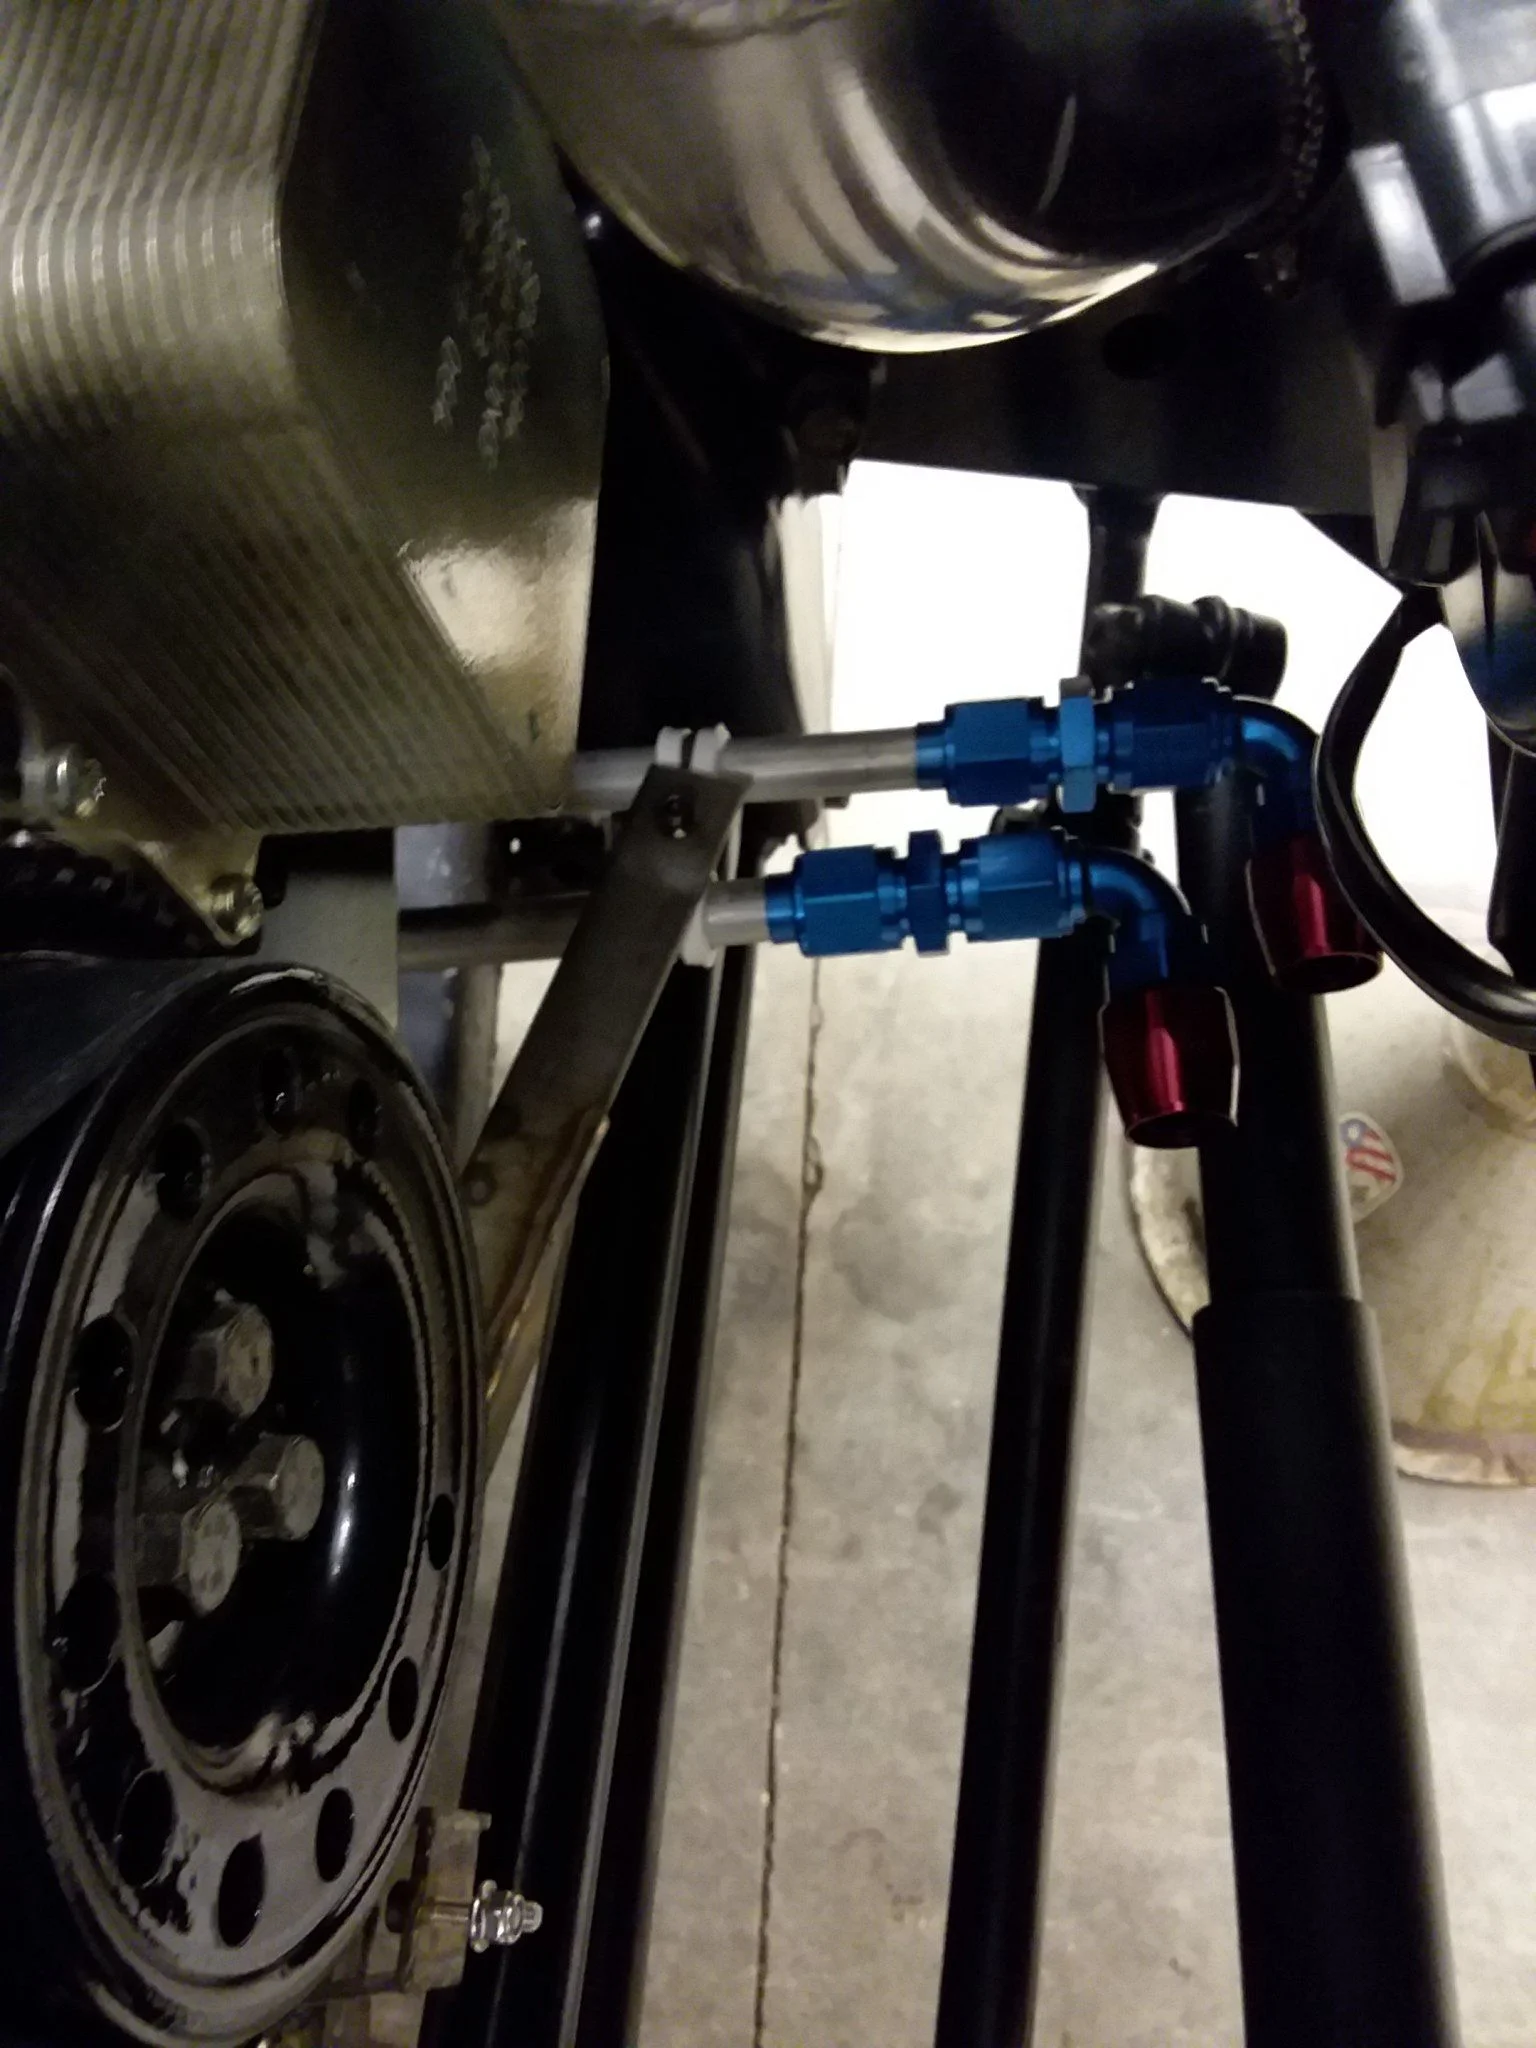
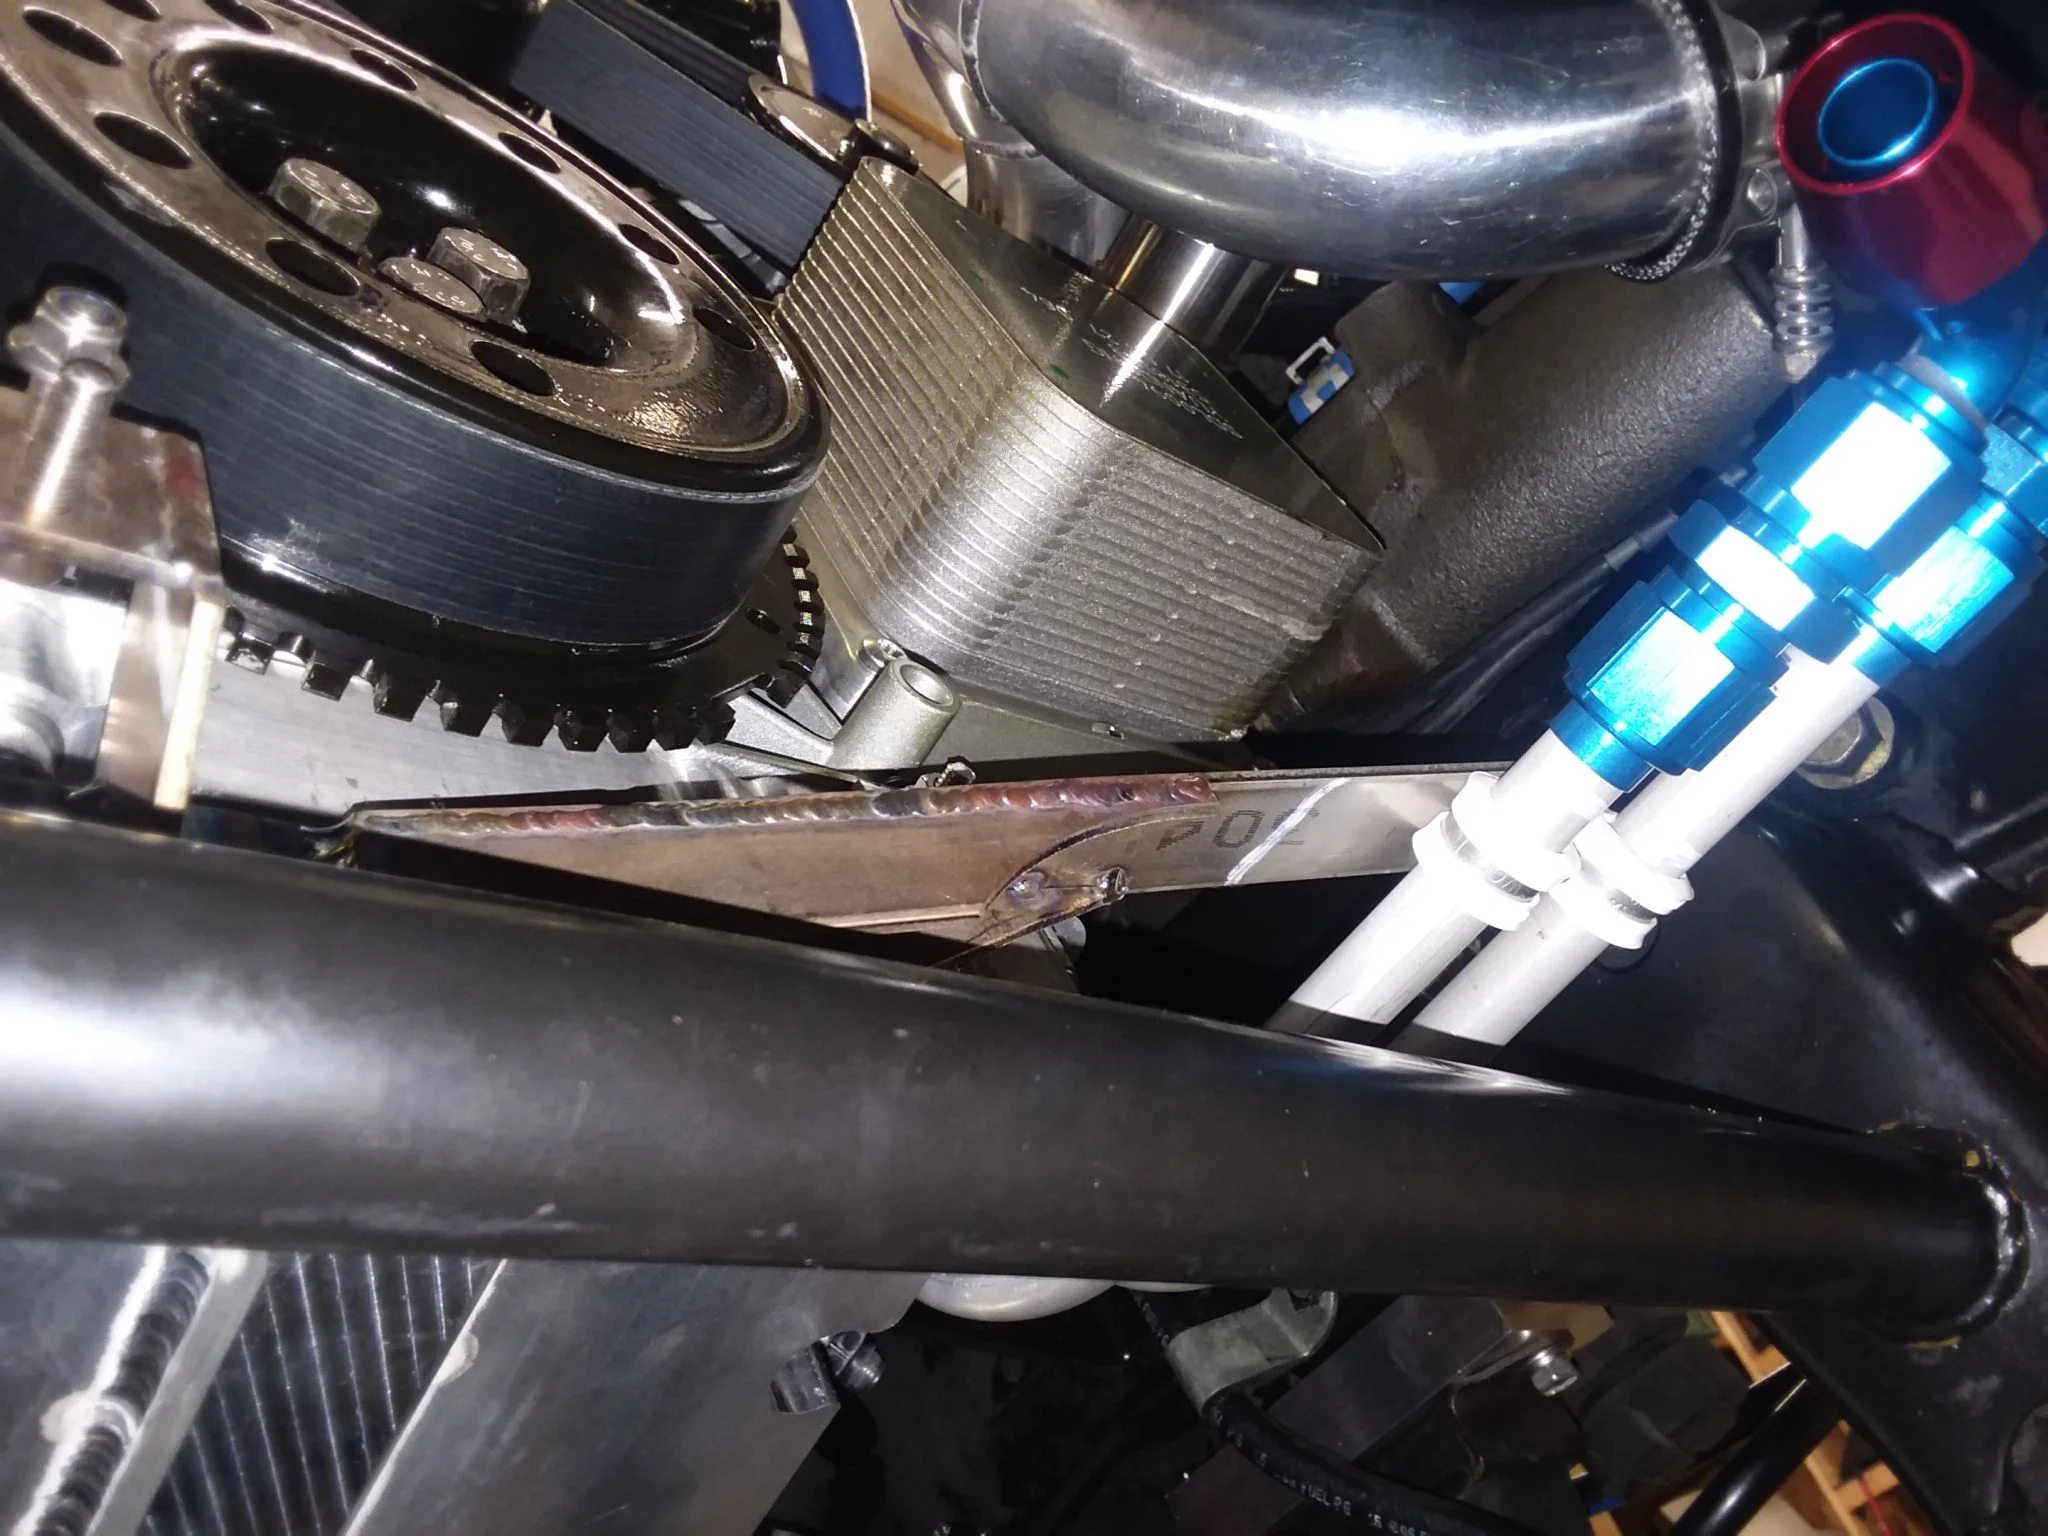
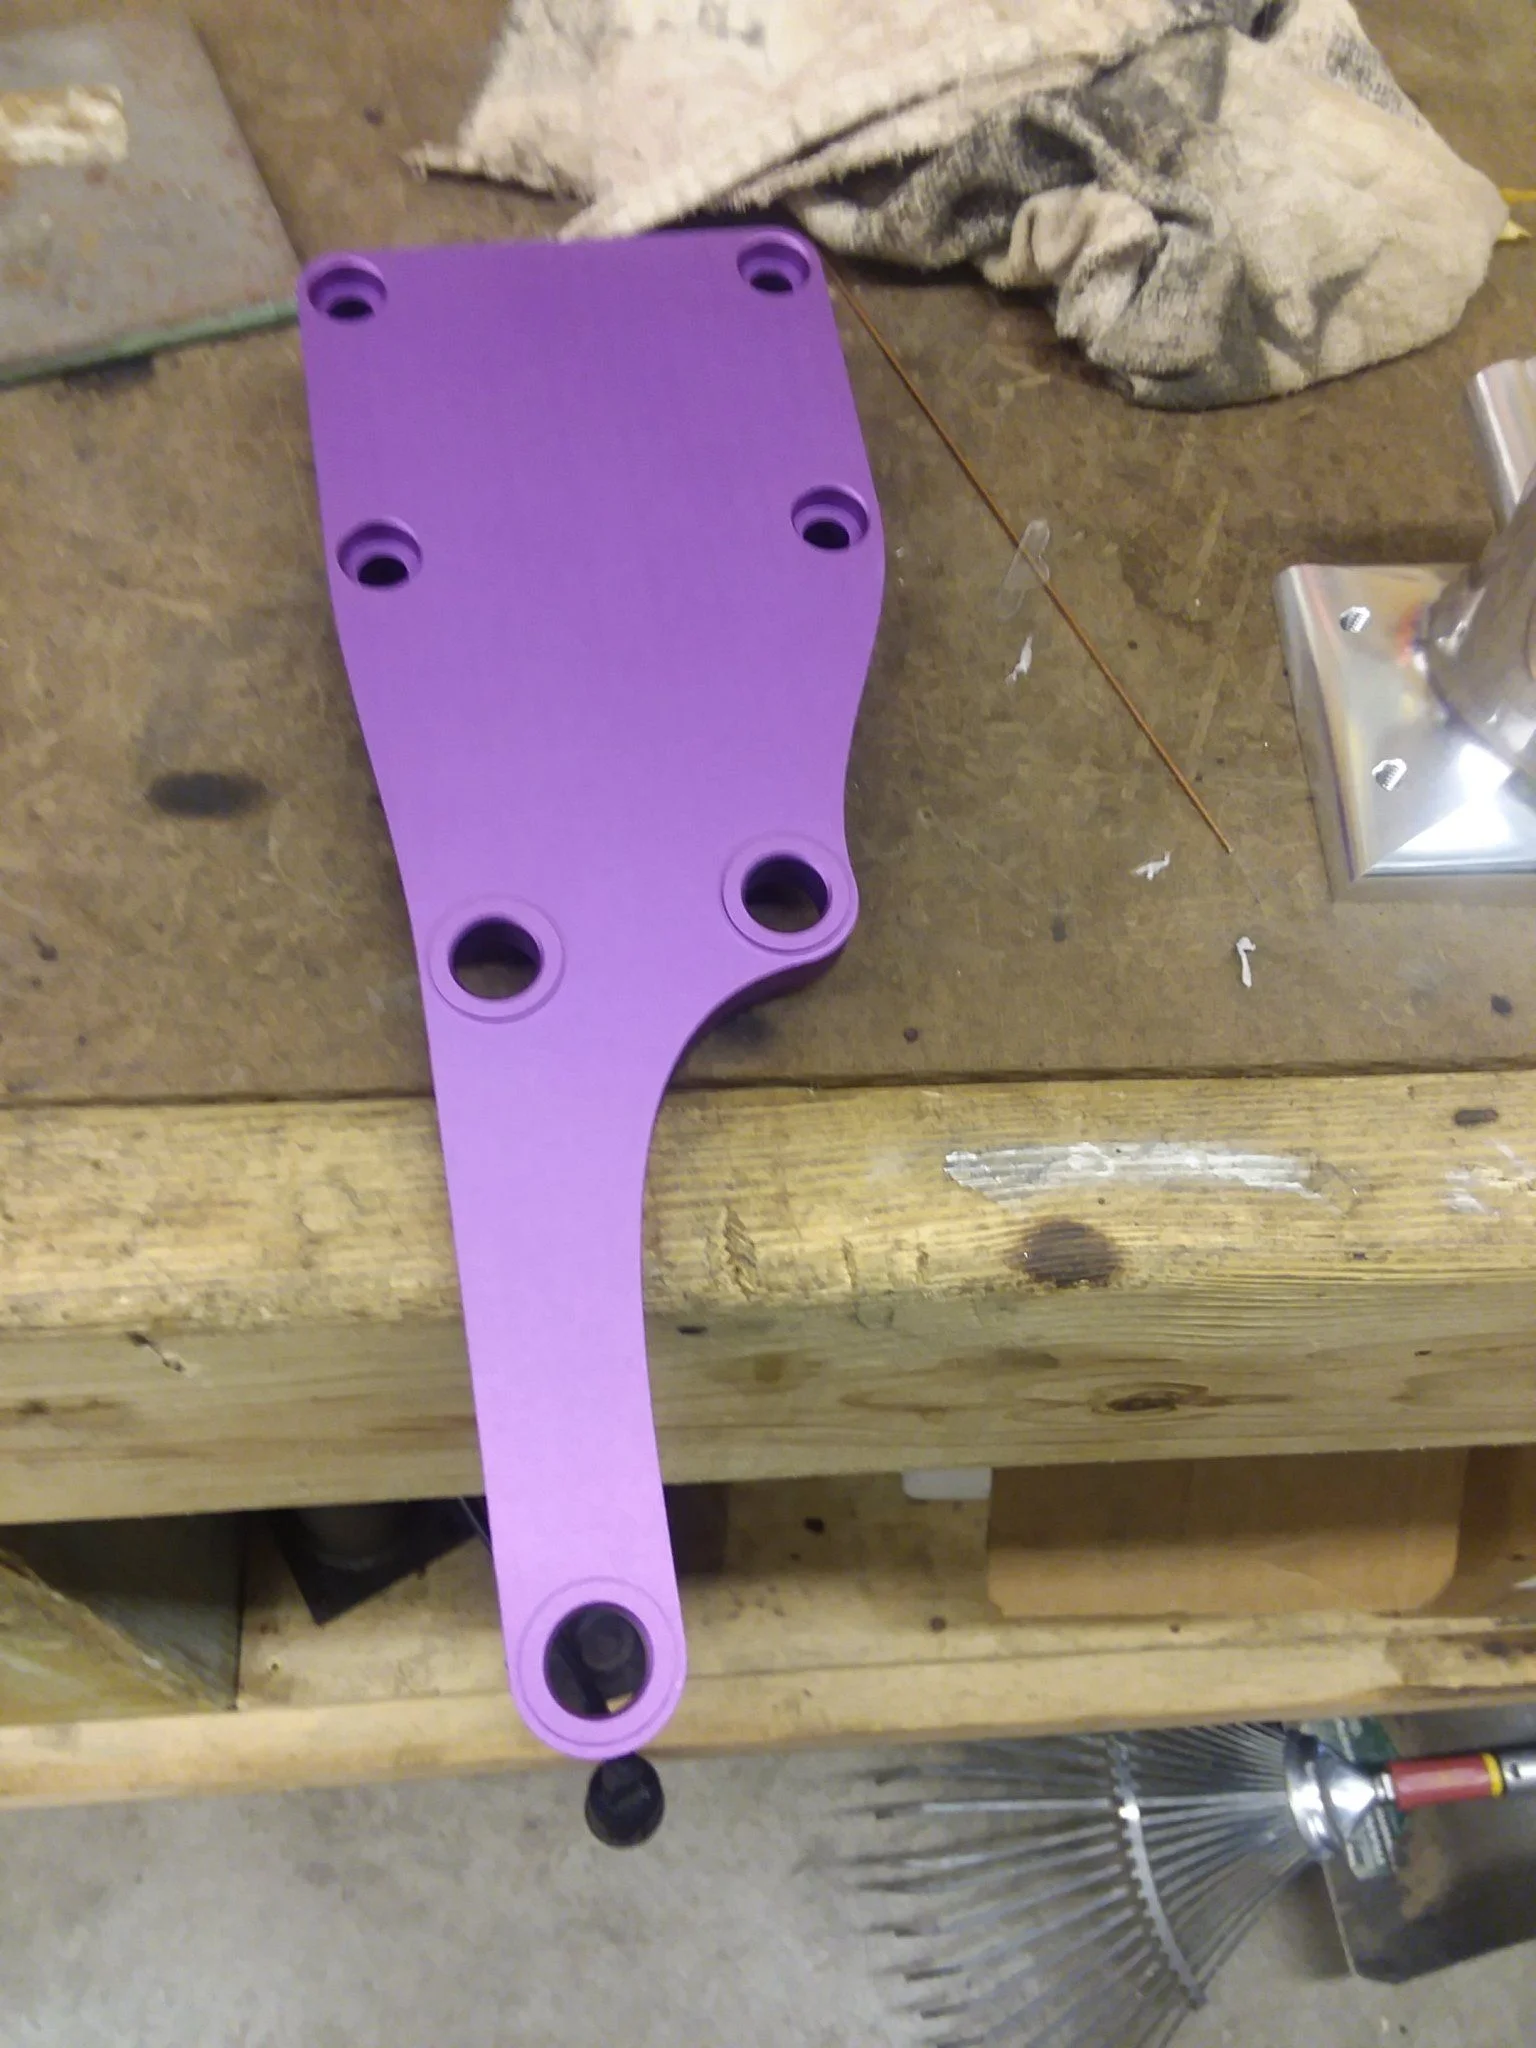
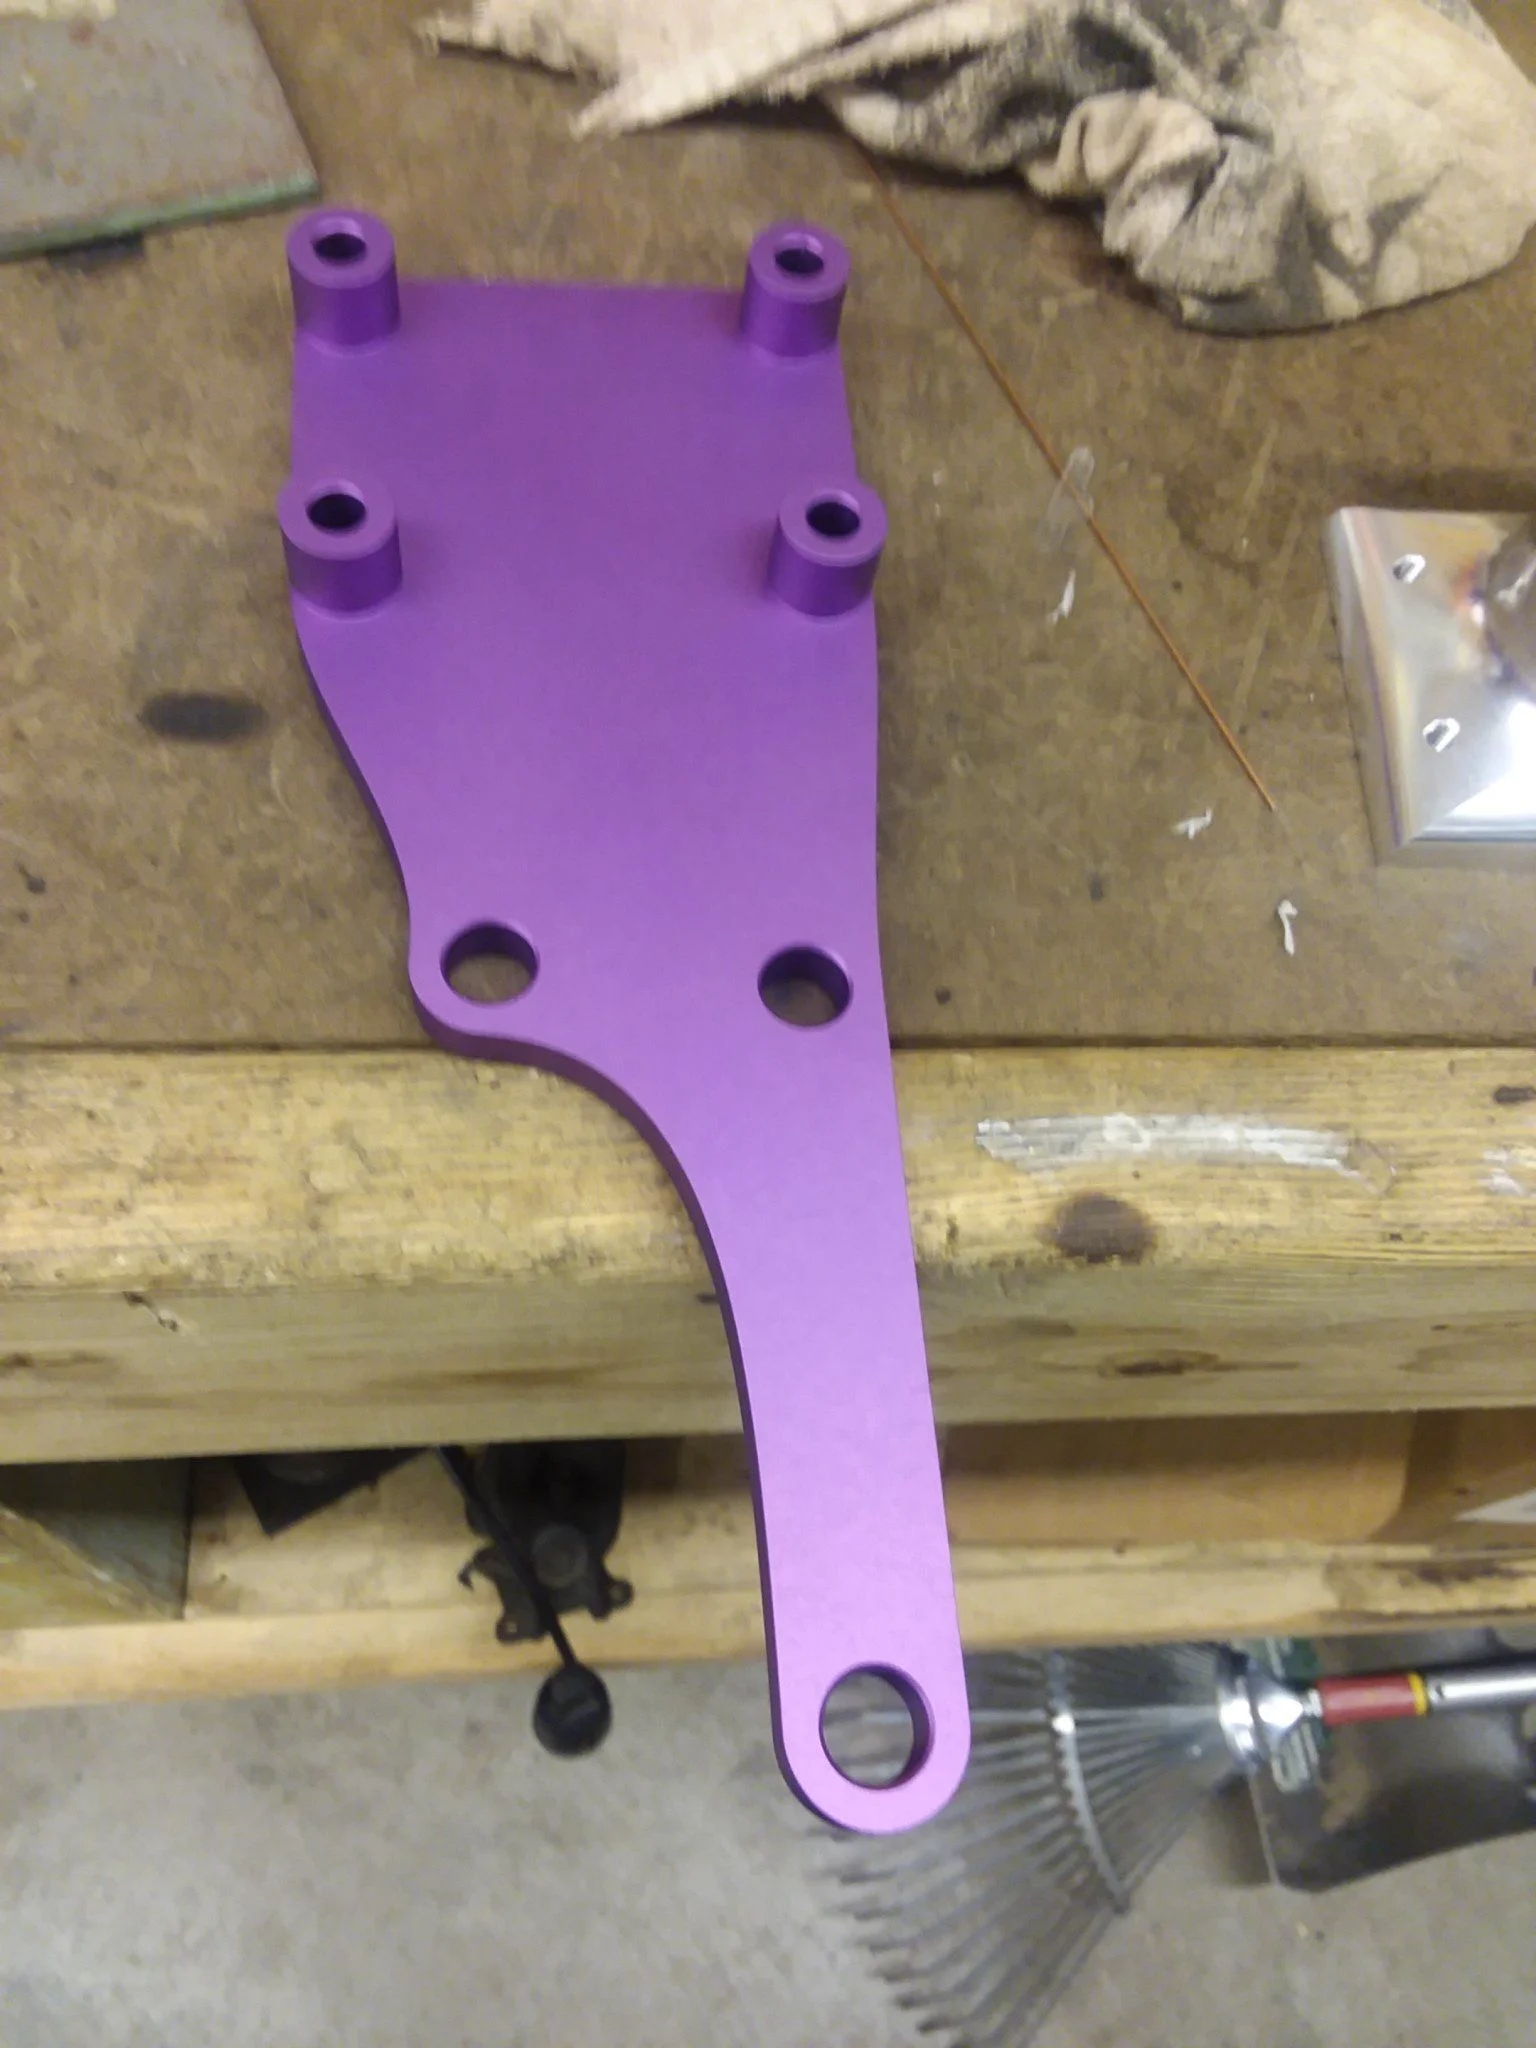
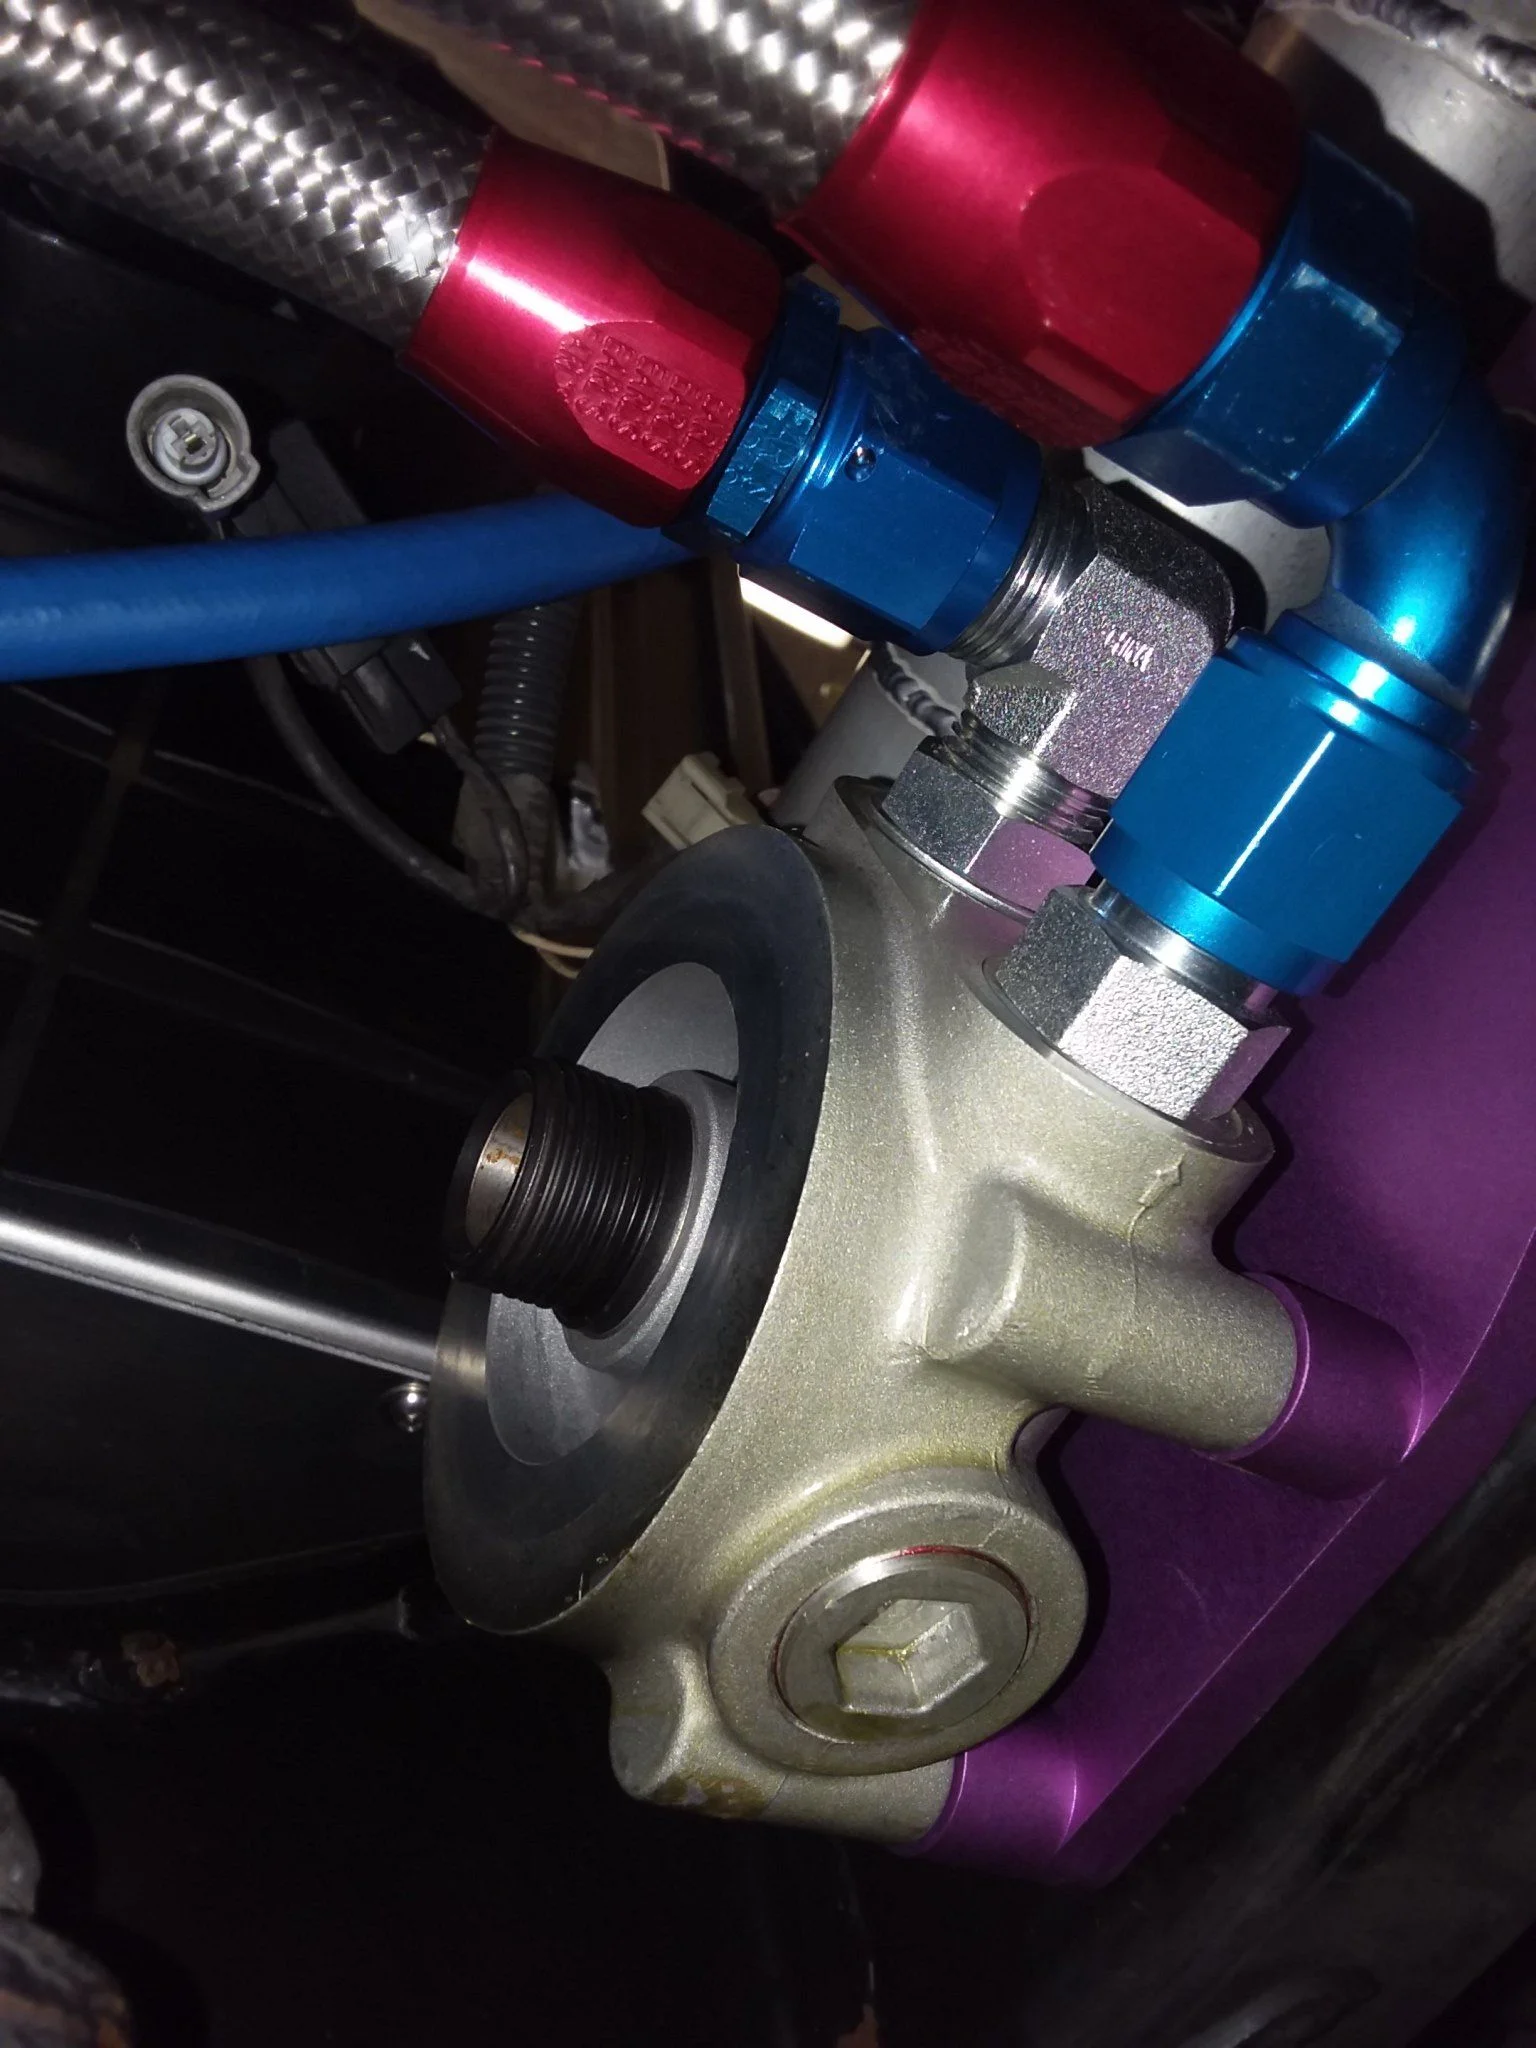
I also redesigned the oil filter mount, making room for the oem 1fz sensor. Since I am purplefj62 I did this one in purple just to give it some flare.


Now I just need to fine the correct tap for the oil pressure sensor. I was told that it was a M10x1.0 but this does not appear to be true. I believe it is in fact 1/8 BSPT as it is clearly tapered. According to my thread gauge it has 28 threads per inch. I will save that for another day.

Hoping to post a video of it running very soon, stay tuned!
 
I believe that small hose in the thermostat housing has 2 functions, first is to burp air bubbles and reduce aeration, second is to slowly raise the temp of the coolant in the radiator so when the thermostat opens it doesn't get a gulp of cold coolant.
 
Thank you for those kind words.
Nothing better than a mechanical 6BT. I still can't believe people put 1100 pound engines in 80 series but as many have demonstrated on here the chassis and axles seem to take it like a champ. I still can't believe people can cram that beast in there!!

The FZ1 is the same length as the 6bt 🤭
 
I believe that small hose in the thermostat housing has 2 functions, first is to burp air bubbles and reduce aeration, second is to slowly raise the temp of the coolant in the radiator so when the thermostat opens it doesn't get a gulp of cold coolant.
The cummins install manual says I should install 3 separate dearation lines that all go to some pressurized coolant container, they want a line from the t-stat housing, lower rad hose and up by the egr cooler. When they can provide accurate documentation for their products i'll start following their instruction manuals.
 
A few more pictures to share with you guys on here. I was able to finish up the air intake system. It looks a little unconventional but I guess we will see how it works. I am not a fan of the 2'' turbo inlet pipe, we might have to get a CFD consultant on here to help us with that one. Depending on the availability of silicone transitions we might be able to step that up to 2.25'' or 2.5'' if needed.

The pictures can do the talking, i'm to tired to elaborate right now.


Everytime I look at the compressor housing I get angry. Nothing worse than having to look at my crappy welds. There must be a database of turbo housings that interchange because i'm pretty sure I found an isf2.8 housing with the correct orientation for my application in some picture somewhere.

Maybe something that might be helpful for a "swap friendly" engine.
 
The cummins install manual says I should install 3 separate dearation lines that all go to some pressurized coolant container, they want a line from the t-stat housing, lower rad hose and up by the egr cooler. When they can provide accurate documentation for their products i'll start following their instruction manuals.

I believe that it's there so you won't get air bubbles in the system. If you have air in the egr cooler when you start the engine you will probably crack it. I know about it because I've done it. They also run these new common rail engines very hot compared to the older engines. The cooling fan on an ISX15 doesn't come on till 210°F. I would follow their recommendation. It will save you headaches and possibly part of engine in the long run.
 
I believe that it's there so you won't get air bubbles in the system. If you have air in the egr cooler when you start the engine you will probably crack it. I know about it because I've done it. They also run these new common rail engines very hot compared to the older engines. The cooling fan on an ISX15 doesn't come on till 210°F. I would follow their recommendation. It will save you headaches and possibly part of engine in the long run.
I will get this done before it gets running.
 
Got started working on the exhaust finally. I have done the downpipe and first pipe after that. I have only fully welded the second pipe since I ran out of time tonight.

I am very impressed with the design of the fzj80 exhaust system so I will be following the same basic routing and using the factory support brackets and vibration isolators.

This is what I have done for the downpipe, I think it will take a pound of filler rod to weld this baby up since I used so many pie cuts. Should have waited for the mandrel bends to arrive but I wanted to get a head start.


The second pipe is the one that goes over the chassis, it contains the first supporting bracket. I like how it turned out.


Still gotta work on those stainless welds, its very hard welding standing on one leg so I can weld it in the vice. I dont really have a welding table or even a seat or stool to sit on. Definally gotta get one of those soon, then maybe I can get rid of some of the gitters in my wrist.


Ho lee crap that's a lot of welding. Looks nice and tight though!
 
Wow, a bunch of rerouting up and over the frame we run them strait down inside the frame rail all the way back up and over the cross member and out the side like stock
 
Wow, a bunch of rerouting up and over the frame we run them strait down inside the frame rail all the way back up and over the cross member and out the side like stock

I thought the way PurpleFJ62 is doing it is like stock. From his pictures, it looks like it follows all the stock mounting points and heat shields. Do you have a picture?
 
Well today is the day, time to see if this engine runs or not. Of-course I am very nervous, especially after all the wiring modifications that I have done.

But before we get to the exciting stuff I would like to share a discovery that might be helpful for others out there. In the near future I will need to build some custom AC lines that connect to the R2.8 AC compressor. With my placement of the ECU the OEM lines will not work, and I have not been able to find a good source for an adapter that will go from the firewall AC connection to a fitting that is available at the parker store.

I suspected that something off of a Honda might work and it appears too. I found these fittings for K-motor swaps that the honda guys use.
Bolts right on to the Toyota AC connector!!
I have yet to find them individually, maybe someone has a lead on this part?


Then it was oil fill time. Nice Rotella 15w-40.

At this point the tach box is not hooked up, no coolant and the tps sensor does not seem to work. I put the cummins pedal back in the system and it does work so I suspect that with all my mockup work on the custom throttle setup I damaged the sensor somehow.

Well here it goes...Sounds about like a 4 cyl diesel. Still some loose ends to wrap up but atleast it runs.

 
Well as I said it runs, but it does not run well. Perhaps someone on here who has experience with newer common rail diesel engines can suggest some things to look at.

Appears to start and idle fine. Throttle has rather large dead spot at the beginning of travel, hard to tell if that is because of the way I have the throttle shaft clocked but I suspect that what it is.

Above idle it runs rough and smokes like a sob. Just rolls out blue smoke, there is a little visible smoke from the crank breather which is not hooked up.


Any suggestions for things I can do that do not require a trip to the cummins dealer. I guess the best thing to do would be to get an obd2 scanner, anyone got a favorite for one that can be installed on a PC?
 

Users who are viewing this thread

Back
Top Bottom