Nice!! So you only had to drill and tap the hole on the tailgate? And less than $14 USD!!
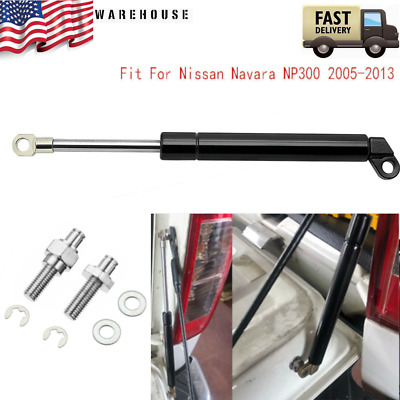
For NISSAN NAVARA NP300 2005-2013 Tailgate Strut Support Slow Down Shocks Damper | eBay
Fit For Nissan Navara NP300 2005-2013. CompatibilityFit For Nissan Navara NP300 2005-2013. 1x Rear Trunk Tail Gate Strut Damper. - Slow down compress function. TypeTailgate Assist Slow Down Shock Strut Damper.www.ebay.com
Or less than $13
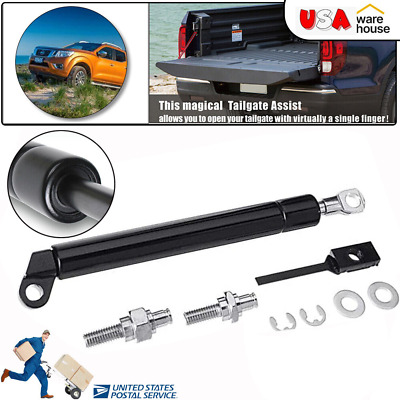
For NISSAN NAVARA NP300 2005-2013 Tailgate Damper Assist Shock Strut Slow Down | eBay
Fit For Nissan Navara NP300 2005-2013. CompatibilityFit For Nissan Navara NP300 2005-2013. 1x Rear Trunk Tail Gate Strut Damper. -Slow down compress function. TypeTailgate Assist Slow Down Shock Strut Damper.www.ebay.com

Well, that's another mod added to the list
")
Thank you!

 )
)
