Southeast Overland
Get lost! Go explore!
- Thread starter
- #801
Pics from tear down of 83
76 fuel pump

vs 83 fuel pump

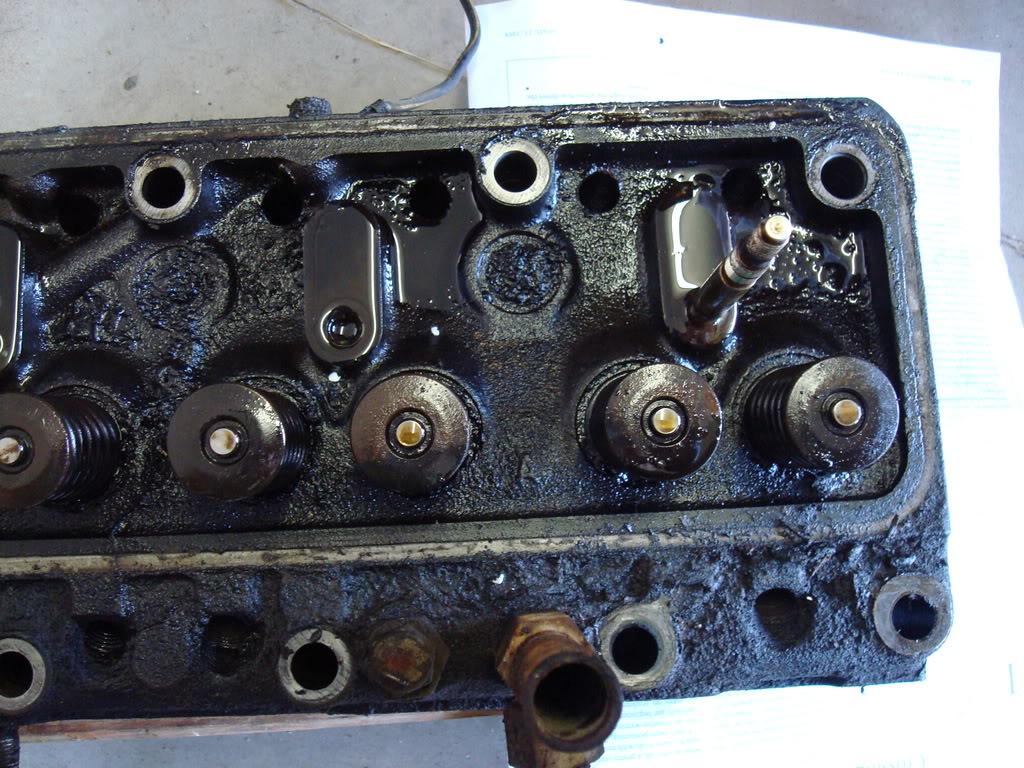
Block driver's side

Misc metal under valve cover

Close-ups of valve springs


Head gasket on block - doesn't look blown to me

Head gasket cylinders 1 and 2

Head gasket cylinders 3 and 4

Head gasket cylinders 5 and 6

Bottom of head gasket

Bottom of head gasket cylinders 1 and 2

Bottom of head gasket cylinders 3 and 4

Bottom of head gasket cylinders 5 and 6

Oil cooler on 83 - 76 did not have

76 fuel pump
vs 83 fuel pump
Block driver's side
Misc metal under valve cover
Close-ups of valve springs
Head gasket on block - doesn't look blown to me
Head gasket cylinders 1 and 2
Head gasket cylinders 3 and 4
Head gasket cylinders 5 and 6
Bottom of head gasket
Bottom of head gasket cylinders 1 and 2
Bottom of head gasket cylinders 3 and 4
Bottom of head gasket cylinders 5 and 6
Oil cooler on 83 - 76 did not have


 81 Machine Shop (local machine shop) is going to love me!
 has me repainting the front patio railing. Damn PO did a crappy repaint two years ago and the paint is literally falling off. 6 hours into the job and I'm not even half way done sanding.