Builds POTM - March, 2014 - Javelina By Pablo Cruise

This site may earn a commission from merchant affiliate
links, including eBay, Amazon, Skimlinks, and others.

Time to assemble the parking brake.

This was not my favorite!

For starters, put the parking brake on BEFORE you fill the t-case w/ gear oil. Or, failing that, lift up the ass end of the Pig:

IMG_8273.JPG
 
👍 Heck yeah! Like this information! you have pointed out so many little details! I'll be doing this soon and your hard work will help me and others out. Thanks Pablo!!!! Getten er dun
 
👍 Heck yeah! Like this information! you have pointed out so many little details! I'll be doing this soon and your hard work will help me and others out. Thanks Pablo!!!! Getten er dun
Thank you for the kind words!
I hope the pictures and part numbers and details can help others in here.
 
Getting the cable latched onto the cam mechanism is kind of a PITA. Just like disconnecting them when I was taking the old transmission out.

There is no good way to describe it. You just have to slide the spring back on the cable and try to place the cam mechanism, while you are hold the spring, and the brake shoes are flopping around and the backing plate is too. This would be a convenient time to be an octopus with a few extra arms...

IMG_8277.JPG
 
Last edited:
Secure the brake shoes to the backing plate with the pins and springs.

Note that you must rotate everything so the pin rests in the detents on the retaining clip. If not, at some random point the clip will deploy across the shop and you will have to find it!

Not fun...

IMG_8279.JPG


IMG_8278.JPG
 
I had heard that the split cases have a date code on them.

Sure enough, in all my time under Miss Javelina, I found it.

According to this page by Cruiser Outfitters, my case is a July of '83 build - 34mm w/ updated input gear and oiler cup:


IMG_8285.JPG


IMG_8284.JPG
 
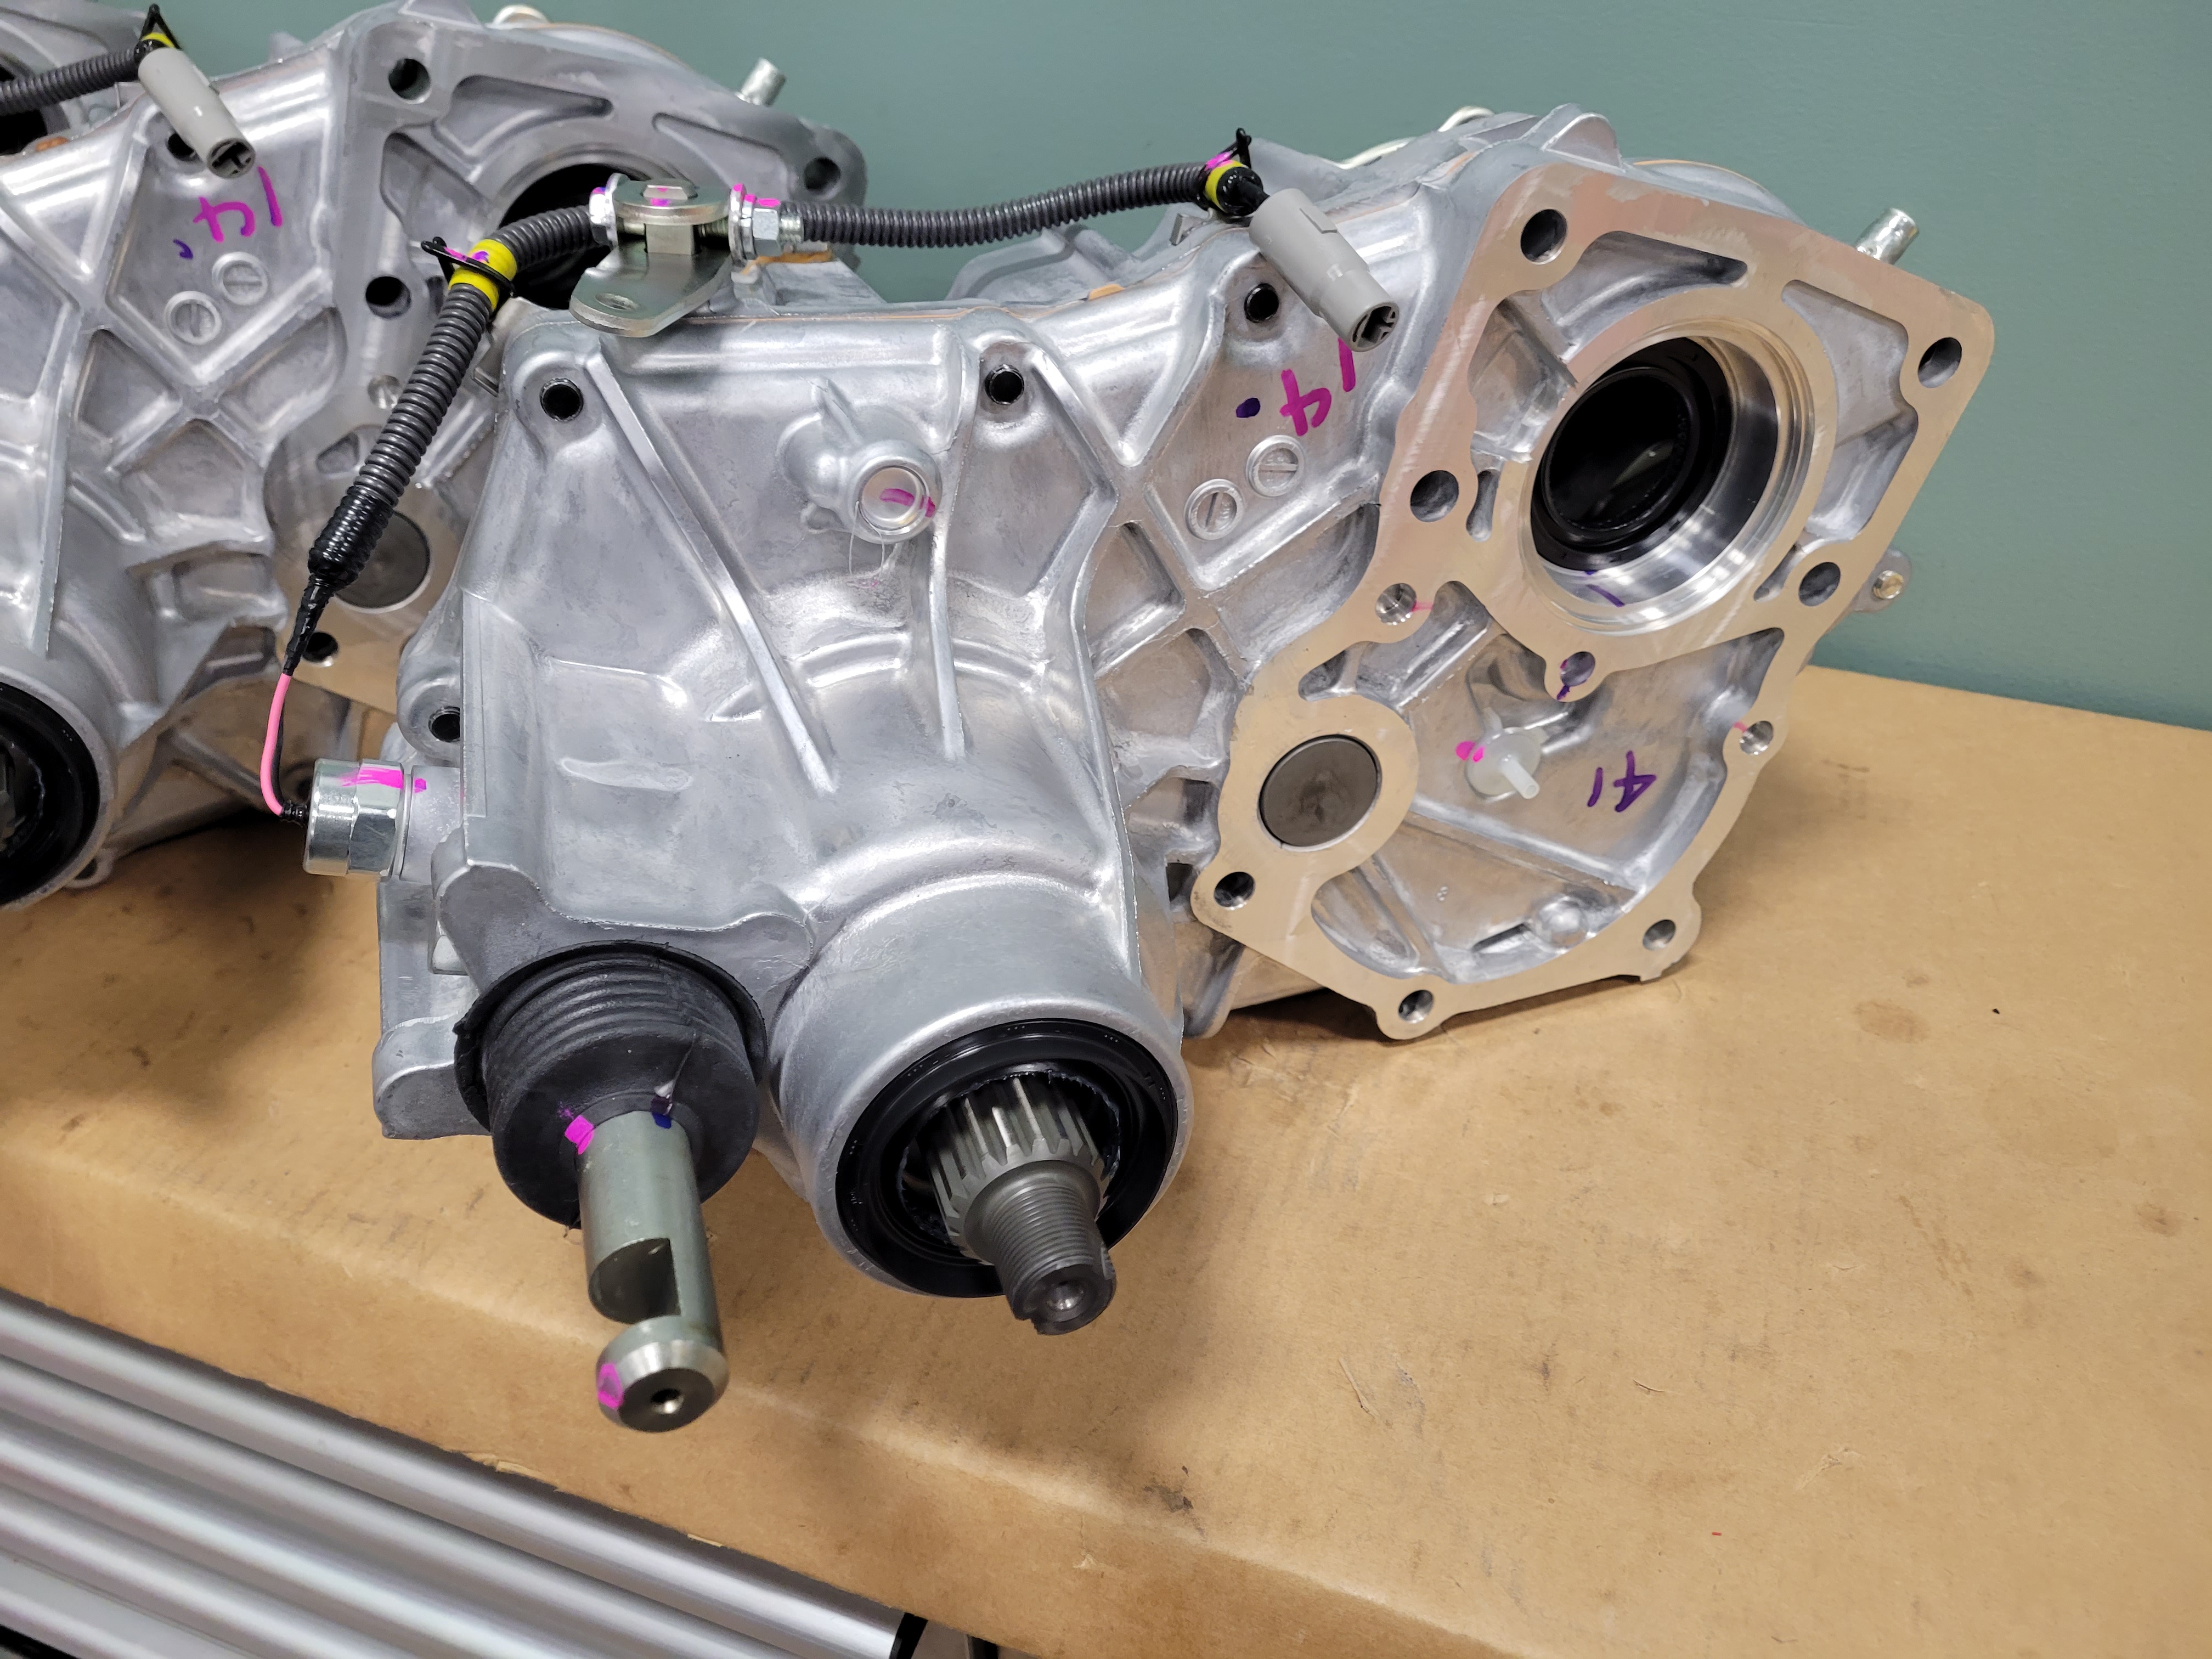
I know I have talked about my shafts a lot already, but here is some more:

IMG_8266.JPG


The fasteners I took off were a mix. I think the smaller bolt and nut is an early piece that was replaced the assembly with shoulders

IMG_8286.JPG


These are M11x1.00 - an odd fastener.
 
I drove the Pig back home from the shop this week - wow!
So nice to have a clutch that is not all jittery and full of chatter - that sucked for a long time.
The deeper first gear is really nice! It gets her moving. I think this is a good match for the 3FE output.
I got it into 5th gear exactly once on the short drive home. I can't wait to finish up some little details (trans cover), but life is busy as heck right now.

Gratitude to all those that helped me out, esp @gonzopancho and Mike at Bump It Offroad.
 
Last edited:
I got a chance to work on this over the weekend. I ordered up an aluminum 90 degree elbow and the Super 45 degree rubber hose and got to work.


I let the fuel level in my tanks get low so I could hopefully pull the fill hose without pouring fuel all over the driveway. How low? I don't know, b/c the sender unit that came with the new tank has read weird the entire time. So I cleaned up the old sender, which always read well for me and plunked it in.

Then came fitting the aluminum elbow. When placed through the hole in the inner quarter, the neck was too long to join up with the fill port. So I measured a bunch of times and cut it. I cut it well, but to hit the fill port, the outlet of the elbow would be pointing towards the underside of the Pig, not at the tank inlet. If I pointed it at the tank inlet, I could not hit the fill port. Hmm...

Javeline had a date with Project Moviestar, so I had to keep things rolling. I opted to see if the Super 45 could work. The more I looked at the angles, I thought it could. I remember @scrapdaddy saying it did not work for him, but I thought I might have some different angles in play on my '74.

Long story short, it works really, really well! I measured a bunch of times, and then measured a bunch more times, but I got the bend in just the right place, and I really like the final fit.

I went to the gas station and put in 18 gallons and it filled really well, no problems, no fuel gushing back out down the side of my Pig. I also shortened up the overflow line, don't know if that was part of my problem? You can see in the Before and After how I had a dip in both the fill line and overflow line before, and then a nice, smooth run in both lines after.

And the gauge reads full again! Nice when things work!

Before:
image-jpeg.1278649


After:
image-jpeg.1278651
I just went looking for this as @greenbeast was asking.
2016!
I really need to finish adding book marks to this thread.
 

Users who are viewing this thread

Back
Top Bottom