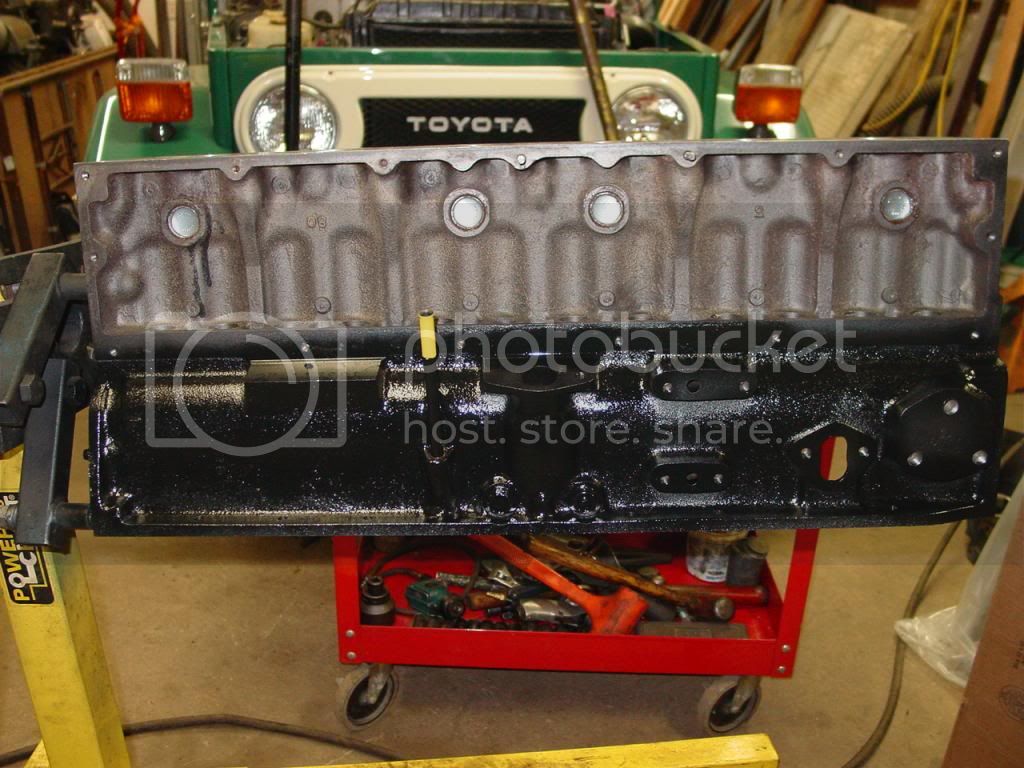
As was pointed out, this is how NOT to restore. So the focus will remain on identifying and repairing the many errors made in the "restoration".
Already covered:
Bore block to correct size so pistons don't smear in cylinders.
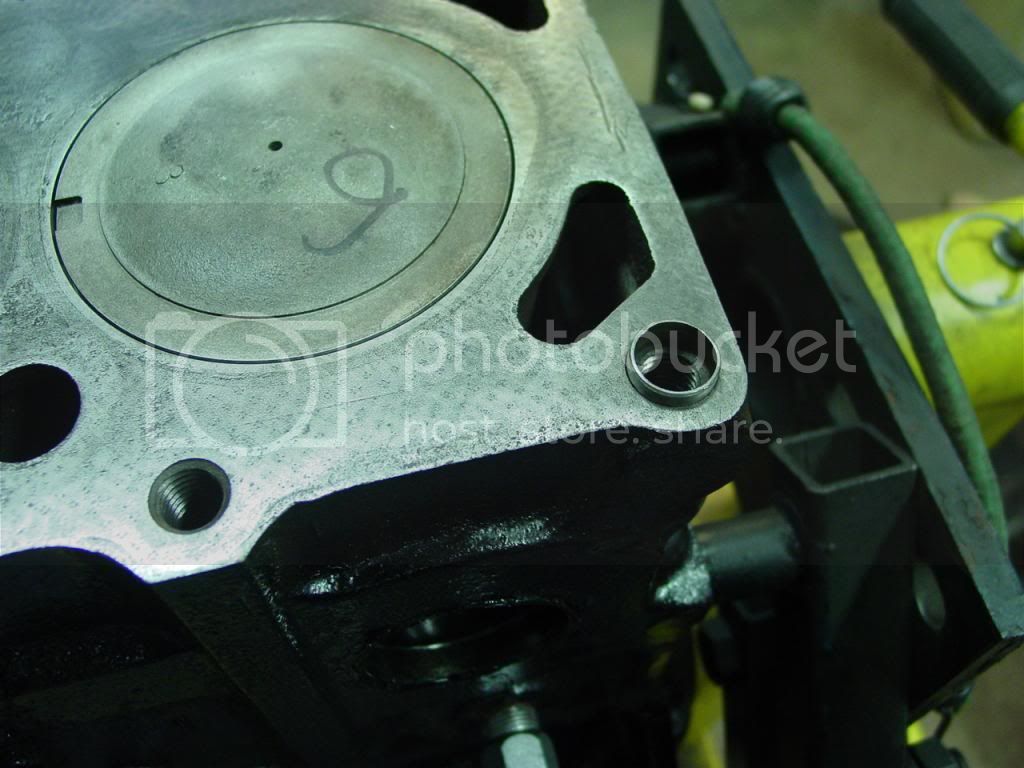
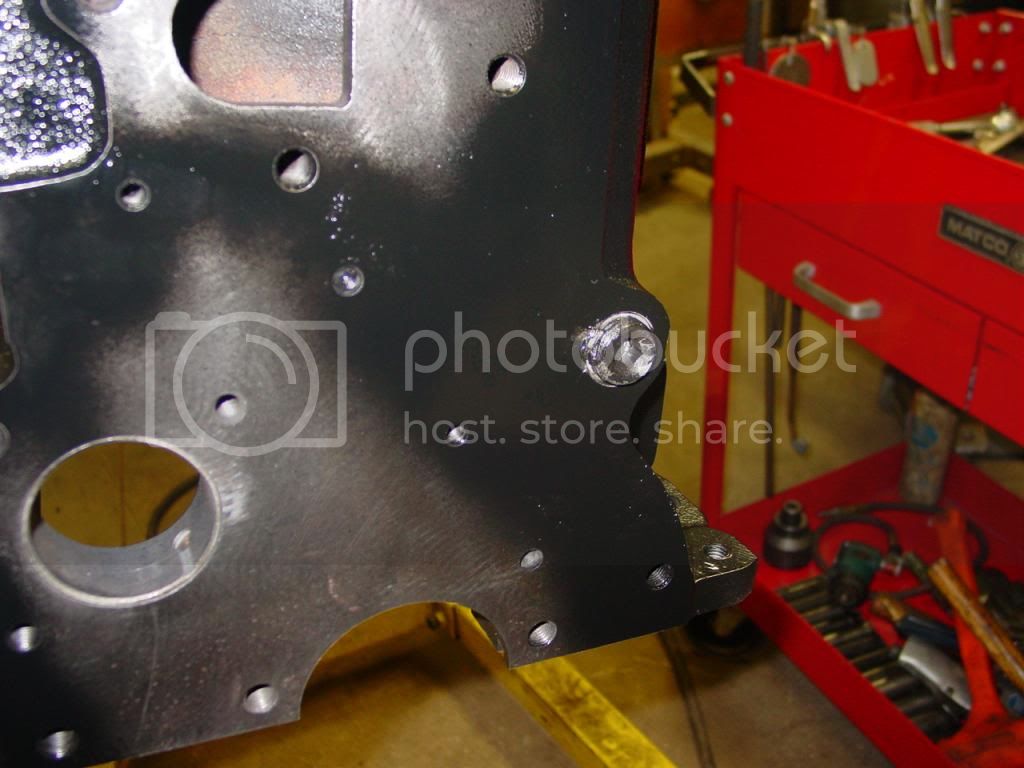
Install correct cam plug so cam will not stick out front of block.
Replace leaking oil plugs w/ allen plugs.
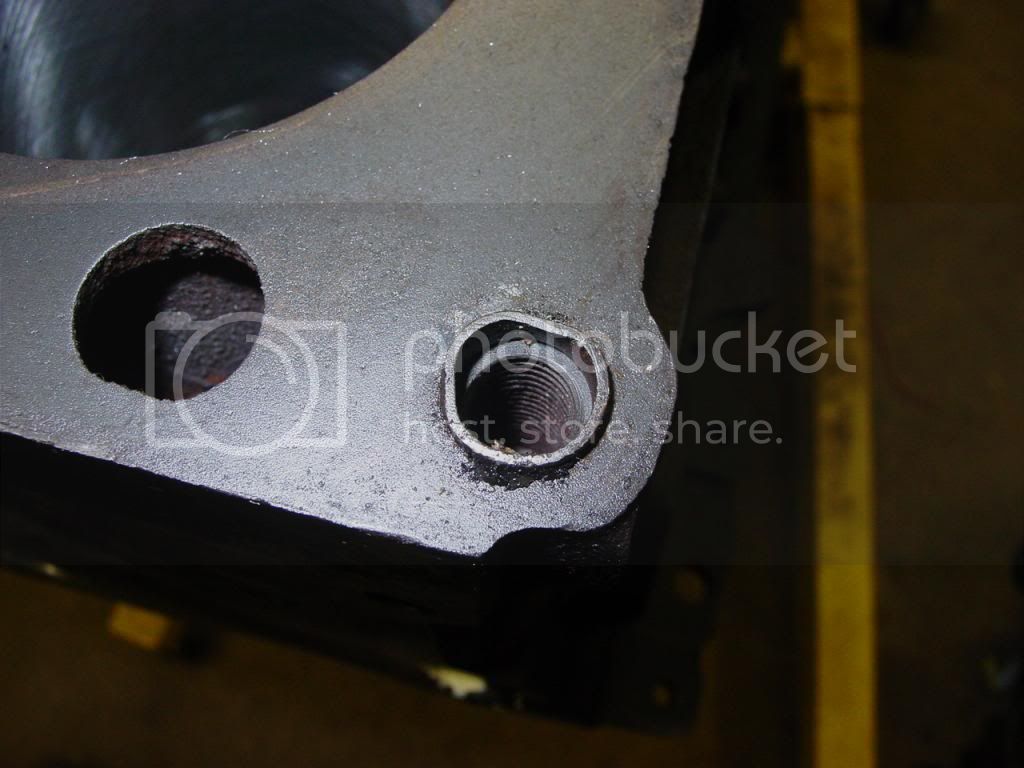
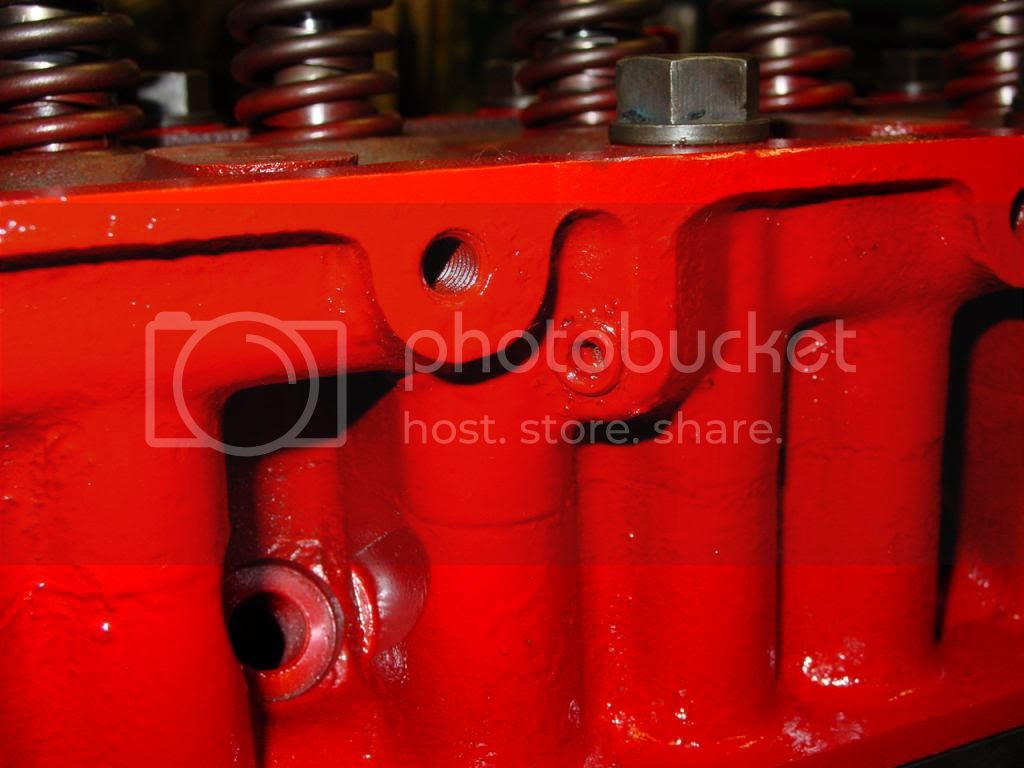
Chase all threaded holes, so the bolts aren't bottoming out against old rust & RTV in the bottom of the bolt holes.
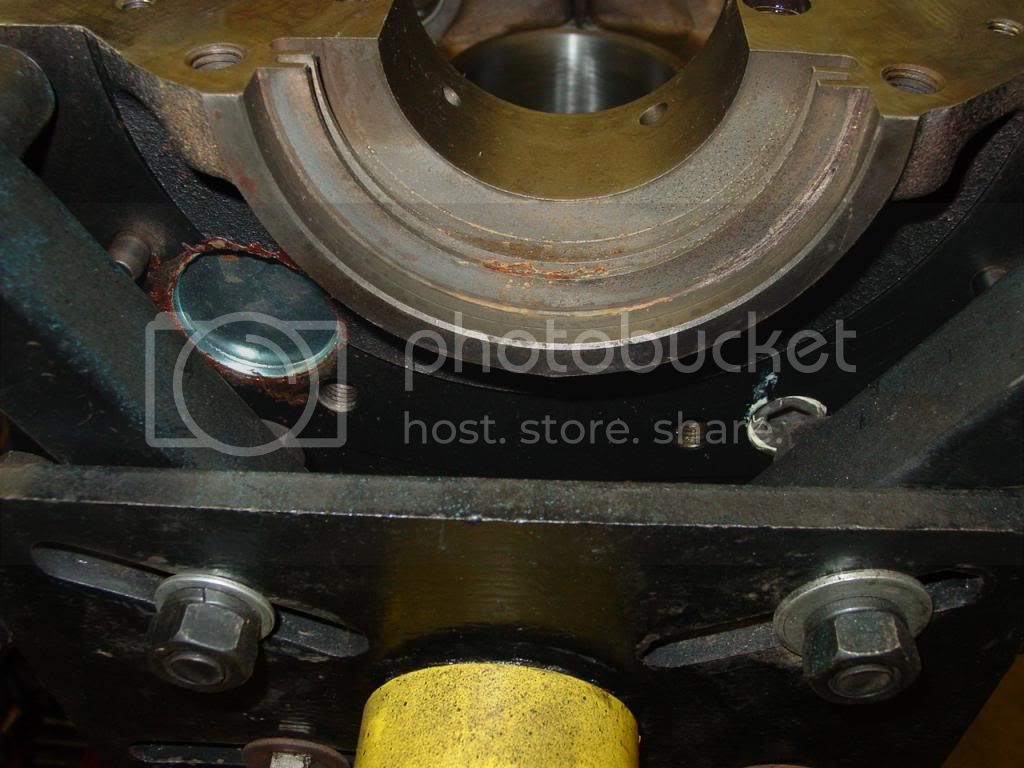
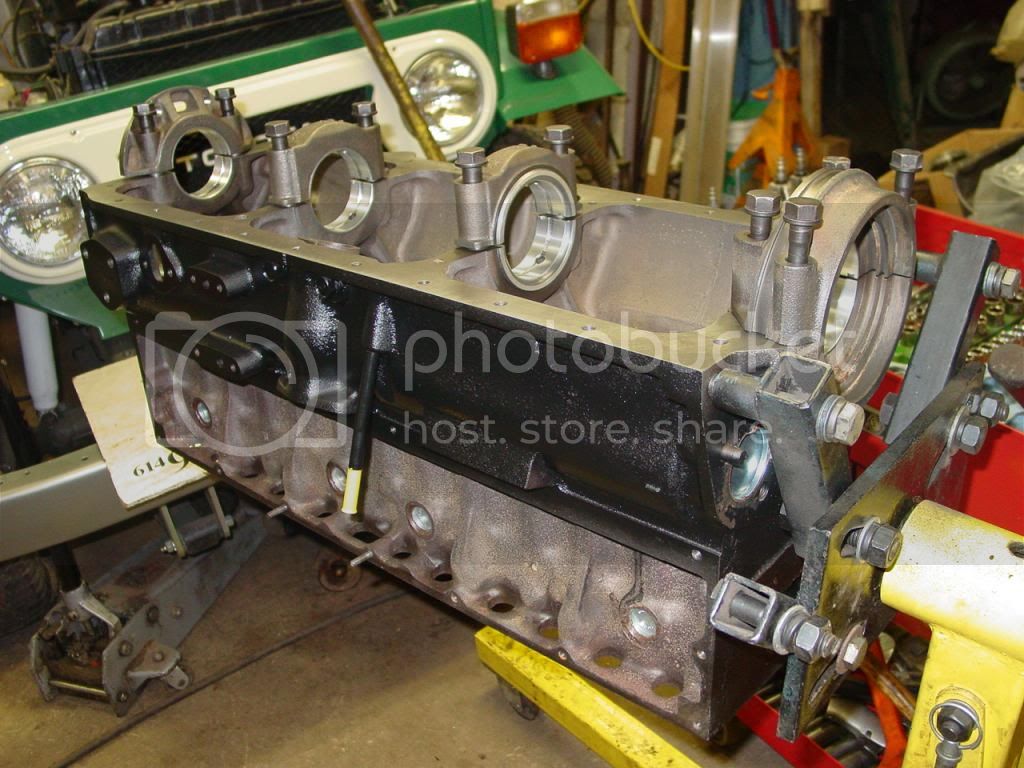
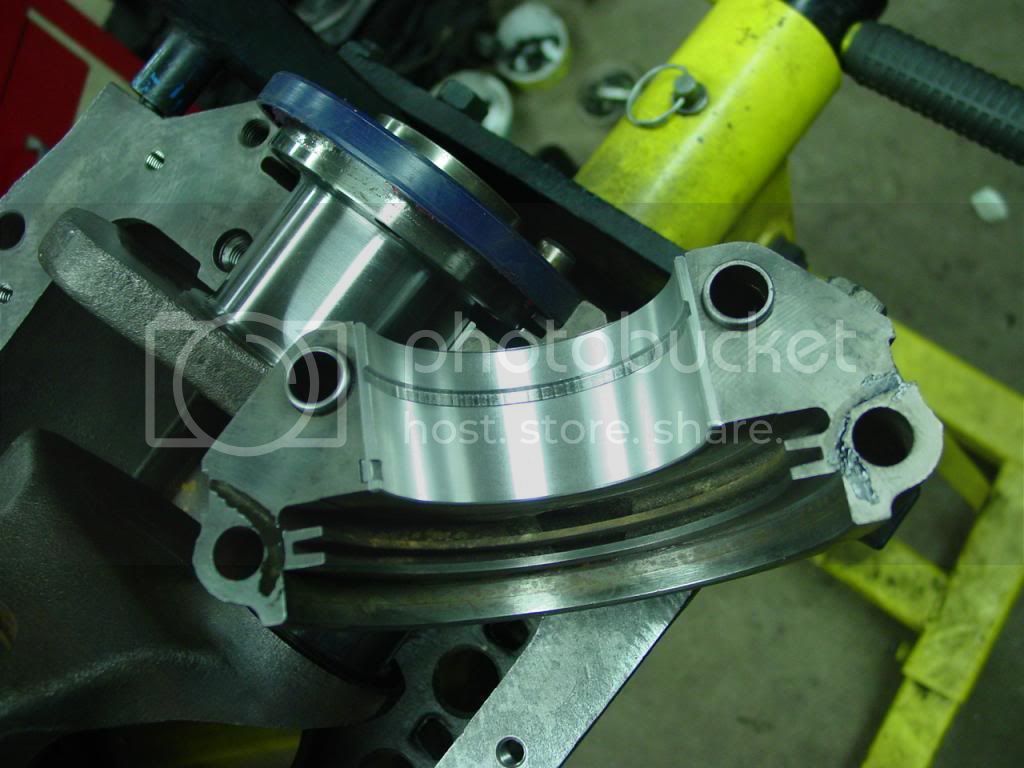
Next up is the crankshaft. The original crank was already cut .25mm undersize, and badly. It also had a rear seal surface was too far undersize.
A better crank was dug up, and turned .25mm under by a competent machinist. The journals are straight (not swaybacked) and the seal surface is polished, but not excessively.
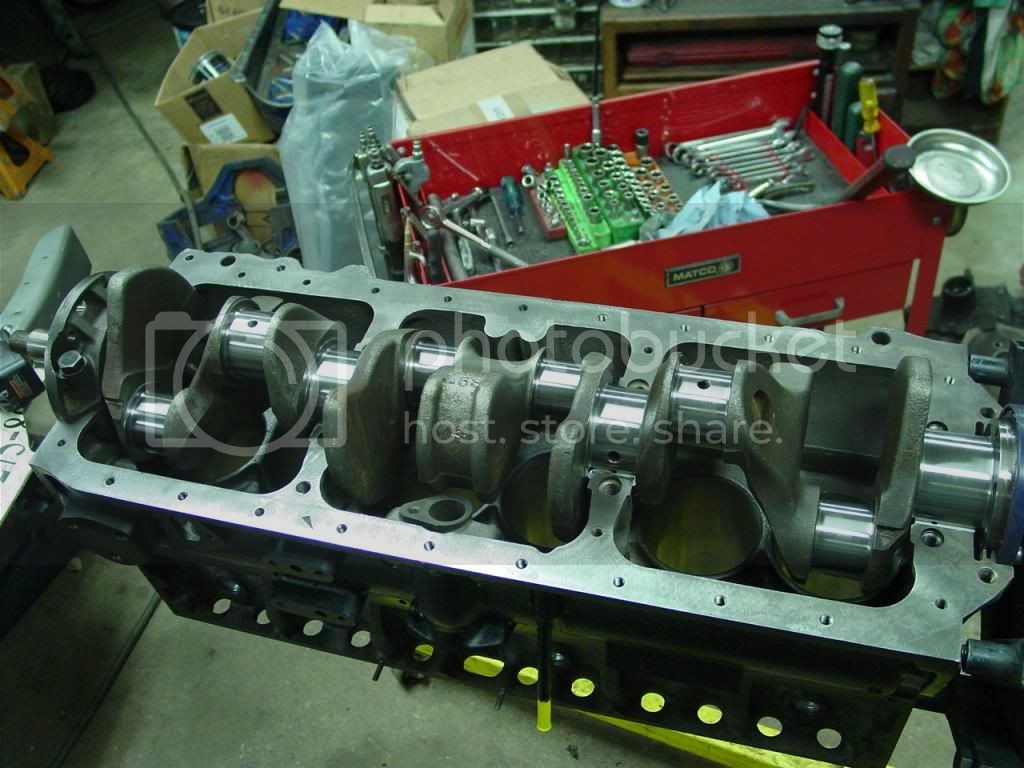
Crank is cleaned a final time, the bearings smeared w/ assembly lube and crank laid in the block. Note that the rear main seal is installed at the same time as the crank. It is not beaten into place later, which could ding the rear of the crank, making FW installation more difficult. Like it was upon disassembly.

Also note the tiny smear of permatex#2 that is applied to seal the main cap between the rear seal and oilpan corner.
Smear lube on main bearings in caps, install and torque caps using a TORQUE WRENCH this time.
As QC, verify that crank still spins, and end play is detectable but not excessive.
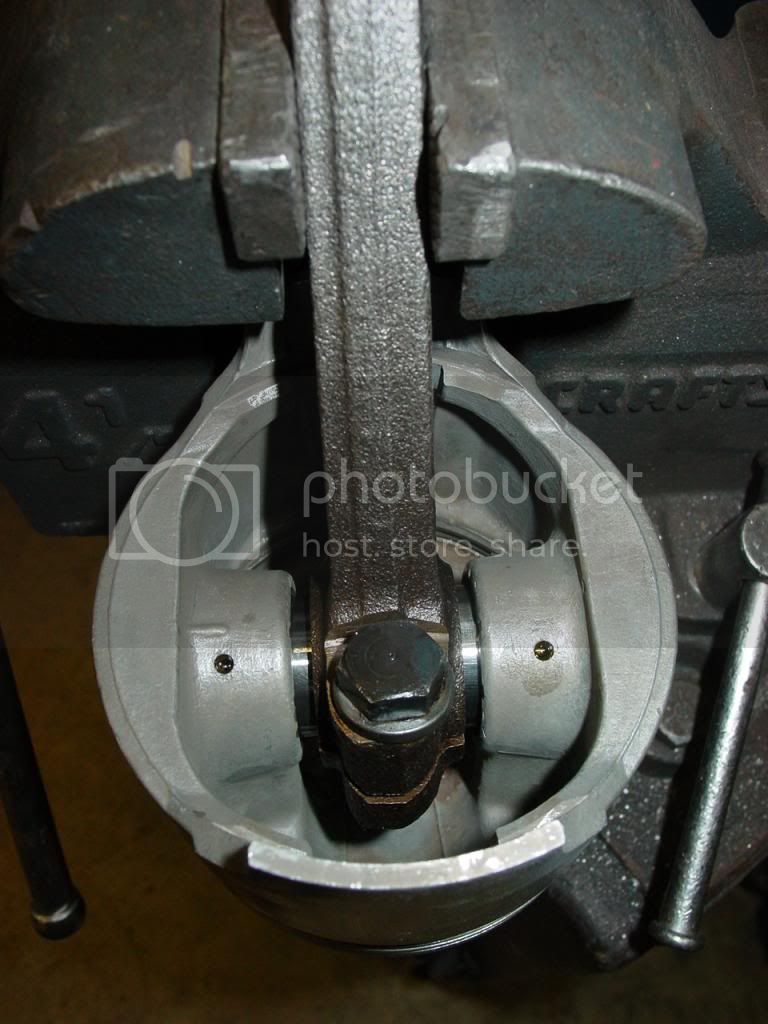
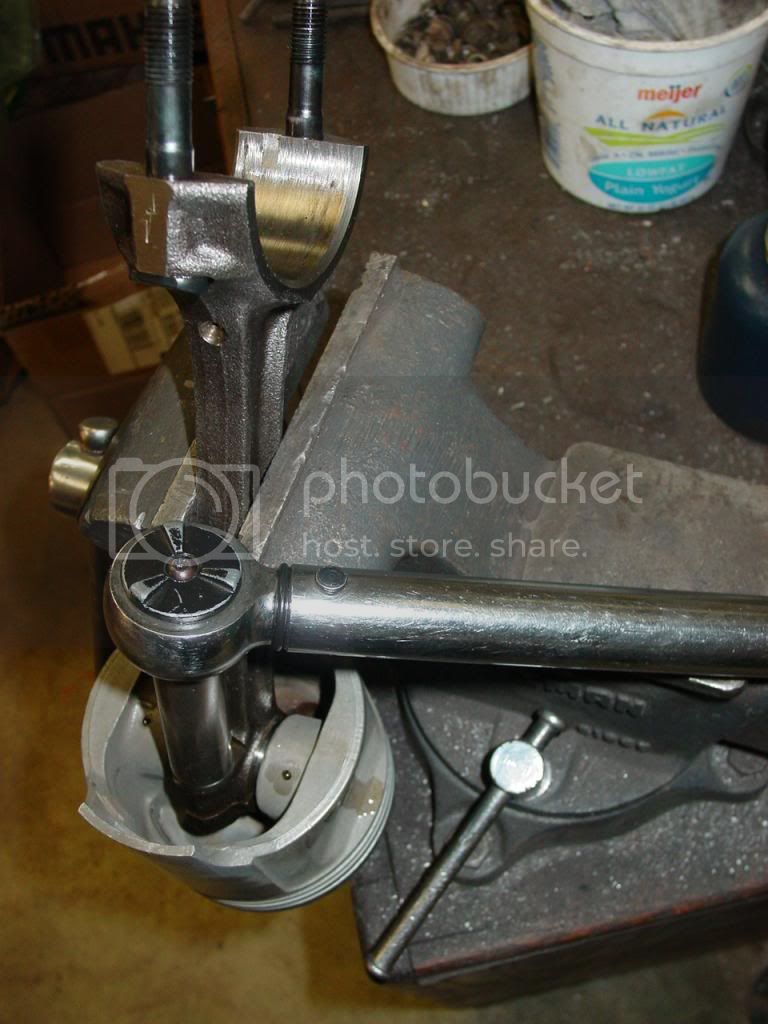
The rods from the old engine are re-usable. Clamp a rod in the vise, orient oil squirter hole toward cam, and notch on piston toward front. Apply oil to wristpin bore and slide pin through piston & rod.
Center pin in rod, then TORQUE rod pinch bolt with a TORQUE WRENCH to 45ft-lbs.
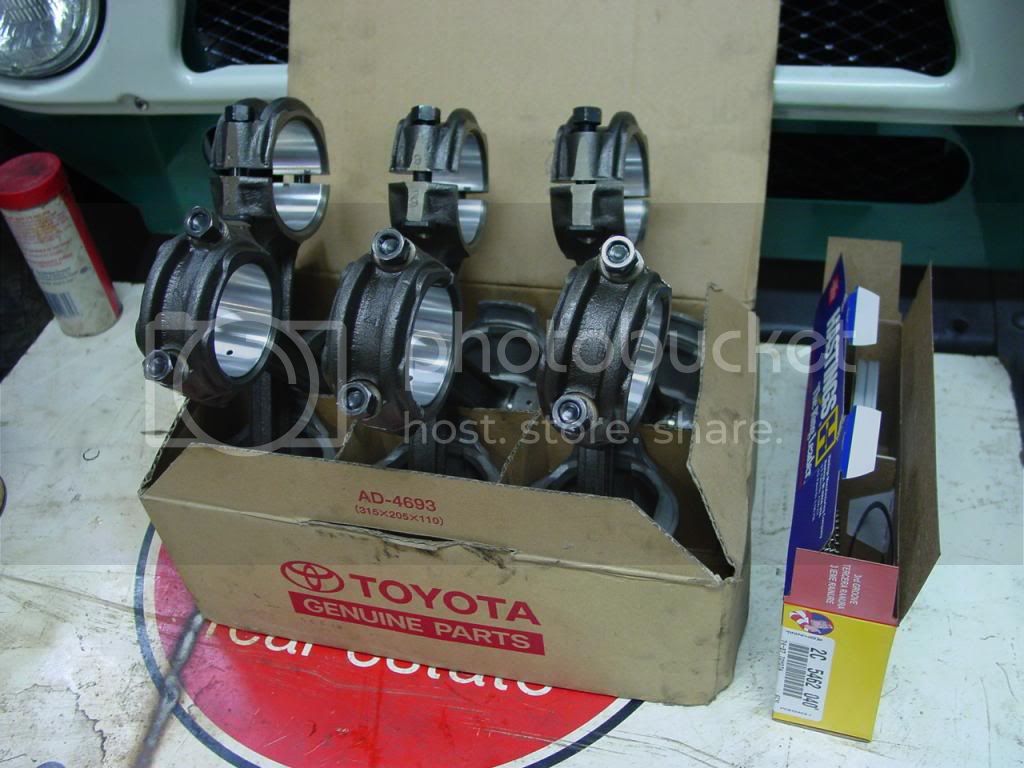
Do that 5 more times. With a TORQUE WRENCH. Until there is a box like this:
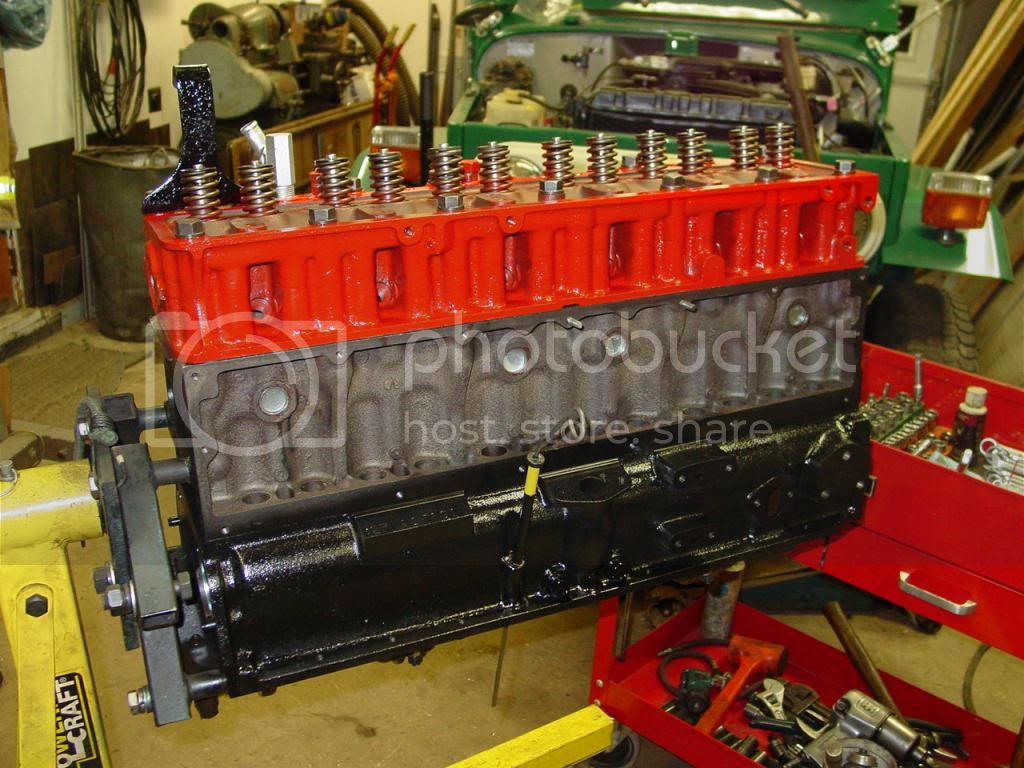
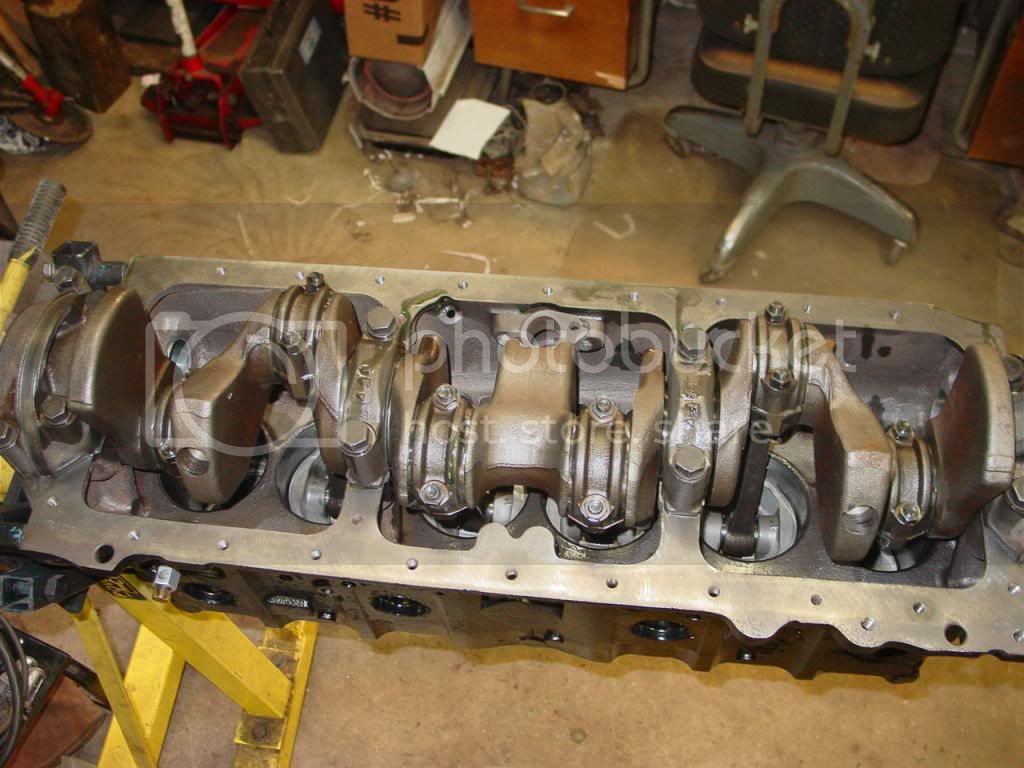
Grab a couple of those rings and stick them in the bore to be sure ring end gap is OK, then install rings onto the new used Mud-sourced 1mm O/S pistons. Line up ring gaps on pistons so they are staggered every 90* around piston, and no gap on the thrust faces. Saturate rings and bores with light lubricant (WD40), smear assembly lube on rod bearing, squeeze it with the ring compressor, and whack one in the block. Smear, squeeze and whack 5 more times, then TORQUE every rod cap and main bearing cap using a good torque wrench one more time.
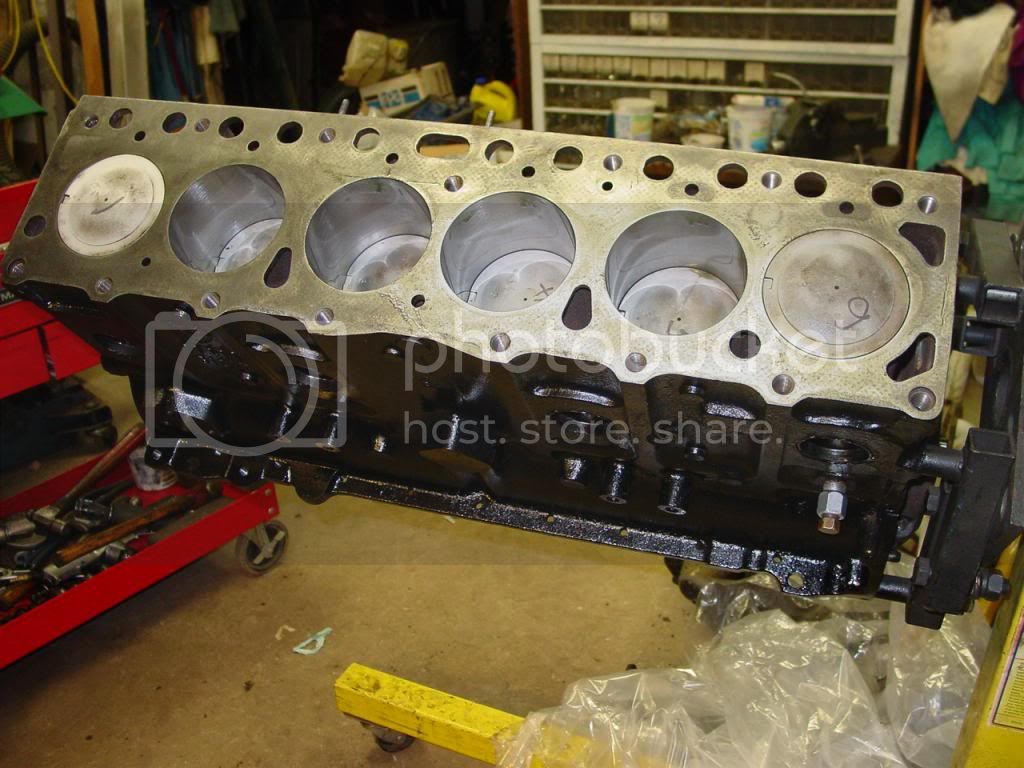
It should look something like this from the bottom:
Note that in the top view, the correct pistons are in the correct holes. They are each measured for max diameter, then the bore is finished to provide just enough clearance for that piston. This is not always necessary, like for a set of new Toyota pistons. But for these used pistons of unknown provenance, it was a necessity.
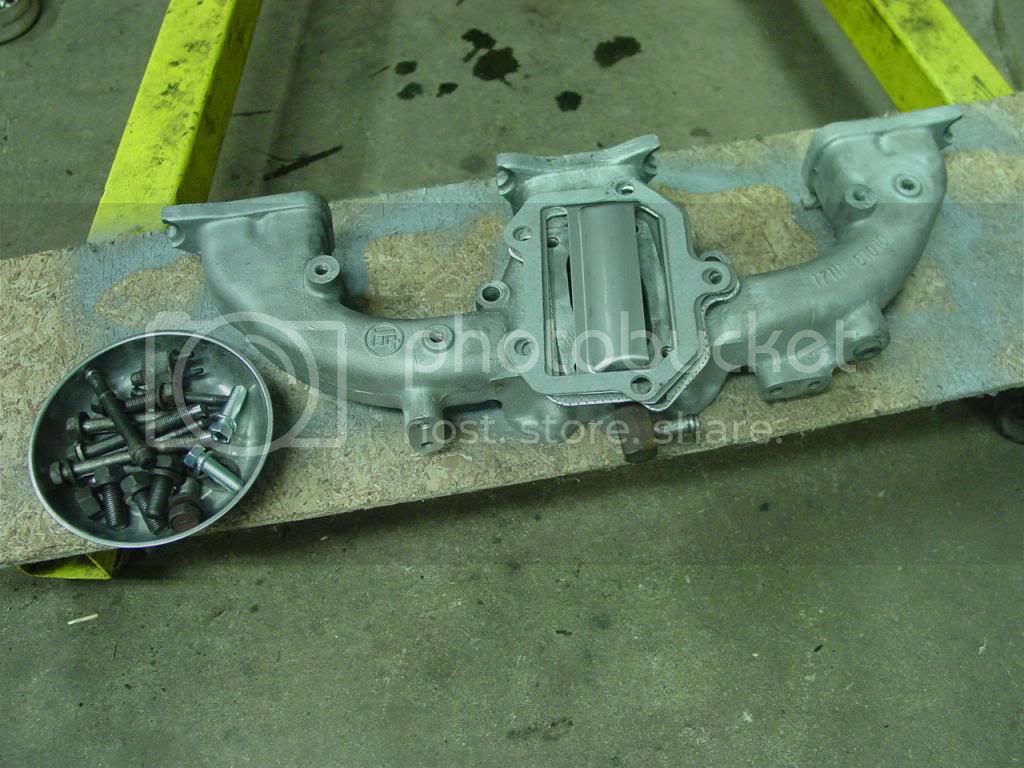
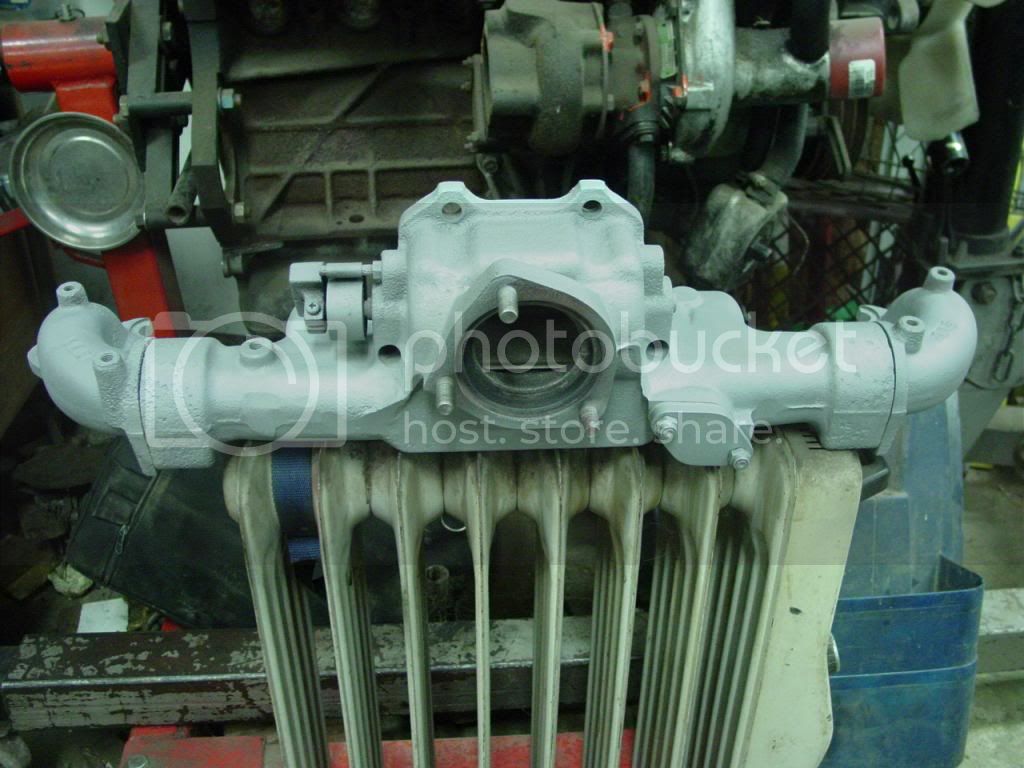
Next up is getting the fuggled manifolds back in order. Tomorrow.


")