Builds Climate Change: Project Global Warming '76 fj-40 (2 Viewers)

This site may earn a commission from merchant affiliate
links, including eBay, Amazon, Skimlinks, and others.

No puppies were injured during the repair so I'm not going to post a video.

The repaired tank; braze was the answer.

q2UQm0k.jpg


My wiring harness is a mess, plain and simple. I've had shorts to trace down, I've taken out parts of the harness that are unused (like the smog stuff) and spliced in things like trailer lights. So the harness is a mess. I'm going to start by rebuilding the frame section first, since now is an easy time. I'll solder new wires into the light sockets on the fixtures like this tail light, but I'll graft on new connectors to old like with the combo meter (when I get there).

I'm going to add at least 2 wires to the bundle too; an un-switched hot (for a power socket) and a dome light power feed (controlled either by a manual or a door switch)

http://i.imgur.com/***mz5U.jpg?1
 
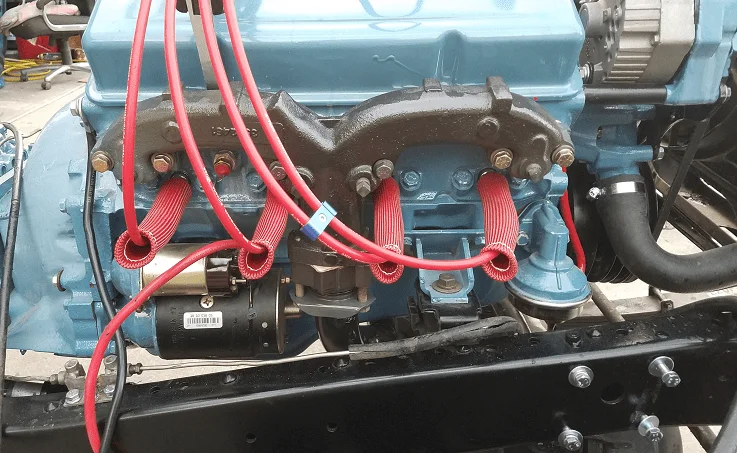
From my experience, paint, even the high temp ceramic stuff that this blue is supposed to be, would at least discolor and probably burn off.

My exhaust system is an unknown at this point, I may get new ram's horns and put a Y pipe under the pan. Passenger side manifold is mounted here to check motor mount interference and the other manifold in the picture isn't on yet. I'm trying to find the right make and model to get a few of the exhaust system parts off the shelf rather than slobber weld something together on the spot.

EDIT: if you look closely at the picture in the quote, there are spreader bars in between the inlets (just above the spark plugs) of the manifold. SBC's are notorious for warping exhaust manifolds and these are no different. These fit but not without a fight.

EDIT2: I have more than enough extra blue to paint the entire motor again, maybe twice.
 
Last edited:
Fun with wiring harnesses.

Back up switch repair: (old wires had broken off years ago)

hIKJG0g.jpg


Replacing wires in the rear light sockets. Solder the stub to a new wire then shrink wrap and reassemble.

5Htwjp2.jpg


ZVw7KlM.jpg


I have the chassis harness about done. I'll get some pictures of the whole thing soon.
 
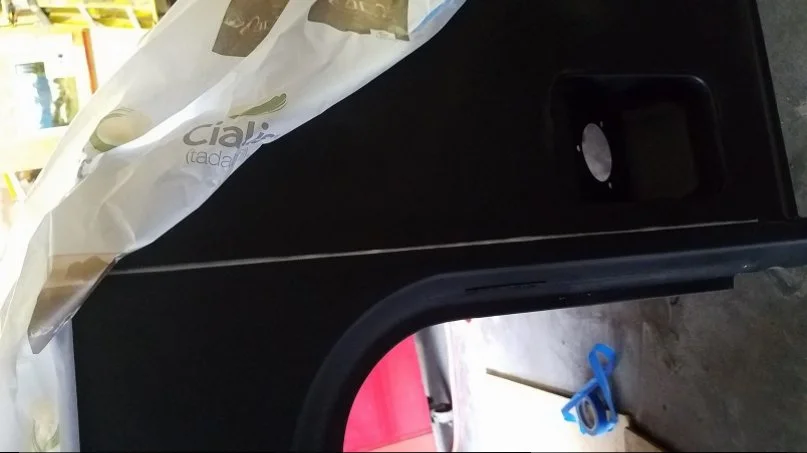
I decided to sandblast most of body, (well, I had my intern do it) and its just working out better to do it. I We finished the upper outside yesterday and sealed it. Next I'll flip the tub and do it again. The doors are on so we can do a little wiggling (i.e. bend it with a porta-power) with the cowl door pillar post, the door got stressed a bit too far open. The list of little things never ends.


UZAZMAA.png


I sealed all the new shiny metal with thinned enamel primer.

0Dg0cNk.png


My wiring harness is nearly complete. I've worked thru all the wiring in the birds nest and shortened, trimmed, removed all crimped connectors and replaced connectors where I could.

Some really scary before pictures.

PXiEwtm.jpg


The midst of the battle. Its hard to tell who's winning.

3h8fQvg.jpg


EDIT: spelling words is hard
 
My combo meter, ash tray and dash box lid freshly painted and all ready to go. I cleaned the combo meter while i had it open and painted some of the interior spaces bright white so maybe that and LED's, it should be brighter at night. I zero'ed the odometer while I had it out too.

Ak8cRnq.jpg
 
First engine run tonight. The super tough high-temperature ceramic paint started showing discoloration after about five minutes of being full warmed up and just idling.


I shut it down when I started noticing the exhaust leak on #5. I bolo'ed installation of the gasket. I've since fixed it after it cooled down.


I have the hood painted, along with some other now shiny blue things. Maybe tomorrow some paint will go on the tub.


The aprons with new bling are awesome.

 
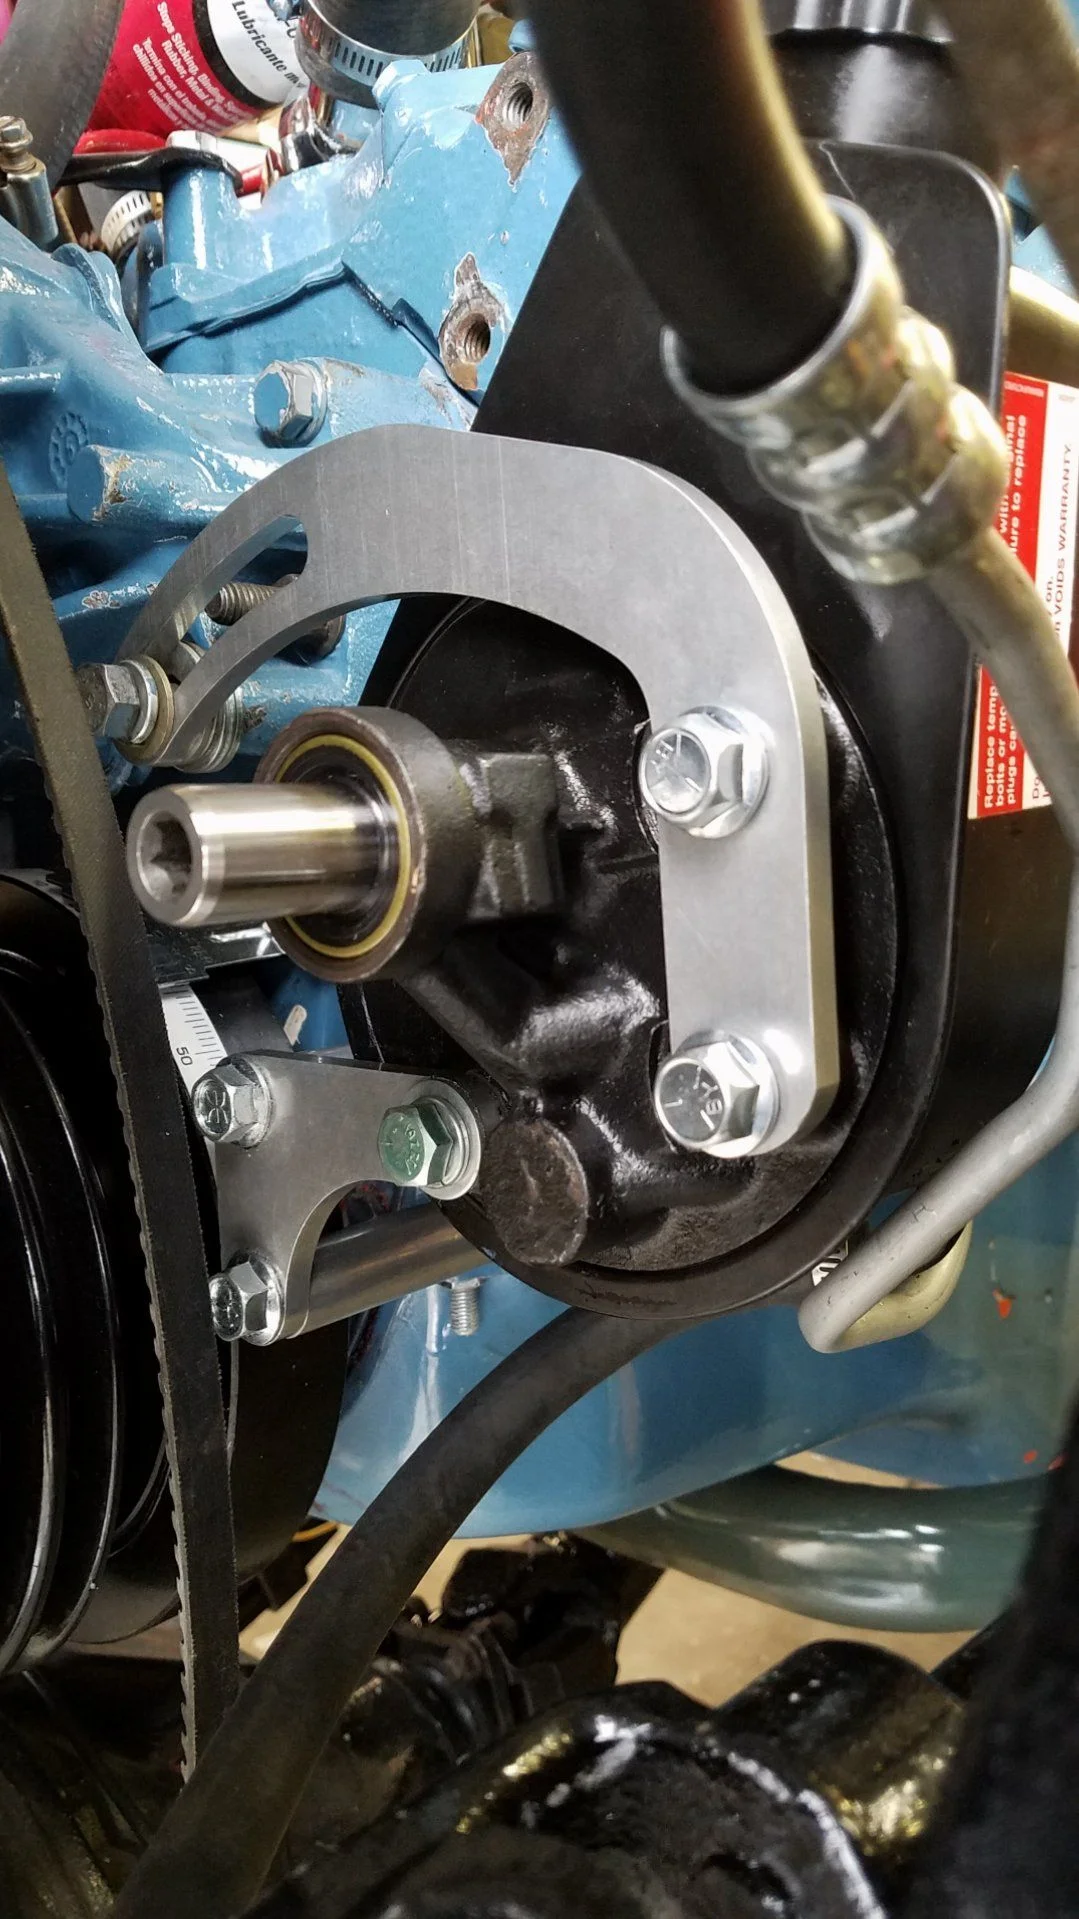
I'll be curious what bracket you use to mount your Saginaw pump. I need to do something different on mine.

Me too. I originally had a bracket and pump from a junk yard pull way back when I converted it to Saginaw steering. I got new hoses and a reman pump and gear. The pump can is slightly clocked differently than the one I had so I am modifying the bracket. It's the same pump, it's just that can is about 20 degrees different. I've already chopped off the offending ear on the bracket and am going to reweld it back in a different position. I can post close up pics if you're interested.

EDIT: English is hard.
 
Seam sealing is easier than I had thought it would be, from some of the things I read. Actually turned out ok, I applied some flexible sealant I got at an RV parts house, kind of like tile grout, only wash the excess with some sort of toluene product. It set up nicely and takes paint well.


Power steering pump, brackets and hoses are finished. All the parts were off the shelf sbc stuff and worked out really slick, the brackets are billed as 'billet' and the pump is the common driver's side one. I had to adjust some of the spacers but it was an easy fit. Pulley and belt were reused. Hoses are hand bent to fit.


Epic.
 
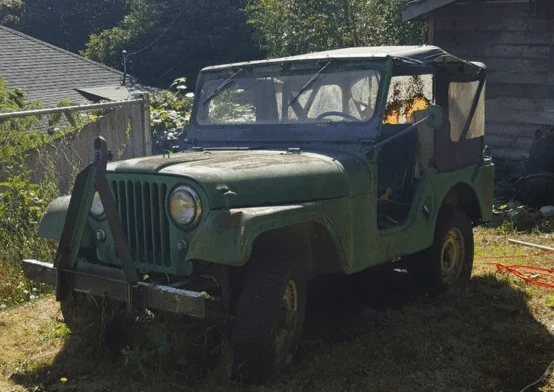
So my bro is a flat fender guy, had a cj2a back in the day, was jealous of me and decided to find another to spend endless hours tinkering on. And he finds one, with lots of donor parts so call it 1.5 jeeps. About the same time, one of his neighbors noticed his interest and gifts him an unmolested '62 cj5 that hadn't moved in years.

Long story short, he has more jeeps than room for them and I'm working a deal where he gives it to me and he can borrow it anytime he wants.


EDIT: He's keeping it. I don't need a blue tarp covered blob. My wife says so.
 
Last edited:
I burped the power steering pump and gear after some interference problems when I remounted the gear. Then I just had to see if it would toss any of the drive belts and make sure the secondary air valves on the q-jet work....


<Borat>Nice!</Borat>
 
Fun with wiring harnesses.

Back up switch repair: (old wires had broken off years ago)

hIKJG0g.jpg


Replacing wires in the rear light sockets. Solder the stub to a new wire then shrink wrap and reassemble.

5Htwjp2.jpg


ZVw7KlM.jpg


I have the chassis harness about done. I'll get some pictures of the whole thing soon.

Love the thread. Thanks for posting.

I have a question about the wiring harness on the "backup switch". How to tell which wire goes to which terminal? I recently dropped my tranny and both wires came off when I twisted the sensor out. Neither wire is marked in any discernable way, that I could tell. Should I just touch the wires to the terminal points with it in reverse, and have someone watch for the backup lights? That seems kinda amateur to me, but I cant figure another way...
It’s just a switch, it doesn’t matter how you put them on.
 

Users who are viewing this thread

Back
Top Bottom