Good news, it was the axle that slipped out, no I probably gotta redo bearings.
cheaper than a new transmission!
Follow along with the video below to see how to install our site as a web app on your home screen.
Note: This feature may not be available in some browsers.
This site may earn a commission from merchant affiliate
links, including eBay, Amazon, Skimlinks, and others.
Good news, it was the axle that slipped out, no I probably gotta redo bearings.
It was the lock washer on the bearings, anyone know the part number?Good news, it was the axle that slipped out, no I probably gotta redo bearings.
Good news, it was the axle that slipped out, no I probably gotta redo bearings.
You need to save this truck at all costs, you're one of the few i know with 500K+ miles that actively post, would like to see this get to 1 million some day.
Good news, it was the axle that slipped out, no I probably gotta redo bearings.
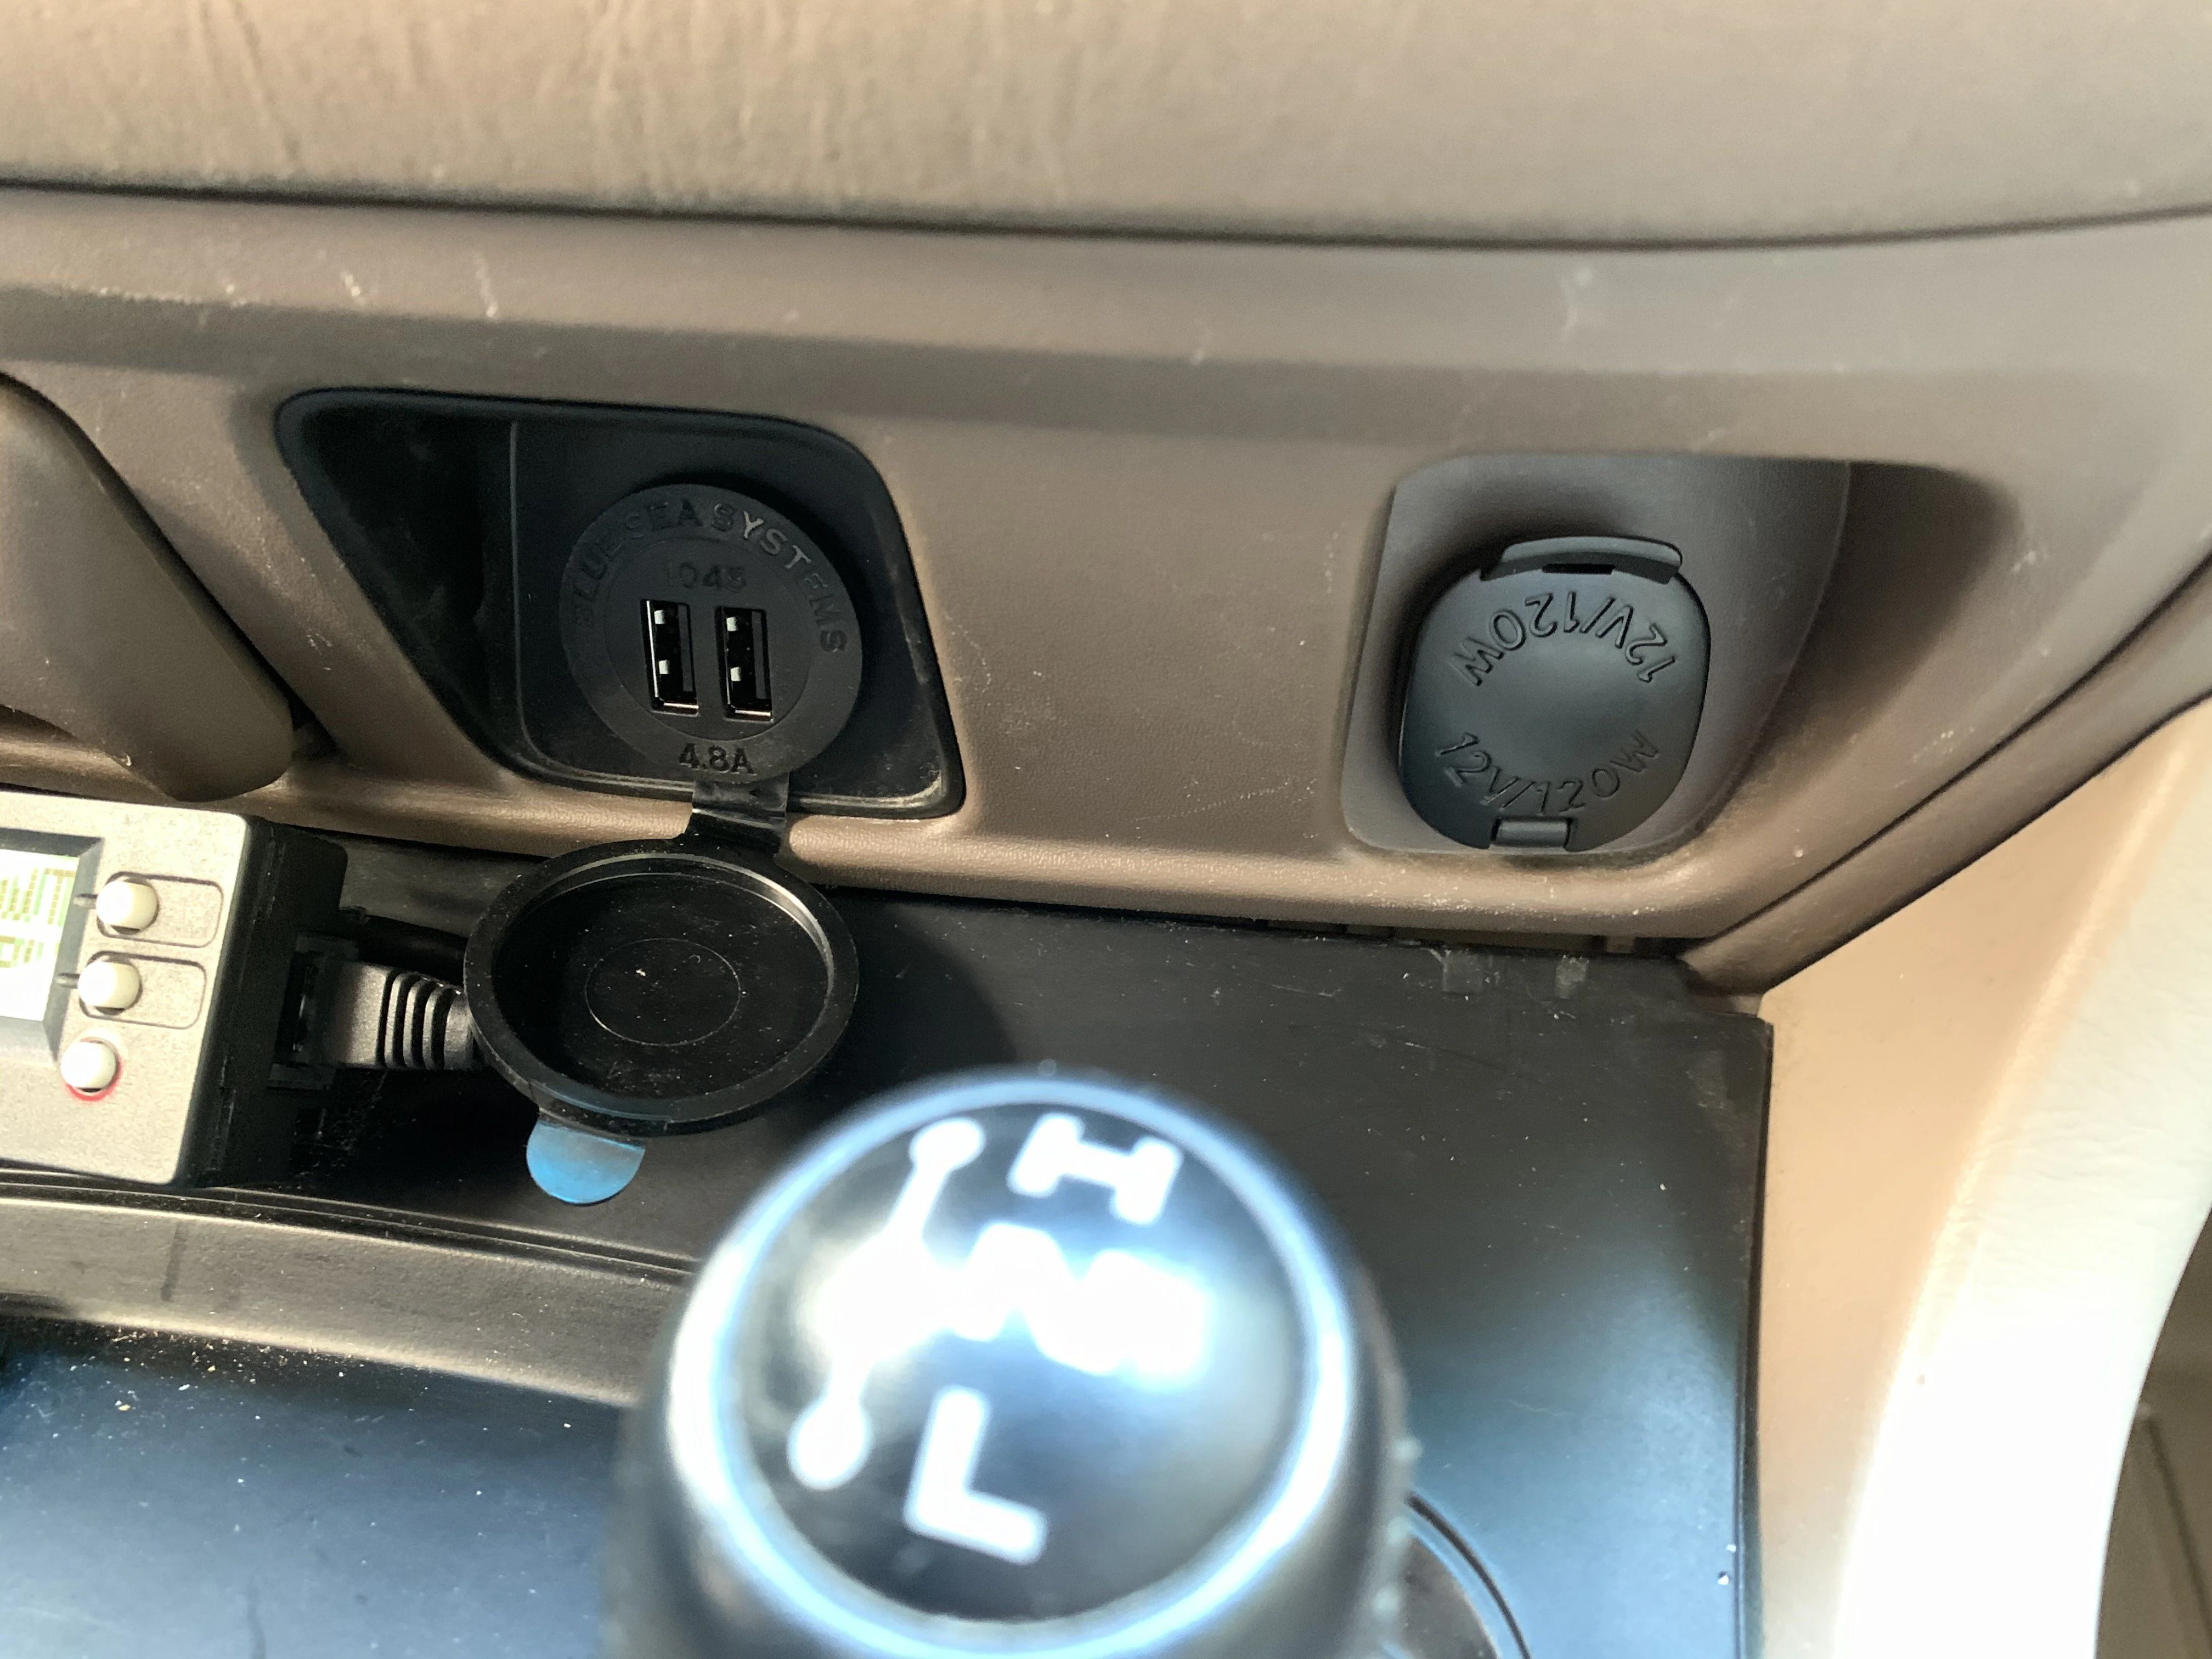
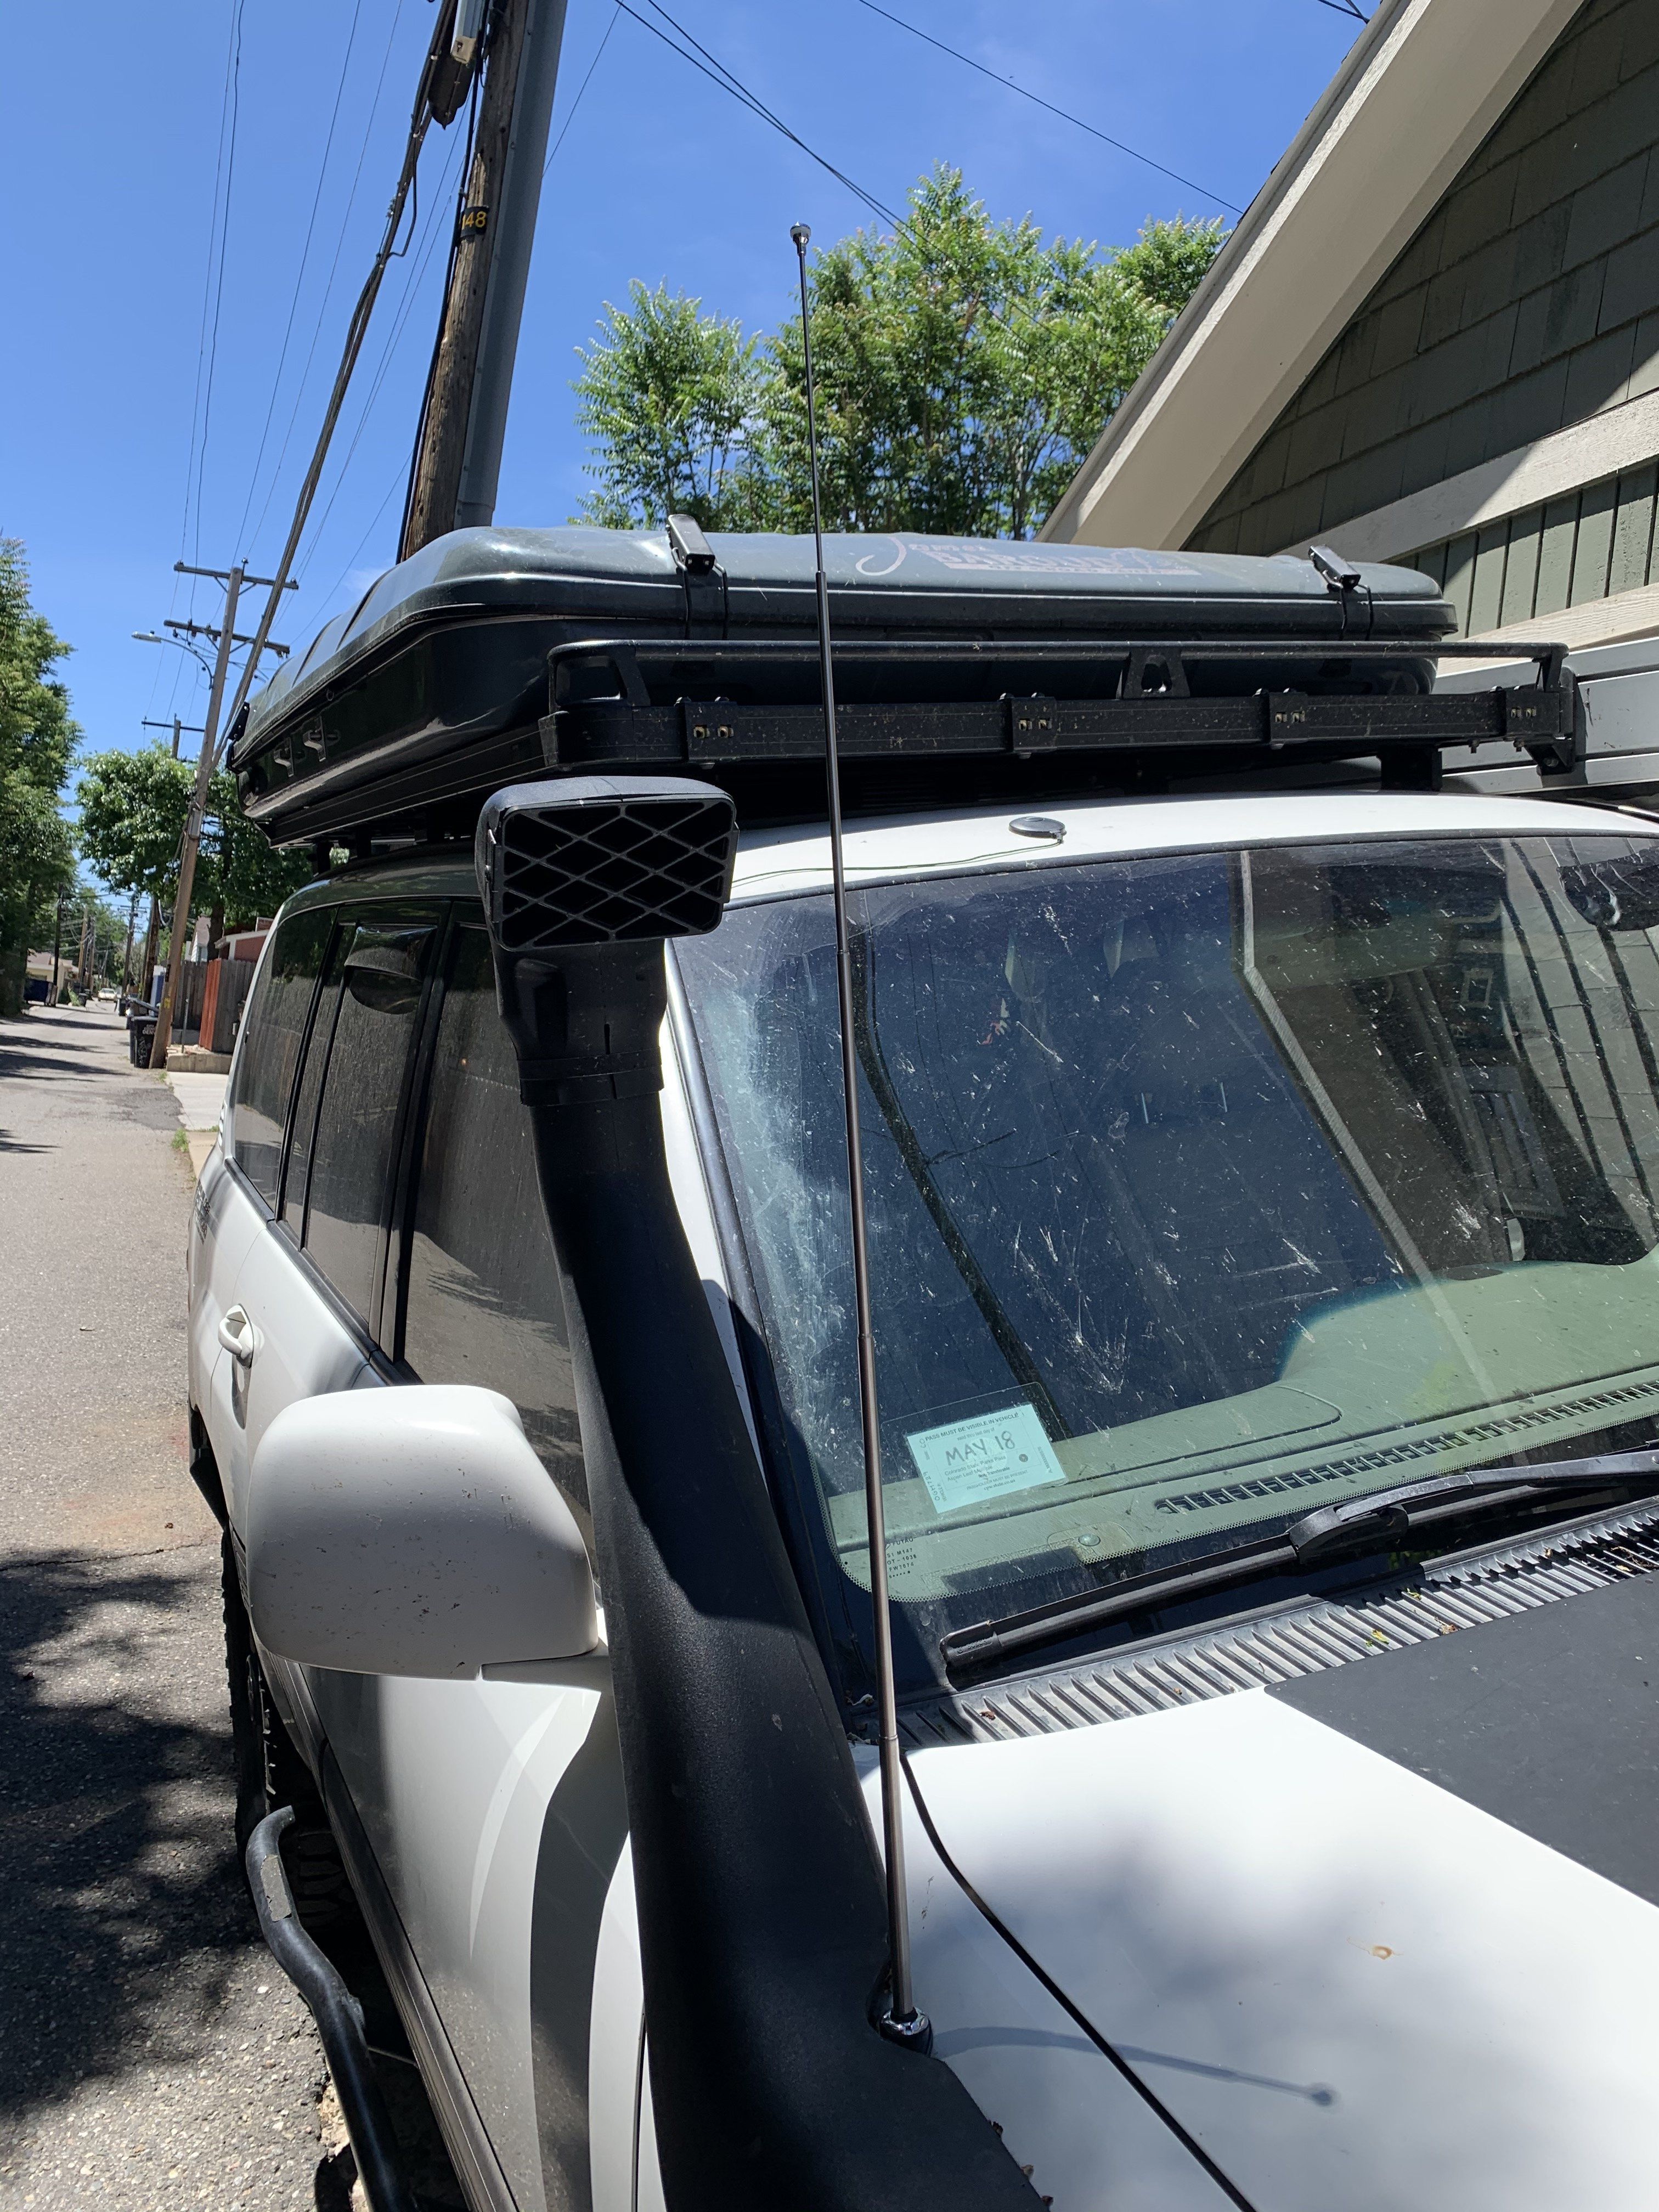
Finally got around to installing one of the closeout FT-8800s, that I had tucked in a closet about 4 years ago, into the old LX, in preparation for our not HiH trip to Silverton.
Used the @CruiserGarage "ScanGauge mount", and a @nakman antenna mount
View attachment 2345326
4 years????? oh my... that is some serious procrastination. lol
")
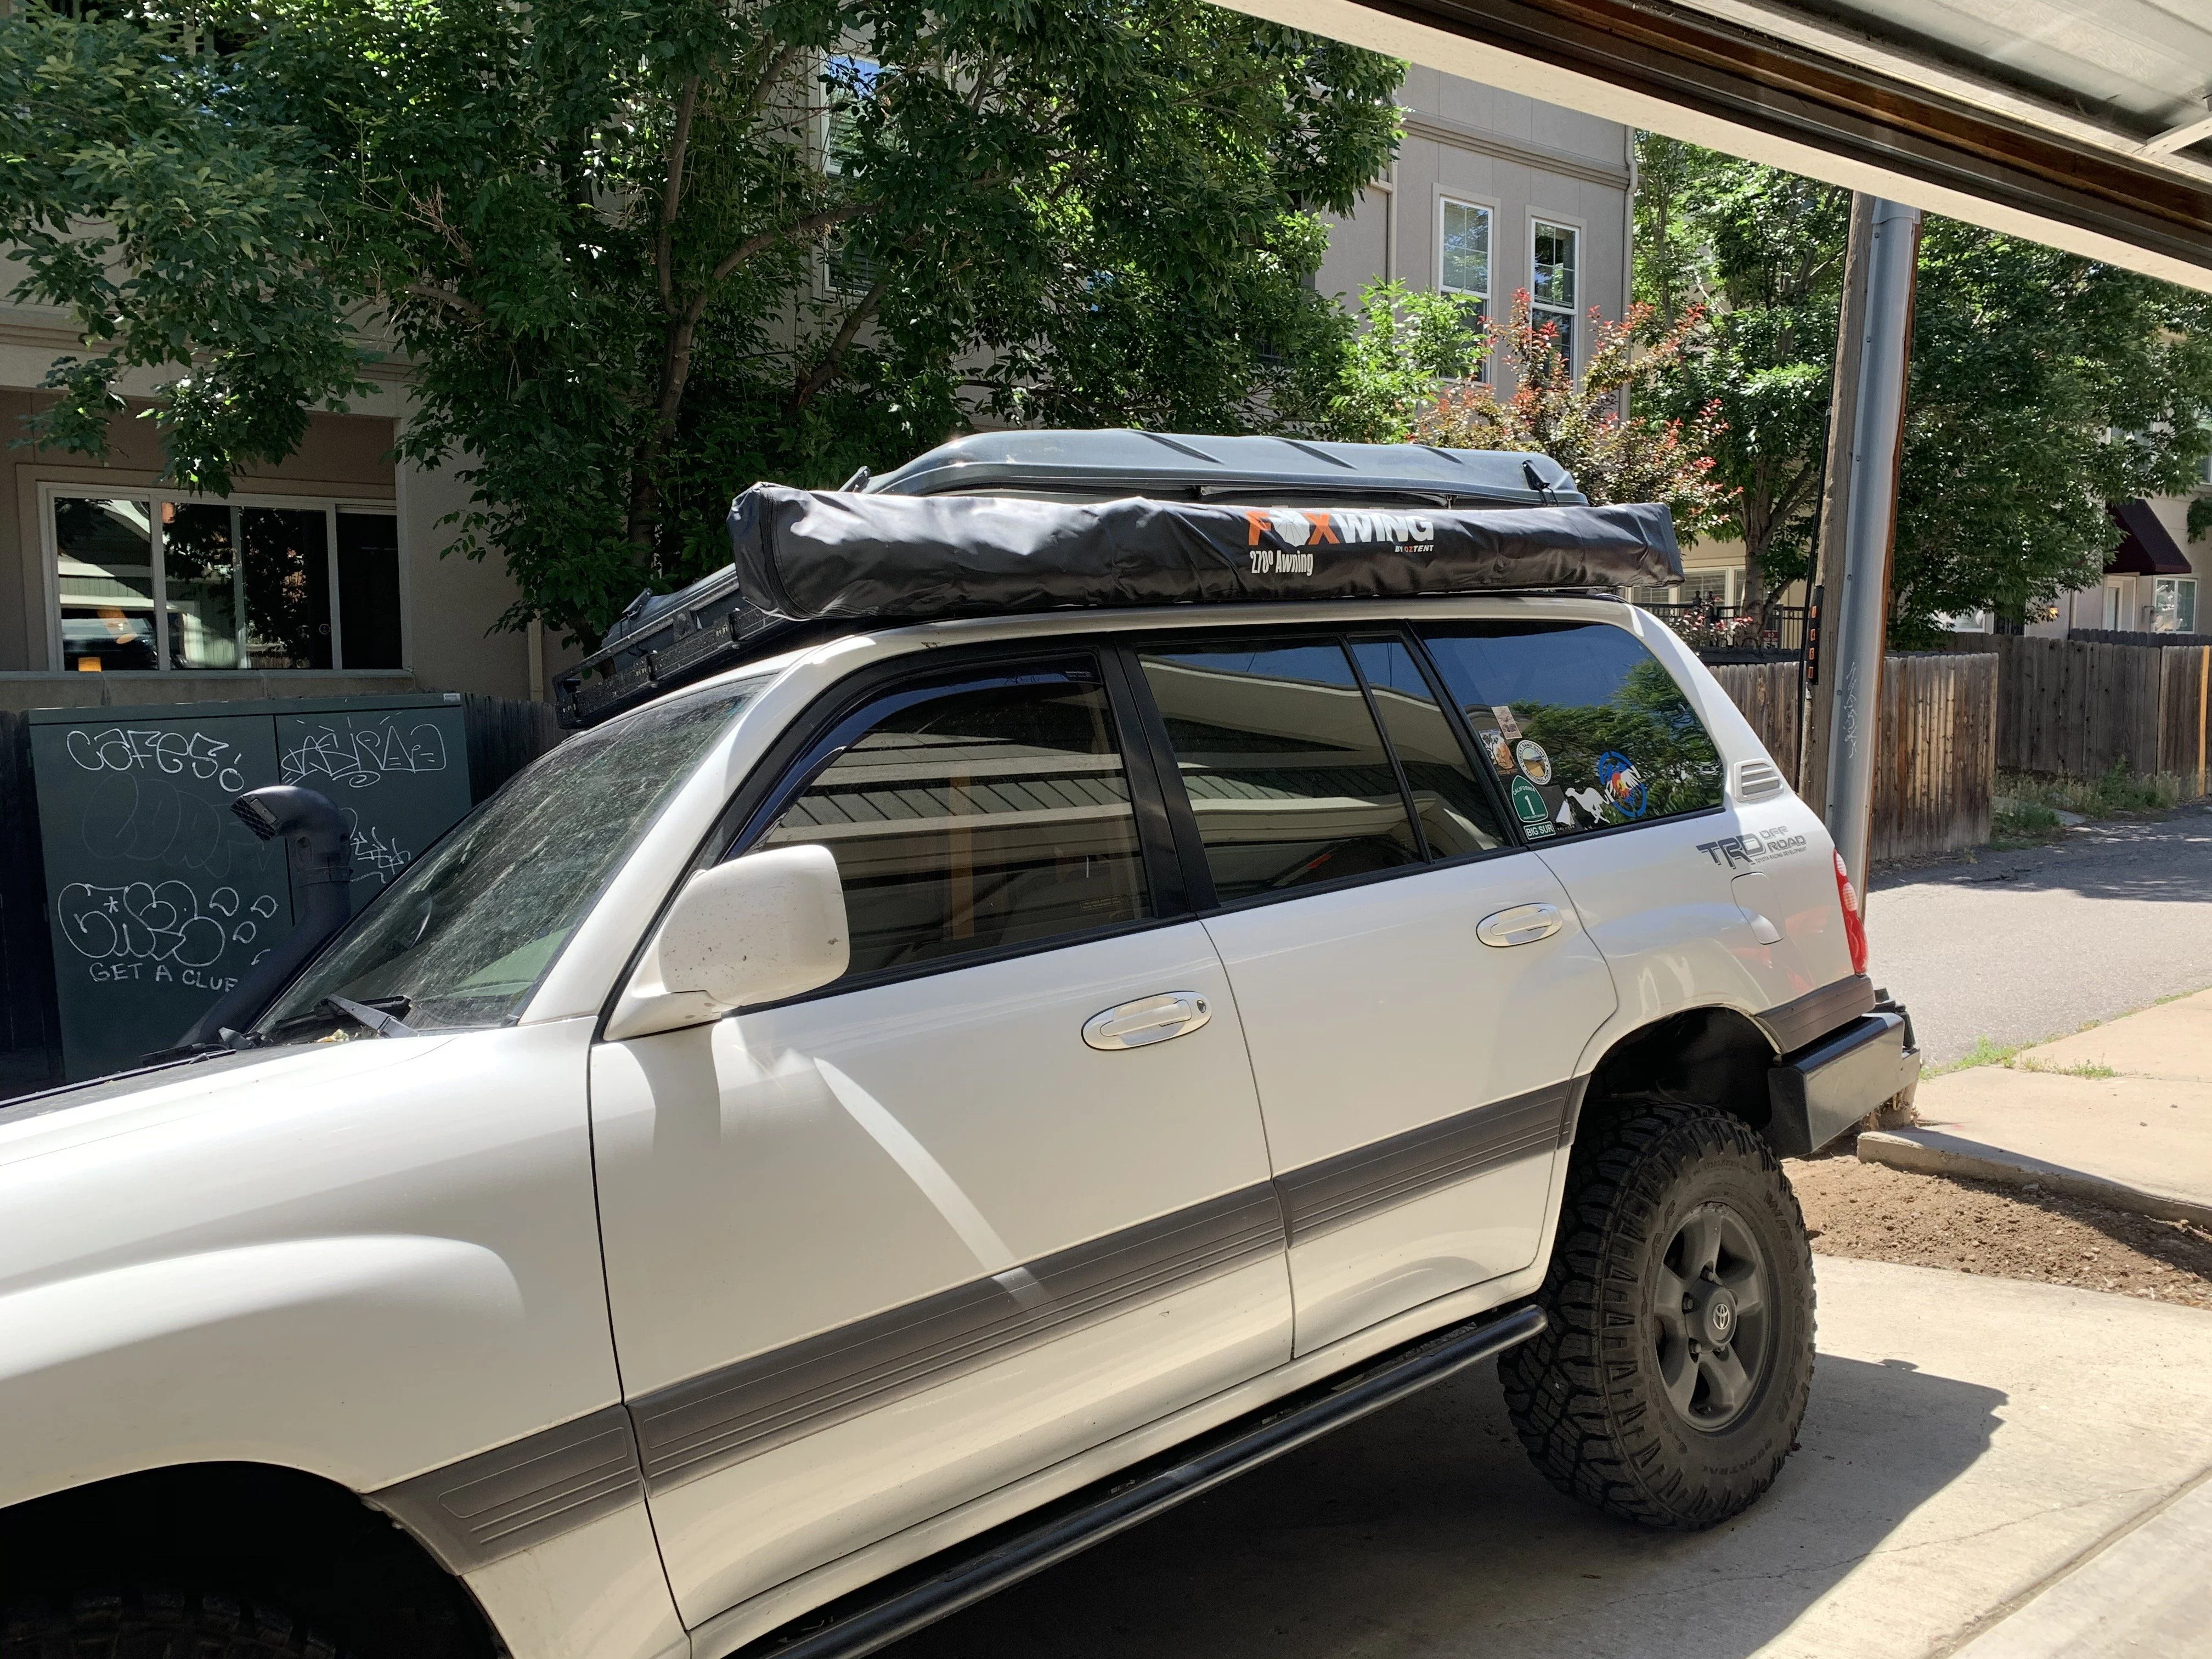
Very nice pics! Seems like you missed the awning shade by that much!

Looks amazing!


