Builds Travis’s PNW LX570 (4 Viewers)

This site may earn a commission from merchant affiliate
links, including eBay, Amazon, Skimlinks, and others.

hKfcCAD.jpg


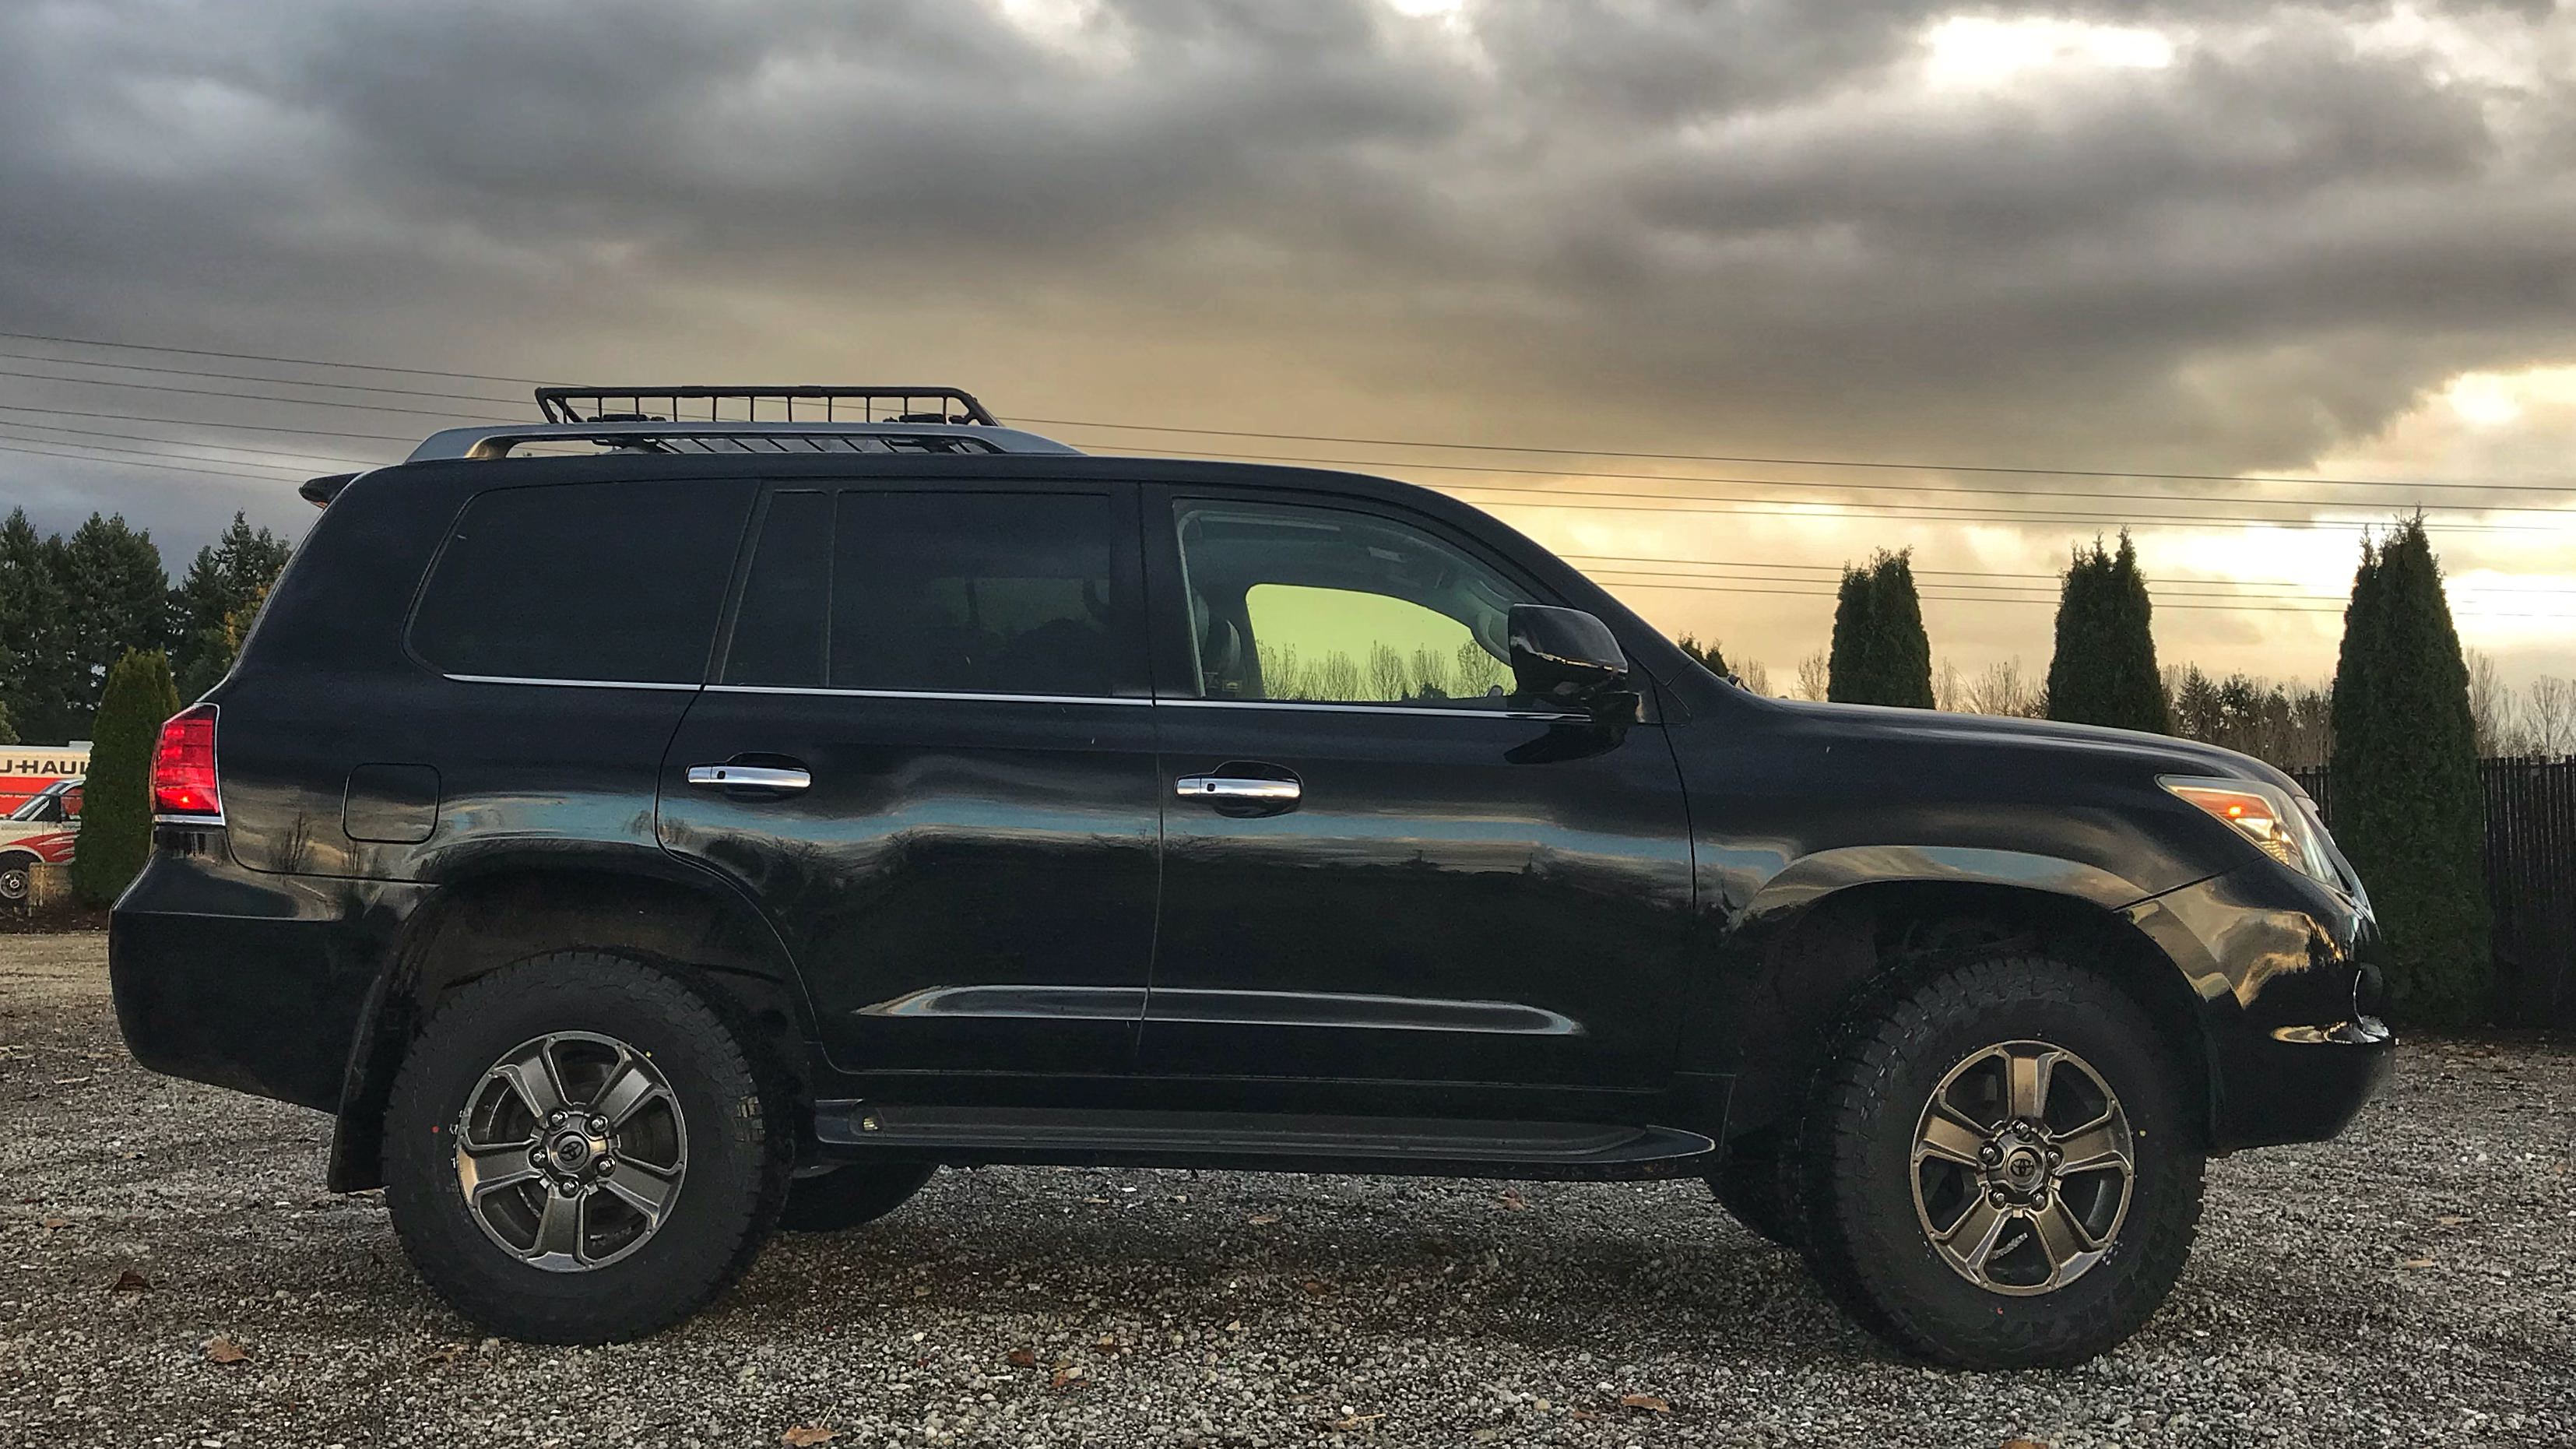
Ride is noticeably firmer but AHC does a good job hiding it. These tires are actually quieter than the tires Duelers that came off it.

Found some 18" Stellies locally for $100. Wanted to ask about the firmer ride? I would have expected the ride to be softer than riding on the OEM 20" wheels. I was planning on going from 285/50-20 to 285/60-18, samish diameter, but was thinking softer ride.
 
Found some 18" Stellies locally for $100. Wanted to ask about the firmer ride? I would have expected the ride to be softer than riding on the OEM 20" wheels. I was planning on going from 285/50-20 to 285/60-18, samish diameter, but was thinking softer ride.

Depends on the tire you chose. The Lx and TLC come with a passenger car tire which is very soft (and quiet). Most folks upgrade to a D or E rated light truck (LT) which is heavier duty. Thus stiffer and firmer.
 
Found some 18" Stellies locally for $100. Wanted to ask about the firmer ride? I would have expected the ride to be softer than riding on the OEM 20" wheels. I was planning on going from 285/50-20 to 285/60-18, samish diameter, but was thinking softer ride.

The steelies are cheap but heavy (40 pounds each). IMO you are better off going with one of the Toyota OEM 18" alloys for a few hundred more.

oem 18" 5x150 | eBay

Something like these

18"X8" INCH 2014-2017 TOYOTA TUNDRA OEM FACTORY ALLOY WHEEL RIM SET W/ CAPS | eBay

although sometimes you can find them cheaper.
 
The steelies are cheap but heavy (40 pounds each). IMO you are better off going with one of the Toyota OEM 18" alloys for a few hundred more.

Yep you're right, never thought they would weight that much.....nix that. Going to call all the local toyota dealers for takeoff tundra wheels tomorrow.
 
The dilemma of spending $$$ on trekpak dividers or $15 at IKEA:

a1Q0Nlf.jpg


These ikea dividers look like they were meant to be :)
 
The dilemma of spending $$$ on trekpak dividers or $15 at IKEA:

a1Q0Nlf.jpg


These ikea dividers look like they were meant to be :)

You discovered my secret! A few years ago I pulled those out of my sock drawer and put them in my ARB drawers :D Although last week at Slee I picked up a new set of ARB made dividers that double as heavy canvas bags and will start using those. I think I’ll keep the IKEA stuff in one side and see how they compare.
 
Did you end up replacing your shocks yet? I'm looking to do all four soon.
 
@mripper springs? I heard about shocks leaking, but barring that how will replacing help?
 
@mripper springs? I heard about shocks leaking, but barring that how will replacing help?

I'm not sure I understand your response. If the shocks are leaking AHC fluid, you replace them. Travis stated that he was going to replace his shocks, so I'm asking if he's done that yet.
 
Oh I missed that he had an existing leak. I just wanted to understand the utility of preemptively replacing the shocks.
 
Oh I missed that he had an existing leak. I just wanted to understand the utility of preemptively replacing the shocks.

No worries, I have both fronts leaking and rears are cheap enough, I might just replace all 4 and be done with it. Even with a small leak, you can still be good for miles cause the AHC is constantly maintaining fluid levels, just need to keep an eye on the expansion tank. But I'm planning on some big trips and want her good for another 100k
 
Did you end up replacing your shocks yet? I'm looking to do all four soon.

I cleaned up shocks and checked fluid reservoir so I could keep an eye on it. It’s minor enough that I have prioritized yet. I will do it this year, ideally timed with fluid flush but I don’t think it’s going to work out that way.
 
ARB fridge
I’ve powered my ARB fridge with a Goal Zero Yeti 400 since I’ve owned it. I have it mounted behind the fridge secured to a shelf:

G95FZNQ.jpg


The yeti is only 33 aH so it’s good for maybe 24 hours. When parked I recharged with a 100w renogy:

eCl80s8.jpg


While this wasn’t the cheapest per-amp-hour setup, I really liked the plug and play nature. On my previous rig I left the panel on top and ran the fridge for 11 days before flattening the Yeti.

My wife had some health changes and now requires a medical device which requires power, so we have decided to repurpose the yeti to suit her neads. The portable nature and flexible recharging options make it a great choice.

This means that I have to rethink my fridge situation. My rig has a 5 year old Kirkland battery that’s cheating death, so I decided to start there.

X2 power (rebranded North Star) 27f

n1EdlVv.jpg


I briefly considered the slee primary tray upgrade but frankly didn’t want to tack on to the expense.

Next I wired the fridge using the ARB kit. I poked through the firewall via the existing grommeted hole that exits just above the dead pedal.

65nRUbK.jpg


I ran the sheathed cable along the kick panel and then wired the flush mount plug on the fender hump. I pulled out the whole interior panel for easy access.

LUlb5TN.jpg


I really wanted to secure the mount in the negative space under the cup holders on front of that temp sensor but there is a vent tube directly under it. I’m sure someone smarter than me as made it work.

Happy fridge:
wWM4O3s.jpg


I chose to coil up the extra cable up front in case I decide to expand later (for example, add a fuse block in back).

rQPc8o0.jpg


Next step will be the diode booster upgrade to keep this monster full.
 
Definitely following for deets on the Diode install.
 
Definitely following for deets on the Diode install.

It just came today:

csfDJ8p.jpg


I'll install after work. I want to grab some before/after with my multi-meter.
 
So remove the stock fuse and insert this fuse with the pigtail instead? Would love to know the voodoo under the shrink wrap.
 

Users who are viewing this thread

Back
Top Bottom