Did this today, thanks a heap for the walk-through.
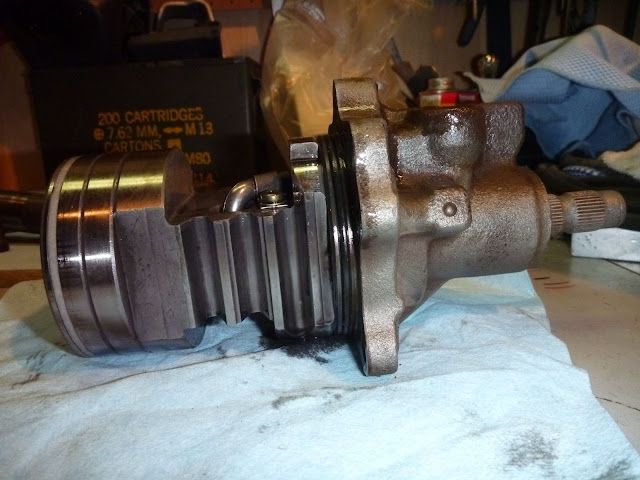
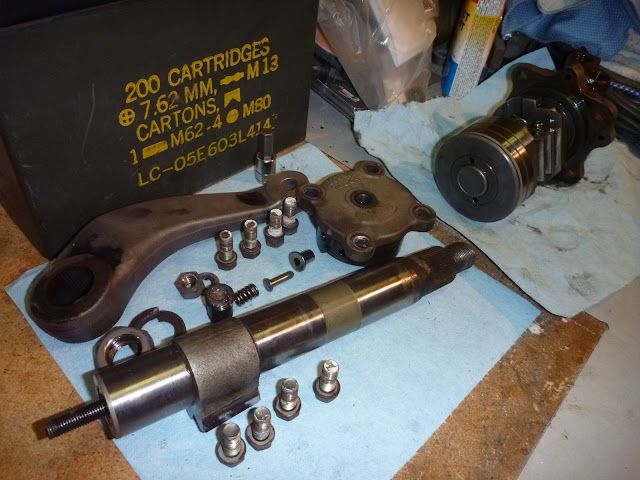
I think I stumbled on all the usual issues:
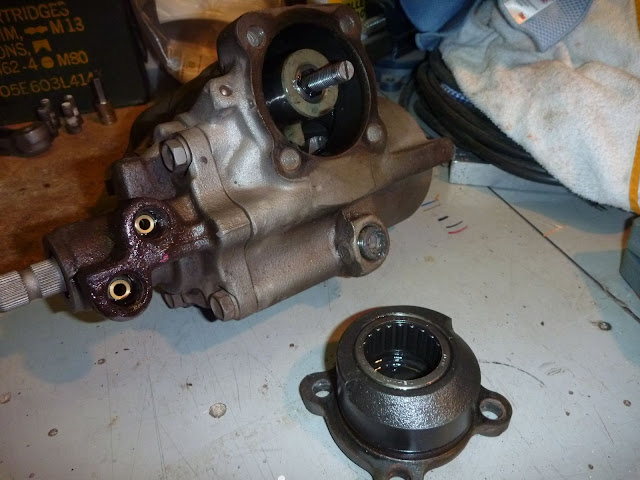
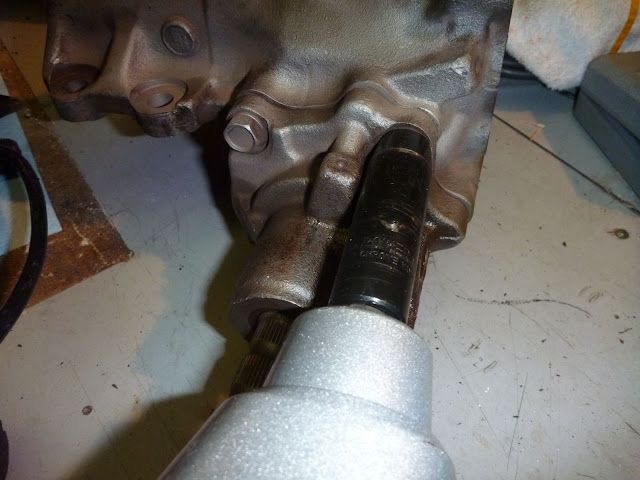
1) pitman took a bit of grunt, but a proper beefy puller and 2ft breaker bar did the job. If you don't have a vice consider doing this on the car so it's held in place.
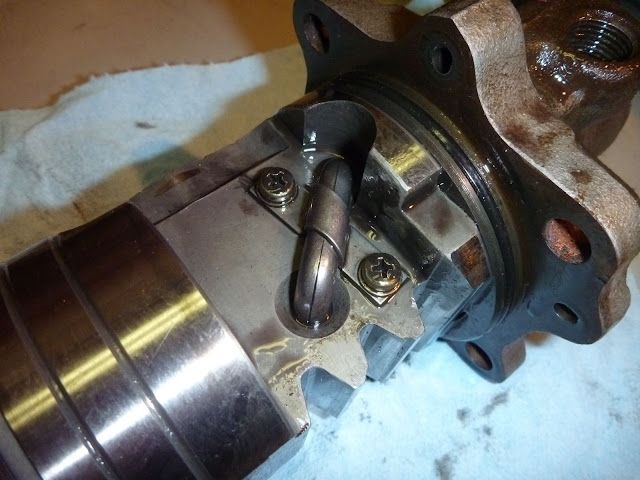
2) Plunger guide nut is just a horrible design. Solution:

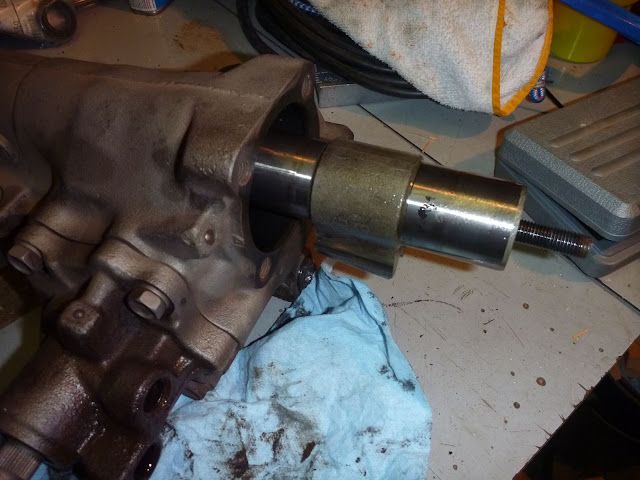
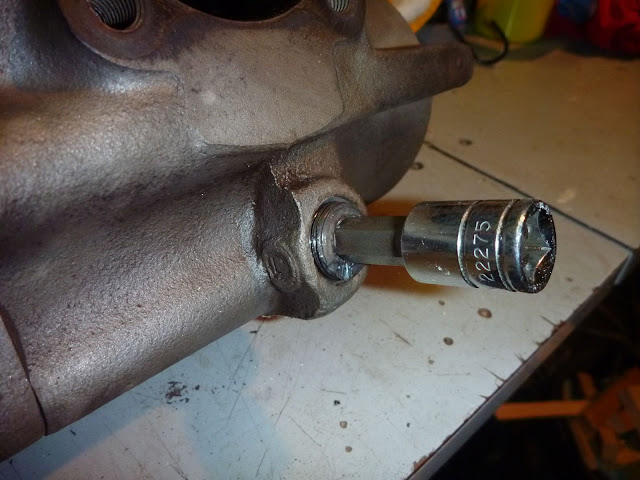
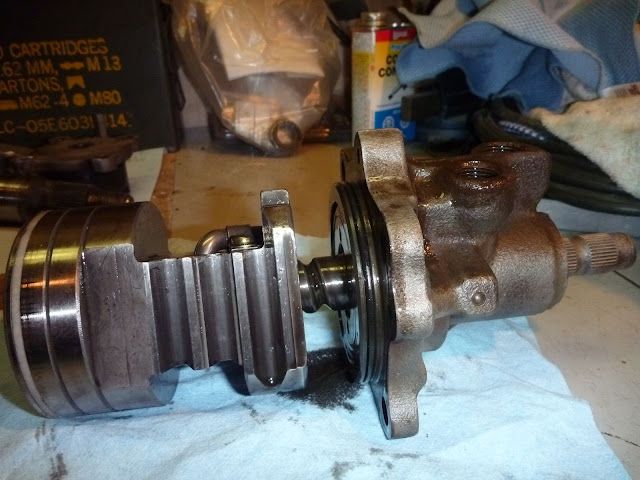
3) input shaft preload was too tight when I got the locking collar back to my marks. Tapped it back off 1mm, keeping the actual cap lined up, and it freed up.
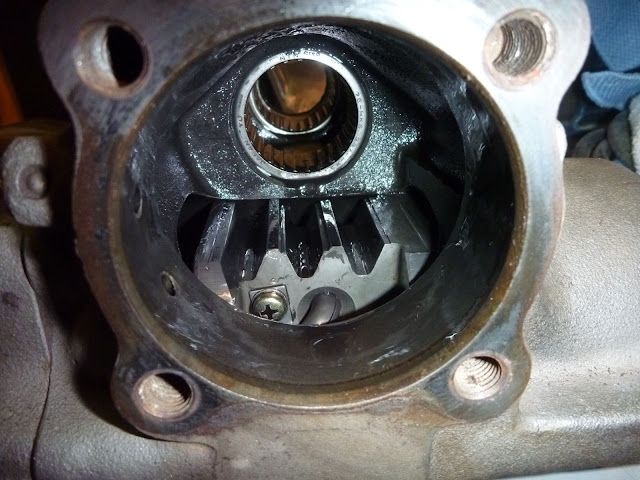
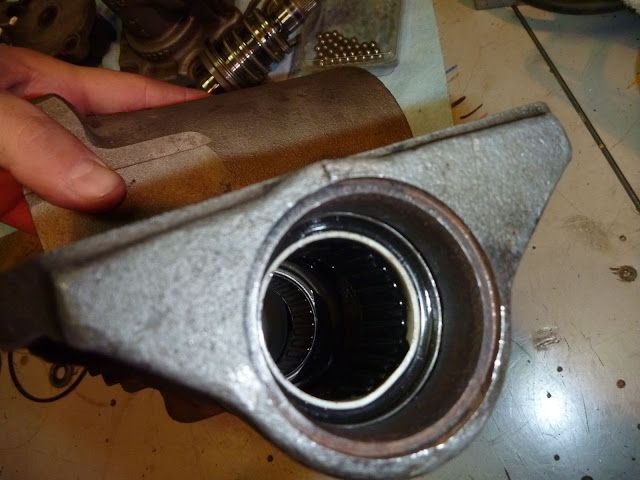
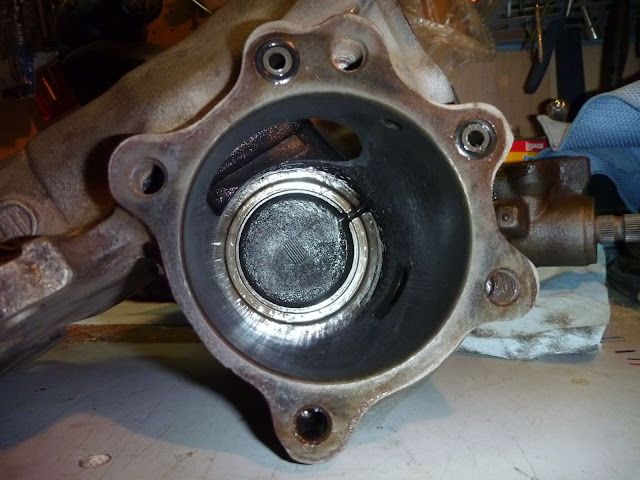
4) worm gear balls are a proper pain. Took a good couple of hours. No such thing as too much lube. I think I got them all in... but what magic stops them spitting out the top of the piston on extension?
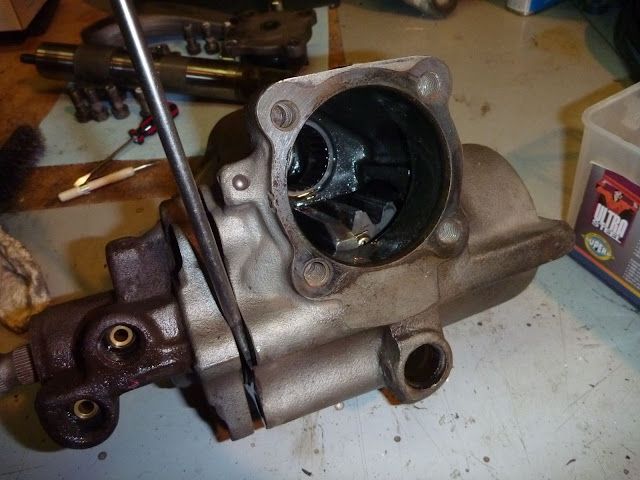
5) teflon ring inside rubber o-ring is tricky. Eventually got it with the heart-shape method.
6) shaved the teflon ring on re-insertion. Tiny sliver. Going with it, but I'll keep the original in case.
Now to weld up the chassis so I can put it back in!

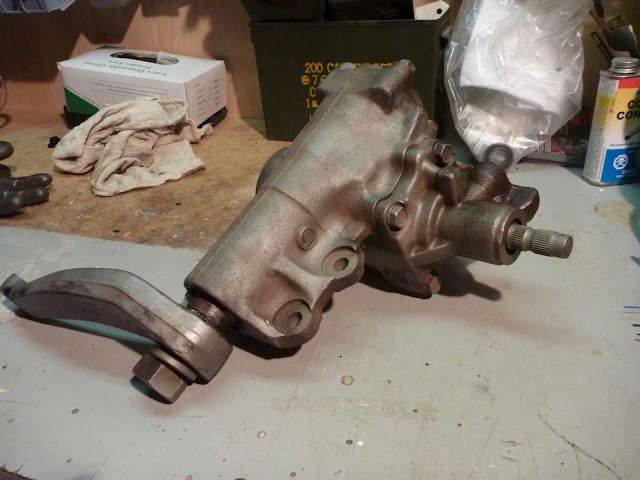
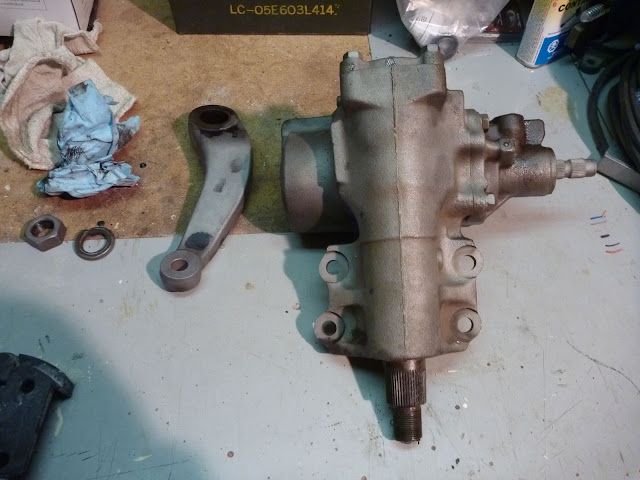
I think I stumbled on all the usual issues:
1) pitman took a bit of grunt, but a proper beefy puller and 2ft breaker bar did the job. If you don't have a vice consider doing this on the car so it's held in place.
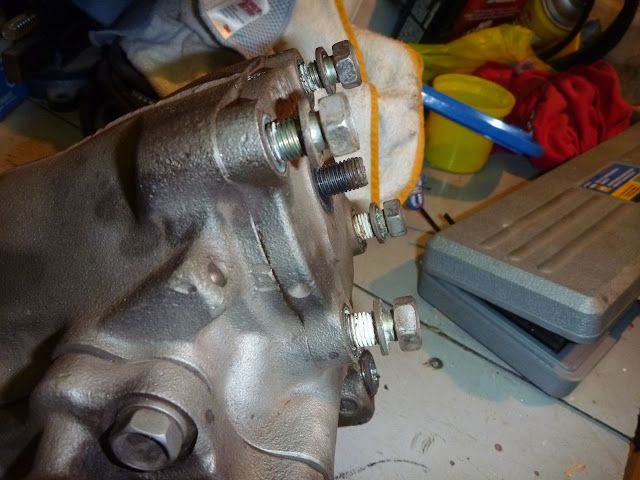
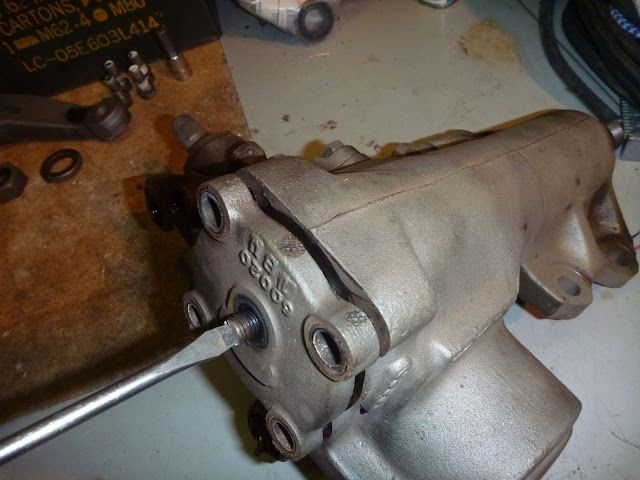
2) Plunger guide nut is just a horrible design. Solution:
3) input shaft preload was too tight when I got the locking collar back to my marks. Tapped it back off 1mm, keeping the actual cap lined up, and it freed up.
4) worm gear balls are a proper pain. Took a good couple of hours. No such thing as too much lube. I think I got them all in... but what magic stops them spitting out the top of the piston on extension?
5) teflon ring inside rubber o-ring is tricky. Eventually got it with the heart-shape method.
6) shaved the teflon ring on re-insertion. Tiny sliver. Going with it, but I'll keep the original in case.
Now to weld up the chassis so I can put it back in!