Steering gear box rebuild

This site may earn a commission from merchant affiliate
links, including eBay, Amazon, Skimlinks, and others.

How was it ruined?
I guess it wasn't stretched enough so when I inserted "the other side of the gear assembly" to slide it in, it caught the edge of the ring and tore it. So the ring just wasn't fully seated into the groove. In hindsight I think stretching the ring ever so slightly is the right move.
 
Put the Teflon seal in hot water for a few minutes to softened it up.
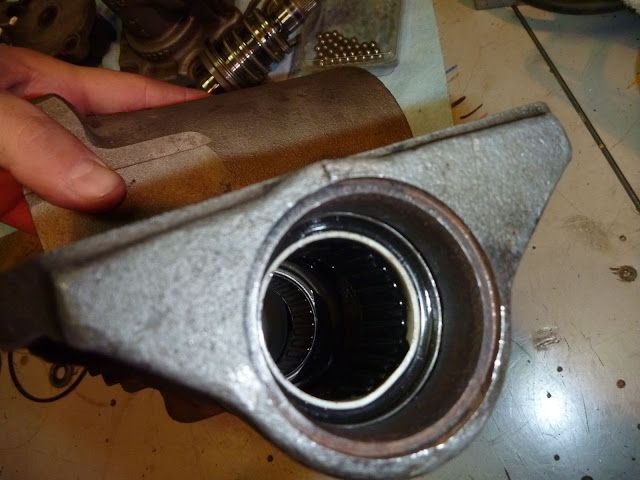
Be careful when you insert the piston all the way in not to cut the seal on the rim inside the sector shaft opening. Use a screw driver to gently push the seal into it’s groove while you push the piston to it’s final position.
 
It could’ve been a feral cat at home or small critter while camping, nested in there and scrambled to get out on a start up. You probably didn’t even notice it except as an odd noise. One of the things that has been recommended in the last several years, while you’re out camping, is to pop the hood and leave it open while your rig is parked, and not being used. It helps to keep critters from nesting in your engine compartment. Just a thought.

Put the Teflon seal in hot water for a few minutes to softened it up.
Be careful when you insert the piston all the way in not to cut the seal on the rim inside the sector shaft opening. Use a screw driver to gently push the seal into it’s groove while you push the piston to it’s final position.
You can also take some emery cloth to that sharp a^* machined edge to smooth it out. No reason it needs to be sharp. That’s a recommendation I got from the U tubz video I watched.
 
Fellas...updating my gearbox to a 105 shaft. To say I've encountered problems is an understatement. Can anyone id where this bearing spring (dont know tech term) might come from. I had some issues removing the 105 shaft after a test fit and this popped up on my working station.

20250529_193822.webp


20250529_193835.webp
 
Fellas...updating my gearbox to a 105 shaft. To say I've encountered problems is an understatement. Can anyone id where this bearing spring (dont know tech term) might come from. I had some issues removing the 105 shaft after a test fit and this popped up on my working station.

View attachment 3917571

View attachment 3917572
As per the FSM I don’t see any spring in the exploded view. Maybe the spring is specific to the 105.
IMG_1895.webp
 
That's called a garter spring...it came from the oil seal.
 
What're people doing in the absence of the SST for this step to "squeeze" the teflon ring?

View attachment 3898783
I can't remember who suggested this idea, but what I ended up doing was using the shaft itself with liberal ATF to pre-form (stretch?) the seal. I did the heart shaped thing, and it did deform a bit, but I was able to smooth it out in place with some random tool or another. I suspect this SST is just an easier method to make sure the teflon ring is as seated as it can be. An o-ring acts as a spring behind teflon seals on a couple of places in the steering box, which I haven't run into previously. I learn something new every day.
 
Hi, great original writeup! its been a while since but wanted to see if the input shaft Seal, as you note "not from toyota Kit", is an extra seal needed in addition to the kit, or is needed as extra for some reason? Looking at the diagram and FSM i dont see the part located near the Input shaft, see image below:

I see the Output shaft seal that looks similar in the diagram on pg 16 someone posted from FSM, located by splines for pitman arm, but i dont see the one you spec'd "18-32-7-DL." for the input shaft where steering coupler is?

maybe im thinking of it incorrectly? cheers
1775063574734.webp


This is the second time I’ve seen the inside of an 80 series gearbox. I bought a used box this summer and rebuilt it with the help of a good friend and Lexus mechanic. Then we swapped it onto the truck in place of the original box, which was leaking from the input seal. Unfortunately, I managed to blow the input seal a couple weeks ago after mucking around with the adjusting screw. The leak was catastrophic, to the point where I had to park the truck because the system would pump itself dry on the trip to or from work. I ordered up a steering gear box reseal kit from Kerry (gotmud) last week, picked it up today and put the box back together tonight (I disassembled it last night). I figured that a full write-up was in order so I took many photos along the way. I sandblasted the box first which cleaned up the outside very well. I repainted the box once it was back together. I also only replaced one Teflon seal (at the bottom of the gear box housing), as they were a huge pain during the first rebuild and they don't seem to wear or age at all.

So without any further ado, on to the fun stuff!

Part numbers:
Toyota gear box reseal kit: 04445-60050
Power piston plunger guide nut: 44154-30020
Input shaft seal part number (not from Toyota See post #28): 18-32-7-DL

DISASSEMBLY

Step 1: Removing the pitman arm.

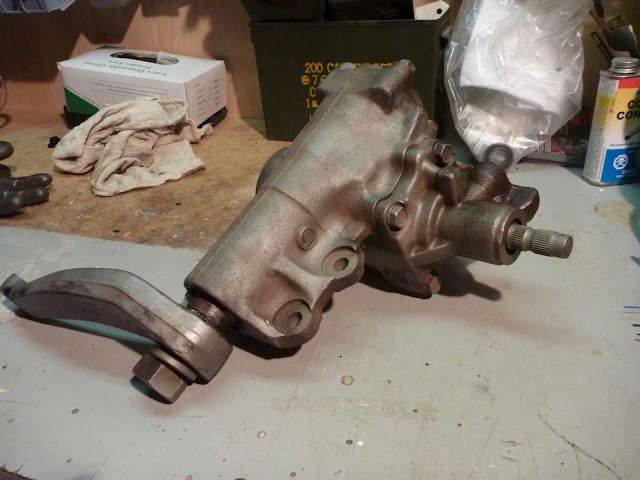
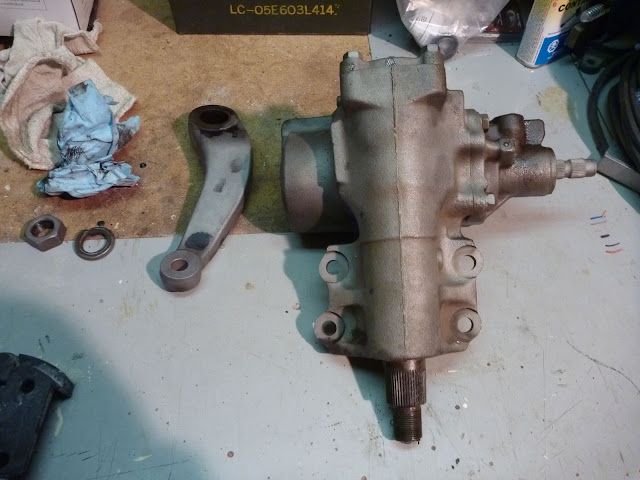
This was a challenge on both rebuilds, but a 20-ton press managed to pop the arm off (as well as scaring everyone else in the building!) after removing the 32mm nut. I don’t have a press at home, but I was able to get some help for that again this time.

Before:
P1010248.JPG


After:
P1010251.JPG


Step 2: Removing the sector shaft.

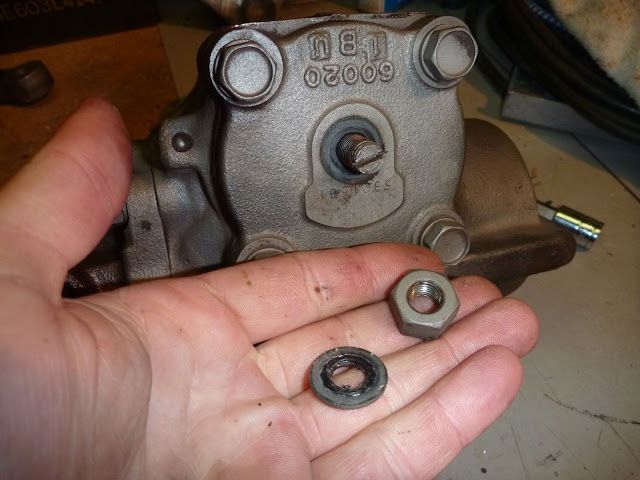
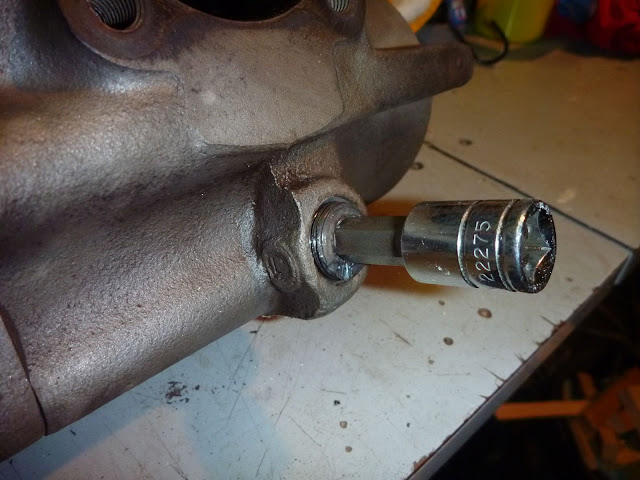
Start by removing the adjusting screw lock nut. A 17mm wrench and standard screwdriver are required here.
P1010258.JPG


Note the seal washer:
P1010260.JPG


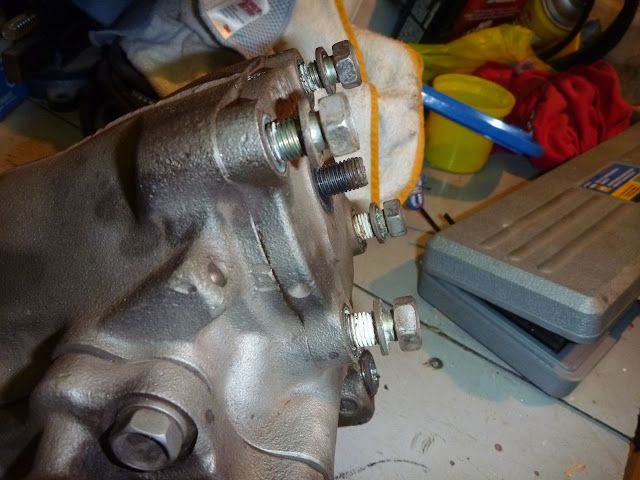
Next, remove the side cover. Take out the four bolts holding the side cover on. I used a 14mm socket on an electric impact gun.
P1010262.JPG


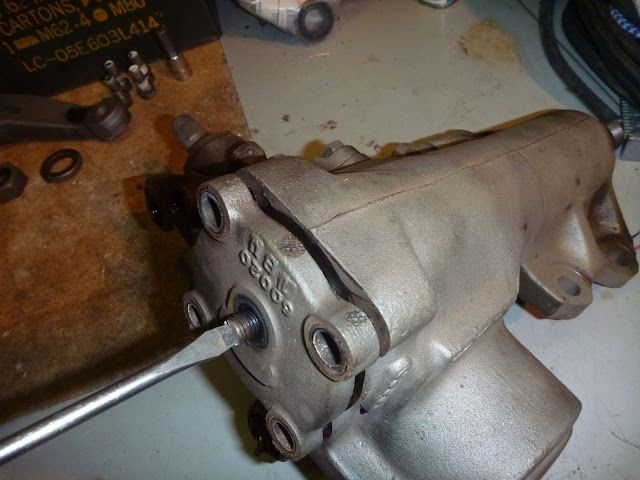
With the bolts removed, use the screwdriver to tighten (clockwise) the adjusting screw. This will push the side cover out of the box.
P1010263.JPG


P1010266.JPG


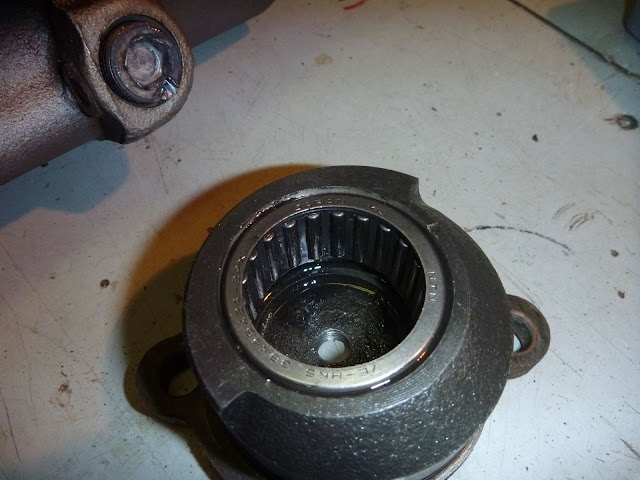
Nice needle bearing:
P1010269.JPG


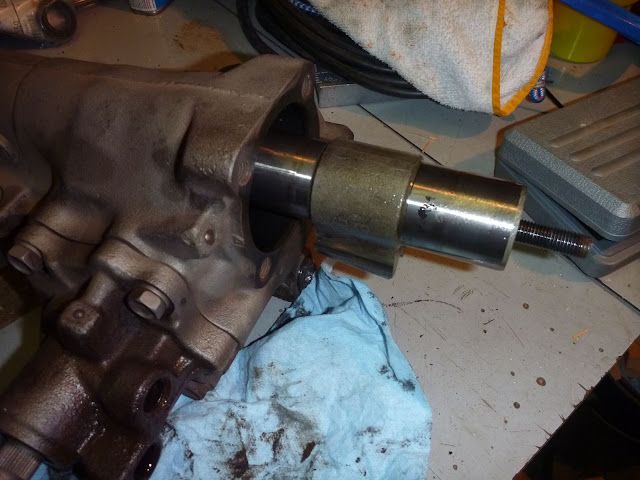
At this point, the sector shaft can be tapped out of the box with a soft-faced mallet
P1010270.JPG


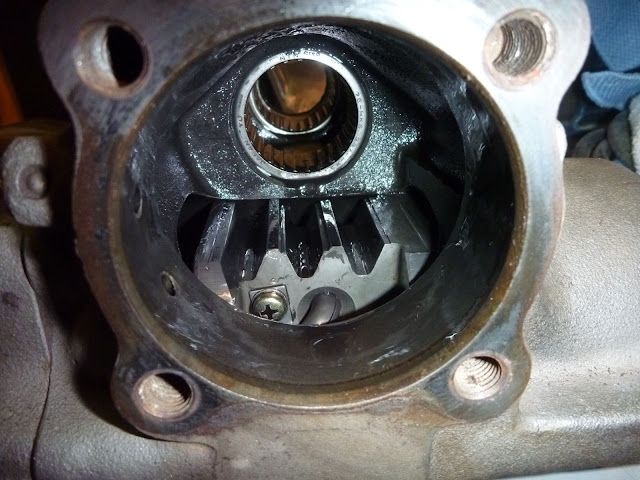
More needle bearings, and notice the power piston teeth in the foreground.
P1010271.JPG


There is a seal, snap ring, metal ring, Teflon ring, and rubber O-ring in the bottom of the box. Remove them all, but leave the bearing in place. You may need to sand the corrosion off the box housing below the seal to allow you to get the metal ring out.
P1010306.JPG


Step 3: Removing the worm gear valve body assembly.

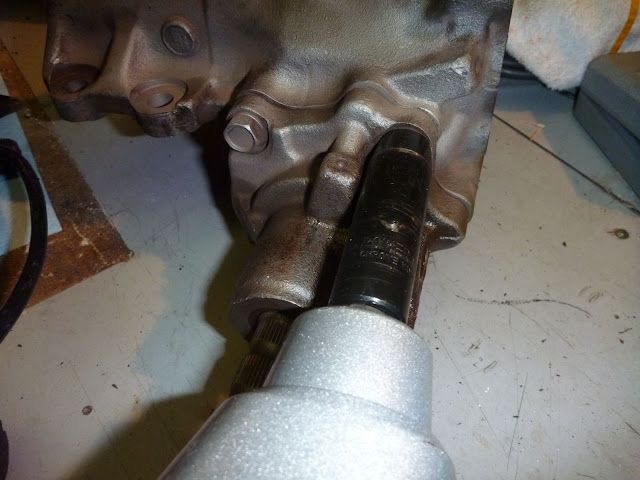
Remove the power piston plunger guide nut. This should only require a 10mm Allen wrench, but in both cases I've seen it has required a cold chisel and some patience. I've listed the part number above as it is a cheap replacement.
P1010275.JPG


Next, take out the four bolts holding the valve body head to the gearbox. I used the 14mm socket on my electric impact again.
P1010274.JPG


Turn the input shaft all the way to the left. This will push the power piston to front of the gearbox. When it bottoms out on the front of the box it will start pushing the valve body out of the box. You can also use a screwdriver to coax it out.
P1010277.JPG


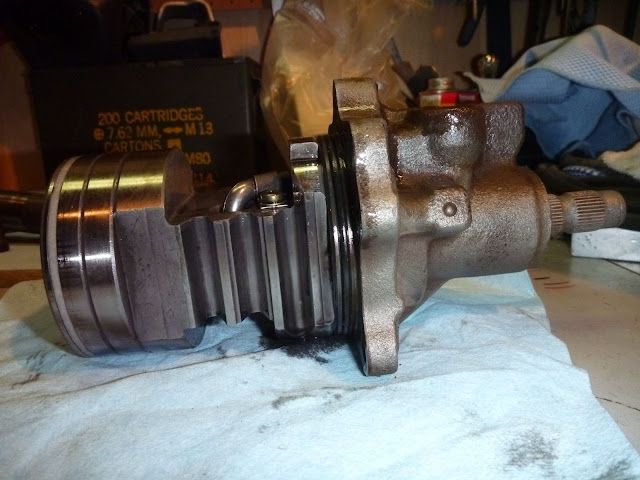
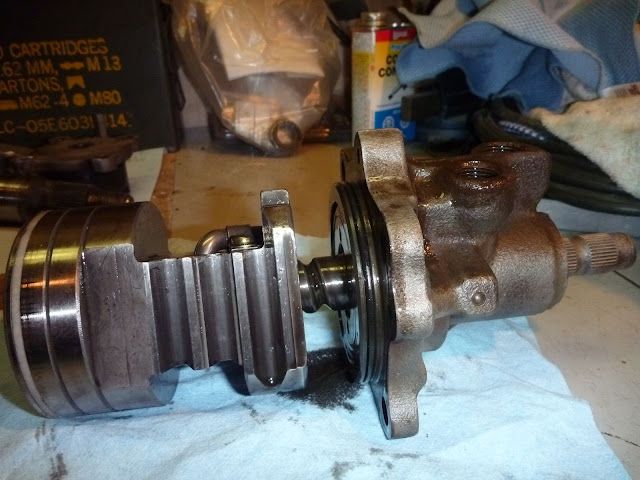
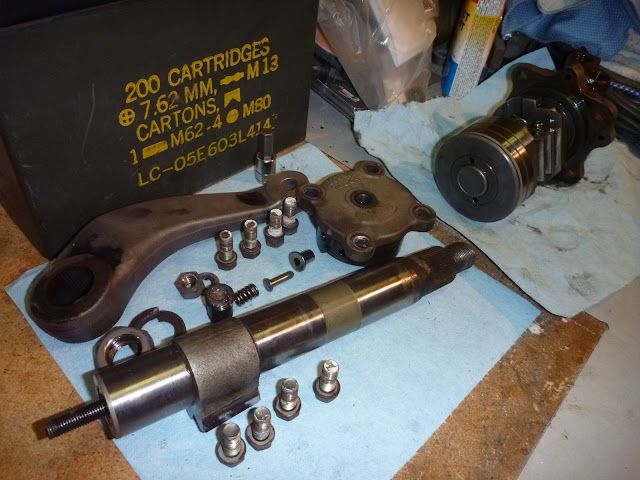
This is the complete worm gear valve body assembly. Note the Teflon ring that can be replaced
P1010278.JPG


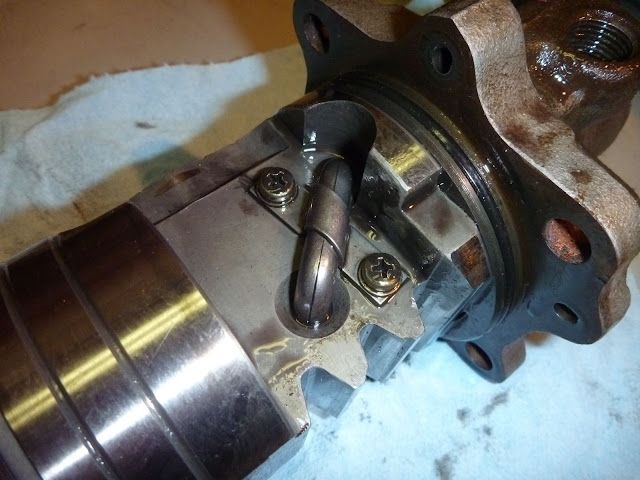
This the metal tube that the ball bearings recirculate through (hence recirculating ball steering)
P1010280.JPG


This worm gear moves the piston back and forth, which twists the sector shaft and pitman arm.
P1010282.JPG


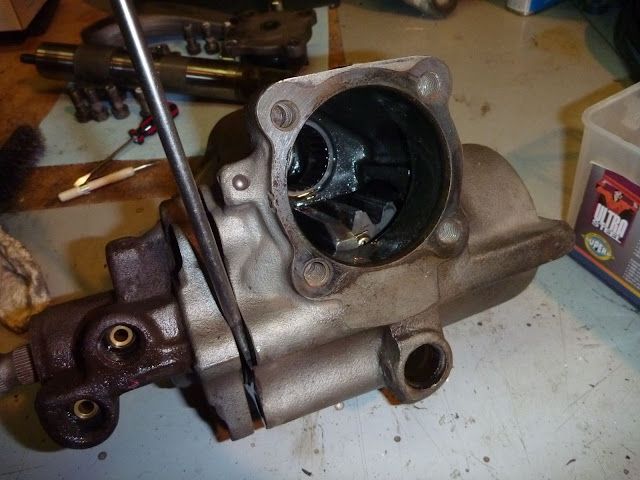
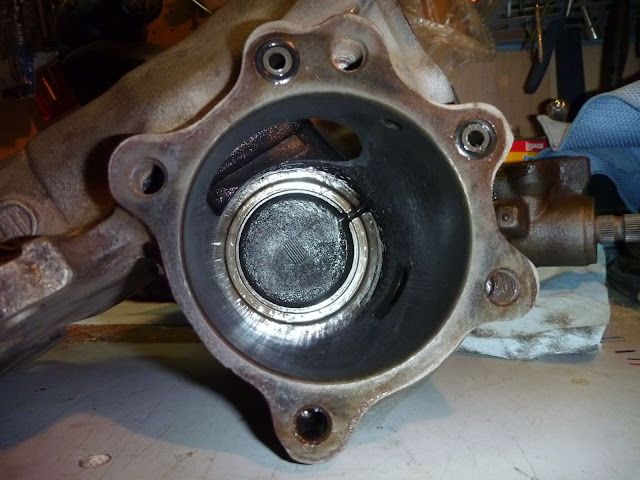
The inside of the gearbox. Don’t forget to replace the two little O-rings.
P1010285.JPG


All the parts you have removed so far
P1010287.JPG


Continued below...
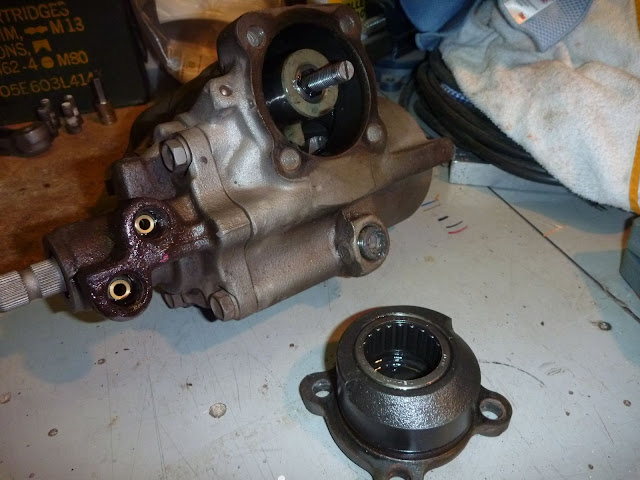
 
I put the worm gear all the way back in place then used a small Allen Key to push the ball bearings down into the hole. I had to turn the gear back and forth slightly towards the end, but it was super simple.
yes a small allen key to help push the balls in and turn its a bit helped also lubing the balls with atf one in each hole at a time. finally got it
 
Back
Top Bottom