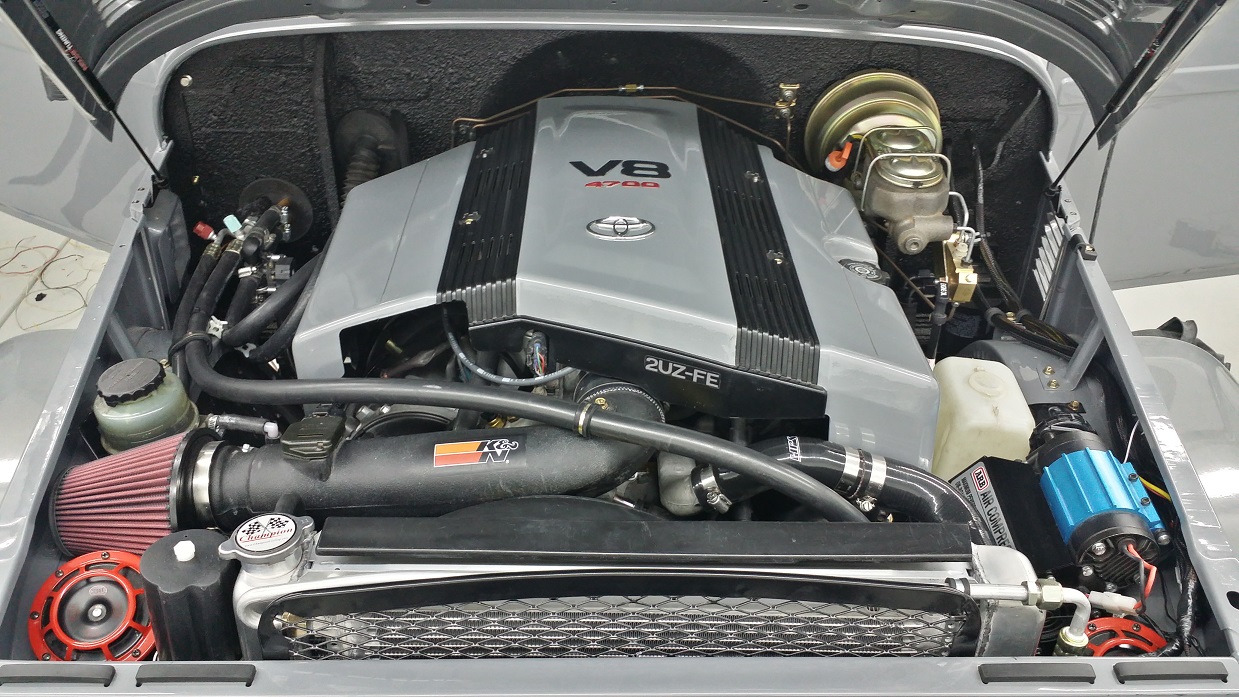
I’ve read through this build a couple times now and I never saw how you set up your fuel system. In an earlier post when gathering all your parts you got the V8 4Runner fuel tank, fuel evap canister, and sending unit. We’re any of those parts required/used to make the 2uz run?
Freshly cut fuel tank (I got lucky, VERY clean tank inside):
My helpful neighbor TIG'ing it up for me:
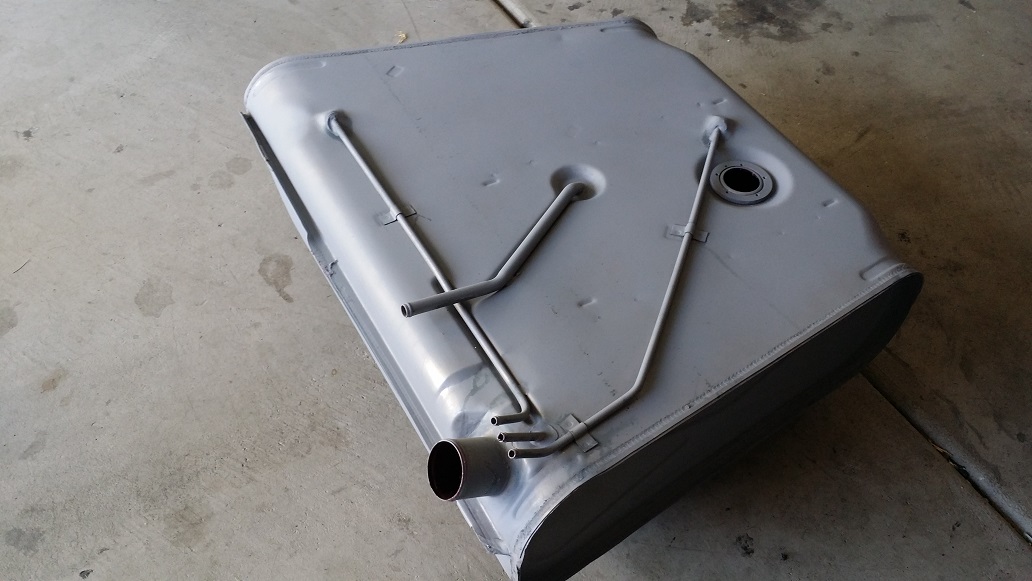
I then had the tank dipped and sealed to plug any pinholes:
Fresh coat of primer and looking good!
 [/QUOTE]
Freshly cut fuel tank (I got lucky, VERY clean tank inside):
My helpful neighbor TIG'ing it up for me:
I then had the tank dipped and sealed to plug any pinholes:
Fresh coat of primer and looking good!
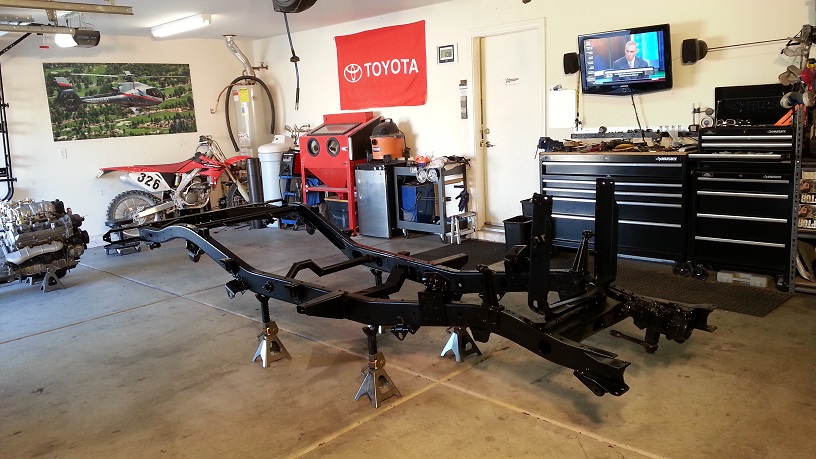
While the body shop had the body, I was able to spend some time on the frame. Fortunately, the Tundra engine mounts are the exact same width apart as the 40 frame is wide. But if I set the engine down on the Tundra mounts, it sat a bit low. I made some spacers and reinforced the sides of them with 1/4" steel.
I posted this picture in the first post, but this is ground zero. You can see the motor mounts:
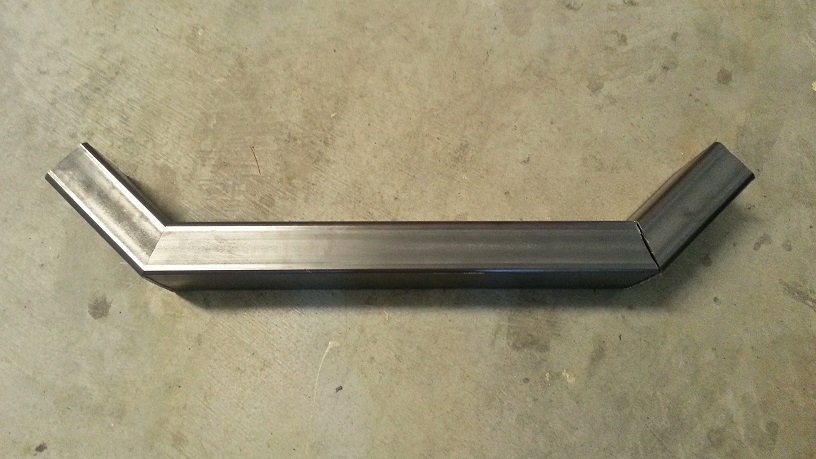
I also had to make a transmission support, as well as remake a cross member since I had to cut the factory piece out.
I temporarily supported the transmission with a piece of C-channel while making the motor mounts. To cushion the transmission, I used the OEM Toyota rubber mount.
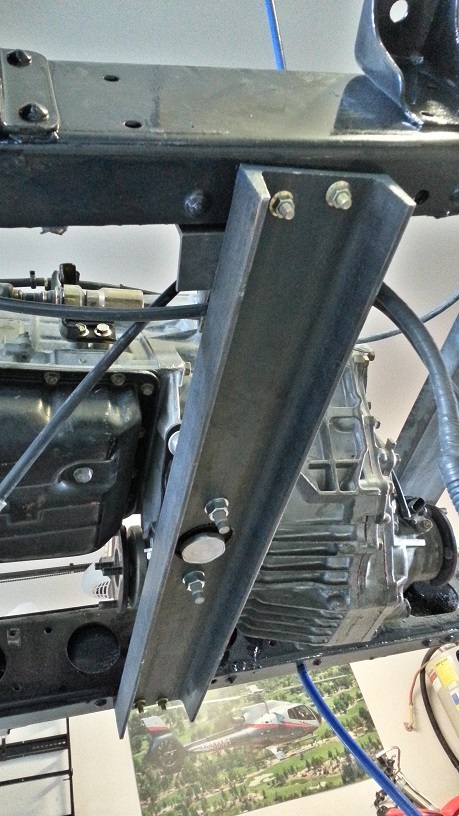
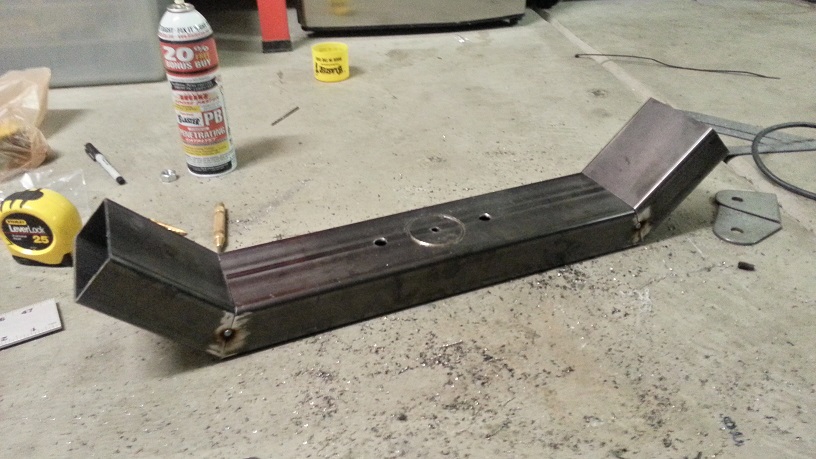
I used 2x4 boxed steel for the support:
Tacked and cutting the holes for the OEM rubber mount:
Welded into place:
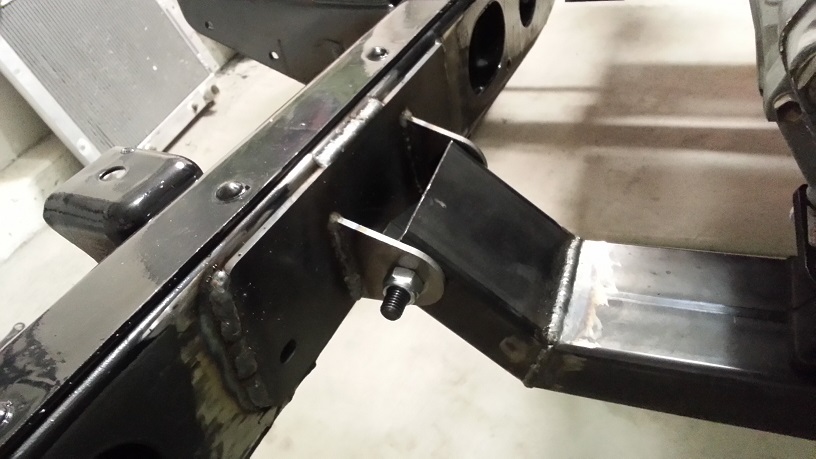
And the new cross member reshaped to go up and around the 100 series output flange:

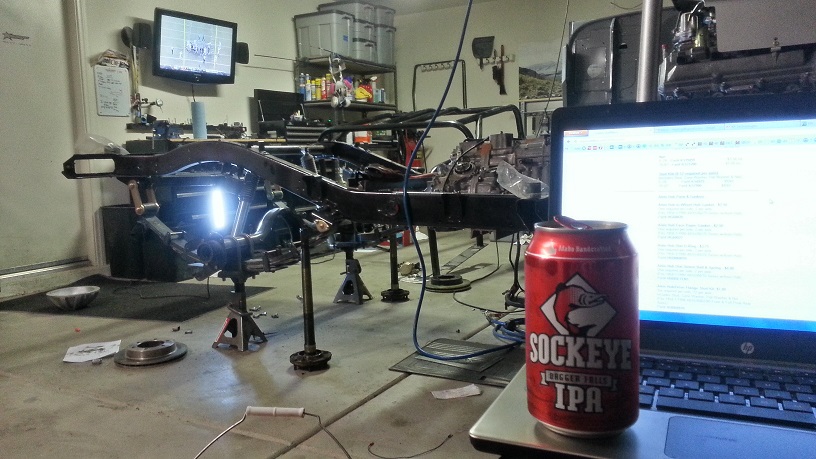
Redoing axle seals, browsing the internet, drinking a beer, and watching football. What a perfect day....
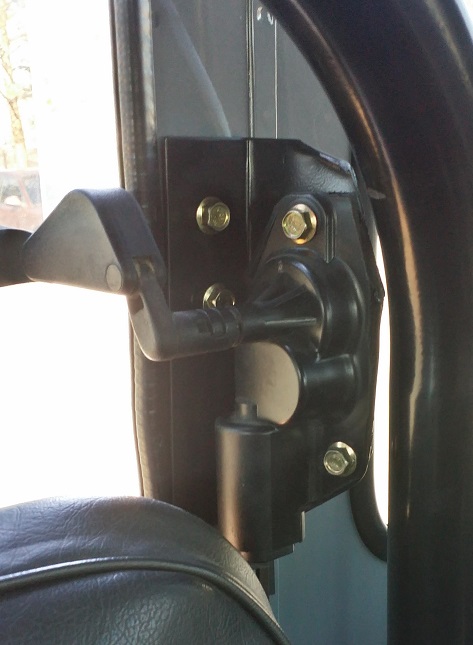
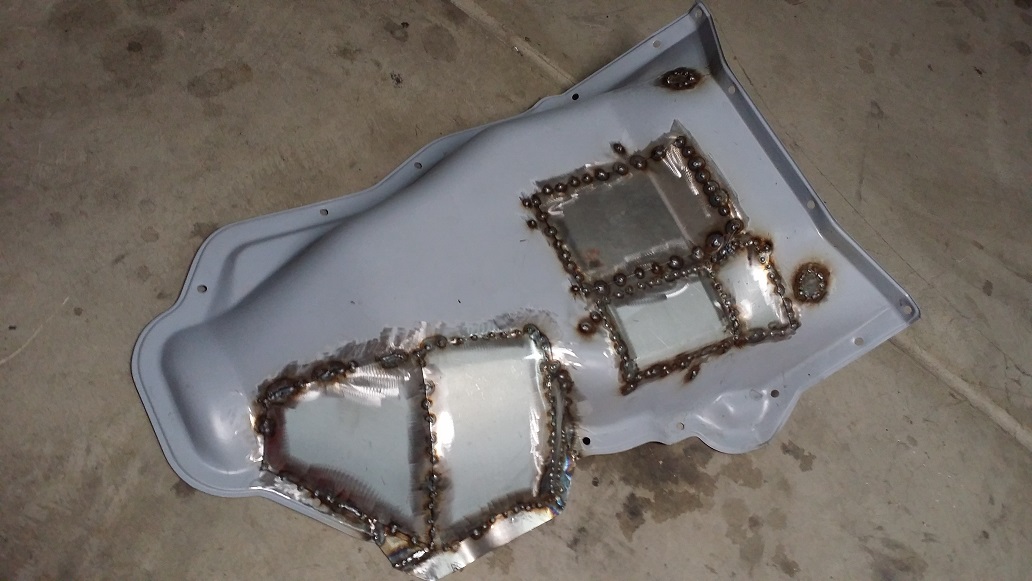
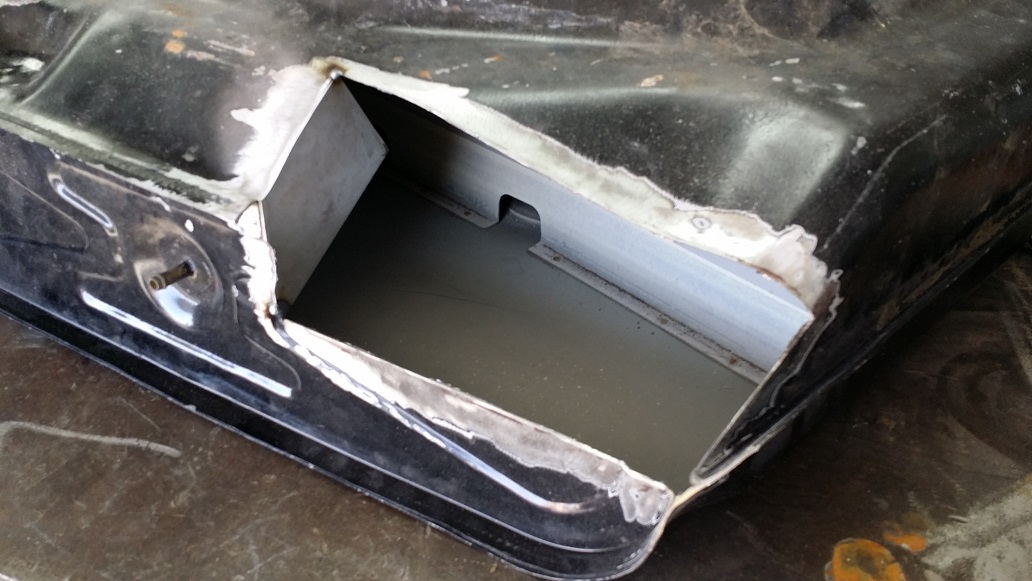
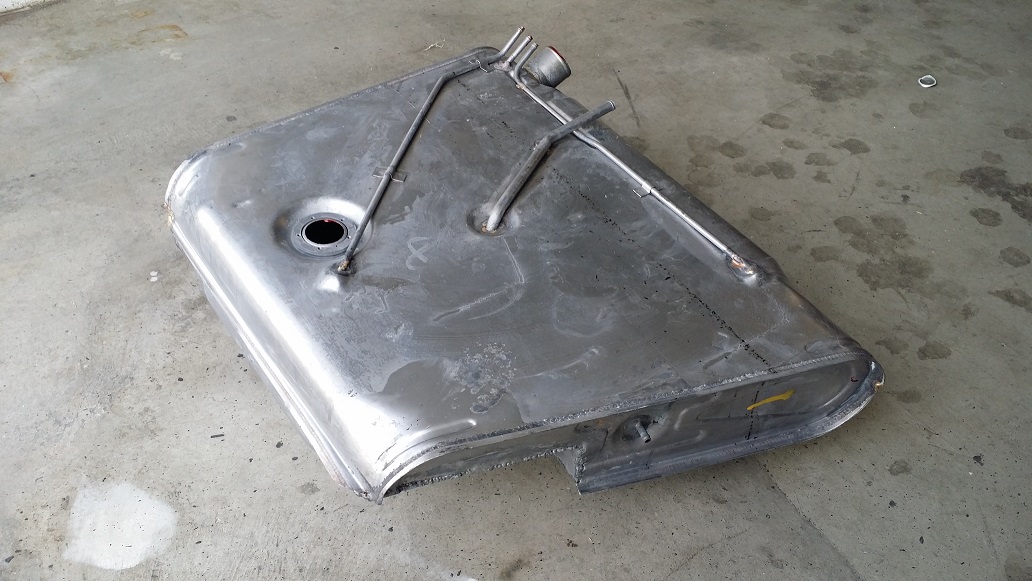
Because of the size of the 100 series transfer case (the electronic actuator, to be specific), I had to clearance the transmission tunnel, as well as the fuel tank. Also, I would no longer have shifters on the floor, so I filled in the hack jobs created by the PO.
Freshly cut fuel tank (I got lucky, VERY clean tank inside):
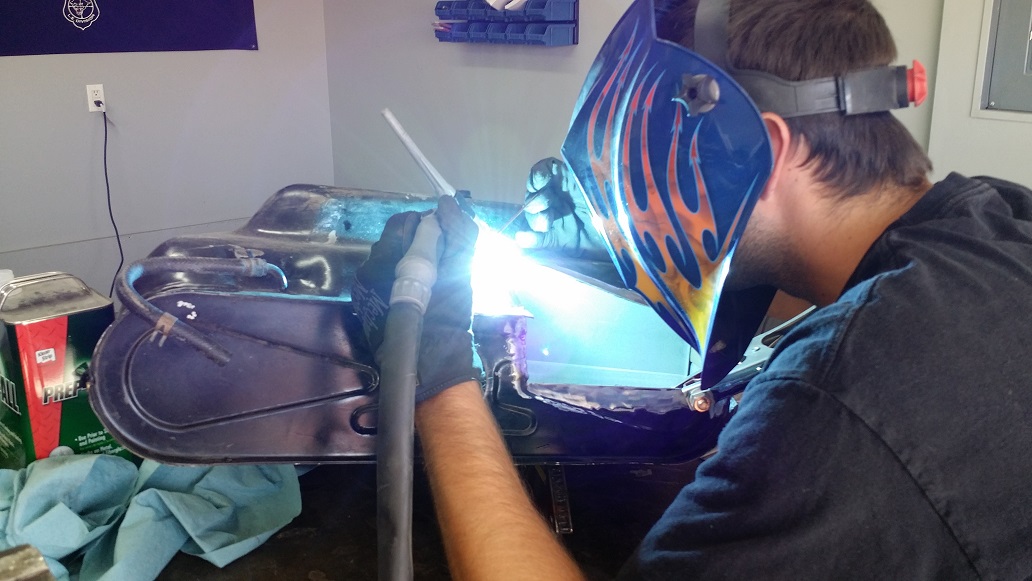
My helpful neighbor TIG'ing it up for me:
I then had the tank dipped and sealed to plug any pinholes:
Fresh coat of primer and looking good!