Builds Mail Order Ride - My HDJ81 (1 Viewer)

This site may earn a commission from merchant affiliate
links, including eBay, Amazon, Skimlinks, and others.

Well, with the stay at home orders going out, I figure its time for a job I've been procrastinating: rust f***ing.

I decided to start with the rear driver's side window. It's had some bubbling in the bottom corners for a while, but the passenger side still appears flawless. I had ordered a new gasket, but the one that came was for the sliding windows :doh:

Pulled the window out anyway, destroying the gasket in the process, so ordered the correct one, and hopefully this microbial terror allows it to still show up. I'm guessing I'll be not driving this for 3 weeks now.

It looked pretty gross, so I attacked it with a wire wheel, some sand paper, some bondo, and some etching primer so far. I picked up some satin black trim paint, which is apparently what we want to fix around the windows. I have a question though: do folks bother clear coating this satin trim paint, or just leave it be?

Pickchers:

full


full


full


full

I have to do both sides on mine. Where did you get the non slider gasket and what part number.
Thanks in advance,
Petr
 
I have to do both sides on mine. Where did you get the non slider gasket and what part number.
Thanks in advance,
Petr

Part number looks like it's 6274160030, and I ordered this time from toyotapartsdirect.ca. It lists as a quarter window gasket rh/lh. I'm hoping its the right one, and also hoping that it actually shows up in a decent amount of time. The ....0040 and ...0050 versions of the part numbers are the lh and rh slider window gaskets.
 
Part number looks like it's 6274160030, and I ordered this time from toyotapartsdirect.ca. It lists as a quarter window gasket rh/lh. I'm hoping its the right one, and also hoping that it actually shows up in a decent amount of time. The ....0040 and ...0050 versions of the part numbers are the lh and rh slider window gaskets.

You've got the proper gasket coming. I used the same one here:
 
Part number looks like it's 6274160030, and I ordered this time from toyotapartsdirect.ca. It lists as a quarter window gasket rh/lh. I'm hoping its the right one, and also hoping that it actually shows up in a decent amount of time. The ....0040 and ...0050 versions of the part numbers are the lh and rh slider window gaskets.
Thank you very much.
 
Thank you very much.

It looks like your part number is the Right Hand side Fixed window gasket. I will also need 62742 for the Left Hand side as they are different.
 
It looks like your part number is the Right Hand side Fixed window gasket. I will also need 62742 for the Left Hand side as they are different.

That number doesn't show up for me in any search. If you look at this post by @cruiserdan from a while back, he lists all the part numbers involved with the solid window. Solid Rear Window Part #

On Partsouq the parts diagram brings up three different numbers. I did already buy the 6274160040, because it was listed as side specific, but that number has the wide area at the bottom for the sliding window. 6274160050 is the left side sliding window gasket. When I ordered the 6274160030, it listed as RH/LH, and pictures I found of it online on eBay look correct. I'll know for sure if I'm right when/if it shows up.
 
  • Like
Reactions: J2P
I bought the gasket at first, figuring it would get wrecked on the way out, but it was wrong, so I tried getting it out carefully. My gasket had glue in some spots, other spots it just wouldn't let go. After a lot of struggling, I just ended up wrecking it anyway, hence the waiting for a new one now.

I think it's possible to get it out in one piece, maybe with some careful heat to soften it up, depending on how old, dry, etc it is and taking your time, but after this, I wouldn't trust it to come out in one piece.
 
I think it's possible to get it out in one piece, maybe with some careful heat to soften it up, depending on how old, dry, etc it is and taking your time, but after this, I wouldn't trust it to come out in one piece.

Cool thanks, any tricks on getting the windows out in the same number of pieces?
 
The easy way to get it out was just to get a knife and cut the gasket along the perimeter of the glass. Then it just popped out.
 
While waiting for my window gasket to show up, I yanked the fender flares off and wanted to identify any other problems I might come up with along the way to my end goal, which is to Raptor line the rockers and flares. What a pain in the c*nt it is to get those flares off. Then, drove to the car wash (since it's -15c here and I'm not washing it in my driveway) with my plastic taped window and cleaned everything I could out of the work areas and then cleaned off the wet snowy road crap when it was back in the garage.

It's now much more obvious the lighter color (1A5 - Desert Dune Metallic) had been resprayed at some point in its history, but I don't think the dark (1A6 - Moonglow Pearl) was. Overall, I think it's in pretty decent shape, after all it's 25 years old. I do have a couple of problem spots to address, unfortunately.

So, this is pretty representative of the flare situation. The tiny rust spots all over just seem to be from road dust and most of them wipe or rub off. There was also this strip of emblem tape holding the gaskets to the body, which meant I ****ed up a couple of the gaskets while pulling them. So, I've got a roll of gasket material coming from Amazon soon. I'm going to clean and polish up that Desert Dune as much as I can, and then probably hit the bottom lip of the fender with the liner to help protect it and call that good enough.

Should I be putting some new trim tape behind the new gasket, or since it gets so filthy back there anyway, just let the water flow through?

full


A second item to address is the back quarter panels. There is surface rust, (and a scary looking edge on each side) in the whole bottom of it, but the exterior looks mint still. Even the backside and under the truck isn't bad at all. It looks to me that water got into these areas, and I think it came in mostly from the taillights. I don't think these are factory tails, and the edge of the buckets had some flexible sealant that has dried up and cracked and made a gap. I think every rain storm I drove through, I filled those up with water. Plan now is to seal up the lights better, wire brush whatever I can loose inside, vacuum that up, then slob in some POR15 where I can reach, then spray some rust converter into every corner I might have missed and hope for the best.

full


full


full


And then finally, the big problem spot. It's the only spot like this, and I knew it was getting bad, but I didn't think it was THIS bad. Looks again like water got inside the rocker on the passenger side, and was eating from the inside. It felt solid at first, but after I wire wheeled it, it started to come apart, then I jabbed my screwdriver into it and broke it up, then I jammed by fingers in and pulled it apart. :doh:

full


full


Now I get to go borrow a welder, and learn how to weld in a patch panel.

Hey, what's the deal with those plastic plugs along the rocker? Should I pull those out before spraying the bedliner on? Are they supposed to be able to drain water out of there?
 
For the flares I don't have much advice other than I permanently remove them on my 80s because of the exact issues you're experiencing with them. I don't think there is tape behind the gaskets originally. Just flare>gasket>body.

That goop sealing the tail light housing to the body is the way they came from the factory. I think it's a fairly common point for water to get in. I am pretty sure it's just butyl sealant that you can source in strips from any auto supply store. Sometimes referred to as butyl tape. It should stay tacky and flexible indefinitely, but it gets crusty from dirt and dust getting embedded in it. Cleaning it off sucks, and is a messy process - most thinners/solvents should break it down, but it's still a chore. This is the same stuff that is used to adhere the vapor barriers (plastic sheets) between the doors and interior panels.

I like your solution for the rust inside the quarters with the clean-up and POR-15. Not sure of a better solution there.

For the plastic plugs in the rockers, I'd pull them out and save them. Clean/repair/paint the rockers then reinstall the plugs. IIRC, they are pretty easily available if you need replacements.
 
@Dork , when the time comes I can help with the metalwork as well as finishing it nicely up to final paint. I grew up fixing rust down east before I escaped to Alberta. Also have insight to slow down the rust throughout rest of truck. Im near Red Deer, might be able to swing by, at a safe distance of course. :grinpimp:
 
Hey, @bryson awesome answers! Thanks a bunch dude. I wonder if the butyl roofing tar that seals up under shingles would work? I already have a tube of that in the garage, and is getting harder and harder to get materials.

I know everyone takes flares off, but I think the truck looks much better with them on, and if I'm truthful, I'm not spending enough time on trails to worry about them getting ripped off.

@hiluxjeremy thanks for the offer. I'm going to be working on it tonight, so don't worry about driving up. I figure this can't be much more difficult than doing the exhaust welding, and the cousin I borrowed the welder from showed me a couple tricks. The body mount is solid and clean still, so this isn't a structural fix, I figure worst case scenario it doesn't look great before being covered by bondo and bed liner.
 
I have a roll of this currently:
Amazon product ASIN B07HP2B2K4
It's easily formable with your fingers, and won't stick to you much unless it's really warm... It's about the consistency of modeling clay. It gets sticky when it's warm, but will still hold it's shape up to any temp the body of your Cruiser can reach on a hot day in the sun. As long as your roofing butyl has those same properties, I am sure it'd work.
 
Hole is patched. It isn't great, I would do some things different if I do it again, and I'm not going to be doing body repairs as a sidejob, but it'll do just fine. It got some primer, now it can wait for the rest. I painted the inside of that cavity before putting the patch in, and I'm gonna pull the plugs and spray a bunch more to try to get something on the backside of the welded patch. I will be filling those areas with Fluid Film or similar later on. Hopefully, it isn't a problem ever again.

full


full


Quarter panels got filled with POR15. It SUCKED on the left side, because you kinda have to look in there, see what you missed, then reach in without looking and try to get it. My forearm is splotchy with the stuff and will not wash out. There has also been a rust paint sprayed into the furthest reaches under the taillights. While I had the stuff out, I also put a layer into the rear fender lip, as I figure it can't hurt.

full


Then, I spent 3 1/2 hours yesterday sanding chrome. Wrap a strip of sandpaper around the end of a screwdriver and tape it on. Rub away. When it starts falling apart, you can pull a wrap off and keep going. We shall see how this holds up.

full


Apparently flare gaskets aren't considered a "household staple", so Amazon still hasn't shipped. Awesome.
 
Did some more stuff, so it's time to update here. In mostly chronological order...

I sanded up everything with 150grit (since the 180grit recommended by Raptor only came in 5 packs, but I could get the 50 pack of 150 for a much better deal) and masked off whatever I could. Then went to town with the degreaser. Then some more sanding. Then more degreaser. Any areas that were brought to bare metal were blasted with some self etching primer. Sharp edges, corners, areas that i had trouble sanding, and especially th grill pieces got hit with U-Pol Grip 4 adhesion promoter. Then it was sprayed, all at around 50psi. I used 4L in total (but bought 5, so I have one spare...), one for the grill/flares, one each for the sides, and the last bottle did the tailgate, and a second follow up coat around on everything. All the end bits of the bottles were dumped into one, and that got another pass around everything to get a happy texture. I covered just past the flare mounting holes to help keep the fenders clean, but not enough to be visible past the flares.

full


full


full


full
 
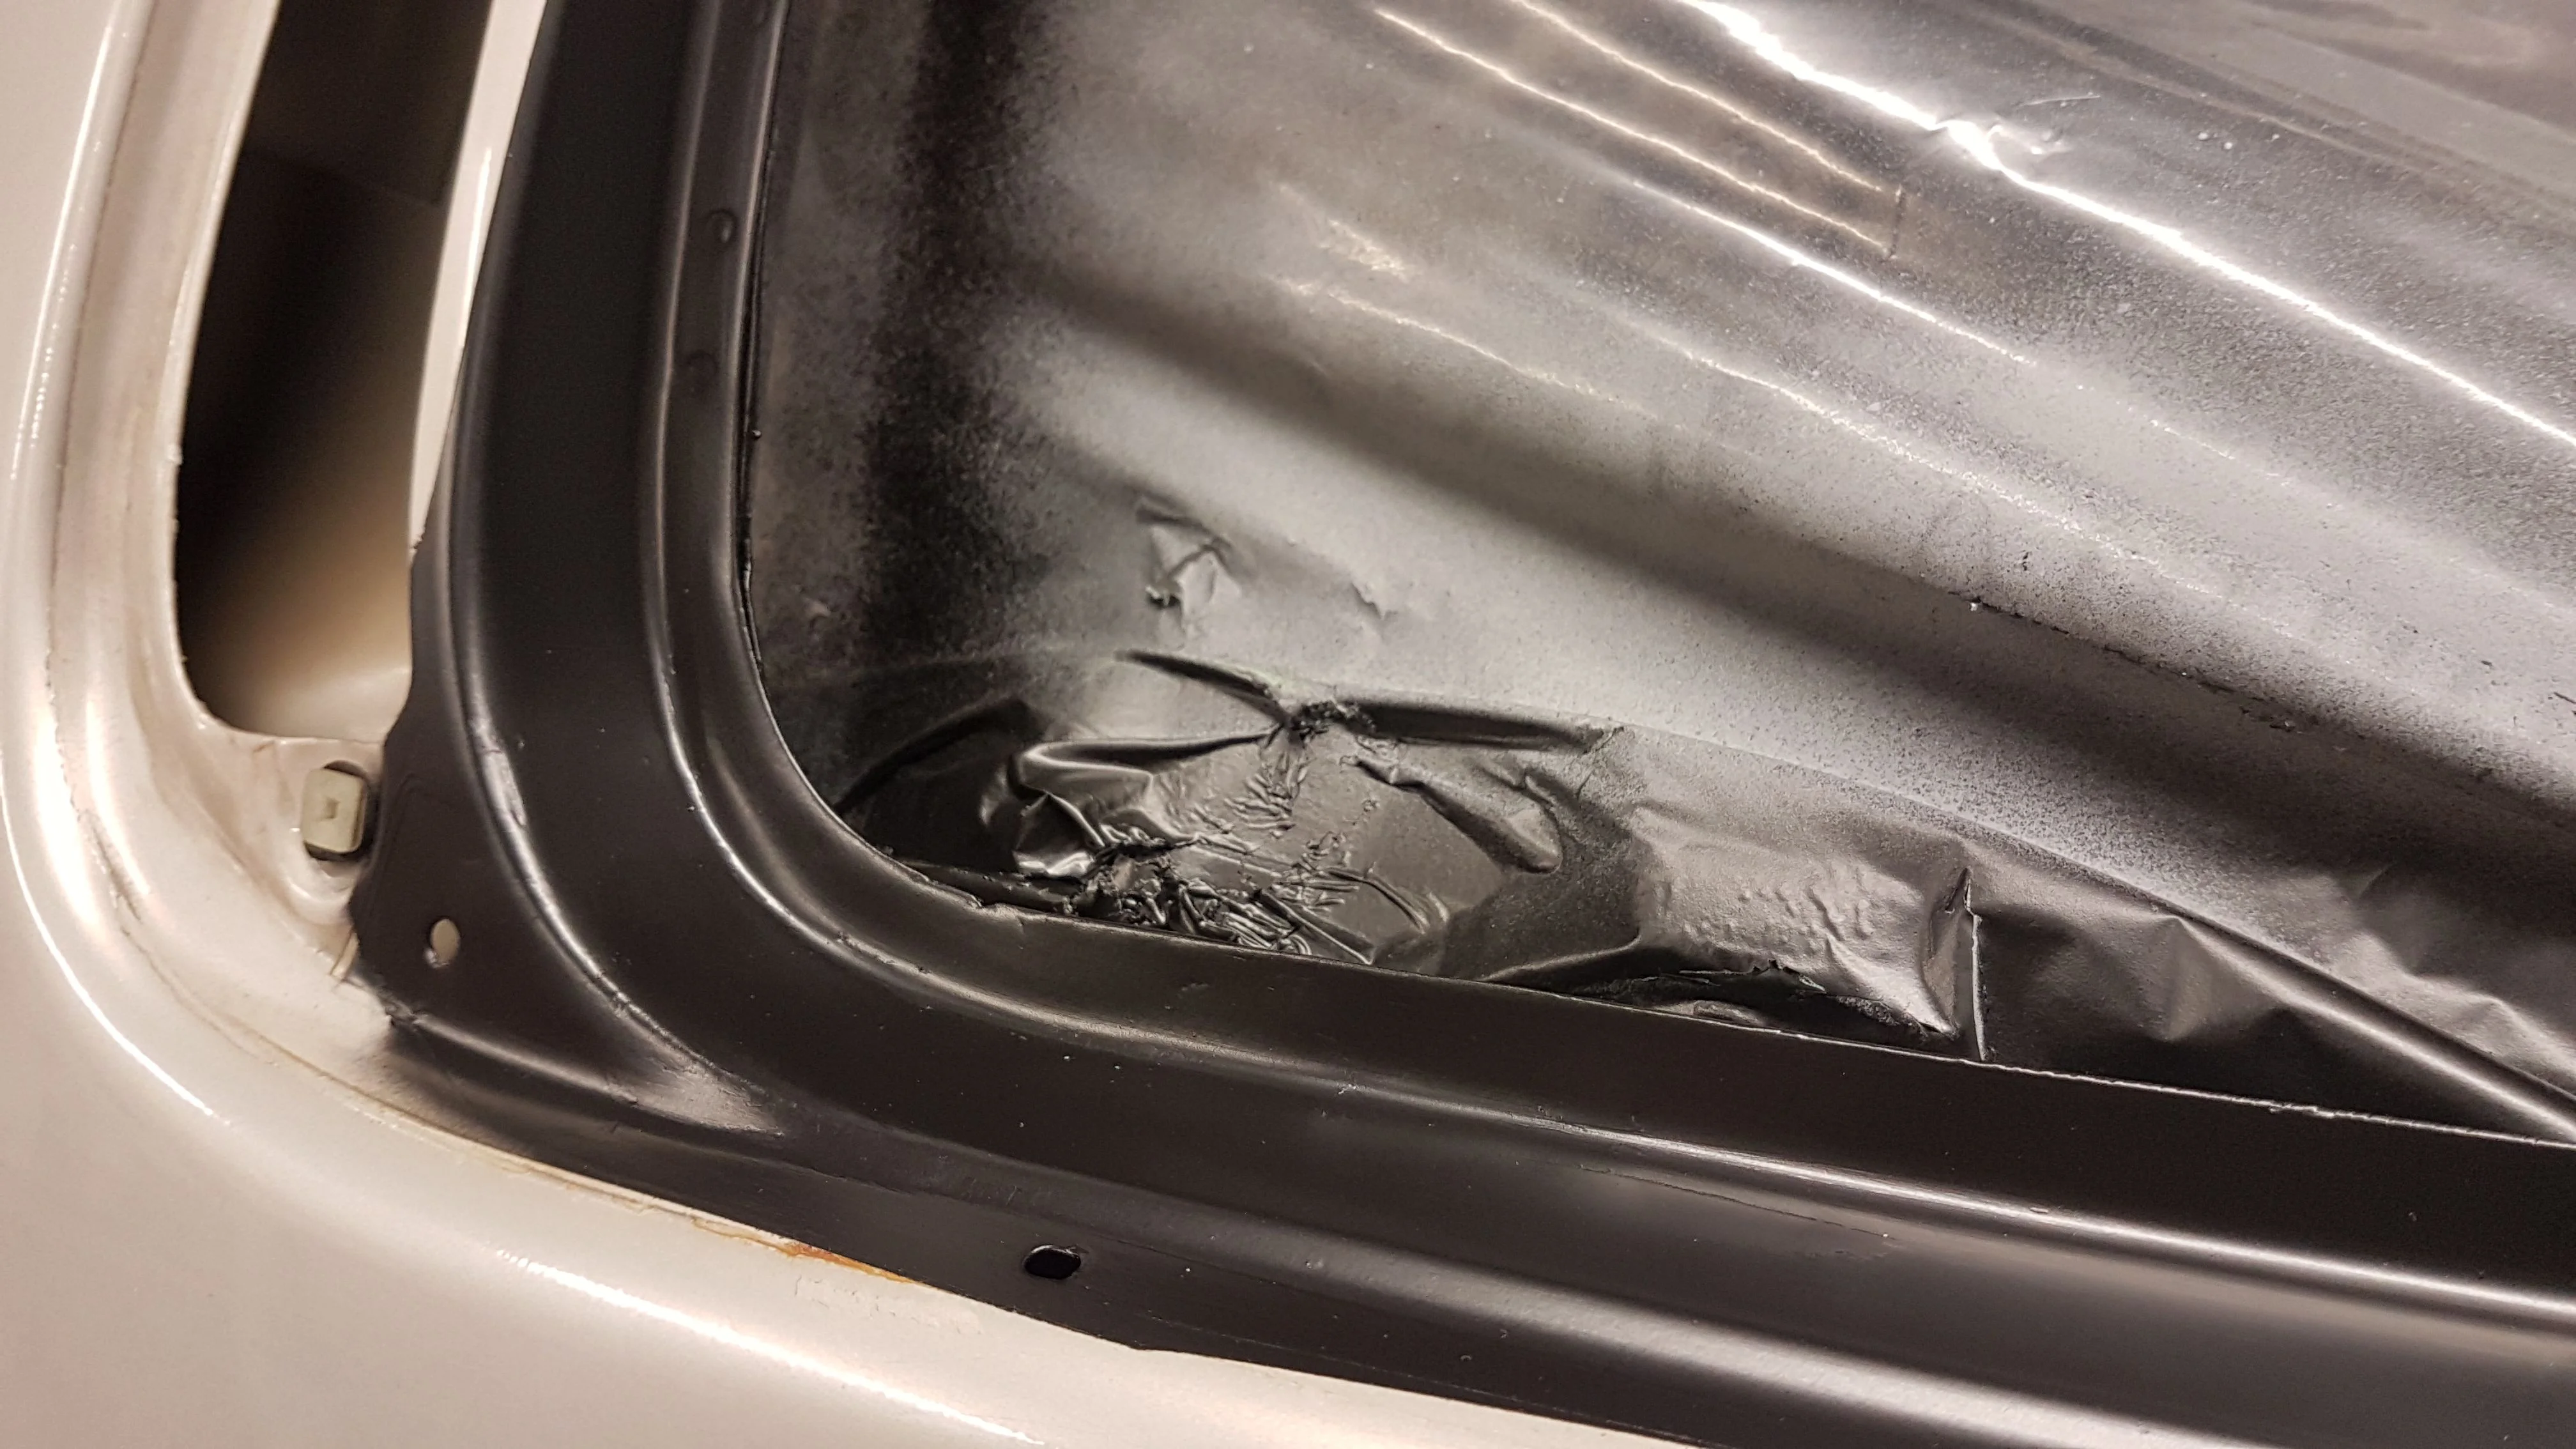
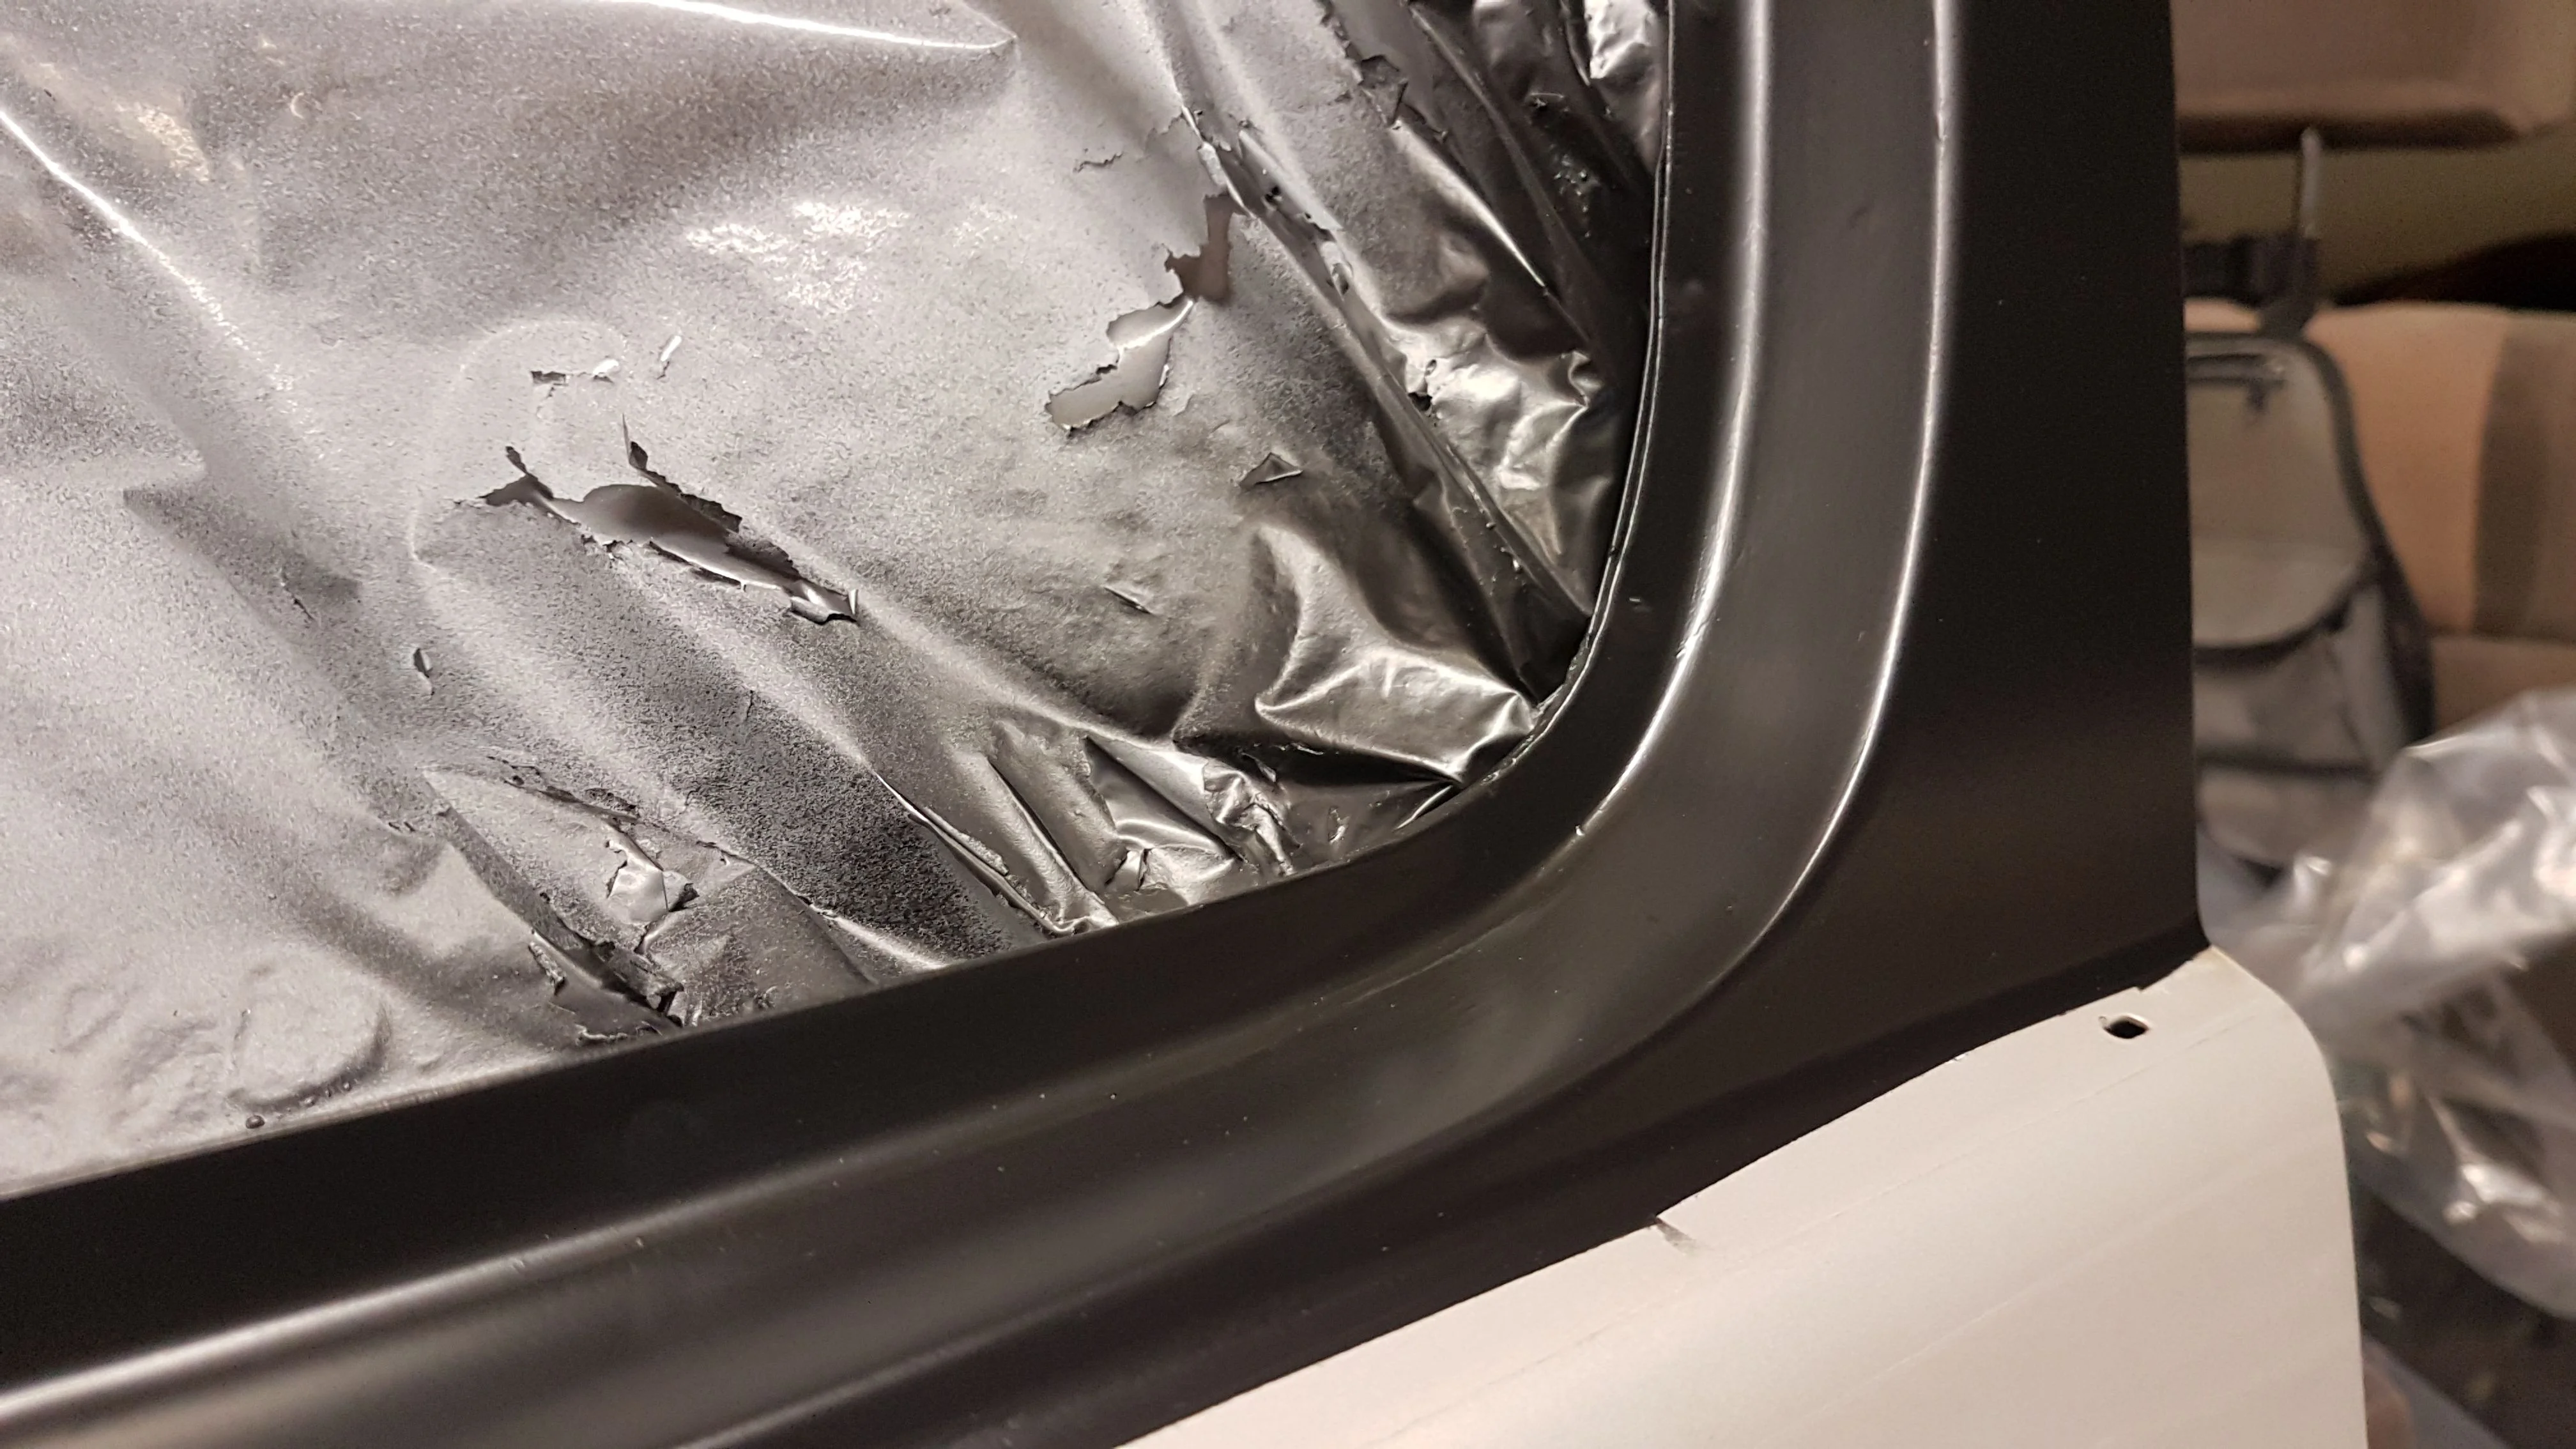
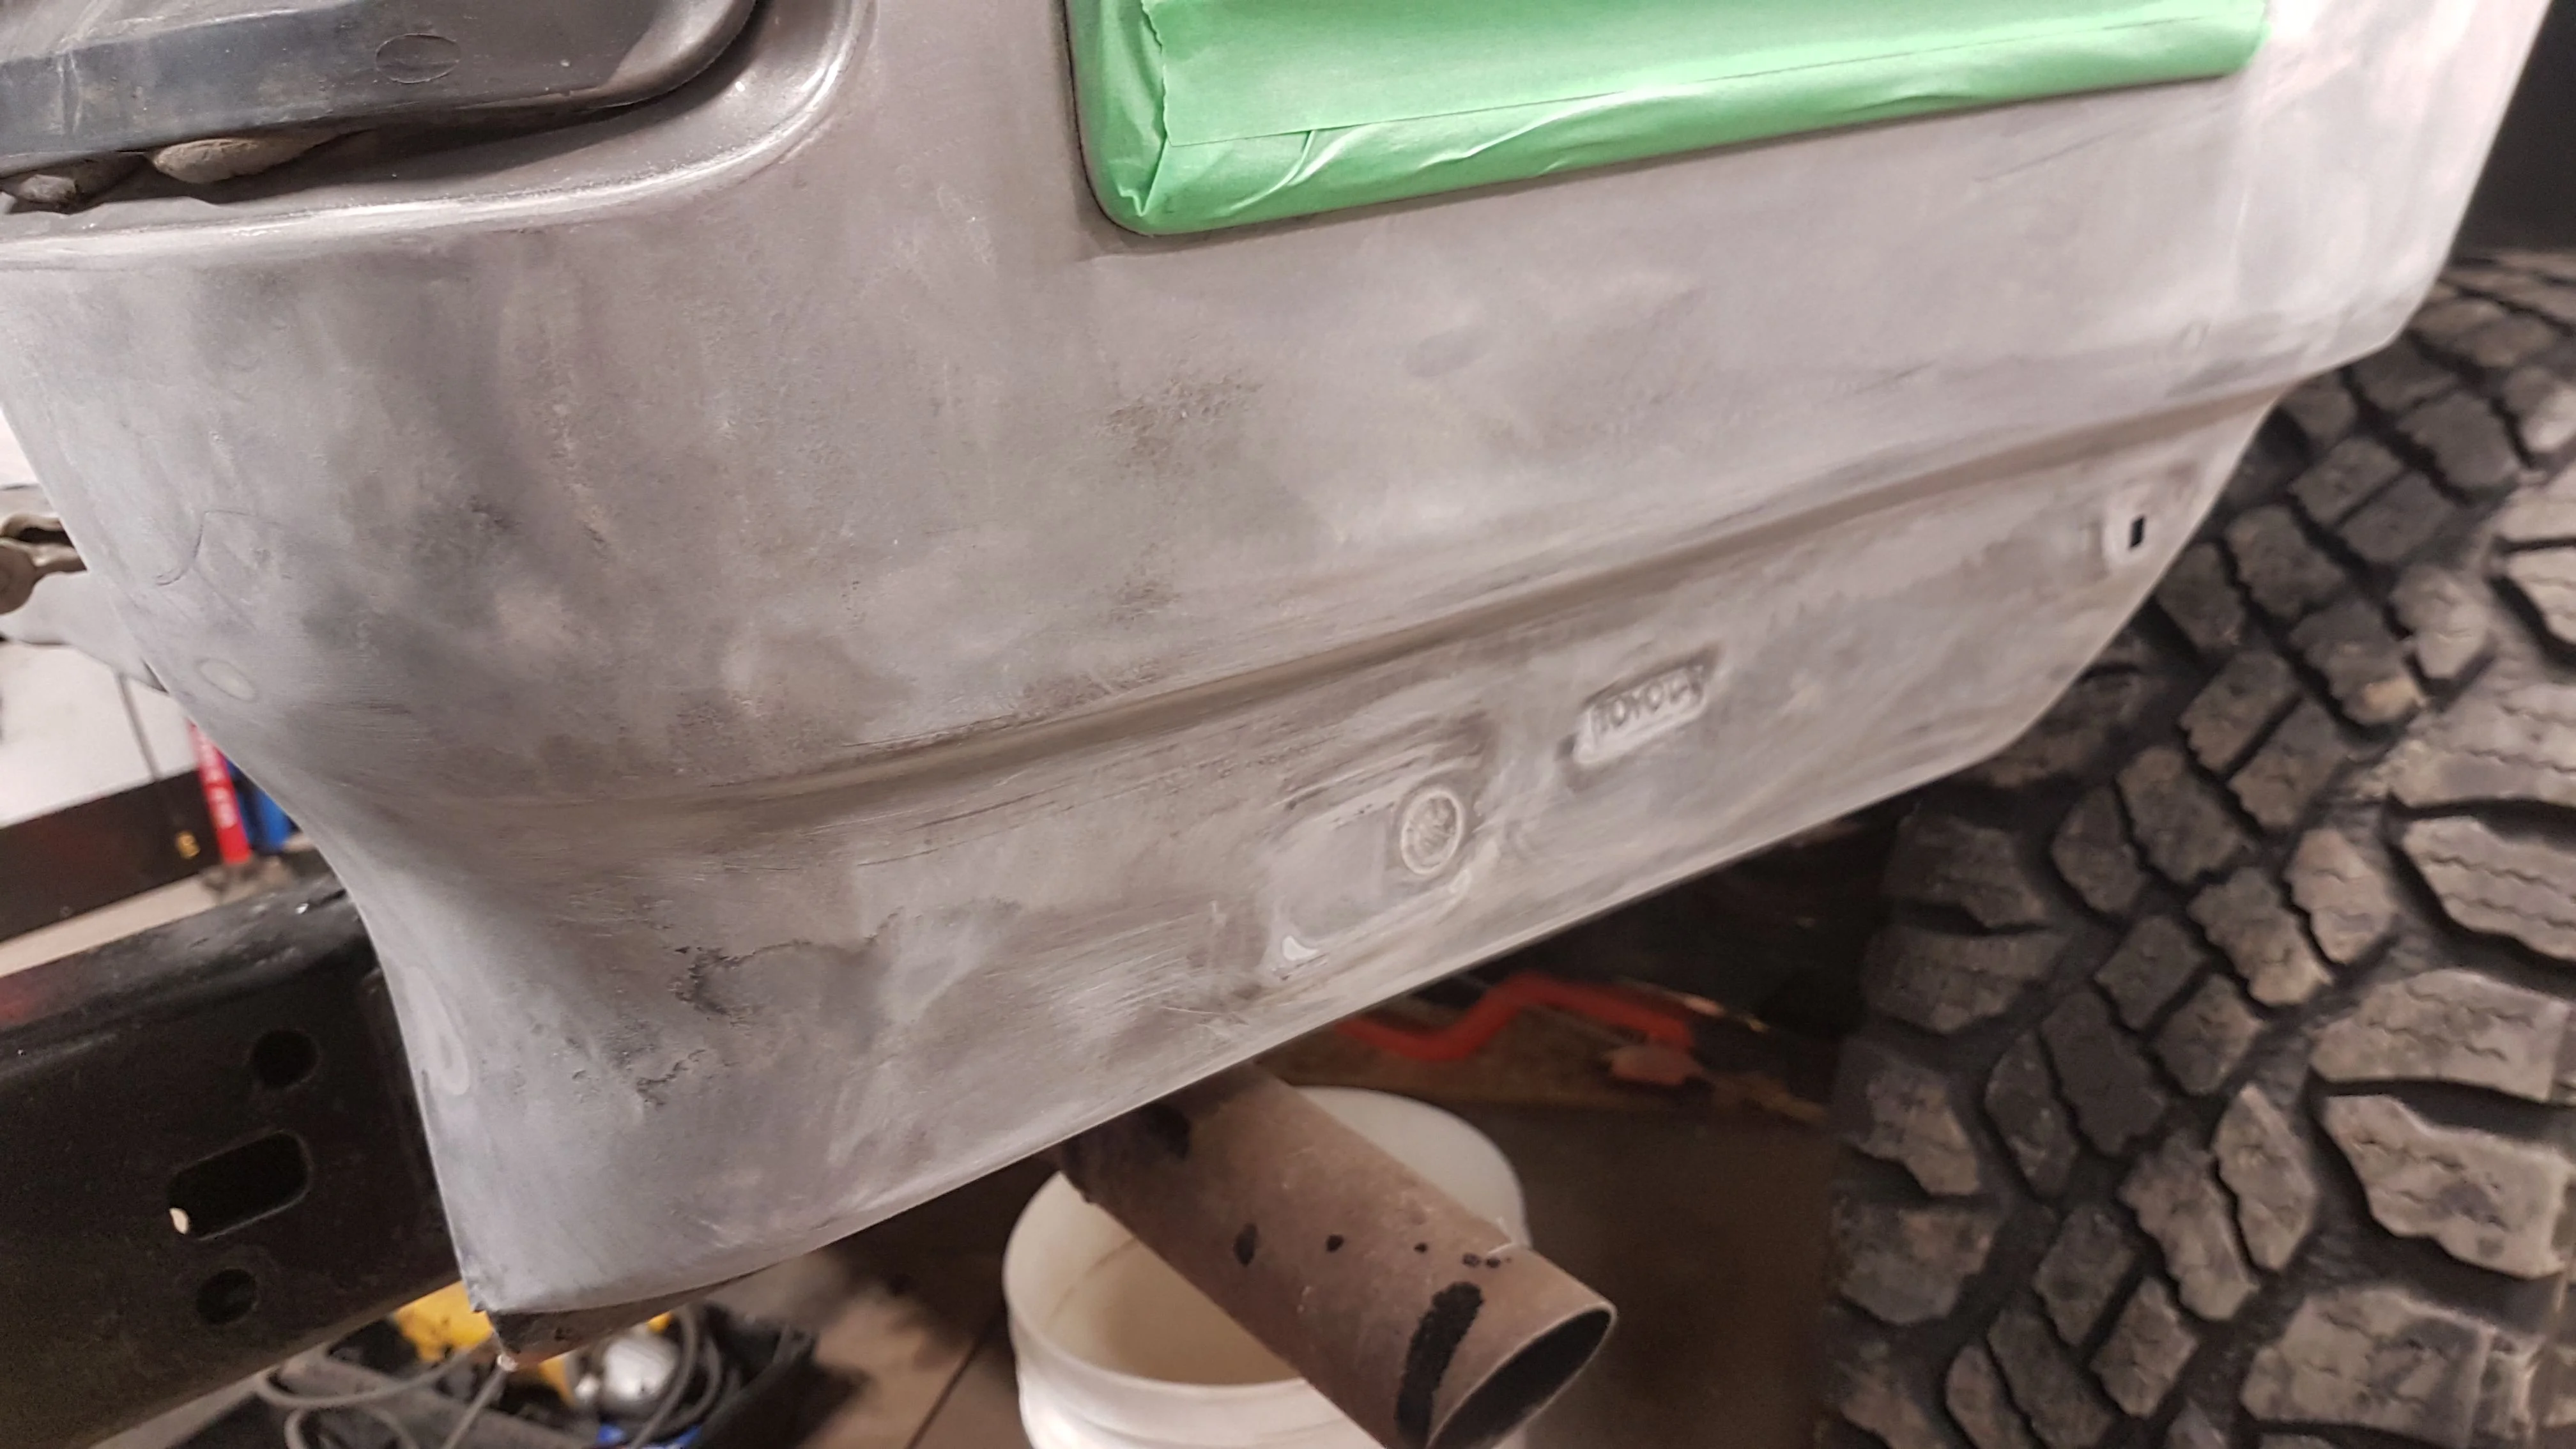
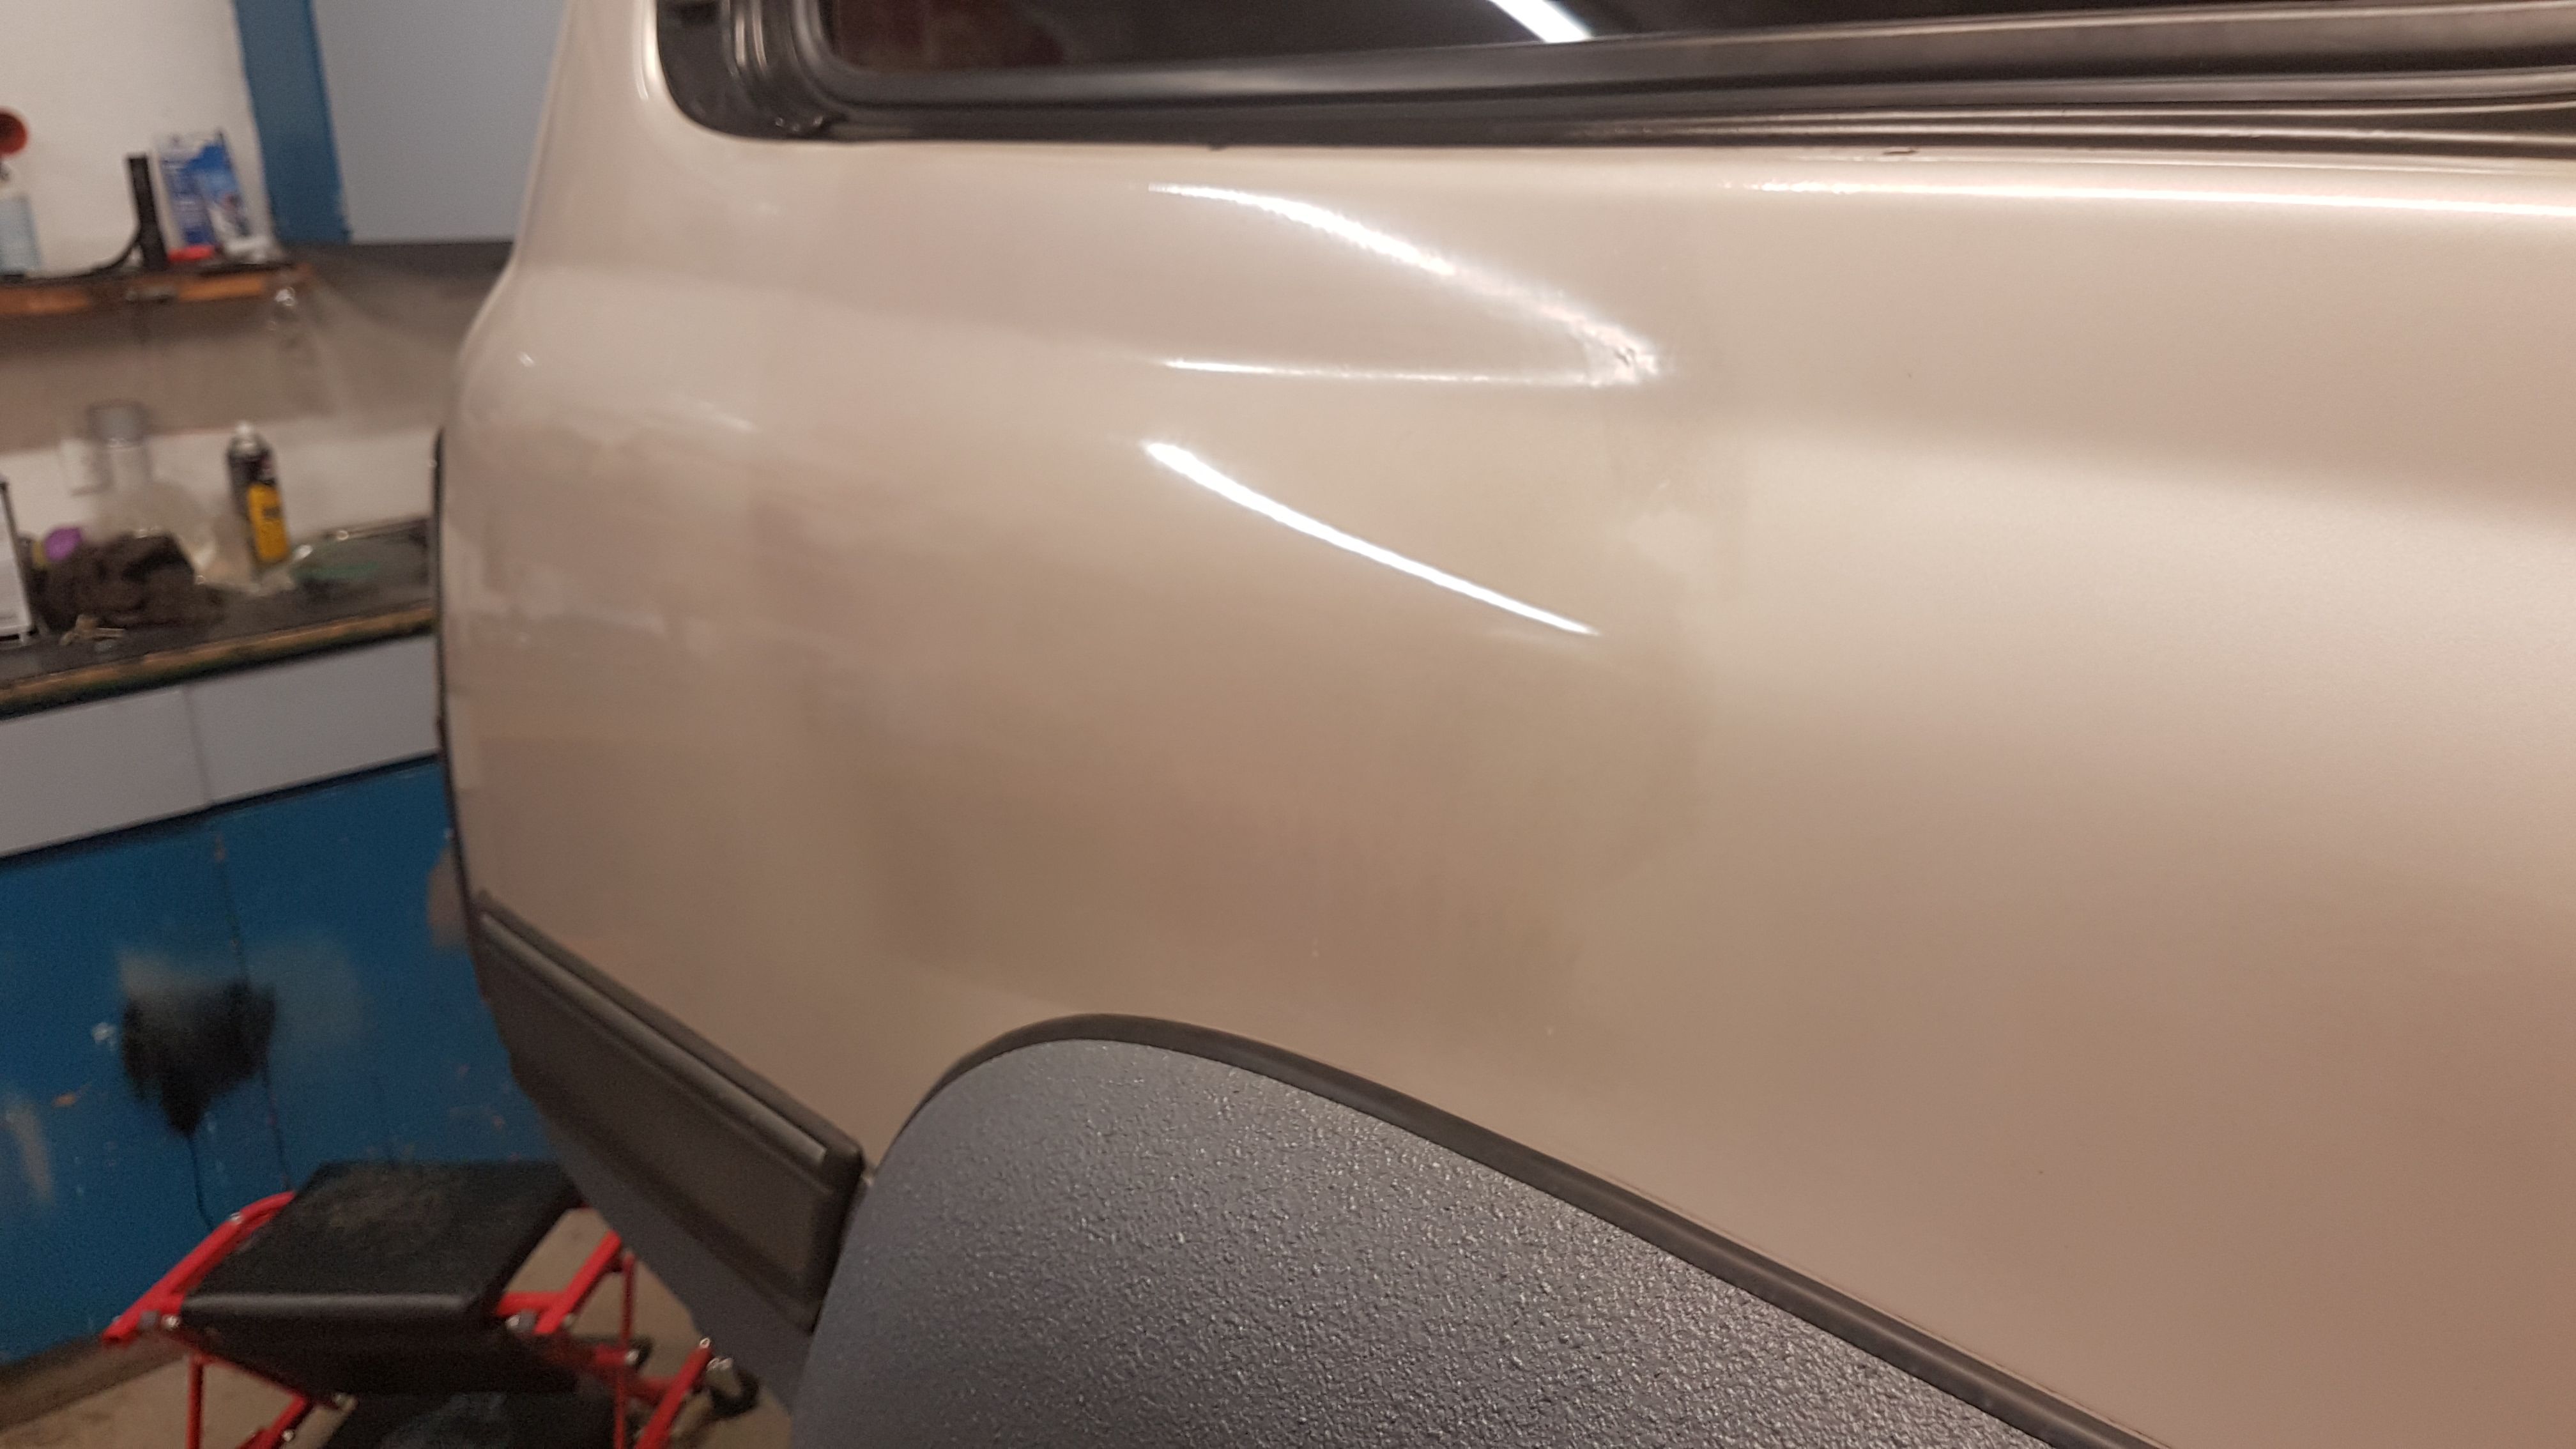
I had a gouge on the rear quarter panel I wanted to fix, so I filled it in with a little bit of bondo, and figured I'd try fixing some visible paint. Sanded smooth, sprayed with some primer, then sprayed with a can of the color mix I had made up a while back but never used. Turns out it was a little off... So, I'll just post one photo, and say that I made pretty much every mistake I could on this little bit of bodywork.

I ended up:
- sanding a bigger and bigger patch in an attempt to smooth things out with the bondo
- spraying on a color that was never going to match because I didn't test it
- making a small repair get bigger and bigger trying to "feather it out"
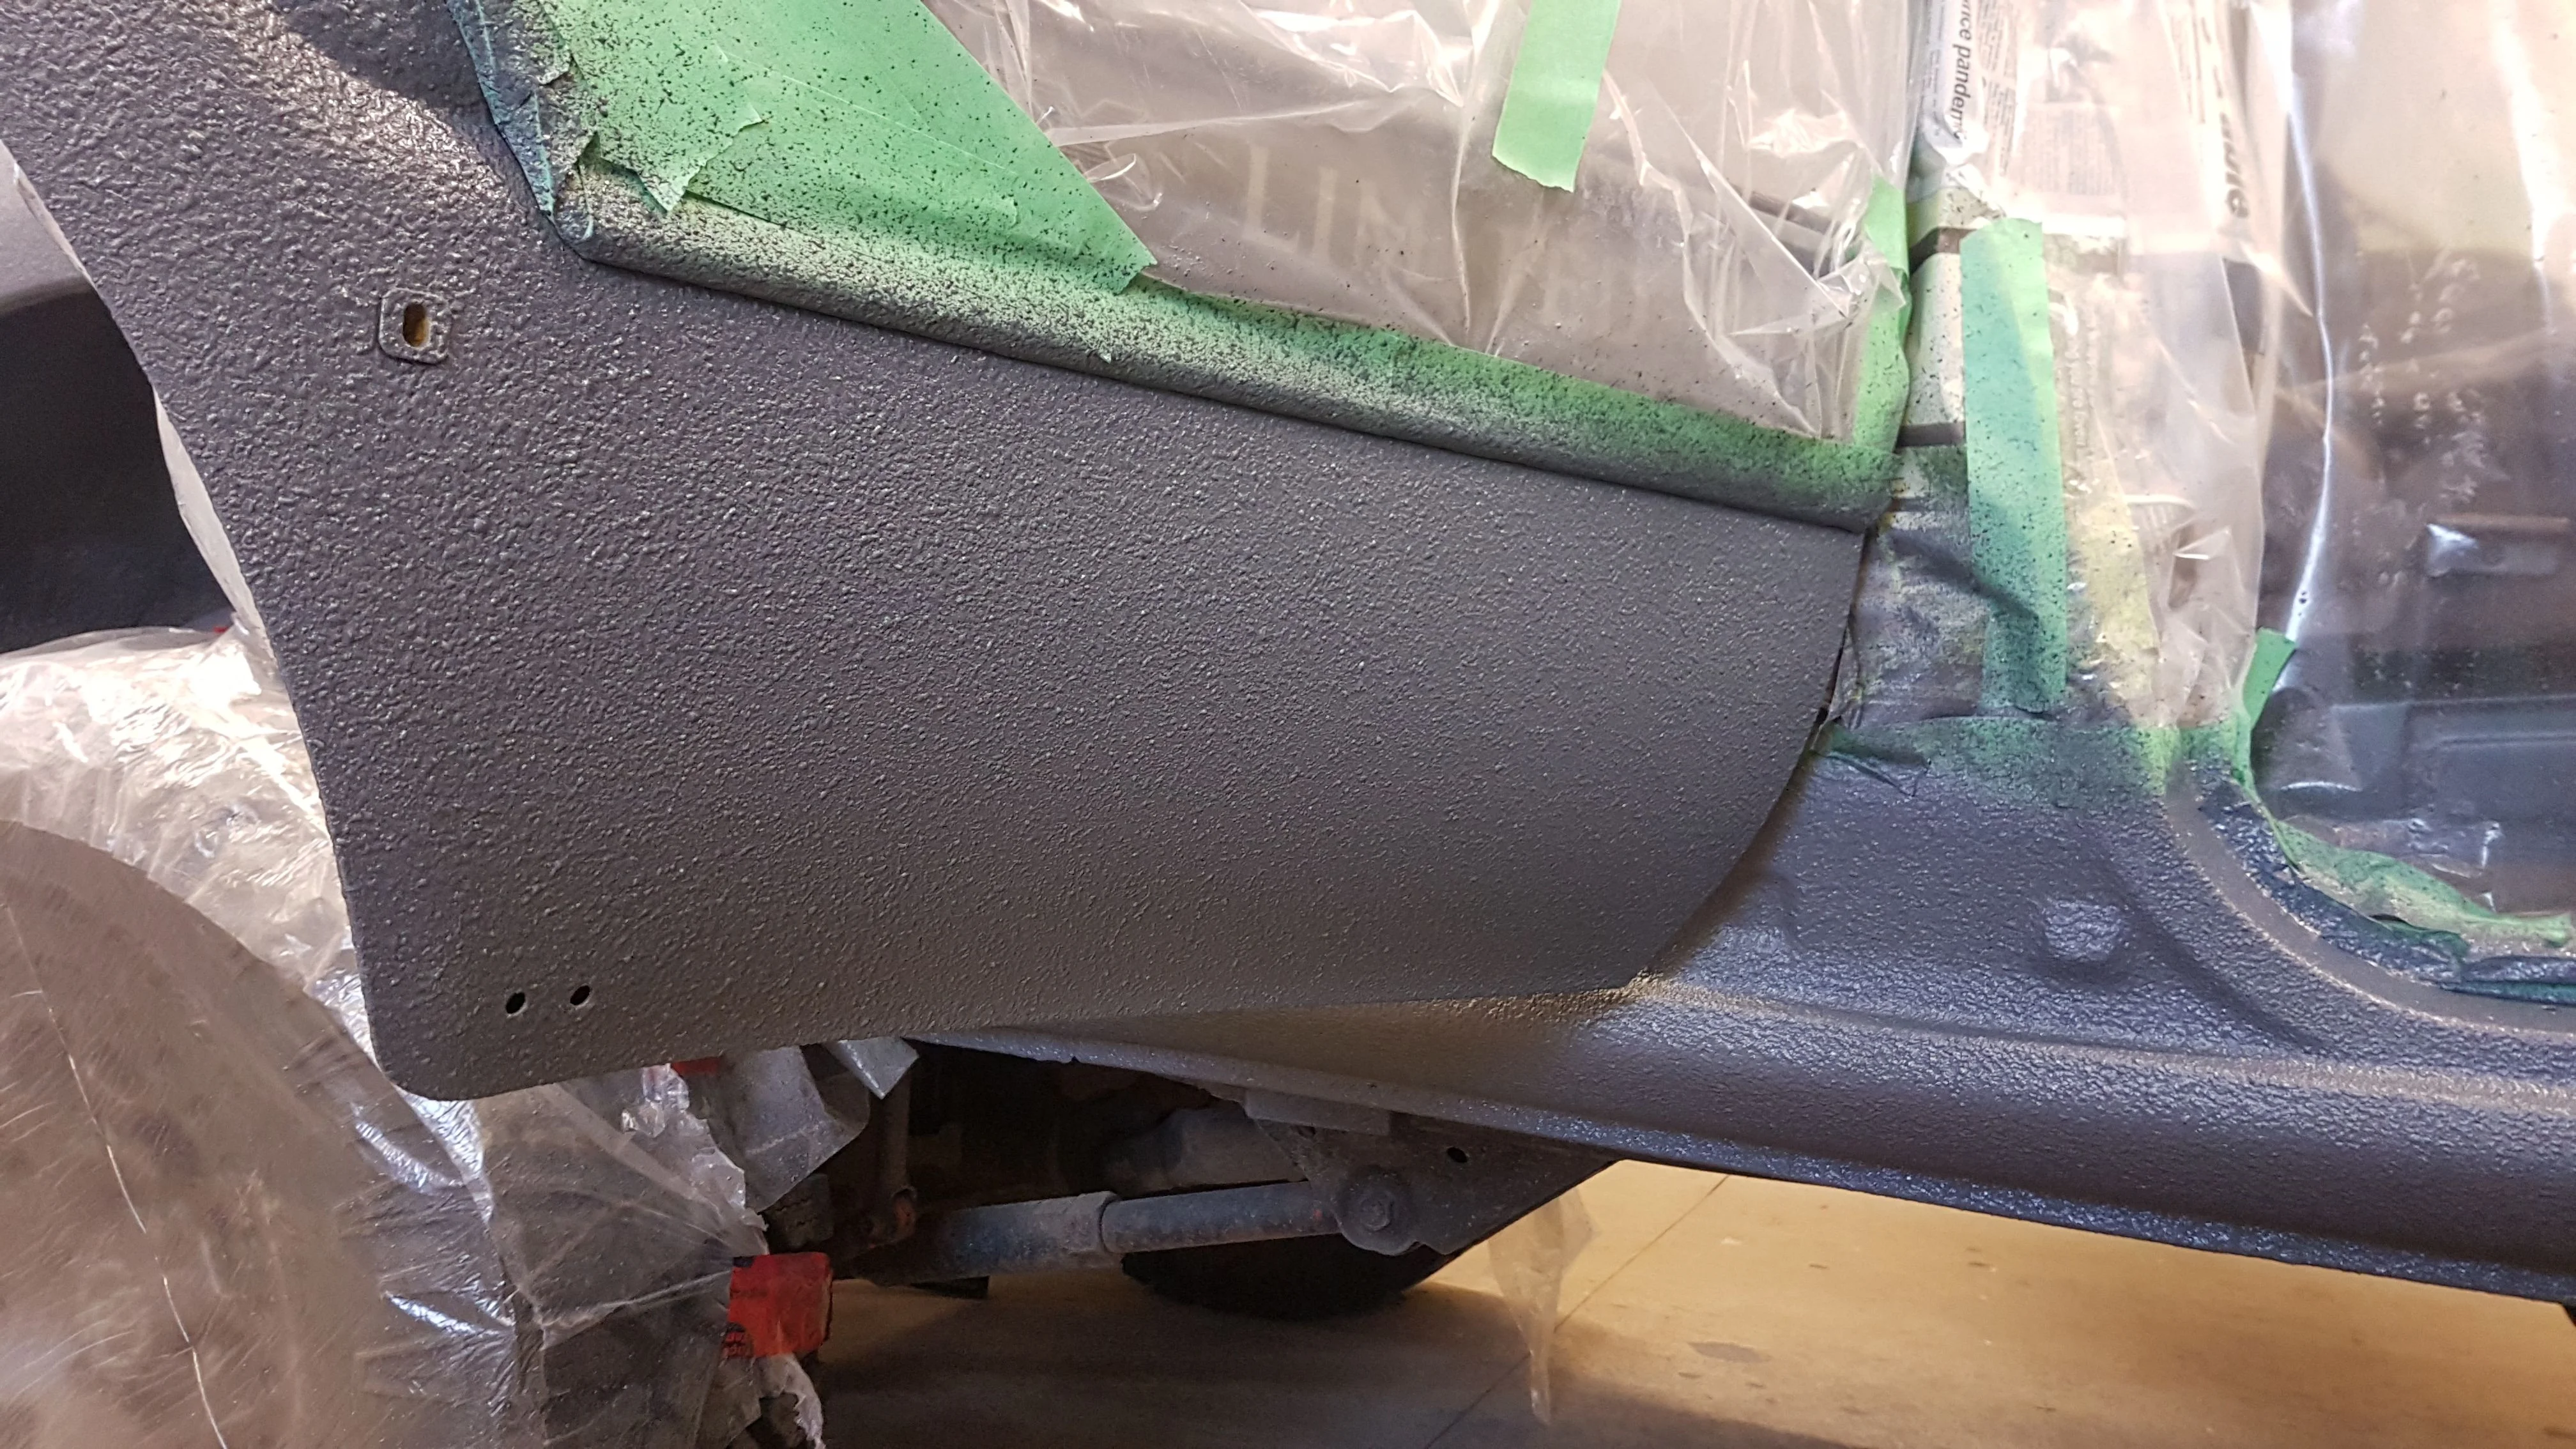
- causing a piece of my overspray paper to fall down into the clear coat and marr it, and knock s*** into it
- getting runs in my clear coat
- sanding it half assed smooth, but sanding too far out
- not having a proper polisher, so parts of it just look bad

No more body work for me. I'll have to live with it for a while.

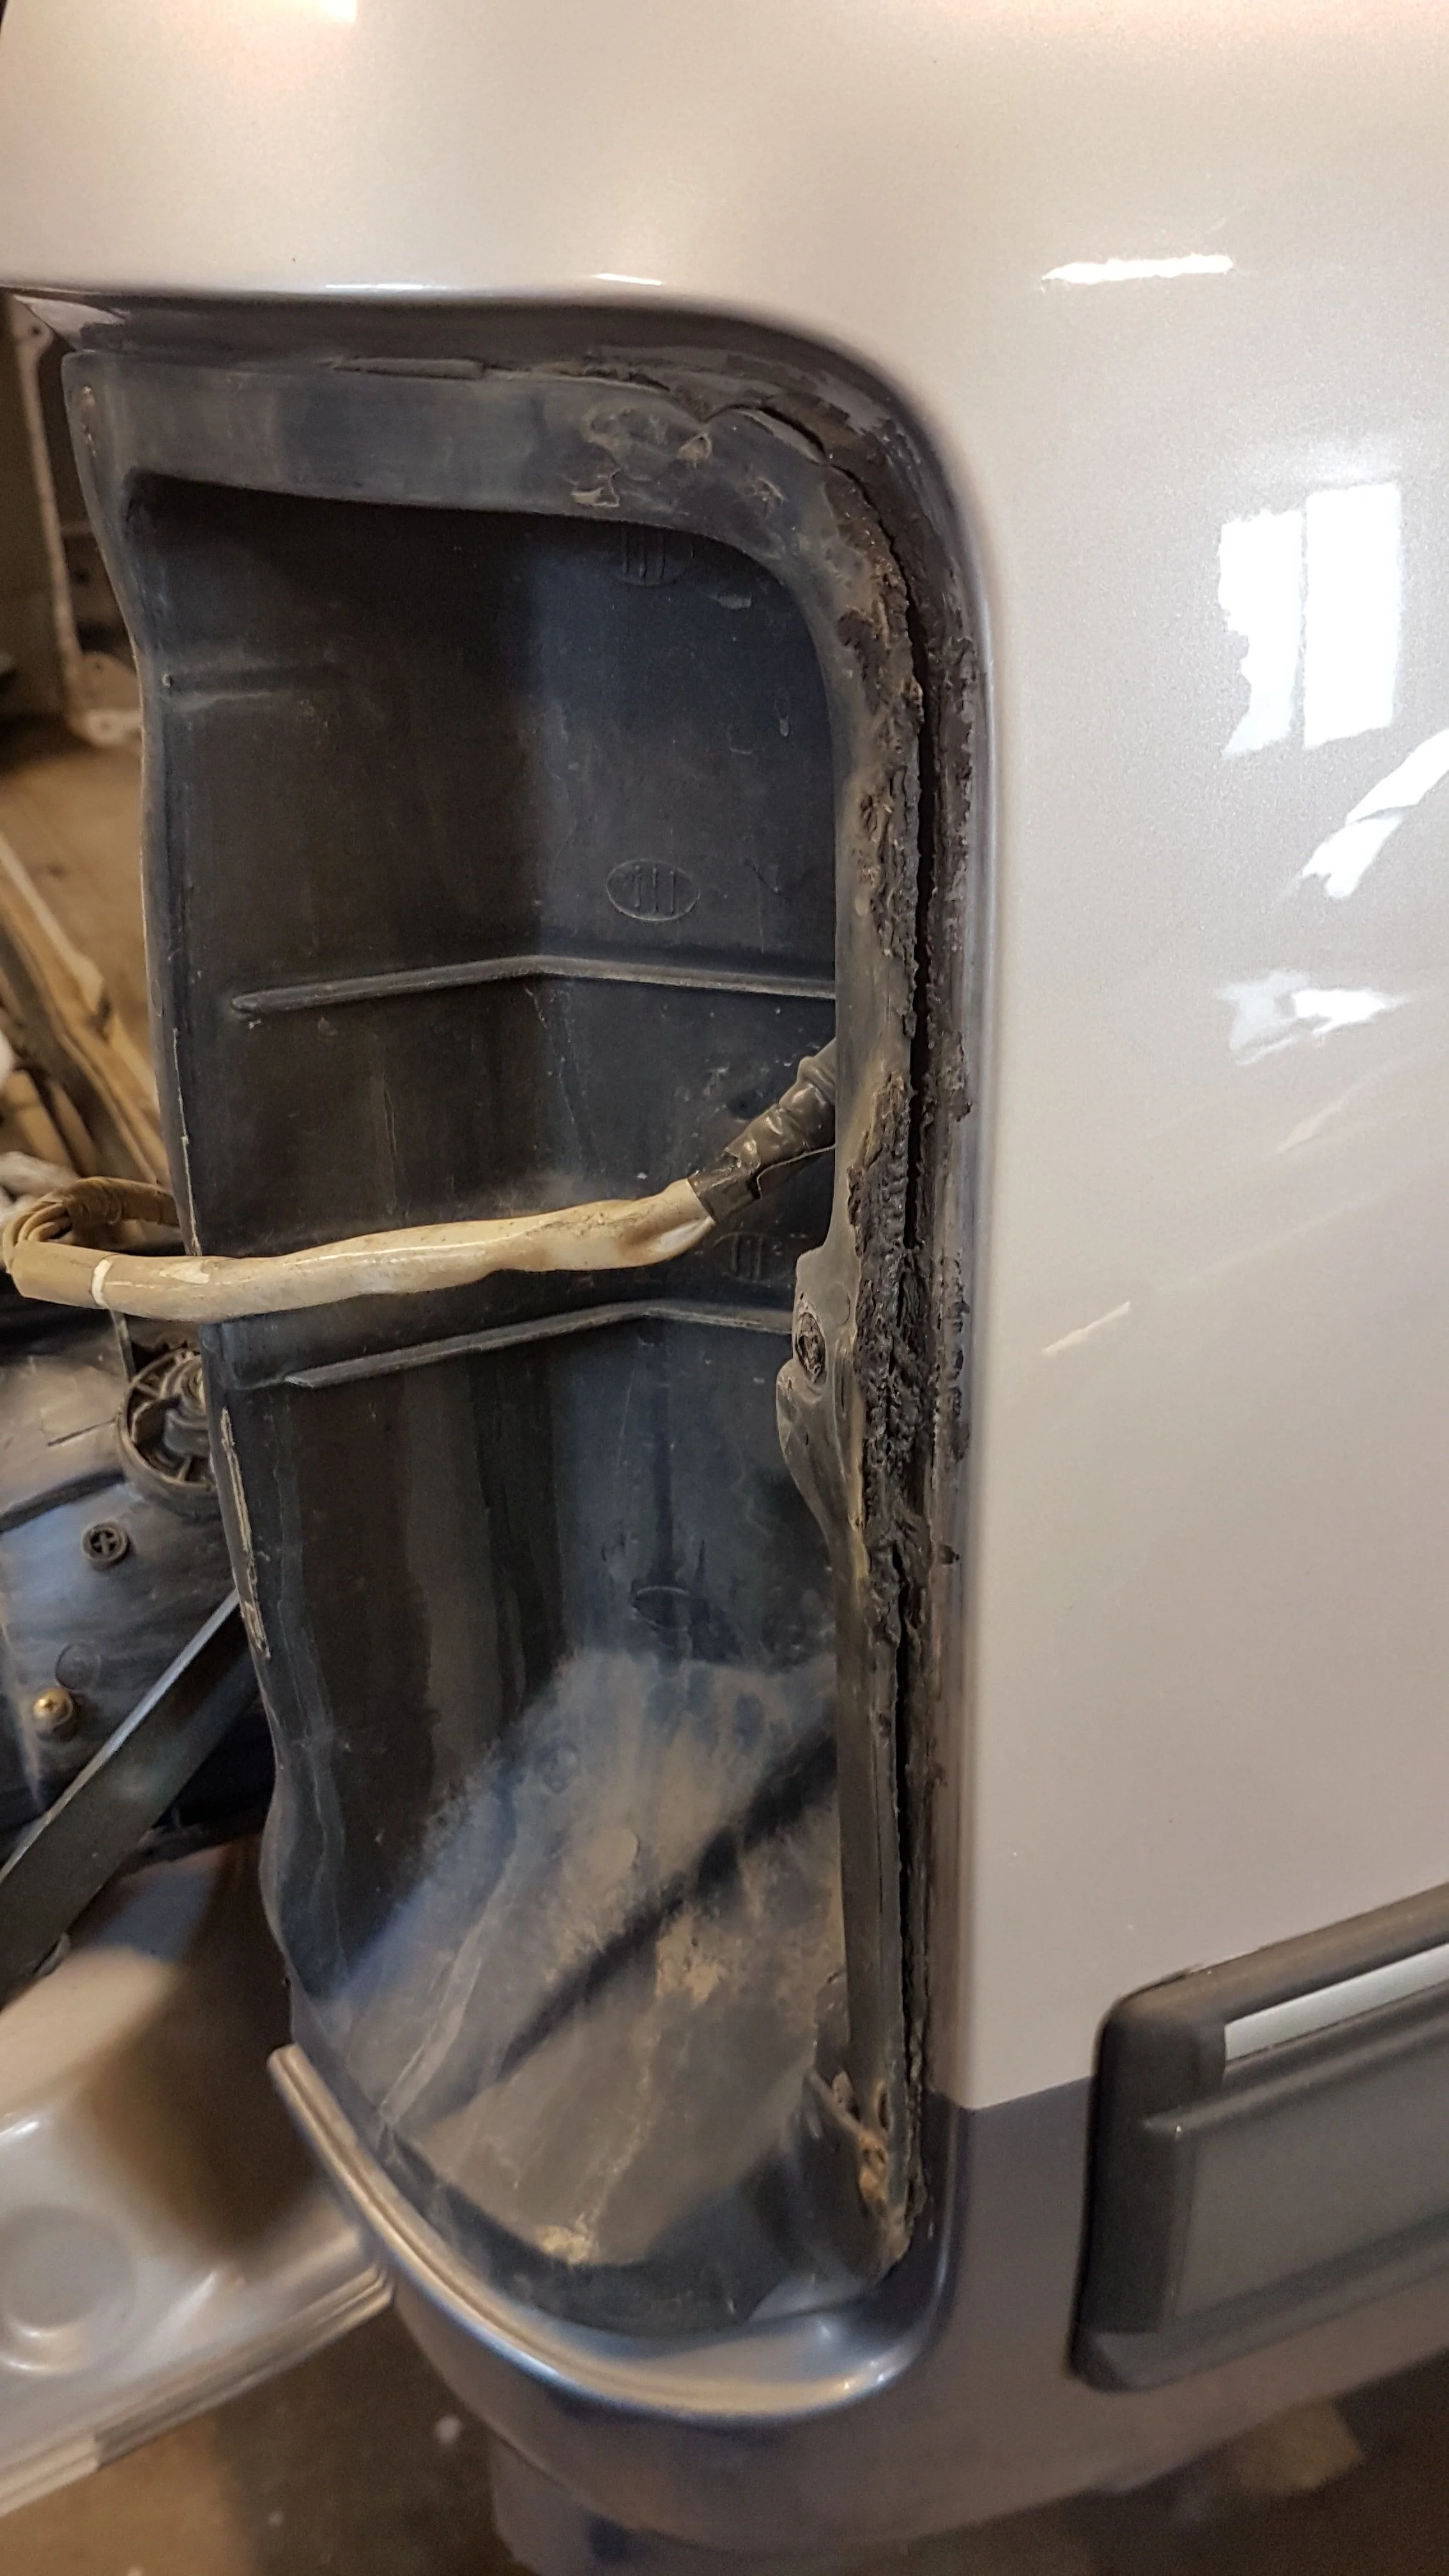
The flare gaskets were part of an order my wife made on Amazon 'cause she's got the Prime account, and it was deemed non-essential, so it was destined to wait a month to get here. She eventually said "**** it, I don't care" and cancelled her part of the order, which was like, some pens or something. All of a sudden they say my order is shipping now, and I get the gasket delivered a day later. Neat.

The flare brackets on the rear doors were held on with 1/4" aluminum rivets, and my rivet gun only did up to 3/16, and nobody I knew had one I could borrow, so I'm now the proud owner of a Princess Auto 1/4" manual rivet gun. Now everything's getting riveted together for a while. I was having a heckuva time getting rivets in town 'cause of the 'Rona, and was browsing the McMaster/Carr catalog. Accidentally made an order just trying to see pricing (if you've done it, you know how easy it is to make that mistake). Few hours later I find out that a handful of rivets and some 6mm bolts were going to cost me $60USD since apparently this box requires a fancy seat on the airplane! So I called them up and was like "I'm sorry, I didn't mean to order that, especially at that price, is it too late to cancel" and he says "no problem sir, I will put a credit on your account", so I replies "ah, I'm glad it didn't ship yet" to which he retorts "oh, it did ship sir, but you don't need to return it" and so I'm all "oh wow, thank you very much, have a great day". Then I got the box like 1 day later, so, that was cool.

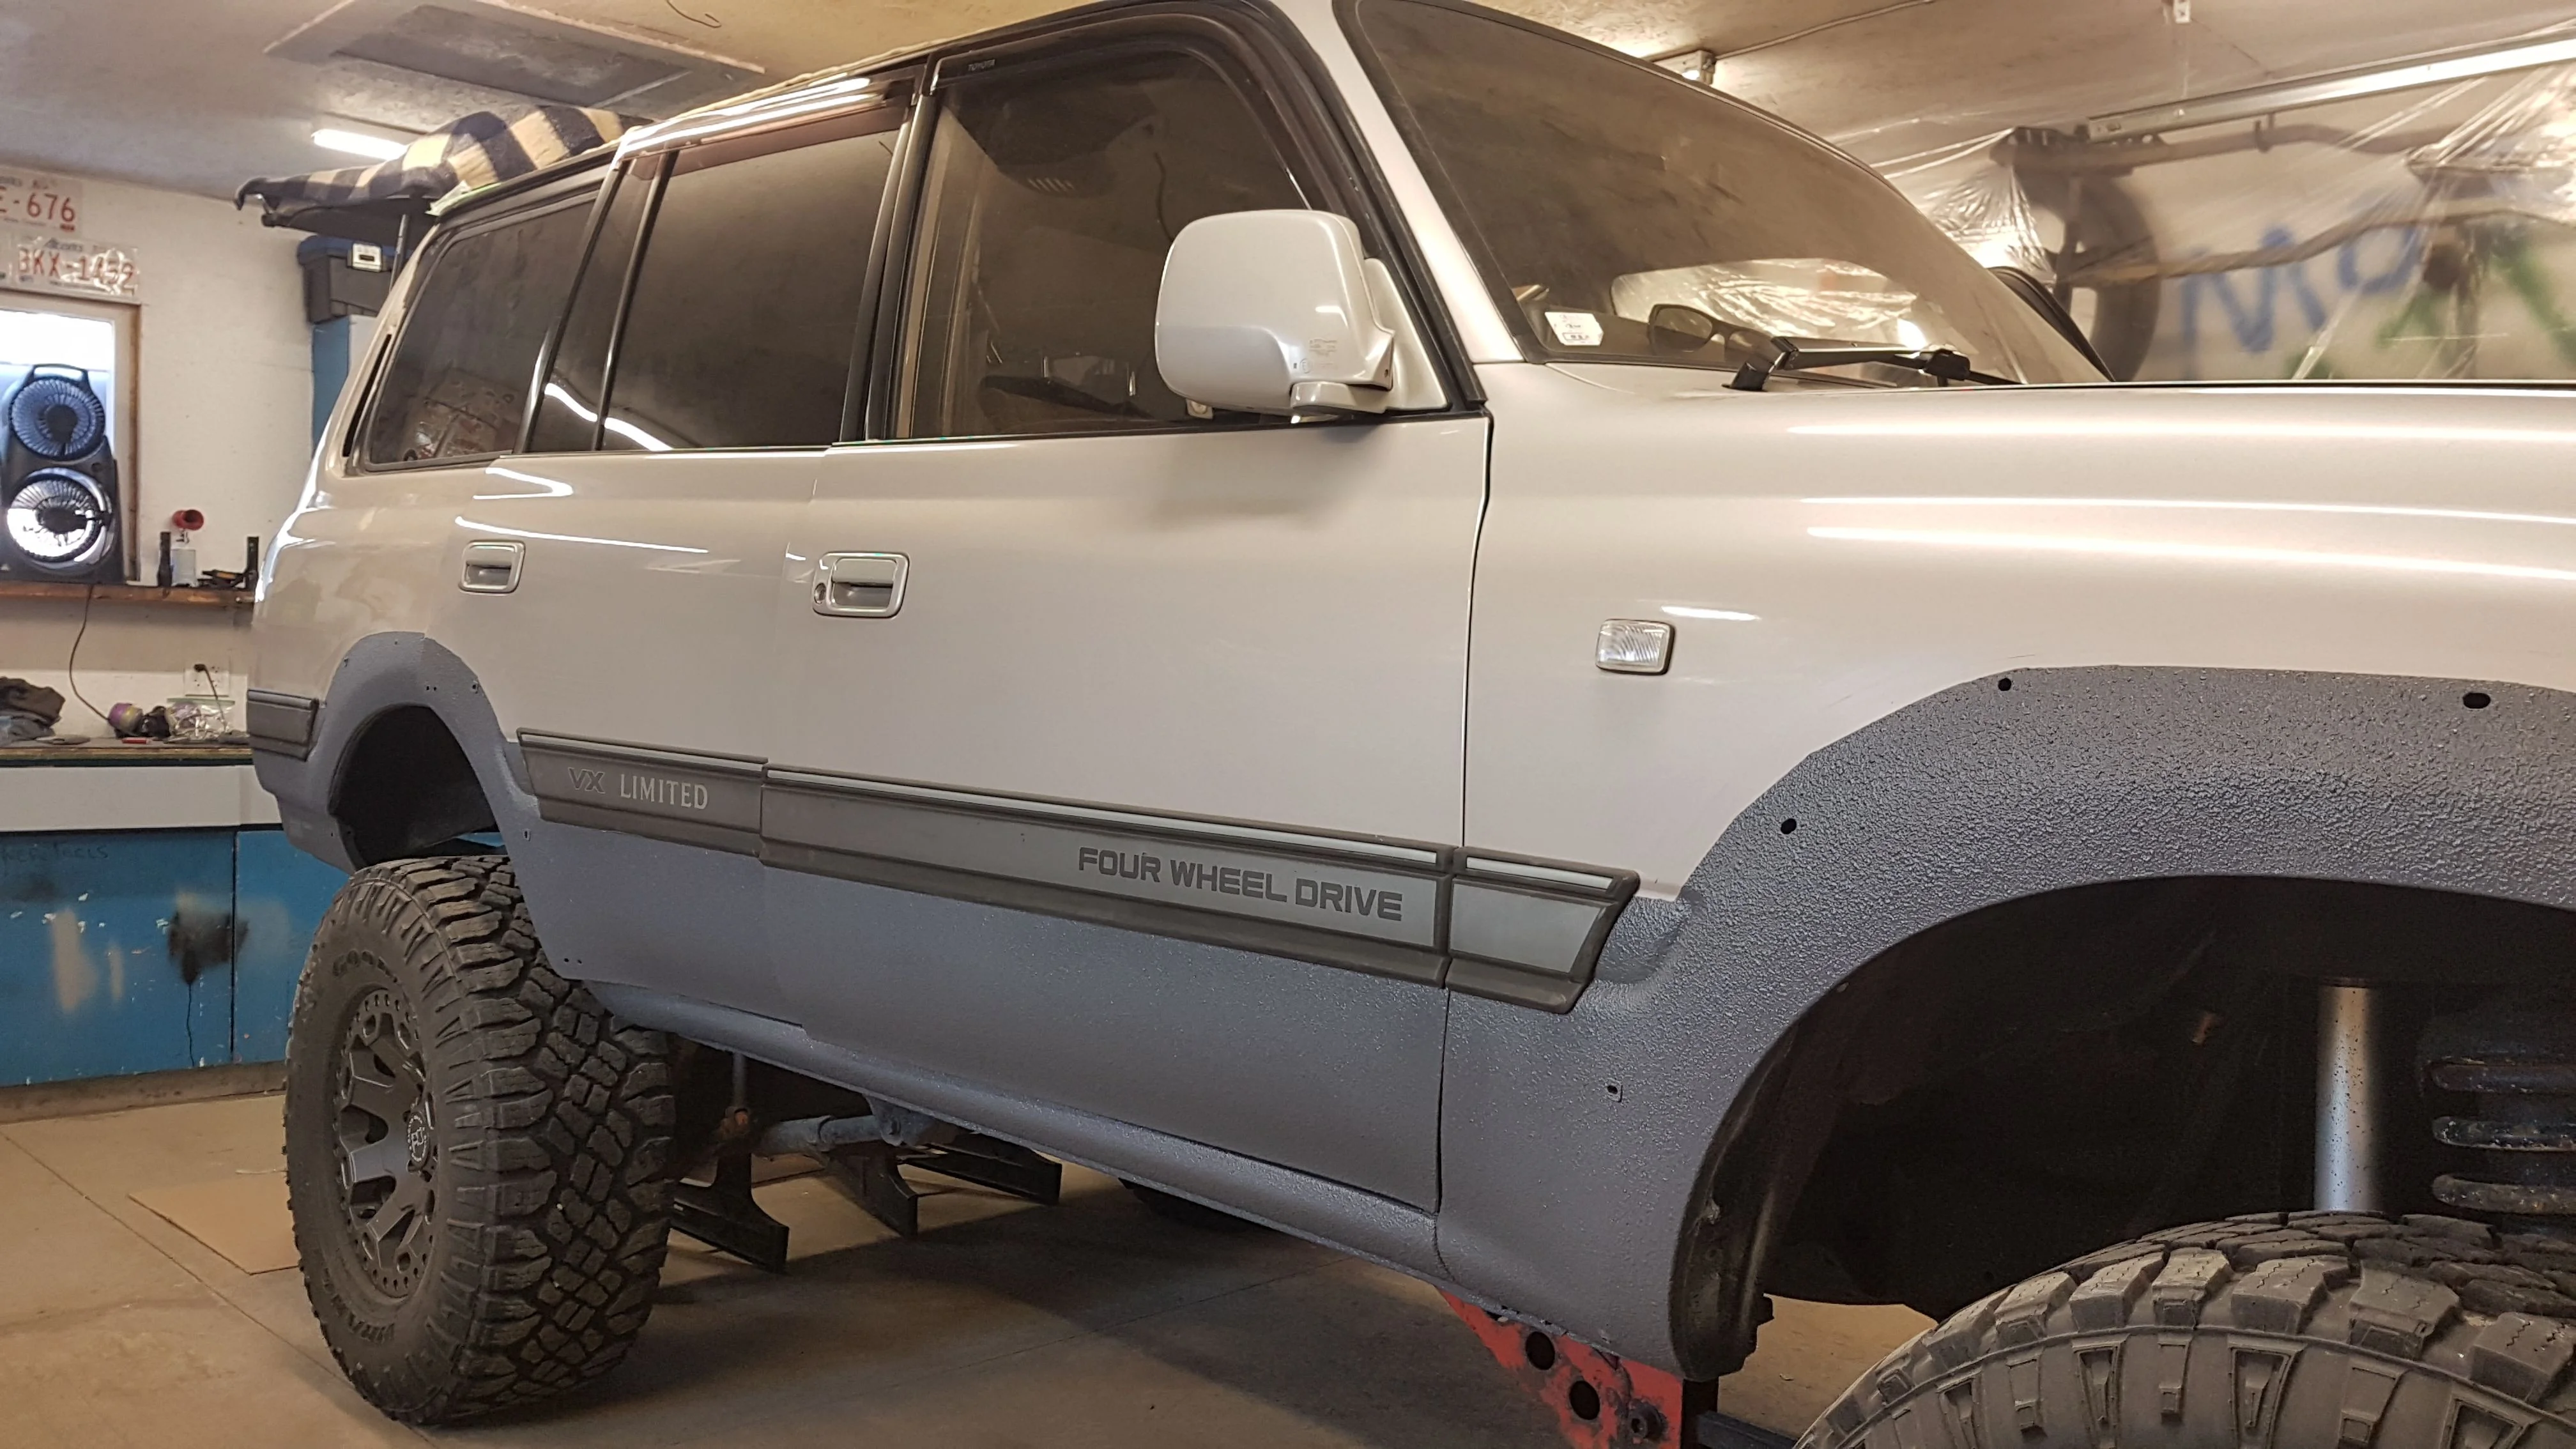
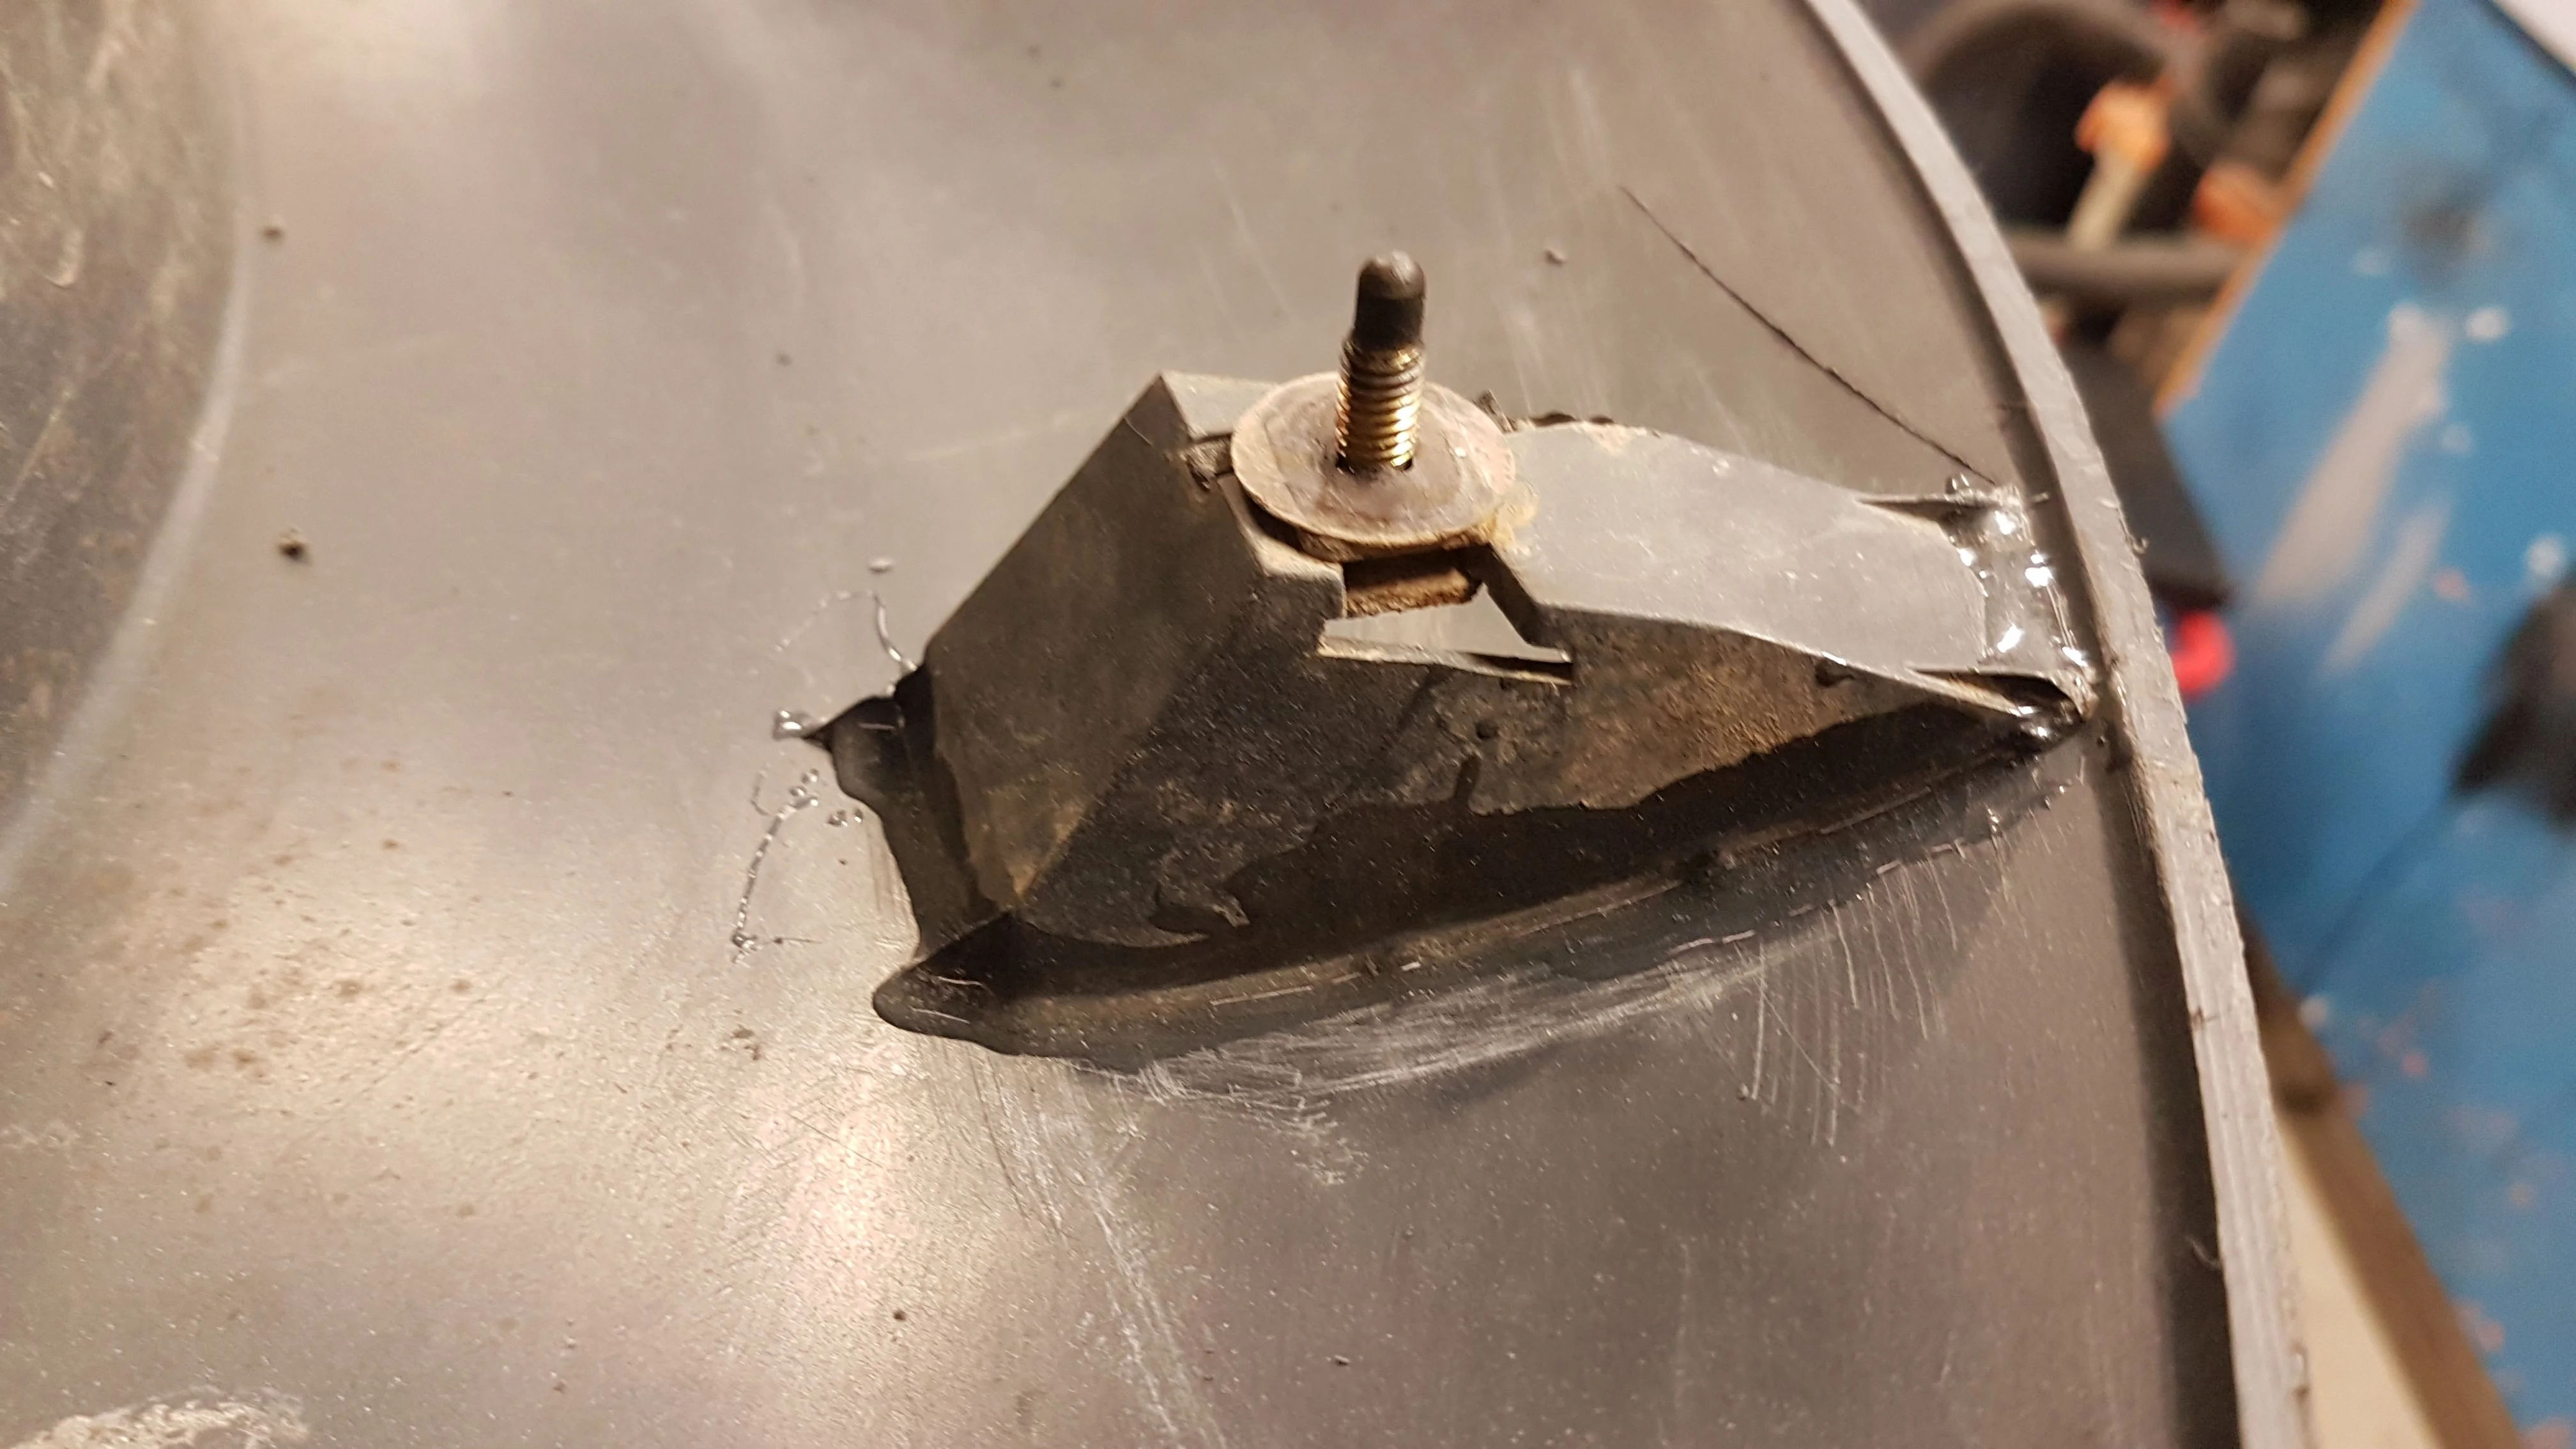
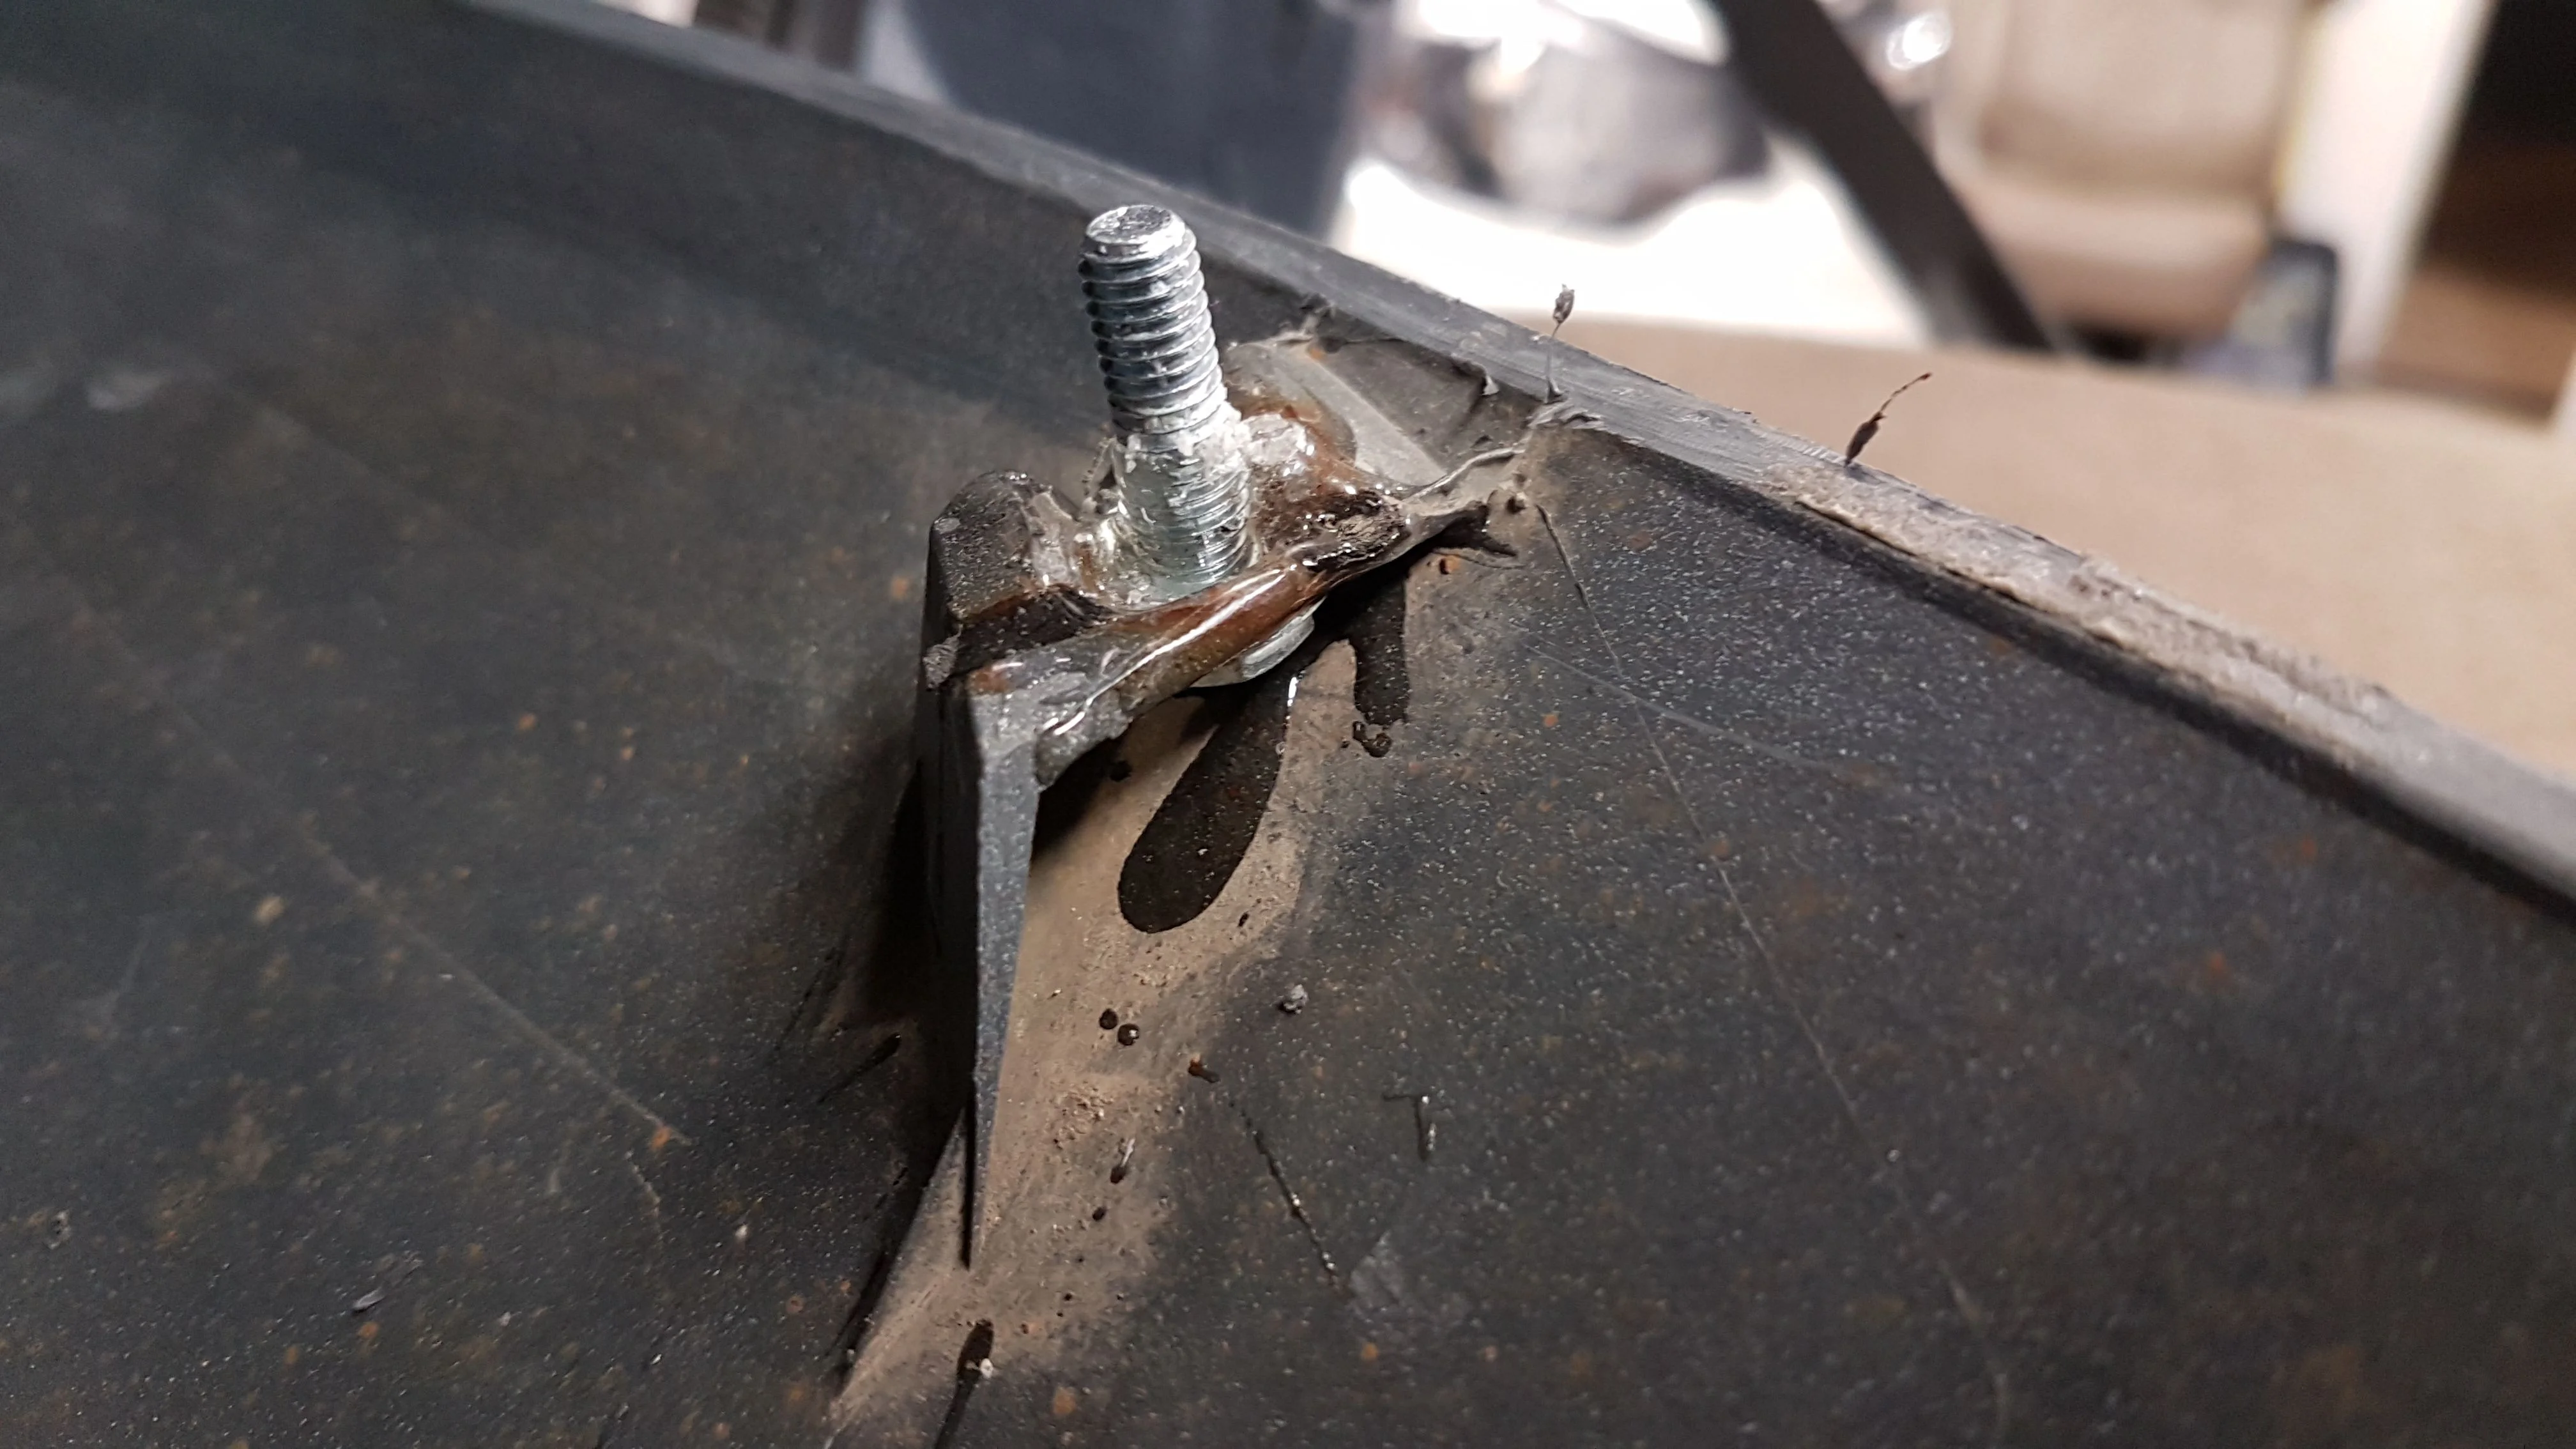
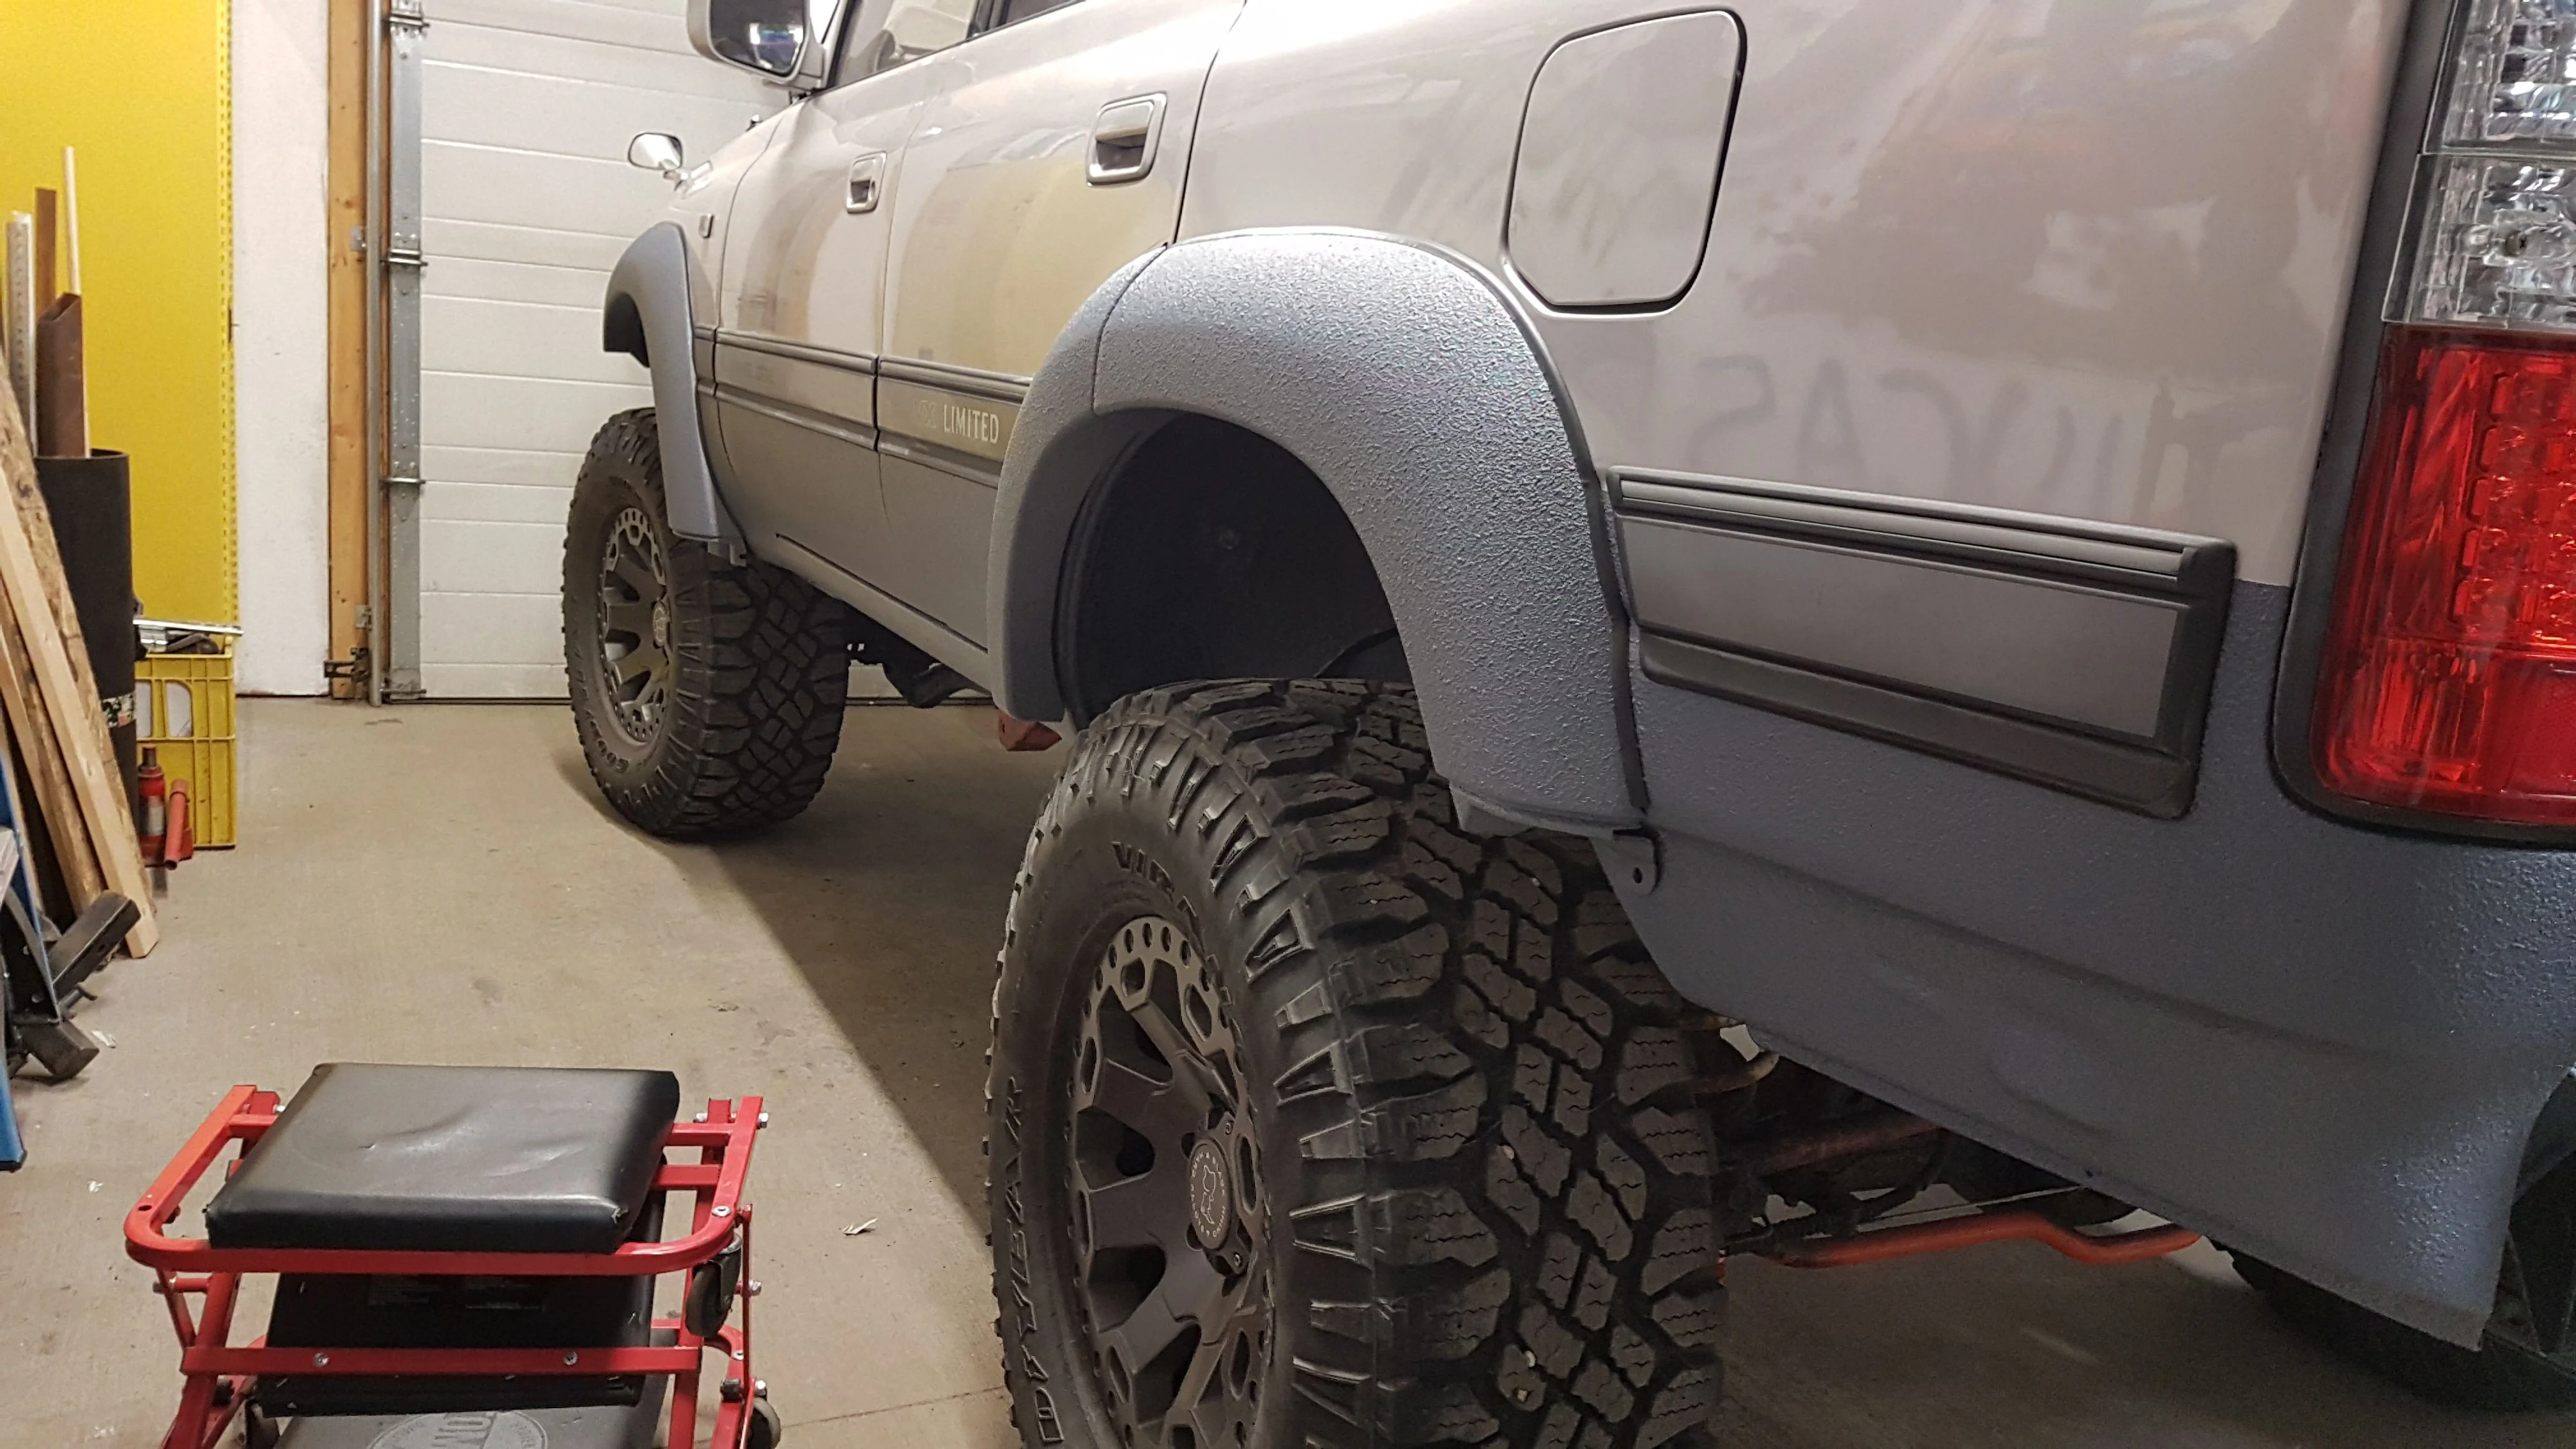
A couple spots on the flares broke during removal, so they got fixed with JB and one of the studs broke, so I globbed in a new M6x1x20mm bolt. I chased the thread to cut the epoxy out before putting it on the truck. Also broke was all but one of the clips holding the little black metal strip under the side window I fixed earlier. Those clips only seem to be sold with the trim piece, so I shrugged my shoulders and filled each of the clip holes with some clear silicone so they hopefully don't leak, and then stuck the piece down on top of it. If it rips off, I order a new one. If it stays there forever, cool. New gaskets applied and flares got put on.

Bumpers got re-installed (I did not spray the front bumper, as I am still telling myself that I will be building one soon), heavy ass spare tire tossed up, sliders re-installed, headlights, grill, interior pieces cleaned and re-installed, little plastic rocker plugs re-installed, washer bottle re-installed, air box re-installed, in-fender air intake re-installed, little box with wires that had a bracket holding it just in front of the hole you need to reach in to get the damn two rear bolts on the fender re-installed, side window vent re-installed, license plate light wired differently, loomed and re-installed, and I'm sure there was more.

full


full


full


full


full
 

Users who are viewing this thread

Back
Top Bottom