Builds Mail Order Ride - My HDJ81 (2 Viewers)

This site may earn a commission from merchant affiliate
links, including eBay, Amazon, Skimlinks, and others.

Sounds like a great trip. I just did 4500km trip with my FZJ80, didn't miss a beat, but damn it sucks the fuel down! $1000 bucks of fuel gone in 9 days. :meh:

I'd check wheel bearing preload first.
20 min job each side to re-torque them.

I've had trunions that were completely pooched, and no discernable 12-6 wobble, but that's not to say it can't be trunions.
You're looking at a few hours each side to dig in deep enough to change trunions.

Can you fit a manual torque converter lock out switch on your tranny so you can lock it out in 3rd? Auto trannys aren't my thing, so not sure if it's doable on yours, or on later trannys?
 
1. Great trip report.
2. Yikes fuel is expensive where you live!
3. Looks like I should get a trans temp gauge. Like everyone said, I usually drop down to 3rd (torque converter locked out) if I'm climbing a steep slow hill in the 55mph-65mph range.
4. Are you running the stock trans cooler? Seems like that should be enough to keep the transmission cool, shouldn't it?
 
@mudgudgeon '93+ HDJ81's had the electronically controlled A442F with torque convertor lockup in 3rd and O/D (4th), the earlier fully hydraulic ones only had O/D TC lockup.

@Lumpskie HDJ81's did not come with a trans cooler from factory, but the FZJ80 setup fits like a glove if you aren't running an IC that would get in the way.
 
I'm wondering if there's any work or information out there regarding the installation of a manual bypass switch to force the tc to lock up? Might be a pain in the ass if a person forgets to turn it off then stalls the engine on the first stop? Or a way to reduce the lock up speed to 60 or 70kph?

No factory cooler here, but looking into it a whole decent aftermarket kit can be had for less than $100 so that's probably much easier than fiddling with the lock up the way it is. Just gotta do some measuring in the meantime. It's not a panic, at any rate.
 
1. Great trip report.
2. Yikes fuel is expensive where you live!
3. Looks like I should get a trans temp gauge. Like everyone said, I usually drop down to 3rd (torque converter locked out) if I'm climbing a steep slow hill in the 55mph-65mph range.

Actually, and maybe unfortunately, fuel where I live is some of the cheapest in Canada.

Trans temp gauge is something I would have never thought of really needing up until now. Glad I had put it in anyway.
 
Yeah, it was the wheel bearing, preload and lock nut were finger tight. Looks like over time that foldy metal tab washer just worked itself flat, kinda disconcerting. Did it over again but instead of pissing around with the fish scale just set the inner final to 20ftlbs, everything else according to the book. Shimmy at speed is gone, even a bit of vibration under acceleration seems to have cleared up. Took 75 minutes including a lengthy test drive.

Put this on the "wow, shouldn't have been so friggin' lazy and just done it earlier" list of jobs.
 
Put this on the "wow, shouldn't have been so friggin' lazy and just done it earlier" list of jobs.

Oh, snap! I have one of those lists too.


I recently put in new birfs, new wheel bearings. Finished up late at night, the next morning woke up and went "oh crap". I forgot to bend the lock tab on one side.
It was 4 or 5 days before I got around to opening up the hub, checked the preload, and bent the tab.
After 5 days running, the grease and bearing was all bedded in, and I got about 1/6 - 1/4 of a turn on the inner nut before I got the same 35lb preload
 
Haven't really done anything other than drive around lately, but just did an 8,000km oil change and got a fresh batch of results from Blackstone labs.

full


Apparently it's healthy. That's reassuring.
 
150A Sequoia Alternator!

full


After my trouble finding a proper sized alternator on this side of the world for any decent price, I've been running the 80A alternator for the 18 months or so. It mostly works, but during startup the load from the intake heater and batteries was killing it, howling madly and far exceeding its capabilities so I've had that disconnected for most of the time. It would still show a low voltage idiot light and struggle to hold voltage while charging both batteries for a few seconds after startup. That happened back here: Mail Order Ride - My HDJ81

A little while ago I picked up a 150A alternator from a smacked up 2005 Sequoia for $85, part #27060-0F050. Brought it to a rebuild shop where a dude spun it and said "it was doing 125 at 1800. It works" so I thanked him for his time and left. Ordered a 4 pin connector based on information from @Photoman 's bracket and connector thread, part #90980-11964.

I finally got around to taking everything apart recently. Get out all your 10/12/13/14mm shallow and deep sockets, extensions and box end wrenches. Disconnect both negative cables from batteries, pull out the air box, intake tube to turbo, the a/c belt, a/c tensioner pulley off completely, took out the bolts for the a/c compressor, tied that out of the way, loosened the alternator, pulled off the alt belts, took the fan and water pump pulley out of the way (but not fully out, I got lazy and didn't want to pull fan shroud), pulled the alternator out, and took off that little skid plate thing underneath (but actually didn't have to in hindsight).

full


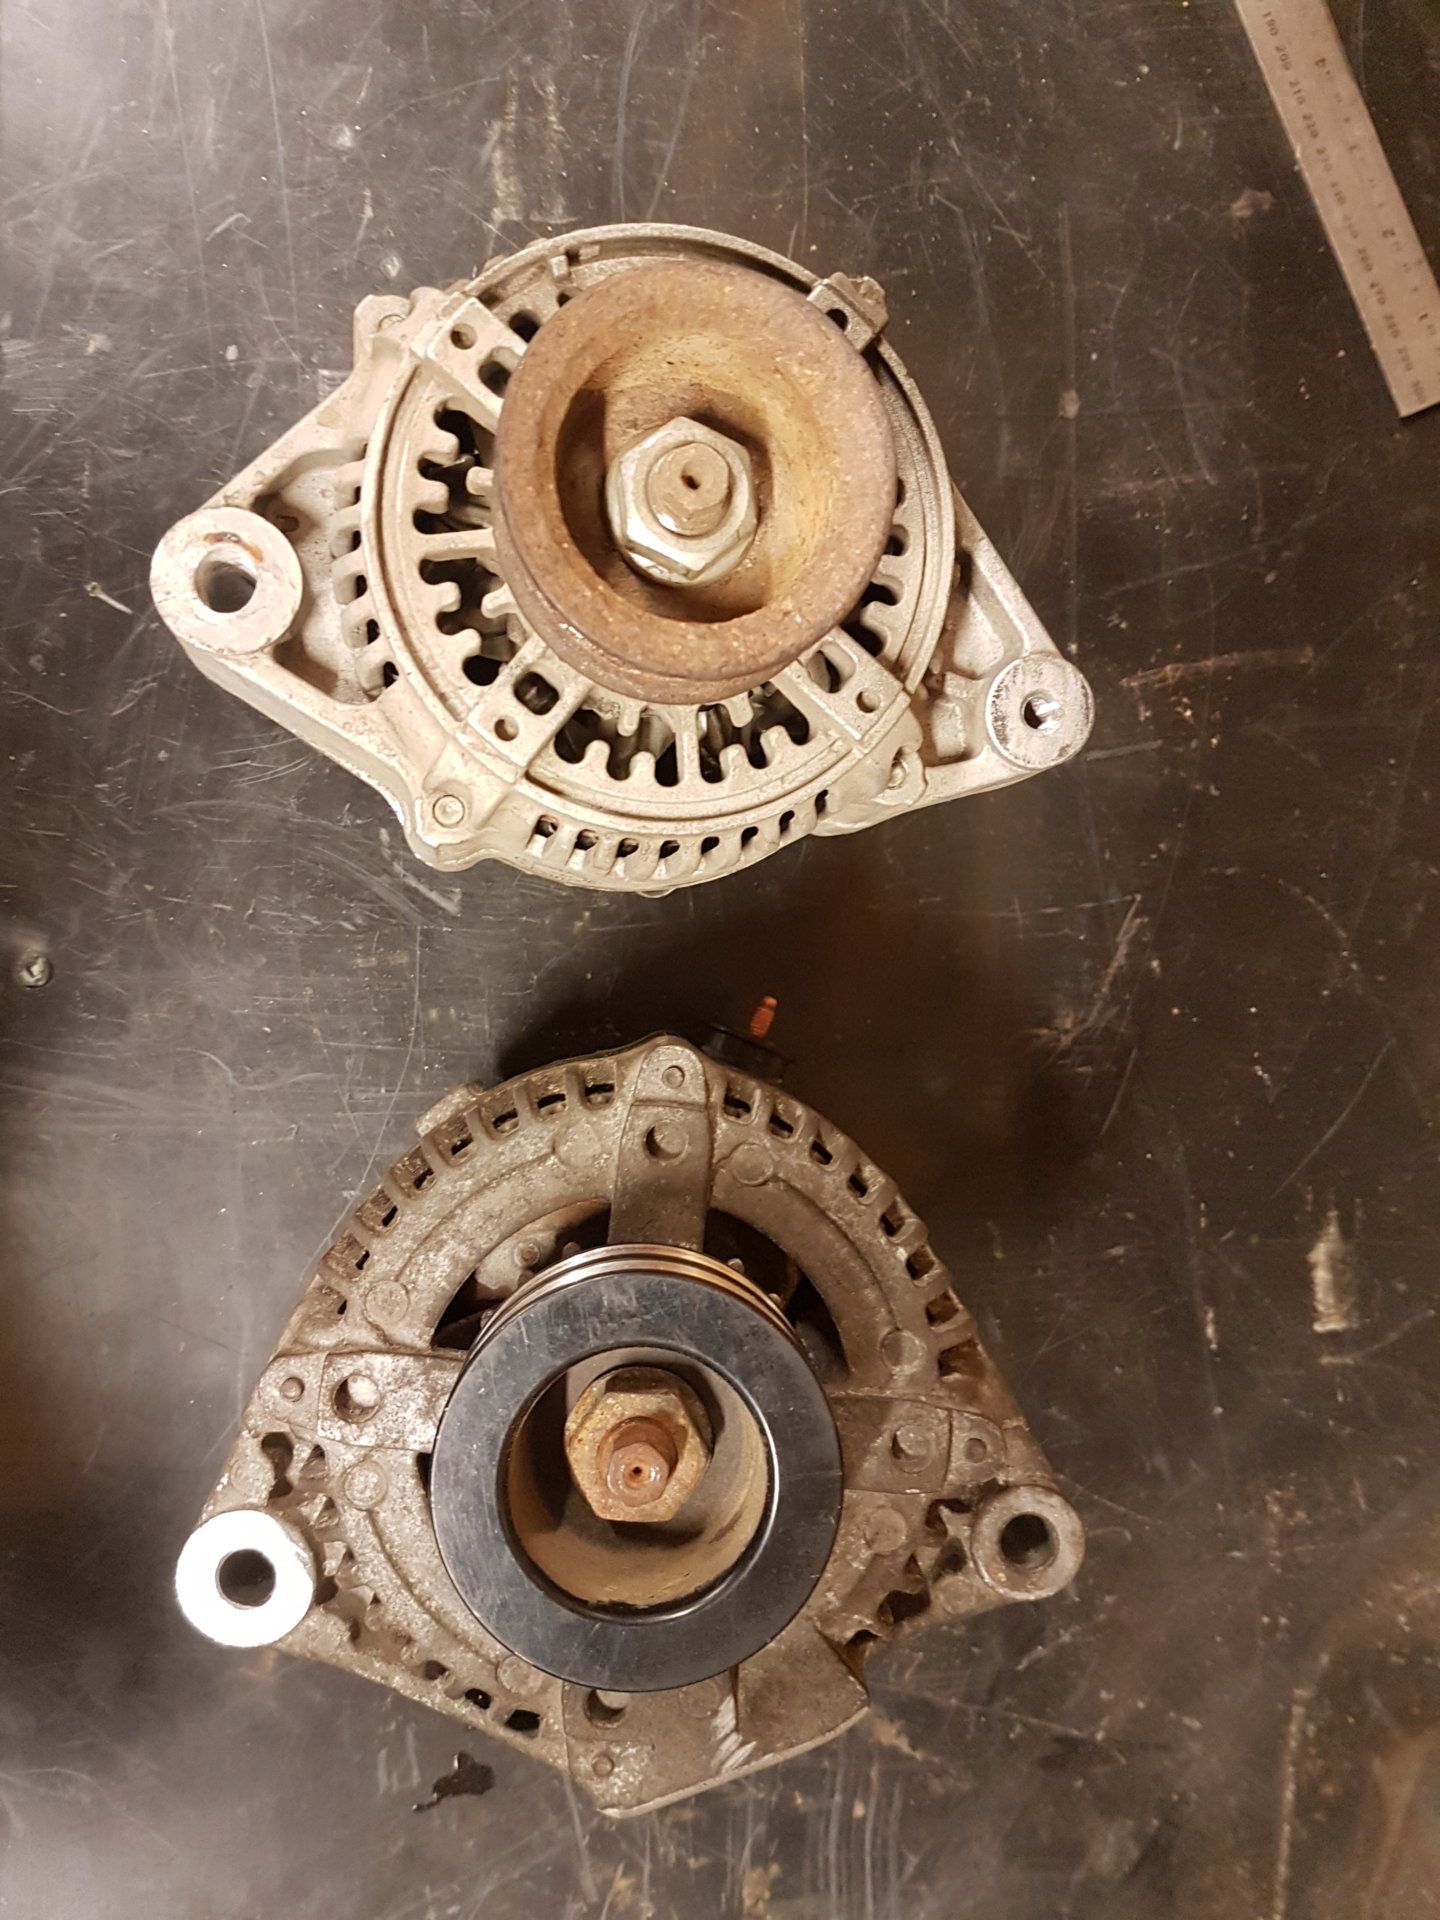
The top is the 80A unit, the bottom is the 150, pulleys have been swapped already as the Sequoia uses a serpentine belt. You need to cut off the inside mounting tab from the new alt, it would be at 6 o'clock in that picture. After a bunch of attempting to fit things, drawing up custom brackets and cutting them out of tin, attempting different ideas, I ended up coming across photos posted by @CycloSteve and 
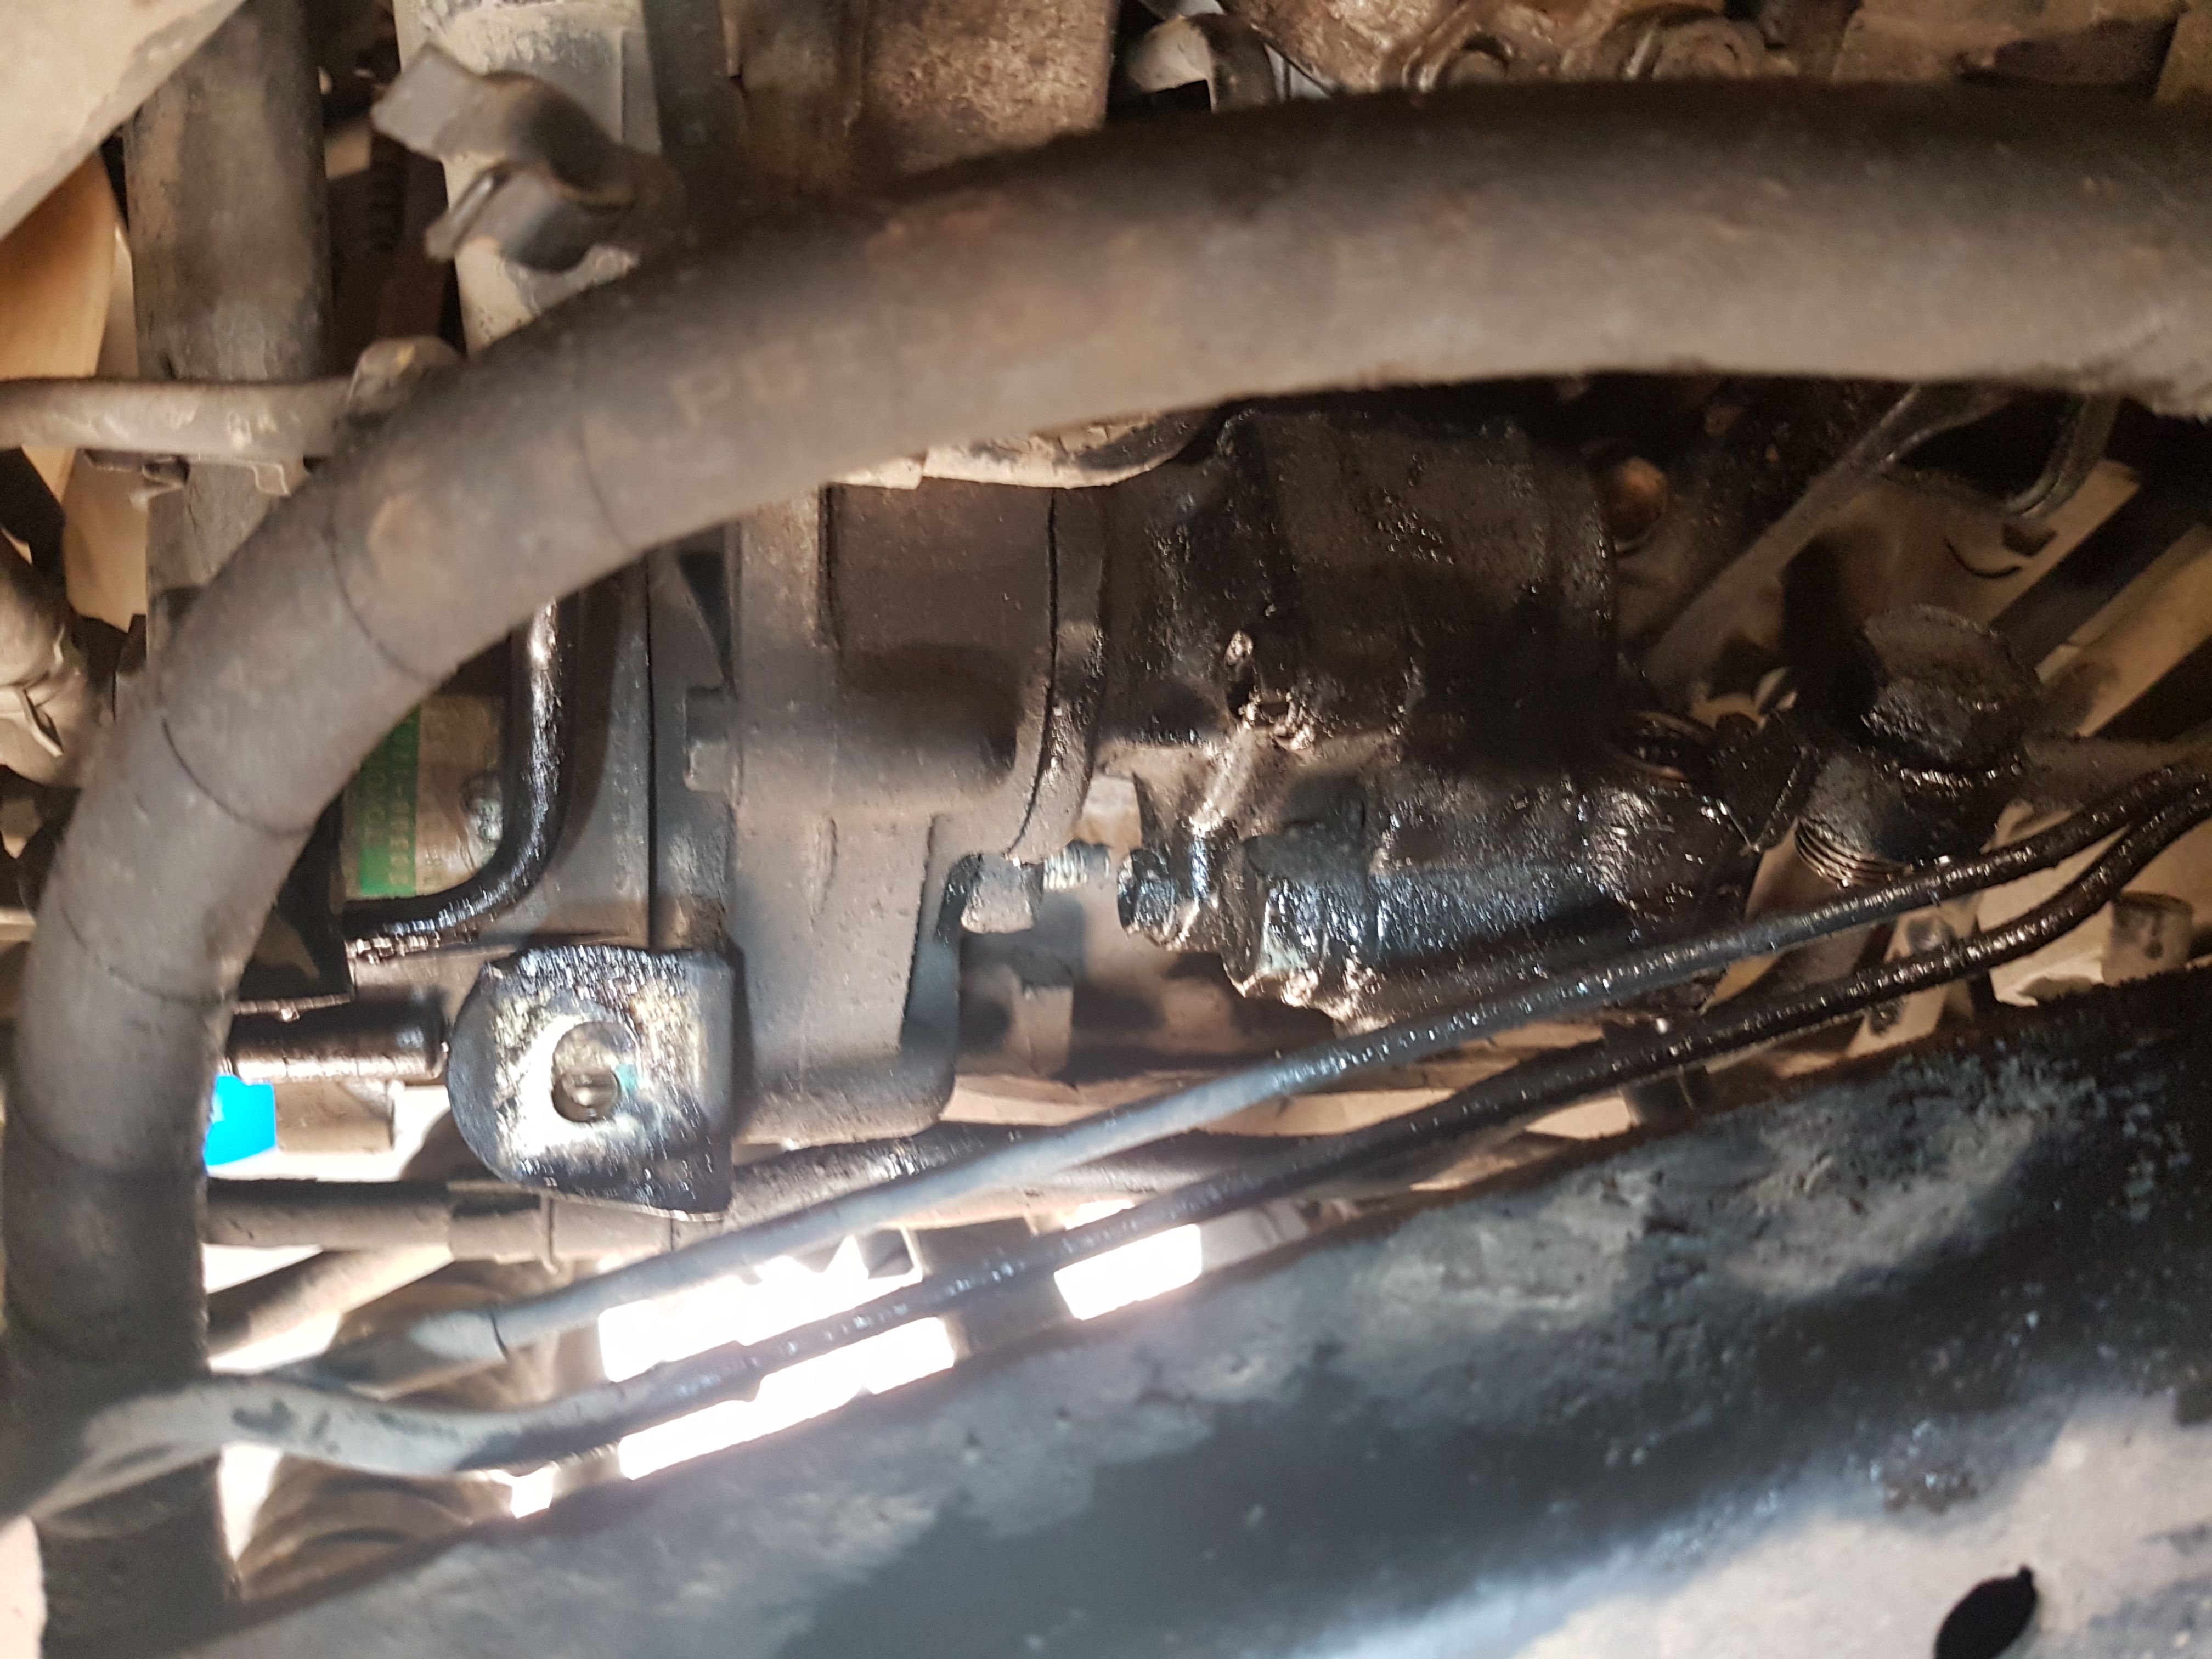
@Tapage where they just used modified stock brackets, so I realized I was overthinking things. I needed to open the mounting holes a bit so I could rotate the bracket up, and opened some of the bottom of the slot in the bracket. I also needed to file the corner of the casting for the bracket. The adjustment bracket used is the large #2 bracket, part#16381-17020.

full


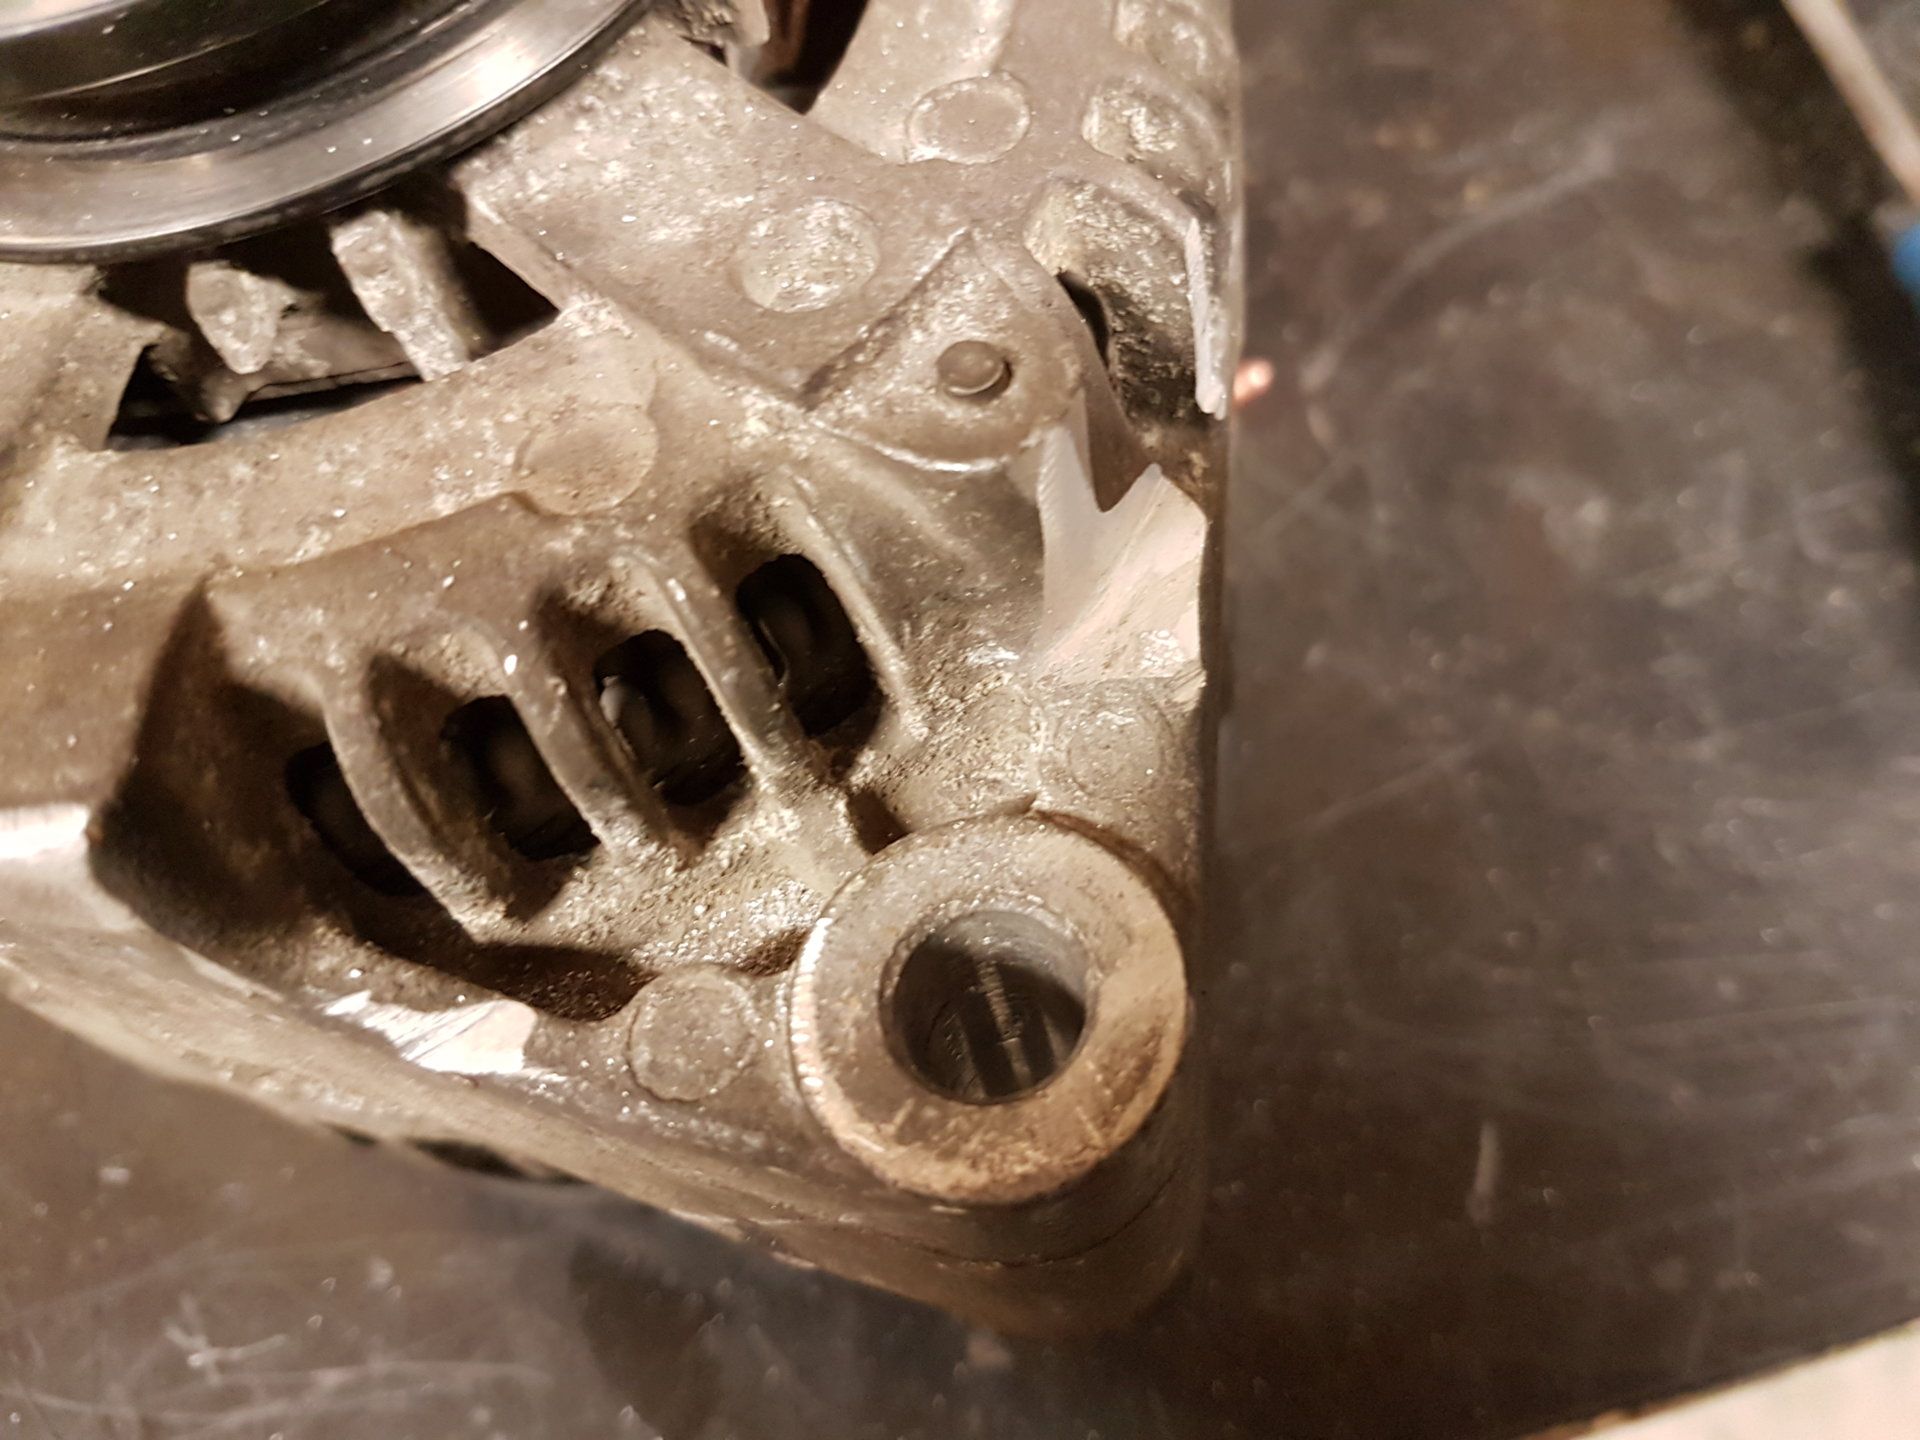
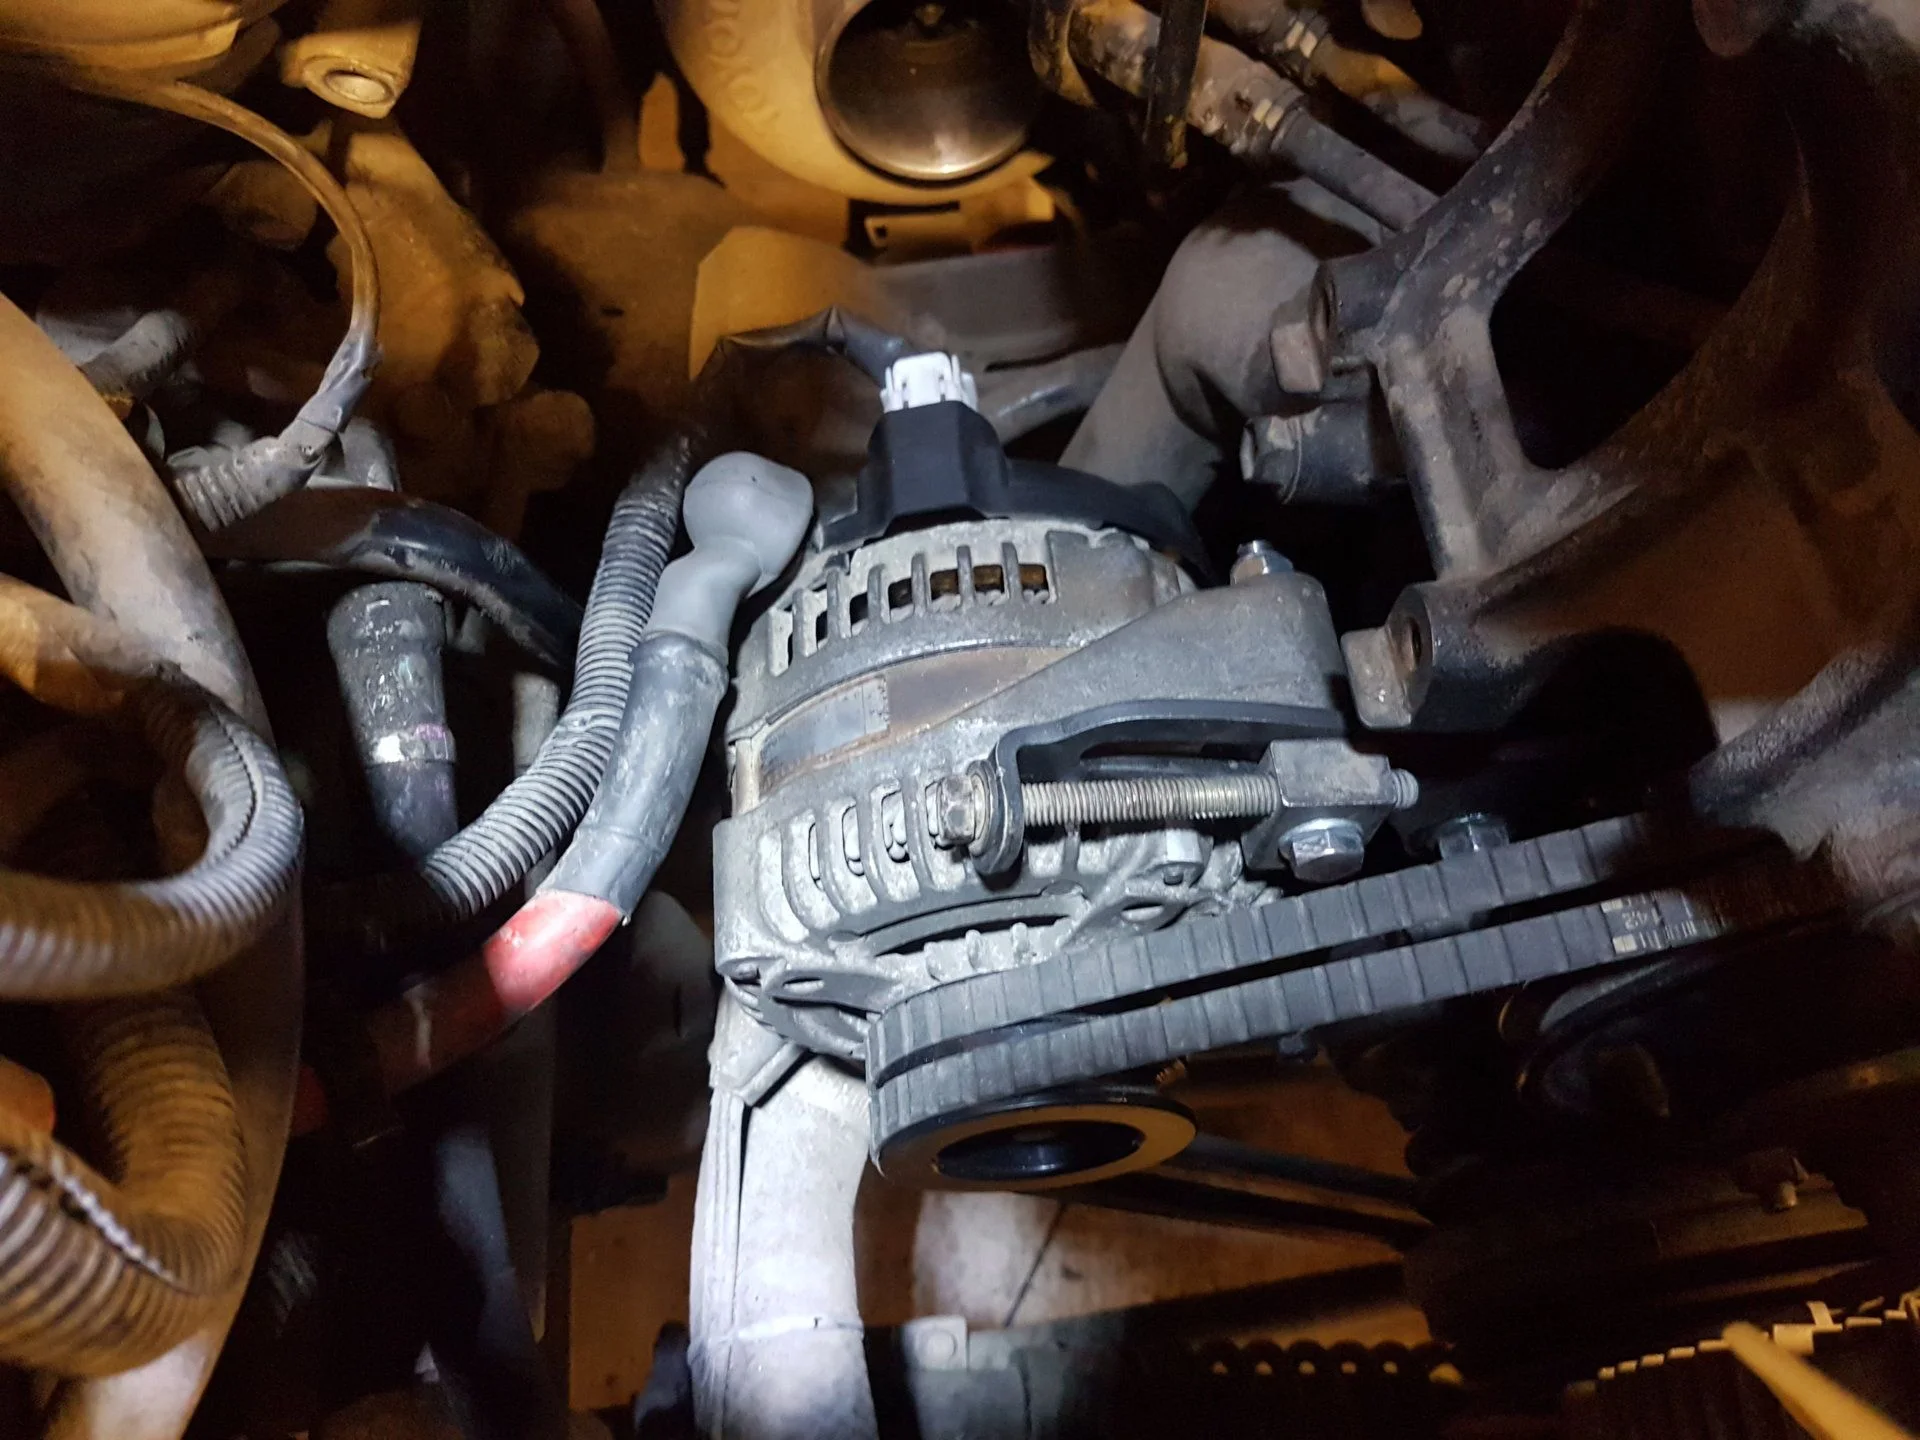
After that, it's a real tight fit. The adjustment bracket needs to be totally loose or off at the water pump side to even get the alternator into place so the bottom bolt can go through. I was using the 39" belts and was able to JUST get them over the pulley. A 39.5 would have been nicer, but I was able to reuse what I Already had. I got a m8x1.25x75mm bolt and some washers and a nylock nut for the "tighten the thing in place after adjusting" function since the new alternator isn't a threaded hole, so you gotta go all the way through. I wasn't able to get a larger diameter bolt through without taking more material out of the adjustment bracket, so I'll just have to check on this one sometime later. Eventually it worked and I was able to get belts in place, tightened everything up, and in place.

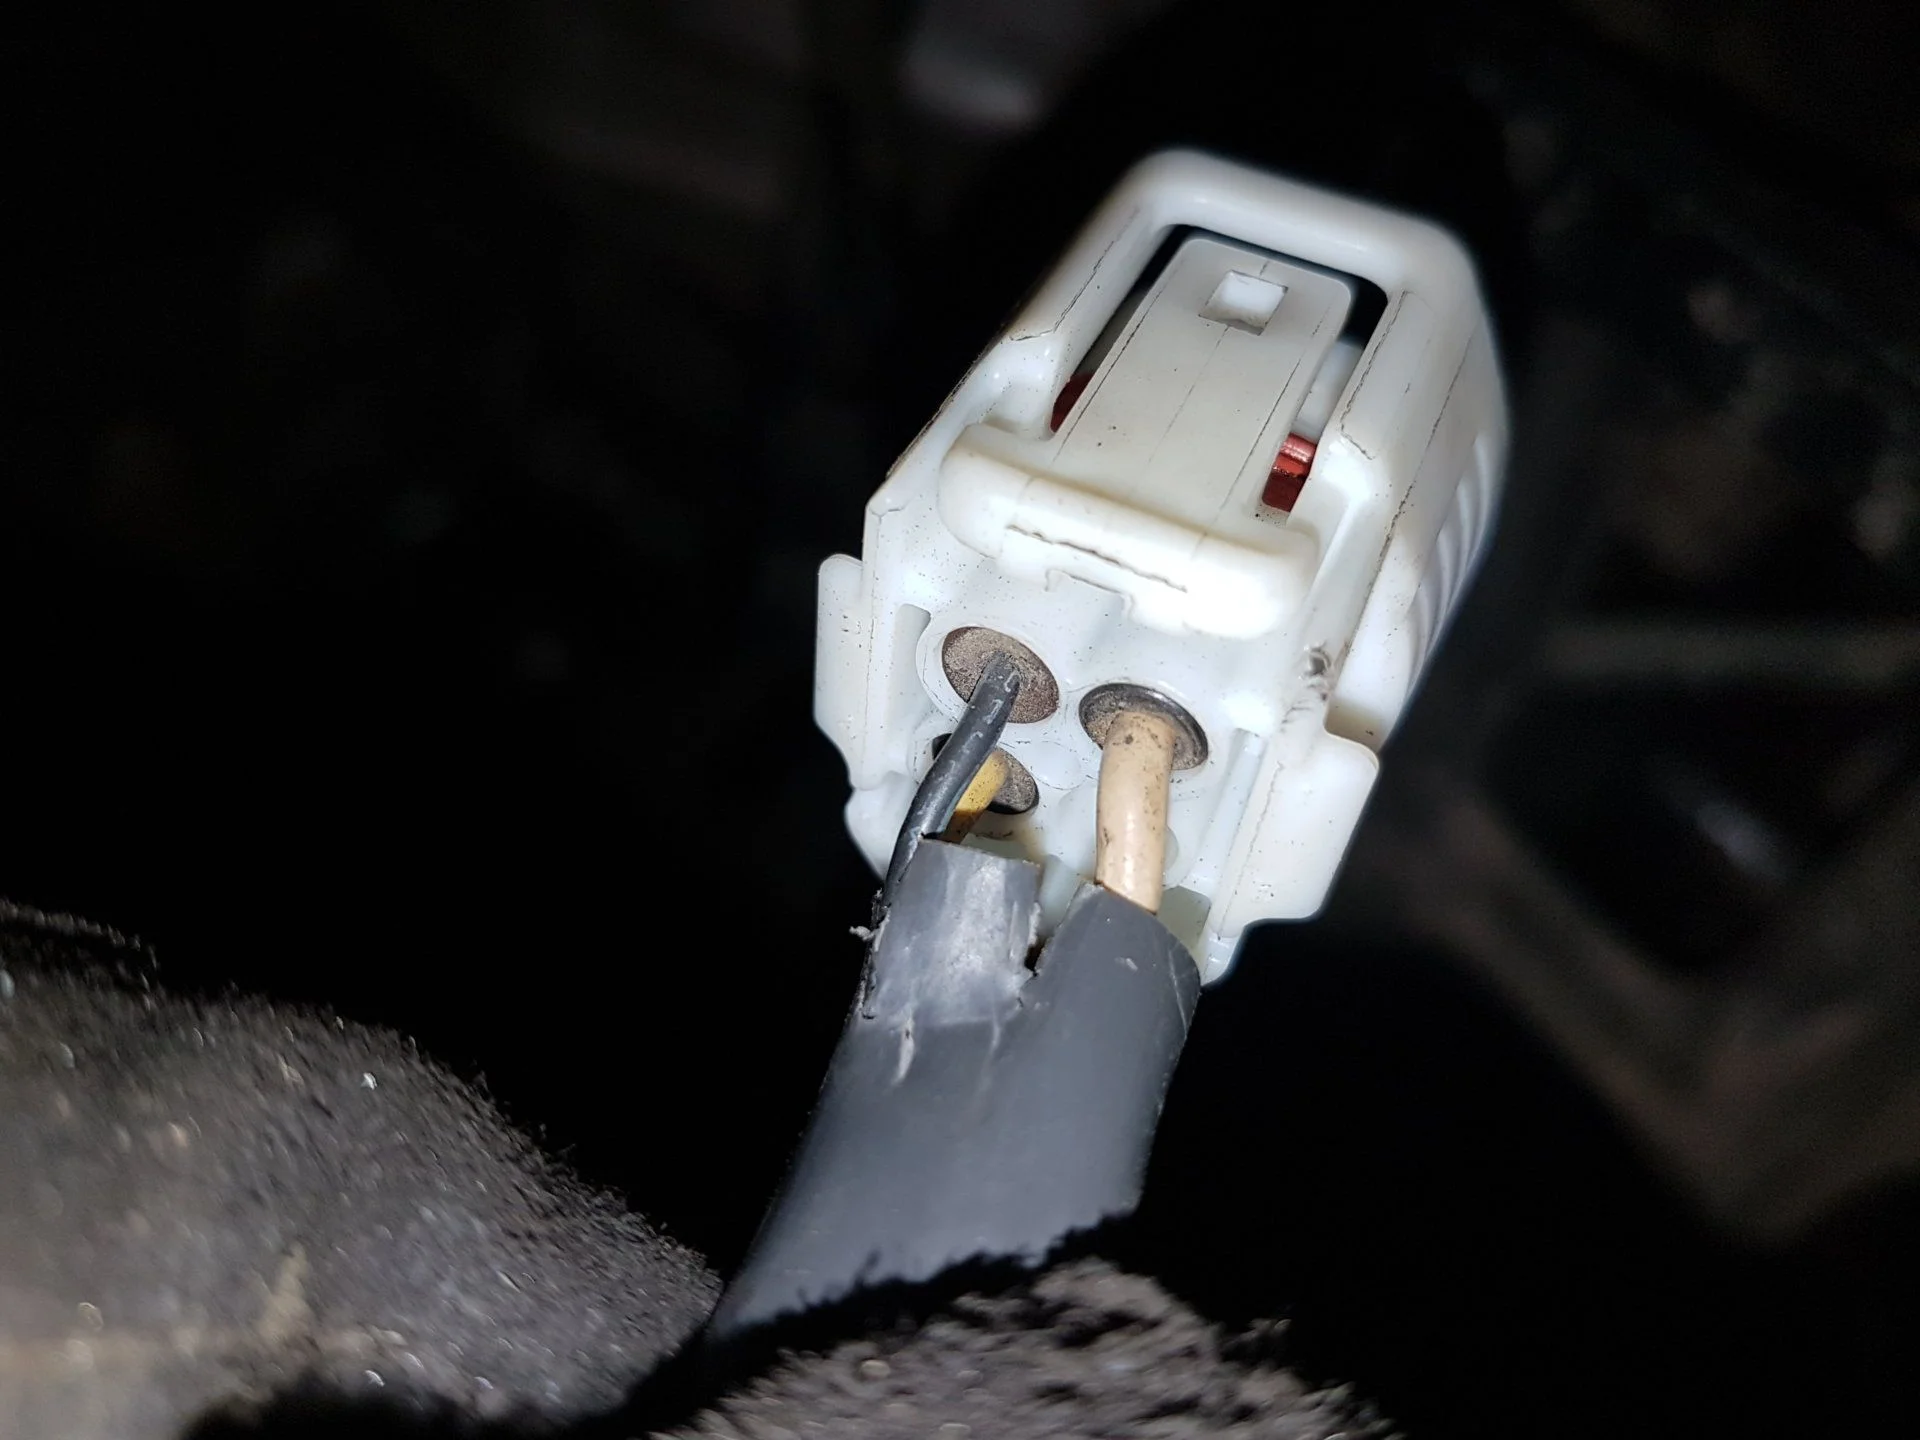
Took the pins out of the stock plug and inserted them into the new 4 pin plug. The photos and information posted by @Otamiway in 150 Amp Alternator - Thanks Photoman are awesome and mostly correct for a 95 hdj81. The "S" wire was white, while "IG" was black/blue and "L" was yellow/blue.

full


With all this in place, put everything else back together again and fired it up.

full


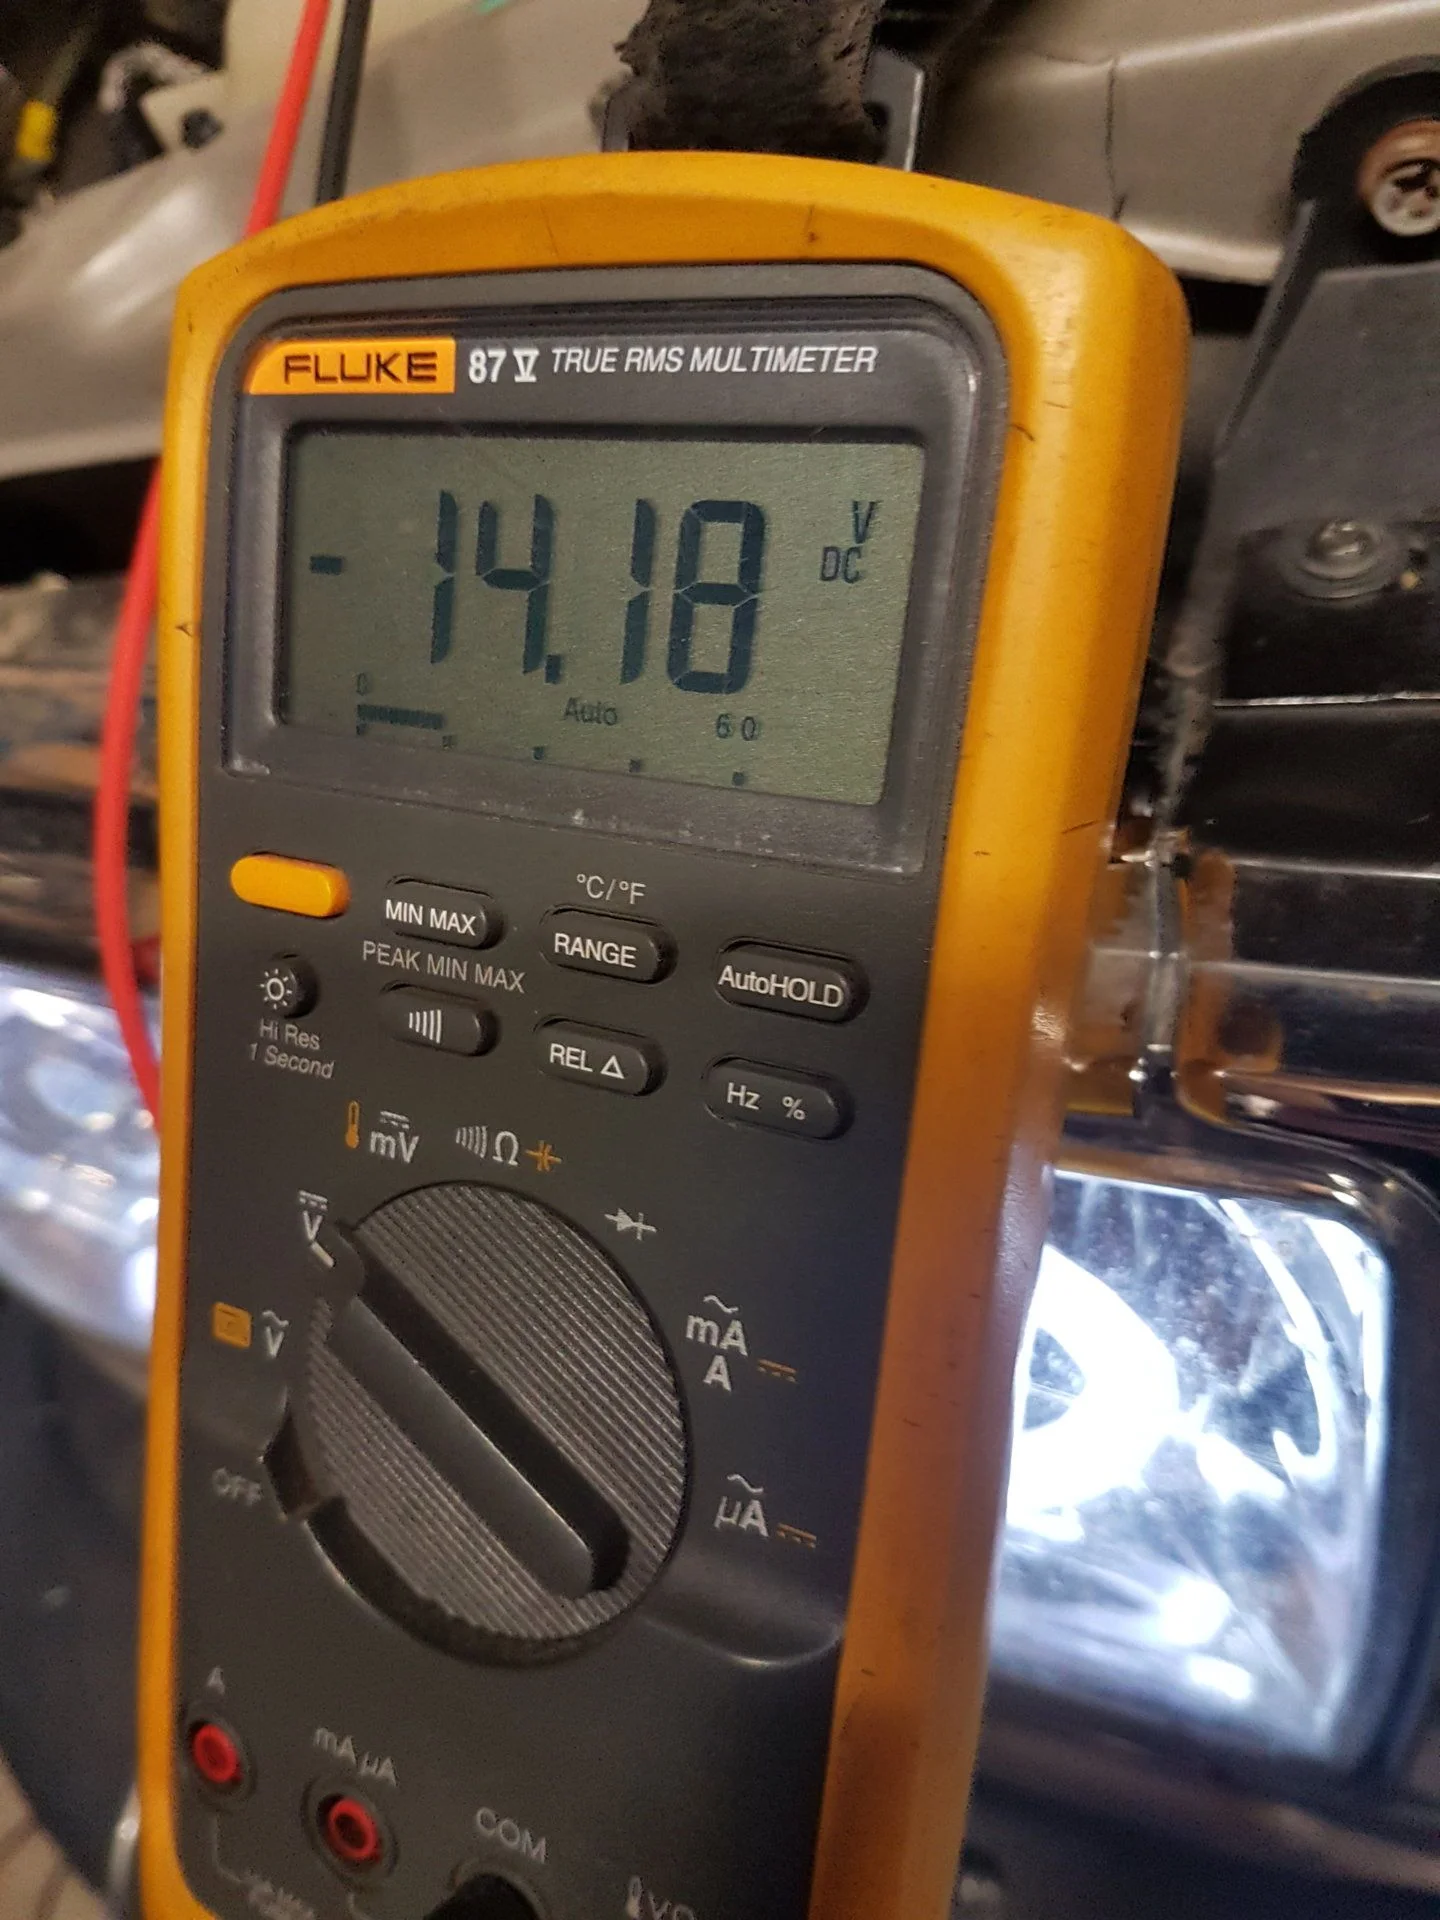
Got 13.99V at first, then 14.18V after a short drive and it was warmed up. No more dummy light while batteries are getting topped off after startup. Better than the 13.7 the old alt was running at too. I still haven't plugged in the intake heater. I'm choosing not to ignore the possibility it might be pooched and that's what contributed to the death of my original alternator, so I want to run this as is for a bit, make sure there's no problems before trying it out. I also didn't have a DC clamp with me and I didn't want to stress the alt without watching what was happening.

A smaller pulley might be a good idea, since I think the gas Sequoia would normally work at a higher RPM than the diesel does.

So far seems good though. And it cost me a grand total of $101.
 
Last edited:
Haven't done much other than drive it now and then.

I'm worried about the state of the intake heater and the crazy amount of current is drawing. It sucks like 180A-200A at first, which then quickly drops to 110A, until it turns off. Ohm test shows almost no resistance at all, so I think the heater might be shorted out, and the max current might be limited from the size of wire feeding it? I can't find ANY information about what the resistance or current draw SHOULD be from it online, and nobody has been able to confirm what I'm seeing. I have trouble believing that Toyota put a load in that's bigger than the factory alternator, hence my theory that it's failed.

I've just been leaving it disconnected in the mean time, so without it or the acsd there's been a few rough starts this winter. It lives in a heated garage though, and isn't a daily, so it's only actually gotten fully cold a couple times when I needed to leave it outside all day.

Also had to tighten up my right side front wheel bearing again. Put a new lock washer on it, and am trying the 30ftlb inner, 47ftlb outer nut trick this time. Wonder why only the one side is giving me a problem...
 
As far as the heater, I think the resistance would read basically zero when there is no current running thought it. The resistance builds as the element heats up. Light bulbs are the same way. I have no idea about how much current it should draw though.
 
My leak free JDM vehicle status has finally been changed to leaky north American vehicle. Thanks a lot power steering pump...

So, did some reading and ordered a rebuild kit. I also saw someone state in a post that the oring between the pump and timing case isn't included in the kit, so i ordered one of those separately. The blue o ring in question DID in fact come in the kit I ordered, so at least in my case it wasn't needed. No worries, I guess it goes in the spare parts drawer.

You are going to at least need: 10, 12, 14, 17, 22mm sockets and combo wrenches; rags; impact; picks for removing orings; c clip pliers; strap wrench; rags; deadblow hammer; rags; gloves; more rags; gear puller; and some more rags.

I basically followed the FSM for the work, but here's some stuff I learned that it doesn't mention:

- Pull the wheel off, then the fender skirt to see the pump. I can't imagine getting the pump off with the tire in the way.

- Remove the low pressure hard line, I couldn't get the pump out with it in place.

- Just take the weird foam block between the ps and injection pump. It gets in the way.

- You absolutely need a 12 point 17mm socket to remove the gear. FSM says to wrap the gear in a rag and hold with pliers while you remove the nut. That's bull****. The nut is so tight, the pliers were cutting through the rag and started to marr the surface of the gear. I found success using a rubber strap wrench and the impact to get it free.

- FSM says "remove gear". I used a 3 jaw gear puller, and even then I got the puller torqued right up, but it wouldn't budge until the gear just SUDDENLY let go and it popped off violently. Use caution, because if that gear hits the floor you are likely to wreck teeth.

- Don't lose vanes. They sure suck to pick up when all covered in oil.

- Getting the offset guide out of the rear housing sucked. Gotta hit it way harder with a deadblow than one would expect to shock it out.

- When putting the pump back into the truck, I found it worked best to get it roughly in place, put the low pressure hardline on loosely, then get pump tightened down, then tighten the hardline. I put the pump in first, but the pressure of the hardline against its bracket made it impossible to line up the small hardline bolts and thread them in, especially in such an awkward location.

- Replace ALL your orings on parts BEFORE you reassemble parts to make sure they fit. A couple are close in size, specifically the low pressure hard line and the screw valve cap oring. I had the wrong one on the valve cap, but didn't realize until I was putting the hardline on.

After a whole one test drive, it's not leaking and running fine. In total I spent about 6 hours, spread across 3 evenings to complete. I would guess I could do it comfortably in 4 hours now I know what to expect from the crappy parts.

I would call it a :banana::banana::banana: out of 5 job I guess. If I had more disposable income, I would just buy a rebuilt pump somewhere.

Here's some photos snapped along the way to get an idea of what parts look like.

full


full


full


full


full
 
Replaced the rear gate lift struts with the cheapo Maxpows from Amazon. If it doesn't hit my head when it's -20c, I'll be happy with them.
 
Well now, about that...

I was getting some scary high egts on some hills and sustained acceleration, so I had turned down the main fuel a little bit to compensate. Most recent 0-60 run was 18+ seconds, and I guess I'm ok with it. Still better than before. I'd also found that wind direction, wind speed, crappy phone gps, very slight grades all affected the results so much that who really knows.

I'm finding it really hard to tune so that it's safe in all conditions, when I have zero hills around me. 0-120km/h is one thing, but 6 min climbing a 7% grade at full boost is something entirely different.
 
Higher elevation = higher EGT's in my experience. I think the turbo spins faster to make the same boost at higher elevations, so it's putting out more heat. Just another to take into consideration.
 
Higher elevation = higher EGT's in my experience. I think the turbo spins faster to make the same boost at higher elevations, so it's putting out more heat. Just another to take into consideration.

Air density is lower. The turbo has less air to grab hold of and stuff into the engine on each revolution
 

Users who are viewing this thread

Back
Top Bottom