LX470 HID RETROFIT PROJECTOR BRACKET (16 Viewers)

This site may earn a commission from merchant affiliate
links, including eBay, Amazon, Skimlinks, and others.

Just ordered the brackets!

When I go to TRS site to get the Stage III kit, which wiring harness do I get? There is an option for H1/H3 but also for 9006, which is sounds like is what is used to connect to the original wiring harness already in the truck?
 
Any update on the D2S brackets?
 
Just ordered the brackets!

When I go to TRS site to get the Stage III kit, which wiring harness do I get? There is an option for H1/H3 but also for 9006, which is sounds like is what is used to connect to the original wiring harness already in the truck?
You want the H1/H3 relay harness SKU H20 and a pair of 9005 male > 9005/9006 female high beam splitters SKU H390.
 
Any update on the D2S brackets?

The D2S bracket is not going to be cut and I just sold the last Mini H1 bracket. I do have 2 sets of D2S brackets available that i modified.
The Mini H1 will be cut again and available in 4-6 weeks
 
The D2S bracket is not going to be cut and I just sold the last Mini H1 bracket. I do have 2 sets of D2S brackets available that i modified.
The Mini H1 will be cut again and available in 4-6 weeks

Thanks for the update. I will order the H1 when available.
 
Chris, first off, welcome! I wrapped up my @Luke111 MH1 based install last week and the brackets really do make it as close to “plug and play” as one could reasonably hope for. I’ll post a few points that I noted which may help others (and first time light bakers like me) yet to do this retrofit. I’d really recommend getting a set of these brackets and fitting projectors designed for HIDs, as opposed to re bulbing your OE halogen projectors.
That's an endorsement if I've ever seen one! And coming from a very trusted member!

@PADDO, is your experience here the same as others? AKA... "Night and day difference! An upgrade EVERYONE should do!"
 
That's an endorsement if I've ever seen one! And coming from a very trusted member!

@PADDO, is your experience here the same as others? AKA... "Night and day difference! An upgrade EVERYONE should do!"
Well thanks, I try and add value where I can.
Ive been running a Xenon Depot Digital kit with 4300 and 5K bulbs for maybe 5 or 6 years and have been happy with the improvement over halogens, having initially burned through three or four sets of the Uber high performance types which I found lasted months, not years. So Xenon Depot Digital in OE halogen projector (still with OE lens, not a TSX replacement) was better for me however the light distribution was not/is not optimal - foreground was a bit messy, hot spots, squirrel finders etc. I’m mentally comparing back to Mrs Ps SC430 (sold) as a reference standard. The Morimoto mini H1s 7.0 with 4500k bulbs are a vast improvement over the rebulbed OEs and, as best as I can recall, perform to a similar level as the SC430s. They certainly illuminate like you’d expect a modern high end vehicle too with a better, less saturated foreground, more throw and wider, more even illumination. Using @Luke111 brackets makes the change out really easy. Take the time initially to mark out your existing beam pattern/vertical height alignment (hopefully it’s satisfactory) and vehicle center line and note your current adjuster bolt positions when you break open the housings. I had about 9 threads showing on the upper bolts (horizontal step up) and 11 on the lower (vertical height) bolts. I installed the new brackets/projectors back to this same position and both headlights were very close to where they should be on reinstalling- a half turn here and there to tweak horizontal and vertical to exactly where I wanted them, as per FSM spec.
HTH
 
Last edited:
Got @Luke111’s awesome bracket via USPS a couple days ago. Had taken lights apart day before following TRS video guide & Lou’s excellent guide. Put everything together following his guide — pictures and diagrams are soooo helpful. Everything went easily and presumably as it was supposed to. Did my best to adjust lights according to online instructions. Put all the trim pieces back and on and it’s like nothing ever happened! EXCEPT I can now see at night!

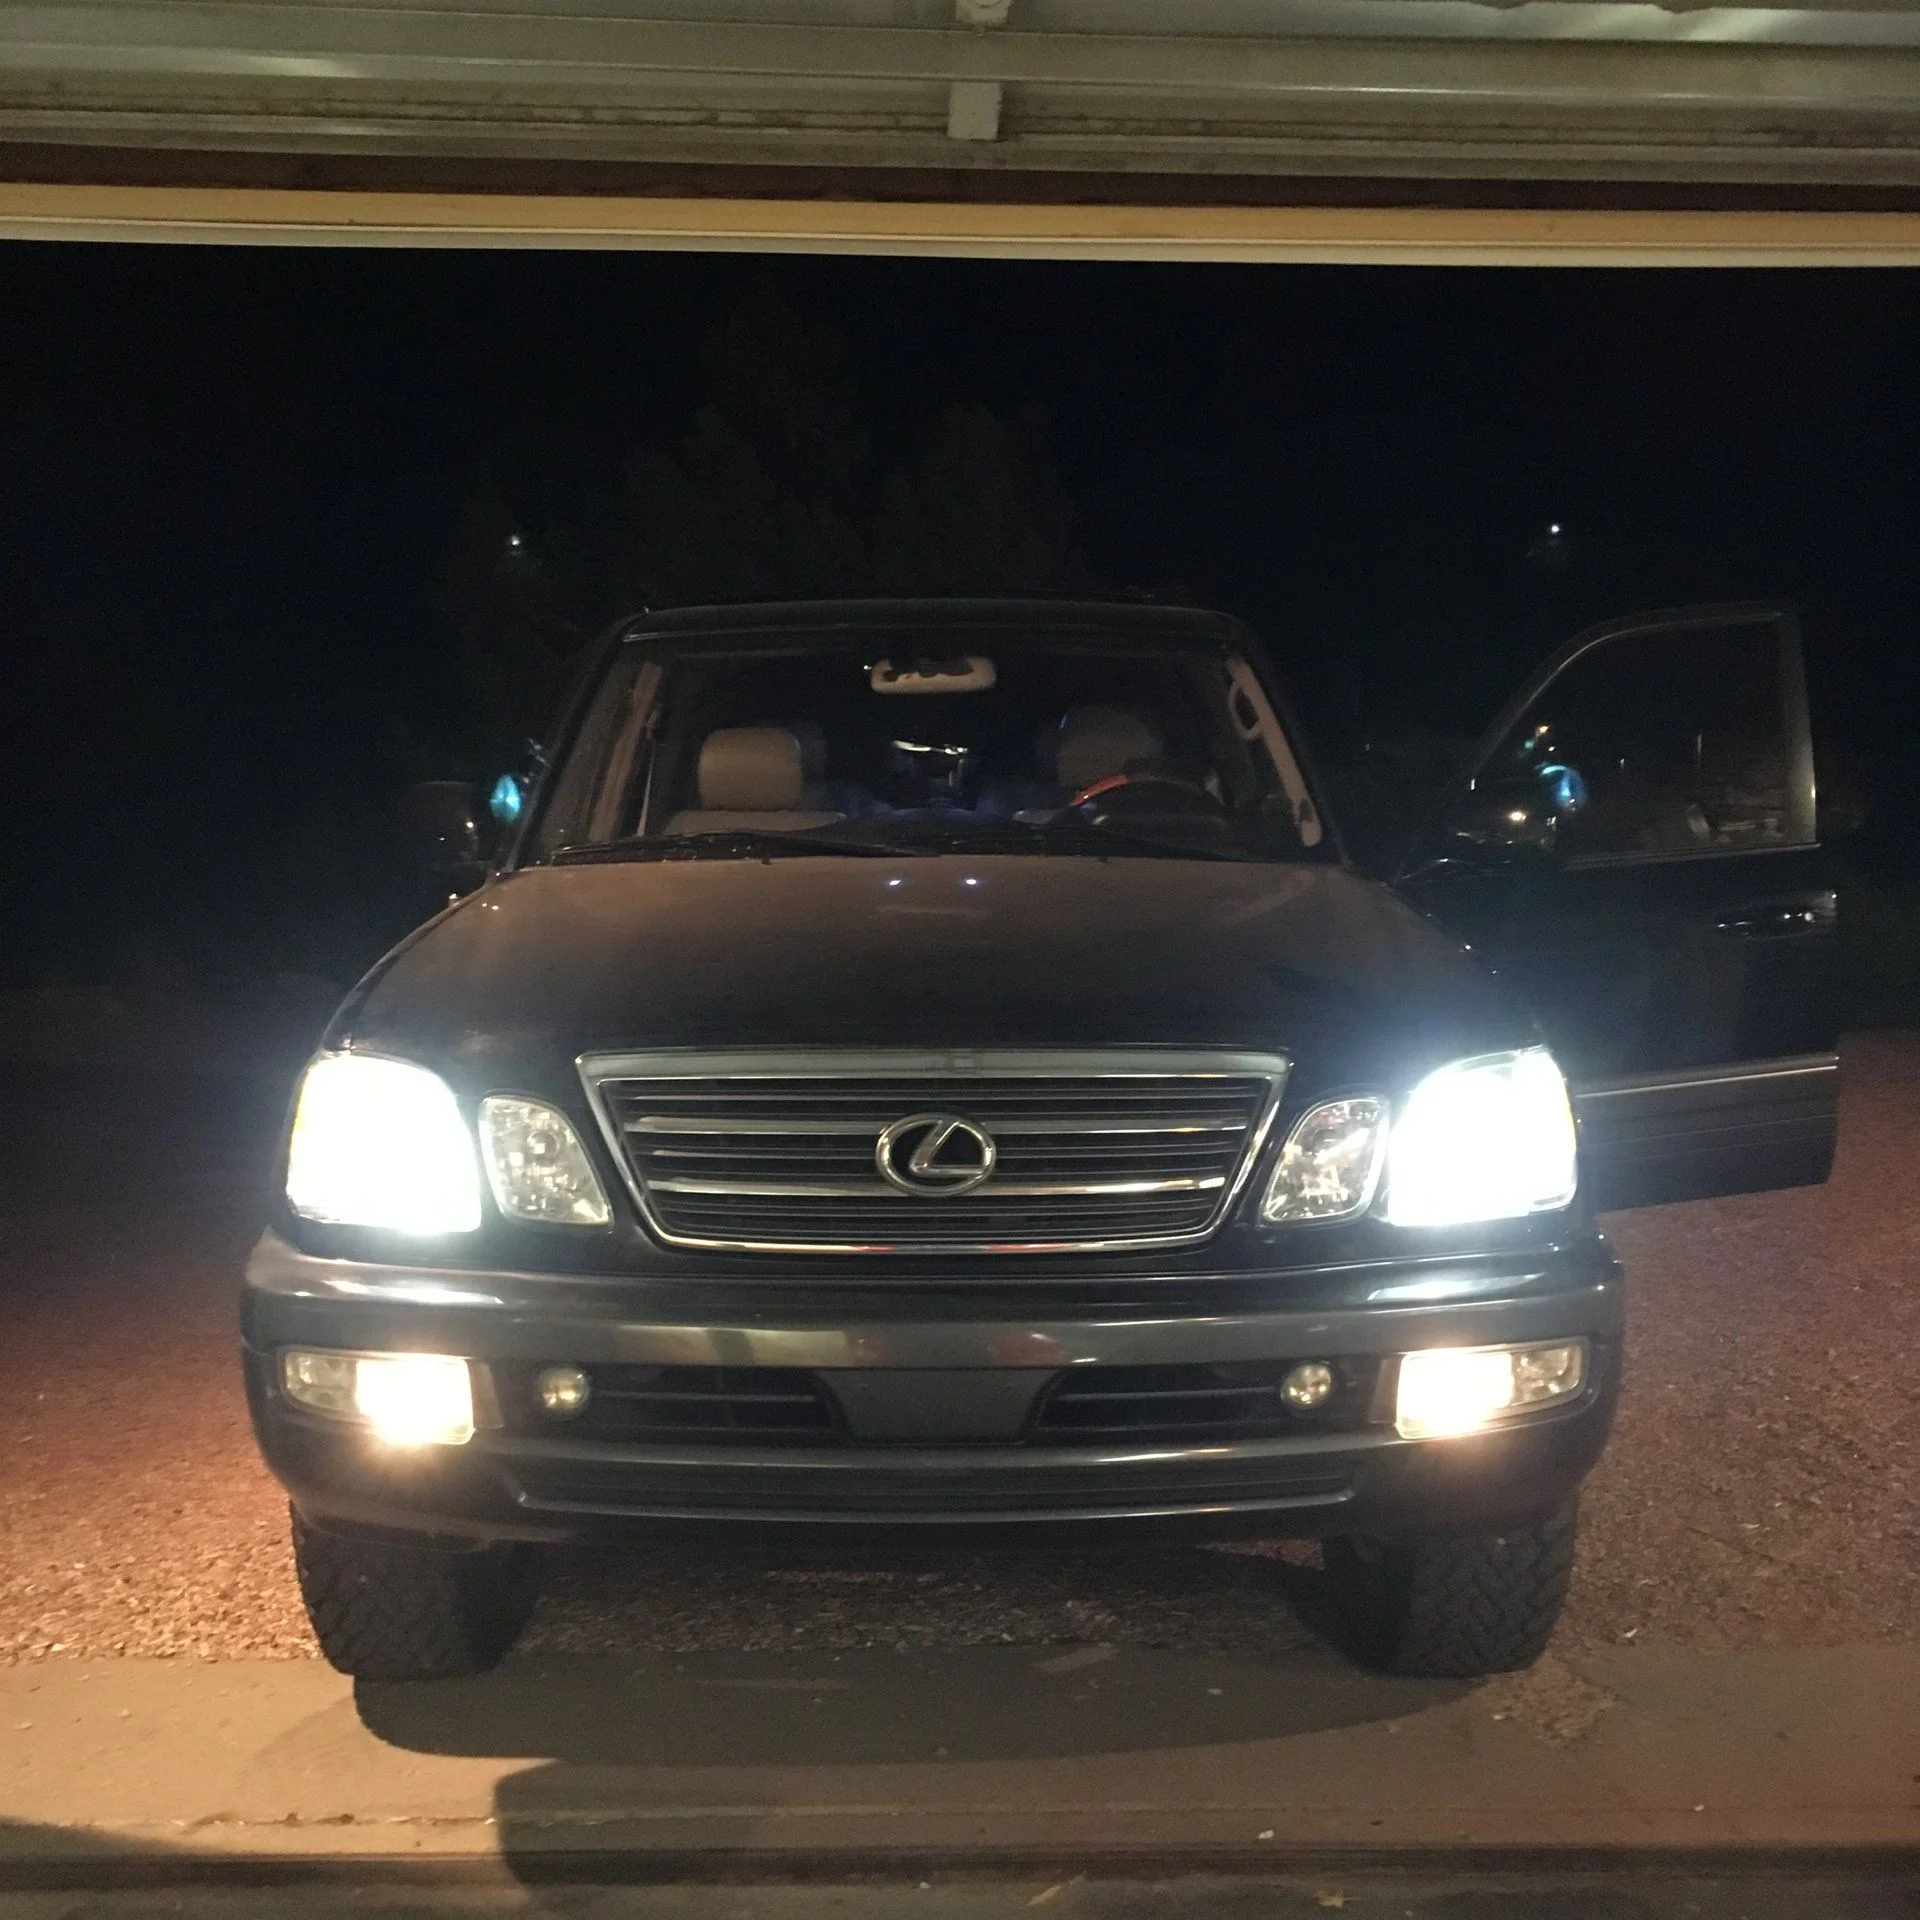
No before photos to compare, but results are similar to other photos that have been posted. Here are head-on photos after the install. You can see color difference compared to fog lights. Night time visibility is just so much better, like driving a new 200 series. :) Thanks for the great bracket and awesome instructions @Luke111 and to everyone else that offered advice!

-Chris


Chris, thanks for the nice review

Lou
 
FYI, I just finished a set of new OEM lights for a Mud member...but when I tried to install the H1 lens....the lens frame hit the bracket and I had to file the bracket a fraction for the holes to line up... you can also trim the frame a bit .. I’ll post this in the install guide

EFF763F8-2848-43F1-BC99-50A7DAD6F206.jpeg
 
FYI, I just finished a set of new OEM lights for a Mud member...but when I tried to install the H1 lens....the lens frame hit the bracket and I had to file the bracket a fraction for the holes to line up... you can also trim the frame a bit .. I’ll post this in the install guide

View attachment 1570693
Yes I ran into the same issue. Both sides. I used a needle nose pliers to bend the Morimoto bracket part up towards the lens a little so it would fit, then when I tightened the screw back down it sort of bent it back to the right position with a tight fit.
 
Question... I’m ordering another batch of brackets both Mini H1 and a few D2S. I’m considering opening up the 4 bracket mounting holes which are currently tight at 8mm to 10mm or 12mm if I can. I use 8/32 bolts .. so this would allow a slight rotation ajusment if needed. I had to bend the shield tab of the D2S a fraction to level the cut off.
What do you all think ?

Hi Luke, I am interested in a set of the Mini H1 Brackets. I searched your site and this page and didn't see pricing. I'm not sure on your question, but I do like slotted holes on aftermarket parts where it makes sense, leaves some room for tolerance.
 
Hi Luke, I am interested in a set of the Mini H1 Brackets. I searched your site and this page and didn't see pricing. I'm not sure on your question, but I do like slotted holes on aftermarket parts where it makes sense, leaves some room for tolerance.

The price for the Mini H1 is $95.00 and was temporarily taken down until I have them in stock.. I can't do slots but I will try and make the holes slightly larger... tolerances are really tight so I'll see what I can do.
 
The price for the Mini H1 is $95.00 and was temporarily taken down until I have them in stock.. I can't do slots but I will try and make the holes slightly larger... tolerances are really tight so I'll see what I can do.

Thanks, I'll check back soon for when they are available.
 

Users who are viewing this thread

Back
Top Bottom