It’s a cheap Nardi copy and I installed the center donut from the old OEM steering wheel. Afterwards I paint the center line and sewings with a brown permanent pen.
Yeah, If I had chains on *before* I pulled onto the trail I wouldn't have slid off the crown in the first place. Or even just decent tires.
Once I was stuck I don't think chains would've helped, though. There was still nothing but soft snow below the DS rear tire. The pic was after about a half hour of shoveling and before I started throwing branches under the tires. We were a good bit deeper before the end. If it was earlier in the day we might have extricated ourselves, Maybe.
I actually briefly considered putting it in 4lo, getting out and running around to the passenger bumper and jumping on it to get that tire some traction on the ice but I was afraid I wouldn't be able to get back around to the driver's side to get control of the rig again before it got itself stuck somewhere else. I'm totally stock so...how dumb is that?
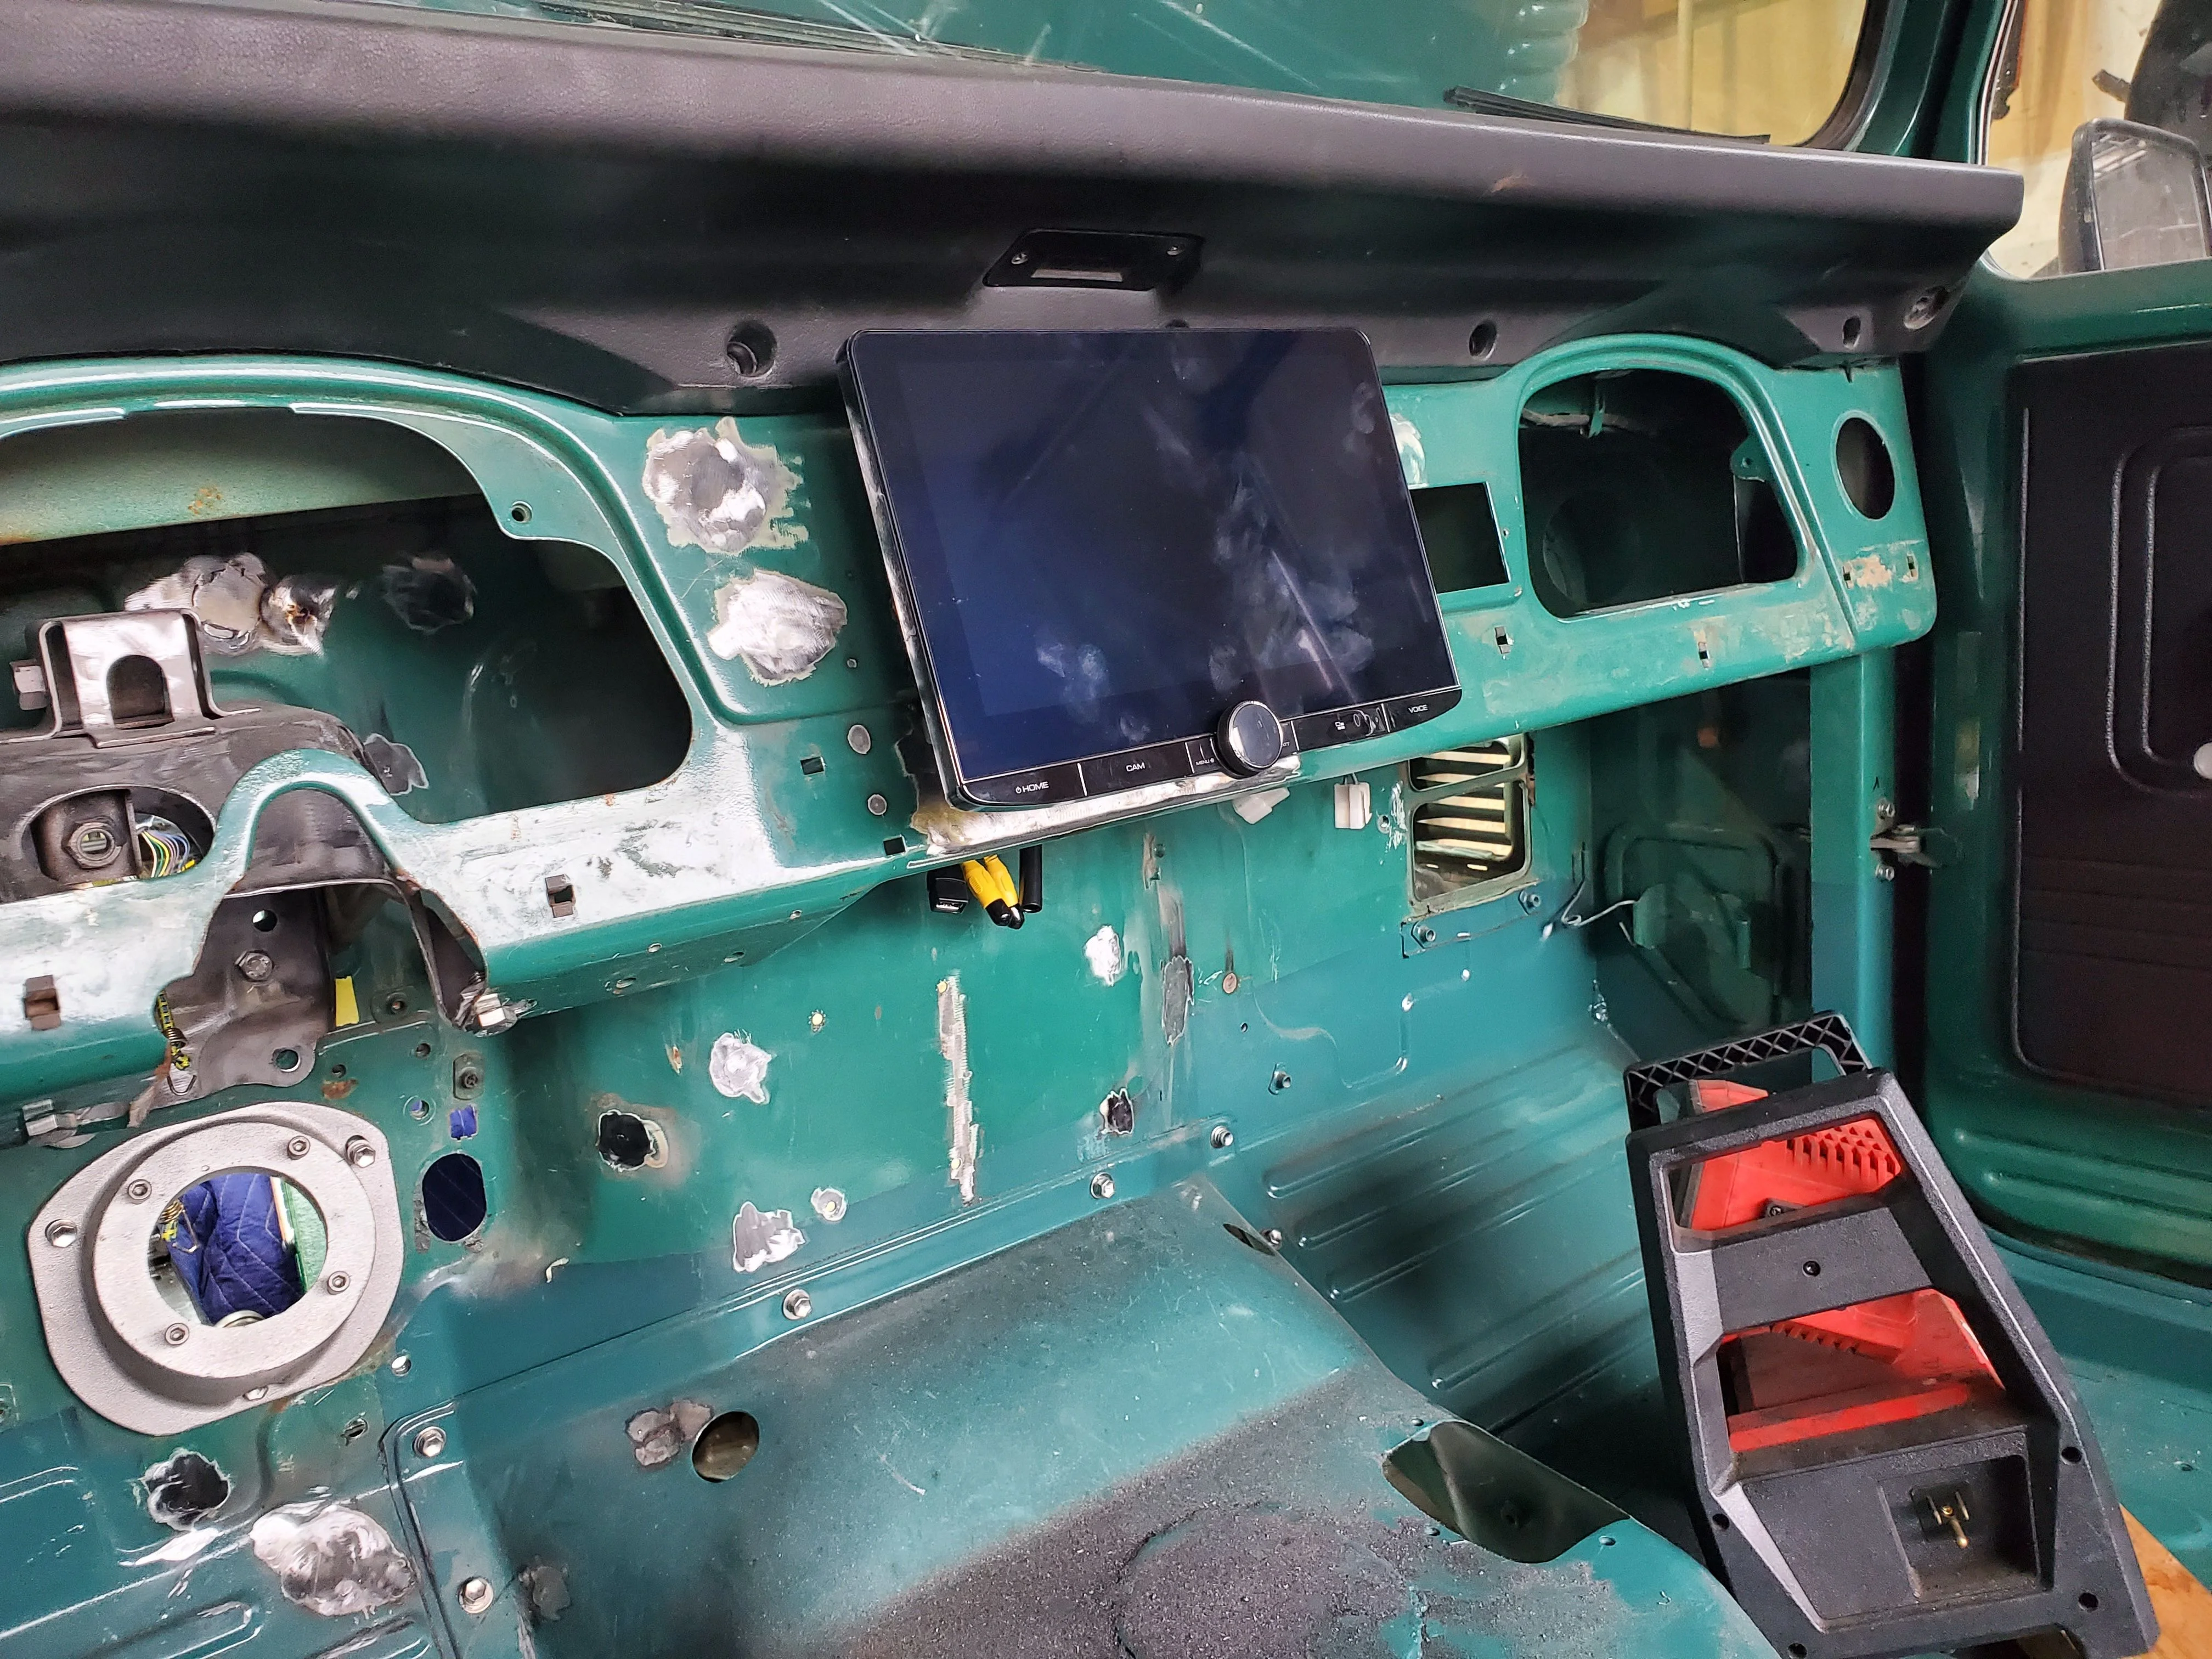
Worked great until I dry fit the Vintage Air conditioning. One of the actuators was hitting the stereo mount. After cutting my new mount, the two units were still touching. So I cut the hole bigger and filled in the bottom:
Worked great until I dry fit the Vintage Air conditioning. One of the actuators was hitting the stereo mount. After cutting my new mount, the two units were still touching. So I cut the hole bigger and filled in the bottom:
Work progresses sloooooowly. The whole gearbox had to come apart to fix the leak. The guy who rebuilt it did a bum job and did not use gaskets (I gave him a whole new set) nor did he even bother to put sufficient sealer in. It's done now and the driveshafts are in with all nice new 11mm bolts. The brakes are bled and adjusted. We'll see how successful that was when it gets driven for the first time. The correct new clutch release bearing is in place and the clutch works smoothly.
Sticking windows remain a problem. It appears the slots that the window rubbers slot into are bent closed. One can certainly feel how they narrow and widen when one runs a finger up and down inside it. I'm going to make a wooden wedge and gently tap it along the channel and see if that helps.
Yes, a resto-mod. I have several "bad" switches. I'm always impressed with the switch over hauls I see here on mud, but I just have too much stuff to complete to drive this thing so I'm going with a switch pros RCR 12 mounted in the center console. I'm running 100% new wire and fuse box so it should be interesting.
As for the fish bowl, I actually paid a pretty penny to get a head unit which is highly visible from different angles instead of getting washed out in the daylight.
Wife: oh it's nice and sunny- can you run to the garden store and pick up some pallets of daffodils and hyacinths? Me (looking for any excuse to take out the FJ): yep.
Took the day off of work today, and spent all day working on the 40. New OEM bumperettes and front turn signals in these pics. Also did some work on the metal of the passenger seat. All blinkers blink now, thanks to the new dedicated grounds. In fact, for the first time, every knob on the dash is working!!! WOOT!
Today I got my front heater installed. One problem with a lot of these is the ducting and rubber boots for the defrost vents. My boots were ok but had a lot of cracking and would probably fall apart shortly. The ducting turned to dust pretty much whenever I touched it. My solution was some new plastic-cloth ducting in an inch size that’s just barely bigger than stock so it would still fit in the boots and I used some heat shrink tube over the ends to shore up the boots. They are pretty solid feeling and the shrink tube isn’t that noticeable with it all installed.
Today I got my front heater installed. One problem with a lot of these is the ducting and rubber boots for the defrost vents. My boots were ok but had a lot of cracking and would probably fall apart shortly. The ducting turned to dust pretty much whenever I touched it. My solution was some new plastic-cloth ducting in an inch size that’s just barely bigger than stock so it would still fit in the boots and I used some heat shrink tube over the ends to shore up the boots. They are pretty solid feeling and the shrink tube isn’t that noticeable with it all installed.View attachment 2609386View attachment 2609387View attachment 2609389View attachment 2609388
looks great, i used a shop vac hose and 2 inch elbows from the hardware store to make the right side connection. glad to see other options. routing around the feed hoses and air duct with the vac hose was fun. Sturdy but not pliable.