@letterman52 im a purist... but I can’t wait to see that!!!!!!
Navigation
Install the app
How to install the app on iOS
Follow along with the video below to see how to install our site as a web app on your home screen.
Note: This feature may not be available in some browsers.
More options
Style variation
You are using an out of date browser. It may not display this or other websites correctly.
You should upgrade or use an alternative browser.
You should upgrade or use an alternative browser.
What have you done to your Land Cruiser this week? (23 Viewers)
- Thread starter IH8MUD
- Start date
This site may earn a commission from merchant affiliate
links, including eBay, Amazon, Skimlinks, and others.
More options
Who Replied?Beautiful. What lift and tire size?
3" OME and 33's
oregon fj
Serial rescuer of old vehicles
It's going to look great on that '64. I'm nearing the end on those now, only 2 left and 1 pending.Received a rear sill sticker from @oregon fj looks great! Very reflective!! Going on my 64...
View attachment 1849247
Last edited:
Winter weather is forecast for the weekend and I didn't want to face it with the soft top on so I removed the soft top and bows yesterday in the 44 degree weather. Did I mention I do not have a garage.
View attachment 1847617
Next was to mount the lifting frame to the top and get it ready for lifting .
View attachment 1847618
Through trial and error I was able to find the balance point and up it went. The little winch came from Harbor Freight and will lift 400 pounds with a single line and 800 pounds with the line doubled. Smooth operating winch.
View attachment 1847619
Then all I had to do was drive under the top and lower it gently into place.
View attachment 1847620
That is sweet! You get a chance, would you take a picture of the wood frame of the lift so’s me and likely others can copy

David70FJ40
Older Than Most
I would be happy to do that for you.
Everything is made from 2 x 4's except for the wide braces which are made from 3/4" x 12" pine shelving. I used
1 3/4" screws all around except for attaching the front and rear bars to the middle support which used 3" screws to hold them in place until I could get the 3/8" carriage bolts secured in place. Forgot about the diagonal braces, they are attached with 3" screws.
The bar across the front at the doors is 66" long. The rear bar at the hatch is 48" long as is the middle bar. The balance point I found, by trial and error, is at 26 1/2" from the edge of the front bar. Your balance point may vary. I used 3/8" eye hooks bolted through the front and rear bars and a 3/8" eye hook bolted through the center bar with a flat washer and a nut on the bottom. I braced the middle bar with additional 2 x 4's which as I look back are simply extra weight and I will most likely remove them before the next use.
I hope this helps.
I moved the 45 out of the garage (still waiting its turn for repair) to get at my 40 and finally put the new ignition switch in. Took less than 10 minutes- the switch, that is.


Then got a nice woods ride in.


Then got a nice woods ride in.
Last edited:
@dogfishlake I love the door decal on your 40!! is that original? to when you got it I mean.
@dogfishlake I love the door decal on your 40!! is that original? to when you got it I mean.
That's on my 45 pickup. They were on there when I got the truck. The plan is to leave those and the body just like it is. I might carefully straighten some sheetmetal but other than clean and polish a bit the exterior will stay and I'll just do a mechanical refresh.
Finally started tear down. My 1 - 2 year project has begun. I cannot say thank you enough for this forum as I have learned so much over the past year and actually delayed starting due to the information that i have gathered here. So much to learn and plan as this is literally the first build that i have ever attempted.

samatulich
SILVER Star
Installed the hand throttle gas pedal and brackets from @RAGINGMATT and played with the LED inspection light. Thanks to @FJ40GURU for the THROTTLE control cable.


Beautiful!Installed the hand throttle gas pedal and brackets from @RAGINGMATT and played with the LED inspection light. Thanks to @FJ40GURU for the THROTTLE control cable.
View attachment 1849817
View attachment 1849818
View attachment 1849819
Finally started tear down. My 1 - 2 year project has begun. I cannot say thank you enough for this forum as I have learned so much over the past year and actually delayed starting due to the information that i have gathered here. So much to learn and plan as this is literally the first build that i have ever attempted.
View attachment 1849800
Know anything about the spoke wheels?
They look like they might be some of the first made.
There was an outfit in Riverside Ca. in the early 70's called Duke's wheels that did flame cut spokes.
If he was not the first he was pretty close.
A friend of mine had six jigged acetylene torches gutting spokes around the clock.
Redgrrr
I have a problem with 40s
Look like jackman wheels @4x4veteran as well
oregon fj
Serial rescuer of old vehicles
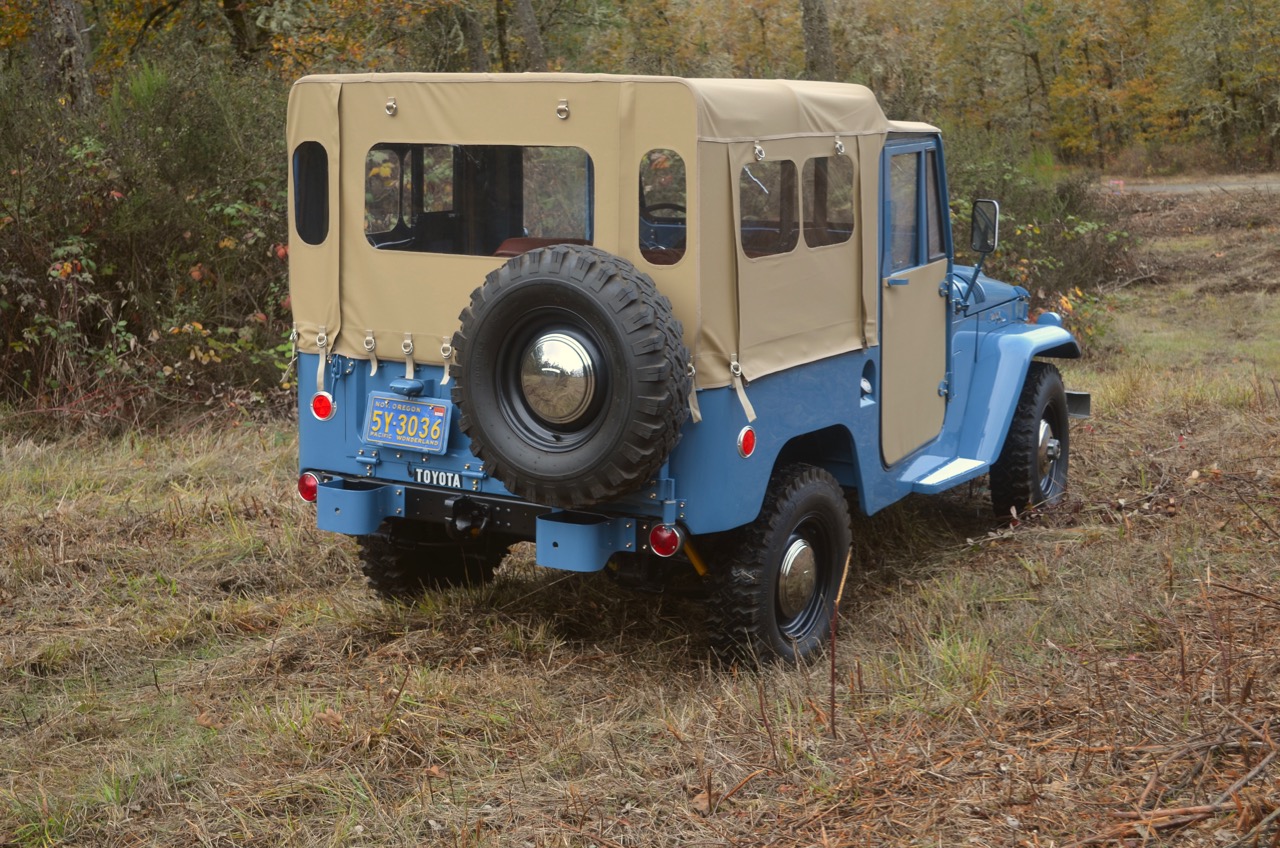
Julie doesn't use canvas anymore, due to complaints from customers who aren't aware of the care and characteristics of canvas. Mine was buckskin PVC.
Vae Victus
Posting more than I know
mmmm jealous of the storage space
Vae Victus
Posting more than I know
Also received mine. You procrastinators might want to ask @oregon fj to make one more run of these, as he said this was the last run before he moves on to another (non Toyota) rebuild. They are only period correct for the early 60s models, but I don't care. Will be putting them on my 76 and 70 vehicles.Received a rear sill sticker from @oregon fj looks great! Very reflective!! Going on my 64...
View attachment 1849247
Spend some time cleaning the shop and made something to store my small air tools.


oregon fj
Serial rescuer of old vehicles
I can still accommodate 1 more procrastinator, as I have 1 left now (+1 pending). Beyond those 2, I'll need commitments for another 8-10 to do another run.Also received mine. You procrastinators might want to ask @oregon fj to make one more run of these, as he said this was the last run before he moves on to another (non Toyota) rebuild. They are only period correct for the early 60s models, but I don't care. Will be putting them on my 76 and 70 vehicles.
View attachment 1850154 View attachment 1850155
Last edited:
Getting my 40 out meant FINALLY working on the Bowfin Cruisers roof rack concept.
There is a long way to go but finally something up on the roof. More cross bars, slightly longer in back, move slots, mod front deflector all have to happen still.


I'll start a thread on them soon!
There is a long way to go but finally something up on the roof. More cross bars, slightly longer in back, move slots, mod front deflector all have to happen still.
I'll start a thread on them soon!
Similar threads
Users who are viewing this thread
Total: 24 (members: 6, guests: 18)