surfpig
The Anti-Tech
Huh. Built white 80 with a solar panel, VERY similar.Not me,
I was on ca-4 this after noonand evening, stopped at Mercer Caverns
View attachment 2181446View attachment 2181447
Cool spot

Follow along with the video below to see how to install our site as a web app on your home screen.
Note: This feature may not be available in some browsers.
This site may earn a commission from merchant affiliate
links, including eBay, Amazon, Skimlinks, and others.
Huh. Built white 80 with a solar panel, VERY similar.Not me,
I was on ca-4 this after noonand evening, stopped at Mercer Caverns
View attachment 2181446View attachment 2181447
Cool spot
Huh. Built white 80 with a solar panel, VERY similar.
how did you "finish" the inside of wheelwell? I want to do this but dont know how to make it look "finished" after.
I’ve got the Smittybilt portable compressor, JACO tire pressure gauge, A.mazon deflator/inflator tool; so only needed components for airing down/up.
Running the flagship LX-450 where she belongs...didn't miss a beat


Can you do a quick list of where it all came from, looks like an awesome solution!
Great job, those are so nice. I saw a DIY setup from another member incorporating a regulator that just shuts off when everything gets to pressure so the compressor cant overfill. How did you crimp those furrels on the tees?I’d been trying to figure a way to speed up the tire deflation/inflation process (because I have a time-conscious boss). So, I did some internet research and found a product that seemed a good fix for my need.
After watching the product pitch a few times and contemplating the cost in my “cart” on the site; I decided that I might be able to create my own solution.
Did some reverse engineering and came up with a design for my application. After some measurements on the FZJ80 and triple-checks, I figured out what supplies I needed.
I’ve got the Smittybilt portable compressor, JACO tire pressure gauge, A.mazon deflator/inflator tool; so only needed components for airing down/up.
Ran a test this morning by deflating to ‘round about 18psi. Worked like a charm. Then, inflated back to 32psi (with a few minutes break chasing wild banshees around the garage) before finishing. My system worked great and shaved off many minutes between changing positions between tires.
The best part: I had fun fashioning my design and testing. AND, I saved almost 50% of the cost of purchasing from the internet!
My system holds pressure, delivers psi, and is quick and easy to use. Bonus: it should help to get me back home before the drill sergeant knows I’m gone.
View attachment 2181309
View attachment 2181310
View attachment 2181311
View attachment 2181312
View attachment 2181315
Great job, those are so nice. I saw a DIY setup from another member incorporating a regulator that just shuts off when everything gets to pressure so the compressor cant overfill. How did you crimp those furrels on the tees?
Thanks! The regulator just goes between the compressor and your tires, just after your fill valve would be fine. It has a gauge and a knob, just twist the knob to your target pressure set then anything above that pressure bleeds off. Just make sure to install with the arrows indicating the direction of air flow.Thanks. A regulator is likely beyond my technical skill! I used the below crimper tool from A.mazon
View attachment 2181687
 ! That's a lot of Cruiser stuff... I know this thread has taught me a lot, and also cost me a ton of money... Thanks MUD.
I picked up some new leather for my steering wheel - the color is a pretty close match to the original brown (slightly lighter than OEM) It took some time to get it right but with some patience I think it turned out quite nice.
I purchased a pre-cut kit from amazon - the fitment was 8/10 but that could also be because I've never done this before and just had the leather slightly misaligned.
Loncky Leather Steering Wheel Cover
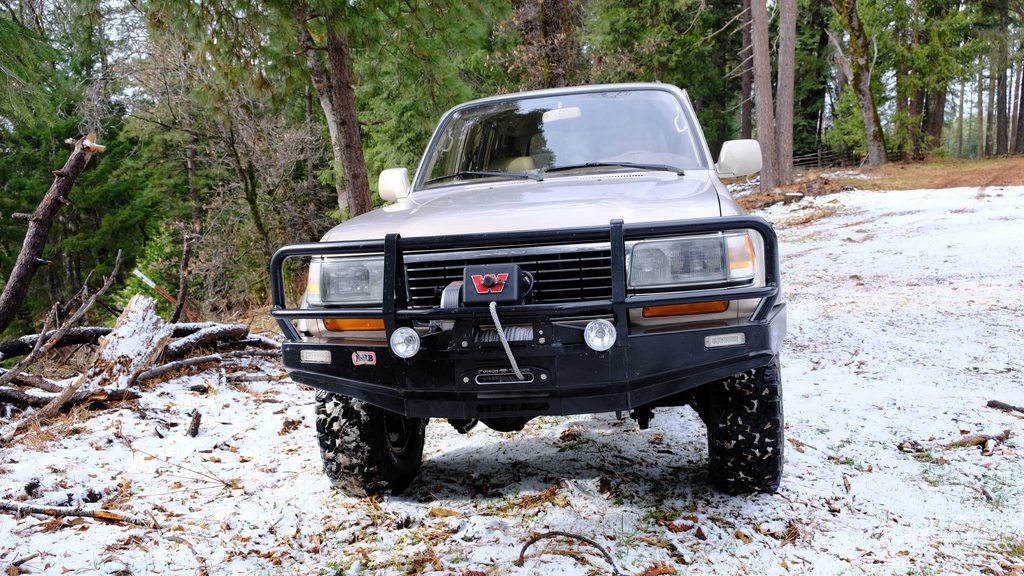
We also got some snow in Kansas over the weekend so I finally got to see how my 80 preformed in the snow.
Do you have a link to share for the leather kit?
thx,
dg

lol.. i did.. didn't IYou just quoted it.
")
I picked up some new leather for my steering wheel - the color is a pretty close match to the original brown (slightly lighter than OEM) It took some time to get it right but with some patience I think it turned out quite nice.
View attachment 2181826
I purchased a pre-cut kit from amazon - the fitment was 8/10 but that could also be because I've never done this before and just had the leather slightly misaligned.
Loncky Leather Steering Wheel Cover
View attachment 2181833
We also got some snow in Kansas over the weekend so I finally got to see how my 80 preformed in the snow.
View attachment 2181834
I took that trail in February of last year, what a great view! Steep sections are awesome!

What bumpstops in the rear did you end up with?i tubbed the rear of my truck.. made some room for the 37s. many more pictures in my build thread
Untitled by bill bill2, on Flickr