Builds Mail Order Ride - My HDJ81 (2 Viewers)

This site may earn a commission from merchant affiliate
links, including eBay, Amazon, Skimlinks, and others.

I'm finding it really hard to tune so that it's safe in all conditions, when I have zero hills around me. 0-120km/h is one thing, but 6 min climbing a 7% grade at full boost is something entirely different.

Tune to be 100% safe for 95% of YOUR normal driving, then watch gauges for the abnormal stuff.

If 6min climbs up 7% grade is your normal, tune for that
 
Tune to be 100% safe for 95% of YOUR normal driving, then watch gauges for the abnormal stuff.

If 6min climbs up 7% grade is your normal, tune for that

It most certainly is not as I live a 15 hour drive from the mountains, but I want to take this truck there, and don't want to be a ball of nerves watching my gauges more than the road when that time comes. It's a tough balance to strike, as you're leaving a lot on the table performance wise to be safe and relaxed for that 5% of driving I might do.
 
ha. didn't mean to insult you.

Just wondering if you'd show the vehicle some mechanical sympathy. Better MPG, quicker acceleration, lower EGT, longer trans, steering, axle bearing life. Not constantly monitoring 6 gauges.

I must have missed the pics where you needed all that ground clearance.

Yea, re-gearing is not cheap, but Land Cruisers aren't a cheap hobby.


No, I don't need the ground clearance, but I like having the tires. I'm not afraid to admit that I want the thing to look cool as heck. I've been looking at swapping out springs and shocks to go down to a 3" lift or something instead to make the drive line a bit happier. The goal is to get a roof rack on and still fit in the garage if possible.

In the mean time, the truck just keeps driving the way it is, so it's real easy to just get used to the noise and vibration and start ignoring it.
 
The stoppers that I built for the swing arm didn't last long at all, probably due to being made out of some plastic I got for free, which I think turned out to be ABS. Too soft, so they got mangled, wouldn't swing nicely, were generally a pain to deal with.

Got some free uhmw recently, so I cut some new ones to try out. Two weeks so far so good.

Old:

full


New:

full


full
 
I guess I've been feeling motivated to do things lately.

The intake heater issue was weighing on me, and since winters coming, I finally decided to just order a new one. In an act of pure retail therapy, I used Partsouq, paid too much, and it came across the entire planet in just 3 days.

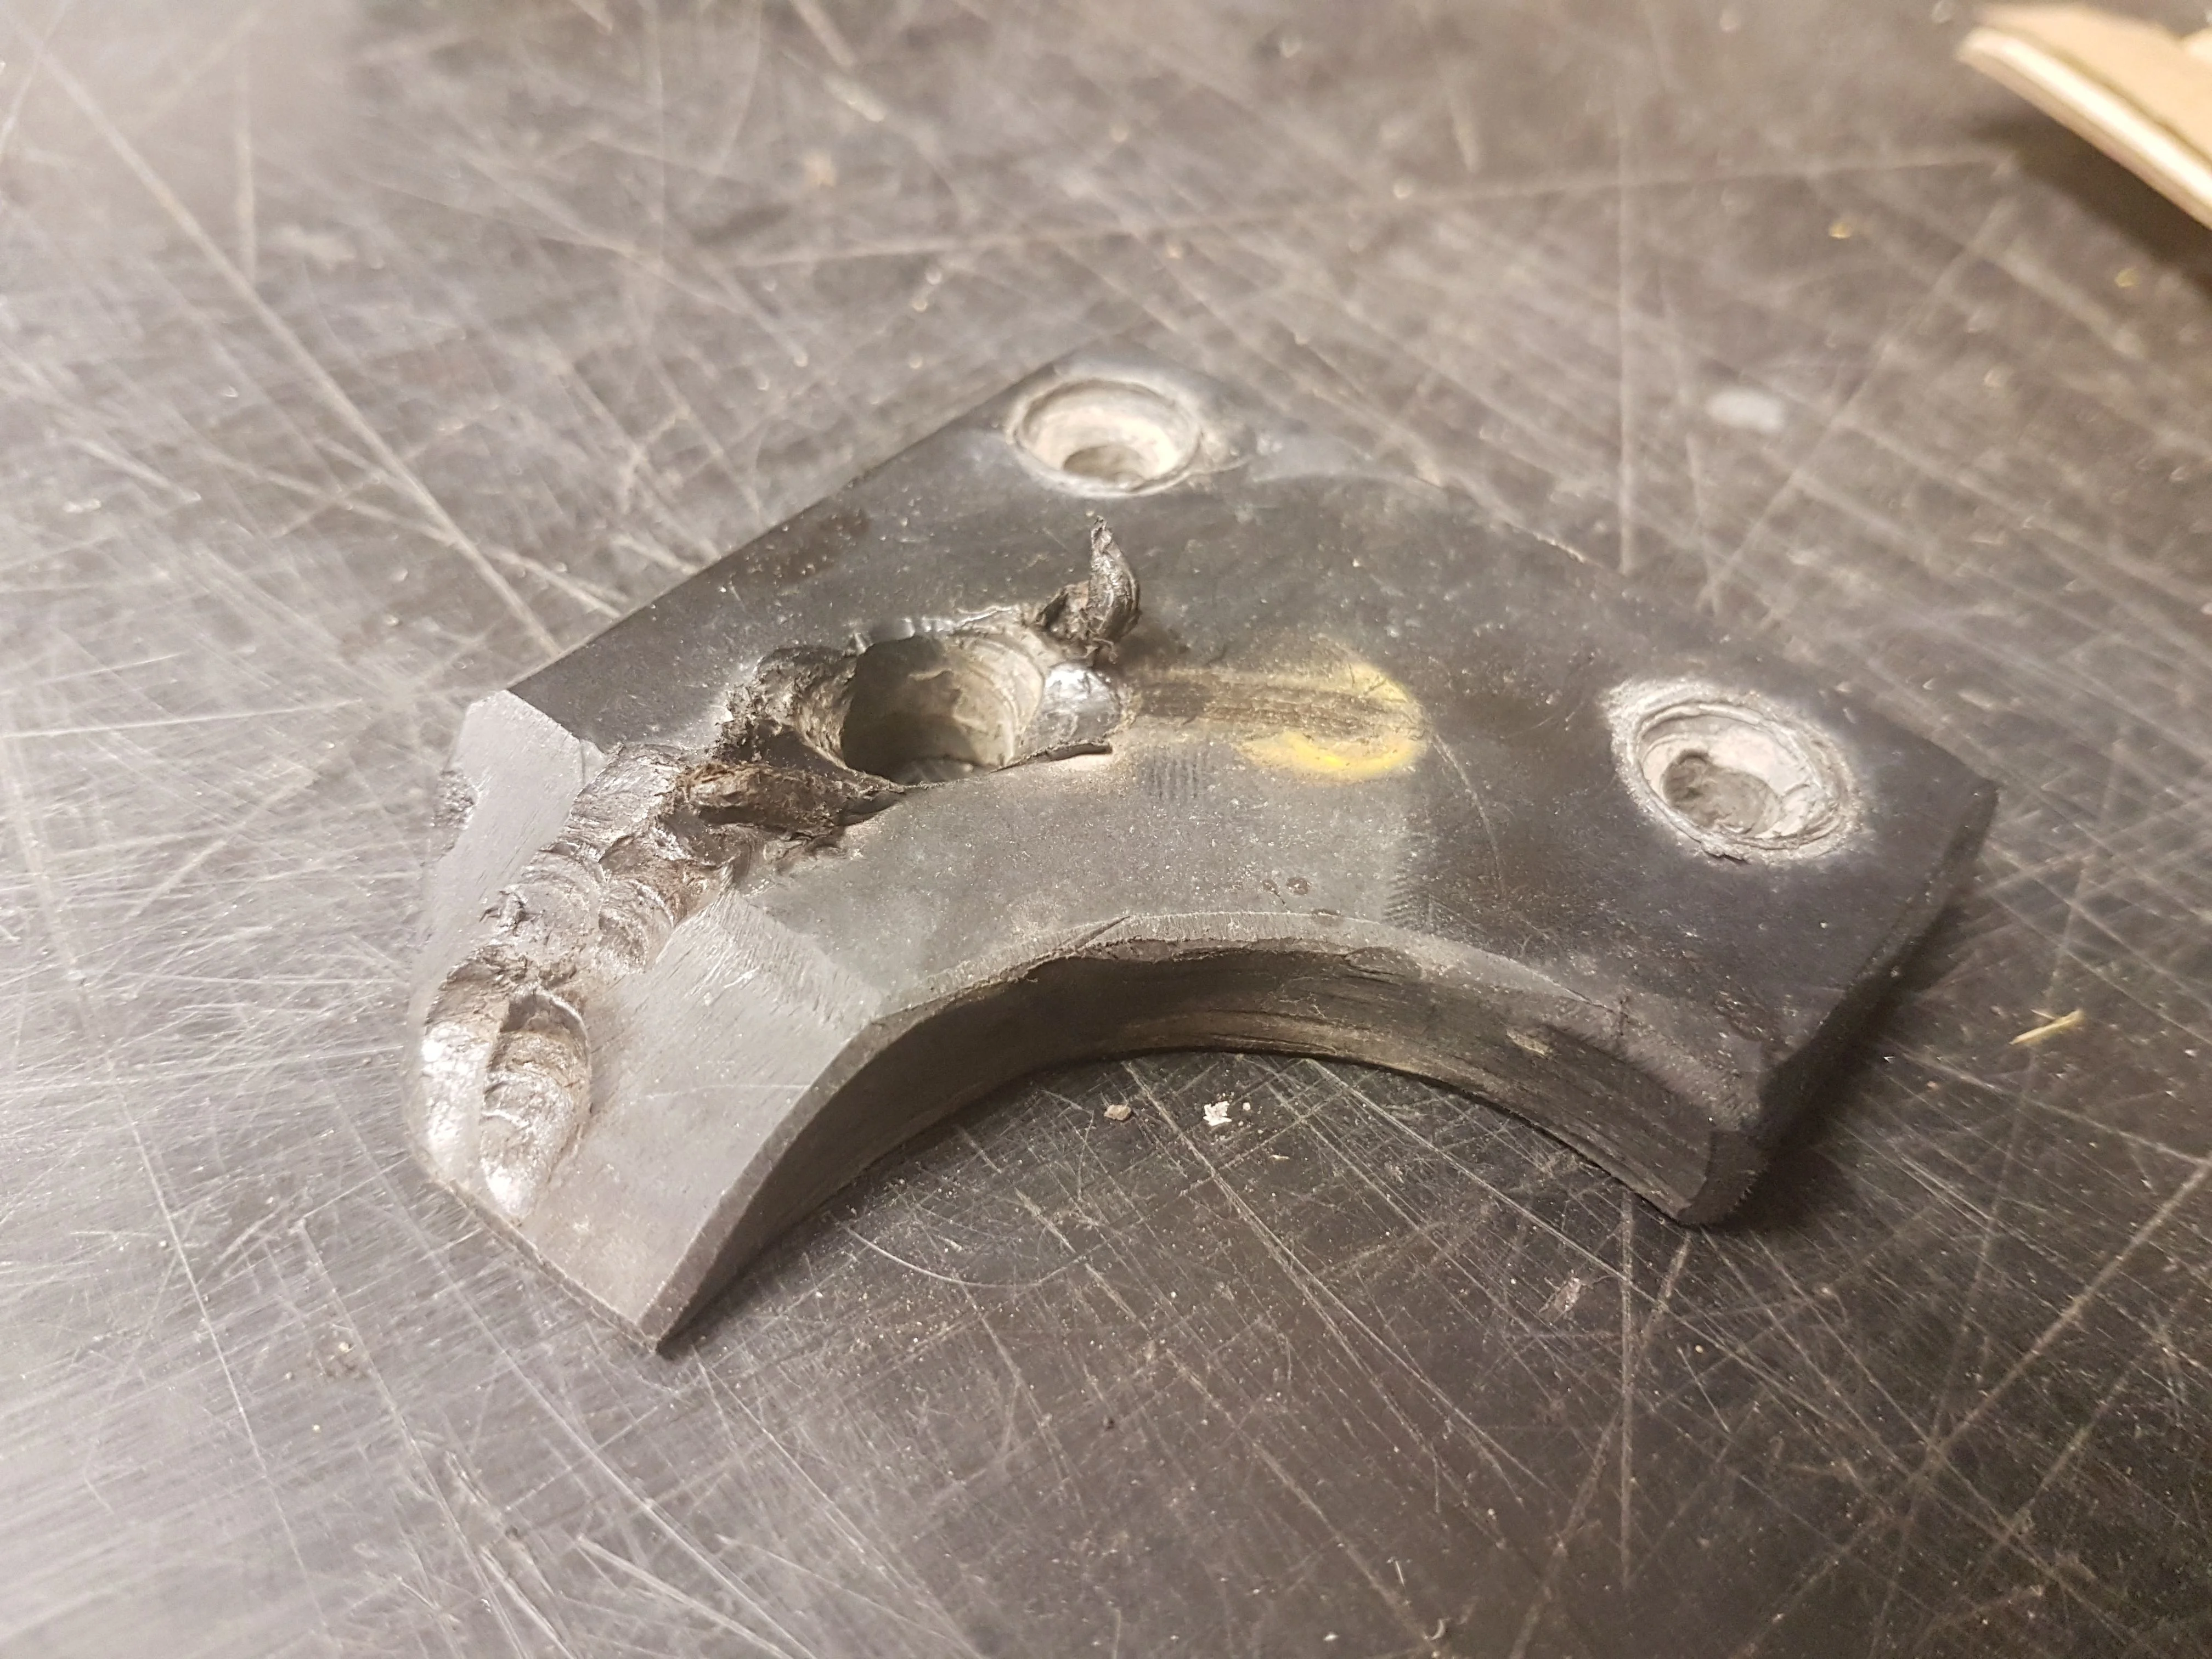
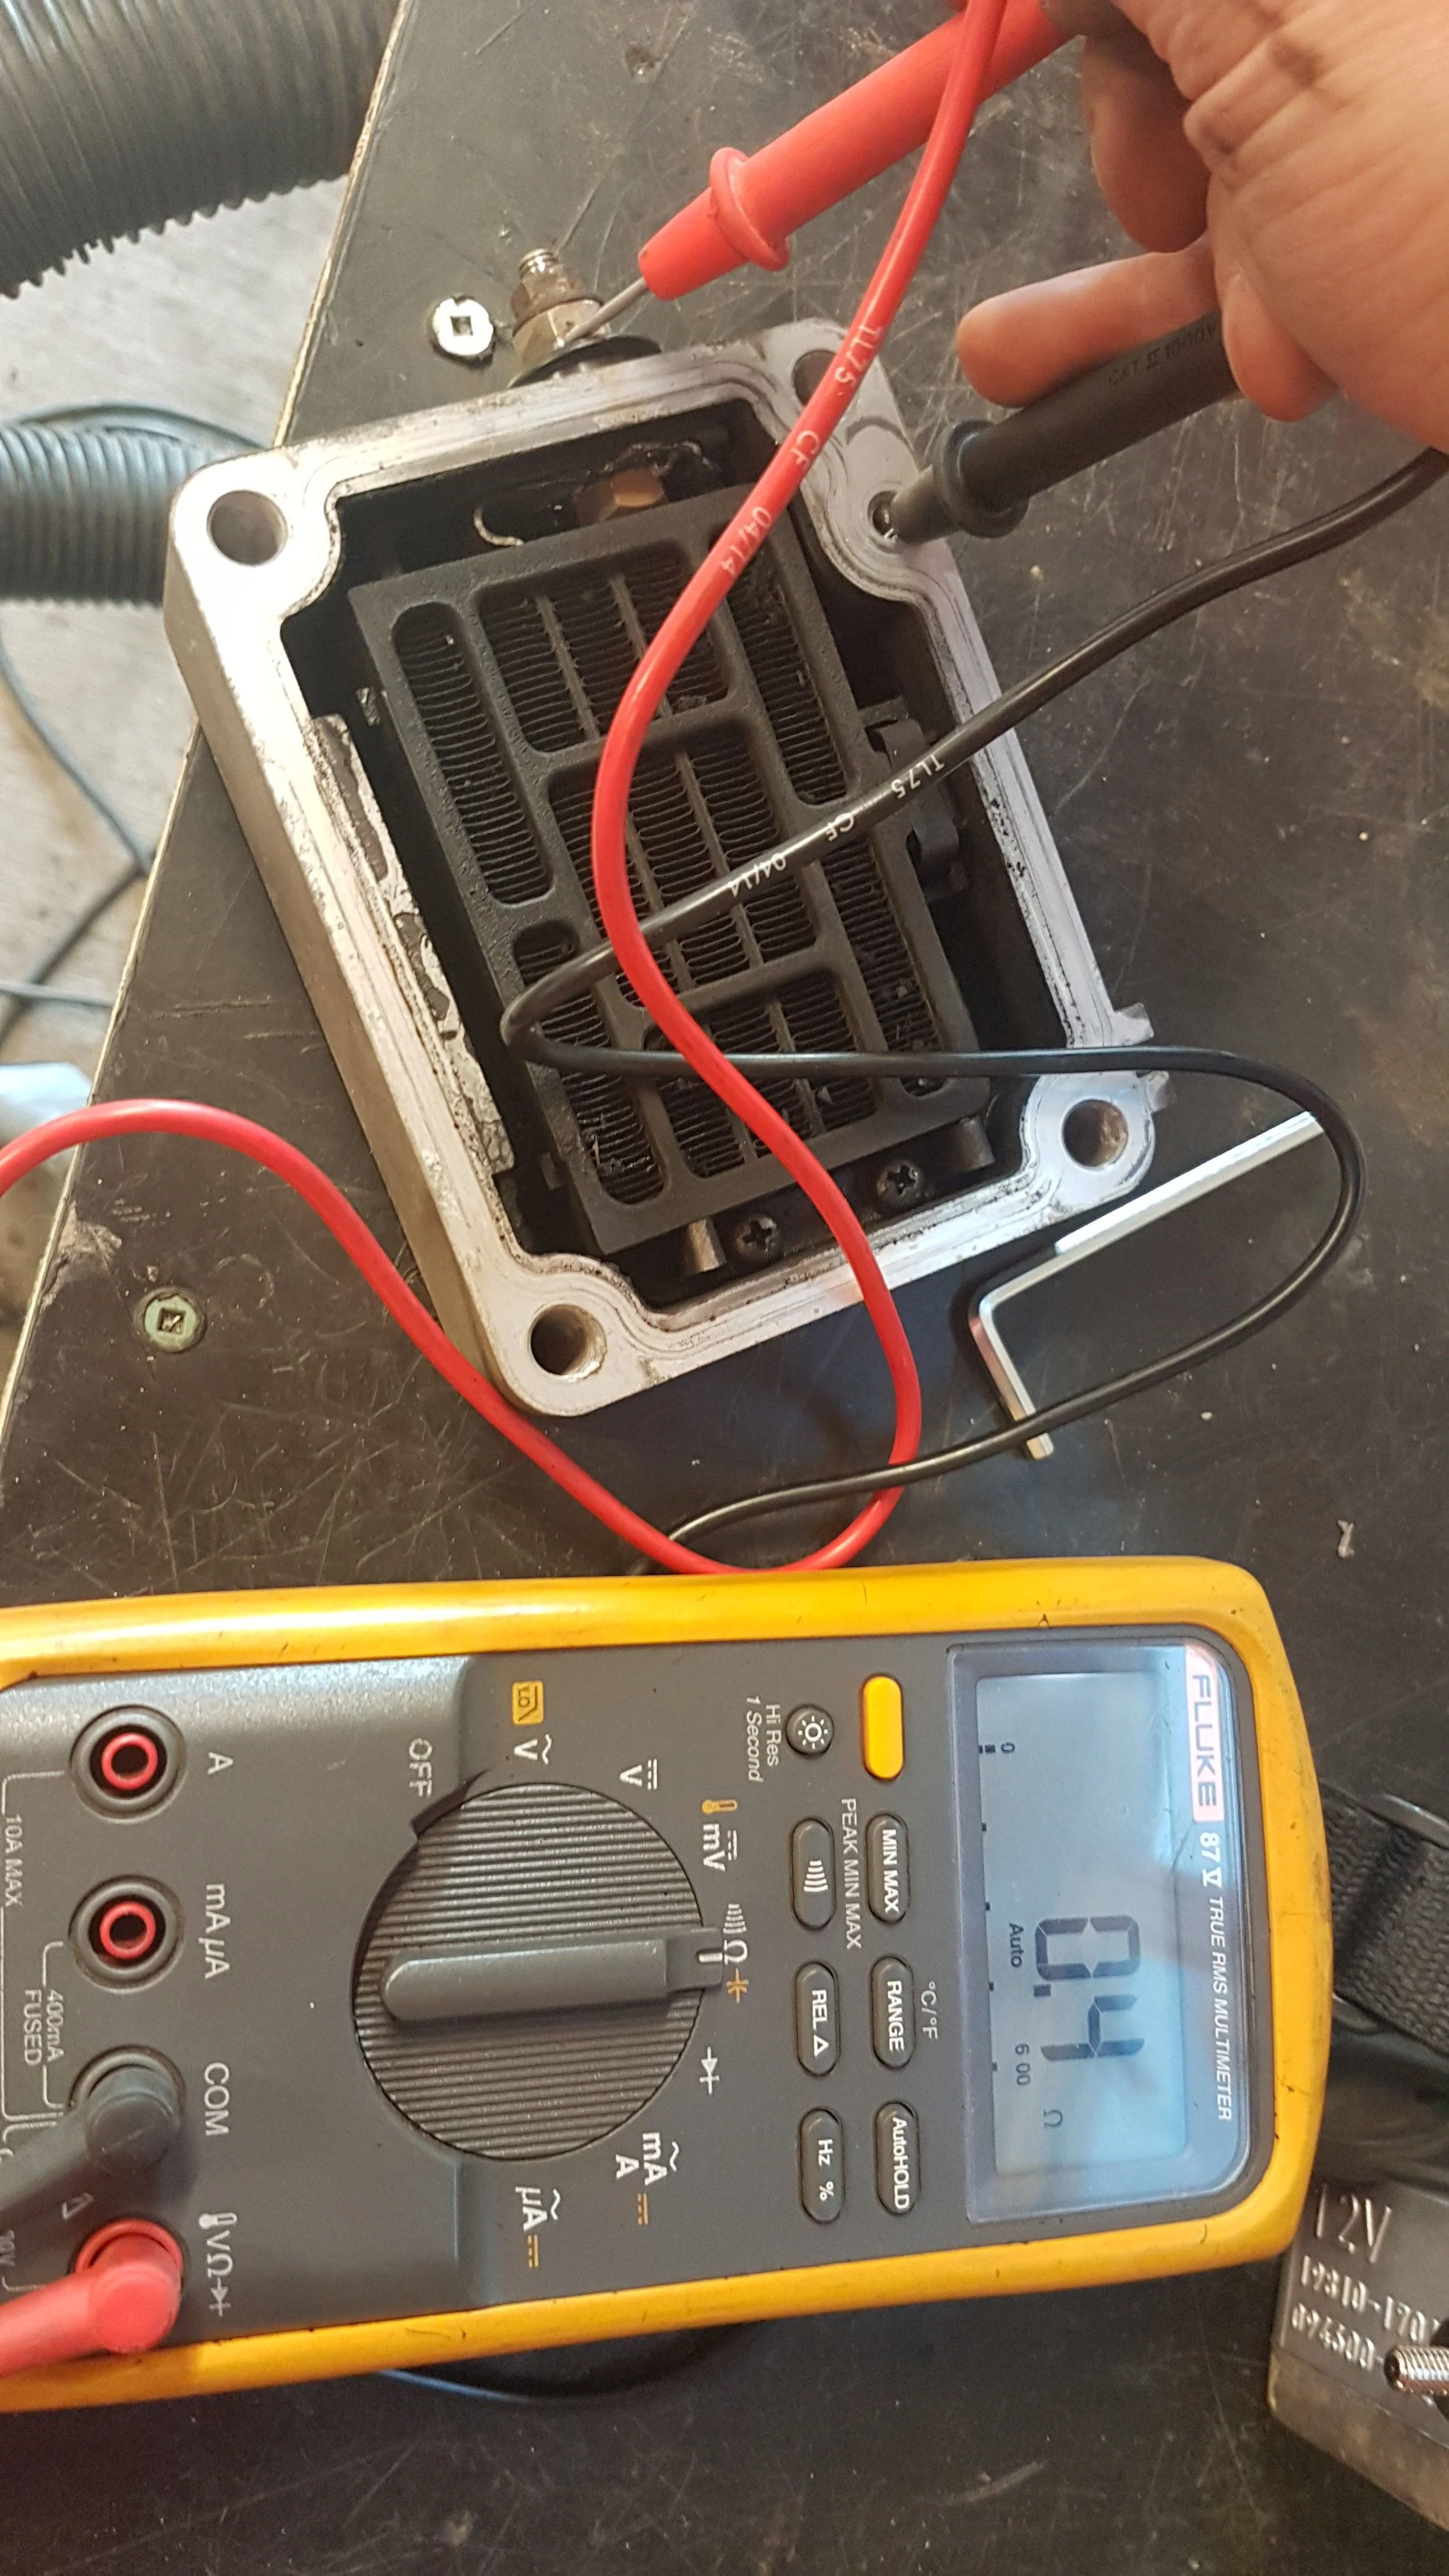
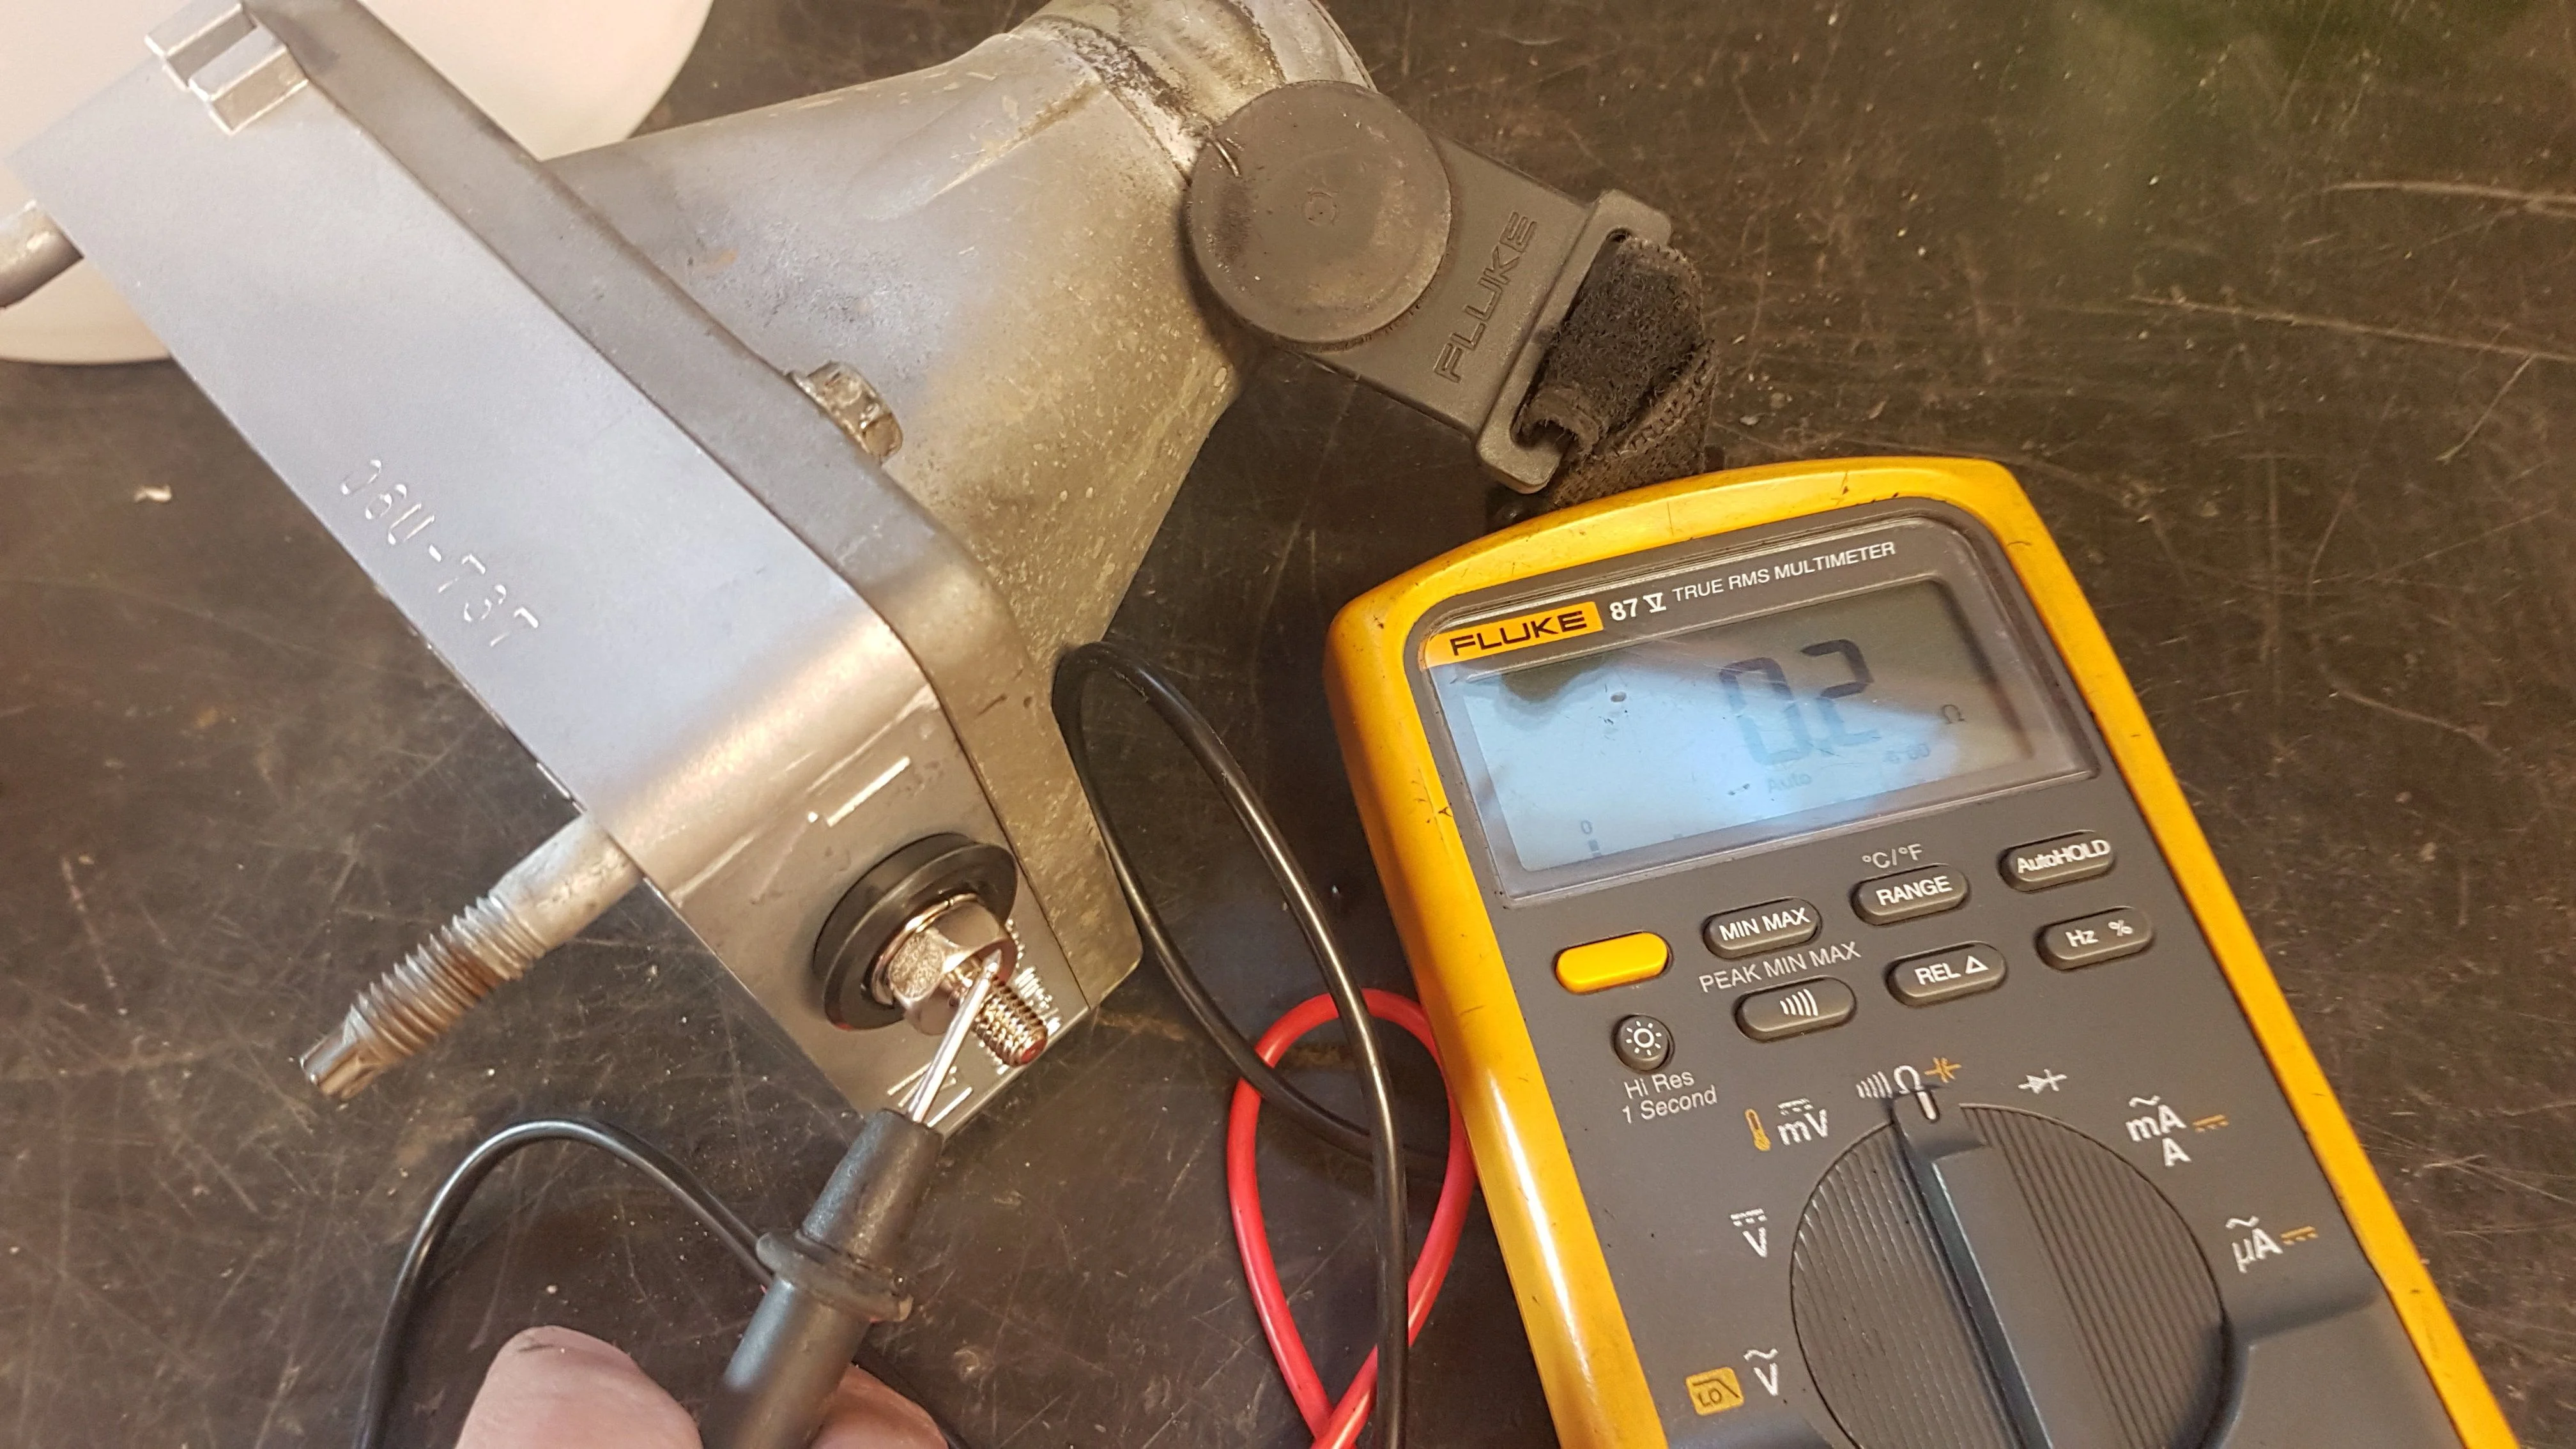
Initial tests showed resistance to look identical, showing as basically a dead short, but the old one had some telltale melty bits right at the terminal which didn't bode well.

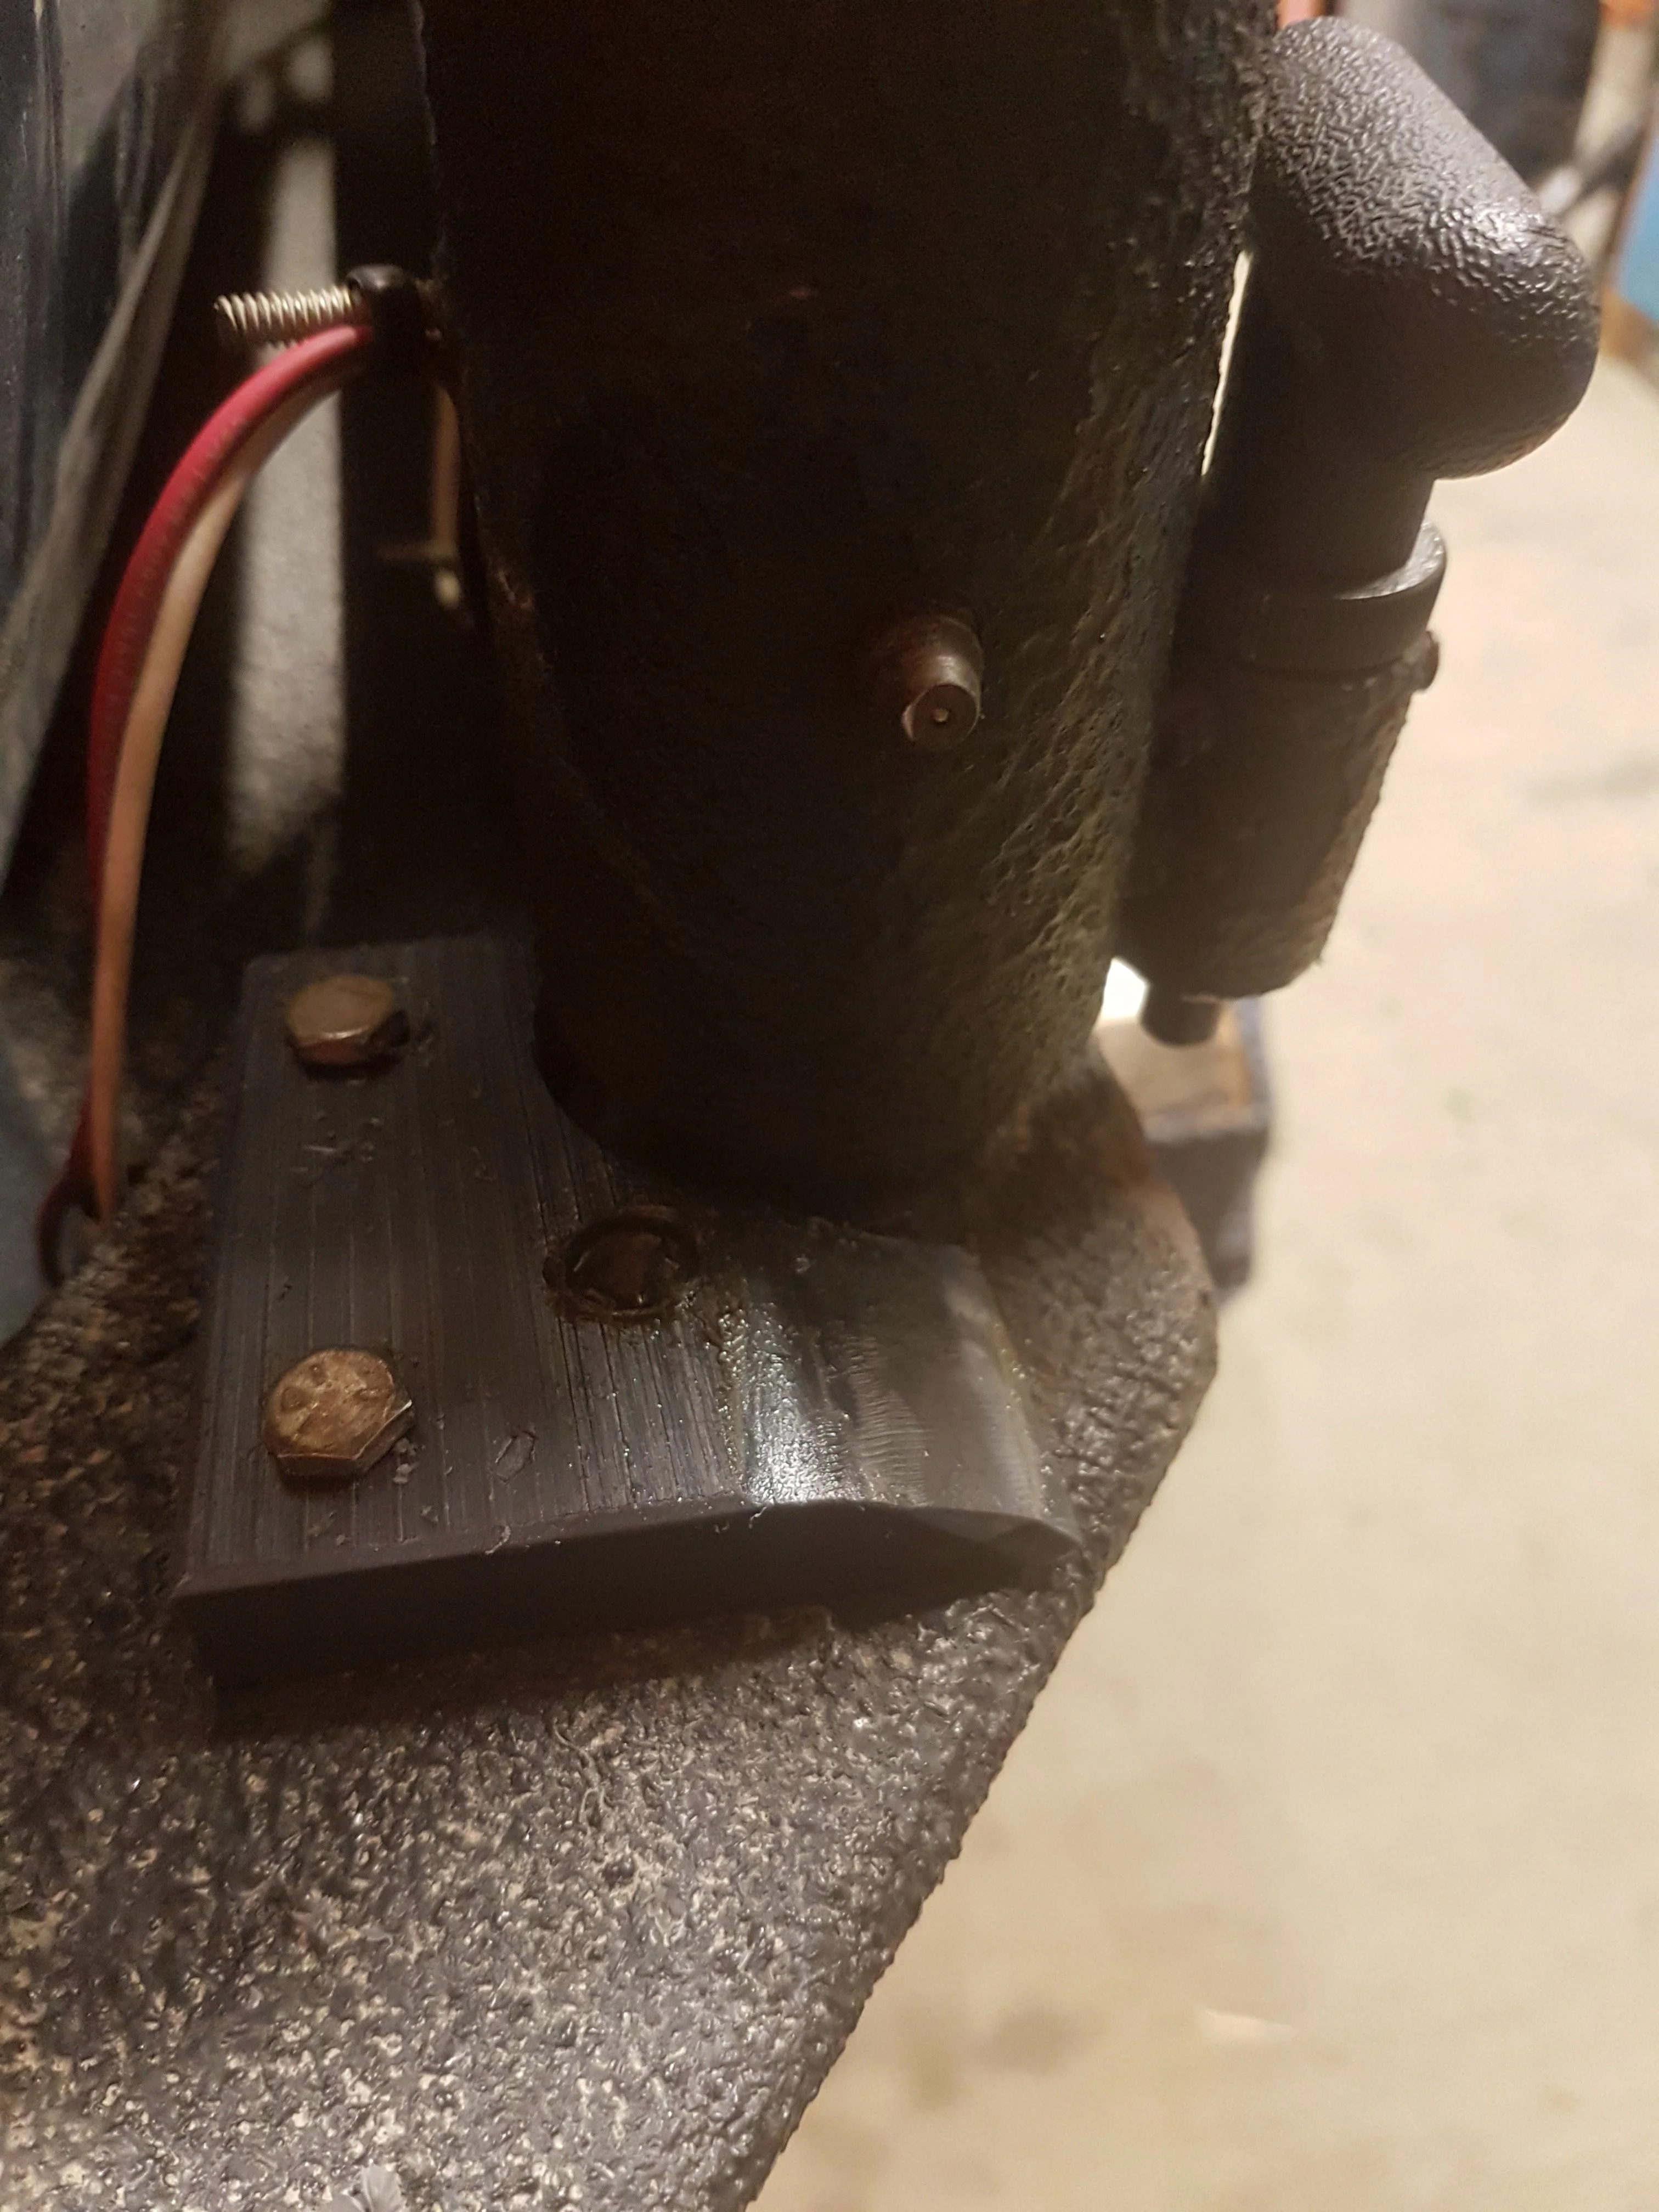
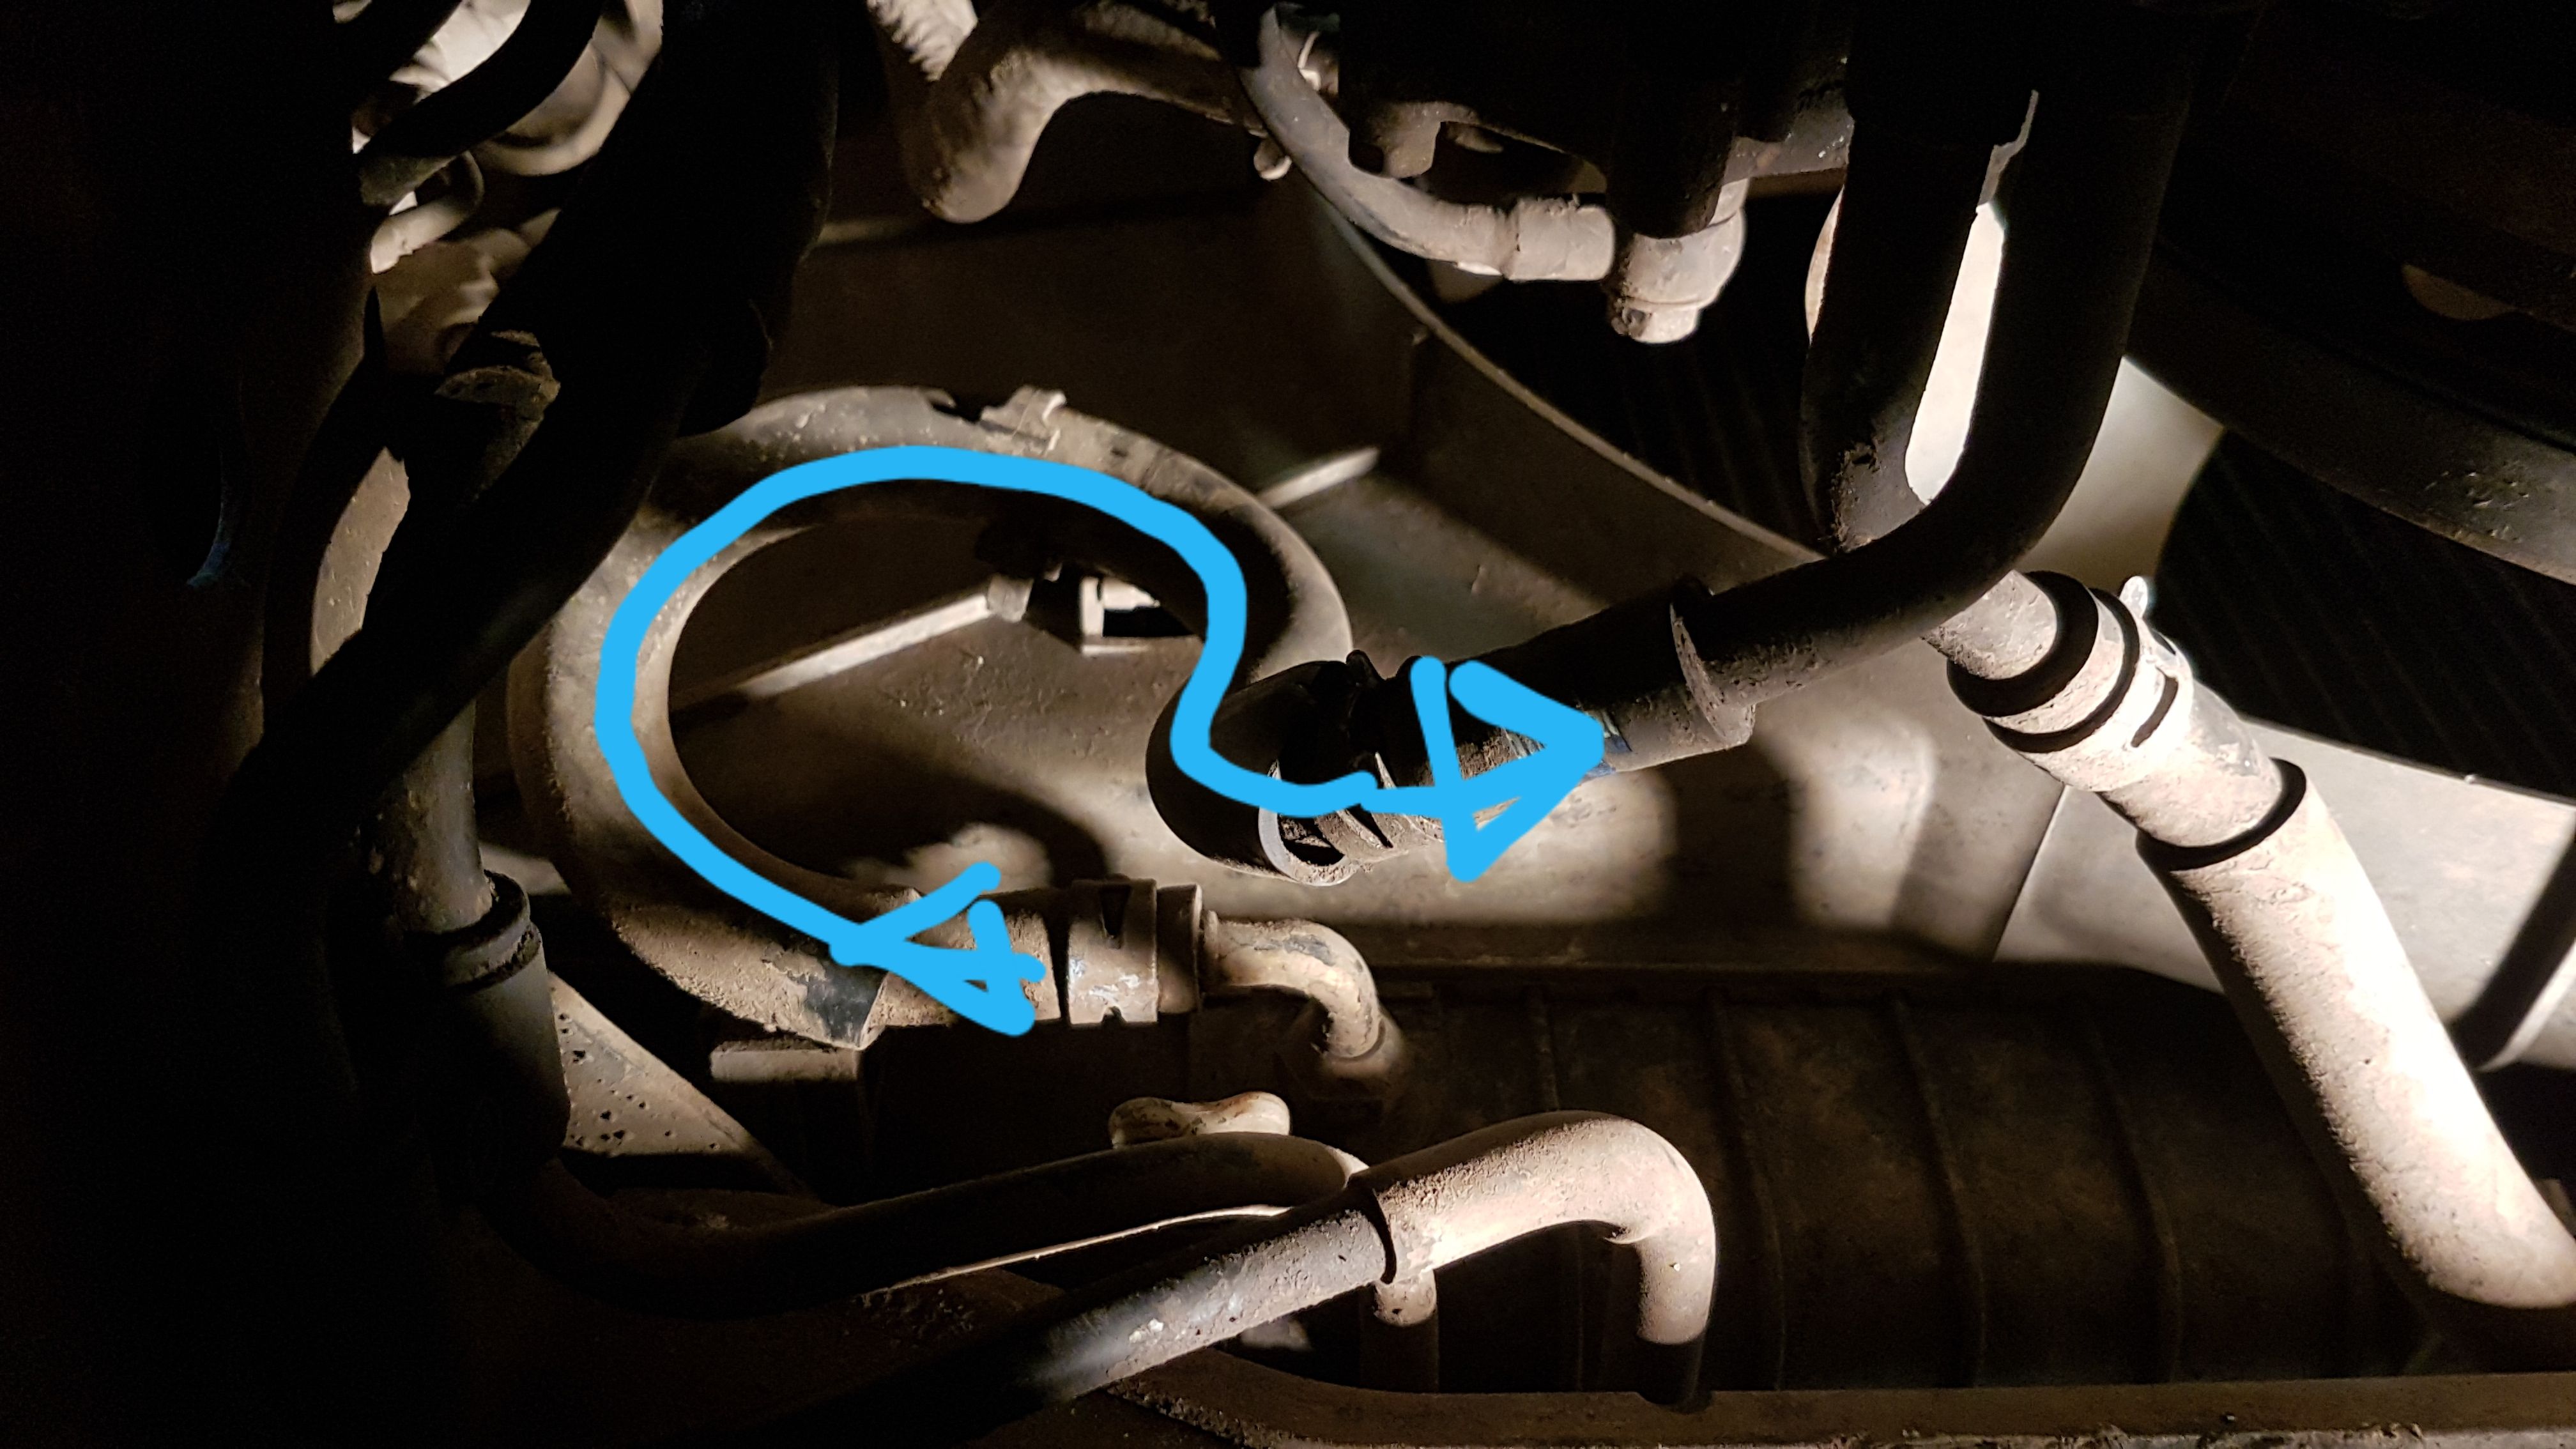
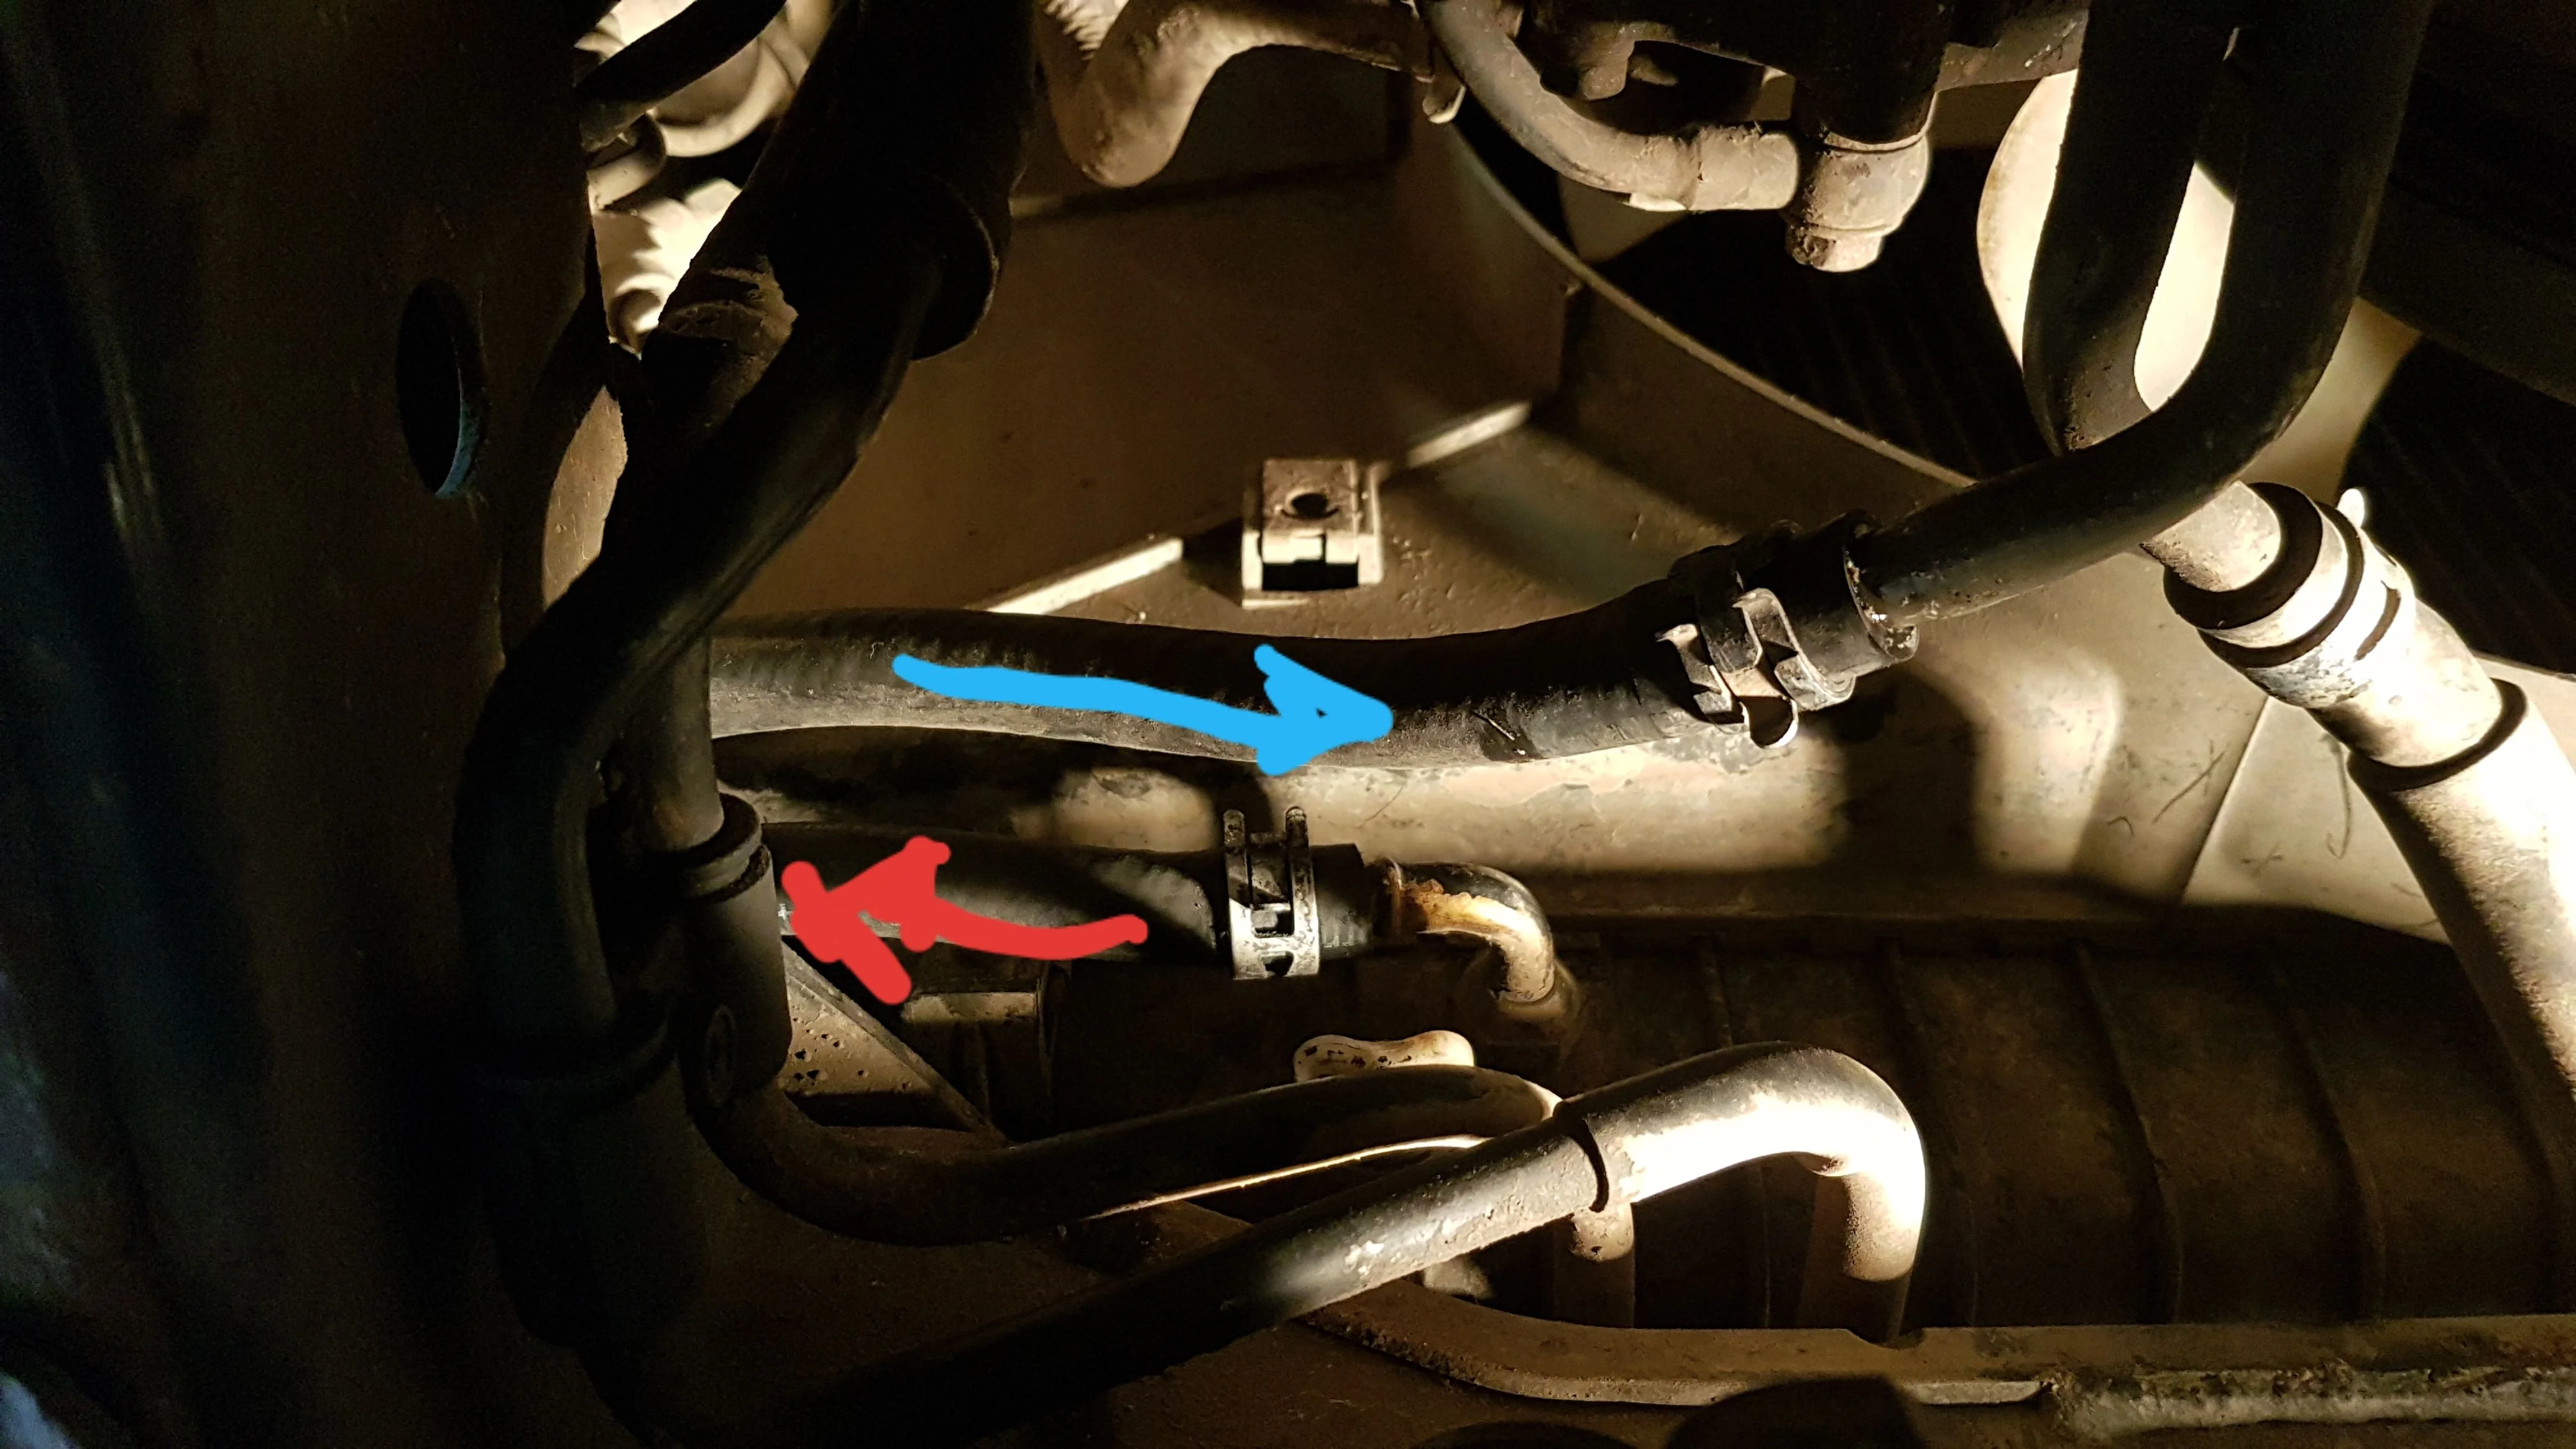
I don't know the status of the heater relay, since it appears to be located under the primary battery, so when considering pulling that all out, and realizing I would need to reset my clock I said **** that and stopped investigating.

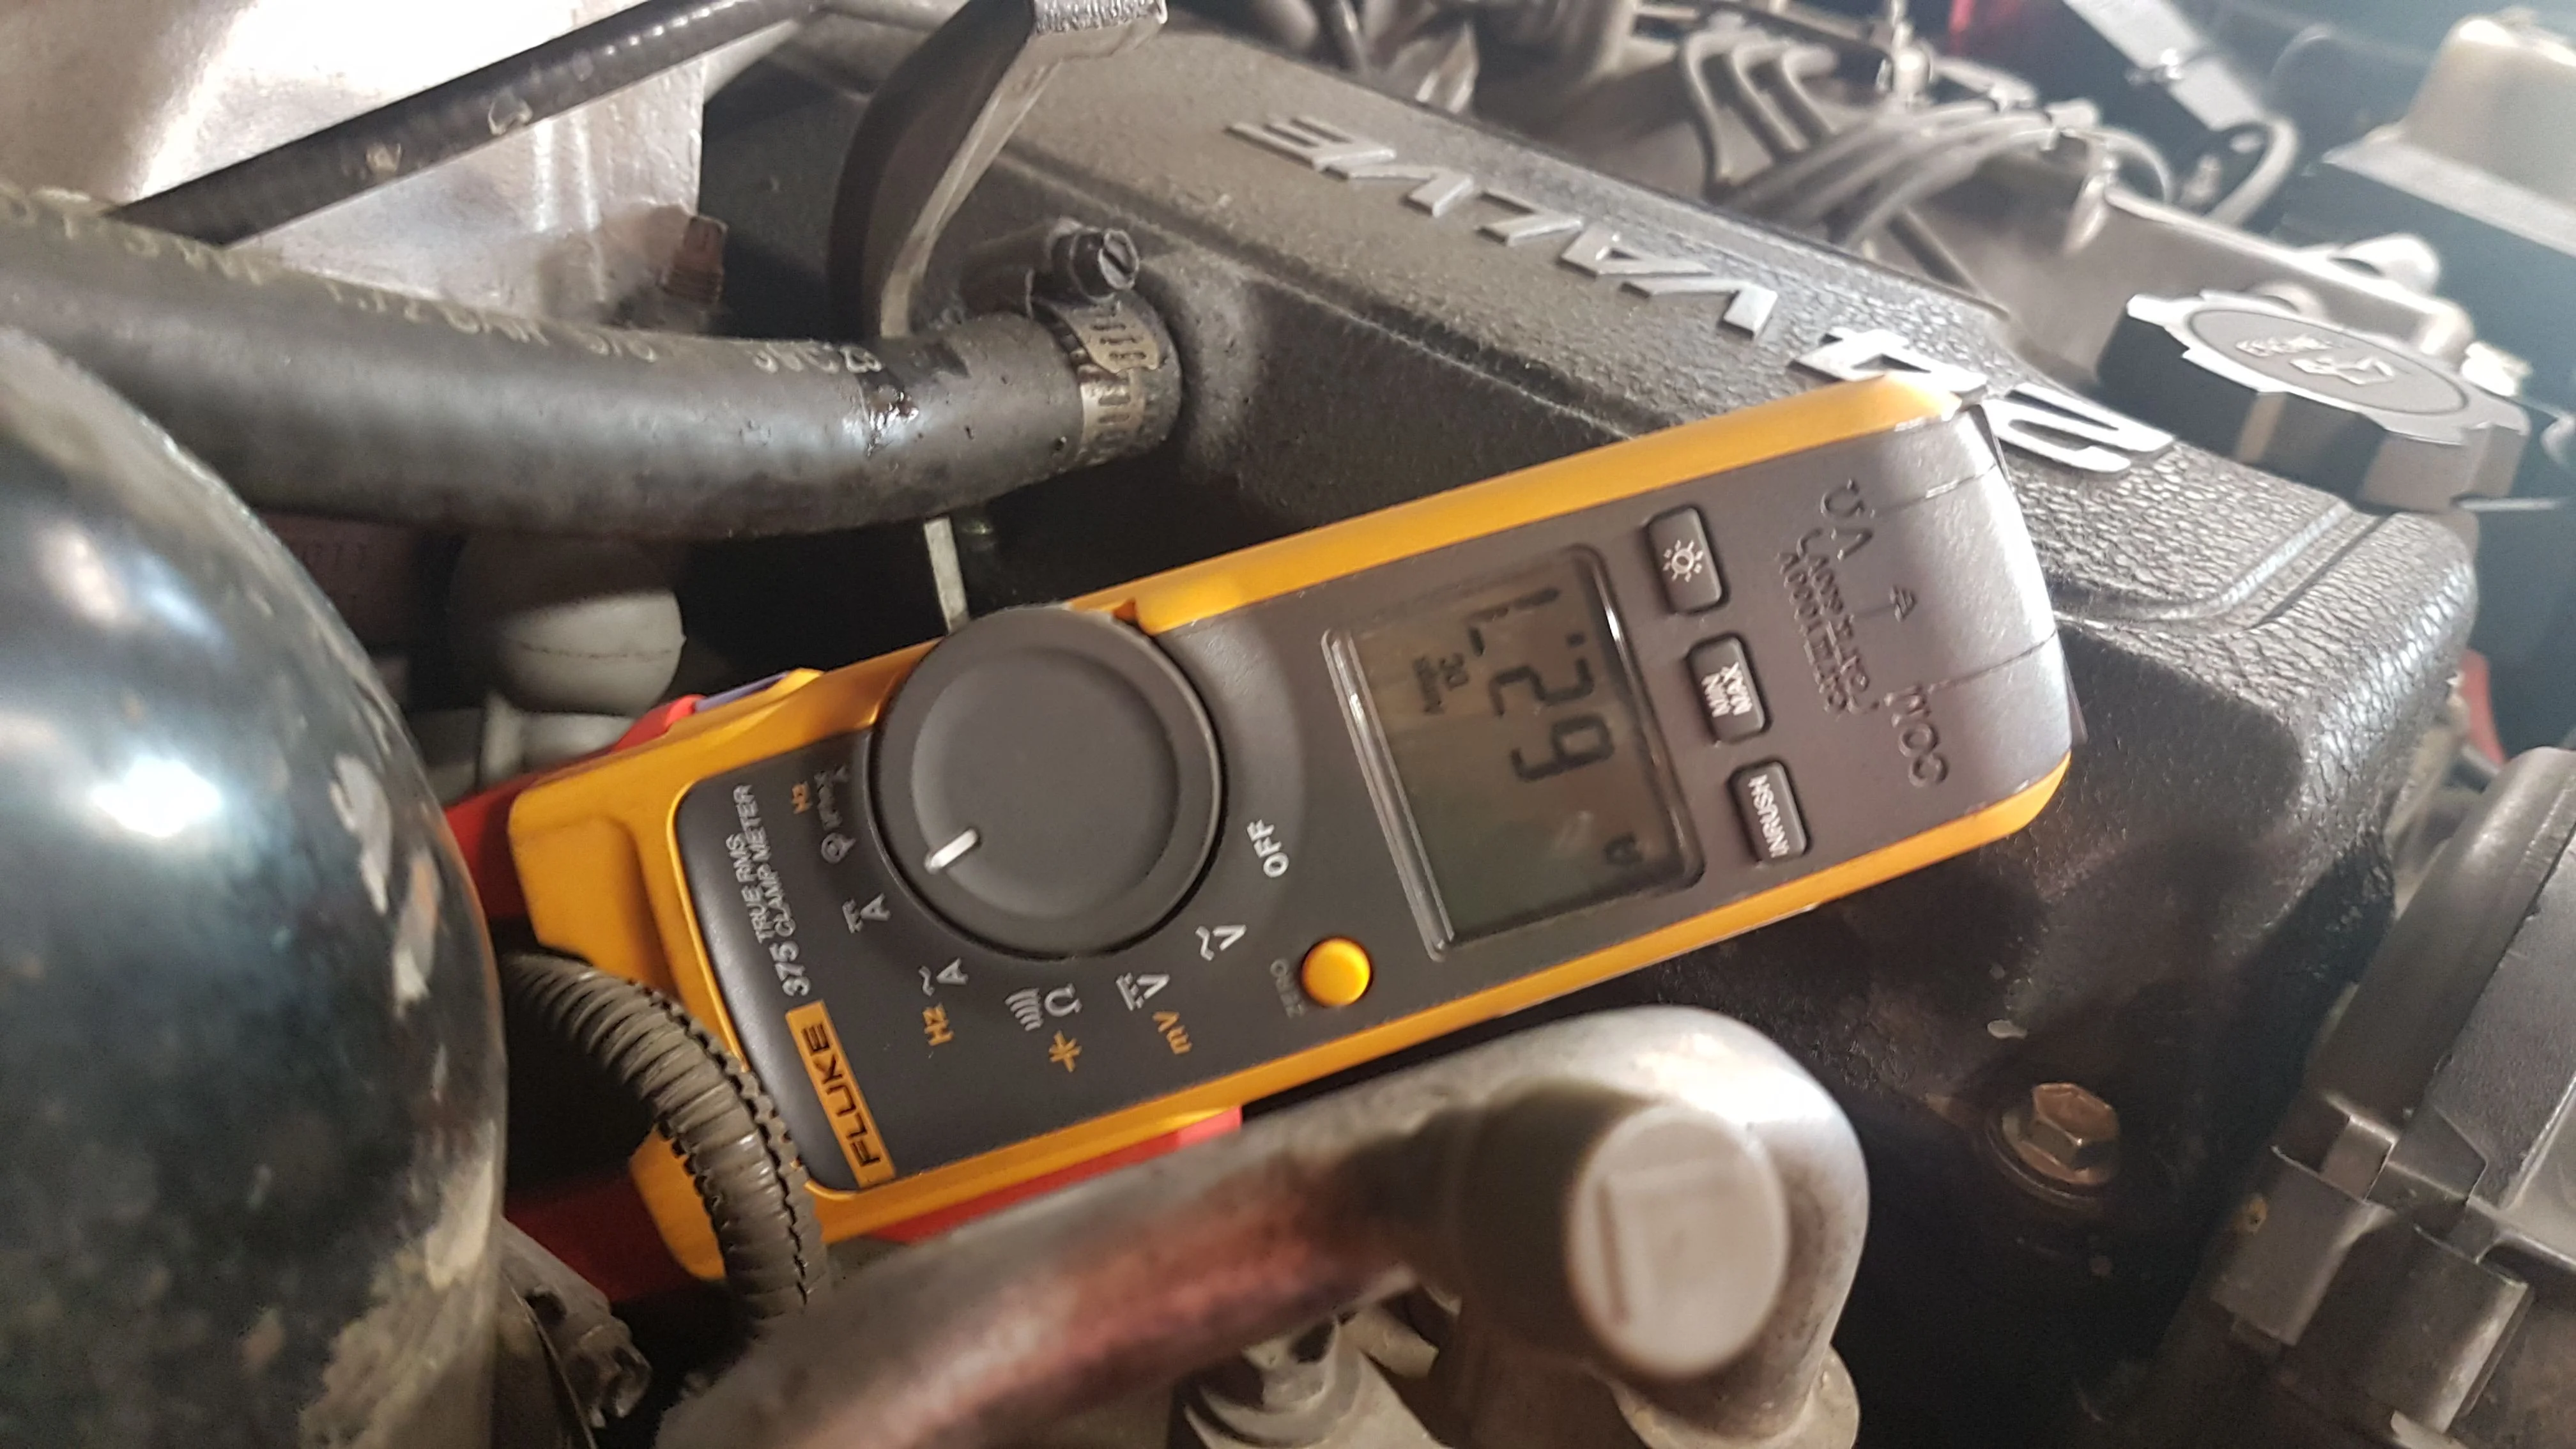
Installed the new one and tried it out. It still draws like 150A+ initially, but it dropped in seconds, much faster than before. After about 5 seconds it was at around 50A, continued dropping steadily but slowed considerably when it got into the 15-20A range. When truck starts, it then climbs, but then remained steady in the 60-65A range.

So, as @DancesWithMutts had mentioned earlier, resistance is changing as the element heats up. When the vehicle is not running and has no air flow, element gets hotter, the current keeps dropping as resistance increases, allowing the heater to self regulate. When the truck is started, the incoming air is cooling the heater, increasing current, and it seems to hang around pulling 60A in 20c ambient.

The shorted terminal on the old unit meant I was just dumping electricity into the frame, so it's good I've had it disconnected for so long.

I'm now looking forward to some less smoky starts.


full


full


full


full
 
At the same time as the heater order, I finally got a replacement driver's grab handle. For whatever reason, the truck came with some that didn't match up. Correct is on the right.

full


Unfortunately, it didn't come with the little plugs that cover the screws, so I'll have to remember those on another order...
 
I recieved a transmission cooler last year for Christmas. It's just a simple Hayden unit from amazon, but I was really good at procrastinating everything last year so it never got put in.

Until now. Just in time for winter.

First, I built some brackets.

Then, I mounted it.

From what I could gather, the hot fluid from the trans goes into the radiator on the right side (laying on back with feet sticking out front of vehicle), and out the left. Then, there's a short loop of hose connecting the radiator to the return hard line, I'm assuming this is where the factory cooler on NA vehicles ties in. Take that loop out.

The hose that came in the kit was 11/32" and about 4" too short, so I bought some new 3/8" transmission cooler hose. Pushing new hoses into place is one of my least favorite tasks, and I would never have gotten the smaller diameter on. From the radiator to the bottom of the cooler, then top of the cooler to the return line. I ran them under the rad support beside the mount, and wrapped them in some old bike tube where I'm concerned about abrasion. Reused the factory hose clamps under the truck, kit clamps on the front.

I'm sure I could have gotten a slightly bigger cooler in, and I couldn't tell you now how much it's helping, but I'm sure it will work just fine.

full


full


full


full


full
 
My front caliper started to leak recently, so I kept driving it like that for about 2 months... I don't put a lot of miles on this thing. Got a used rebuild kit, but then decided to just get some remans anyway and maybe I'll do a rebuild myself someday down the road ans send in some other garbage calipers for my core charge.

I settled for some Cardone things and some Powerstop 100 series pads off Rockauto. After looking side by side, yeah, there's a bit more material there. Makes ya wonder why they didn't just do this in the first place? One would think one part number across more vehicles would make sense, but I guess I'm not a production line specialist.

Cleaned/ painted the remans, installed, and bled the system with wifey's help as best I could. The bleed screws on the rear brakes are too rusted right now to open, so I'll keep fooding the screws with pb blaster, but the firmer pedal feels much better as it is.

Gave the tires a rotate while I was there.

full


full
 
Hey man, I was referencing your alternator write-up (thanks for all the great info btw) and I just wanted to clarify that the only new parts you used, were the alternator itself, and the adjuster bracket that you mentioned?

Thanks!
 
Hey man, I was referencing your alternator write-up (thanks for all the great info btw) and I just wanted to clarify that the only new parts you used, were the alternator itself, and the adjuster bracket that you mentioned?

Thanks!

You'll need the alternator, the bracket (if you don't have the large one already) and the different/newer style plug that the old pins go right into. I don't remember the number, but if I didn't post the part number for the plug, it's the same one that everyone needed to get with the Photoman kit.

Hope it helps
 
Ever since I put in the attic rack, the back of it has been able to vibrate, which in certain road conditions leads to a duyuyuyuyuyuyuyuyiyuyuyuy noise that gets irritating.

So, I grabbed some scrap flat and built a bracket to help it out. Attached to the roof with a nutsert put into the headliner clip hole.

full
 
Awesome thread just read it front to back. Hopefully I'll be adding another 80 series to the streets of Edmonton sooner then later.
 
Ditto, just went through this whole thread as well. Lots of work done and it sure is motivating to see you do so much (pretty much all) of the work yourself. I'll have to refer back to this thread for motivation when I start working on mine in the Spring :)
 
Well, with the stay at home orders going out, I figure its time for a job I've been procrastinating: rust ****ing.

I decided to start with the rear driver's side window. It's had some bubbling in the bottom corners for a while, but the passenger side still appears flawless. I had ordered a new gasket, but the one that came was for the sliding windows :doh:

Pulled the window out anyway, destroying the gasket in the process, so ordered the correct one, and hopefully this microbial terror allows it to still show up. I'm guessing I'll be not driving this for 3 weeks now.

It looked pretty gross, so I attacked it with a wire wheel, some sand paper, some bondo, and some etching primer so far. I picked up some satin black trim paint, which is apparently what we want to fix around the windows. I have a question though: do folks bother clear coating this satin trim paint, or just leave it be?

Pickchers:

full


full


full


full
 

Users who are viewing this thread

Back
Top Bottom