81 BJ42 - I have to bring it home and pass inspection (1 Viewer)

This site may earn a commission from merchant affiliate
links, including eBay, Amazon, Skimlinks, and others.

yes, lead is what they used back then. specialty shops still will use it on true restoration.
i have not used it but would love to give it a try one day just for fun.
 
Using lead is not that easy, biggest problem is getting the first layer on.
I use a special paste which when heated leaves a thin coat of lead on the surface.
Problem is it needs to be perfectly clean metal or it won't stick.
 
Using lead is not that easy, biggest problem is getting the first layer on.
I use a special paste which when heated leaves a thin coat of lead on the surface.
Problem is it needs to be perfectly clean metal or it won't stick.

Using lead's not that easy and it has other drawbacks too...

They tell me it's most harmful to developing brains so keep your youngsters away from your workshop's dust and soldering fumes.

(No need to worry about yourself though if your brains are on the downhill slide like mine)..


:D
 
I just bumped into Kevin (not literally) in traffic on the way home from grocery shopping, he was in his Matrix and me in my 80, I rolled down the window and said "are you following me?"

His reply "Yeah! Im waiting for some free parts to fall off that thing!" The he laughed and took off.

What a guy, no parts have fallen off the 80 for a long time. Jeez.
 
cody c said:
What a guy, no parts have fallen off the 80 for a long time. Jeez.

Thats true. Your 80 mostly keeps the parts within the cases. It implodes parts. Too much powa seeking the weak link.
"you are the weakest link!"
 
Freshly re-plated wrenches, pliers etc
IMG_2216.webp

And we left off still having to finish the corners
IMG_2225.webp

IMG_2226.webp
IMG_2216.webp
IMG_2225.webp
IMG_2226.webp
 
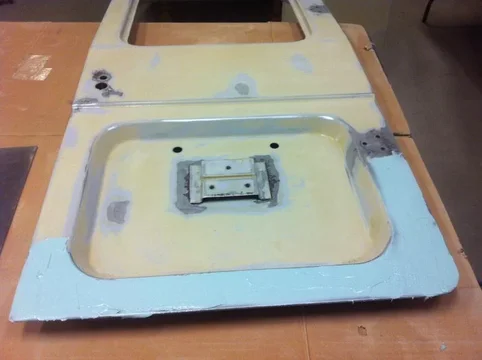
Corners done
IMG_2231.webp
Starting the bondo
IMG_2232.webp

IMG_2234.webp
IMG_2231.webp
IMG_2232.webp
IMG_2234.webp
 
IMG_2233.webp

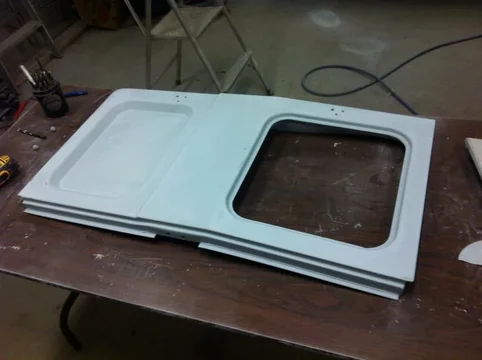
Primer started

IMG_2250.webp

IMG_2251.webp
IMG_2233.webp
IMG_2250.webp
IMG_2251.webp
 
More primer

IMG_2252.webp

Drilling the holes I mentioned before.

IMG_2254.webp

IMG_2253.webp
IMG_2252.webp
IMG_2253.webp
IMG_2254.webp
 
Blocking out the low spots
IMG_2256.webp
Sealer
IMG_2257.webp
Color
IMG_2263.webp
IMG_2256.webp
IMG_2257.webp
IMG_2263.webp
 
Its a single stage urethane. I just walked into my bodyshop supply place and asked for Toyota 464 beige. He said he could mix it up but no guarantee on match. Because of the age of the color he didn't have some of the data he would get with newer stuff. I think it looks fine next to the 30 year old paint on the top.
 
Re-assebled the rear doors today. Started with the left. The gasket is the CCOT "Best" style. Pretty nice fit to it. The adhesive is a messy ordeal but not too bad. Prolly better with more hands.
image-2127760208.webp
image-169191056.webp
image-55477754.webp
 
Thanks, here is the other door
image-1380331260.webp
image-2249223980.webp
image-2068428936.webp
 
I powder coated the licence plate bracket gloss black and the two covers silver. Also did the mirrors and bumperettes silver at the same time.

Re-mounted the tire carrier

Got the drivers door put back together and tossed in the back for now.
image-2194285609.webp
image-330595559.webp
image-4184574351.webp
 
I had this old skool jerry can done in textured Diesel yellow and the Toyota tool kit box done in textured black to hide the rust pitting.
image-1923240934.webp
image-1189128455.webp
image-2363448624.webp
 

Users who are viewing this thread

Back
Top Bottom