What have you done to your Land Cruiser this week? (48 Viewers)

This site may earn a commission from merchant affiliate
links, including eBay, Amazon, Skimlinks, and others.

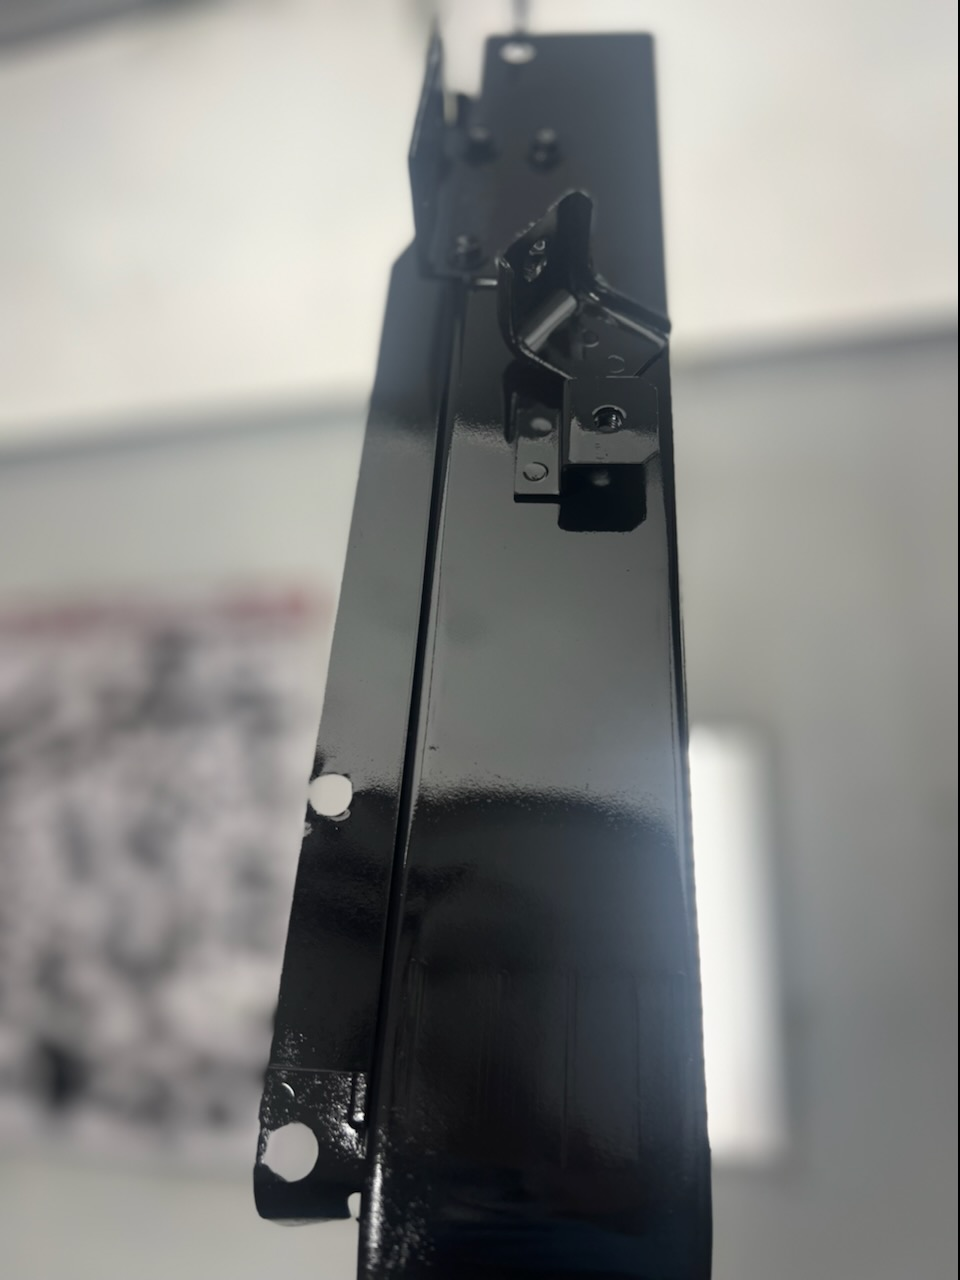
Pics of my radiator surround from the guys who are doing my Cerakote.

Bigger pics in the Paint and Body Forum:


1655243382487-png.3034174
1655243421281-png.3034175
 
Added a 4Plus U-bolt flip kit to the front and rear. If anyone sees a problem, particularly with regard to the routing of brake lines, please let me know so that I can fix. Also, please let me know if I need to cut off the excess U-bolts that are sticking up toward the stops.
Thank you.

View attachment 3033952

View attachment 3033953

View attachment 3033955

View attachment 3033956

You installed them incorrectly. The u bolts wrap around the spring, not on the outside just grabbing the bottom plate.

And yes, trim off the excess. Just leave 1/4 stick out should be good.
 
How do you plan on mounting it? Does it stick down much further than the frame?

My tank like that is mounted by a pair of holes going through the middle of it. I've read that in time the welds around the pipes, going through, can crack in time. It's somewhat shallower than what yours appears to be.
Forgot to add that during the drive home it was very rainy and my wipers broke! The linkage seemed to have come apart. I parked under the shelter of a bunch of trees and used Two screwdrivers and a crescent wrench to take the dash apart and make the repair. I love the simple, utilitarian, field serviceable nature of these vehicles
If I might ask what roof rack are you running?
 
You installed them incorrectly. The u bolts wrap around the spring, not on the outside just grabbing the bottom plate.

And yes, trim off the excess. Just leave 1/4 stick out should be good.
Thanks. I will remove and replace tomorrow. I appreciate the help!
 
You installed them incorrectly. The u bolts wrap around the spring, not on the outside just grabbing the bottom plate.

And yes, trim off the excess. Just leave 1/4 stick out should be good.
Good eye…and correct. @Green Bean I would change your U Bolts around as suggested.
 
You installed them incorrectly. The u bolts wrap around the spring, not on the outside just grabbing the bottom plate.

And yes, trim off the excess. Just leave 1/4 stick out should be good.
I left mine about 1/4” as well. Took <10min to cut all 8 u-bolts with a 4” angle grinder. Looks like they were made that length originally now. 4Plus sure makes quality stuff!

(Good catch on the backward installation, I didn’t even notice that until you called it out...)
 
Shots of my flip kit install. First one is passenger side, the other two are driver side. You need to leave enough of the u-bolt to be able to reinstall if needed. I had spare u-bolts made up when these just in case. Shots also give you an idea on routing to protect brakelines from trail damage. I cut off shock mount and used perch to keep shock ends free from rock damage.

682798F2-6BC8-4E1F-B5EA-3A047D84E684.jpeg


DFBCCEED-12F6-4C35-9AD7-011033882D9D.jpeg


F84B4DA1-8620-401B-A91E-5CC4523A0CEB.jpeg
 
Mehhh. Stuff happens.

I just put license plate bulbs in backward and patted myself on the back afterward. 😳
But, I gotta go with @JackA ^^^ and trim them down a tad more. IMHO I’d leave 1/2-3/4“ above the nut.
Mostly, I operate in moron mode. Hopefully, I fixed the wrong orientation of the U-bolts. I also cut about an inch off.
Thanks everyone for catching all of my screw ups.

View attachment 3034704
 
You are right, of course. But I'm going to wait until it cools off a bit. It is in the upper 90's here and the garage is like an oven.
When you finish cutting them to the length you should bevel the end of the threads so that the nuts will start putting them on or not stop taking them off.
 
Mostly, I operate in moron mode. Hopefully, I fixed the wrong orientation of the U-bolts. I also cut about an inch off.
Thanks everyone for catching all of my screw ups.

View attachment 3034704
Try to make more careful uniform cuts. Sometime in the future you may have to remove them and will thank yourself when you do. You will want the nuts to start and thread easily.
 
Last edited:
Try to make more careful uniform cuts. Sometime in the future you may have to remove them and will thank yourself when you have to. You will want the nuts to start and thread easily.
2x this comment

When I cut bolts/fasteners, I usually install a sacrificial nut below the cut point and then use the nut to chase/cleanup the threads affected the cut. Old school thread chasing trick if you don't have a die and tap set.
 
Not to mention cutting yourself on the sharp edges if you don’t. That’s rotor tool use for me for the beveling - with a nut/die to remove after for clean threads.
 
When ever cutting a threaded section I always be sure I have a nut I can use to cut the end off. Biggest down size of exposed thread is it a section that can rust and build up with crud making it harder to remove a nut later. Using oil and a die on the exposed thread always making the process easier.
 
Sat down to work on @red66toy 's SD40. Started off with 1.68mm bow on the face of the sight glass. After some heat, bending the mounting ears back and a light amount of sanding with 2000grit on a surface plate, I got the variance down to +/ .15mm around the entire perimeter. Pretty happy with the outcome....now we wait on the rebuild kit to arrive.

Before (1.68mm bow)
NlRMaOMh.jpg


During
3Mo2twNh.jpg


Almost done
CIOSUKrh.jpg


And done
WYLxcXih.jpg
 
Last edited:
Neat. Looks like a mini press you made with one of those nuts welded, probably the larger lower one? and then using a bolt to push the plate down?
 
Neat. Looks like a mini press you made with one of those nuts welded, probably the larger lower one? and then using a bolt to push the plate down?
Pretty much it - super simple. The nut is actually the smaller of the two, easier to fit everything inside the space after cutting down the bolt. The only part missing from the picture is the torch.
 

Users who are viewing this thread

Back
Top Bottom