caz
Keystone Cruisers
A buddy has that sticker. I don't get it...
Follow along with the video below to see how to install our site as a web app on your home screen.
Note: This feature may not be available in some browsers.
This site may earn a commission from merchant affiliate
links, including eBay, Amazon, Skimlinks, and others.
A buddy has that sticker. I don't get it...
So if I put one on my truck, like 50 people in the country will get it?

NICE!
@Bluetribal can you show the exhaust side trimming? I saw how you routed and trimmed previously but I'm curious how you've further refined that now.Yes for clearance, the corners were all messed up from rocks. And my upcoming Moab trip was the final push.
Plus I had to remove the rear mud flaps for the exhaust relocation.
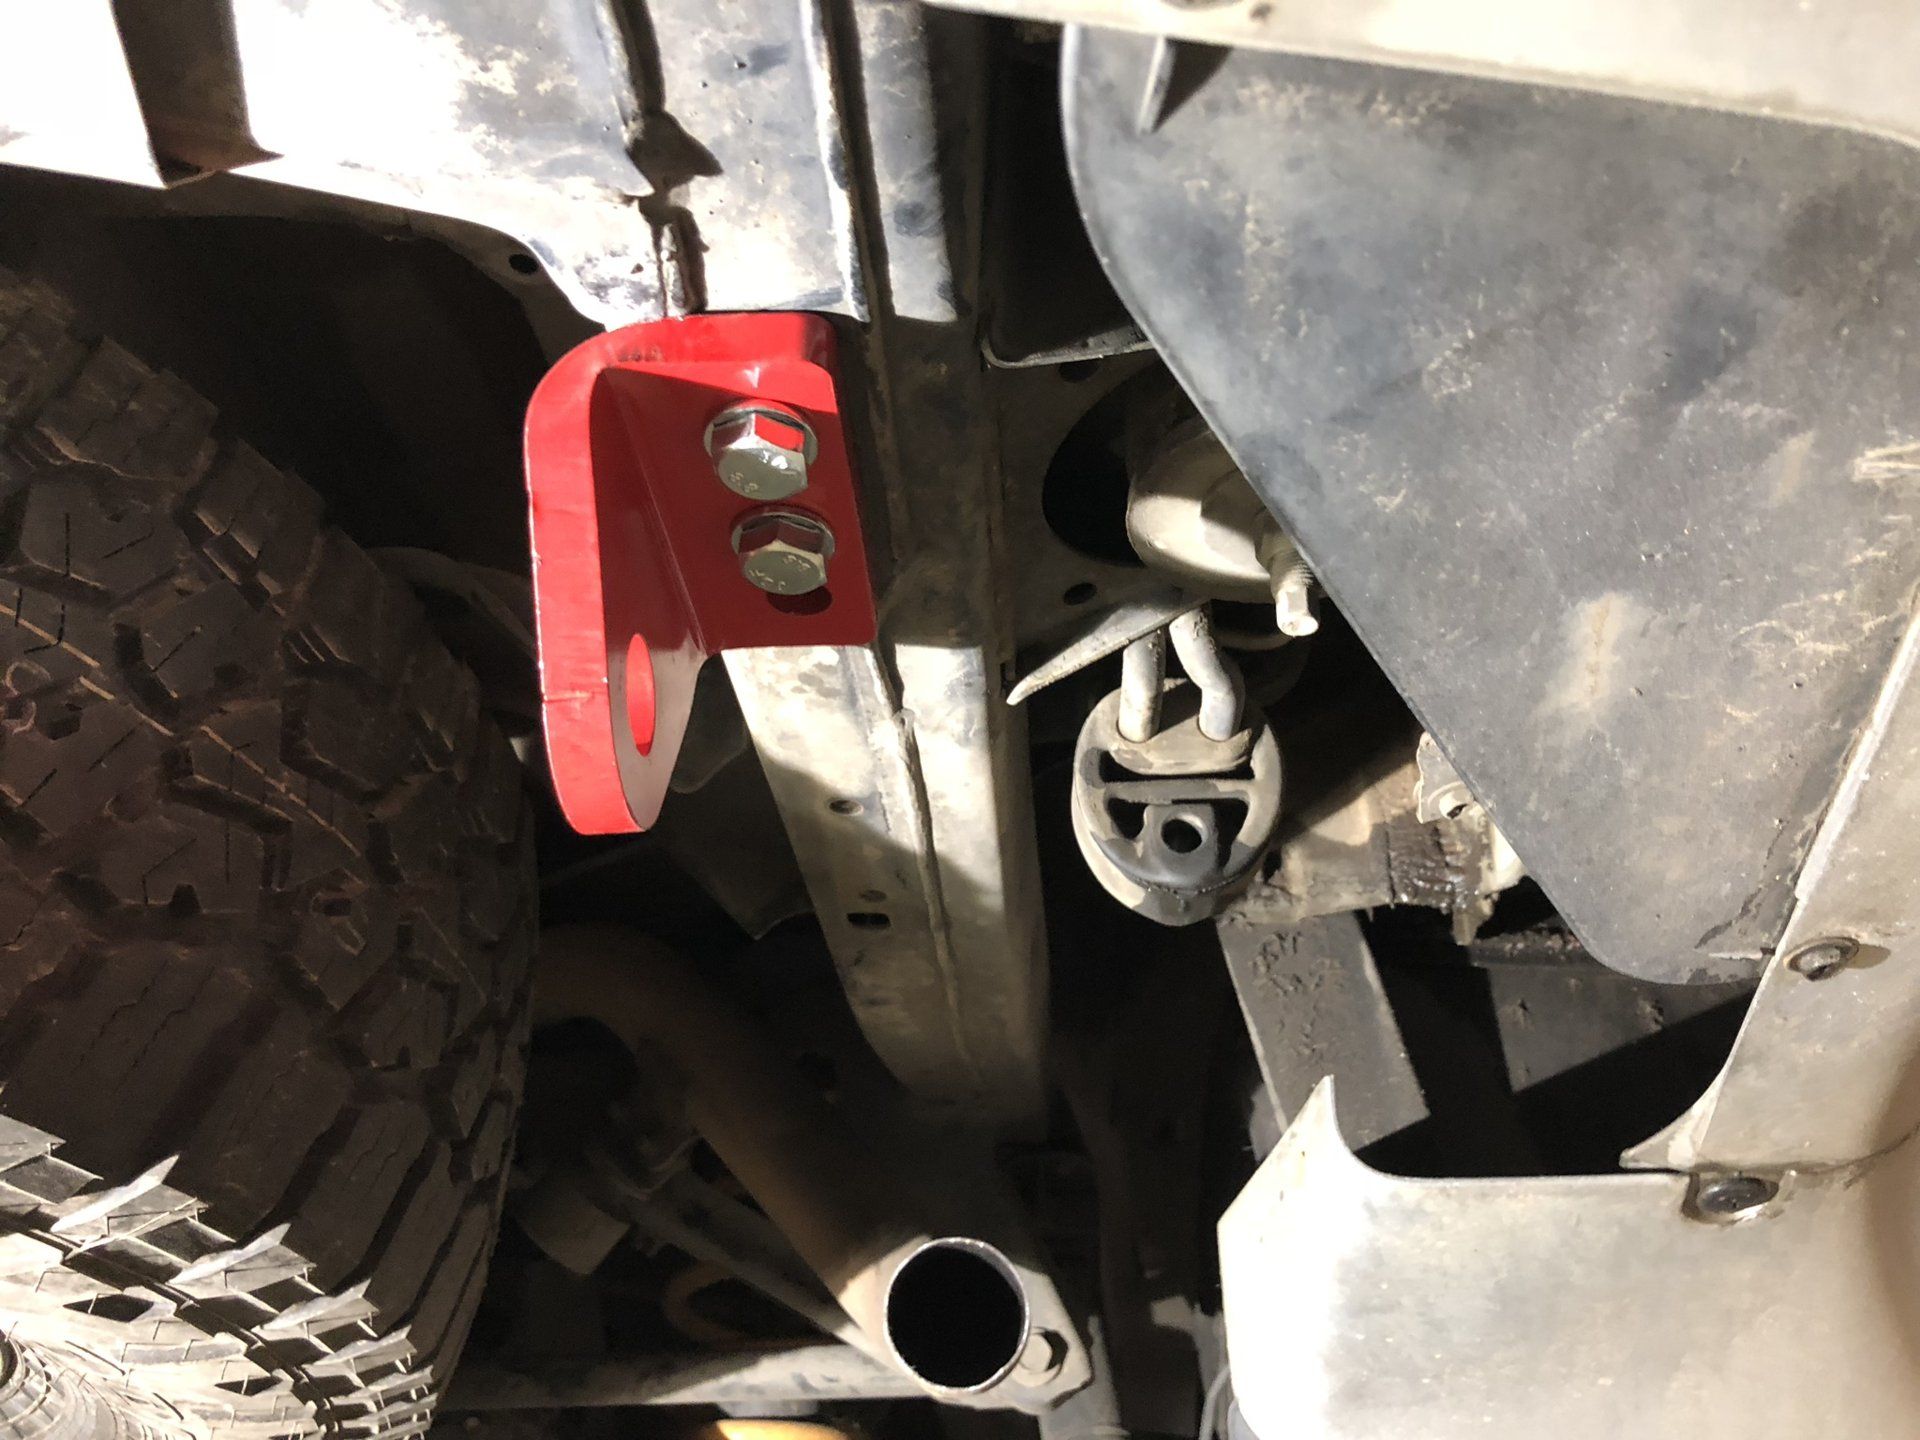
The angle of picture is deceptive, there is tons of room between a shackle and the tire.
I did the same thing and I agree, not that loud.
That is some super quick turn around! I am loving the attention the GX is getting in the aftermarket, hopefully the demand increases.
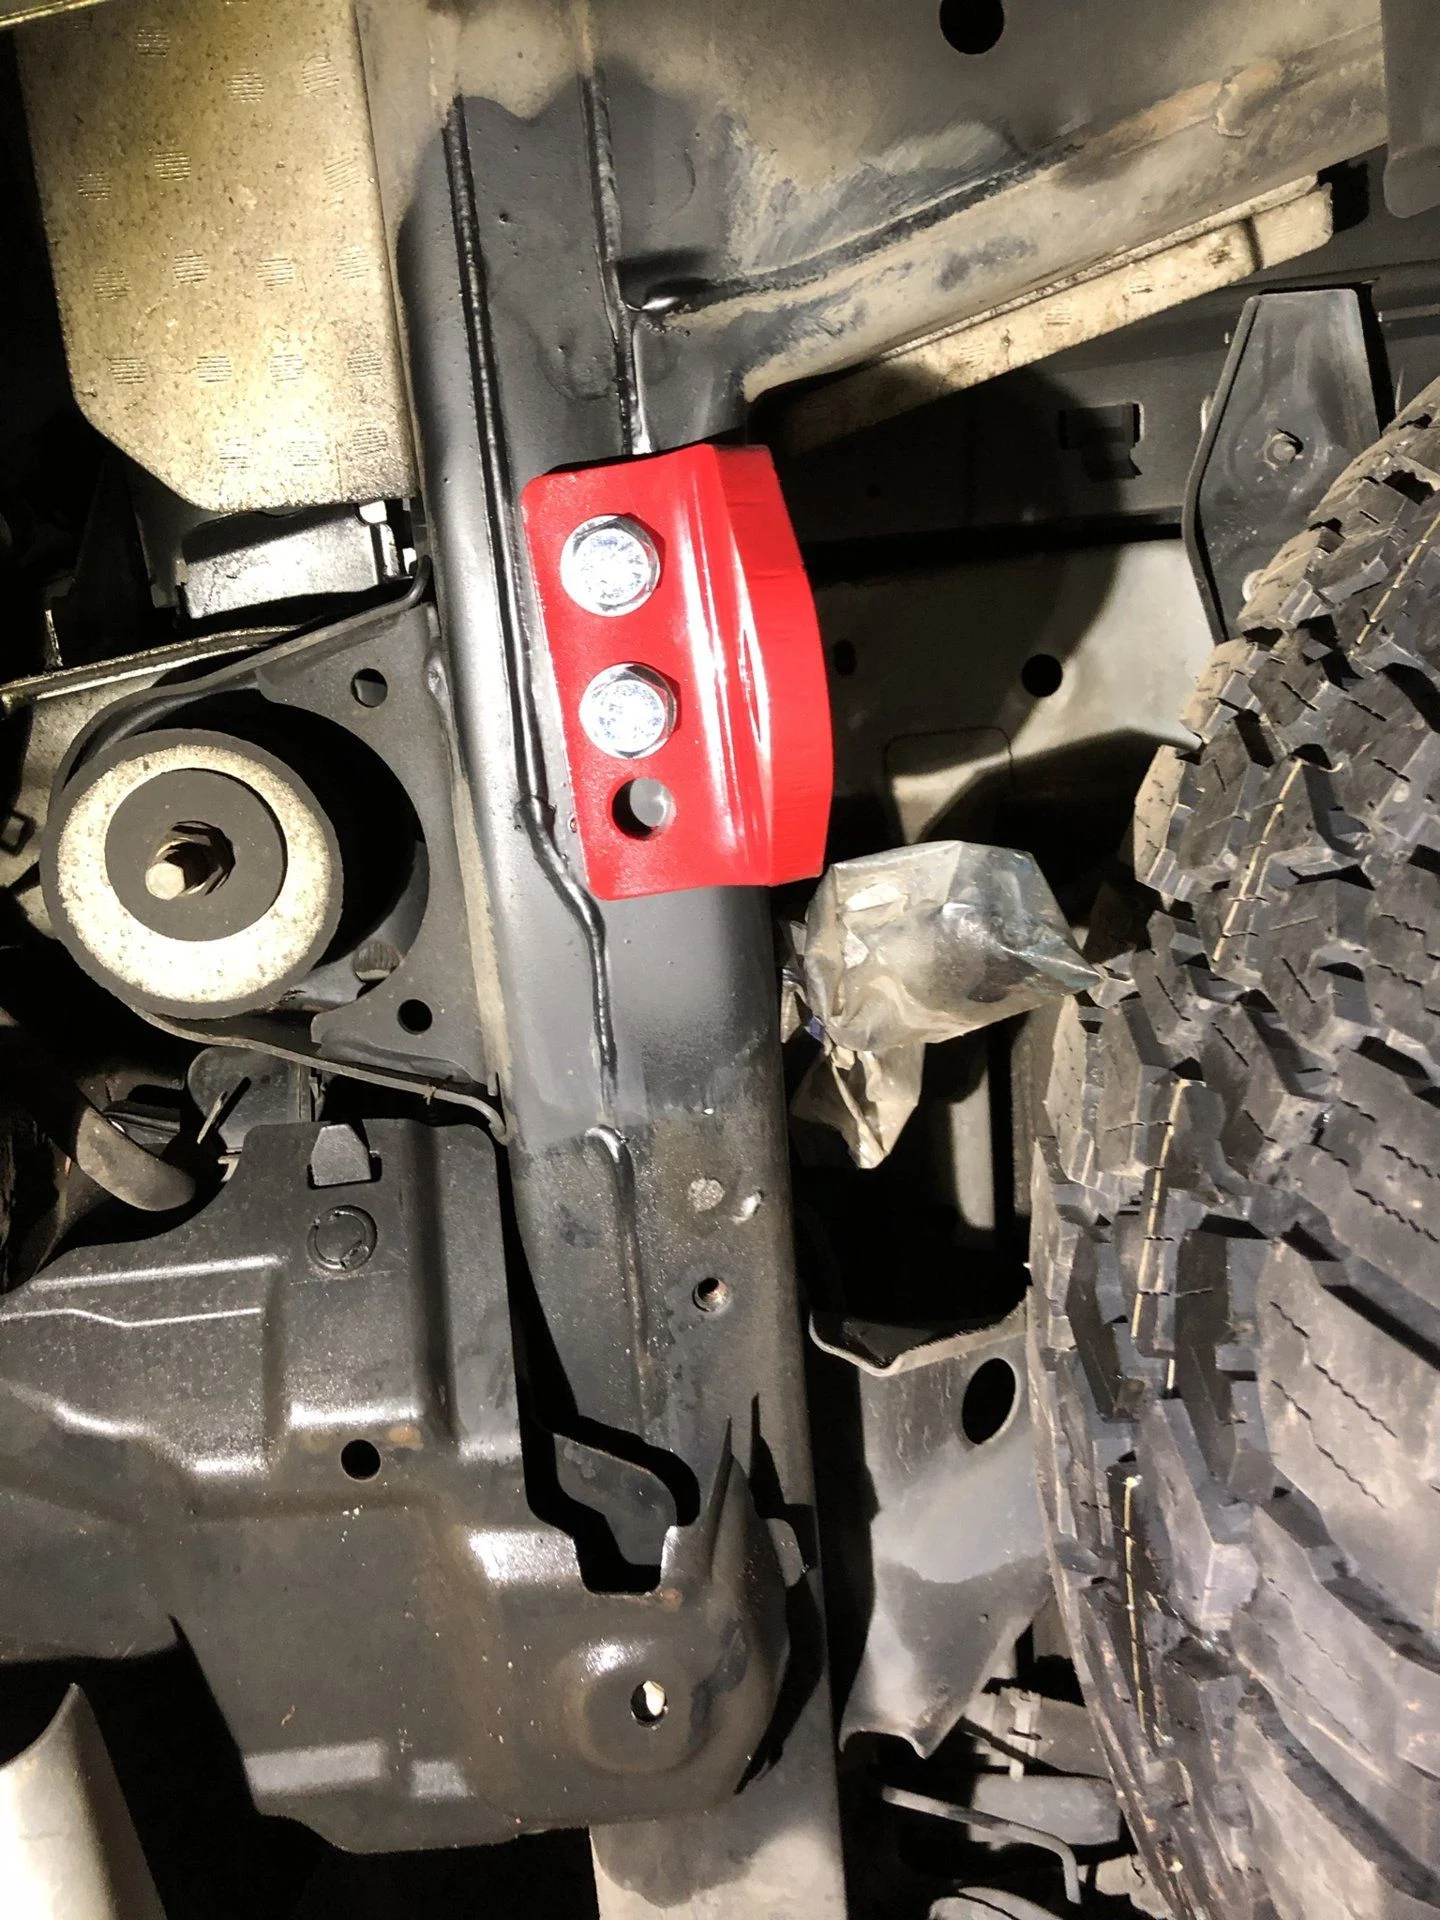
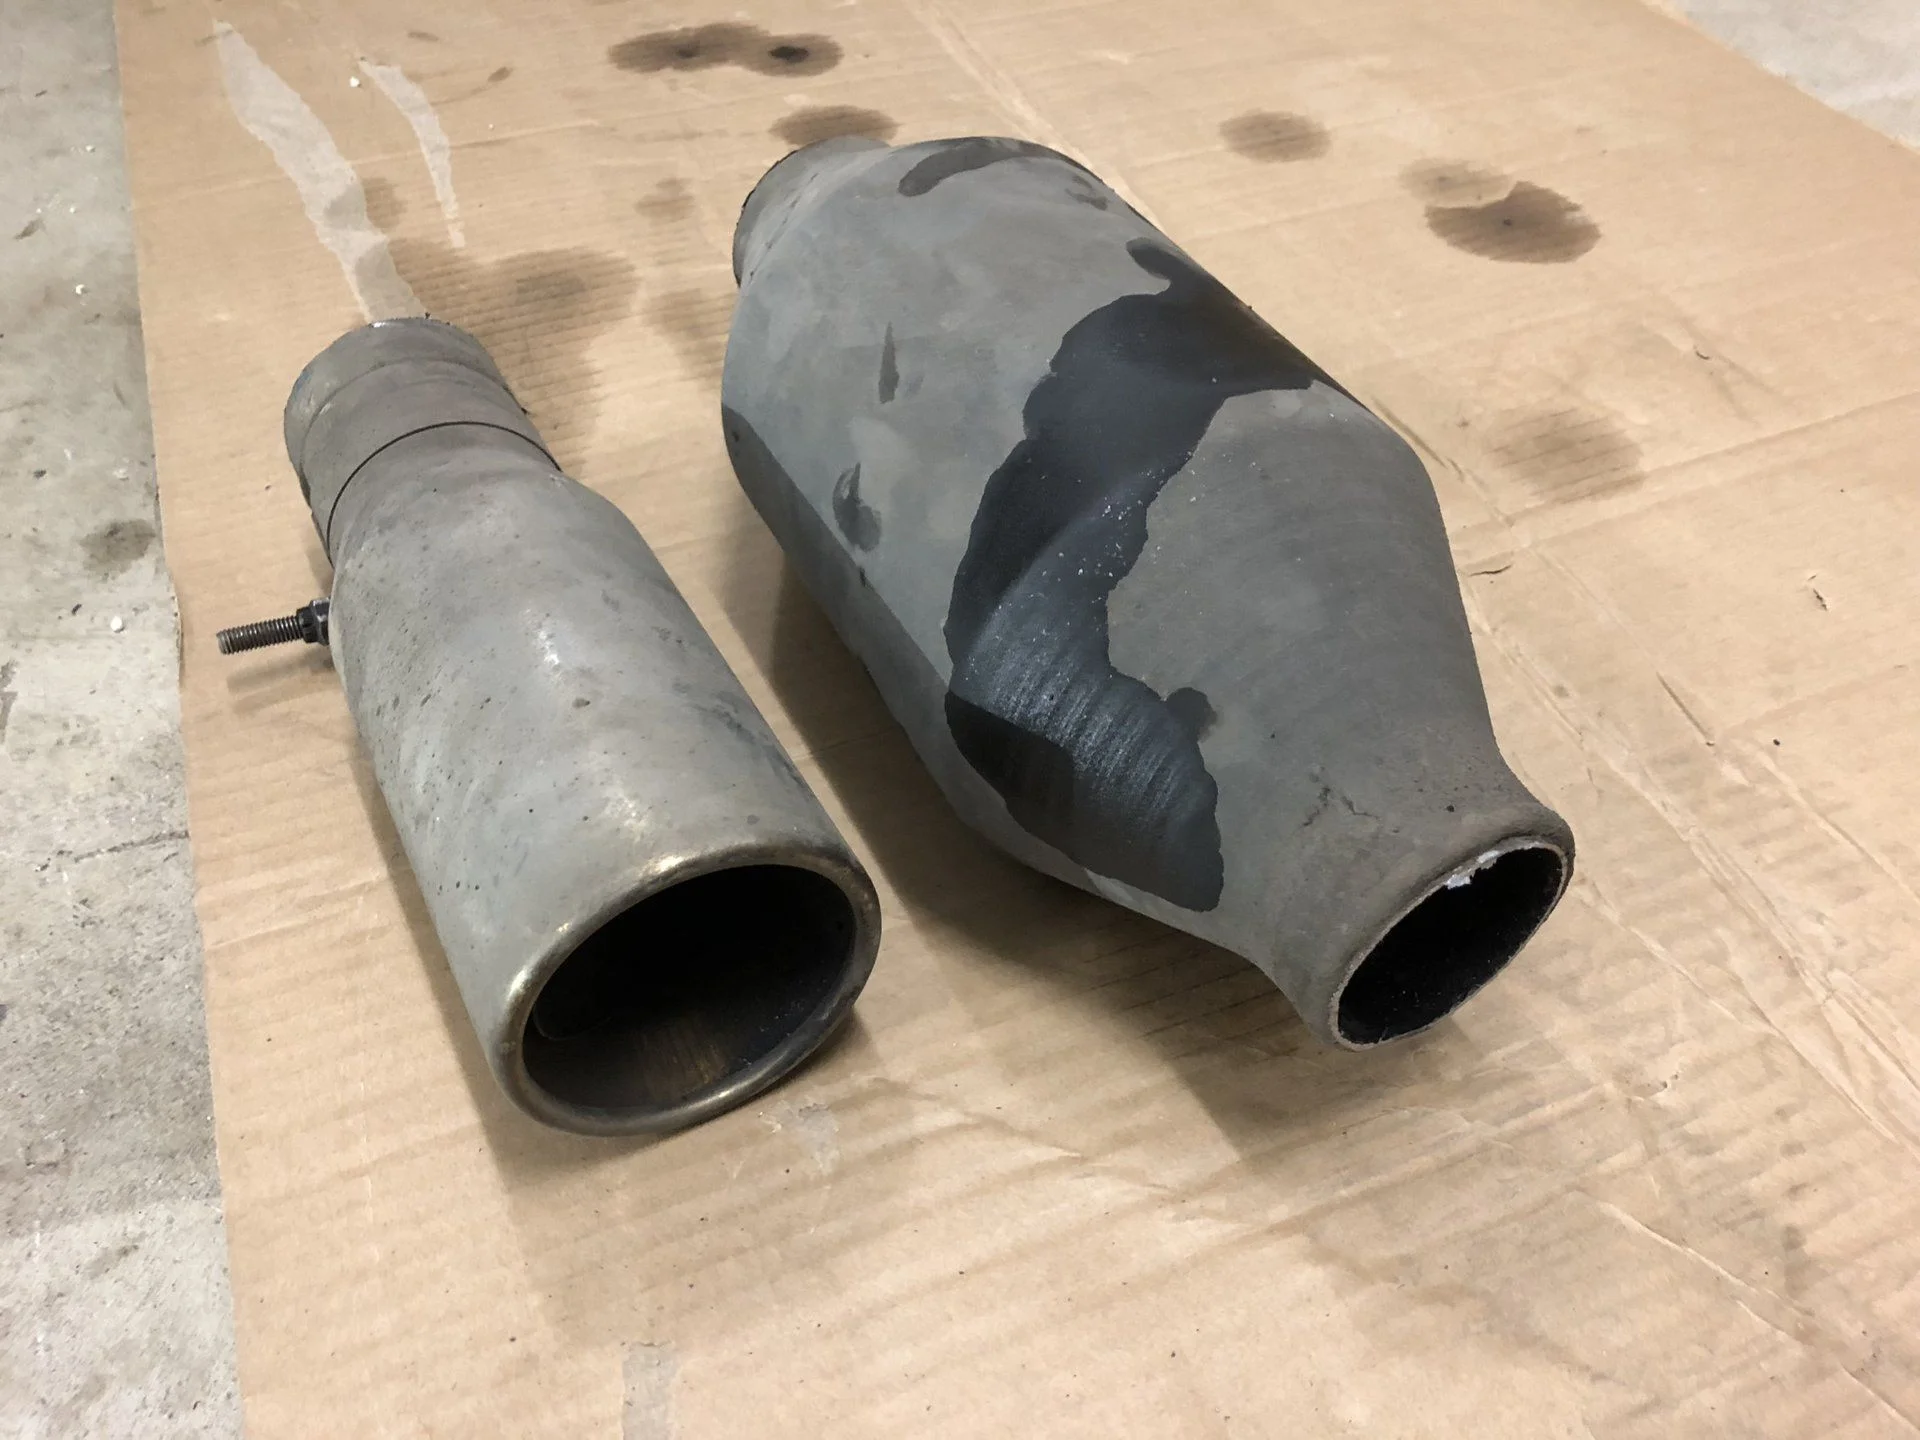
On another note, I chopped the rear of the exhaust off and installed the other tow point. Contrary to what others have stated, there was a volume increase upon losing the rear resonator, but at speed it is hardly noticeable. The exhaust does sound mean in the garage now.
Removed the factory roof rack. Like the cleaner look a lot better.
Uhh, I don't know. I kept the rack, but it's still for sale. It's a good truck, hard to let go at the offers people make. Under-coated today too...Does that mean you have decided to keep it?
Today... installed new hood struts and greased my driveshaft in an effort to fix the CLUNK.
Clunk is now gone during acceleration from a stop! And it has reduced by 50 percent during braking to a stop. Did I miss something on this? This was my first experience greasing a driveshaft...
@DRANGED
I basically just followed this line back behind the mud flap piece.
View attachment 1651942
And I continued the line down to the corner just below the reflectors on the back.
There wasn’t much sense to cut too high in back because I run a stock hitch.
View attachment 1651958
I also got some photos of what I did with the inner wheel well plastic since no one seems to provide that pic.
Passenger Side
View attachment 1651960
Driver side
View attachment 1651961

Boom thanks!@tbisaacs
Here is what I used from O’Reilly Auto Parts and one pack of 18’ door trim will be enough for both front and rear bumpers and I would assume both L & R Steps
This stuff is kind of a pain to install, best trick I found was to fold it backwards just before pushing it on. And don't expect to slide it once it's on because it has some sticky stuff inside to help keep it on.
View attachment 1652194