Build Bluetribal's Baja Build

Member Build Threads

This site may earn a commission from merchant affiliate
links, including eBay, Amazon, Skimlinks, and others.

Joined
Mar 14, 2006
Threads
280
Messages
6,004
Location
Sandy Eggo
Website
www.markkuz.com
Figured I would start my official Build thread since that's what all the narcissist here in the 120 section do. :p;) In the 80 section you had to be granted a Rig of the Week or was it month? I also gave my build a flashy nick name since I love getting down to Baja at least 2 times a year and hopefully more over the next few years.

Introduction:
I have introduced myself and my 05' GX in this thread. So that kind of gives the background on my 1 owner, 85K mi, 05, no Nav, non KDS GX470. But prior to this GX I had a 96 FZJ80 Land Cruiser (RIP). I have been wheeling since the day I bought my L.C. in 2006. I wheeled both of these trucks stock for a couple of years before I saved up the funds to get lifts and I always encourage people to get out and wheel their rig once it is safe and base-lined.


On To The Build:
Tires: 255/75/17 Cooper Discoverer ATP
Wheels: Stock Toyota 4Runner Wheels 17" x 7.5" XX B.S.

Current Lift:
Subject to change ;)
Front - SPC Upper Control Arms | Toytec 2.5 Coilovers | Toytec Sway Bar Spacer
Rear - Metal Tech Stage 1 Conv. Kit | OEM Spring Isolators | 2" ICON Coils | 4Runner Firestone air helper air bag spring kit | ICON 2.0 mono tube shocks | M.T. Steel Braided, extended rear brake lines.

Armor:
OPOR Rock Sliders (Install Thread) | ASFIR Full Alluminum Skid Plates (Thread) | ICON rear shock shin guards |

Safety:
Fire Extinguisher | Odyssey Battery - 34R PC1500T | Trail Gear Battery Cage (Install Thread) | Trail-Tailor Front Tow Mounts & Bolt Kit | EBC Premium Brake Rotors & Pads

OEM Goodies: Factory Lexus Tow Hitch (Forum Discussion) | Upgraded Diff Support #2 (Forum Discussion) |

Aftermarket Goodies: Yauseu Ham Radio | Weather Tech Second Row mat | Front Runner Drop Down Table

Bling: CBI Ditch Light Brackets |

Free Mods: Trim Bumpers |

Future Mods:
Power Tray & Blue Seas Fuse Block | Oetiker CV Boot Replacement
 
Last edited:
I just finished prepping for a 1,200 mi Baja trip down to Mulege and San Ignacio Bay to see the Gray whales up close and personal.
We did this trip to San Ignacio 3 years ago and had a blast so now we are going to take our daughter and my Mother-In-Law to experience it. Below are photos and video of our Whale experience out on San Ignacio Bay.

IMG_0927.JPG


IMG_0939.JPG


IMG_1015.JPG


IMG_1260.JPG


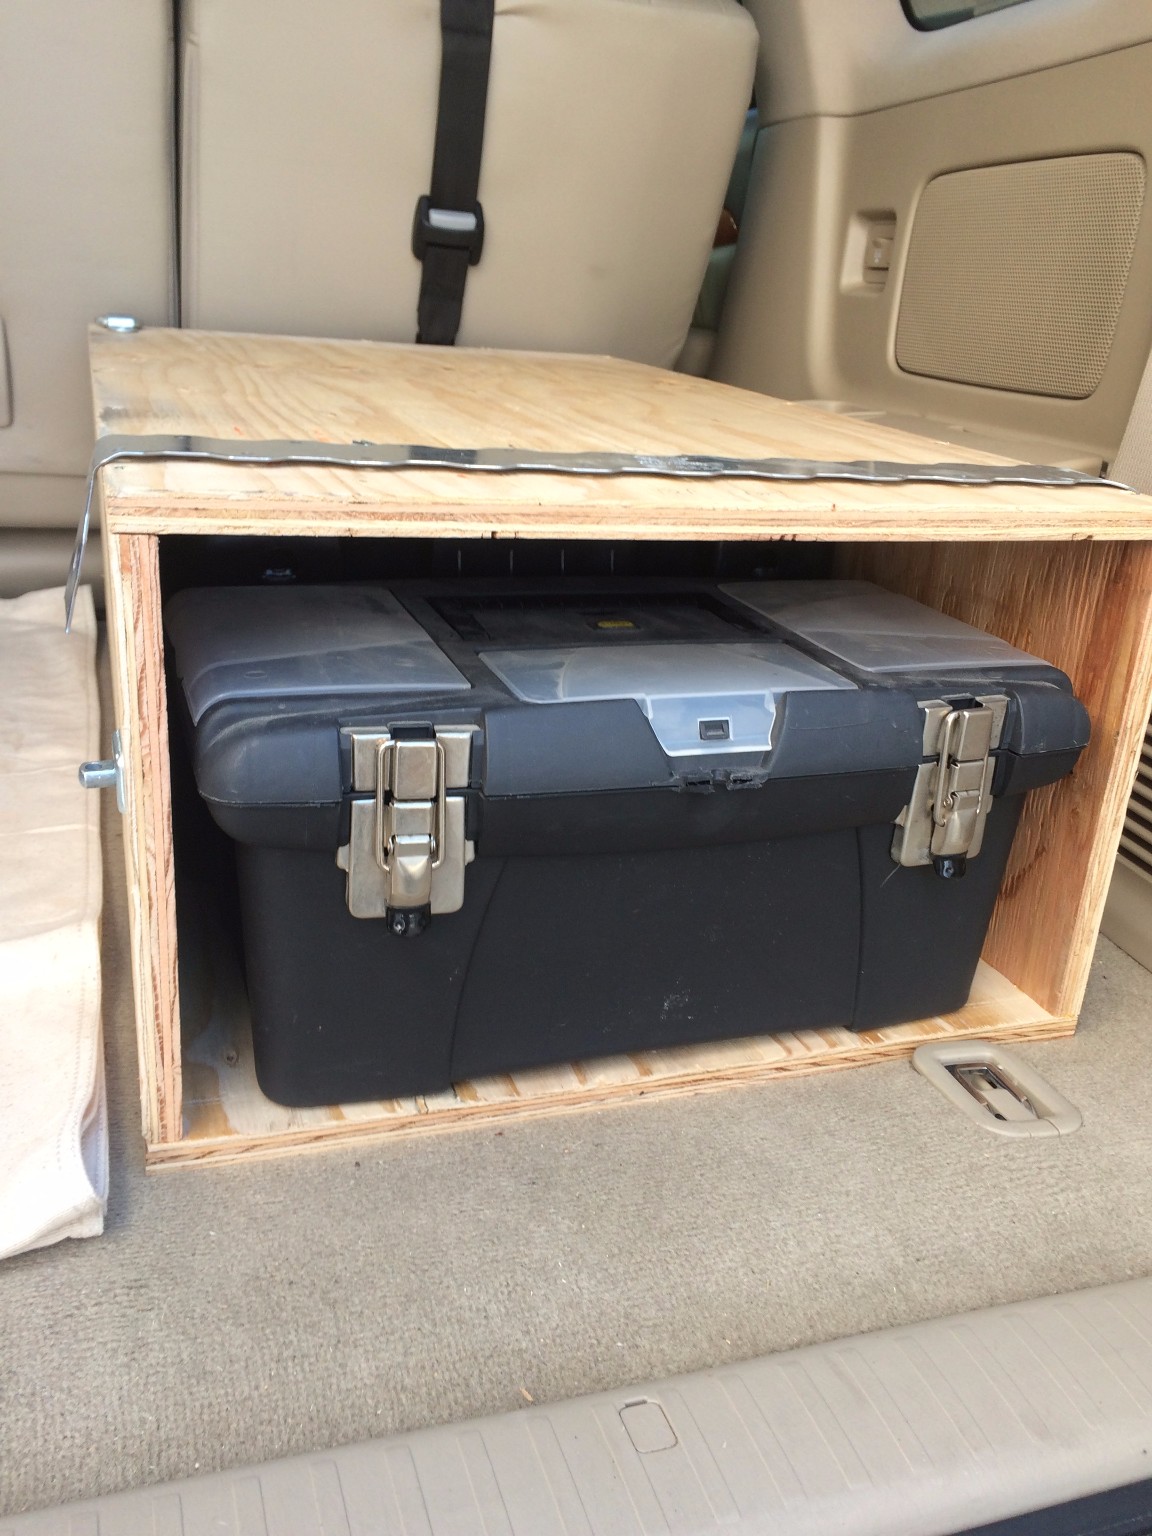
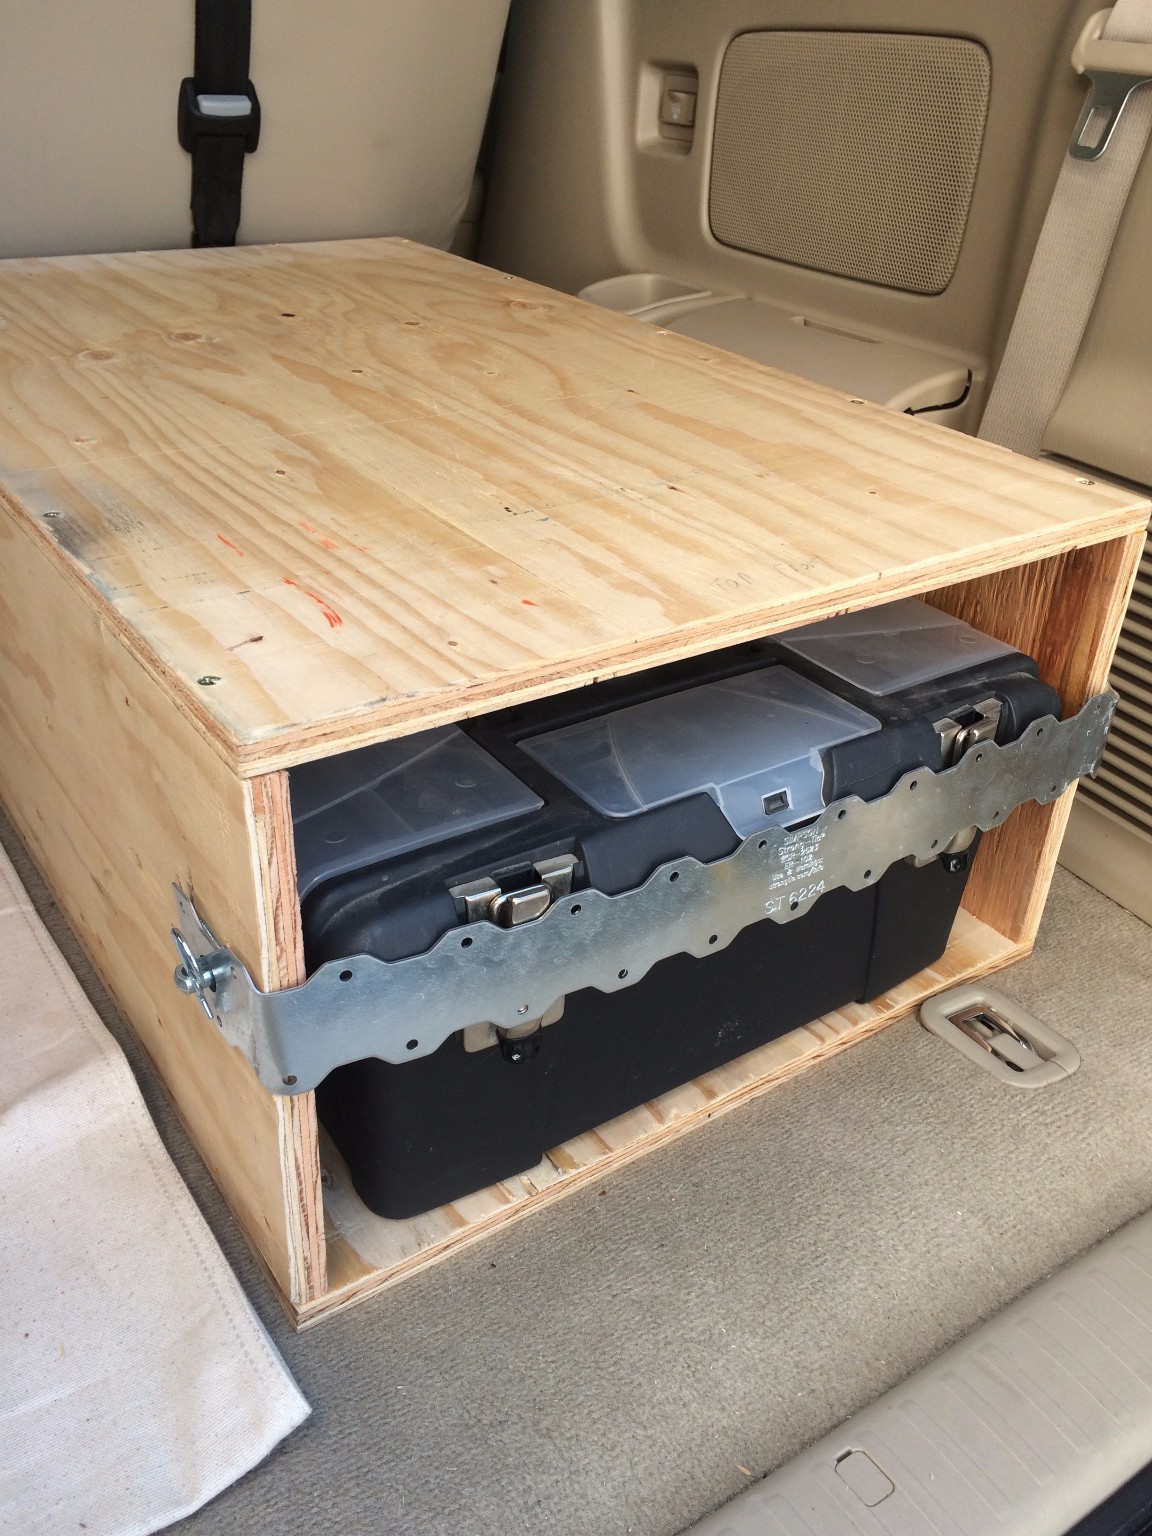
So I didn't have time to build a drawer system like I had in my 80 yet but I wanted something to easily access my tools without unloading all of our luggage for this 9 day trip. The one downfall of the GX is when you open that big arse door everything can come tumbling out. The benefit of the tailgate on the 4runners and 80 Series!

So I found these Wolf Packs from Front Runner and at $40 I think they are a great tool at a great price. With my rough measurements I thought I was going to be able to fit two packs side ways one in front of the other and still be able to have 1 rear seat. But when I started building the box and putting the wood next to the box I realized that it just didn't fit due to the bulky plastic panels on the side. So I had to settle for one wolf pack long ways and just so happened to have a tool box the same width so I will make due with this leaving just a few tools behind but not much! Very surprised how much one pack held due to it's square shape you can utilize all corners.

IMG_7556.JPG


IMG_7557.JPG


IMG_7558.JPG


I found a construction strap at Home Depot for $2 and a part from a locking gate latch and some cotter pins will keep the tools in place even when I punch this V8! :P
IMG_7559.JPG


Had just enough room for my fire extinguisher
IMG_7561.JPG


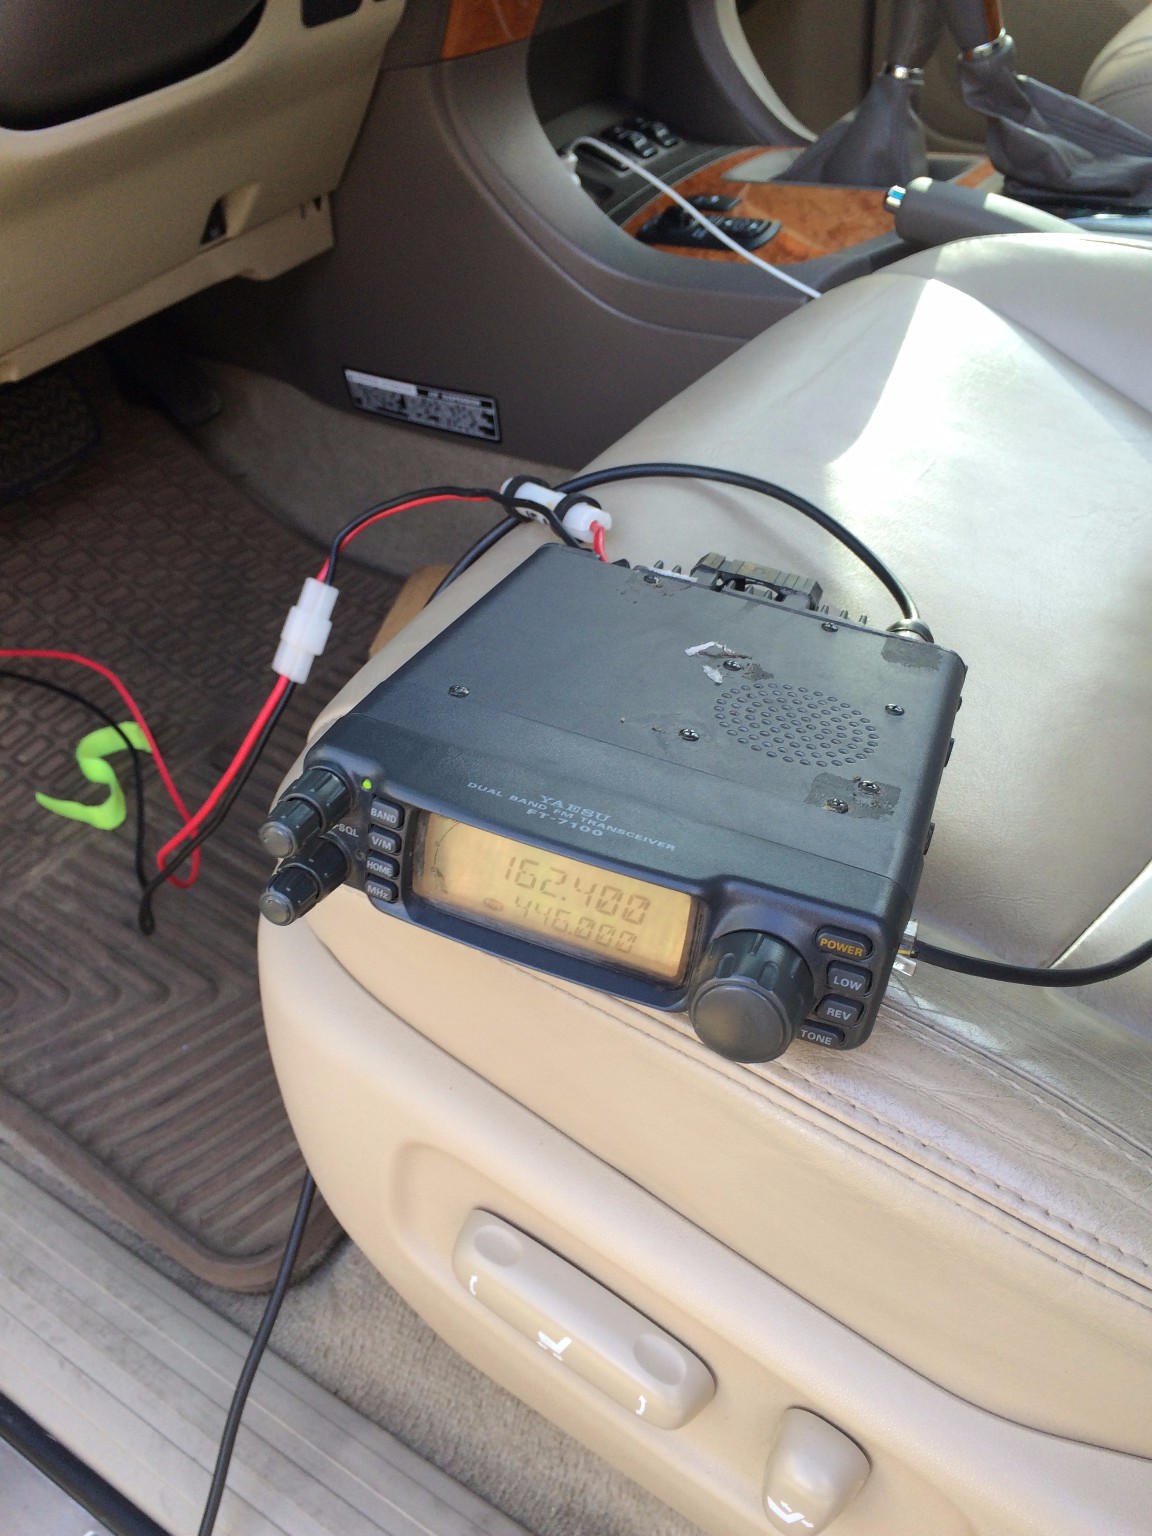
No one in my group has HAM or CB so one of the guys is just bringing walkie talkies and on a road trip where we are just following each other that should be more than fine. But since there are long stretches of Baja Highways that you can go before seeing a place for help I wanted to have a HAM radio to contact someone in an emergency.
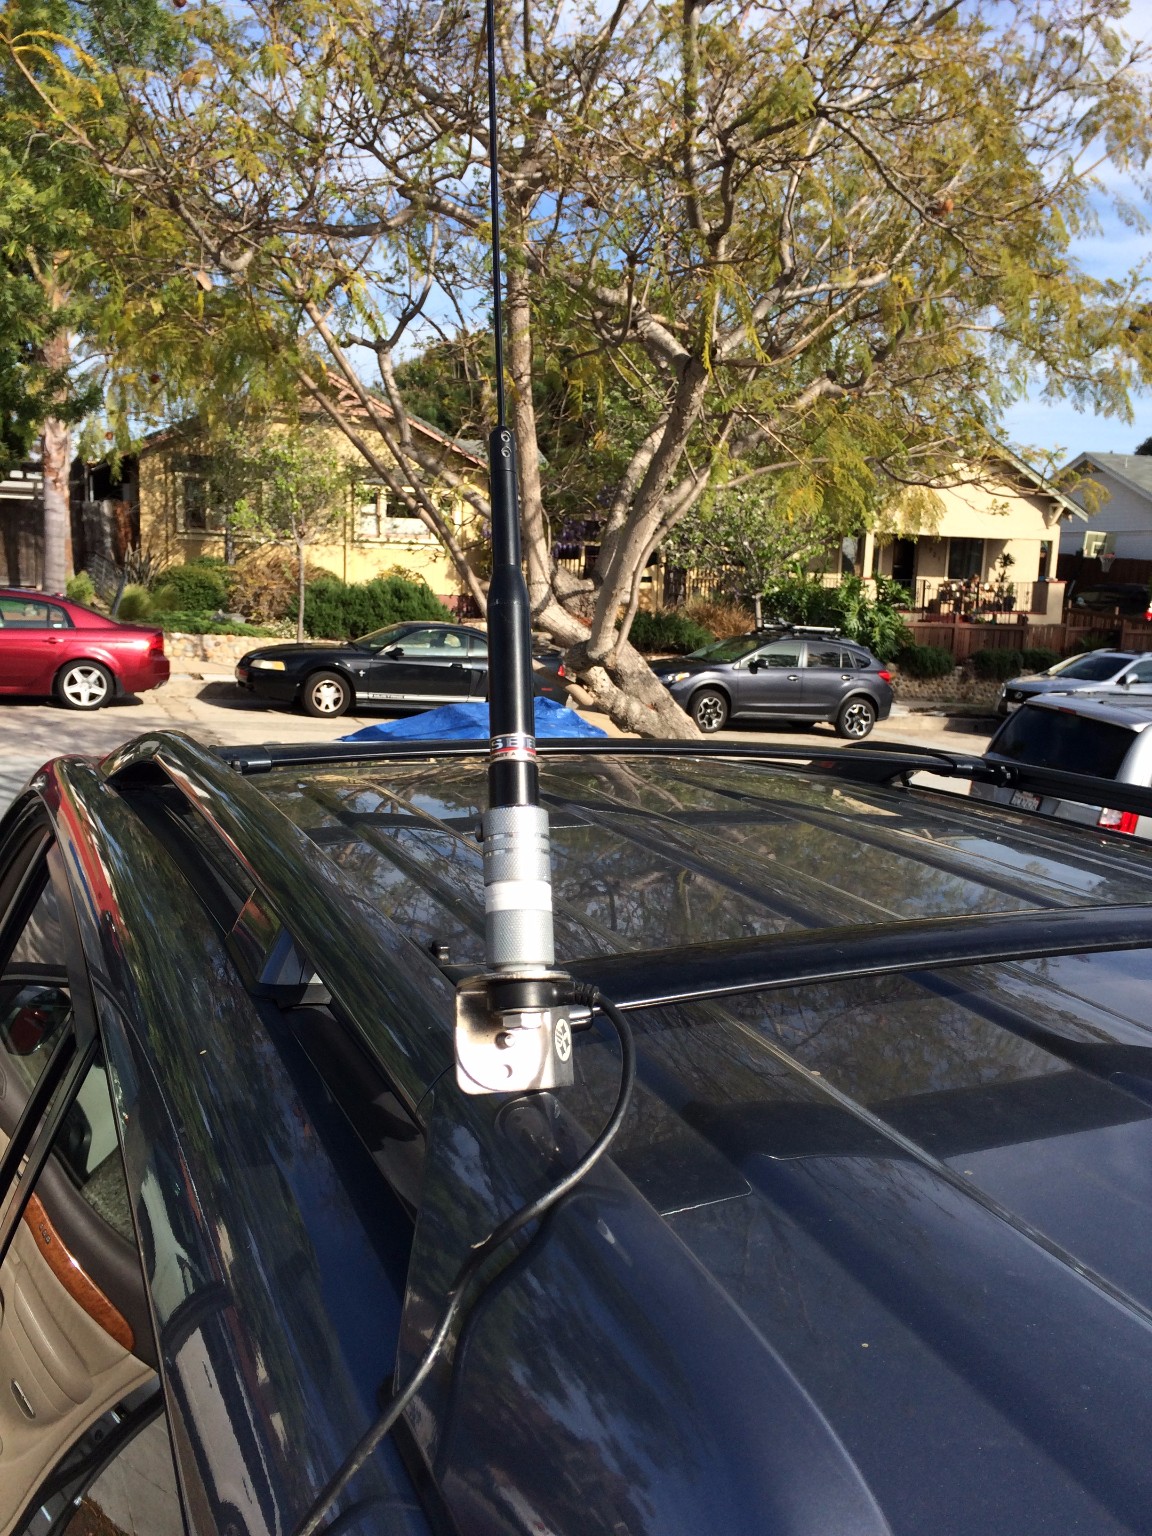
So this weekend I ran the power wires through the firewall grommet and got power to the radio. Then I needed to figure out a solution to the antenna. Since I didn't want to rush things and just go drilling holes for the mount I had on my 80 Series I looked to the heavens and found a roof rack with a bolt that you can tighten by hand! Connected the antenna and tuned into the San Diego weather broadcast and clear as a bell. I still have to double check my broadcast capabilities and will test that out at work tomorrow with my bosses truck. So I can have the radio up and running within minutes and the GX is a ready as she will ever be for 1,200 miles down to Baja Sur & Back!

IMG_7596.JPG


IMG_7595.JPG


IMG_7594.JPG
 
Last edited:
This is a google map from our trip back in 2013: 2013 Whales Trip

And this is our google map for this trip: 2016 Whales Trip Oops, I just realized I need to finish it!

2016 Baja Trip Photos

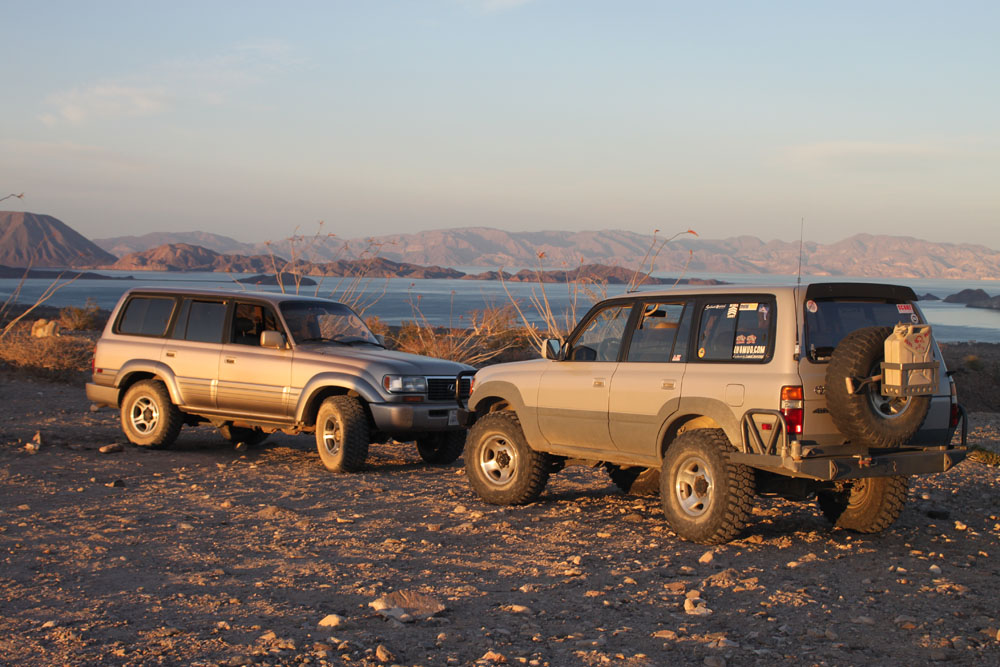
Wow what a difference 3 years makes! Last time I had the built up 80 Series and my buddy has just bought his 97 Lexus and just had tires put on if for the trip. This time the tables are turned, he has the built up Lexus 80 Series and I just bought my Lexus and only have new AT tires on it.
IMG_0927.JPG


IMG_0929.JPG


This trip was not an easy one for my wife and I! Three years ago my wife was pregnant with our little girl and this time she was 2 years old and the 2nd day of the trip she started getting a fever.

IMG_7646.JPG


We almost cut the trip short and headed home but we were able to break her temps each time and on the third day she did not have a temp. So we continued on South to Mulege to catch up with the rest of our group after staying behind an extra day to make a final decision on the trip. Then after un-winding that night with the rest of the group with some cerveza's we woke up the next morning with our little one with yet another temp! At this point we were at least 15 hours South of TJ and we were going to start heading back North the following day. She only had light temps the rest of the way home and once home we found out that she had an ear infection in both ears.
But she was a trooper this trip and overall was in good spirits and got a lot of shut eye while we were off-road. Not easy to wheel and keep the little one sleeping! But the No Nods band really worked great!

IMG_7607.JPG


Now to some incredible shots that you can only find in Baja!

A great way to wake up!
Sunrise view from our room at Alfonso's in Gonzaga Bay
IMG_7619.JPG


Bahia de los Angeles - Bay of LA (BOLA)
IMG_0919.JPG


Some pods of Dolphins you could see from the shores of our beach front rooms at Villa Bahia
IMG_0945.JPG


IMG_7639.JPG


A little 2 hour off-road trail just North of Mulage.
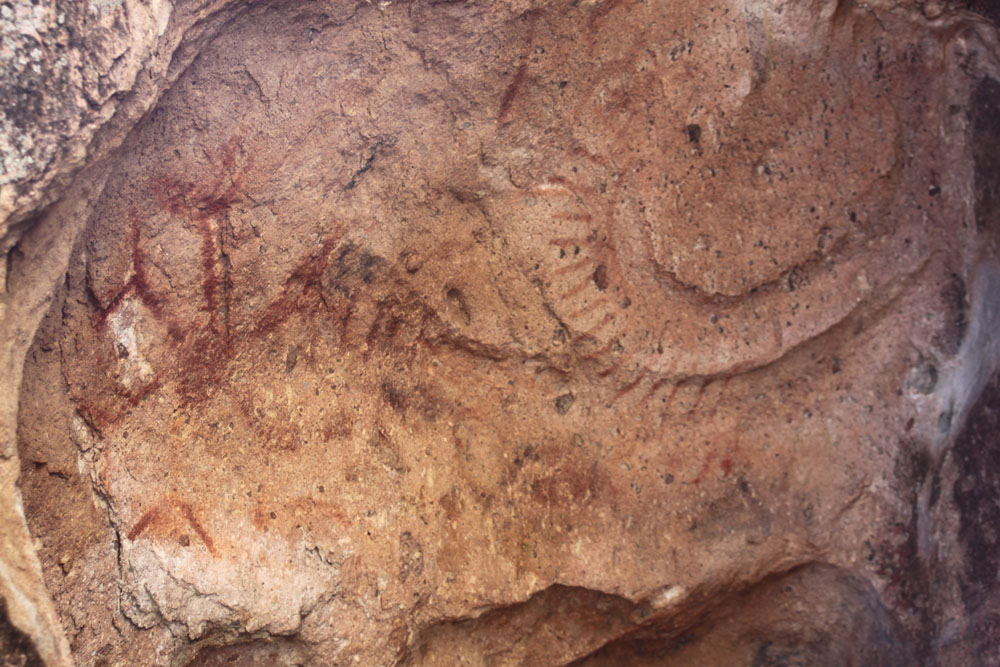
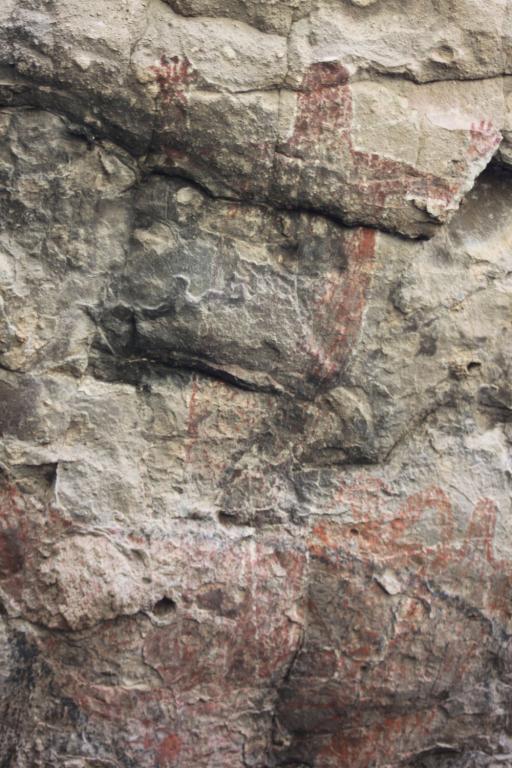
We were heading out on a trail to a ranch that they say has a key to a locked gate where there are some indian cave paintings. The book said two hours but we figured it was sand bagging but not the case, it took us the full two hours to make it out.
And just when we were pulling up to the ranch, my buddy in his 80 series radios that he has NO BRAKES and his pedal is to the floor!
So rather than go see some ancient Indian cave paintings we spent two hours trying to plug up his rear banjo fitting to the brake caliper. And thanks to what I call Baja Magic the owners of the ranch had a bottle of brake fluid since all three of our dumb A$$es didn't have a bottle. :DOH:
IMG_7701.JPG


The little one feeling better on her way out to see the whales in San Ignacio Bay.
IMG_7736C.JPG


IMG_7736E.JPG


IMG_7736F.JPG


IMG_7737.JPG


Unfortunately a fire recently hit the town of San Ignacio and turned this picturesque lagoon at the Ignacio Springs Bed & Breakfast a little drab. I highly recommend staying here if you ever visit!
IMG_7745.JPG


Catavina on our way home
IMG_7757.JPG


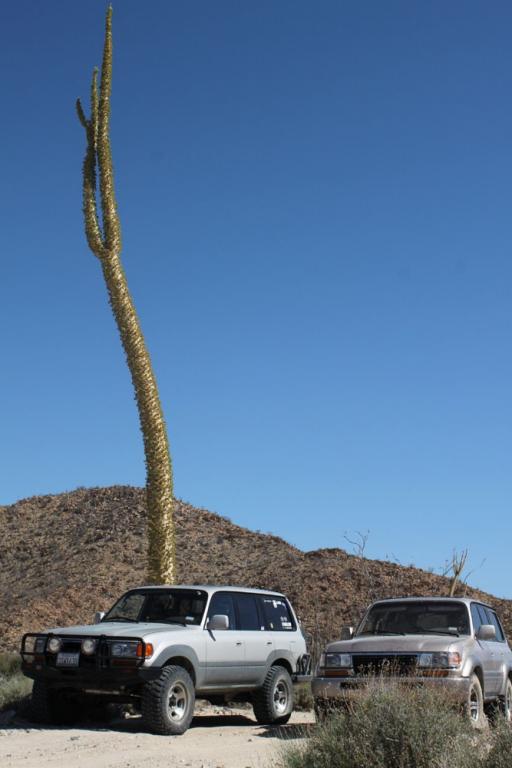
To get a better idea of the magnitude of these Dr. Seuss trees in the Baja cactus forest look at the very bottom and you will see my wife and daughter.
IMG_7758.JPG


And finally my PRIZE from the trip! These porcelain beer tables are becoming almost impossible to find down in Baja trust me I look every trip! And this was the 1st one I have been able to buy in Baja. Found one three years ago but was not able to purchase it. But now I know where some more are and I will be going back for the three others I found!

IMG_7774.JPG
 
Last edited:
I have the Geolanders on my 2005 GX and love them. We are in Wyoming and these are great in the snow.
 
Did a couple of trails on Saturday. Was hoping they would be pretty mild but that was not the case!

We started off at Corral Canyon OHV Area and figured I would check out one of the easier trails their known as Espinoza Trail. We made it about 1/3 of the way on this big looping trail before we had to turn around and head back out the way we came. Before turning back my buddy did the little rock garden down and back and you can see him going back up it needing to use lockers in this video.

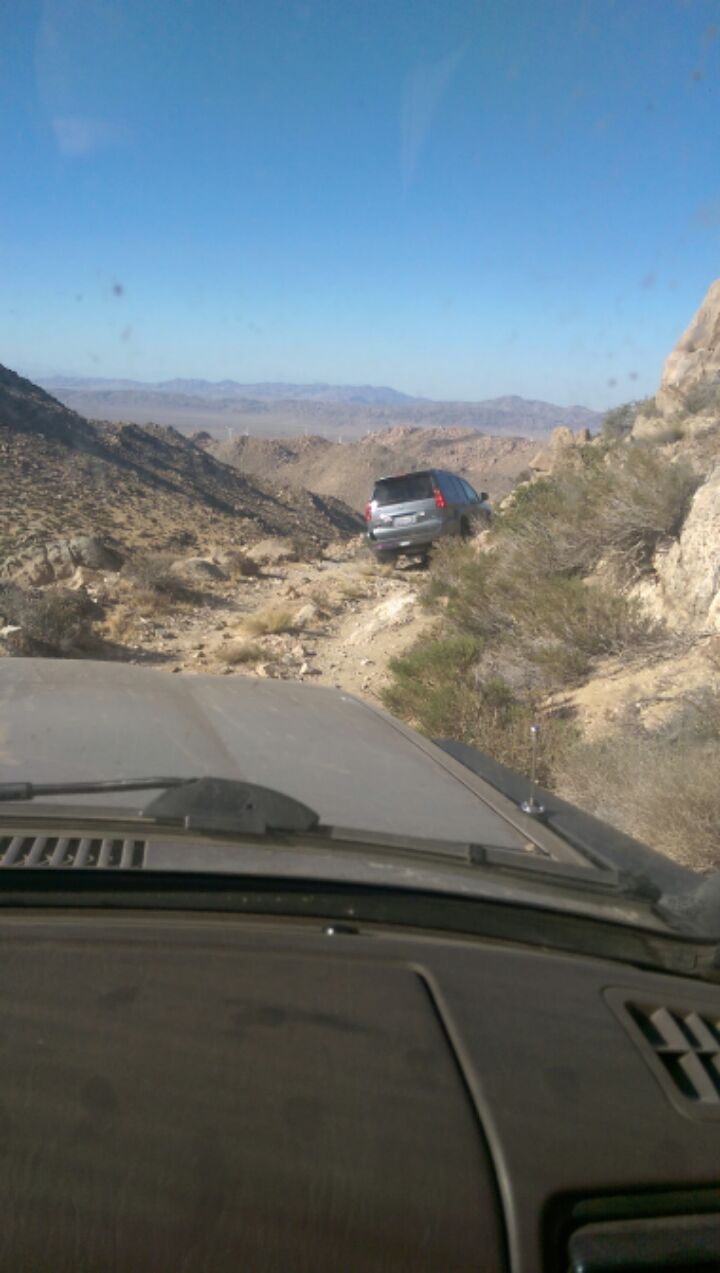
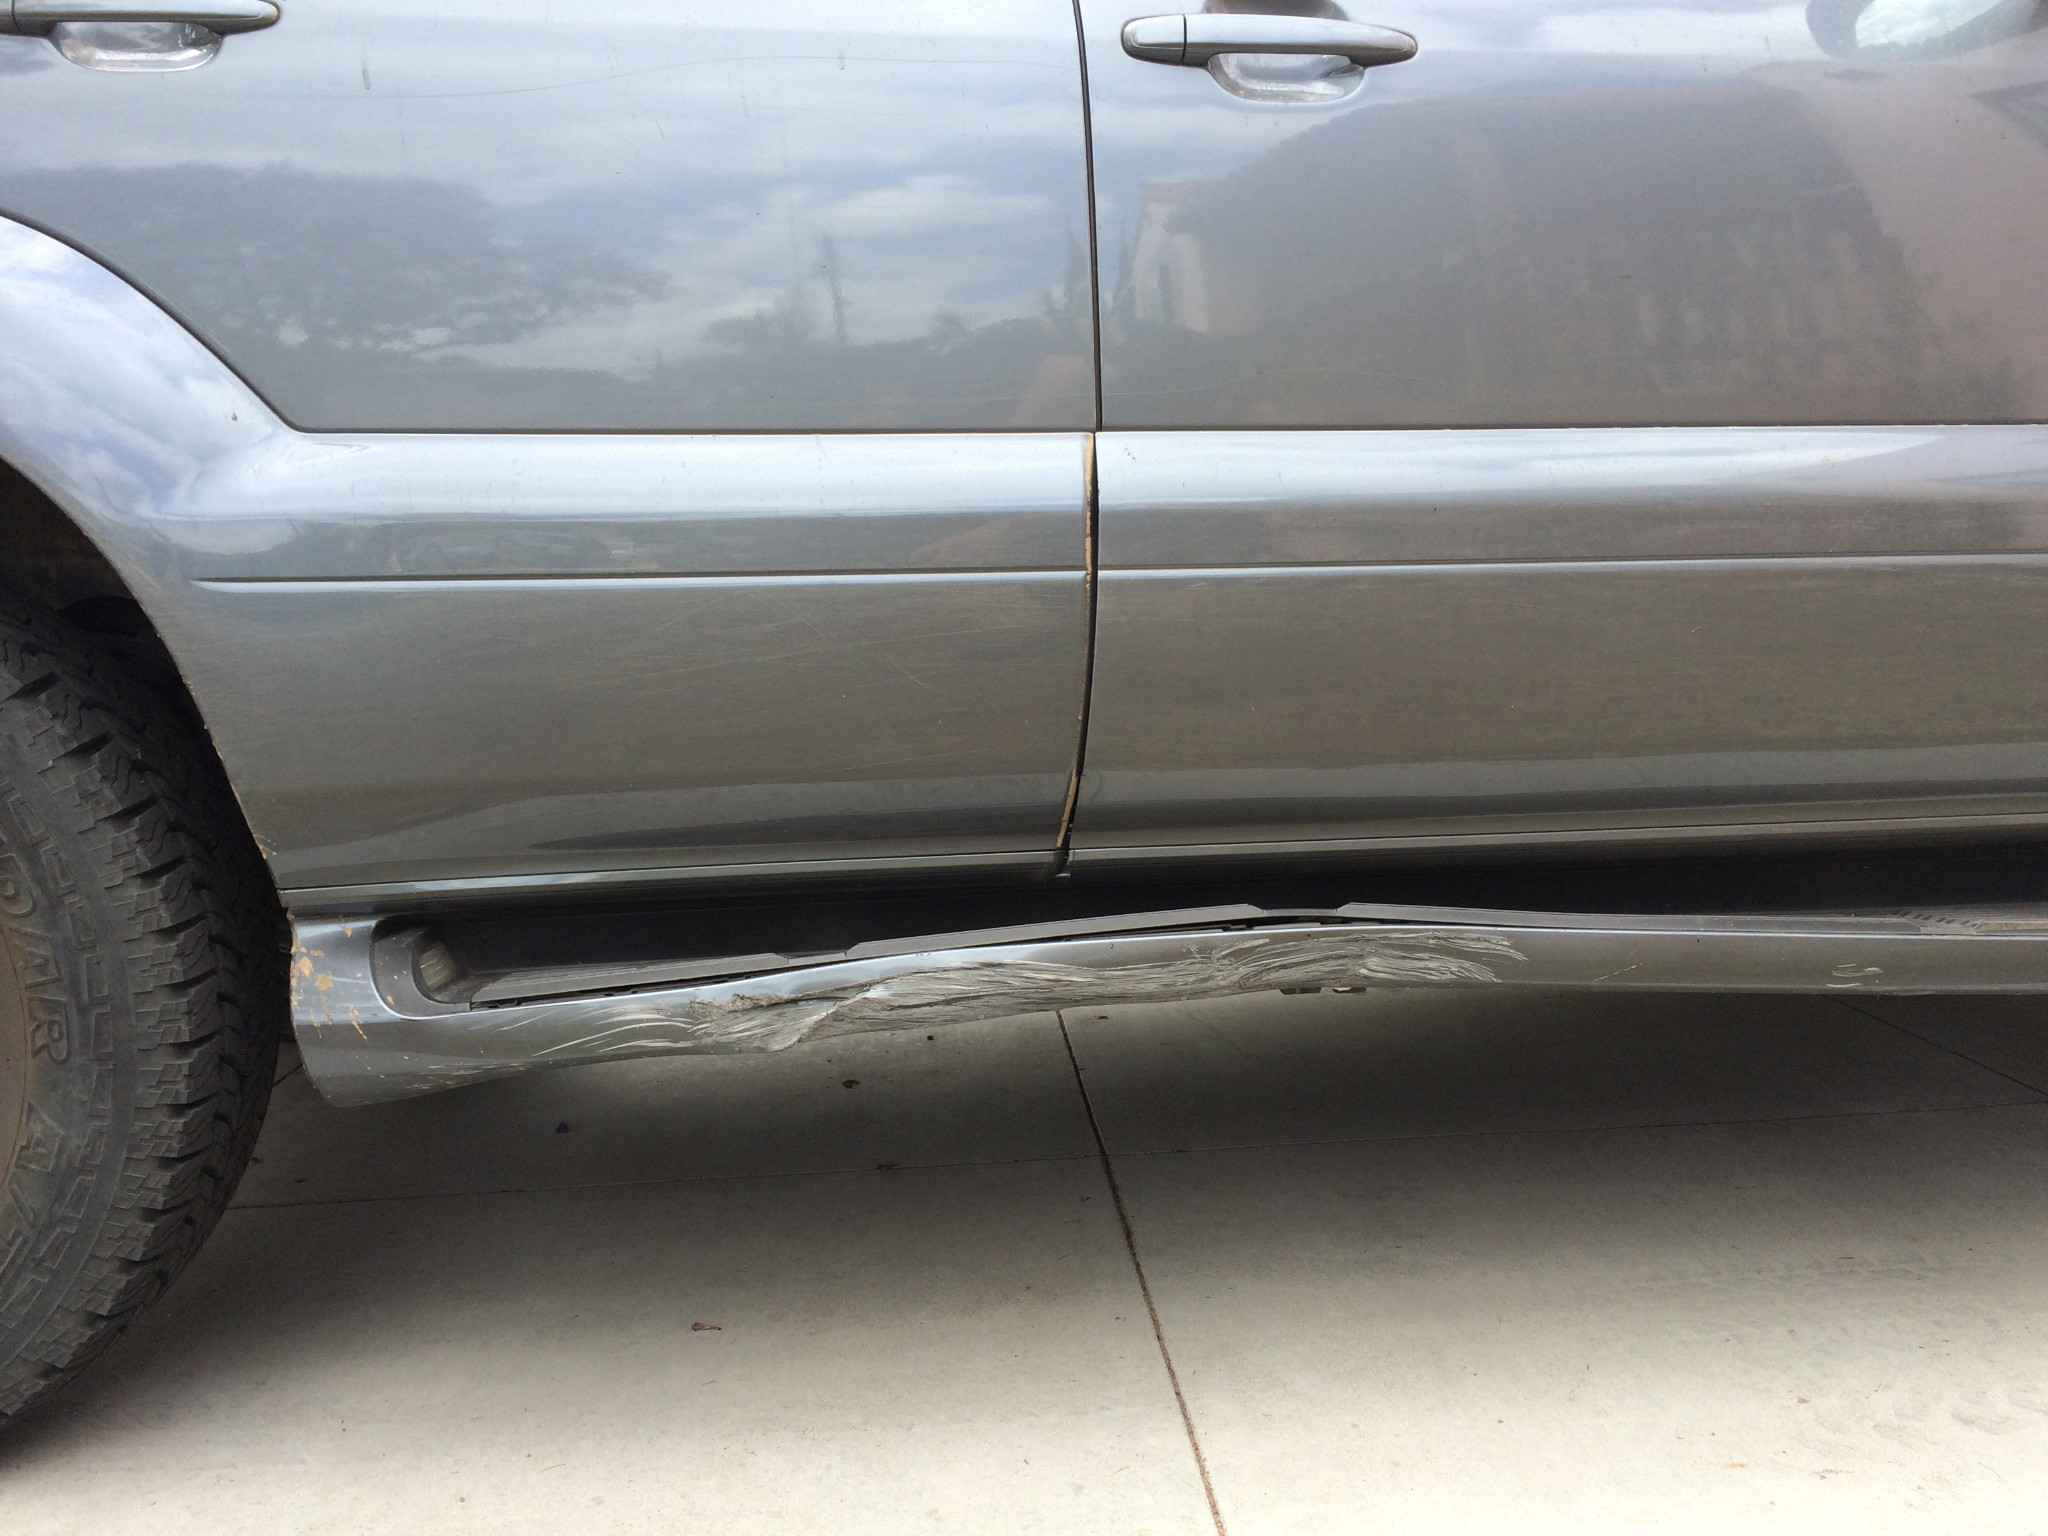
After that my buddy's two co-workers bailed for the day but not after a sidewall flat and tire change. So my buddy and I continued on to Jacumba where we were going to check out Stage coach trail. Once we found the right forks we were headed down a shelf road down to the Highway which was supposed to lead out at the Hwy or you could continue the loop. If it had still let out to the highway I would have made it with very little trail damage and just some bumps and bruises underneath. But it is blocked off and we had to either go back out the way we came or continue the loop. We opted for the latter and that's when my truck took the two hits one to the steps and one to the rear fender. Just too narrow of a trail without a lift. My buddy's 80 made it through with our a scratch but his lift really helped out. This trail was a bit over the capabilities of a stock GX but thankfully we did not encounter something too big because there was no backing up or turning around once you descend the shelf road. I was very impressed with my Yokahama Geolanders as well as the 4x4 system on the GX. Really loved how it conquered the rock climbs and only got into a weird bucking bronco brake thing once. Found that just constant gas pedal and let the system do it's job worked very well.

Finally got shoots from Stage Coach Trail from my buddy's passenger. Unfortunately no good rock shots
IMG_7984.jpg


IMG_7986.jpg

A view of the I8 grade between Ocotillo and Jacumba just North of the Mexico border.
IMG_7983.JPG


Passenger steps are done but should be able to save the tops of them for the new OPOR Sliders coming in from Metal Tech. Out of stock currently so I have to wait 3 weeks and drive around like this. :(
IMG_8004.JPG

IMG_8005.JPG


Almost squeezed by a protruding rock but no luck.
IMG_8006.JPG


Trimmed the rear mudflaps otherwise they probably would have been ripped off.
IMG_8007.JPG


Driver side steps just a scrape
IMG_8008.JPG


This frame support took the biggest hit of the day but saved my Catalytic converter!
IMG_8012.JPG


Stock skid plate held up pretty well considering.
IMG_8017.JPG


And this settles it, no fancy TRD rims for me. Rock rash would have been painful had I dropped several hundred on wheels. Lug nut was off because I was rotating all 5 tires.
IMG_8019.JPG
 
Last edited:
My OPOR sliders were delivered so yesterday I pulled the running boards so that I could test fit the sliders before I get them painted. And today I pulled the running board lights and wiring so I can try to integrate them back on with the sliders.
 
Please let us know what you determine on integrating the running board lights. I looked at it all weekend and couldn't find a good solution.
 
I don't understand why add different lights? These have worked fine for 11 years and they have a tab to mount them unfortunately it is only one plastic tab instead of two but I think something can be worked out with these. If not yes the wiring will be ideal.
 
On vacation relaxing in Baja so I actually have time to update my build thread.

OPOR Sliders were installed and you can read all about my battle and final tips for RivetNuts here: OPOR - GX470 Slider Install

IMG_8640.JPG


Next up on my list was the Blue Seas Fuse block. I had first wired it up into the passenger kick panel but after talking to a friend of a friend out on the last trip he convinced me that I should move it under the passenger seat and use light up fuses so I can quickly see if a fuse was blown. He also advised that I go up one size for the power and ground wires. So he offered to help me out with it and I hope to be taking him up on that offer very soon. He has wired up entire sand cars in the past so I know he will teach me a thing or three!
This will allow me to run up to six different things straight off of the battery. The first two items will be some LED lights from Amazon using the CBI ditch light brackets in front of the two side mirrors. And my HAM radio that I will mount up in the upper part of the glove box where the dealer book would go. My Yaesu HAM radio has a detachable face and I am going to try to find a way to mount it down in the cubby above the Center Lock button and below the ash tray.


I have already ran the antenna cable and mounted it just like I did on my 80 series using the Firestick fender mount. I really like this mount because you can swivel it so that the antenna matches the angle of the body lines and the antenna doesn't get hung up on branches as easy.

*Updating photo links*
It is a tight fit with the glass but has been fine for a few weeks now.
IMG_9032.webp


I was able to squeeze the wiring through the light housing so no holes to drill like I did with the 80
IMG_9031.webp


And while I was back there ditched the broken handle for simplicity. It required removing the whole panel but I was fine with that since I wanted to scope out behind the plastic for a future project.

IMG_9028.webp
 
Last edited:
Installed my new Odyssey battery (34R PC1500T) this past weekend and it is quite a bit smaller in size dimensions then the stock battery. I couldn't locate the bracket I used on my 80 series when I switched to a Sears Die Hard Platinum that didn't work with the stock bracket. So until I find it or buy the Trail Gear battery cage mount I had to modify with a nylon spacer and a piece of wood.

Here you can see the bracket is too wide for the battery and the front J hook is too long.
IMG_9147.webp


So I added a nylon spacer to the J hook and a thin piece of wood in front of the J hook so the top bracket wouldn't be sloppy.
IMG_9152.webp


This is just a temporary fix until I find my other bracket.
 
The Geolanders have been great tires! They hardly rub at all without doing anything to make room for them. I have put 25,000 miles on them in 15 months rotating all 5 tires every 5,000 miles. They hardly have any wear on them and have been great off road on trails that no one else probably takes a stock Lexus.
 
Installed my new Odyssey battery (34R PC1500T) this past weekend and it is quite a bit smaller in size dimensions then the stock battery. I couldn't locate the bracket I used on my 80 series when I switched to a Sears Die Hard Platinum that didn't work with the stock bracket. So until I find it or buy the Trail Gear battery cage mount I had to modify with a nylon spacer and a piece of wood.

Here you can see the bracket is too wide for the battery and the front J hook is too long.
View attachment 1421201

So I added a nylon spacer to the J hook and a thin piece of wood in front of the J hook so the top bracket wouldn't be sloppy.
View attachment 1421202

This is just a temporary fix until I find my other bracket.

I found a better battery hold down before I hit the trail that I have been using for the past few months but now it's time to step up to the real deal and use a battery cage. I took a gamble on one of the two battery boxes Trail Gear offers thinking that it just might work. And sure enough the DieHard battery box 301347-KIT they offer will work with the Odyssey battery.
Now that I knew it fit it was time to figure out how to mount this box down to the stock tray?
So my plan is to use 5/16" Nut Certs and flat head phillips head bolts.

Here is how the battery fits
h8uLObZ.jpg


The box comes with 9 holes in it but at the bottom you can see it over-hangs the stock tray so I had to add three along the bottom and move one out to hit the tray below. I also enlarged all the holes to 3/8" to allow for powder coating so a 5/16" bolt will work.
nVErDoI.jpg


And the holes I plan to install 5/16" NutCerts into. One of the holes is a stock hole that is quite large so I will probably use a washer and a nut for this hole. Foe some reason this photo is rotates 180 degrees from the photo above?
HQxDuon.jpg


I will post up the rest of the install when I get the battery box back from powder coat. :cheers:
 
Back
Top Bottom