
Navigation
Install the app
How to install the app on iOS
Follow along with the video below to see how to install our site as a web app on your home screen.
Note: This feature may not be available in some browsers.
More options
Style variation
You are using an out of date browser. It may not display this or other websites correctly.
You should upgrade or use an alternative browser.
You should upgrade or use an alternative browser.
What have you done to your Land Cruiser this week?
- Thread starter IH8MUD
- Start date
This site may earn a commission from merchant affiliate
links, including eBay, Amazon, Skimlinks, and others.
After long construction that's not finished yet, last week we put the roof on, so I could park 4 of FJ40's dry and out of the sun in the new 7 car garage


If you didn't use the housing supplied with the radio, how did you secure it in the dash?
Inside the dash are two metal straps that have holes along them. These are what secured the factory radio in as well. I used the holes in those straps to screw into the side of the radio using the supplied screws. Was fairly easy though getting the final side attached required some contortions to get up under the side.
I've had my 1974 for about a month now, maybe a little more.
Bought a Warn 8274 (used) to discover the winch mount holes on my front bumper (which looks pretty home made) are about 4.5 x 12 inches instead of 4.5 x 10 inches. And all the cut out for the cable is just about 10 inches wide, leaving little space to drill new holes. So, I'm thinking through building a new bumper.
Got license plates. Rear one mounts fine on cooler tray for the 4+ rack that was on it when I bought it. Front license plate... Zip ties through the hole for the winch cable!!!!
Continued to tinker with the timing, still having issues with power off idle. Retarding the timing a bit helped, and still need to due a diligent search for vacuum leaks and try to get the carb set right.
Aimed the headlights down a bit. The number of people that keep flashing me would make someone think there bright, but I can't see anything with them. Aimed up or down, doesn't seem to help me see that much, but I'm not getting flashed all the time anymore. (which side of that @#$*ing bezel is supposed to be on top?)
And found out the hard way the fuel gauge, when the needles pointed straight up, at the mark halfway through the arc, well, that means it's EMPTY!!! Had to call my wife to come rescue me, 2 hours drive away, because I was sure it was a pump or filter and needed to tow it home, until I emptied the can she brought with her into the tank and it started right up. Now my pride is in need of repair.
After long construction that's not finished yet, last week we put the roof on, so I could park 4 of FJ40's dry and out of the sun in the new 7 car garage
Why only 4 FJ40's Eric?
Seven car garage... You aren't wasting garage space on something other than TLC's, right?
The wide side of the bezel is supposed to be on top. It centers the Toyota emblem on the grill, in the "window" of the bezel, when it is wide on the top.(which side of that @#$*ing bezel is supposed to be on top?)
Got my new 3/16" thick quarter panels in from BudBuilt this weekend. Just about 14 inches longer than stock with no cutouts (don't know final location of the rear axle yet or where I'm relocating the fuel door). These things are beefy as hell! And the bump bent radius is much smoother than I was expecting.

Marked out how I'm thinking of cutting them once the rear suspension is stretched. I want a stock'ish looking cutout, just opened up to stuff a 37 inch tire.

Hope to get the drivers floor tacked in this week so I can move on to the rear sill/frame next weekend.
Marked out how I'm thinking of cutting them once the rear suspension is stretched. I want a stock'ish looking cutout, just opened up to stuff a 37 inch tire.
Hope to get the drivers floor tacked in this week so I can move on to the rear sill/frame next weekend.
Climbed a mountain with it and waited for the storm to come in. It did not disappoint! Two hours later there was a good 2 inches of snow and it was still coming down hard when we left.


Why only 4 FJ40's Eric?
Seven car garage... You aren't wasting garage space on something other than TLC's, right?
Danny, the remaining area just has to be cleaned to make the "cave" and to store the other FJ45 Troopy that is still being restored and the two other classics.
Now working on an covered 11 feet overhang across the total garage front to make it possible to wrench out of the everlasting hot sun and in "The Breeze" as J.J Cale called it with some ice cold Corona beers

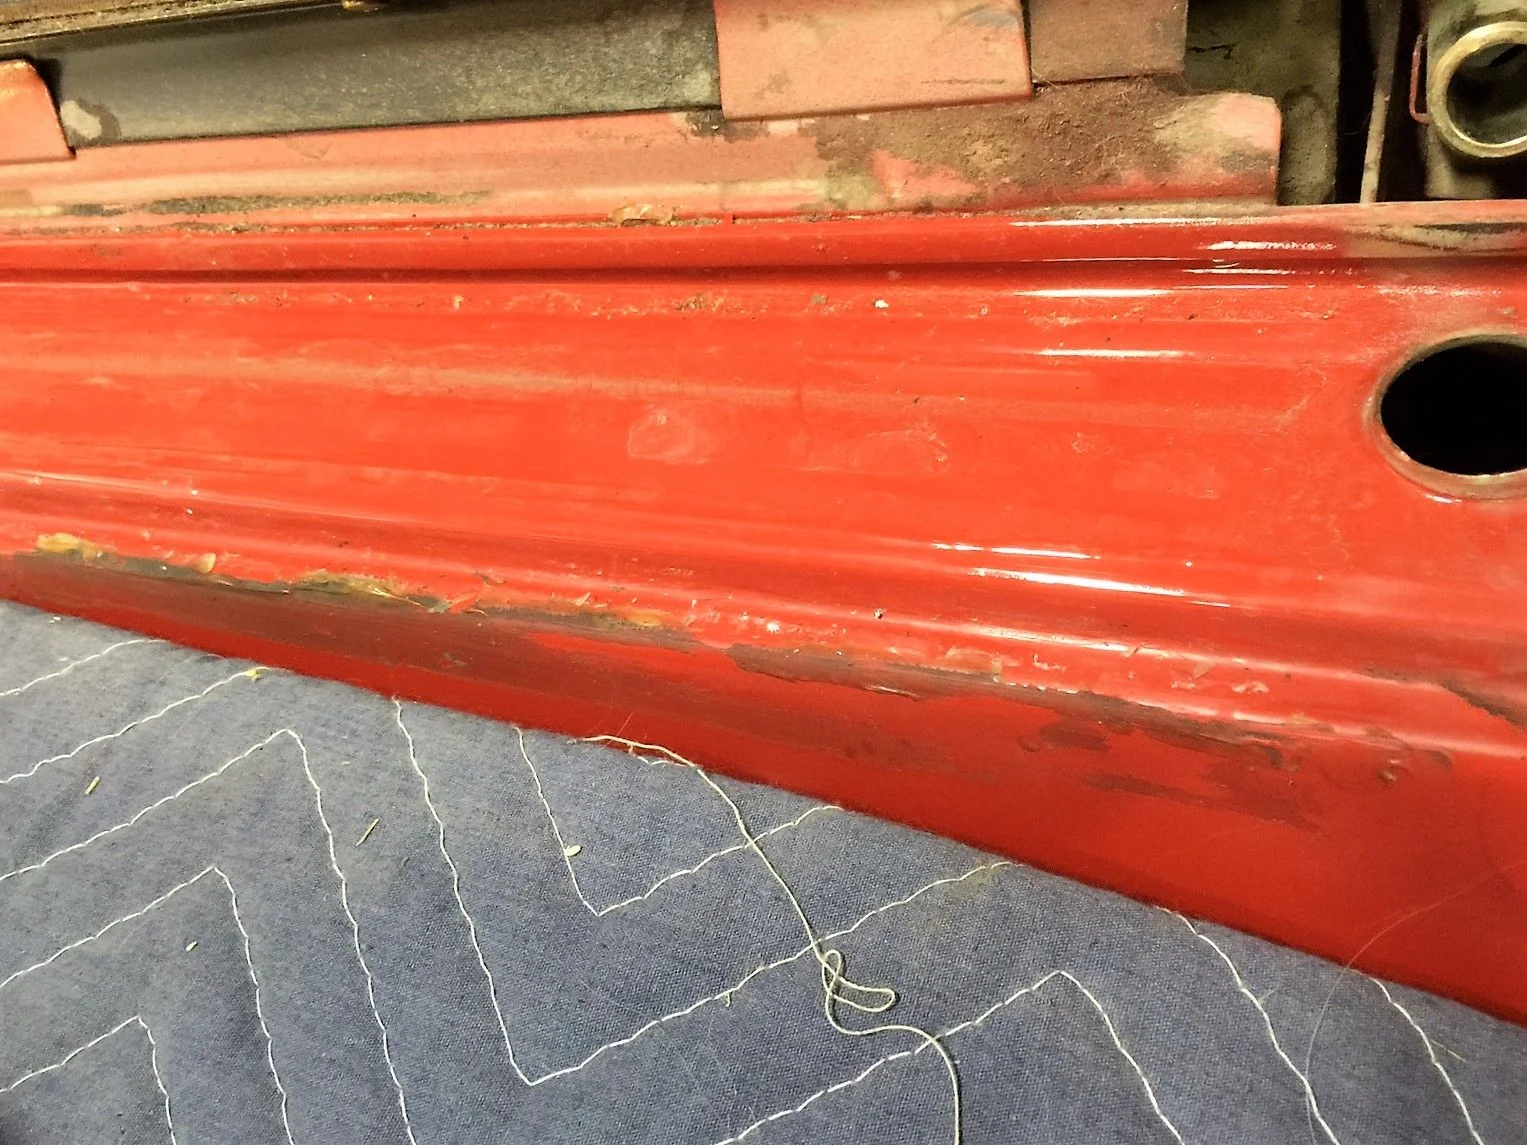
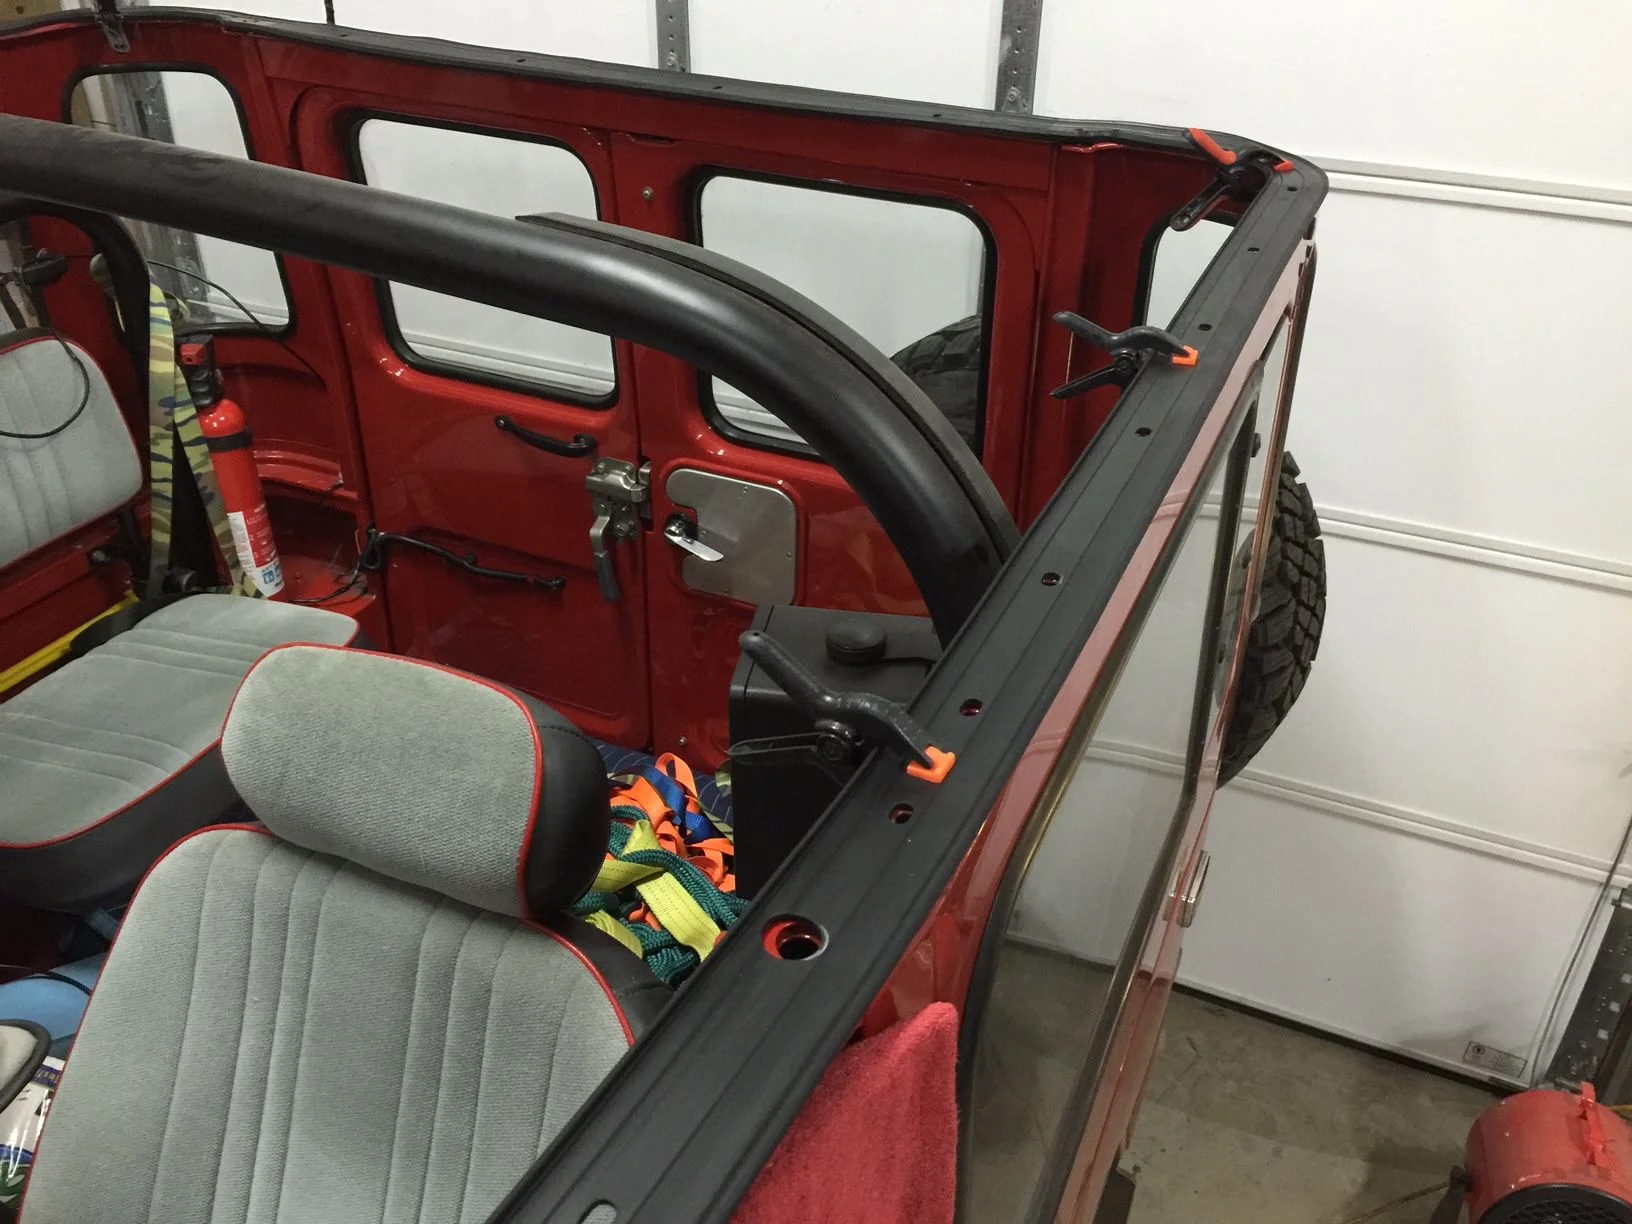
My truck was missing the rear door header corner solid rubber spacers, so I picked these up from @Racer65

before with no rubber gasket ~ passenger's side
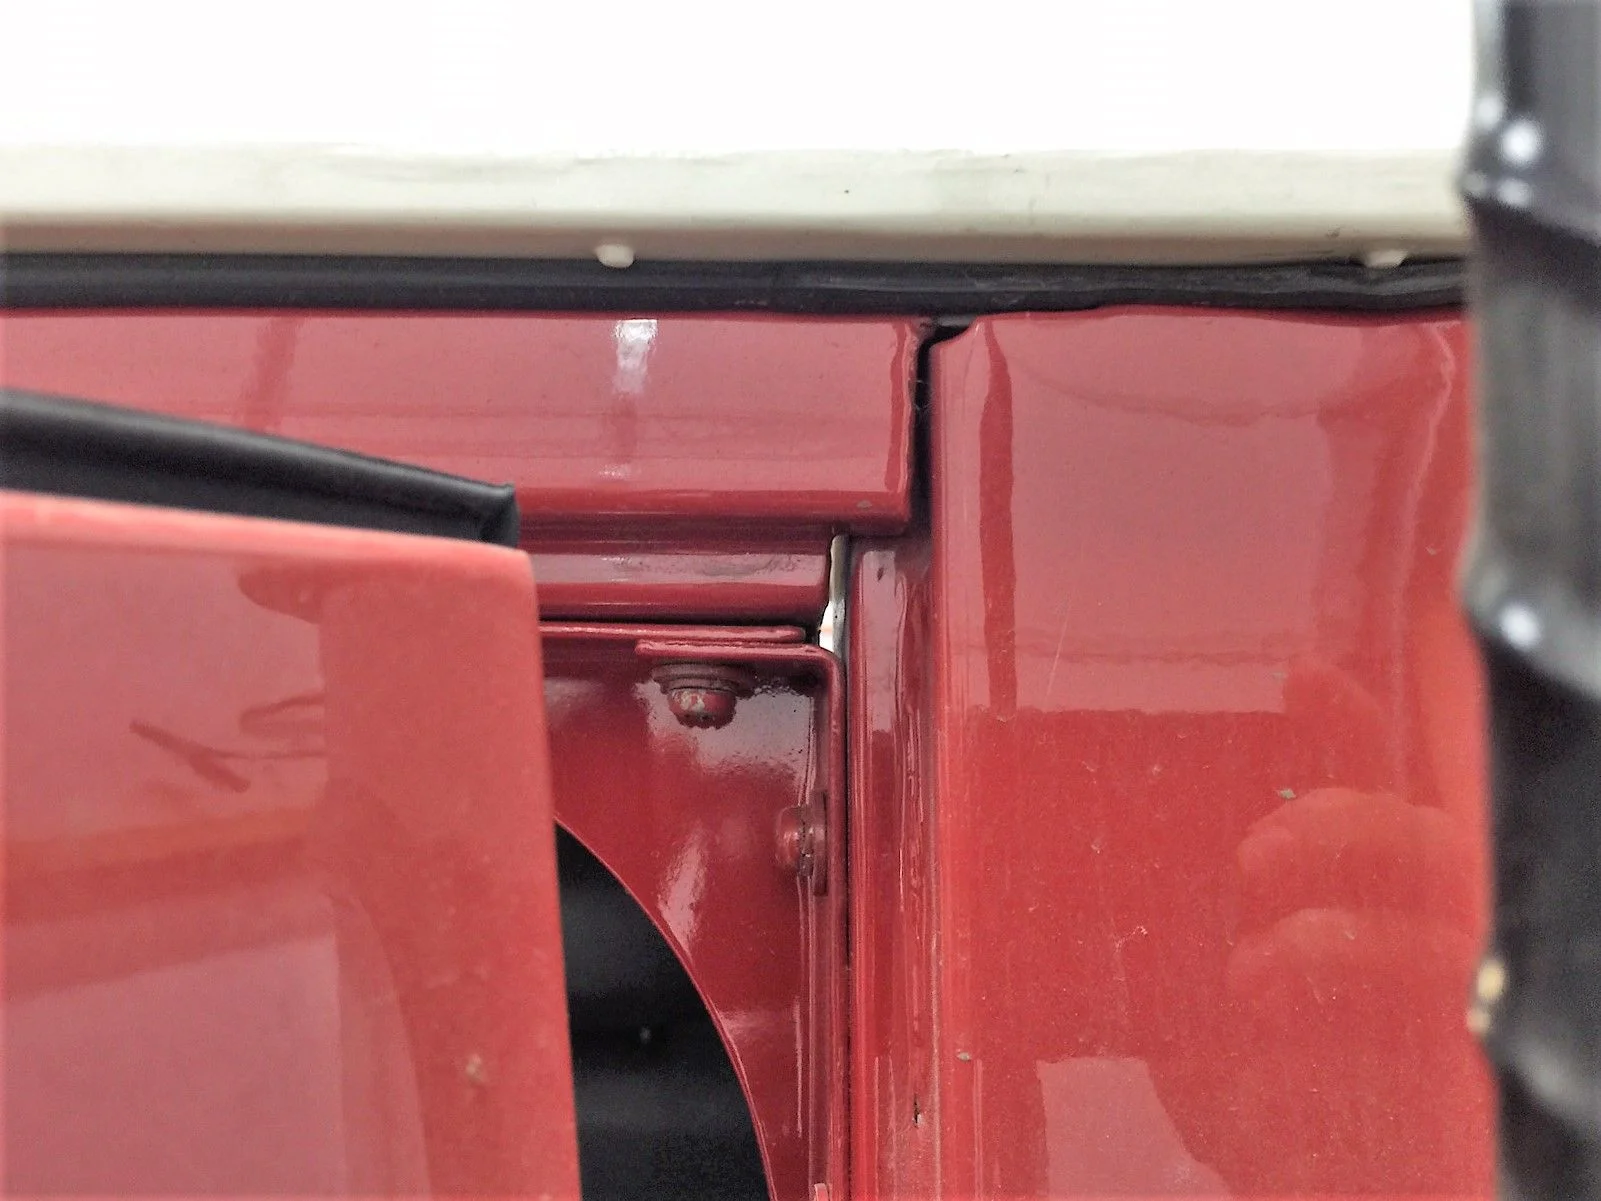
before with no rubber gasket ~ driver's side
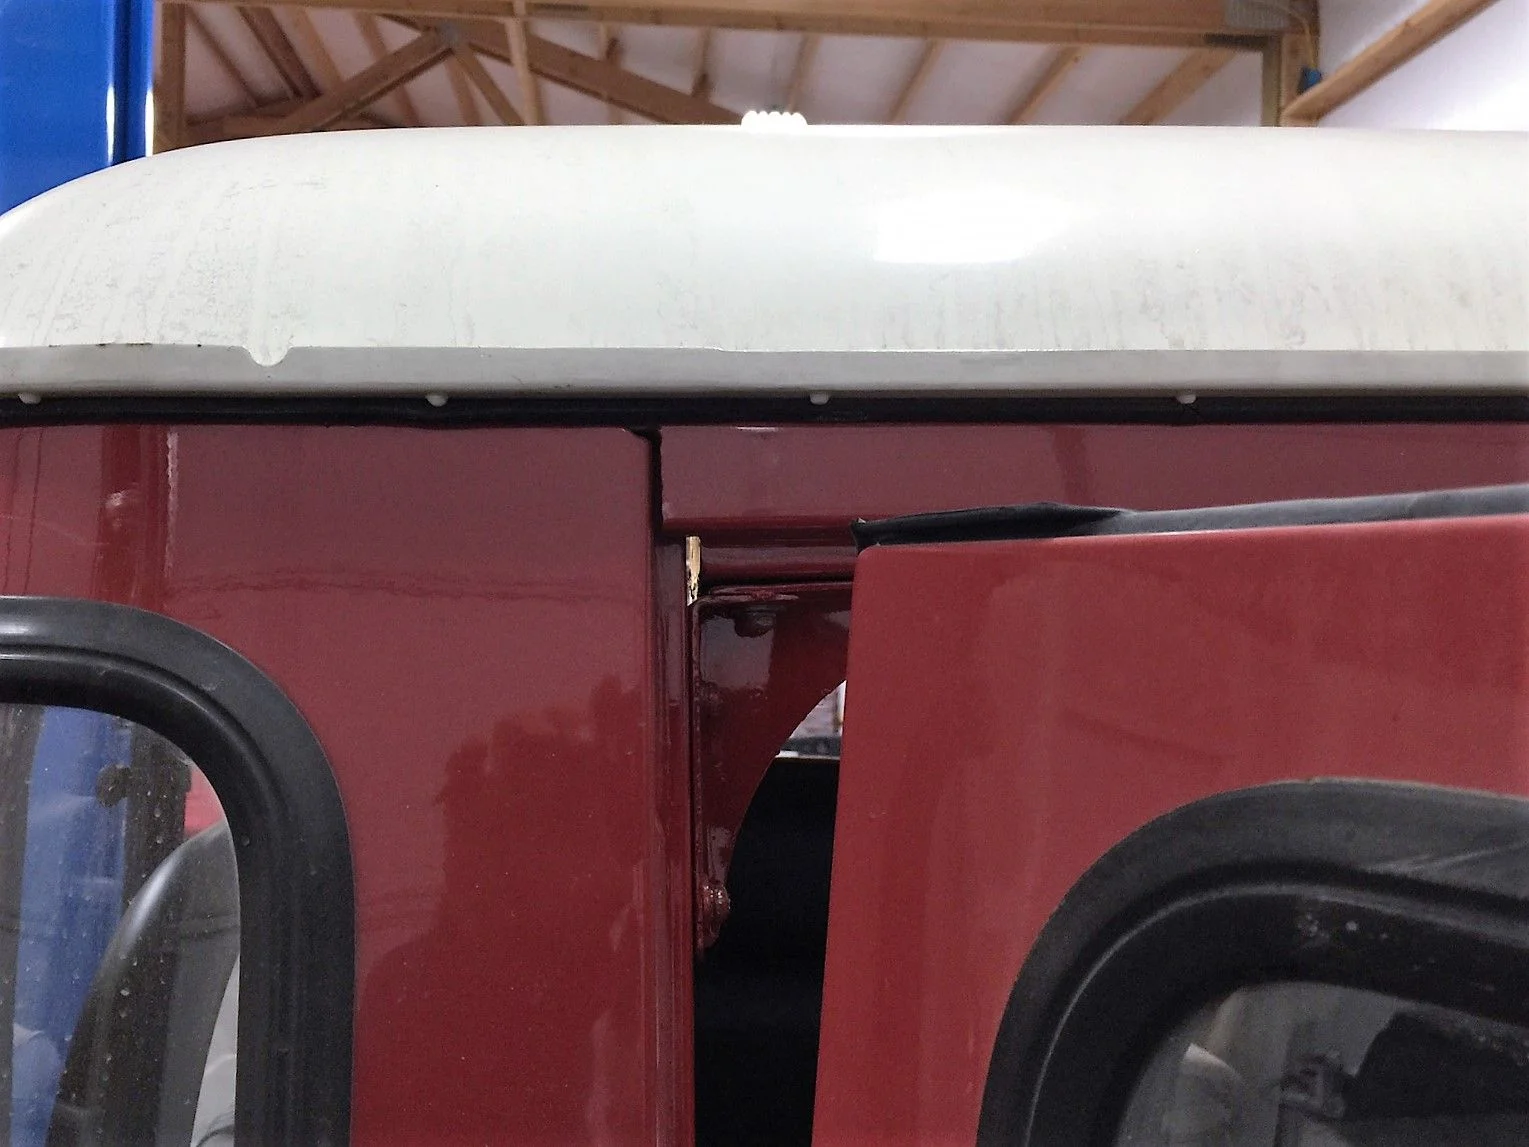
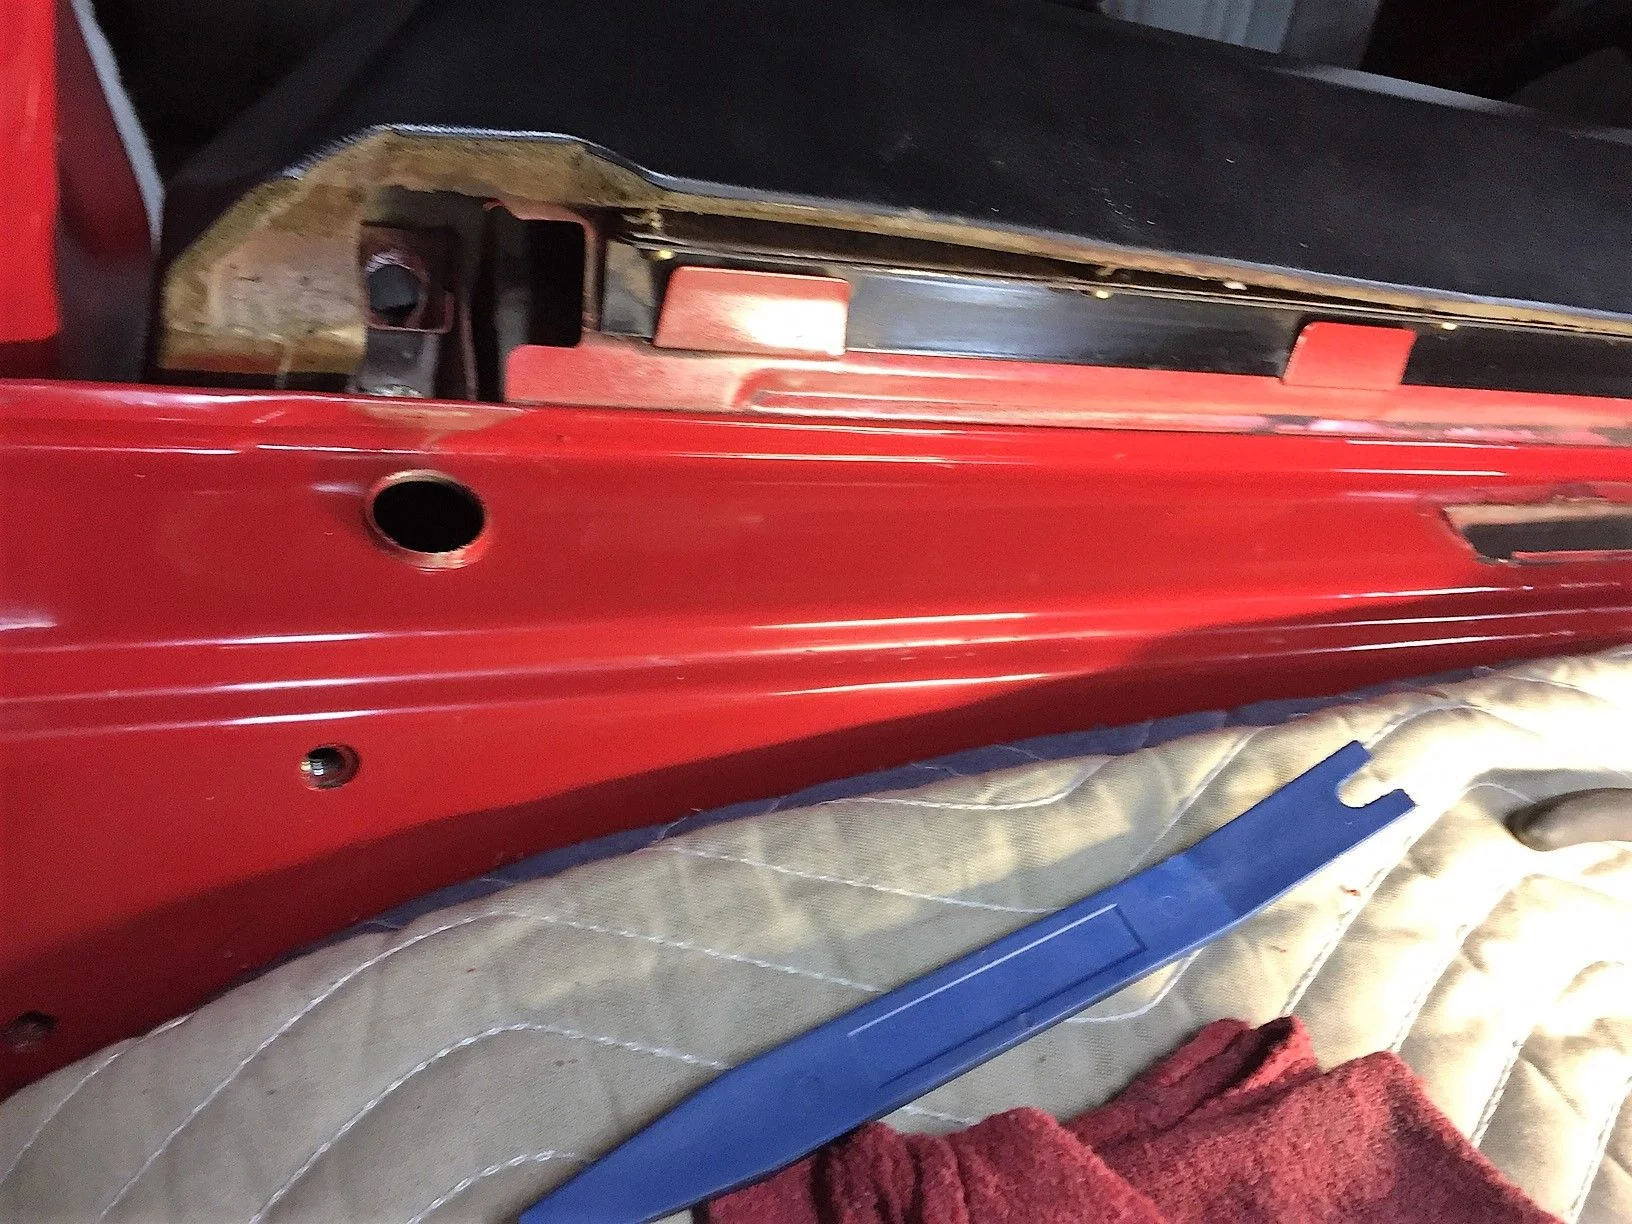
Here's the installed pics. The seals are made of solid rubber, nonporous.
These seals will keep water out and also lower road noise/sounds coming from the rear.
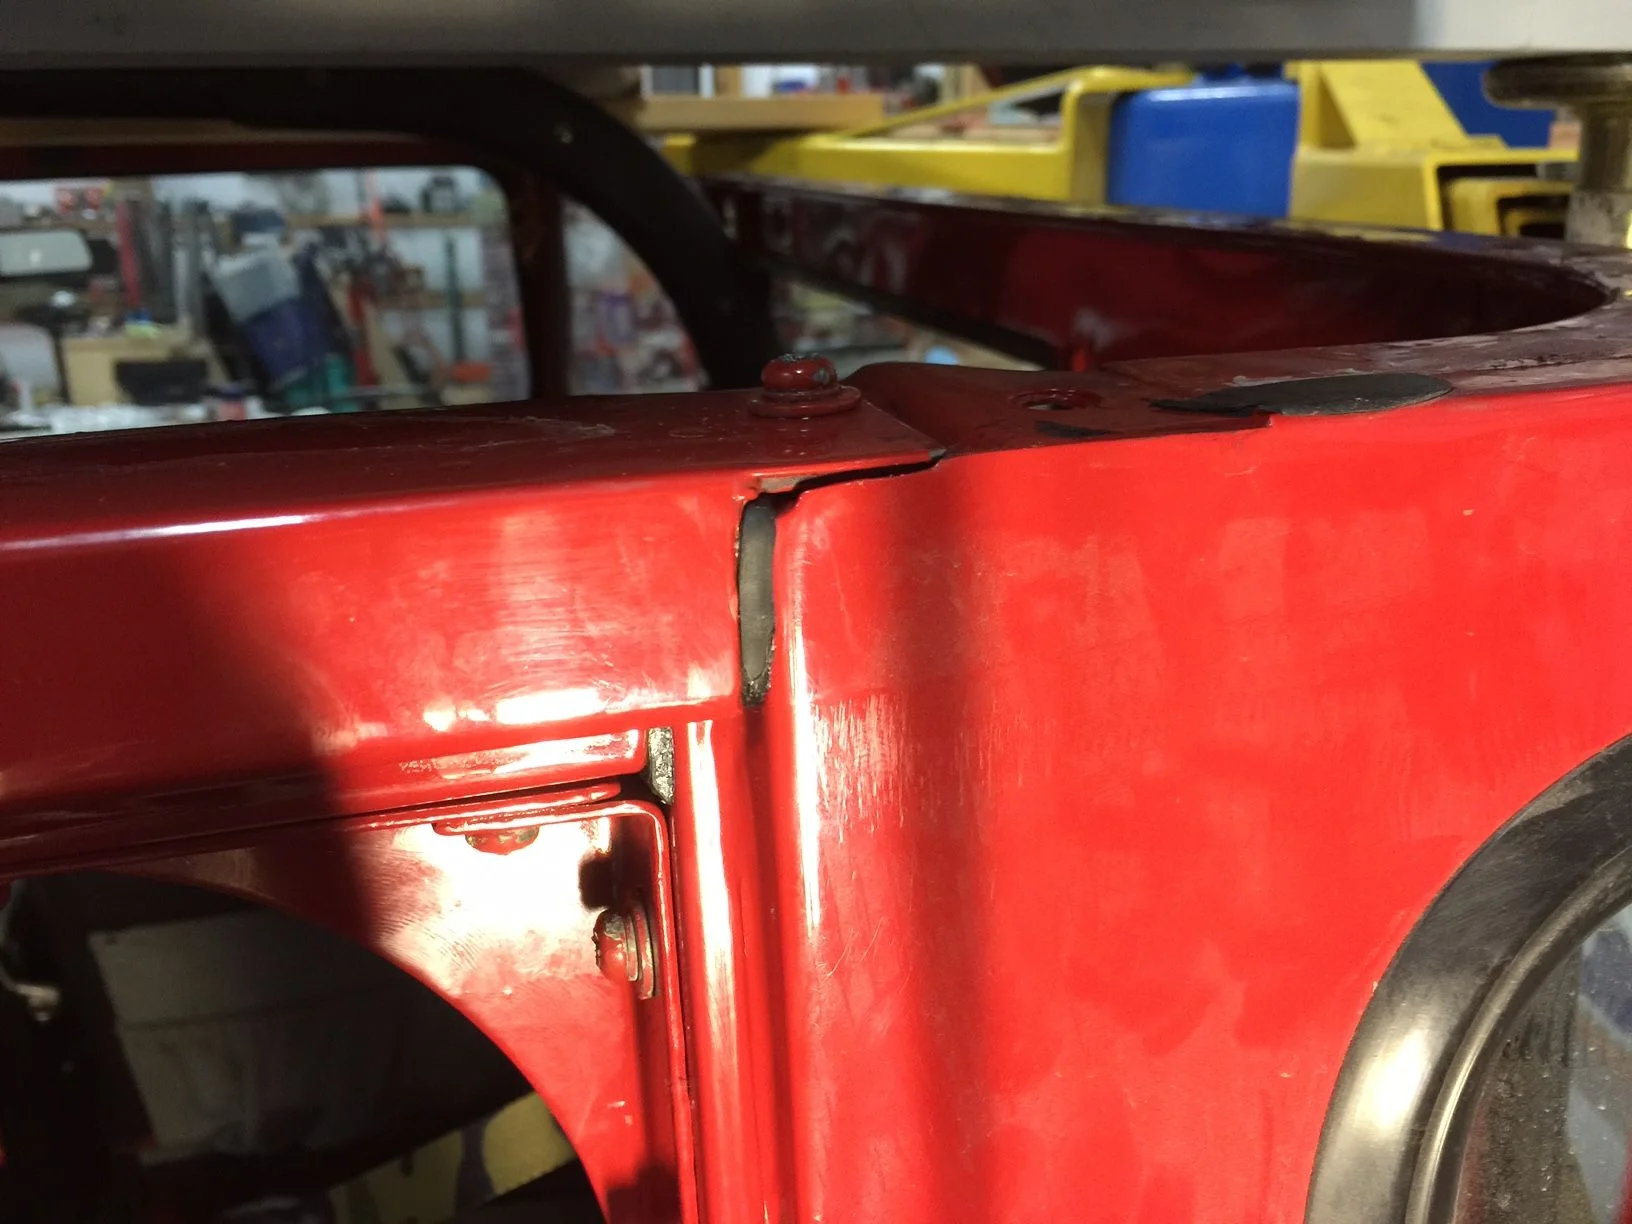
I had to you use some persuasion to re-install the door header top screws, I used a strap to compress the rubber in order for the screw holes to align.

before with no rubber gasket ~ passenger's side
before with no rubber gasket ~ driver's side
Here's the installed pics. The seals are made of solid rubber, nonporous.
These seals will keep water out and also lower road noise/sounds coming from the rear.
I had to you use some persuasion to re-install the door header top screws, I used a strap to compress the rubber in order for the screw holes to align.
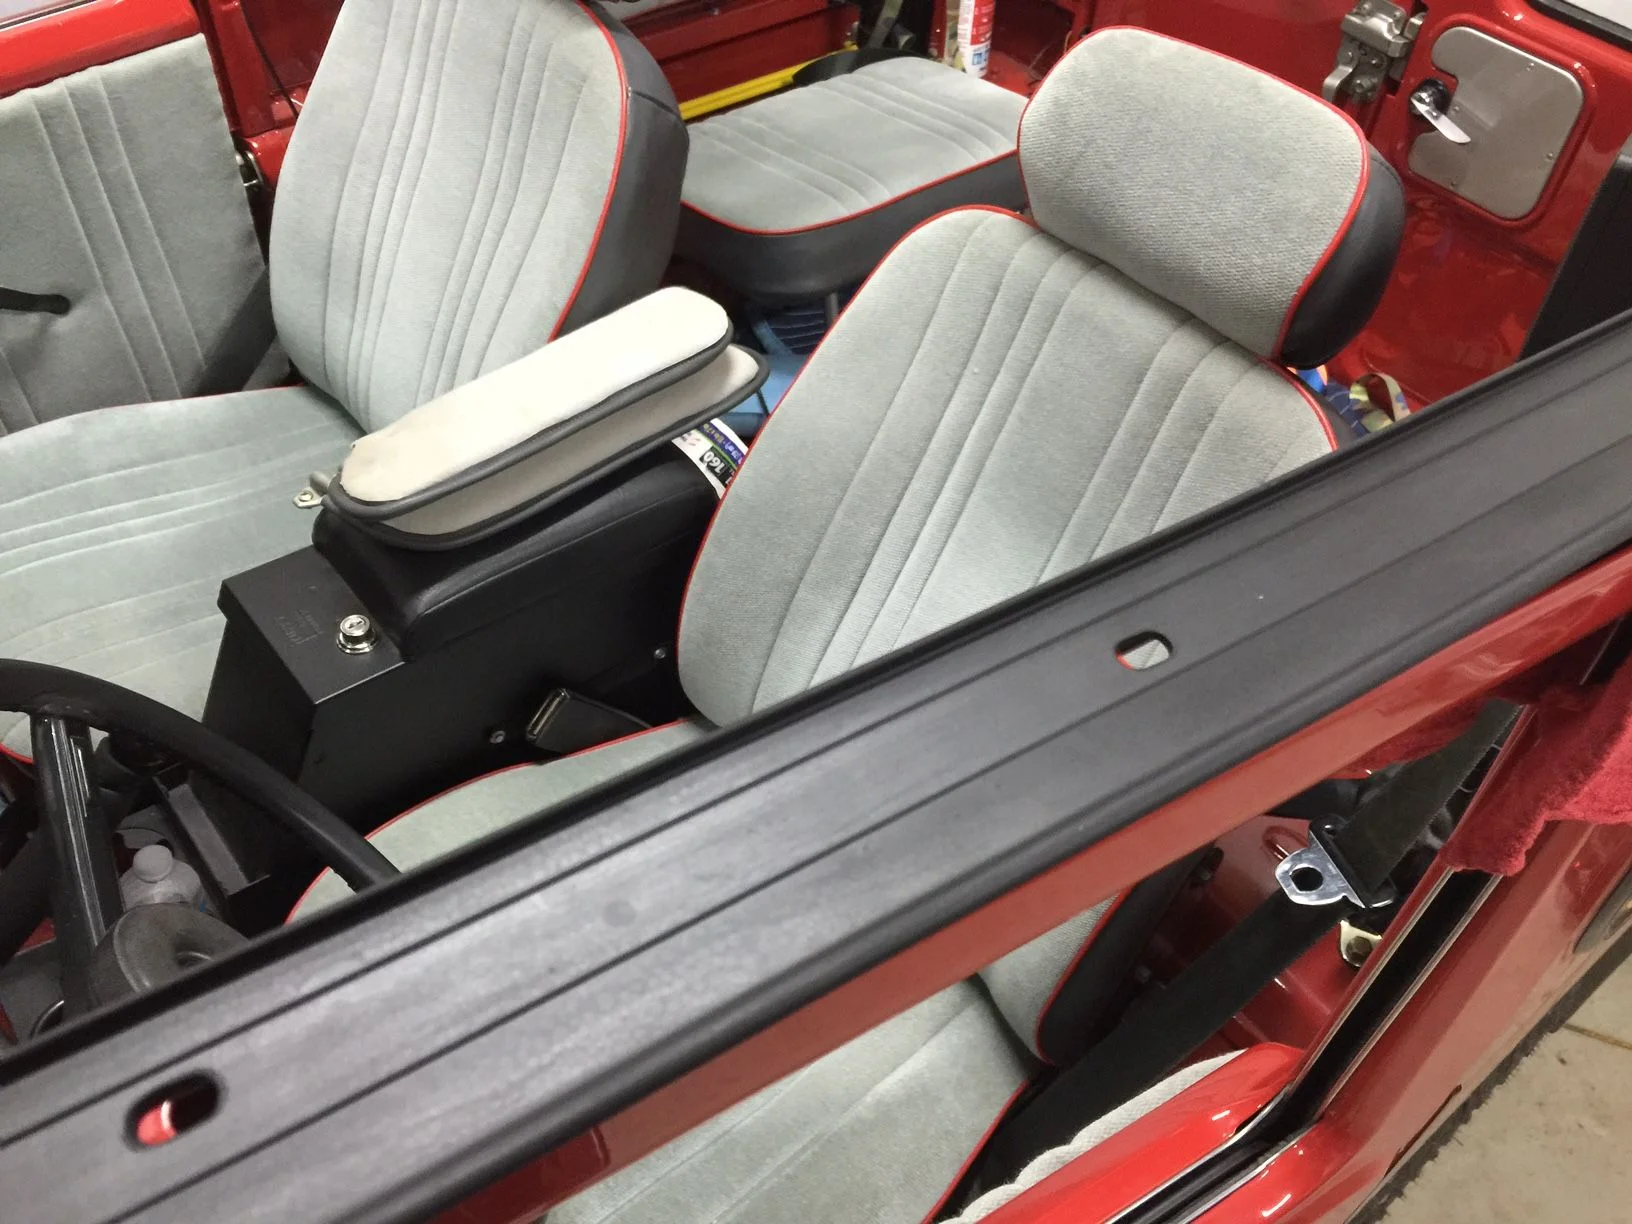
I replaced the windshield weatherstrips for a nice dry interior. Received the upper and lower windshield weather stripping seals and a few other misc seals, courtesy of @Racer65 , great parts, great service, and fast shipping!

Cleaning the windshield base, PO used silicone to seal windshield rather than to replace the rubber weather strip, I found remnants of silicone that had to be cleaned prior to installing the new seals.
Before
After ~ Silicone removed and cleaned windshield base plate
I had to remove the ashtray and the duct feeding the defroster vent on the passenger side, there were 4 wire disconnects in total. On the driver's side there was only one wire which feeds the courtesy lamp located directly above the driver's seat. Other than that it was a sweet piece of cake. However, the worst part continues to be the silicone the PO used to seal the windshield, surprisingly no rust.
The lower windshield weatherstrip installed, this was by far the easiest upgrade yet, although removing the wiper wires was a pain to get to and disconnect wires.
@FJ4043
Eric,
I don't drink, but I'm sure many would suggest you put one of your LCs outside and keep the beer safe inside.
Eric,
I don't drink, but I'm sure many would suggest you put one of your LCs outside and keep the beer safe inside.
@FJ4043
Eric,
I don't drink, but I'm sure many would suggest you put one of your LCs outside and keep the beer safe inside.
Not unless his new garage and residence are enclosed by a huge walled compound.
4 of FJ40's
FJ45 Troopy that is still being restored
Troopy looks out of place...I better come retrieve it and provide a proper home.
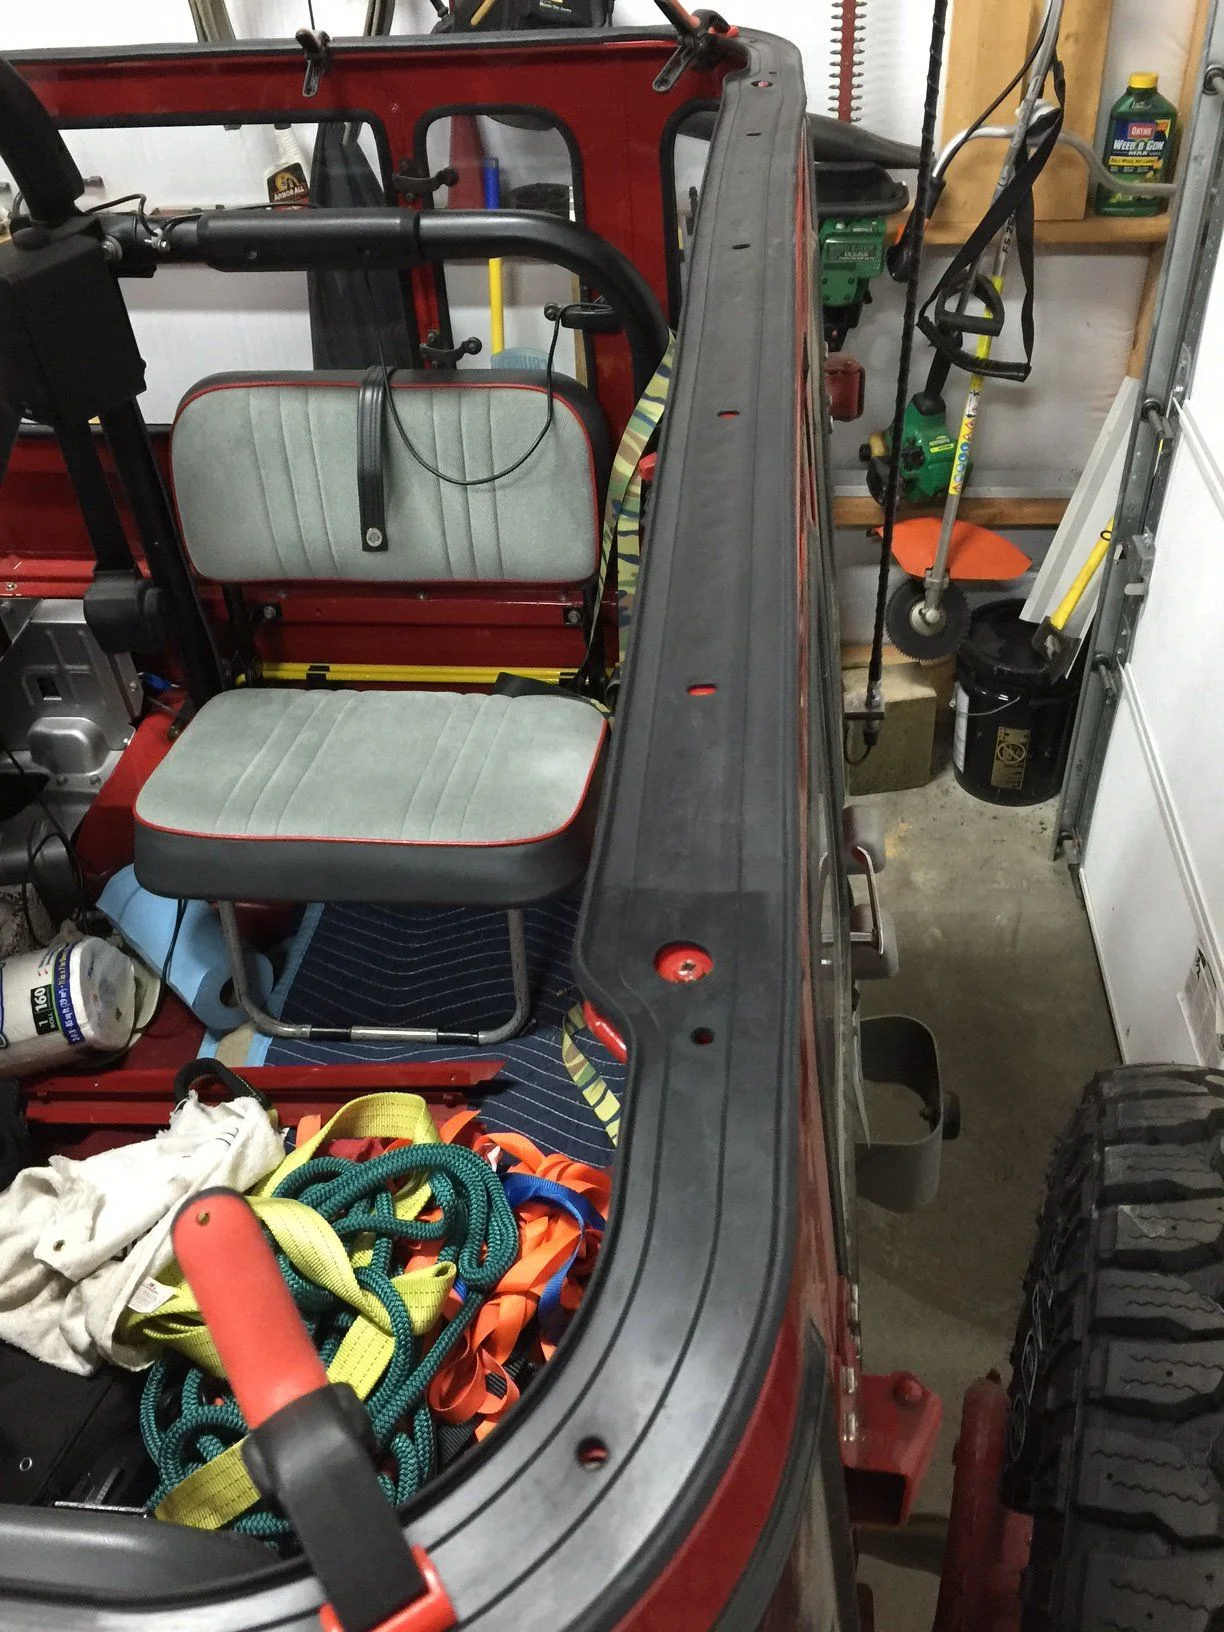
Parts from RuffStuff were waiting for me on the porch when I got home. Front SOA kit and rear 2+ perches for stretching the rear suspension.


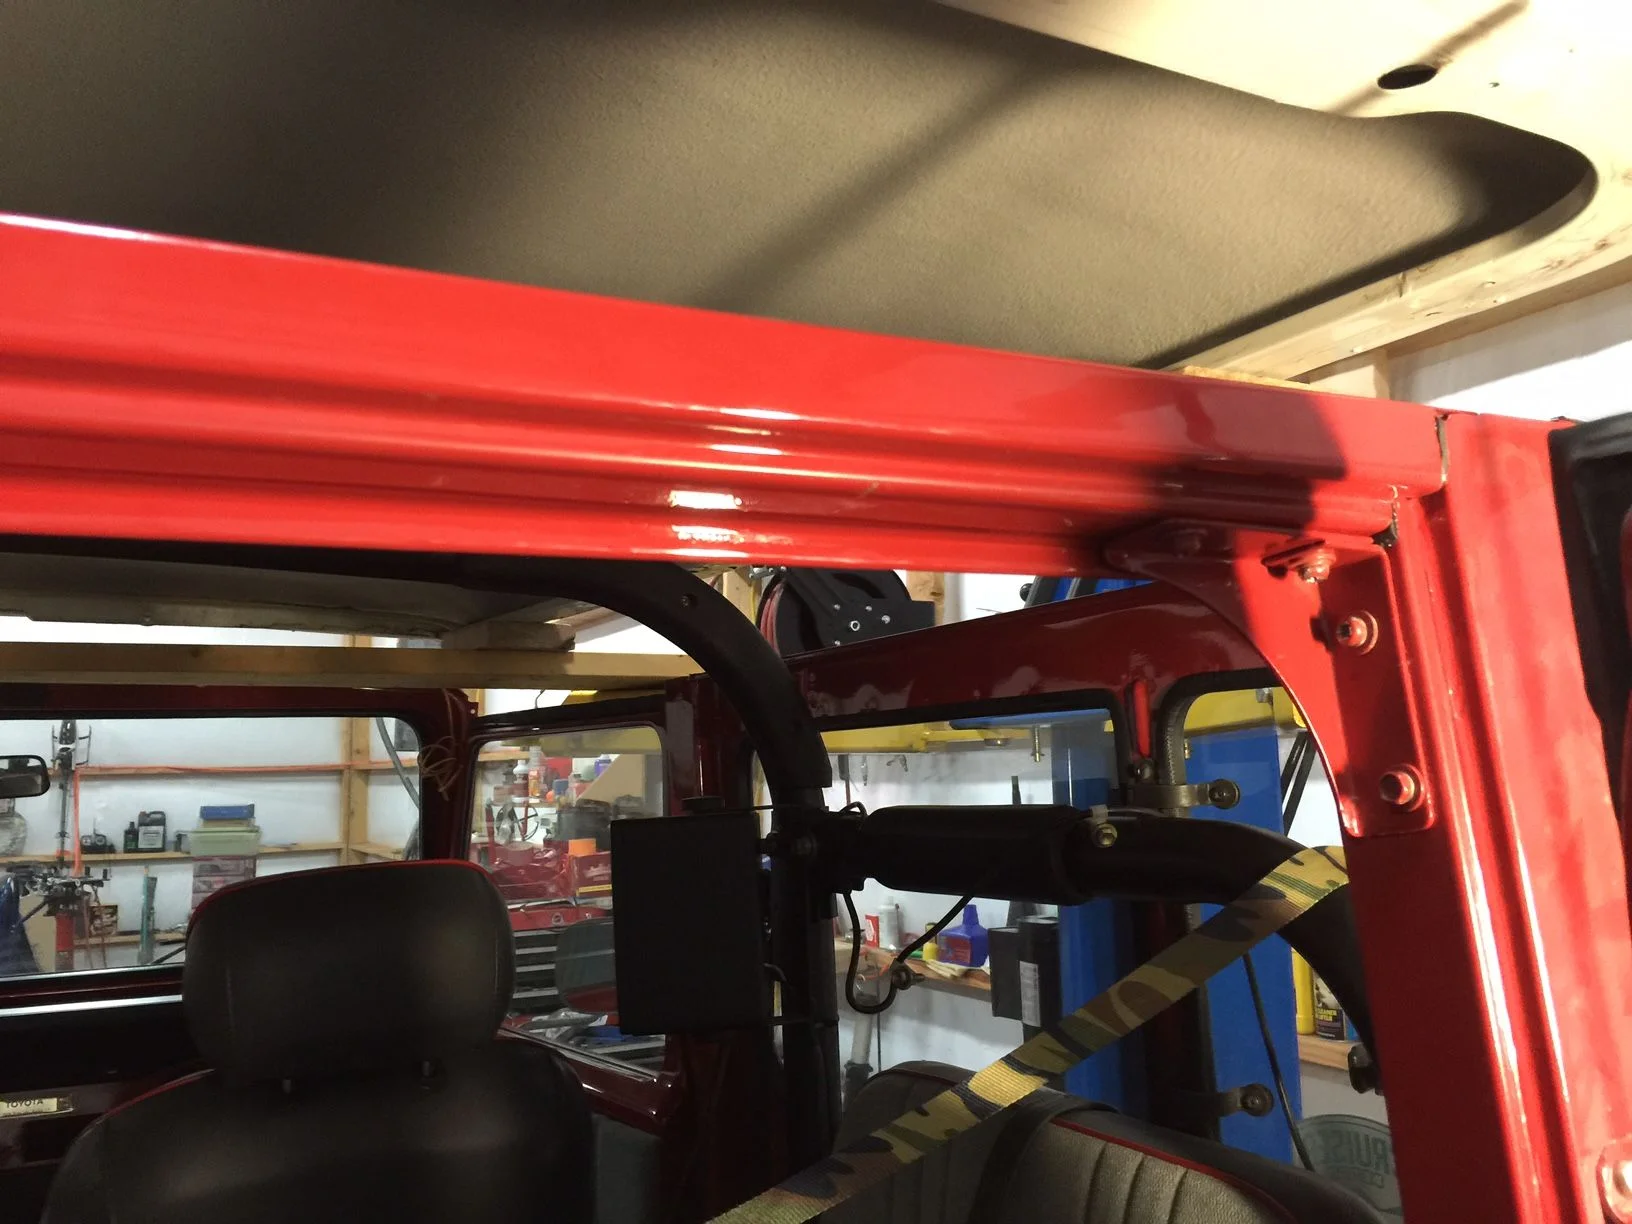
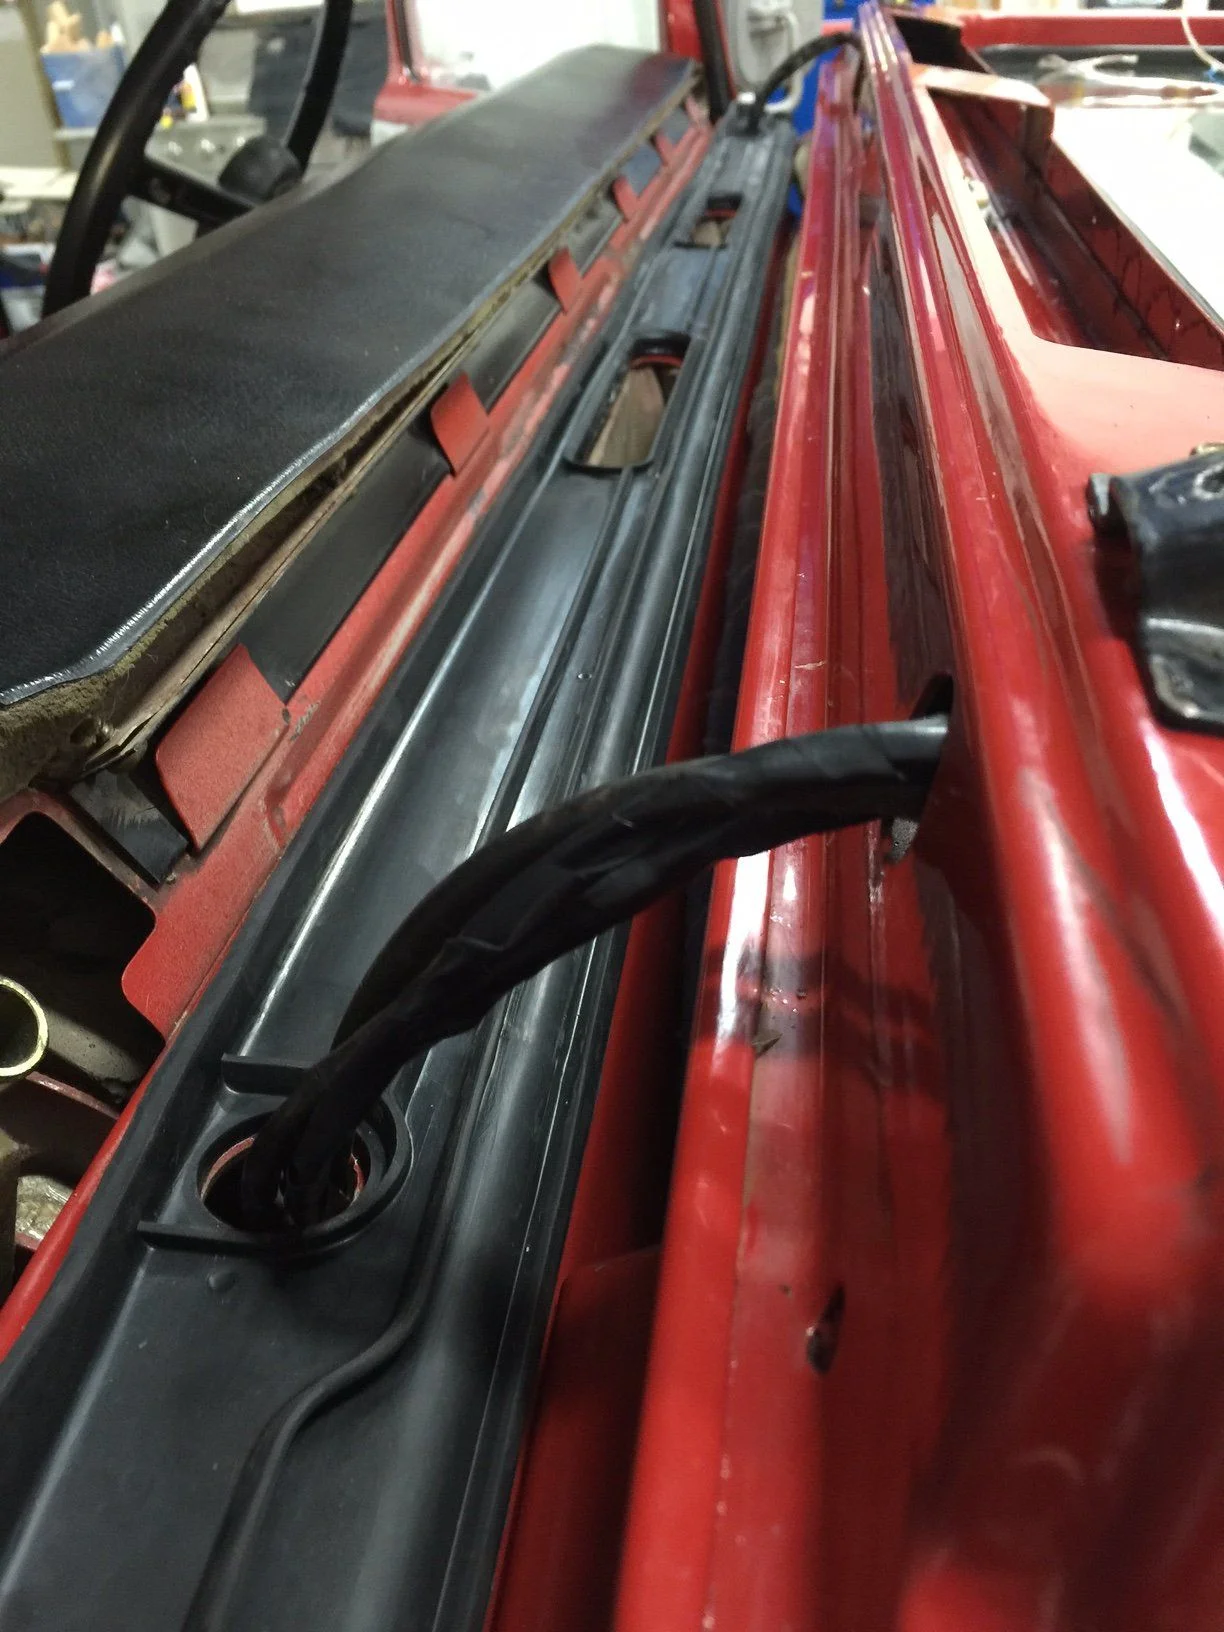
Installed the roof top weather strip, courtesy of @Racer65 , this thing fits like a glove and it's identical to the old OEM cracked strip that I removed, all the holes line up with the body screw holes perfectly, I'm very pleased with the product so far.
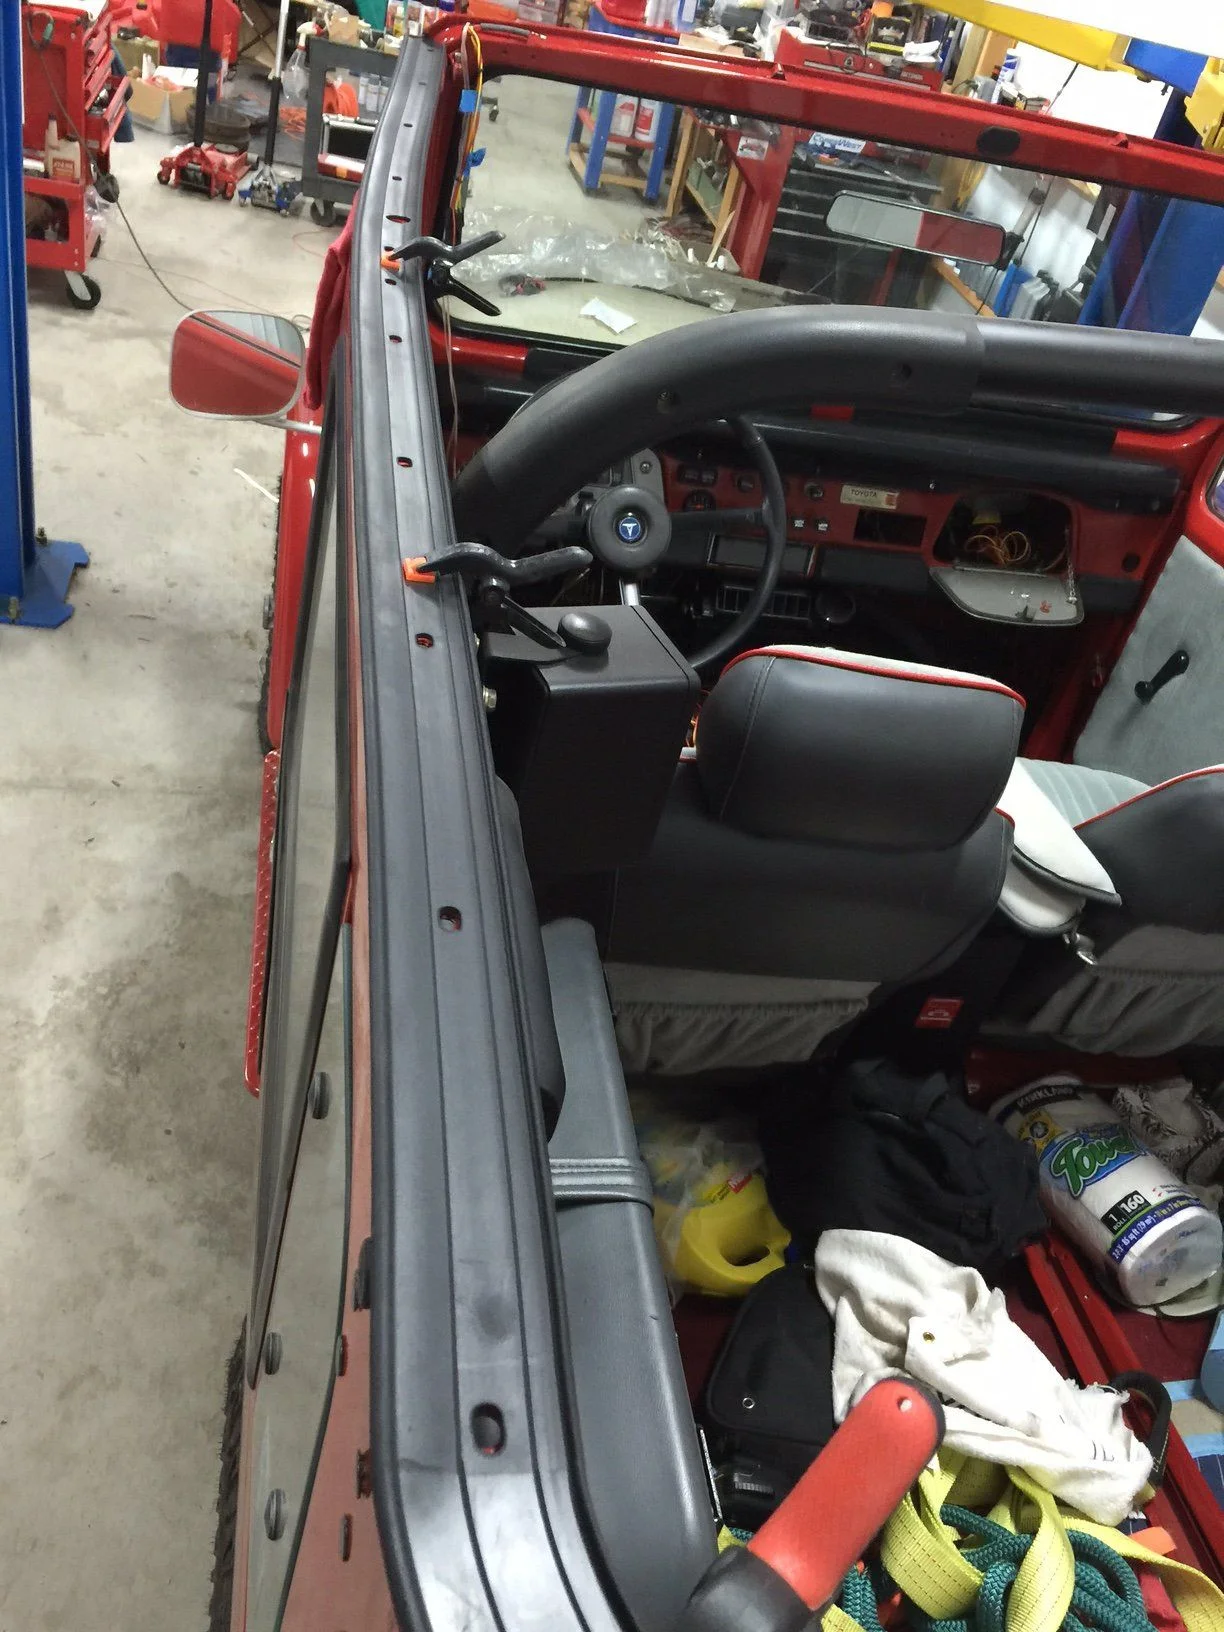
Also installed the windshield top weather strip, it was a perfect fit as well.

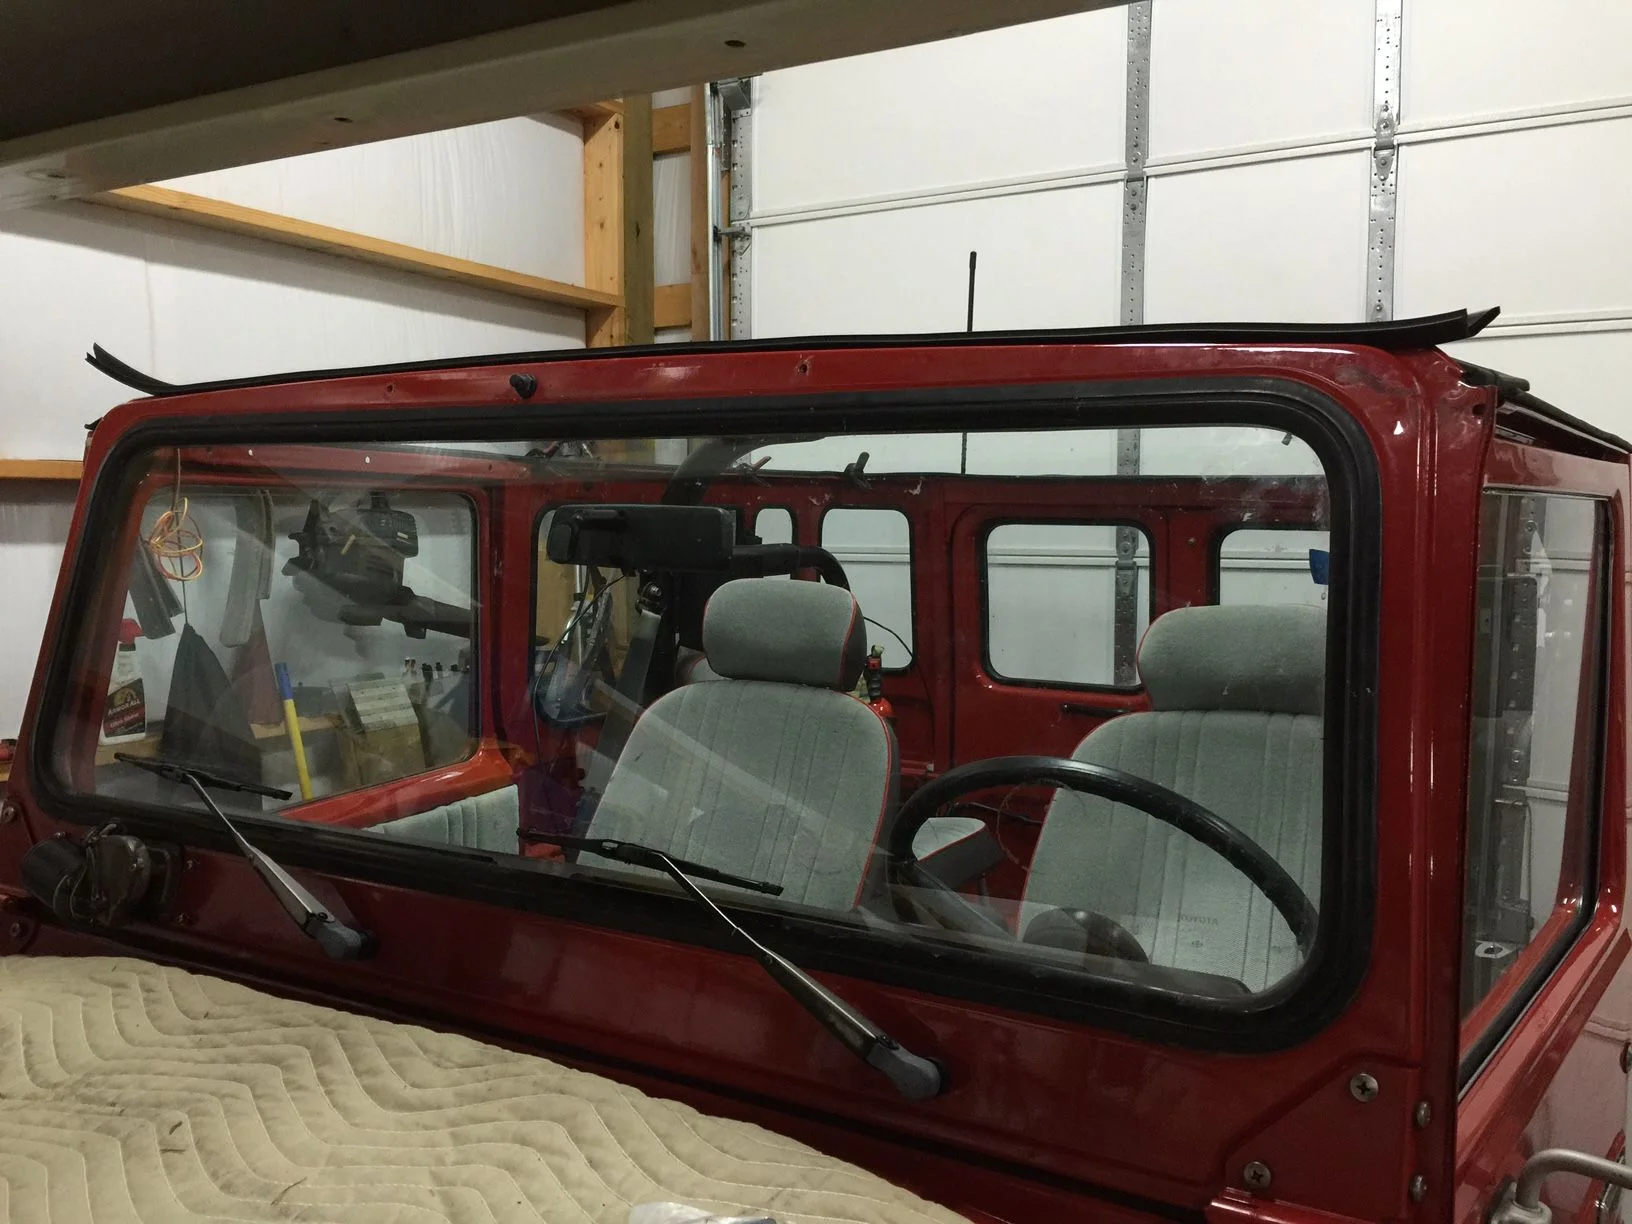
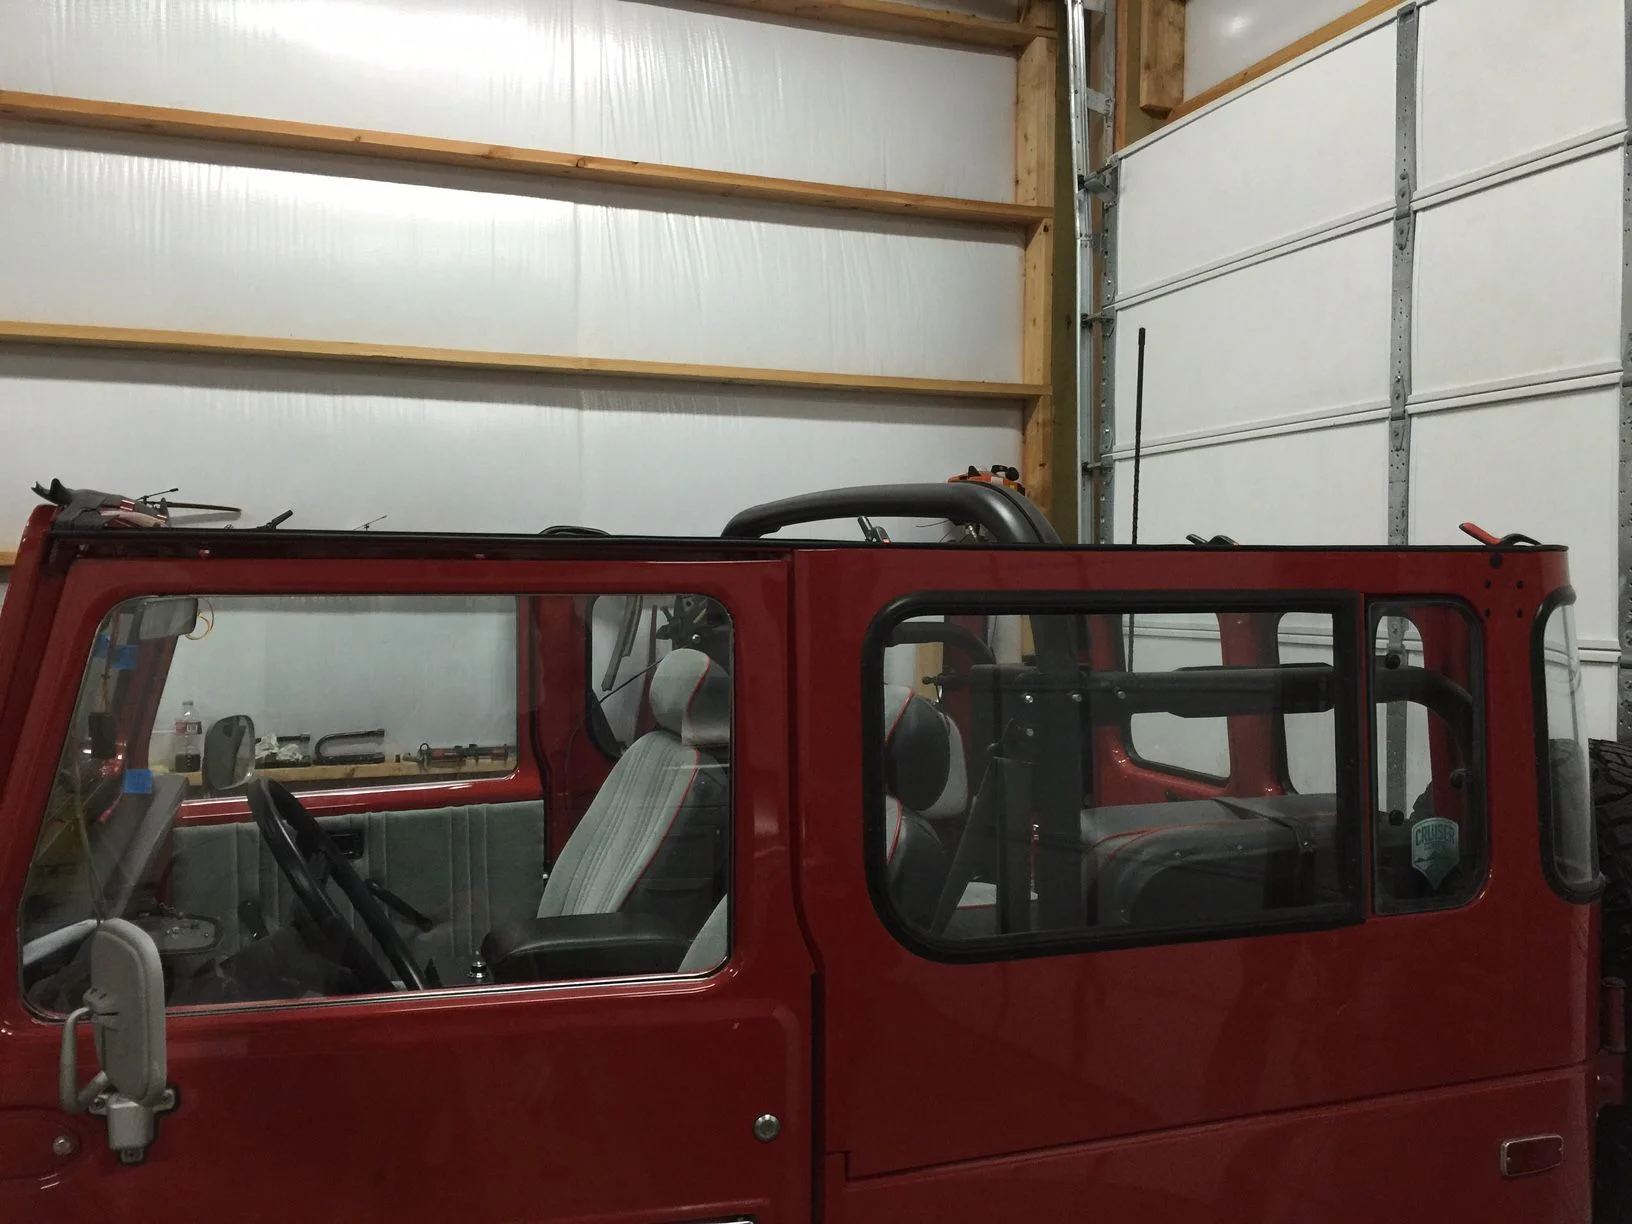
Also installed the windshield top weather strip, it was a perfect fit as well.
Power steering is all powerful once again!!
I had a doctors appointment across town yesterday, so I dropped my power steering pump off at the place that rebuilt my gearbox and picked up my rebuilt pump on the way home, a couple of hours later.
I installed it and aligned the pulley/belt last night and my power steering fluid cooler and filter arrived last night. I hooked everything up today, filled the reservoir and bled it and all is again good.
Here's my rebuilt pump


I installed the cooler right above Toyota

The filter is behind the driver side headlight

I had a doctors appointment across town yesterday, so I dropped my power steering pump off at the place that rebuilt my gearbox and picked up my rebuilt pump on the way home, a couple of hours later.
I installed it and aligned the pulley/belt last night and my power steering fluid cooler and filter arrived last night. I hooked everything up today, filled the reservoir and bled it and all is again good.
Here's my rebuilt pump
I installed the cooler right above Toyota
The filter is behind the driver side headlight
I also moved my HF Badlands 9000 winch from my hitch carrier cradle to my front bumper... I had to quit picking this winch up.

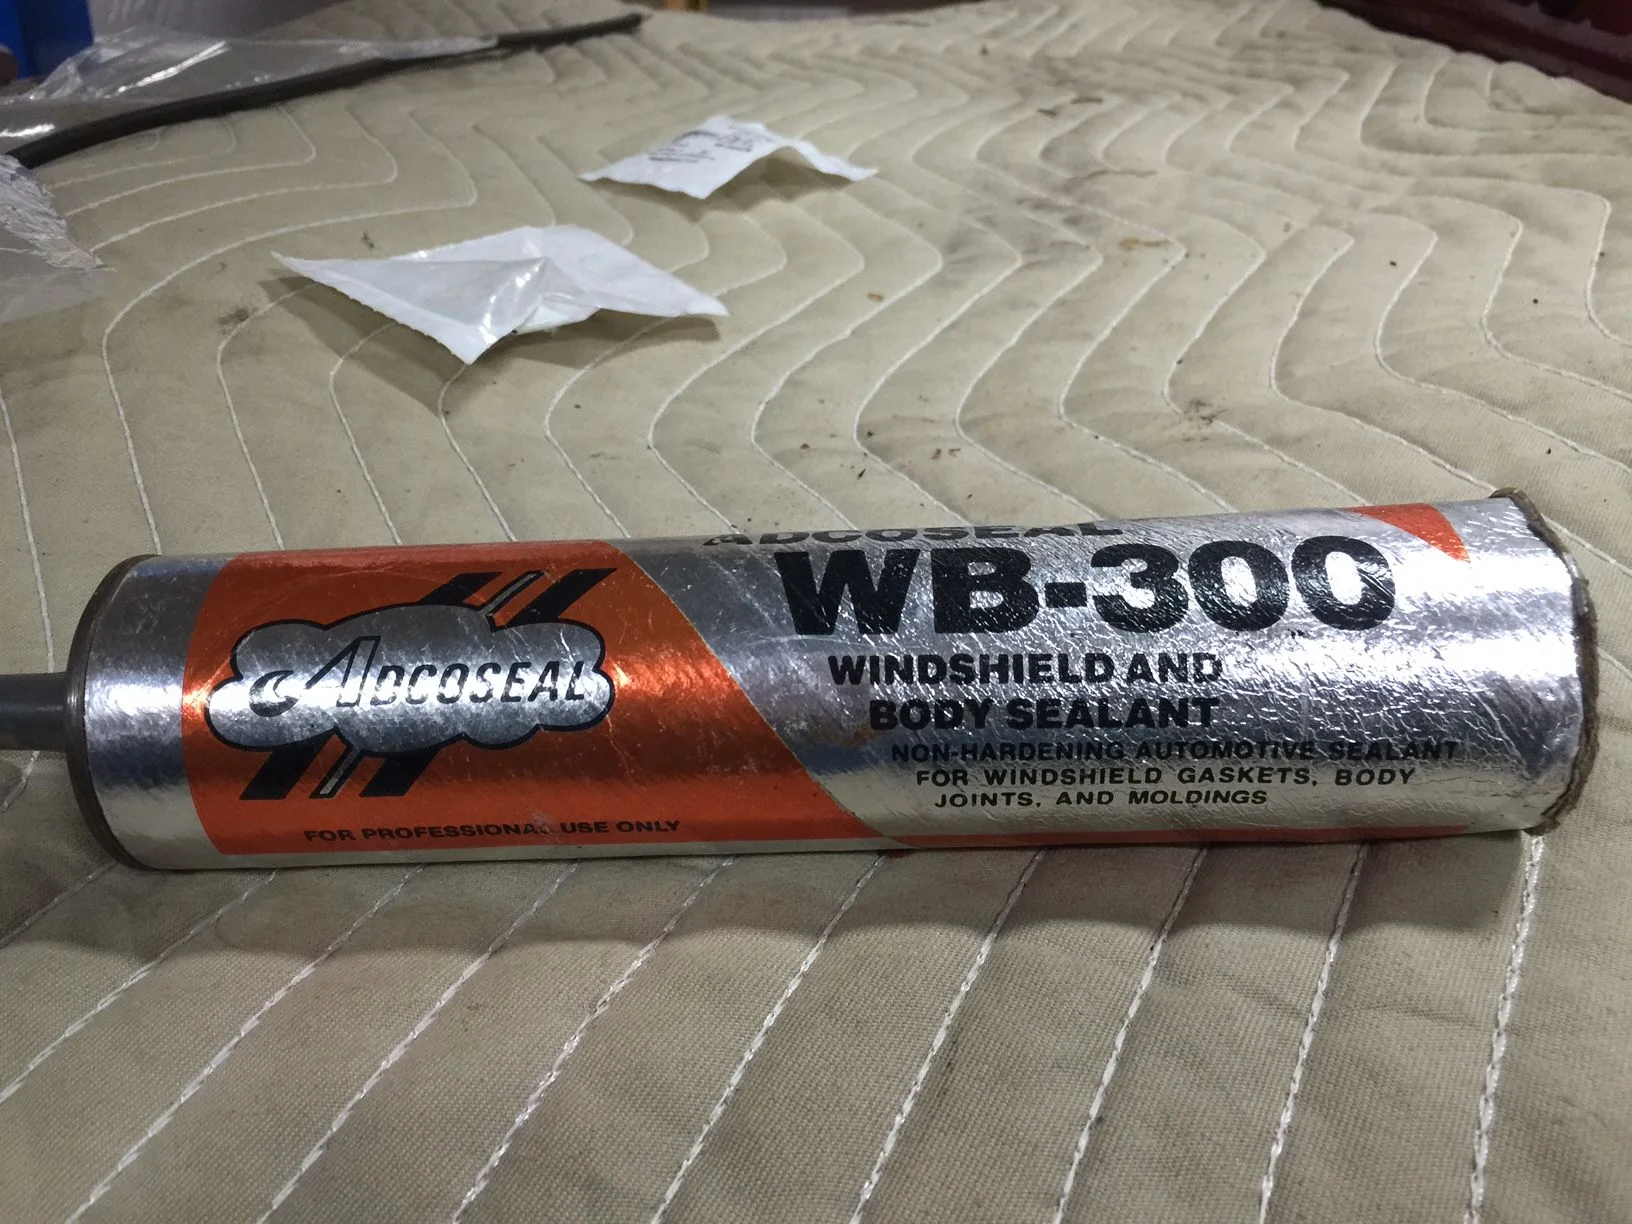
Prior to re-installing the roof I used this Adcoseal WB-300 automotive sealant product to level off all uneven areas that the roof seal rests on to create a water proof seal. This product is soft and will not harden, I've had this tube from previous projects and it's about 20 years old and still very pliable.
These are the areas that needed leveling, there is a total of four of them, i.e this is the amby door header as attached to the side body, this creates a valley that the rubber weather strip cannot seal by compression only, so I filled all the gaps to secure a water tight seal.
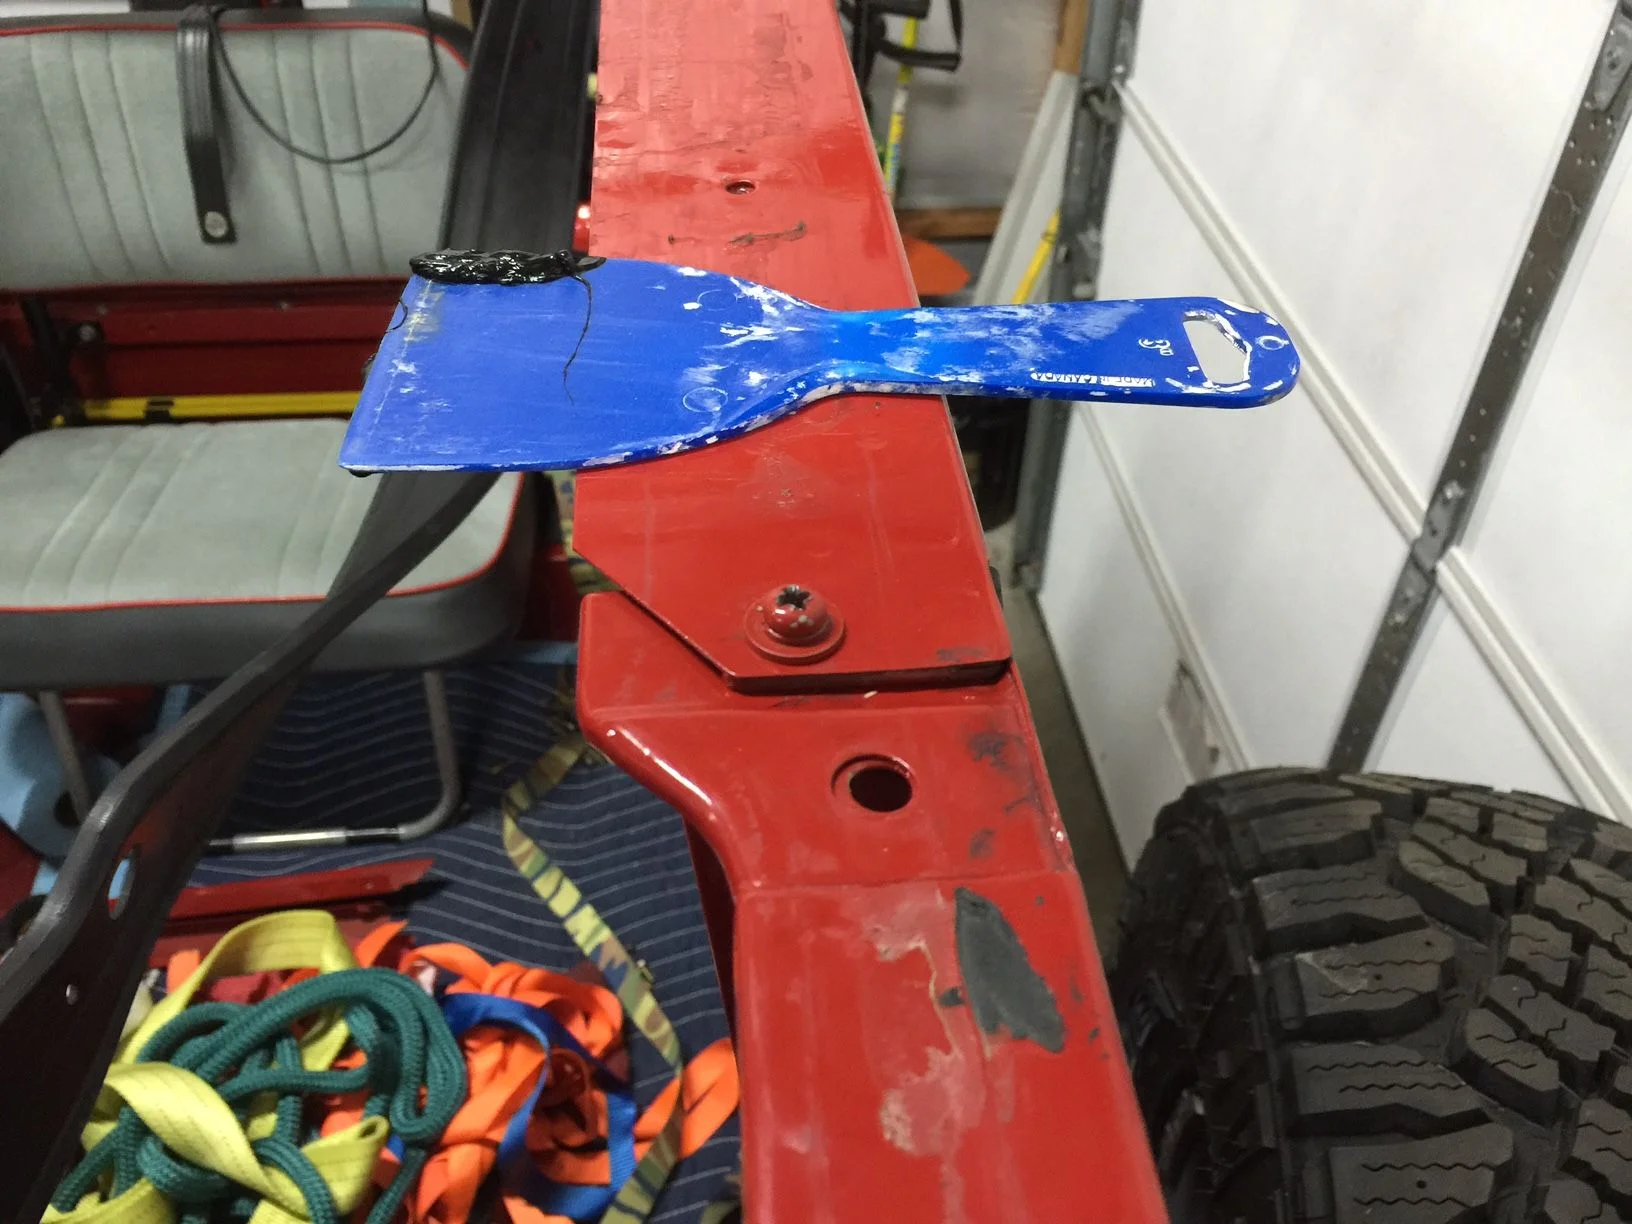
Applied sealant to cover the uneven areas

Pumped sealant over uneven door jam
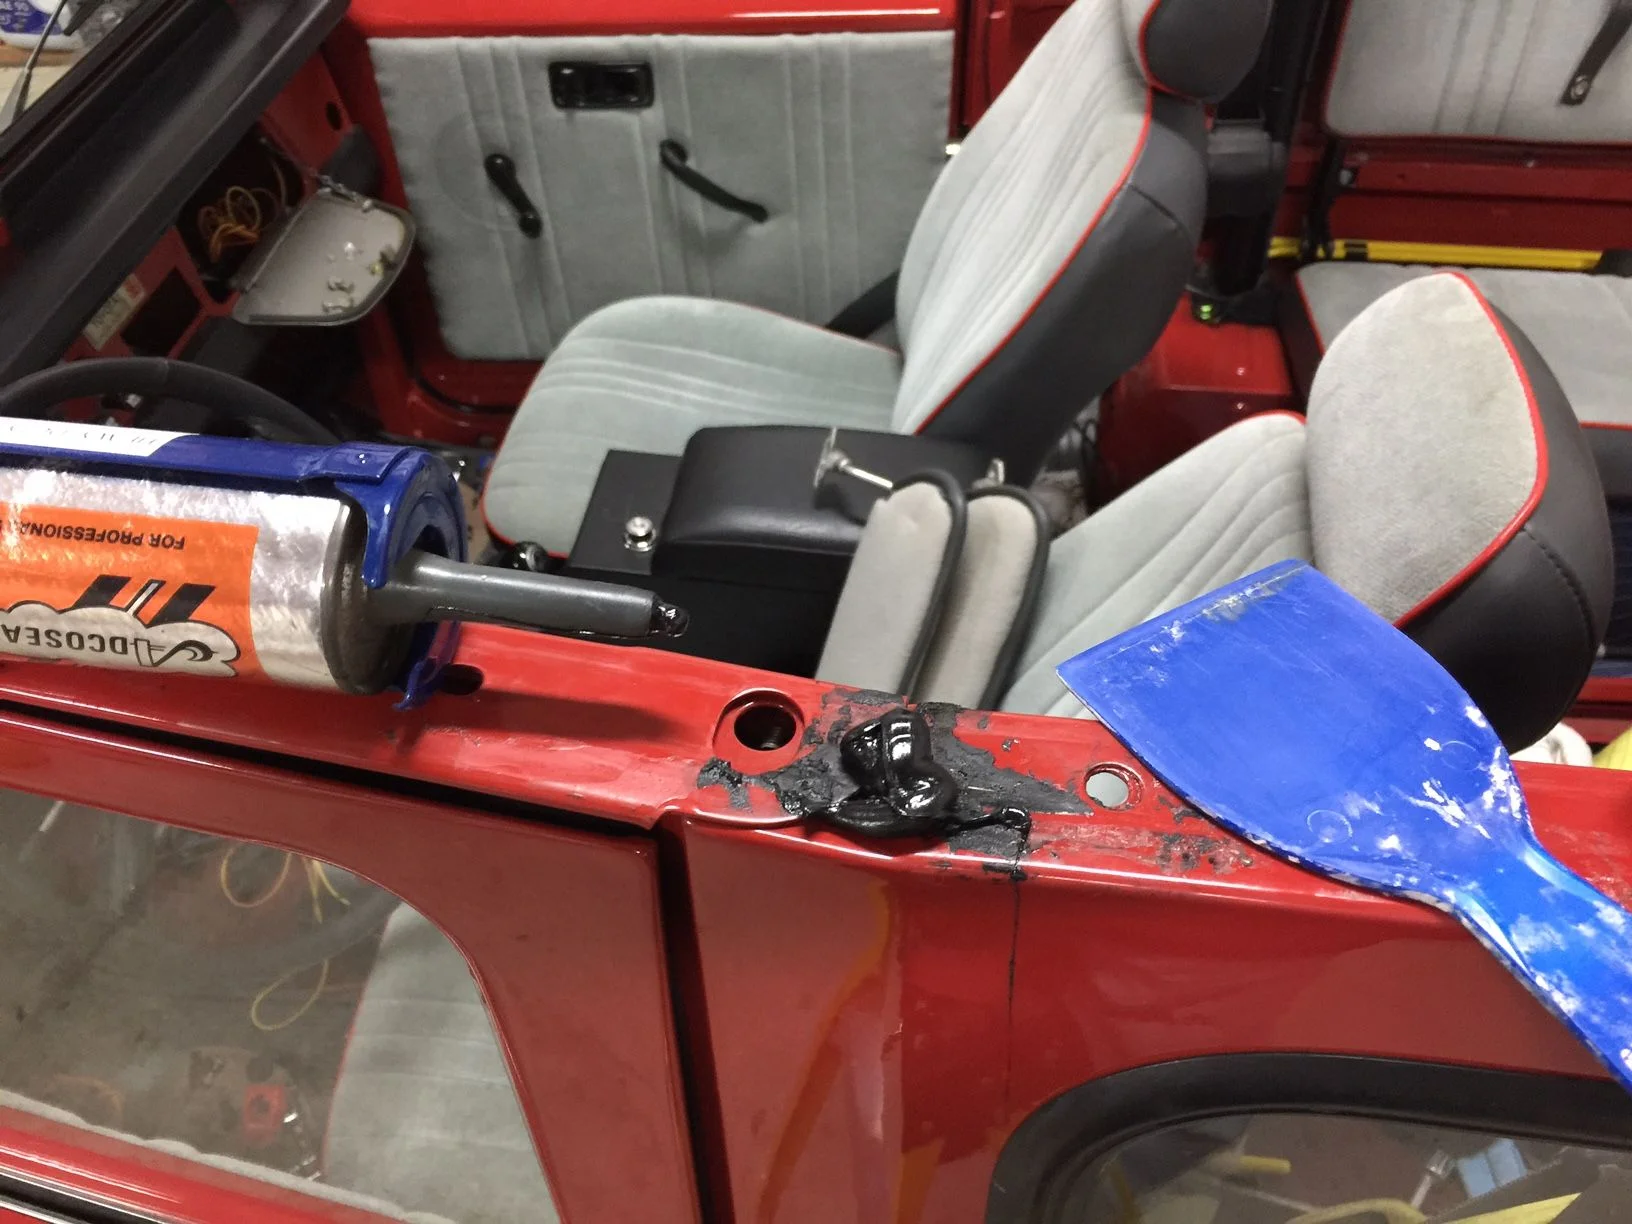
Then leveled it off
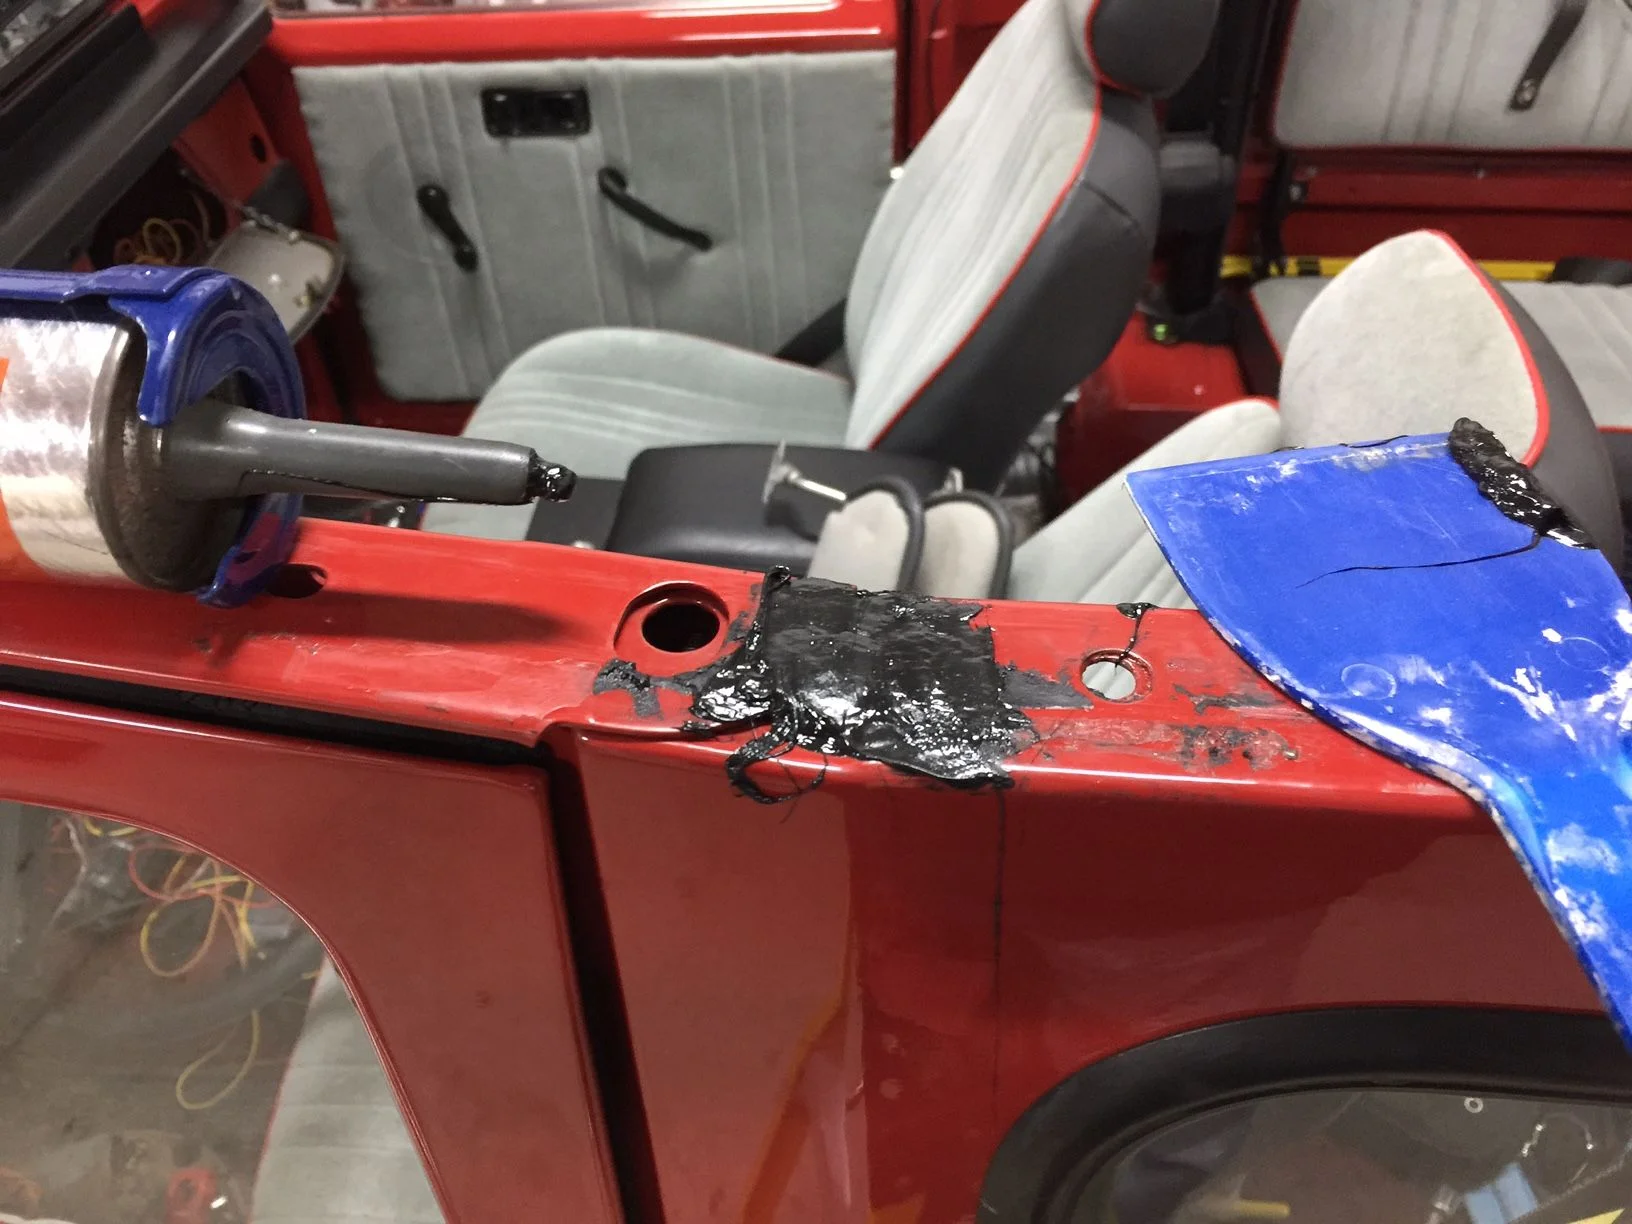
Ready to install the roof
These are the areas that needed leveling, there is a total of four of them, i.e this is the amby door header as attached to the side body, this creates a valley that the rubber weather strip cannot seal by compression only, so I filled all the gaps to secure a water tight seal.
Applied sealant to cover the uneven areas
Pumped sealant over uneven door jam
Then leveled it off
Ready to install the roof
Today, here in Georgia, the clouds parted to reveal a big orange ball in the sky! Something we haven't seen in quite a while.....So I drove the FJ40 to work.

