What have you done to your 200 Series this week? (15 Viewers)

This site may earn a commission from merchant affiliate
links, including eBay, Amazon, Skimlinks, and others.

Can you explain what you're doing here? i've heard of washing the frame by connecting a hose or something, is that what's going on? I just spend a while with a pressure washer but wonder if i'm missing a critical area and one day find i need to make a "is this too much rust" post.... i get a lot of beach sand laced with salt.
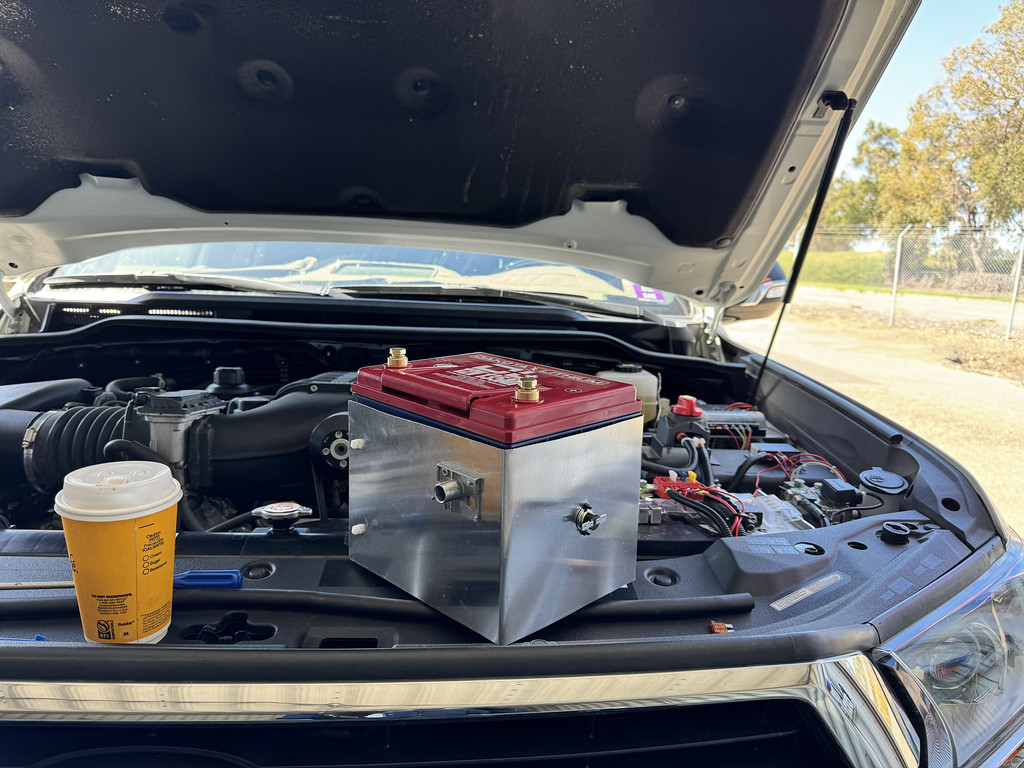
So I checked now how this thing is called in english. It is a sewer jetter/hydro jetter and probably nearly the same one like this one here
The point is while you can reach the most parts of the 200 kinda easy for cleaning the inside of the frame is hard to reach and there isn’t much drainage holes in it (probably a 20mm hole on the front part at the bottom on each side) and he doesn’t have any big open spots where you can just flush out with ease like on some pickups.
I tried with a normal water hose but the sand and stones where to heavy thats why I picked this combination (besides the fact that the Kärcher K3 is a rly weak pressure washer but for most stuff around the house and cleaning the car a bit he is enough)
So I went into the rectangular cutouts at the frame pushed the jetter in as far as I could and then went slowly out while always keeping the one bigger hole at the bottom of the frame free from blocking.
Looked pretty good and maybe in one or two weeks I will do a second rund when it got a bit warmer (April weather here, a week a go in shirt and shorts buying ice cream and on Tuesday it was snowing….).

I guess it could be a bit more challenging if you have AHC with all the stuff mounted on the side of the frame but should be still feasible.
 
I’m going to try to find a way to duct some cooler air from a high pressure area back to the battery.
Side note- on the Harrop supercharger conversion the IAT sensor is relocated below the intercooler core in the supercharger manifold.

Agreed most of the underhood heat is shed from the radiator while running, and then I suspect the engine block/exhaust/cat will allow significant heat rise once a hot car is stopped.

That's why I'm thinking active cooling which can run until ambient temps around the battery fall below 30 C. I'm thinking a fan and thermostat is not a lot of complexity....I already have the fan and duct material, just need to fabricate a simple shroud.
Test assembly.


The shroud covers the battery on three sides and is held off the battery by two rows of 3/8” foam to allow venting. A thermo switch (40 C on/30 C off) switches the ground side of the avionics blower which is mounted to the front of the Redarc DCDC mount with a bracket I made.


Blower draws 0.3 amps and is powered by the house battery.
 
Last edited:
So Mr. T finally found the injection molds so to make center caps. Mine have been on backorder since the beginning of last October. I put them on the wheels which I finally mounted last November.

I also installed my Big Country dual drawer system today.
 
Last edited:
Installed a new dust/chase light on the LC. Mounted under the prinsu. Also added Midland MXT275 with a ghost antenna to the front of the prinsu. Loving the new radio.
 
Little weeknight project. Shout out @PhuckItImDone for the hitch cover.

IMG_2313.jpeg
 
Test assembly.


The shroud covers the battery on three sides and is held off the battery by two rows of 3/8” foam to allow venting. A thermo switch (40 C on/30 C off) switches the ground side of the avionics blower which is mounted to the front of the Redarc DCDC mount with a bracket I made.


Blower draws 0.3 amps and is powered by the house battery.

Very nice fabrication there!!
 
That looks good. I need to do that as well. What kit did you use?
I used a kit from US Auto Seat Covers. Very happy with how it turned out. I did a lot of digging about the different kits. I think the biggest issue is that amateurs (like me) are largely putting new covers over 10 + year old foam and expecting magic to happen. There was a lot of extra prep including steaming and adding extra foam in some of the heavy-use areas.

Edit: For the people concerned about my safety (in comments below) .... I had this done professionally at an auto upholstery shop. However, lots of people do this as a DIY and don't seem to have issues with the airbags.
 
Last edited:
I used a kit from US Upholstery. Very happy with how it turned out. I did a lot of digging about the different kits. I think the biggest issue is that amateurs (like me) are largely putting new covers over 10 + year old foam and expecting magic to happen. I did a lot of extra prep including steaming and adding extra foam in some of the heavy-use areas.
If you want to shell out for a driver's lower seat cushion it's about $250 at the discount sites. Not cheap, but probably the best way back to as-new seat cushions.
 
I used a kit from US Upholstery. Very happy with how it turned out. I did a lot of digging about the different kits. I think the biggest issue is that amateurs (like me) are largely putting new covers over 10 + year old foam and expecting magic to happen. I did a lot of extra prep including steaming and adding extra foam in some of the heavy-use areas.
Is this the company? www.usautoseatcover.com

Their website states "All original Safety devices must be transferred and reassembled on to the new replacement cover by a Certified Professional Upholstery installer." and they have it in bold all over. Any issues with the air bag? Did you actually find a "professional"? Presumably not?
Likely a legal disclaimer. Pull the battery terminals off and wait 30 minutes for discharge. Then disconnect seats and you’re safe.
 
Likely a legal disclaimer.

Yes, but also possibly for other reasons.

Like if these covers prevent the airbags from deploying correctly, they may say it's on the "Certified Professional" to ensure it all worked correctly.
 
If you want to shell out for a driver's lower seat cushion it's about $250 at the discount sites. Not cheap, but probably the best way back to as-new seat cushions.
How bad is the original foam at 90-100k typically? Mine feels decent but i just bought the vehicle at 90k. I noticed today there is now a long line/bump on the left bolster towards the bottom half that I hadn't noticed before. Kind of like a wire or more likely folding of foam that is creating a crease. The seat comfort is high on my list of critical features, so wondering if it is worth replacing the foam.
 
How bad is the original foam at 90-100k typically?

I really wouldn’t know but have to assume it depends on use. PO overweight or a 5’ soccer mom? And how did they get into and out of the vehicle? Garaged or kept in the sun?

With most you could compare the drivers to the passenger seat to determine the potential improvement, I assume.
 
I really wouldn’t know but have to assume it depends on use. PO overweight or a 5’ soccer mom? And how did they get into and out of the vehicle? Garaged or kept in the sun?

With most you could compare the drivers to the passenger seat to determine the potential improvement, I assume.
good idea on passenger vs driver condition. thanks.
 
good idea on passenger vs driver condition. thanks.
The big caveat being you aren’t likely to be sitting there for three hours with hands on a steering wheel having to stay alert.. but yeah it should show immediate issues.

Mine also has something of a line near the seam to the bolster by the door. Never really looked into it.. maybe I should. I do know the passenger seat visually appears more symmetrical.
 

Users who are viewing this thread

Back
Top Bottom