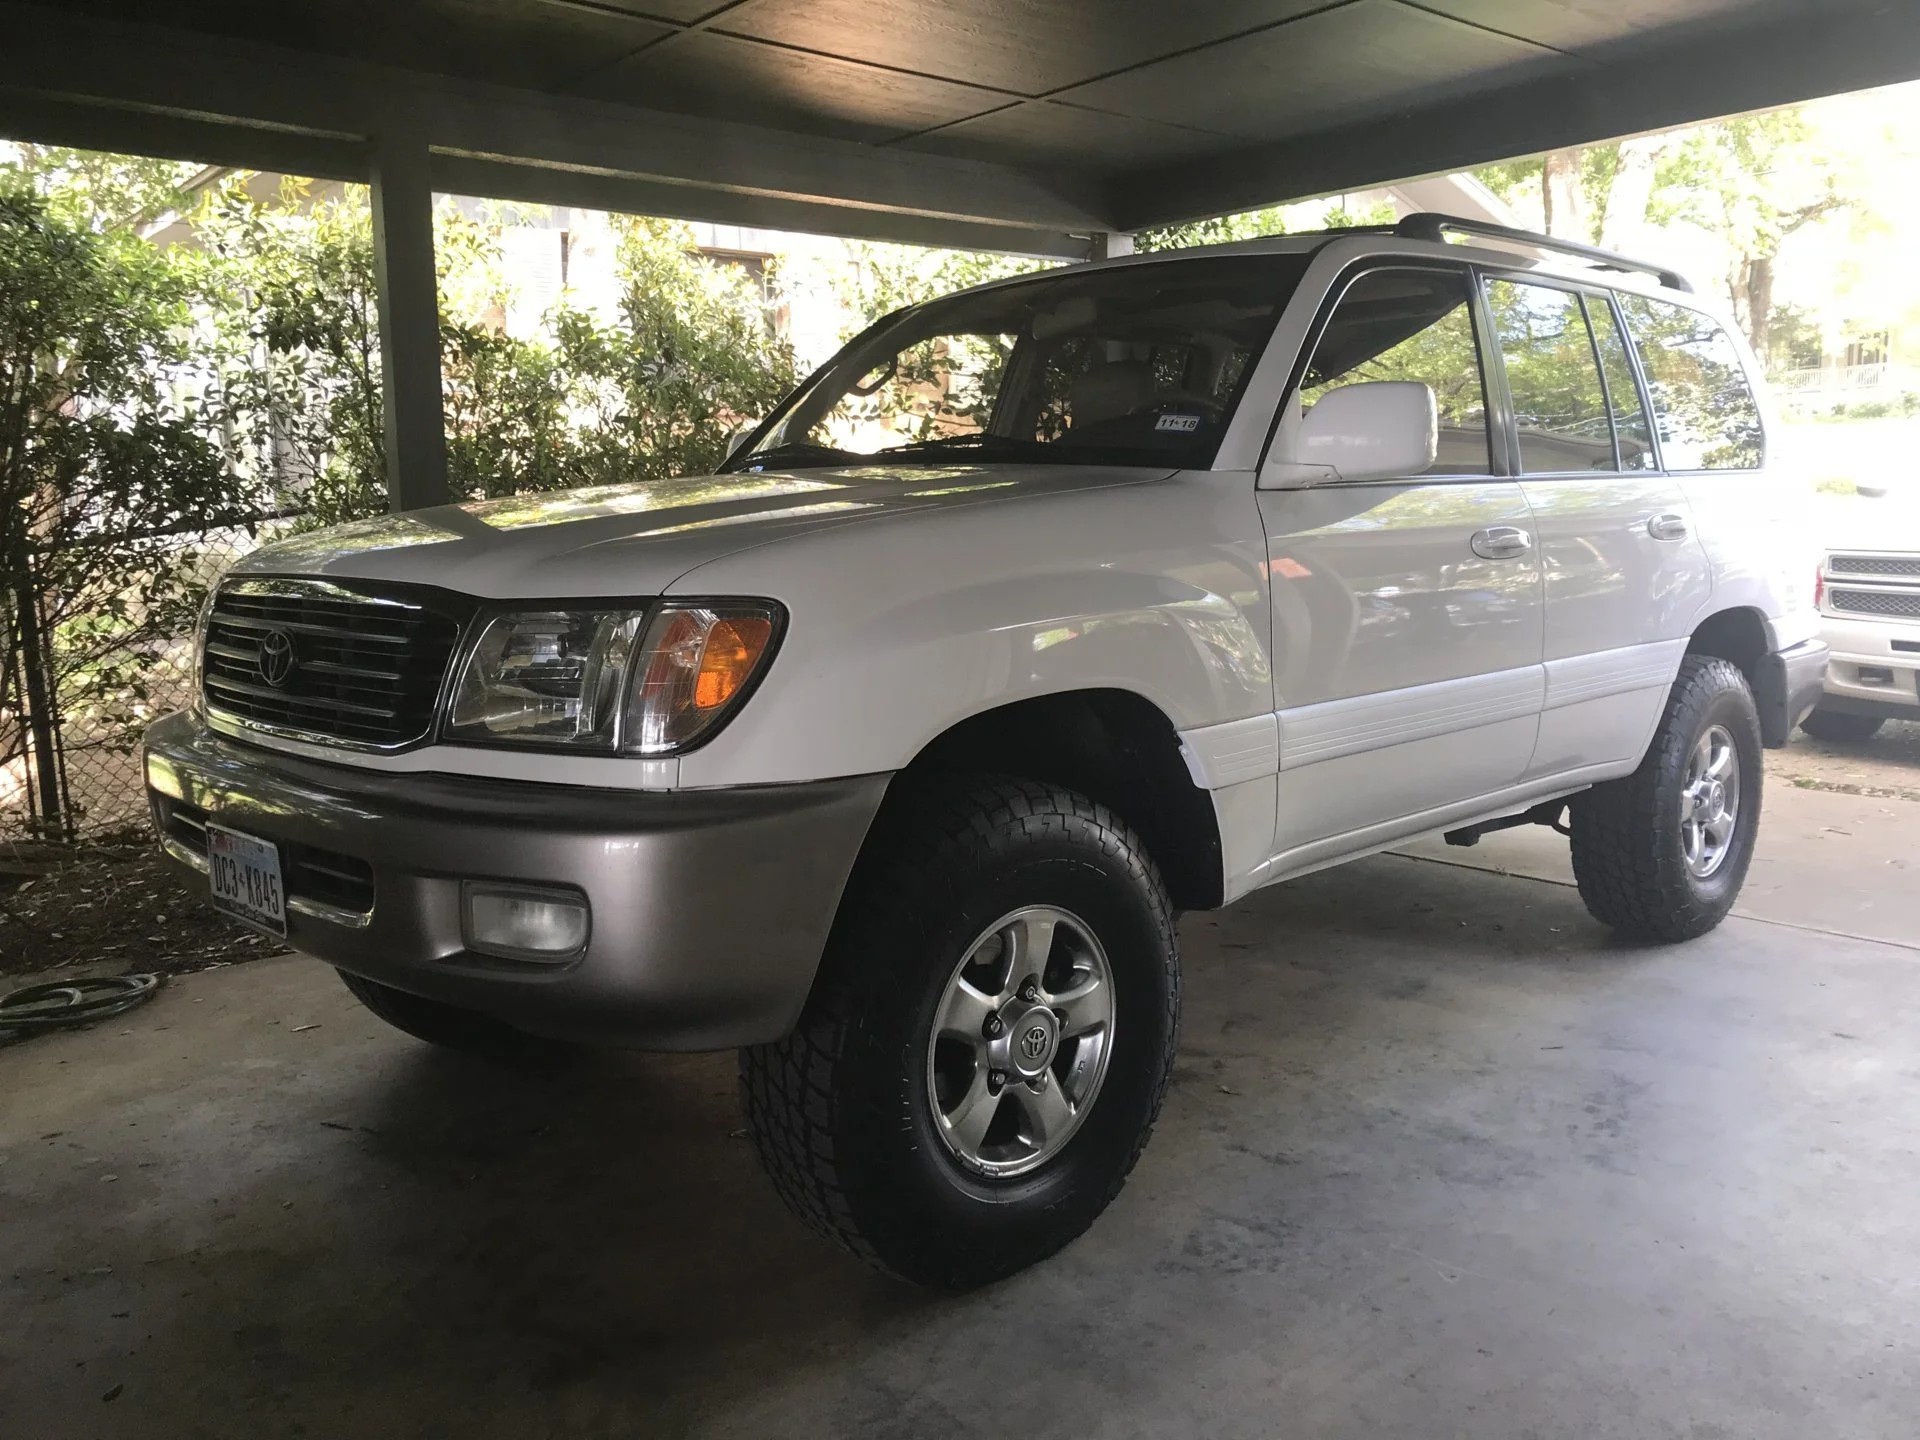
Just one piece if the 1' x 5' will do it, you have extra.
If I were really particular I'd probably get two that way you had four nice long sections with perfect straight edges on one side for the four door pieces.
They would have been near perfect if I had one of them drafting tables or some kind of metal straight edge that was longer then three feet.
I had a very long metal framing square and yes I cut them all to length and left about three inches on each end.
But they were cut the width as needed first. After getting them on and pushing the edges down and into the grove there where they begin and end trimming with a small exact blade was very very easy. Just take your time and be sure you have rubbed the trim area down with a 3M pad or the like to be sure it's smooth.
I wiped them down with alcohol right before applying the trim also.
Just to clarify I didn't pre cut any of the ends, they were all done after applying the strips and cut on the vehicle.
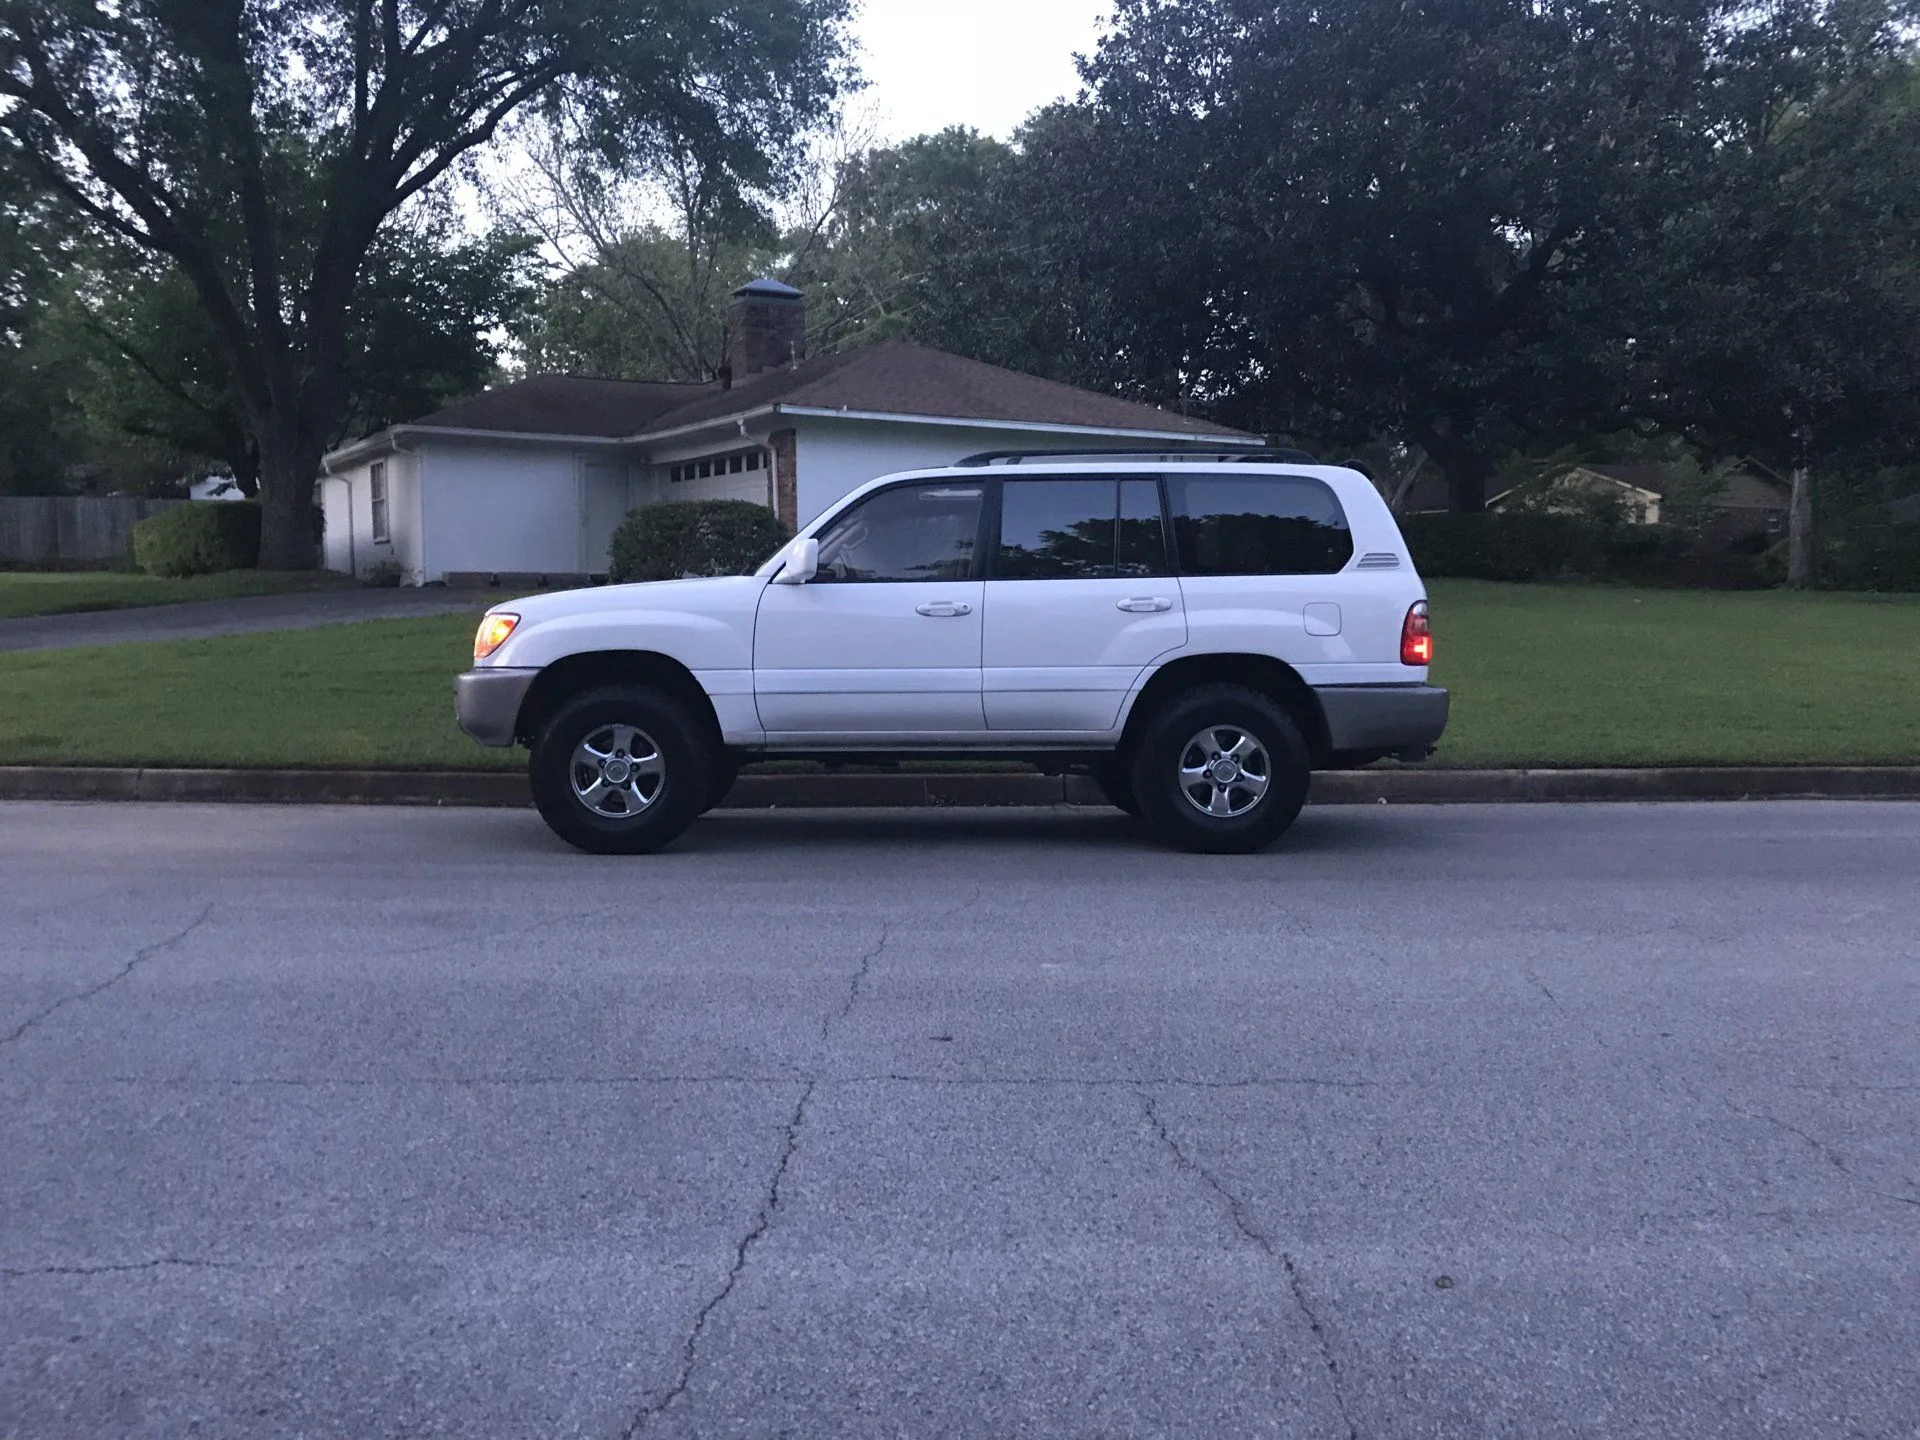