
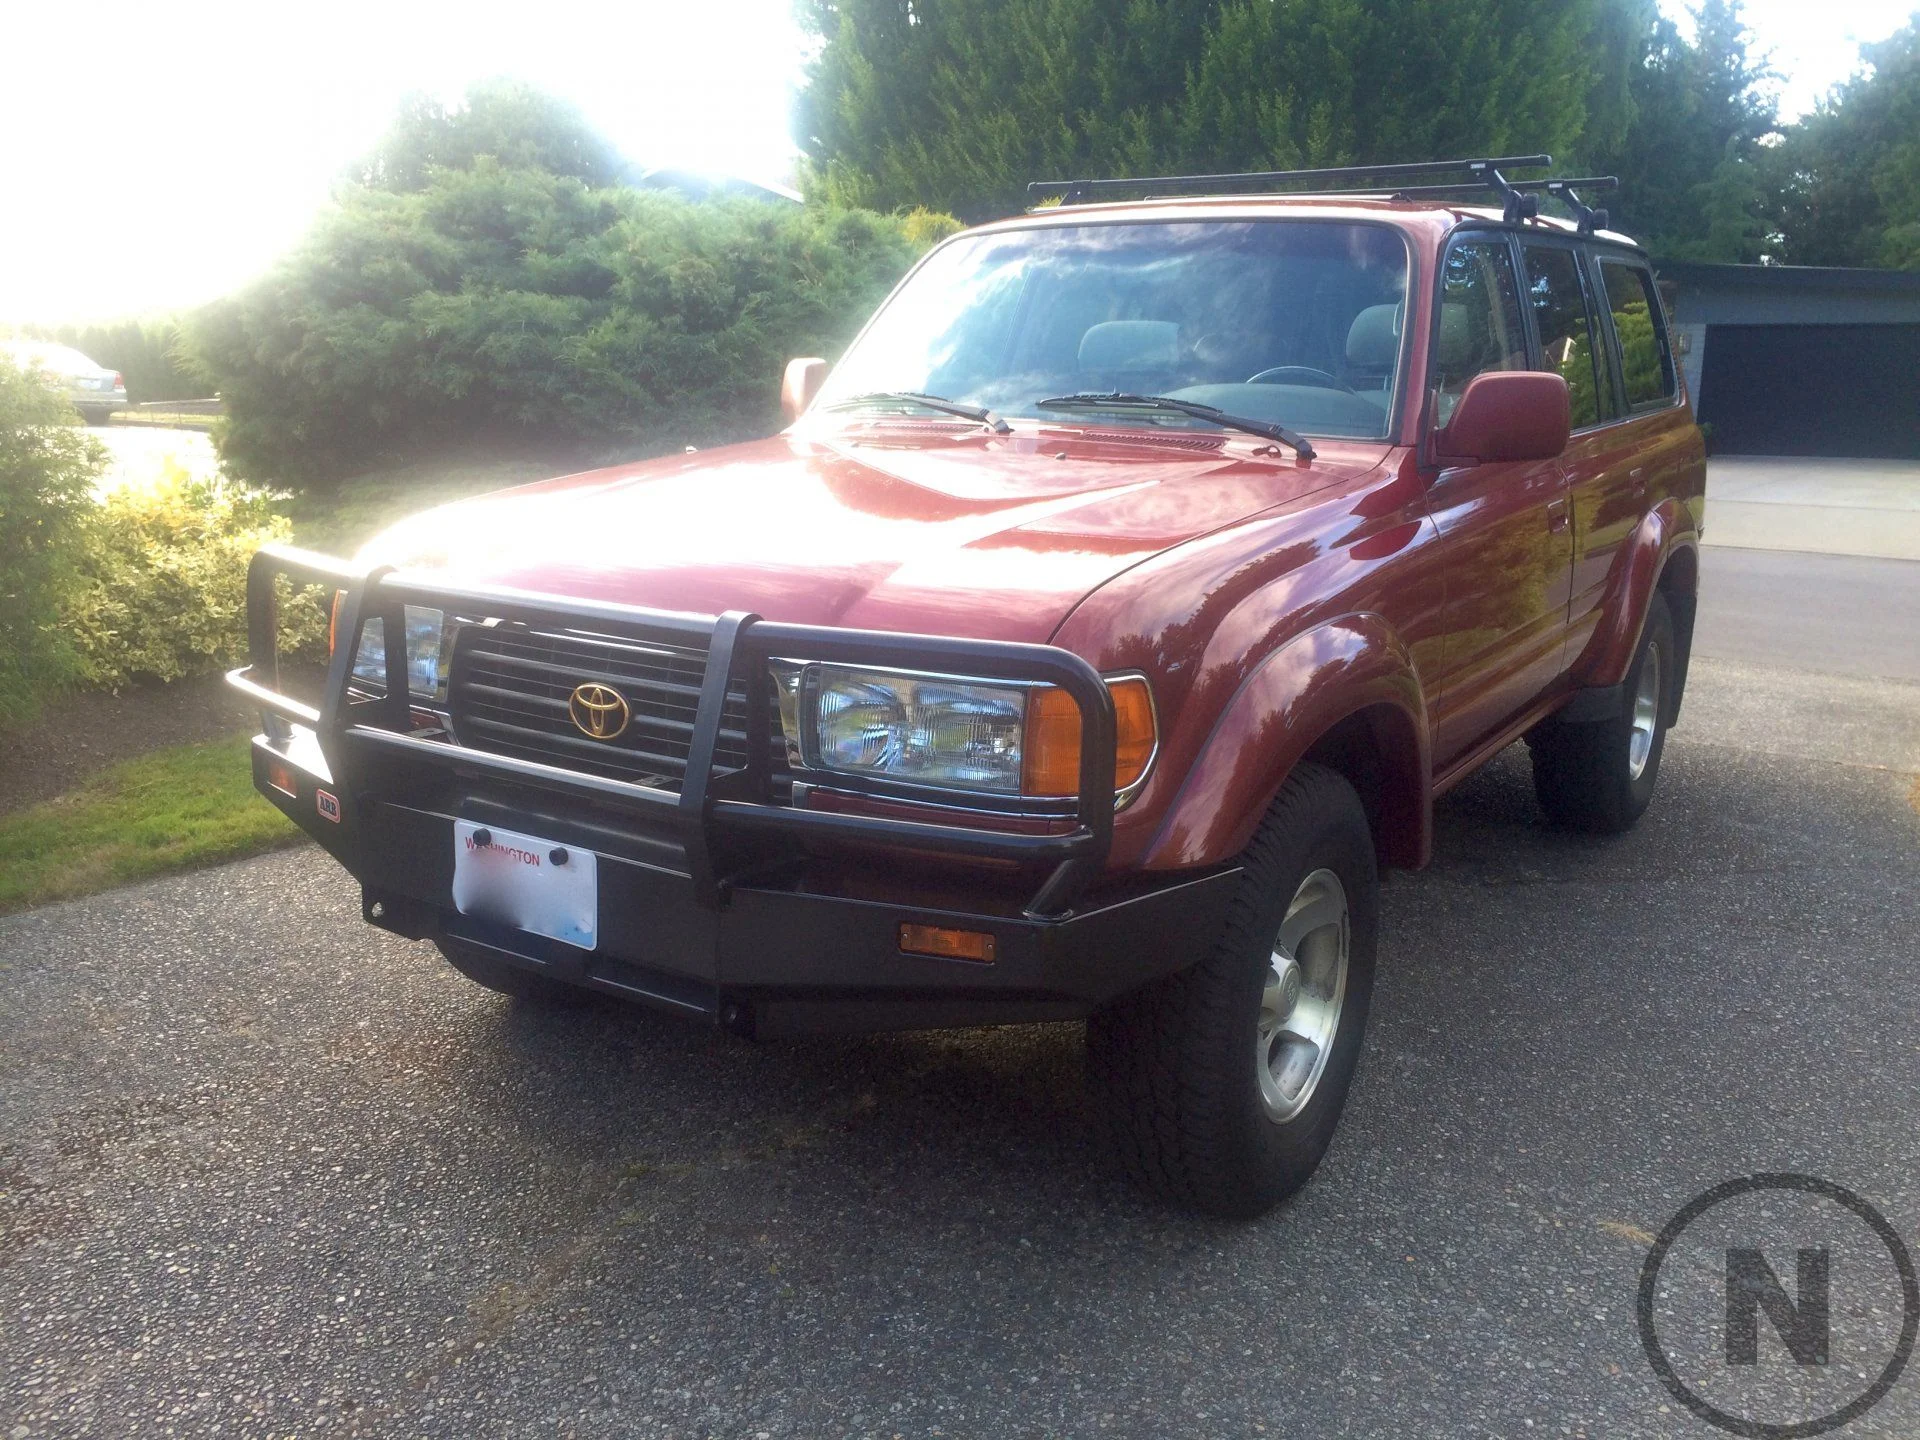
About a year ago I decided my old Volvo sedan wasn't helping me get to where I wanted to go or haul what I needed to haul (read: got a wheel in the air while going to a trailhead, no damage, but still not the best). Just so happened that a family friend was selling their FZJ80 for a good price and I couldn't pass it up. It came with a non-winch ARB bumper, running boards already off, a roof rack, and had been nicely maintained by the previous owners (I think 2).
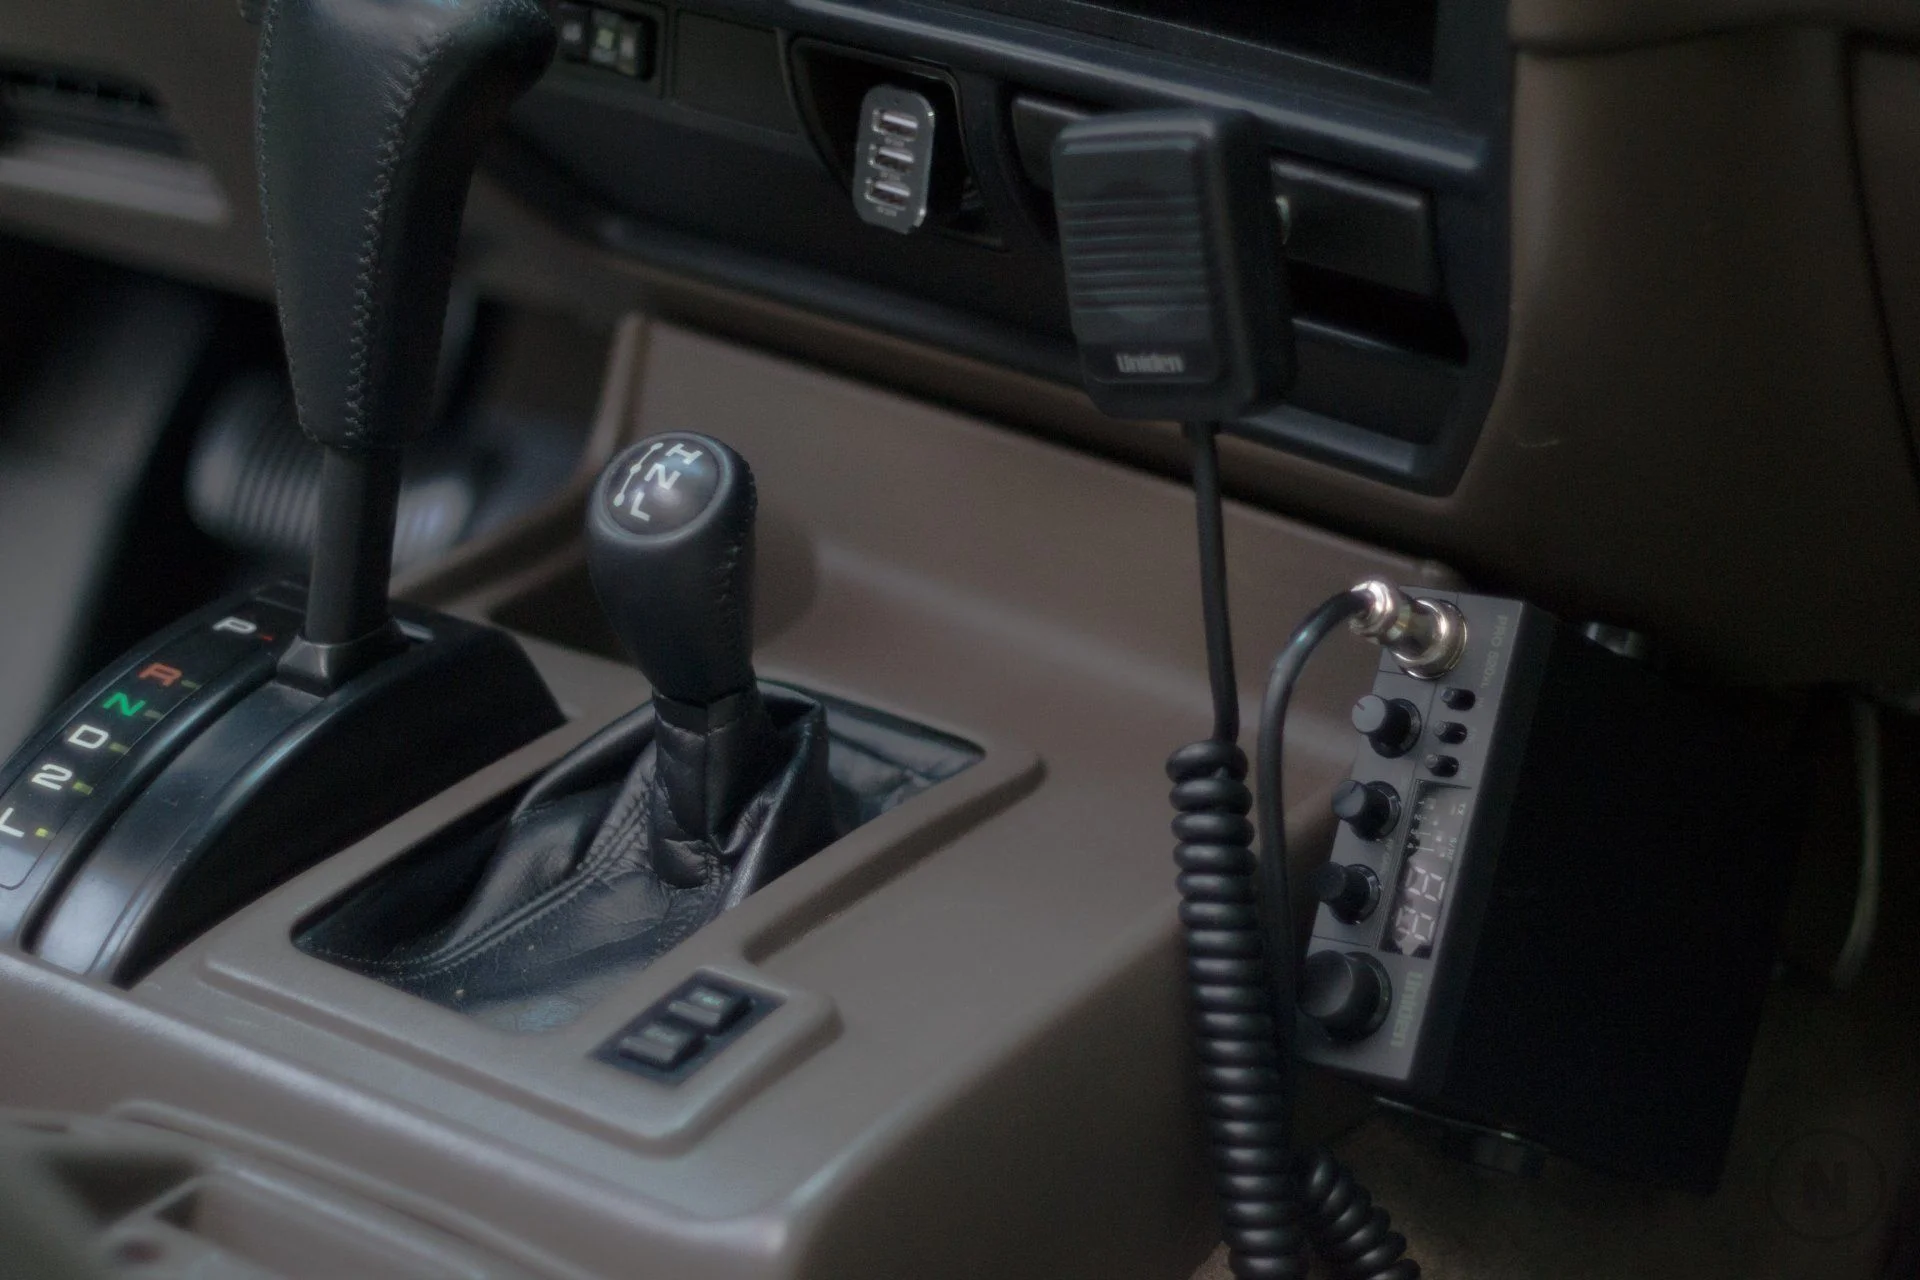
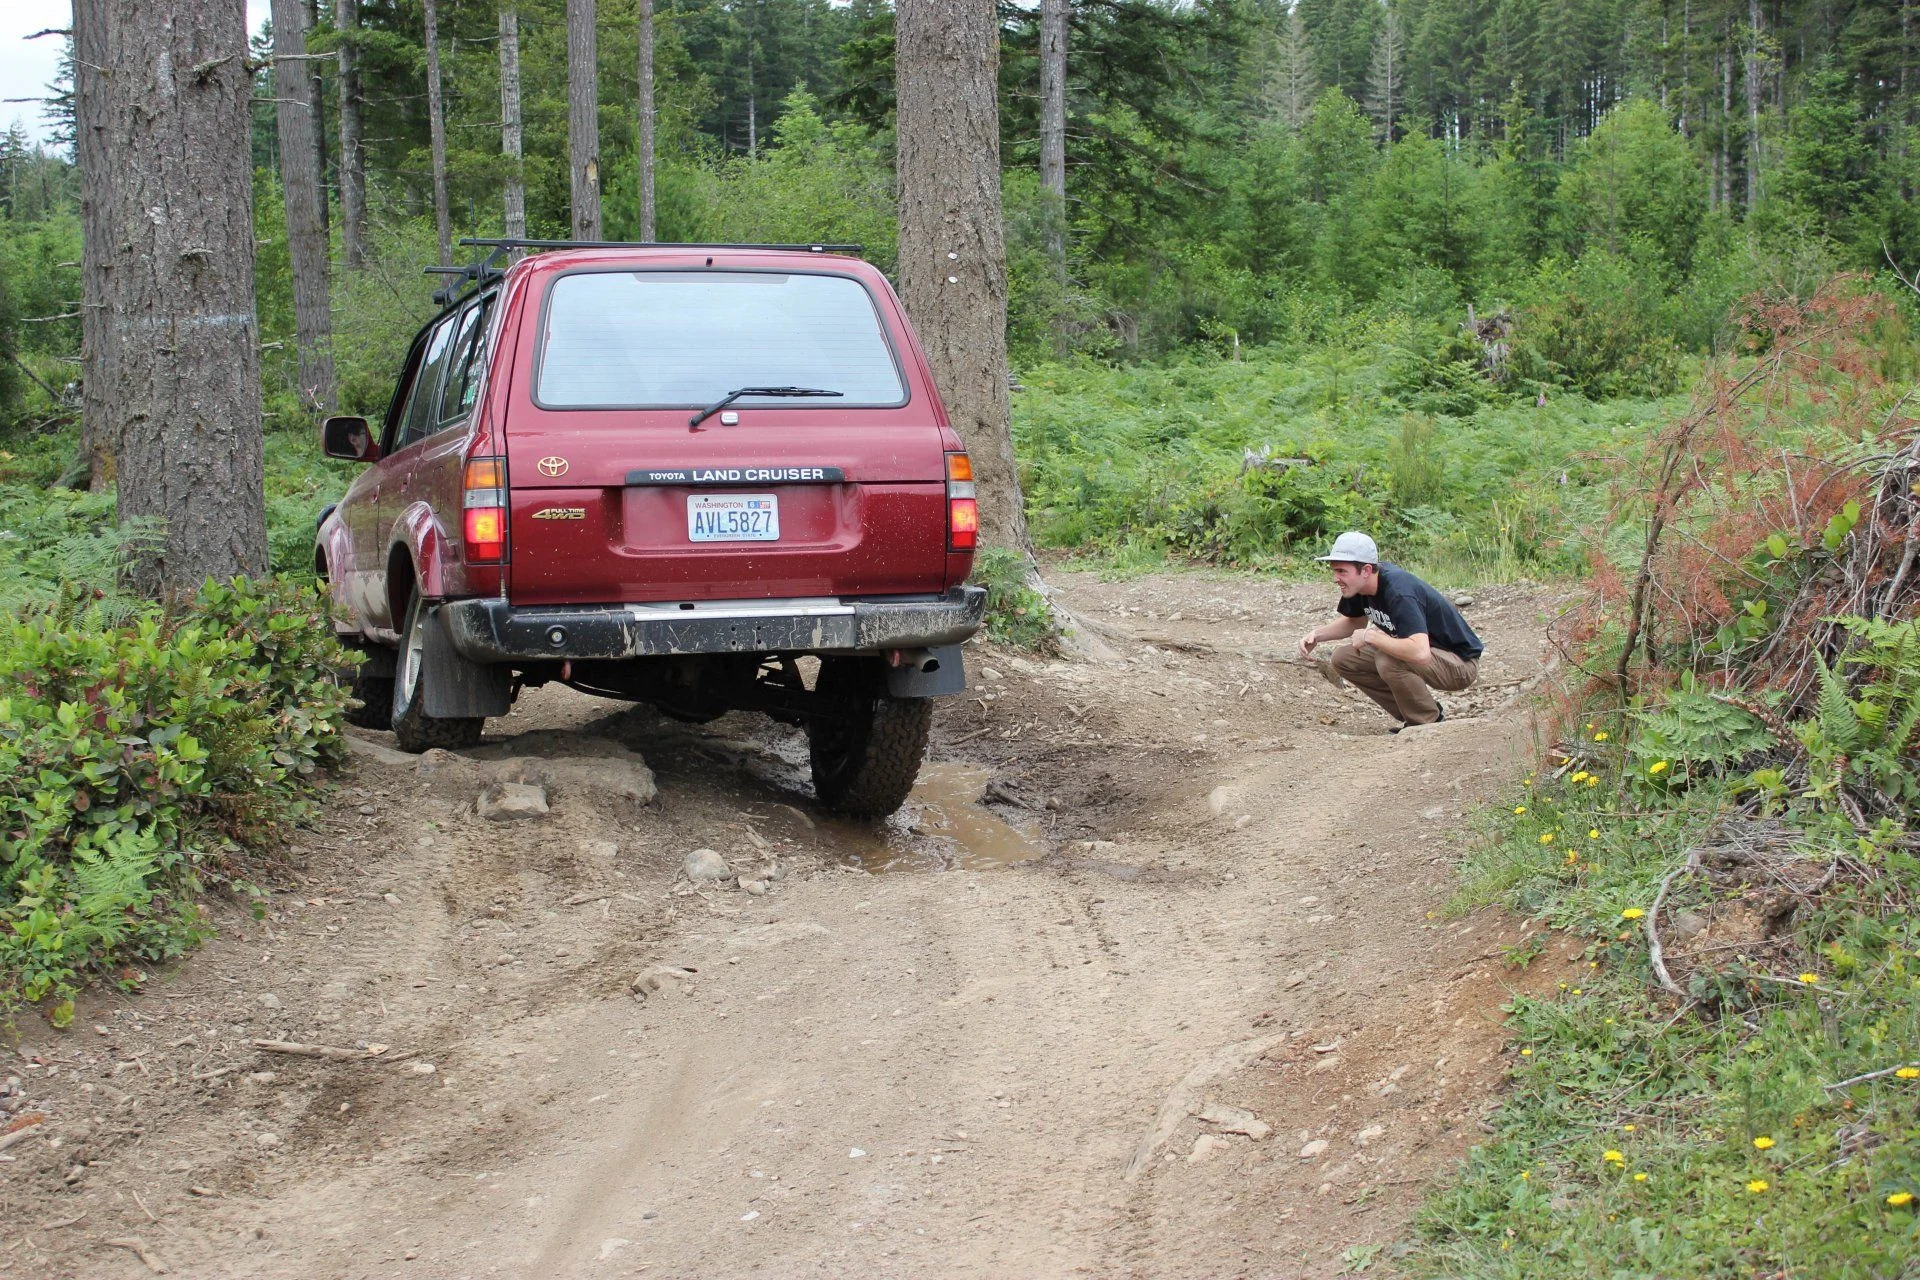
First thing on the books was some standard maintenance (fluids, distributor and plugs, etc. etc.) then I immediately took it on two long road trips, one to Smith Rock and Bend, OR from Seattle, the next to Rialto beach on the Olympic Peninsula. I figured it was made to go so that was the best way to test it, plus I just wanted to get it on some dirt. Then my wallet started getting lighter and things started growing off the car. First up was a Uniden 520 CB with a Firestick antenna up front, some recovery gear, Hella 500s, and some universal Rally Armor mud flaps that I had for the Volvo.
A mantra for the build quickly developed; K.I.S.S. I wanted a good, simple 4x4 that I could daily drive, but was still incredibly capable off road. One thing I love about these vehicles is they are the perfect mix of basic luxury and ruggedness. With that, I'll go through where the cruiser is at right now.
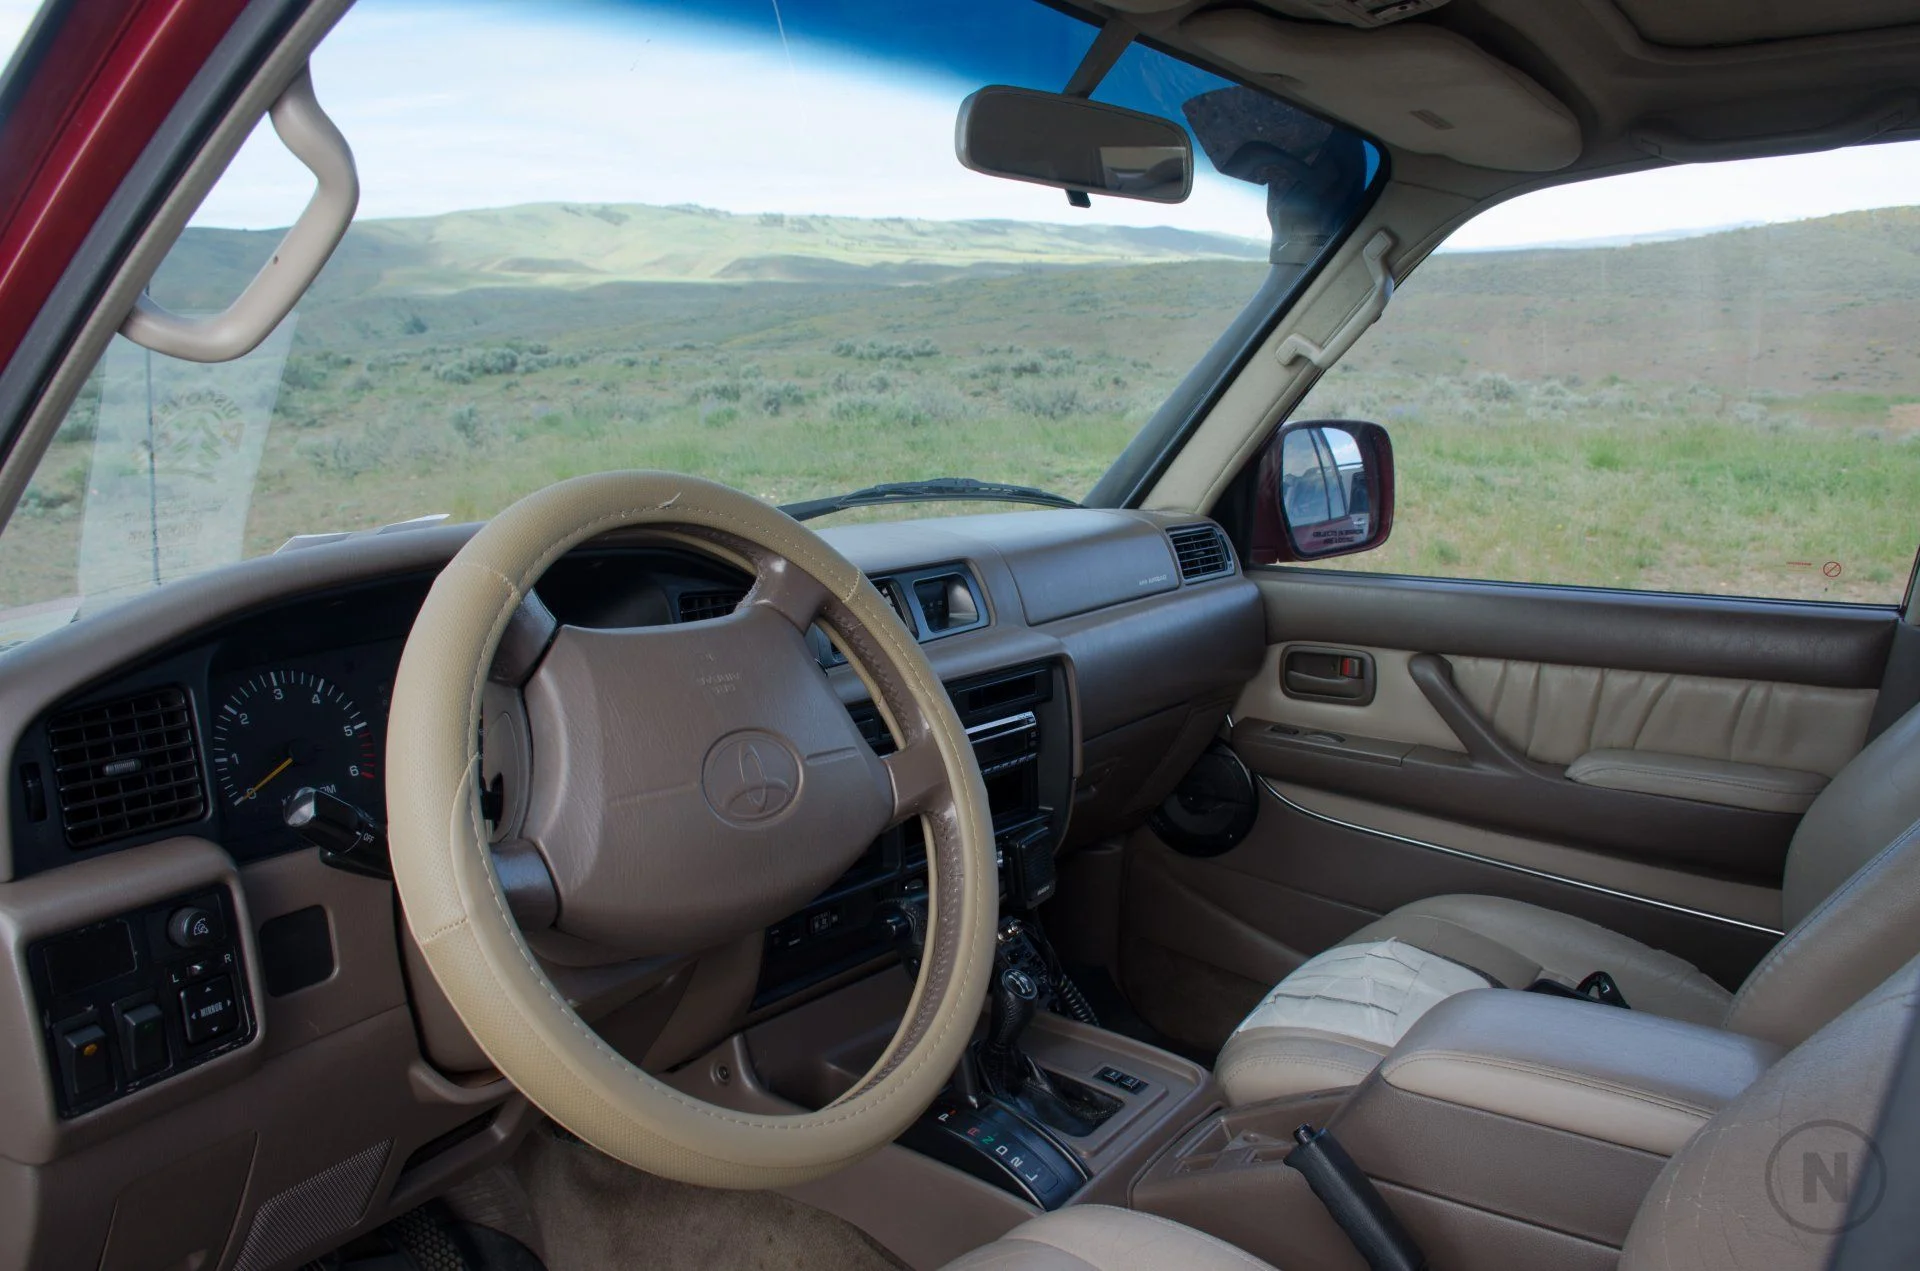
Interior: I kept the interior as stock looking as possible, and started by taking off the "wood" trim. The CB is mounted to a pre existing interior screw (holds surprisingly well), and sought out switches that looked OEM (far left of photo below). I added the @bhicks cup holder (which is rad) and used sail tape over a rip in the passenger seat (sail tape works for everything, at least to a sailor). Topped it all of with a CDL switch and Weather Tech mats.
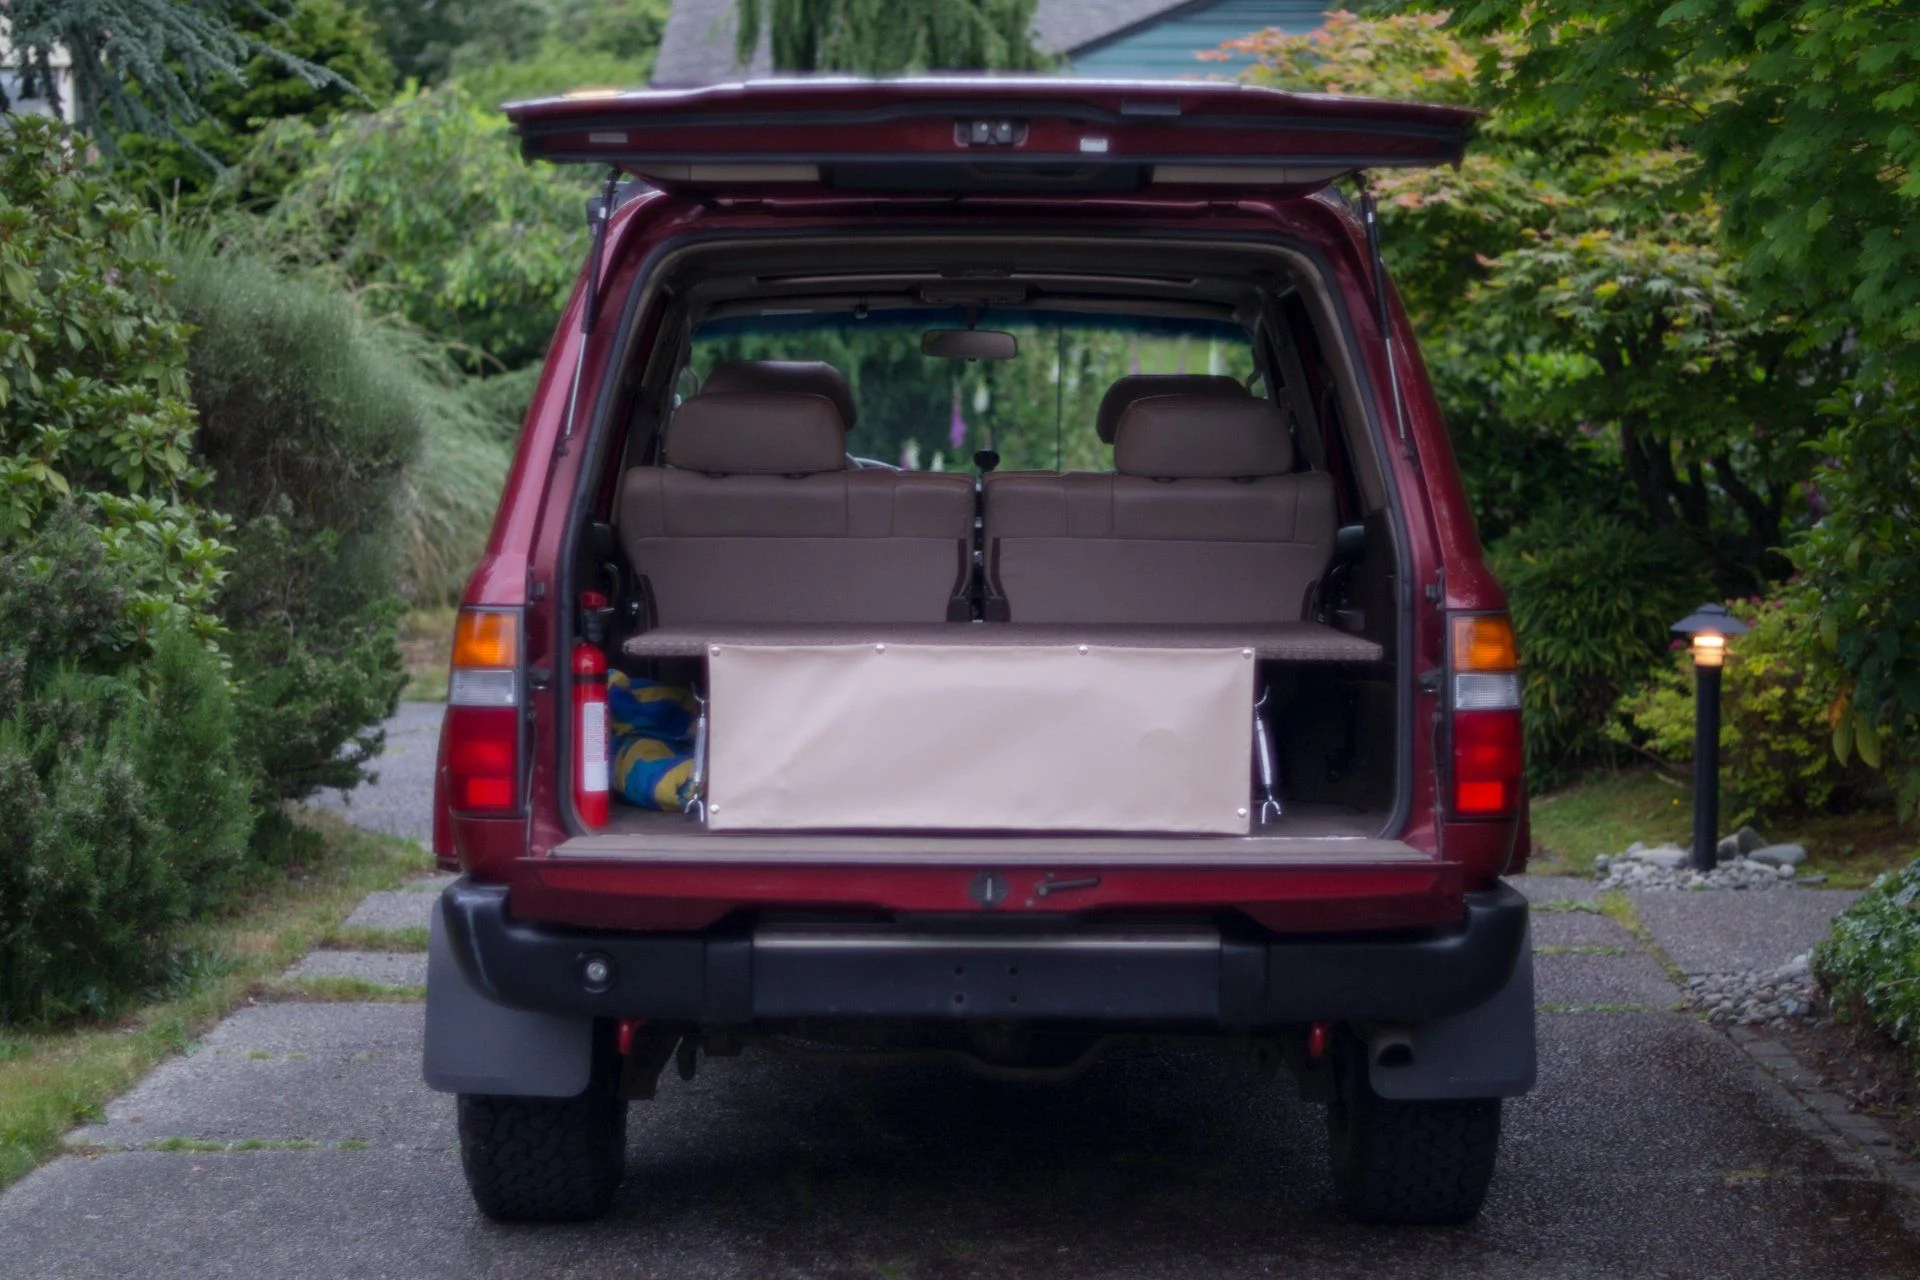
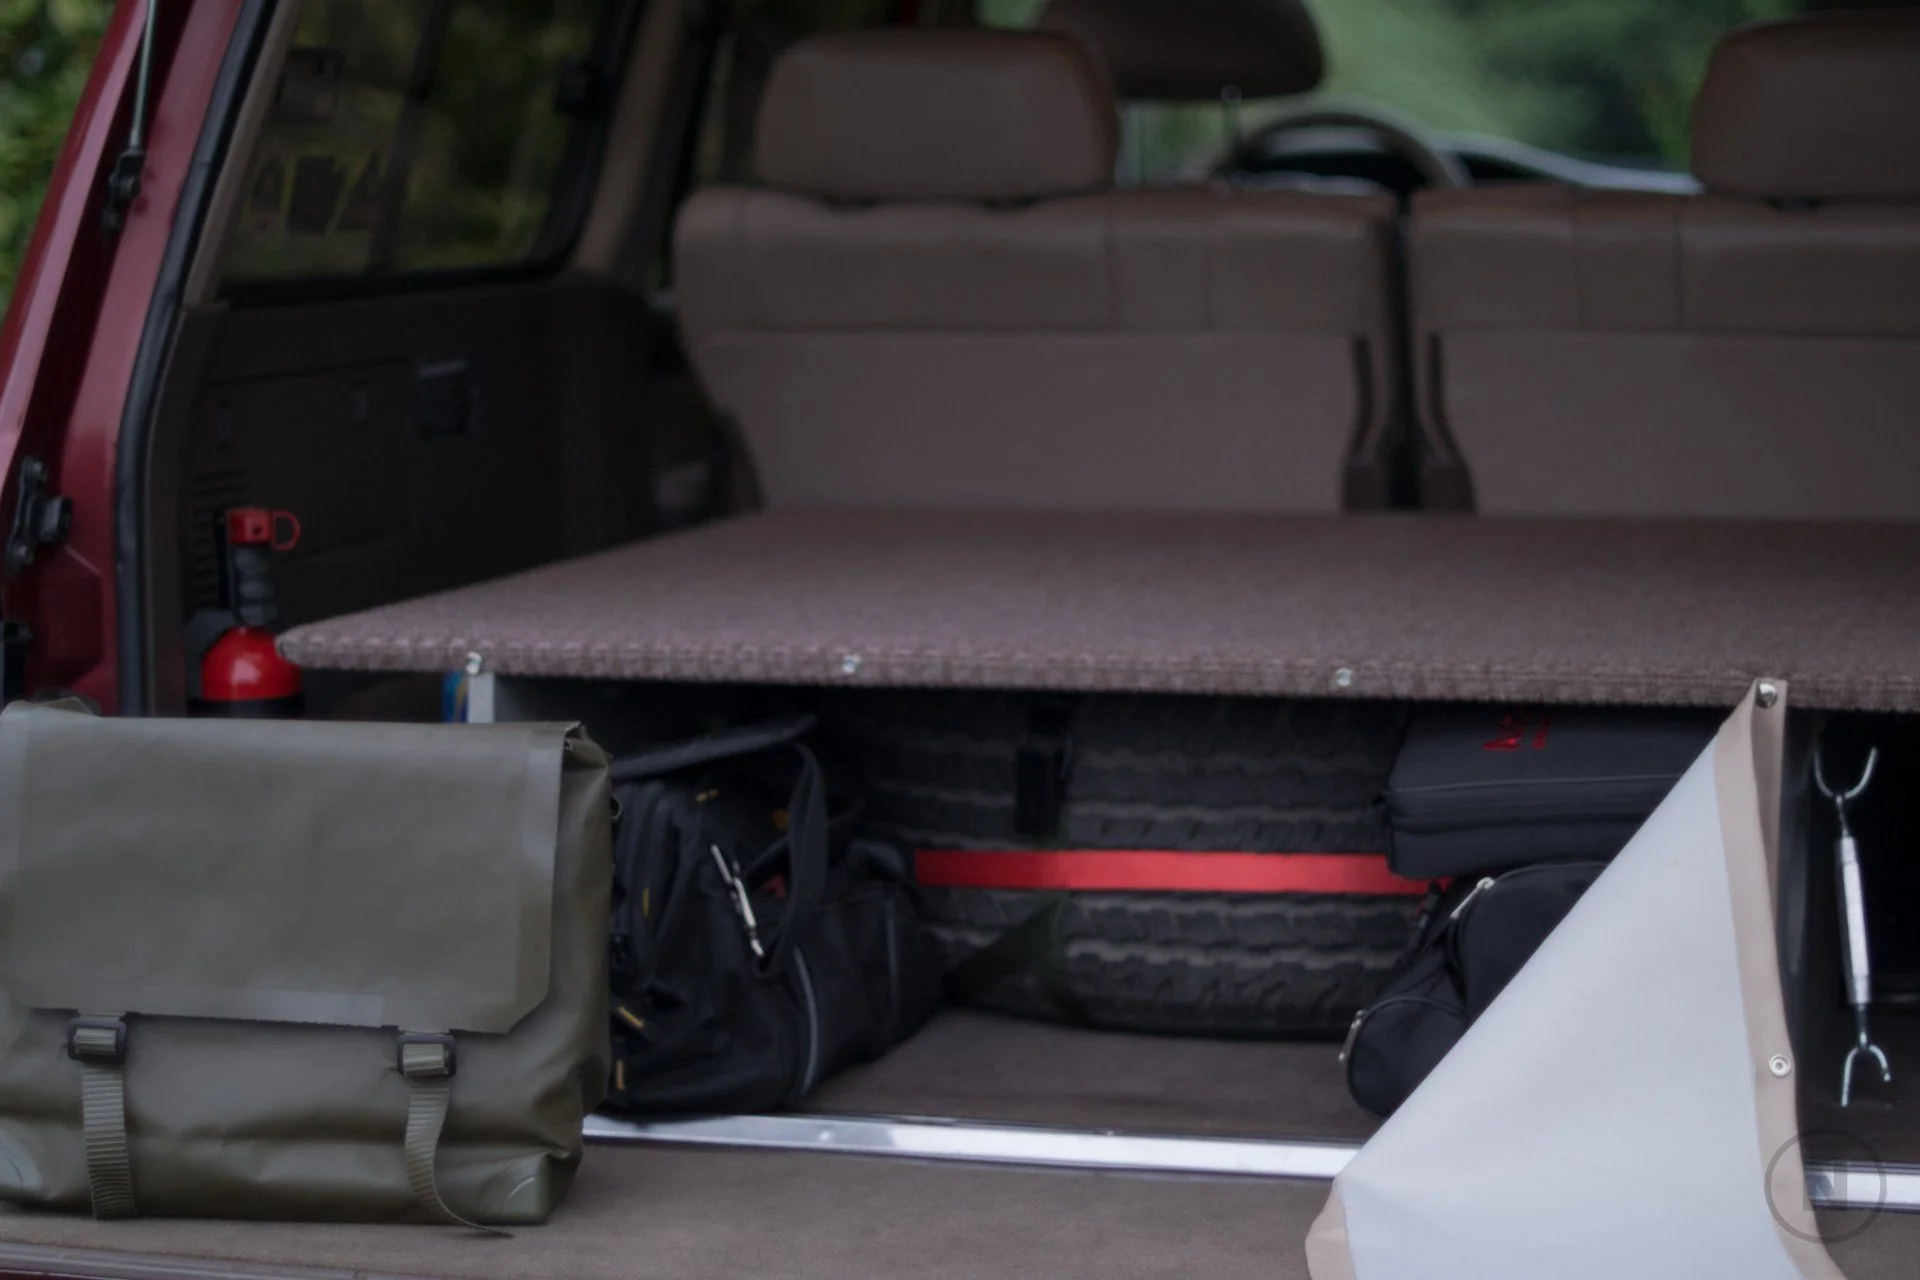
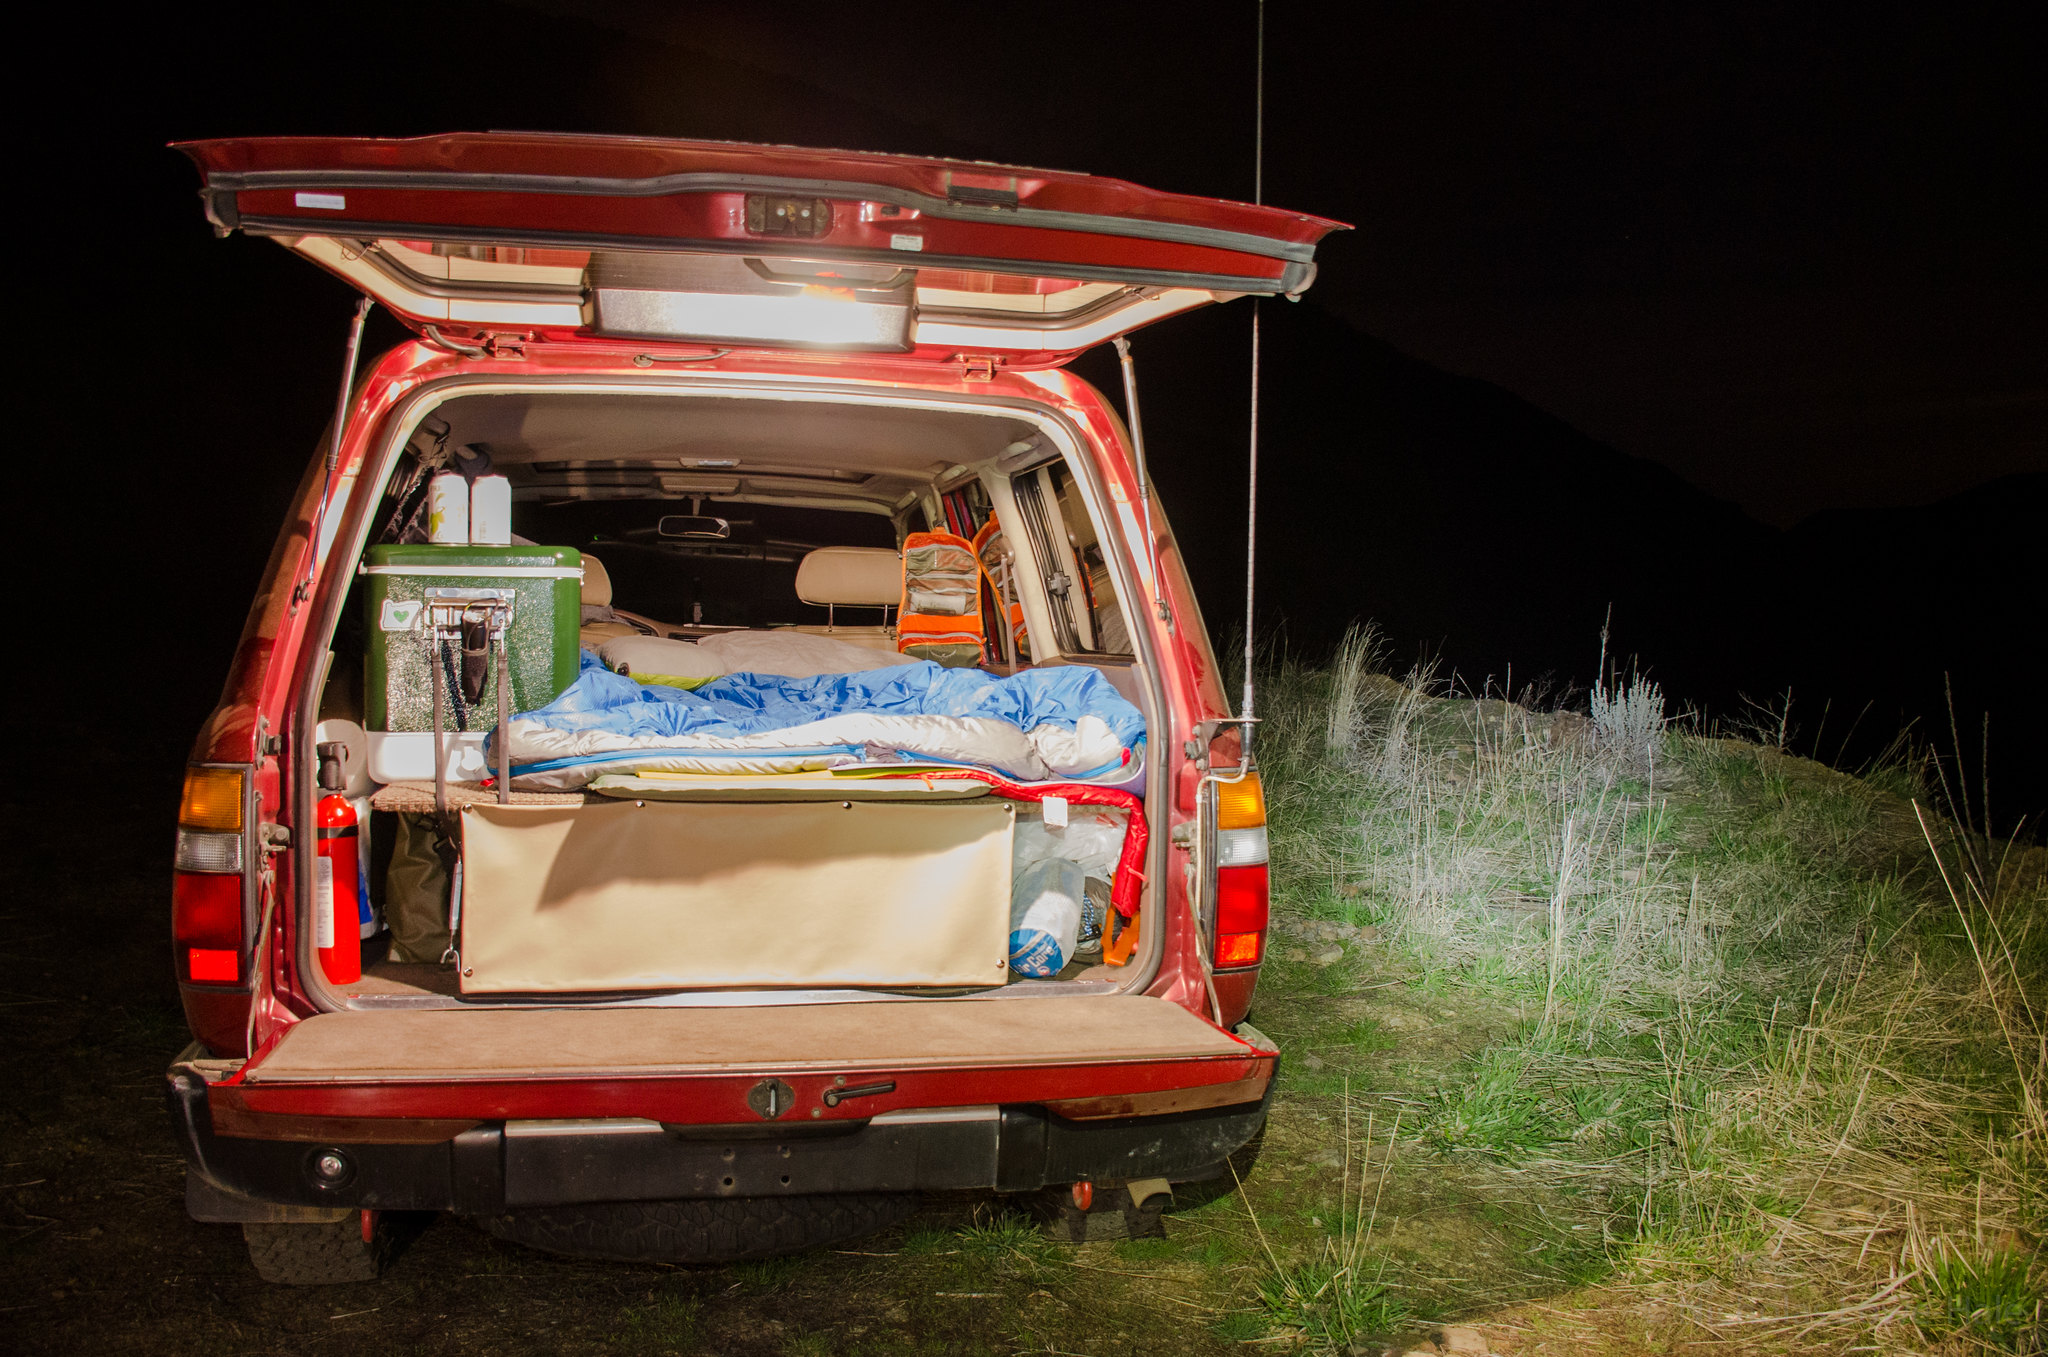
I also added a platform to the back to secure the spare. I wanted to get it up out of the way completely, but didn't want it on the back. All my tools and recovery gear fit in the space as well with a cover that snaps on.
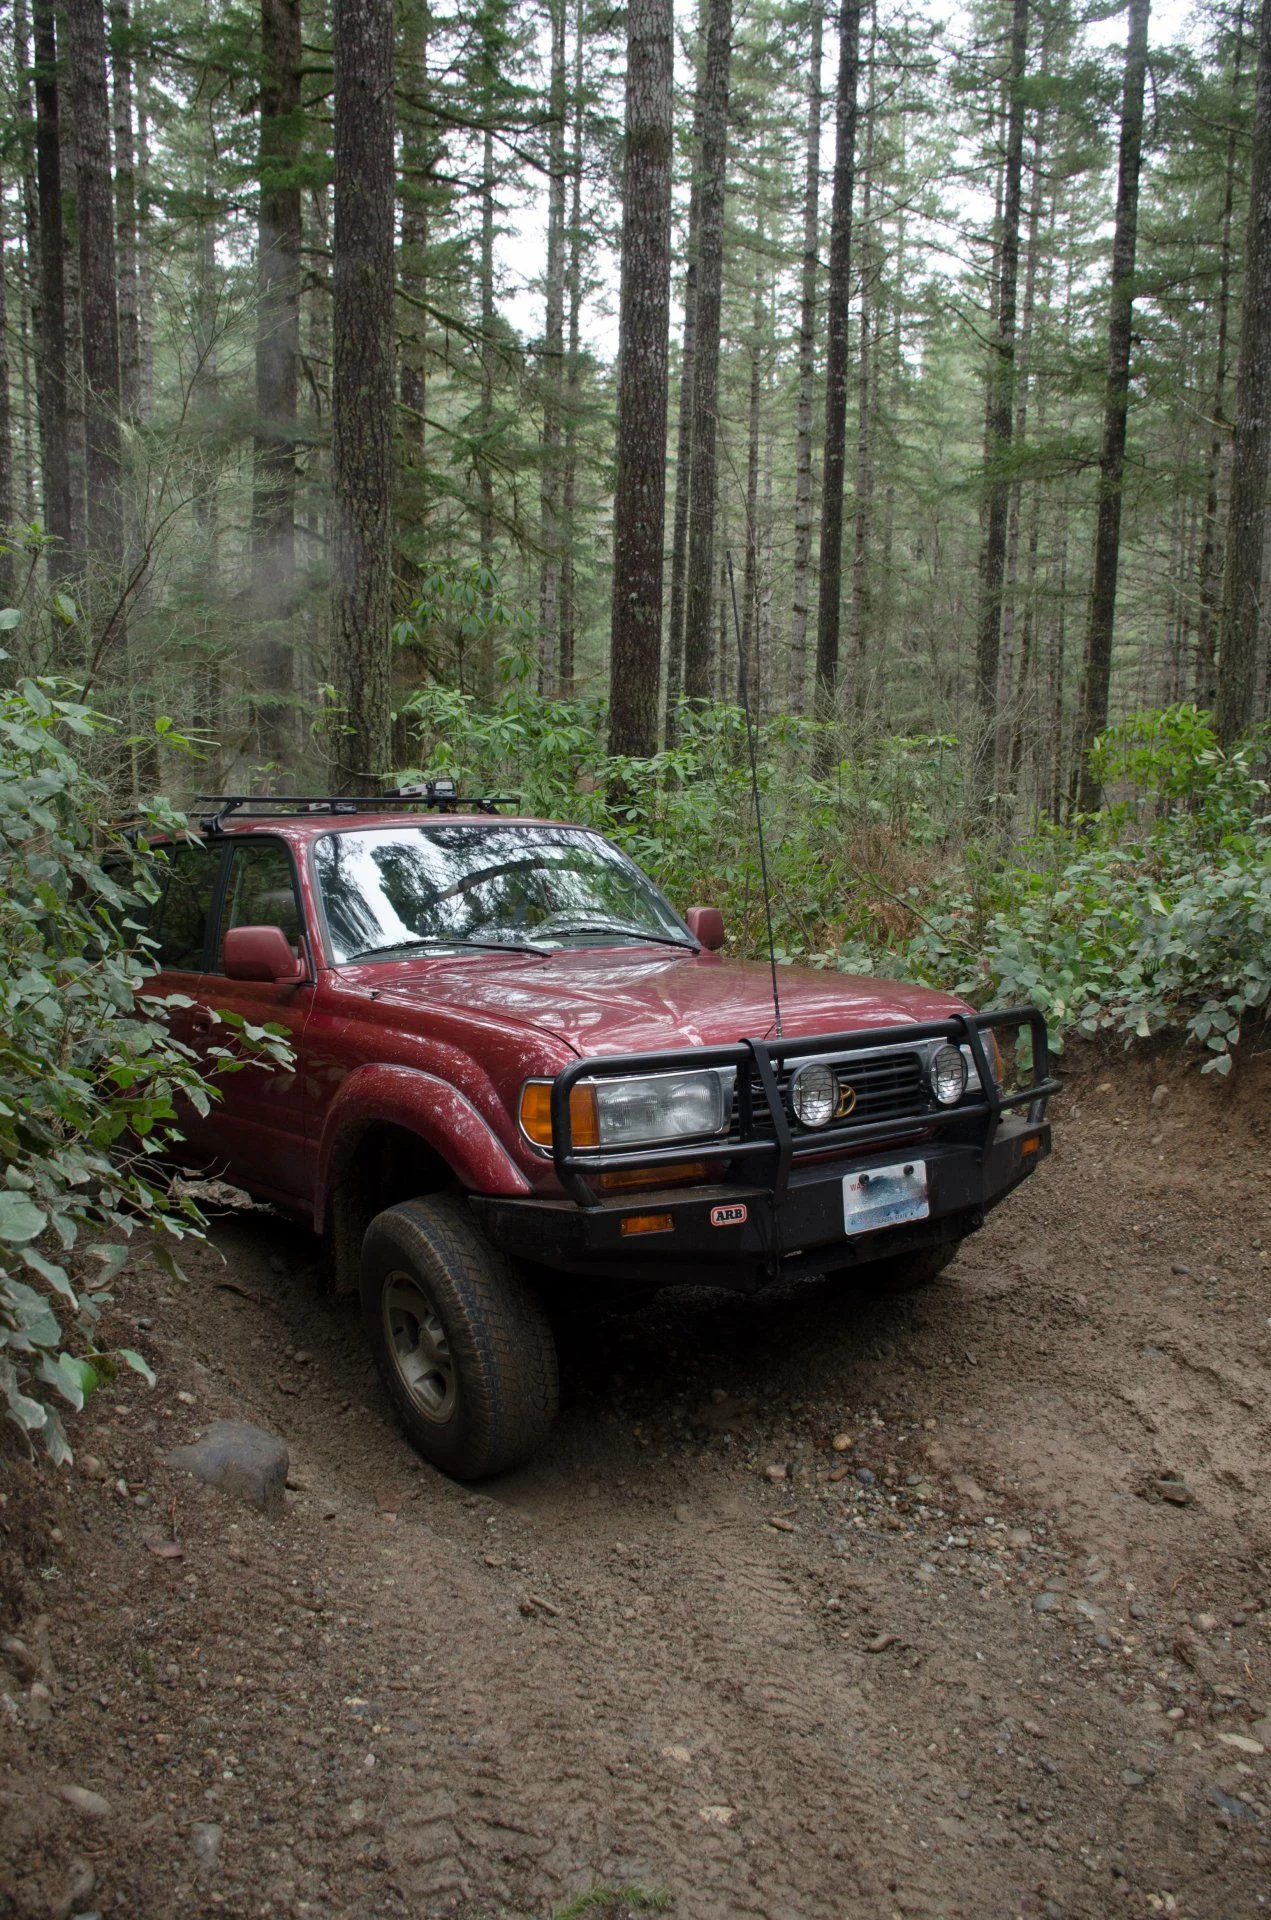
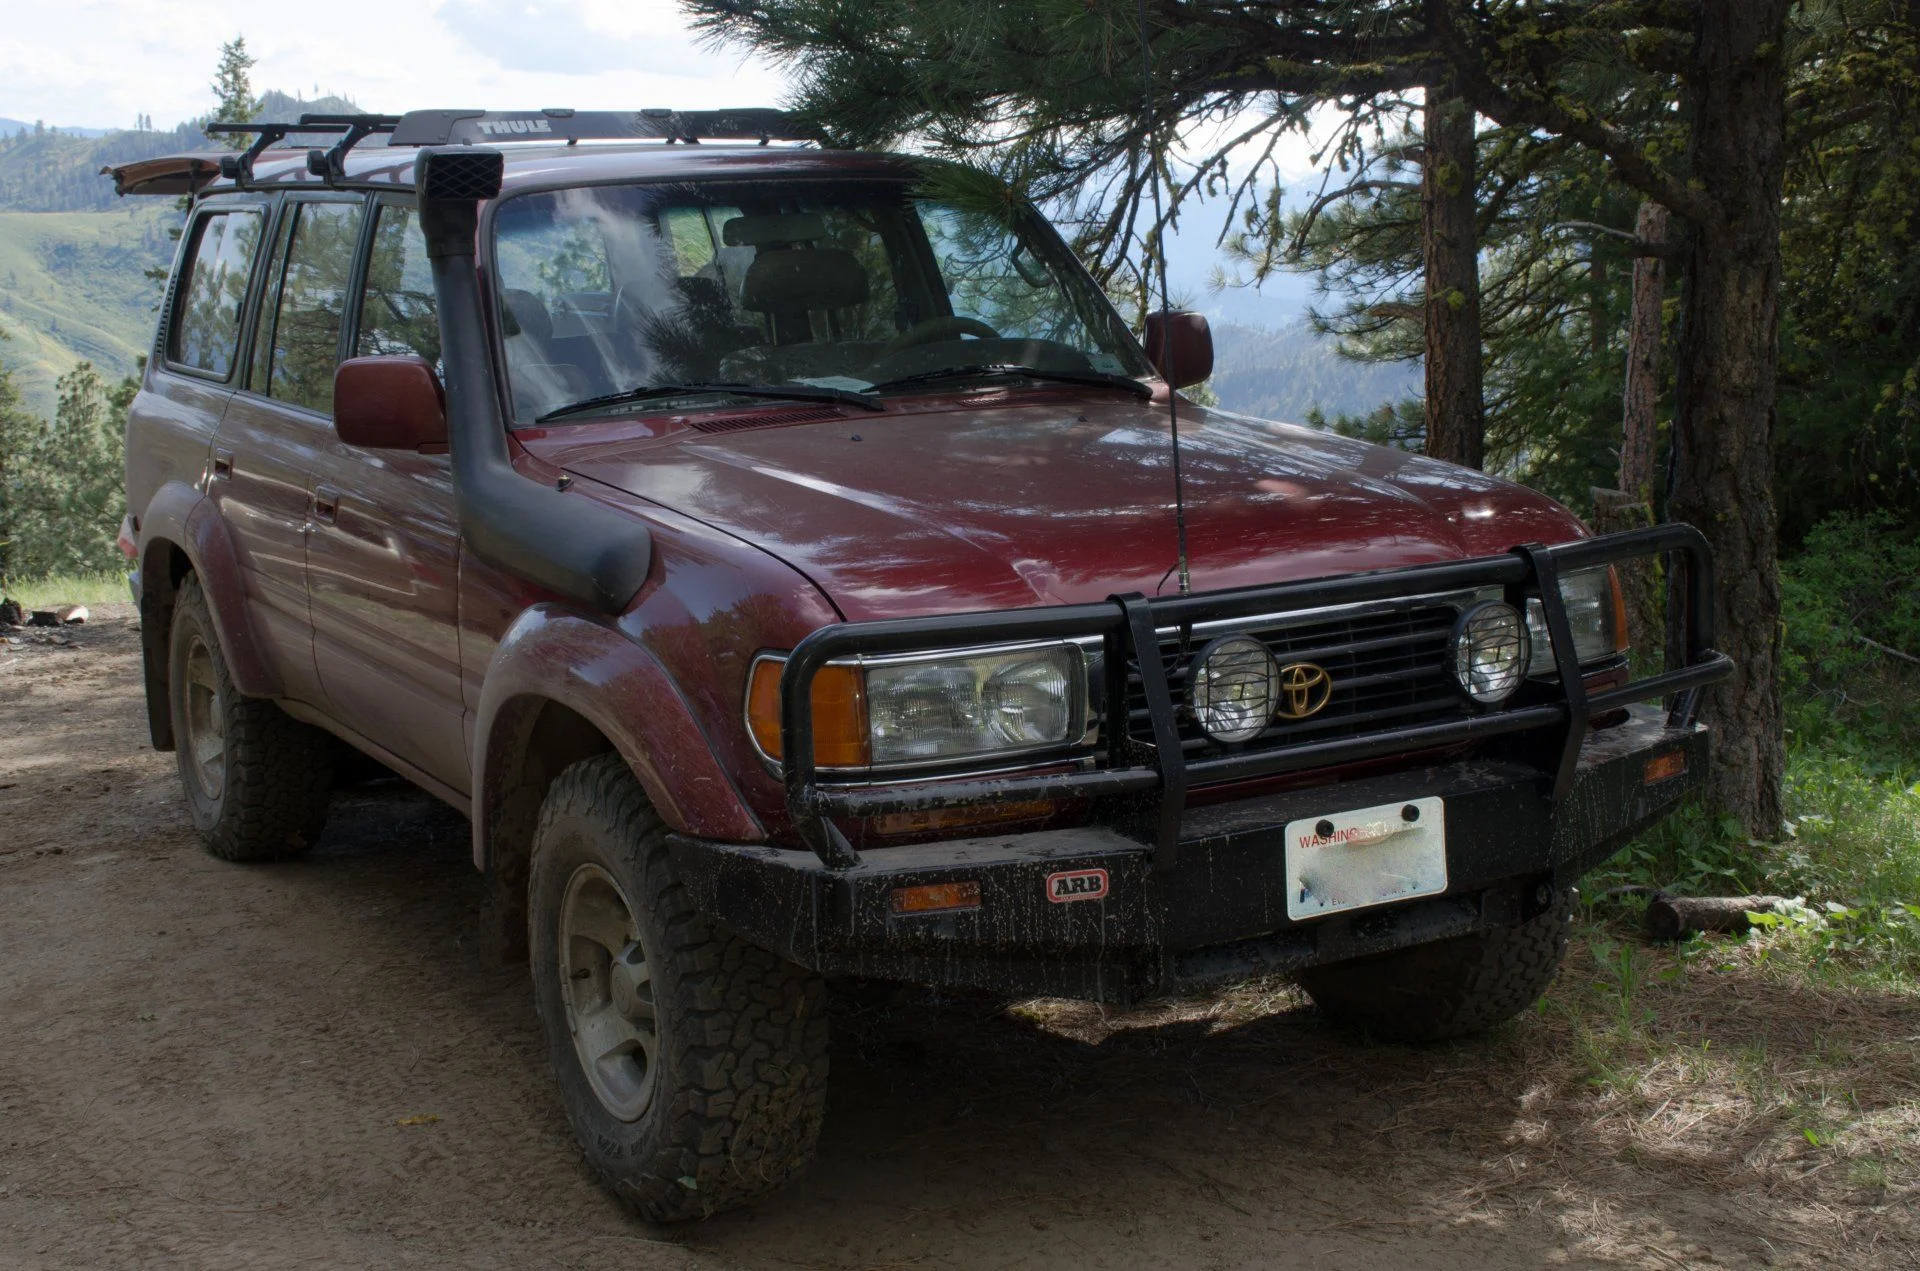
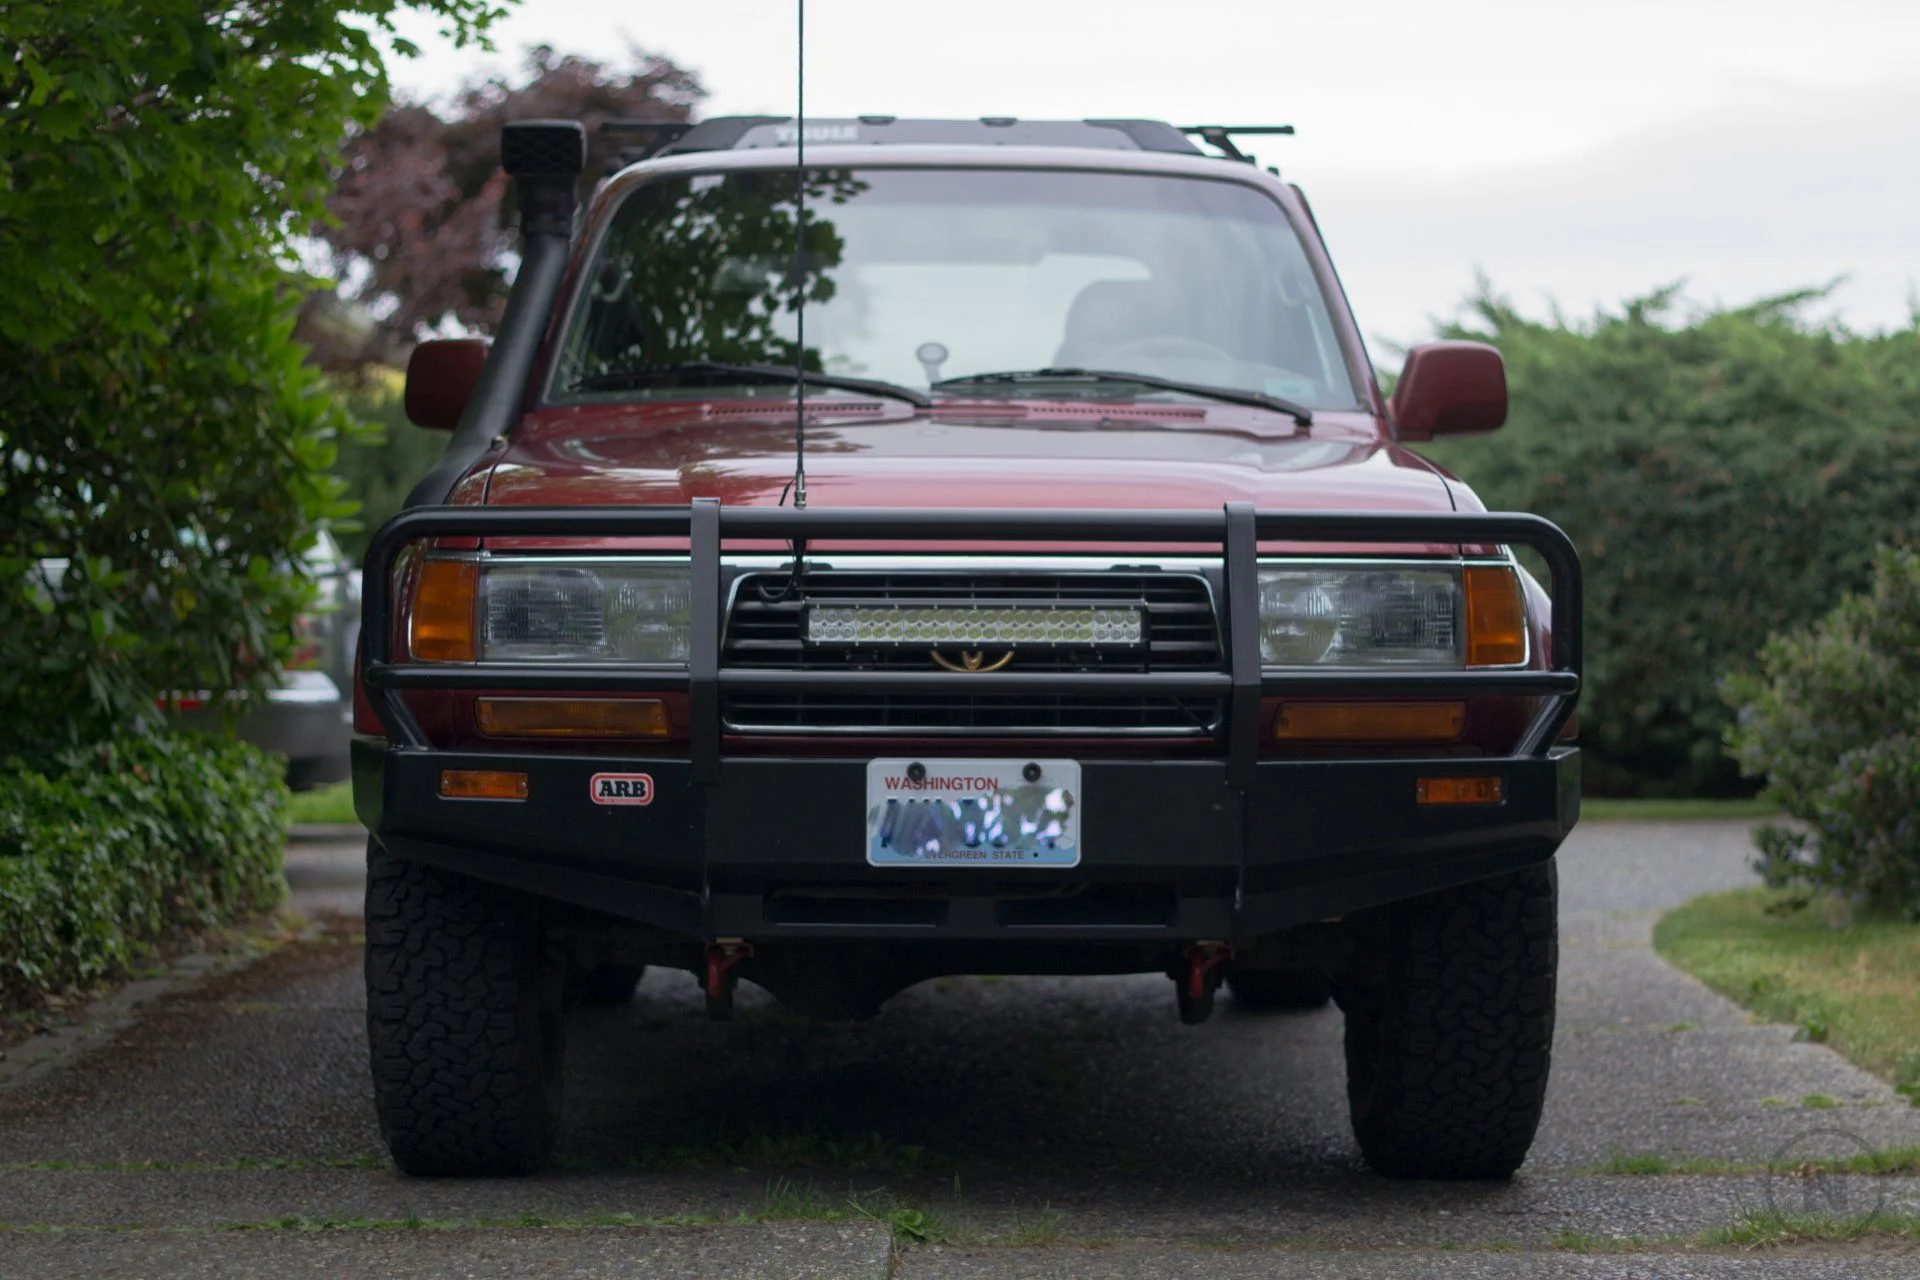
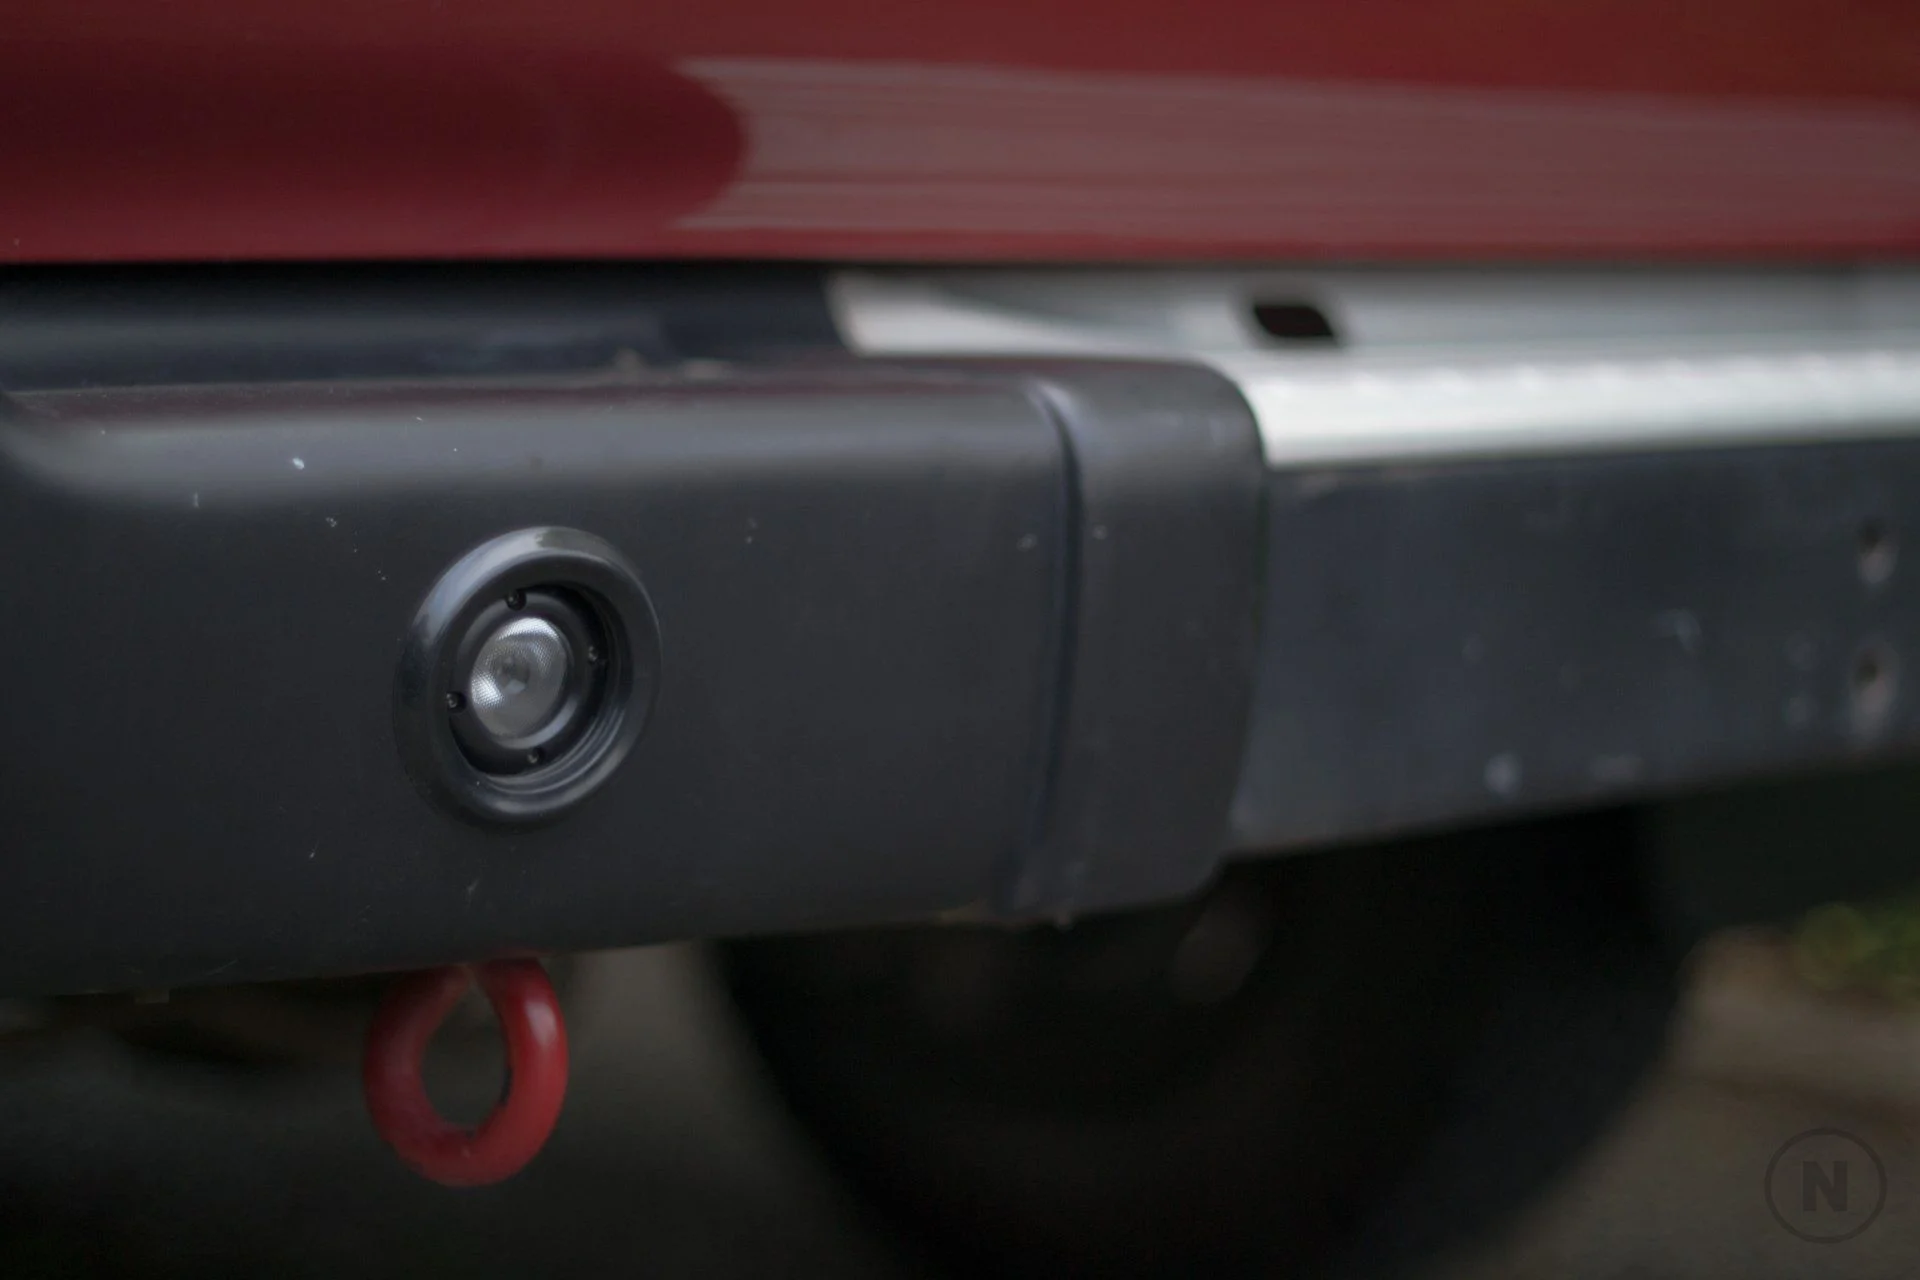
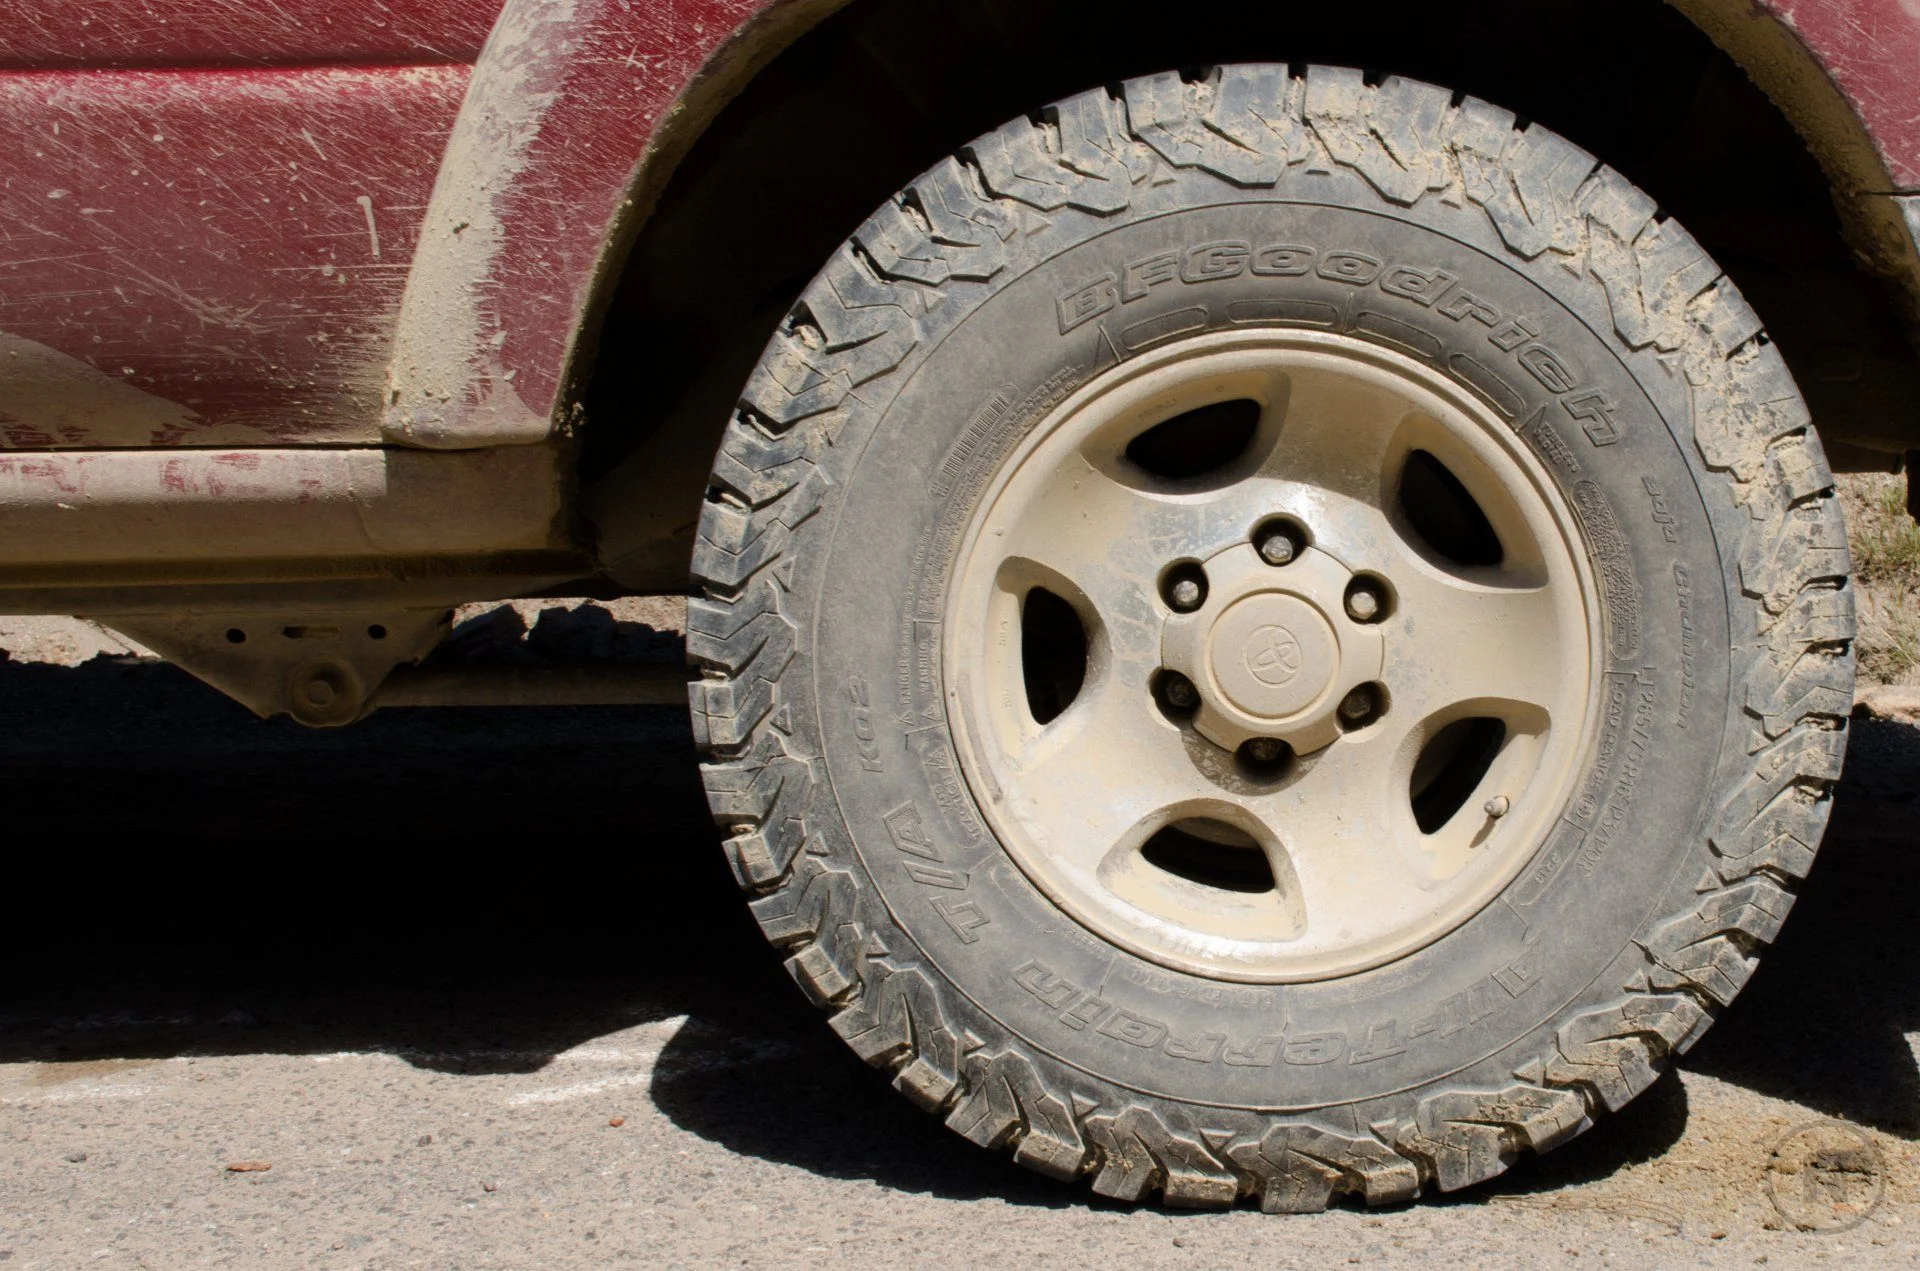
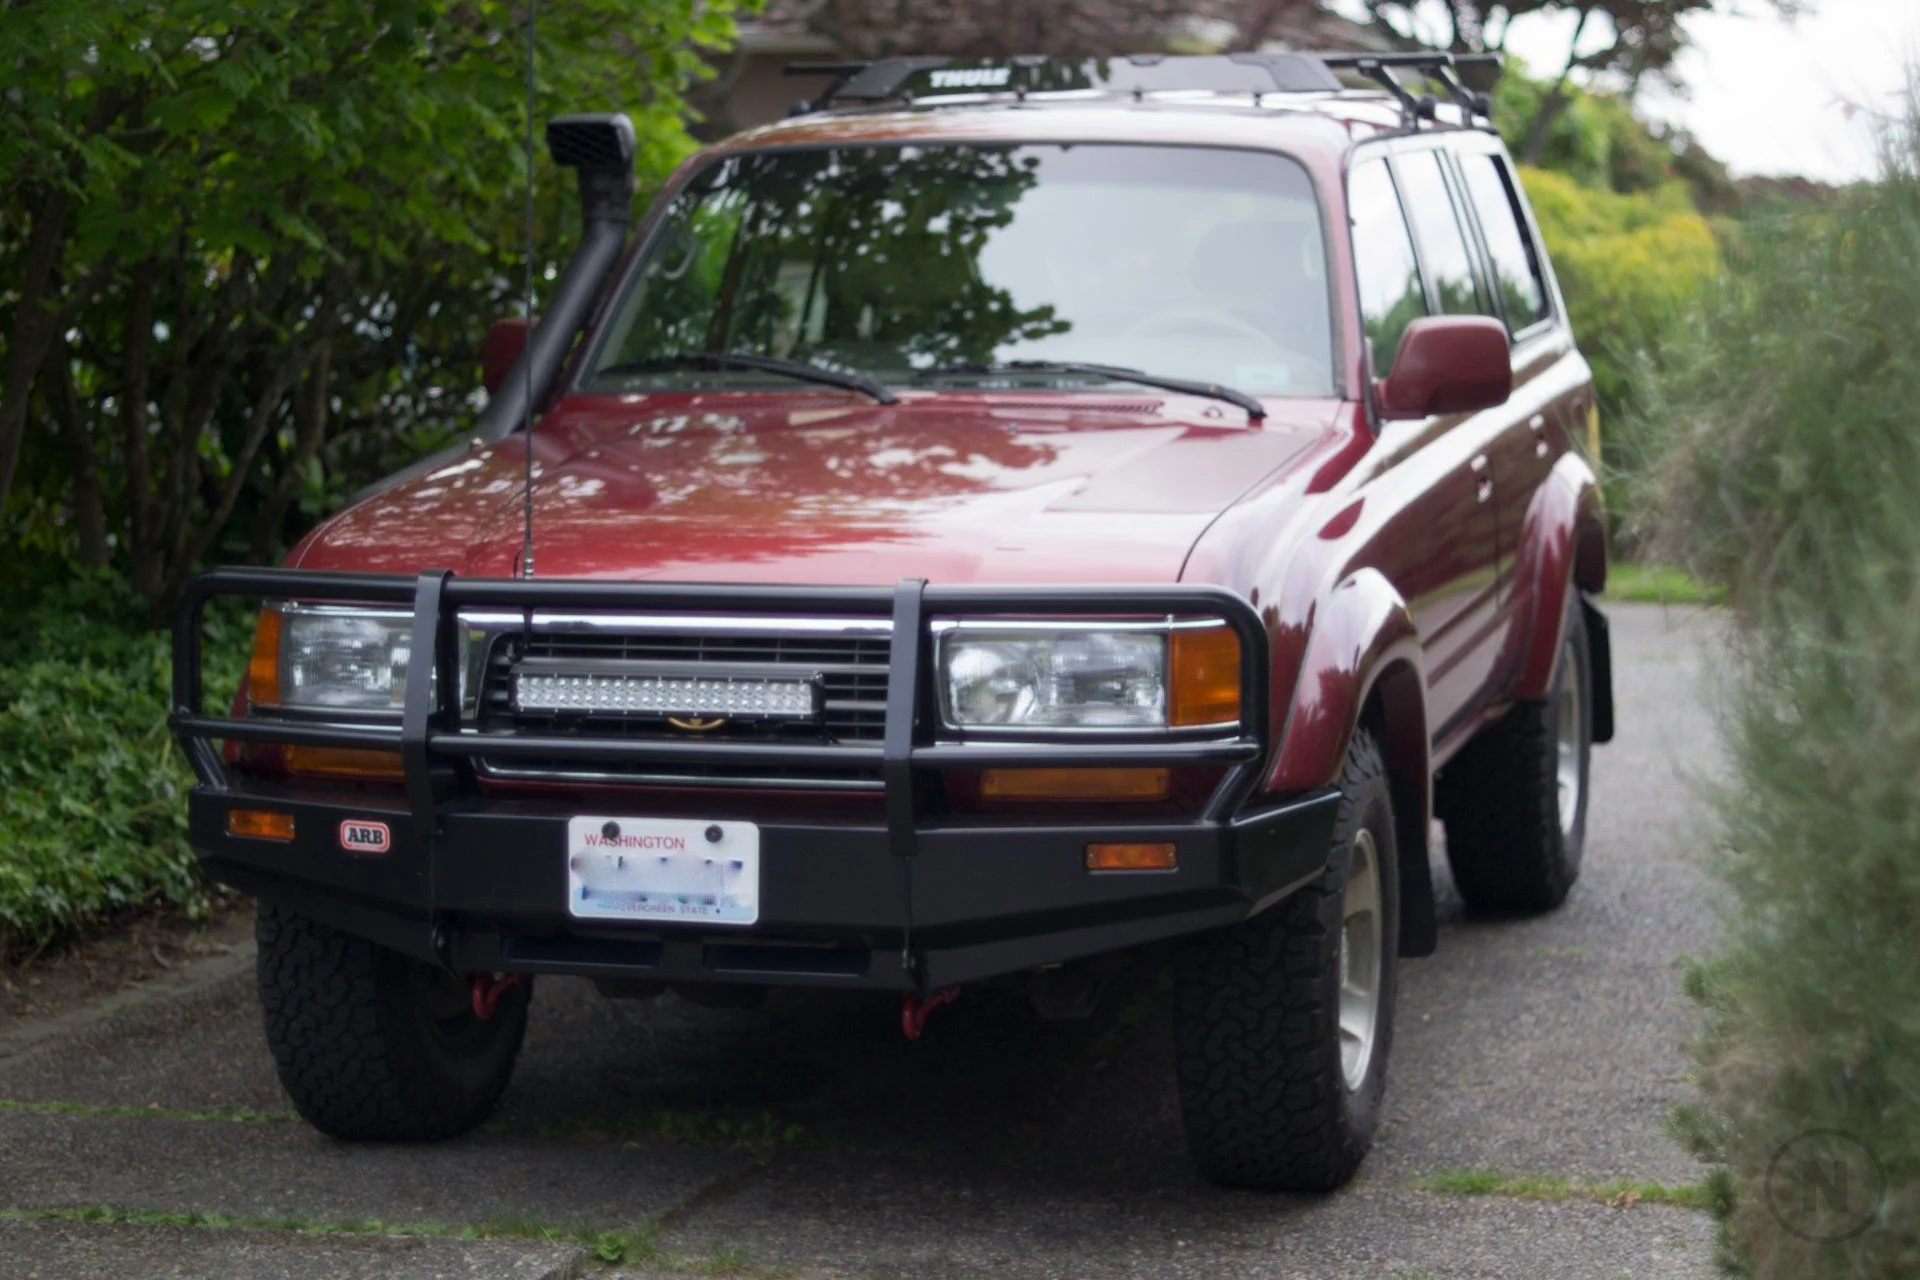
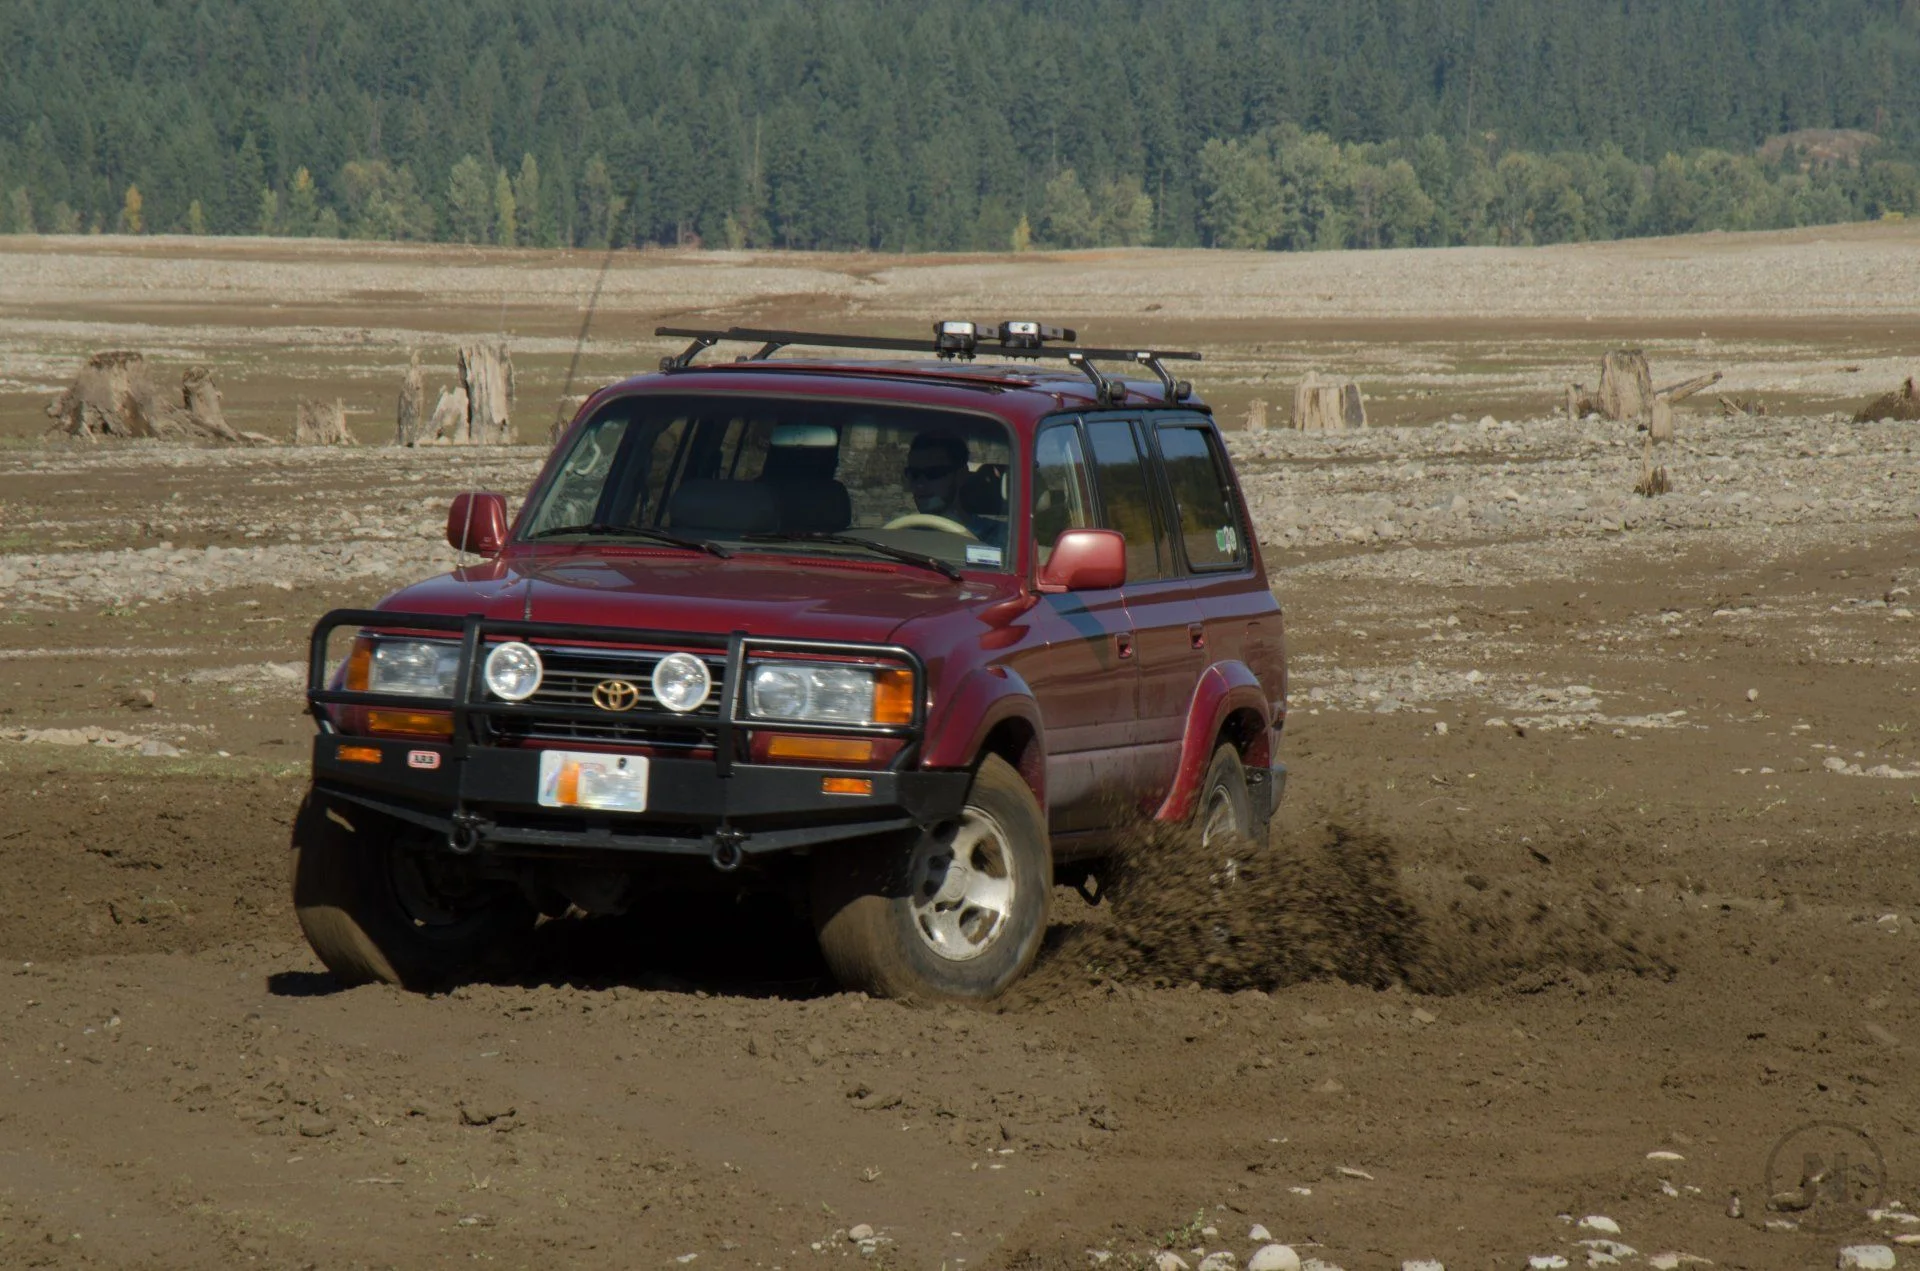
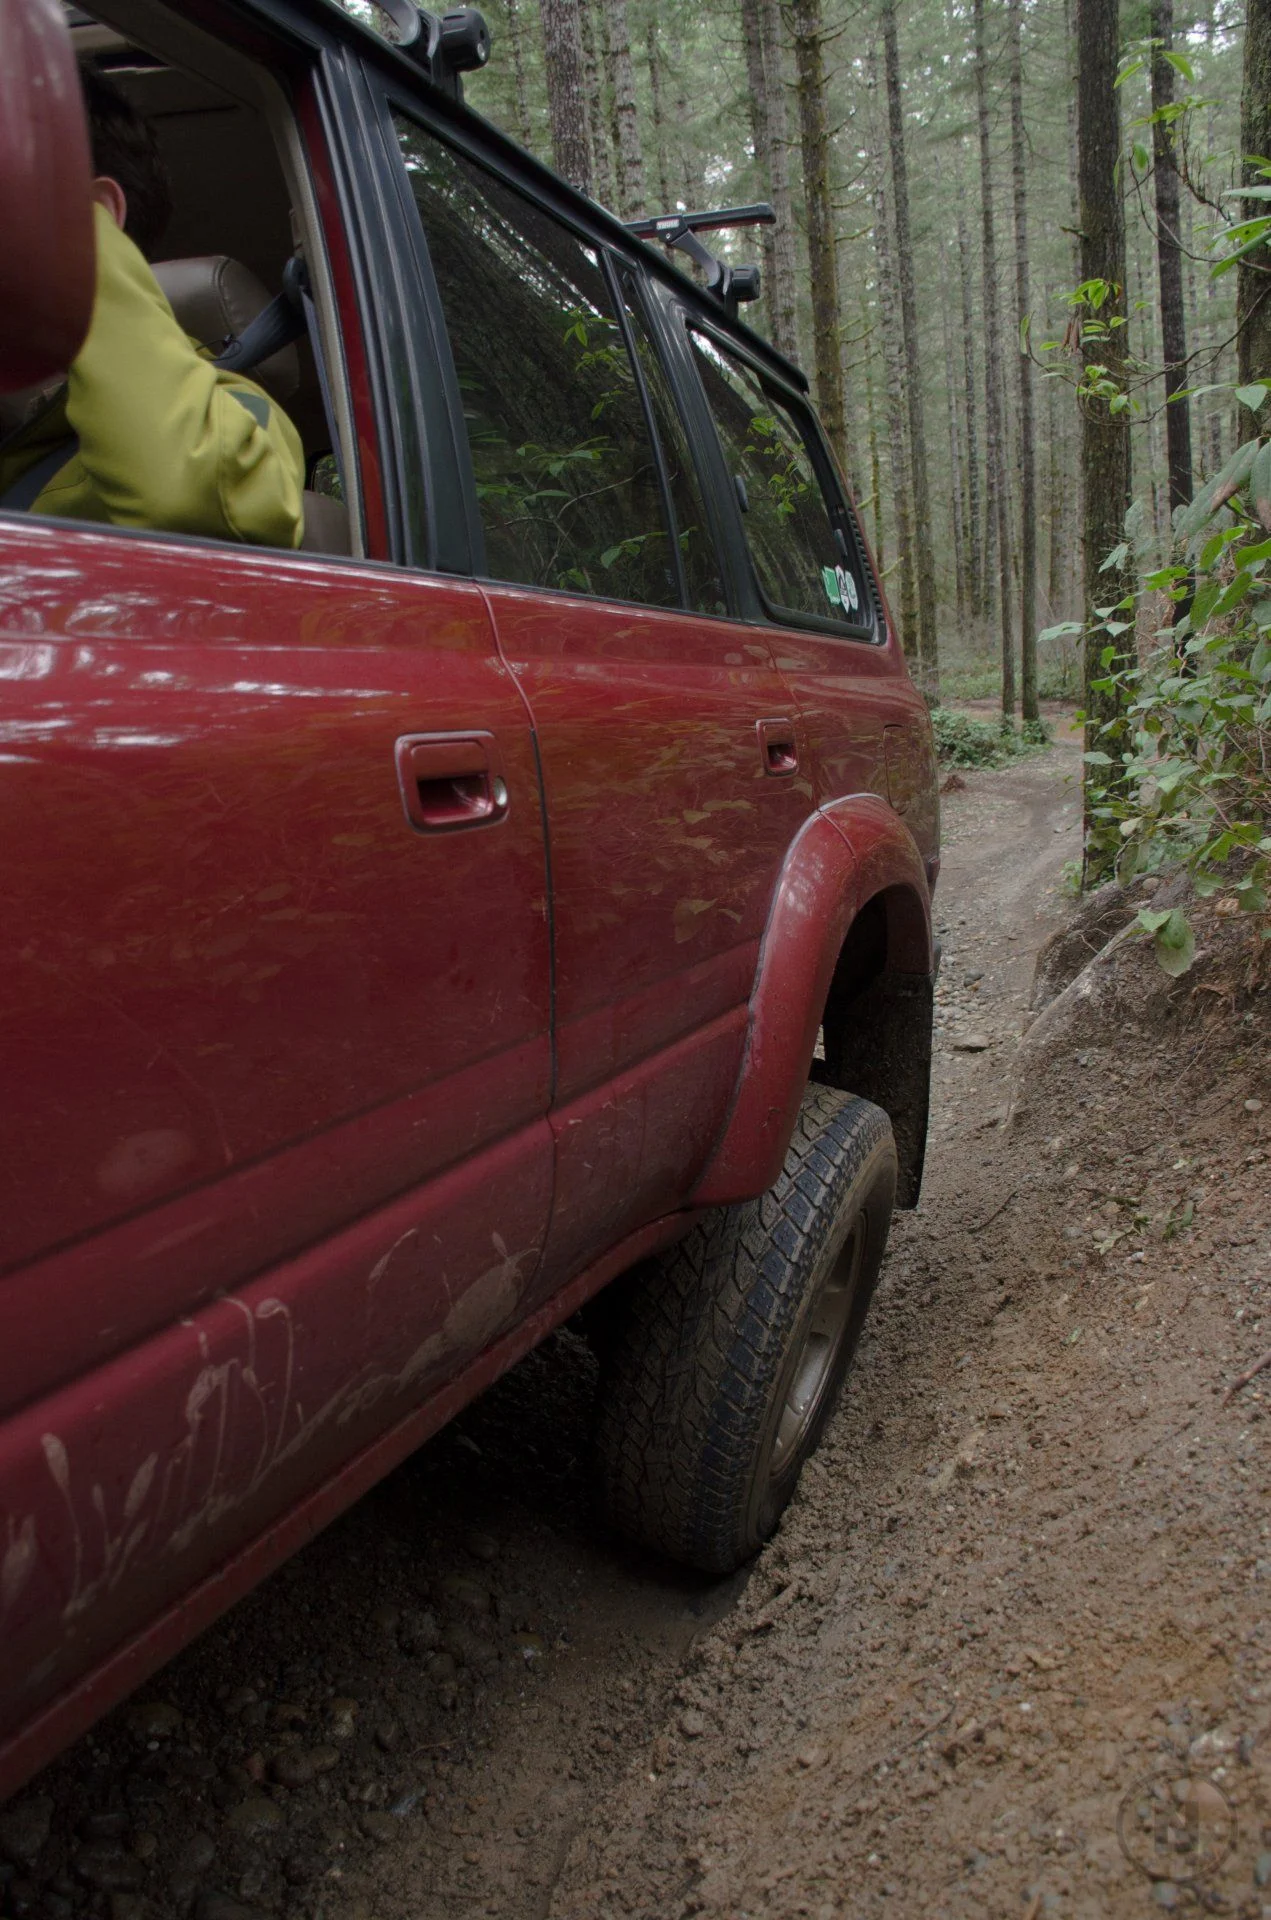
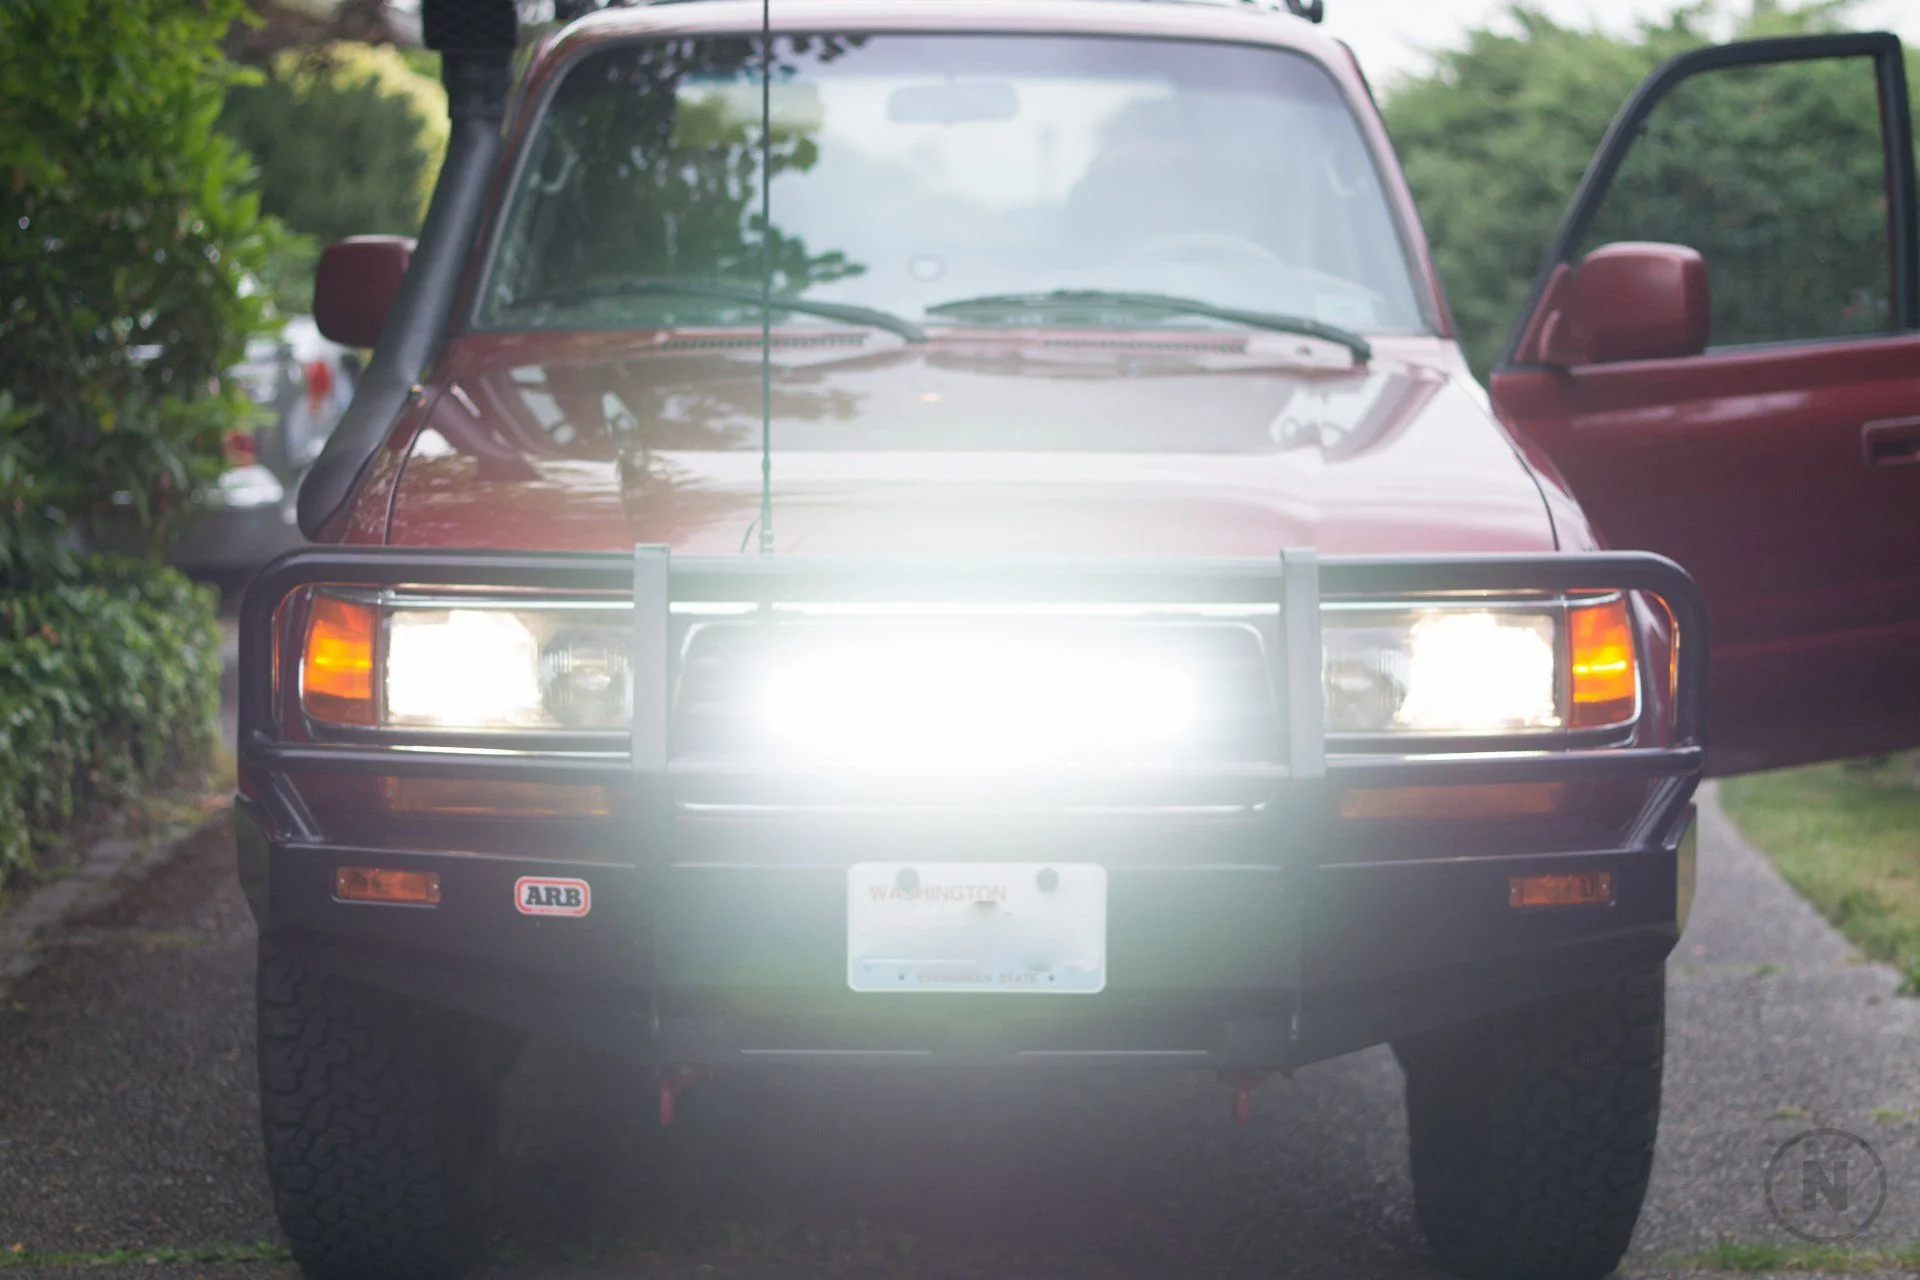
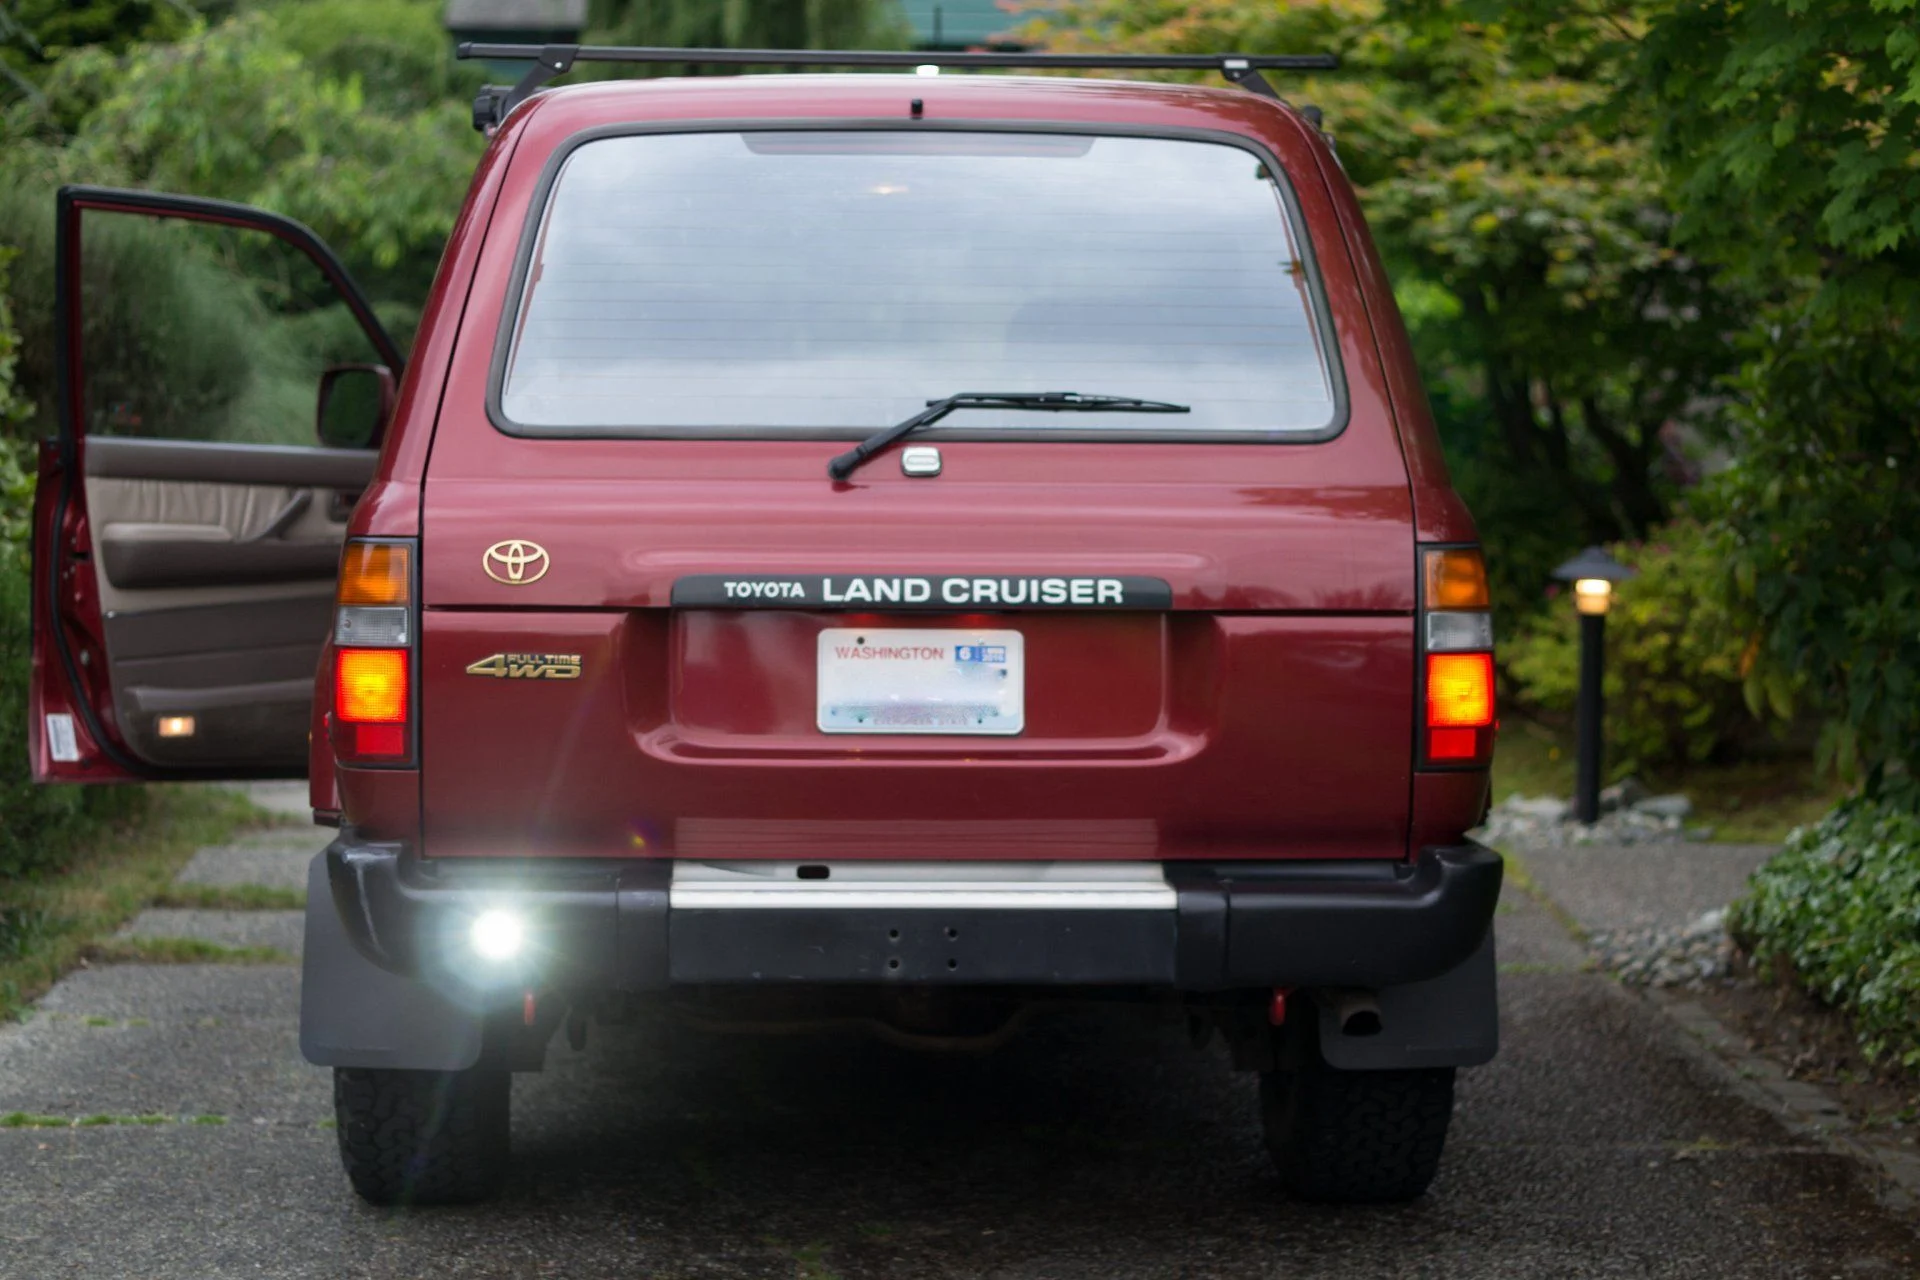
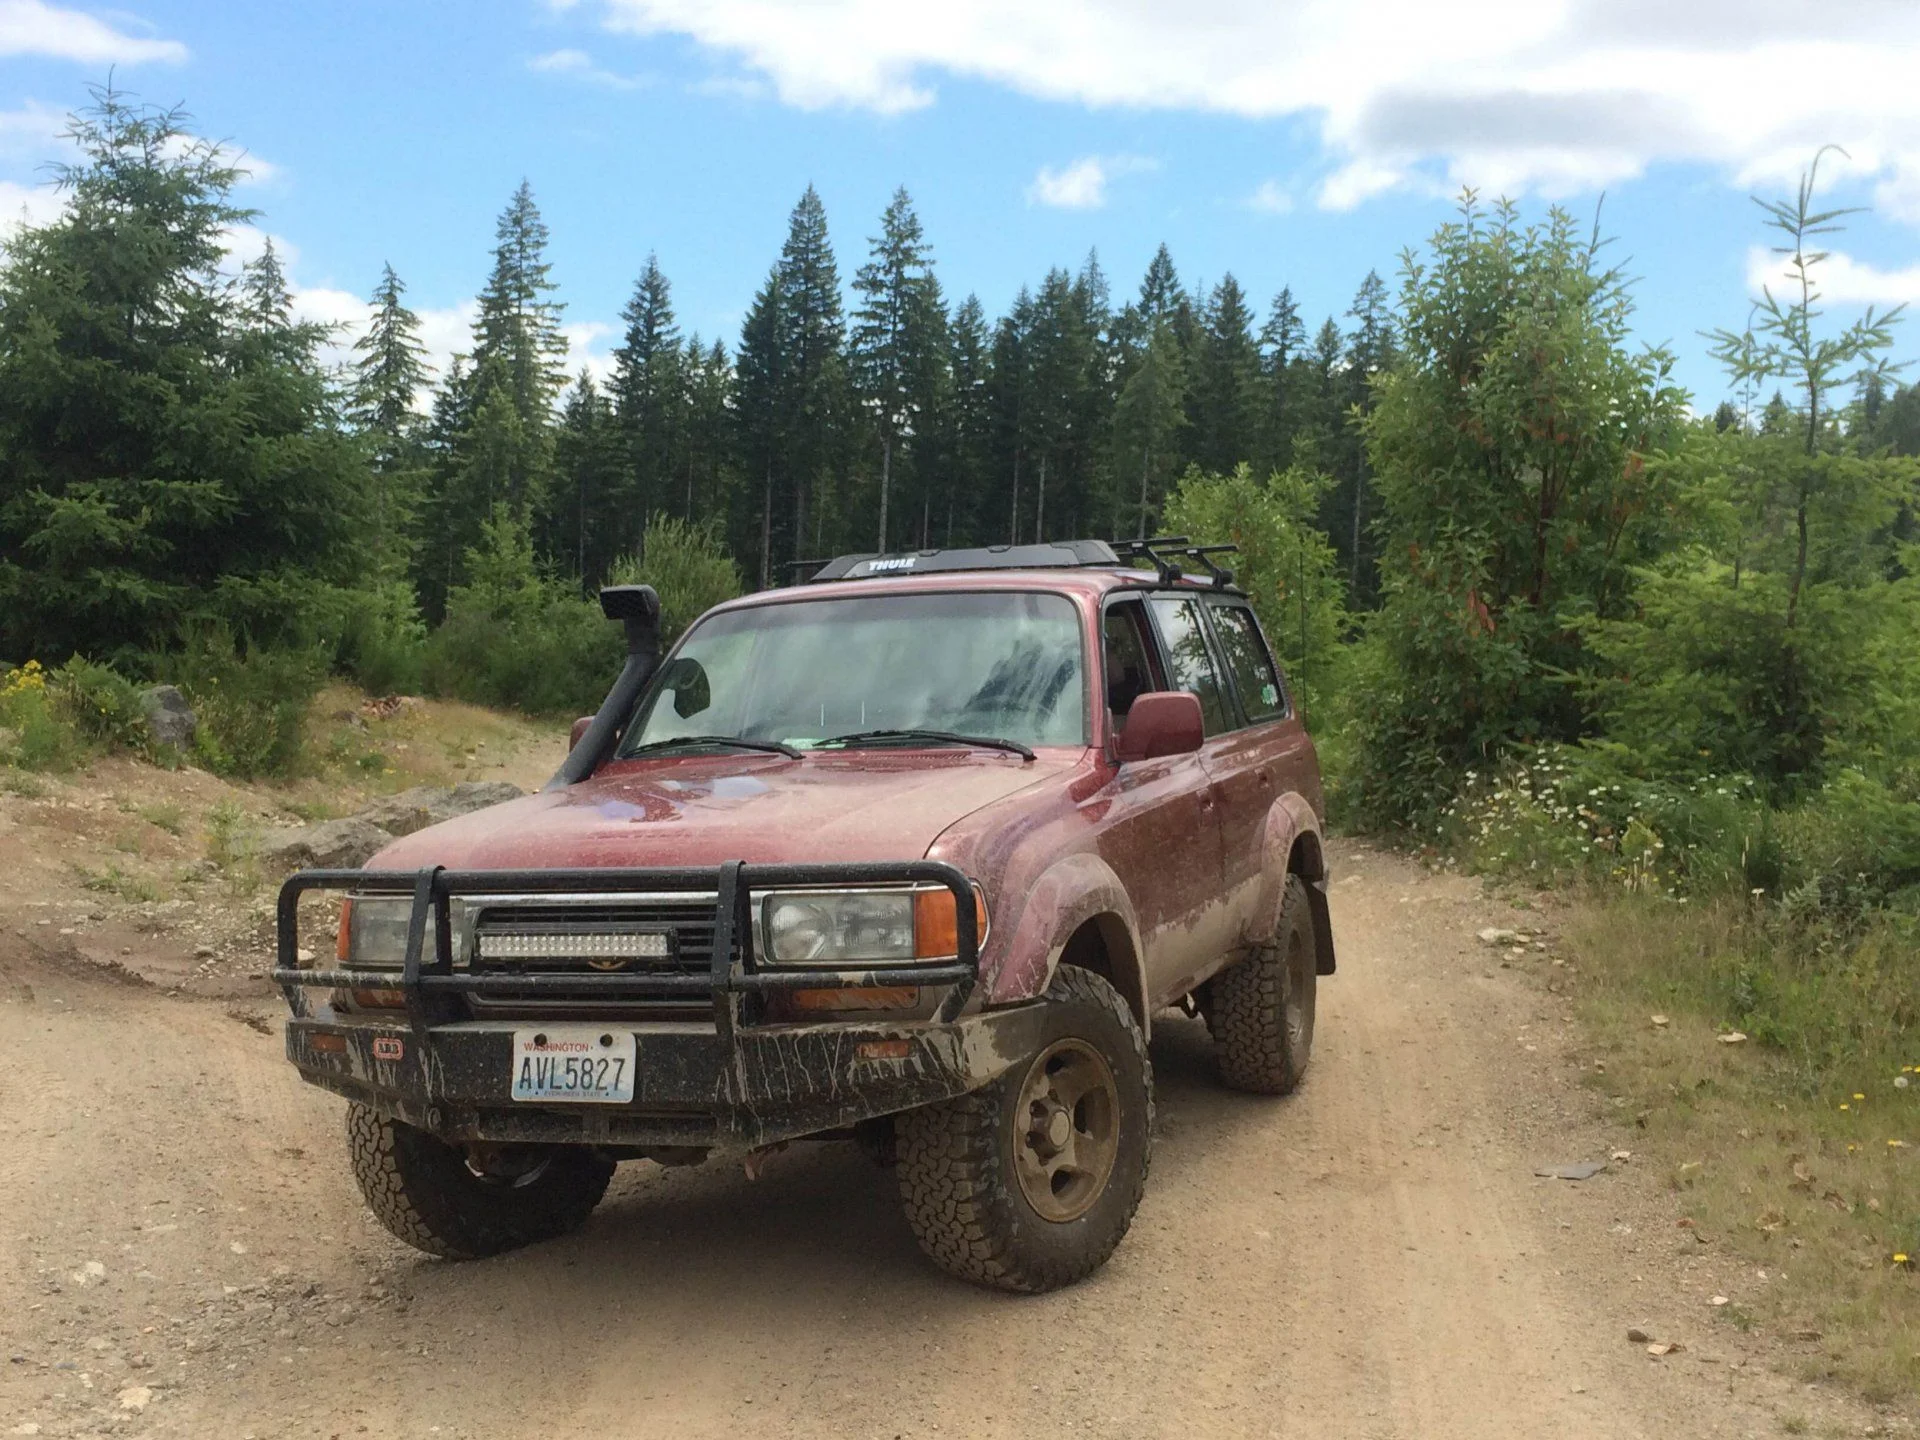
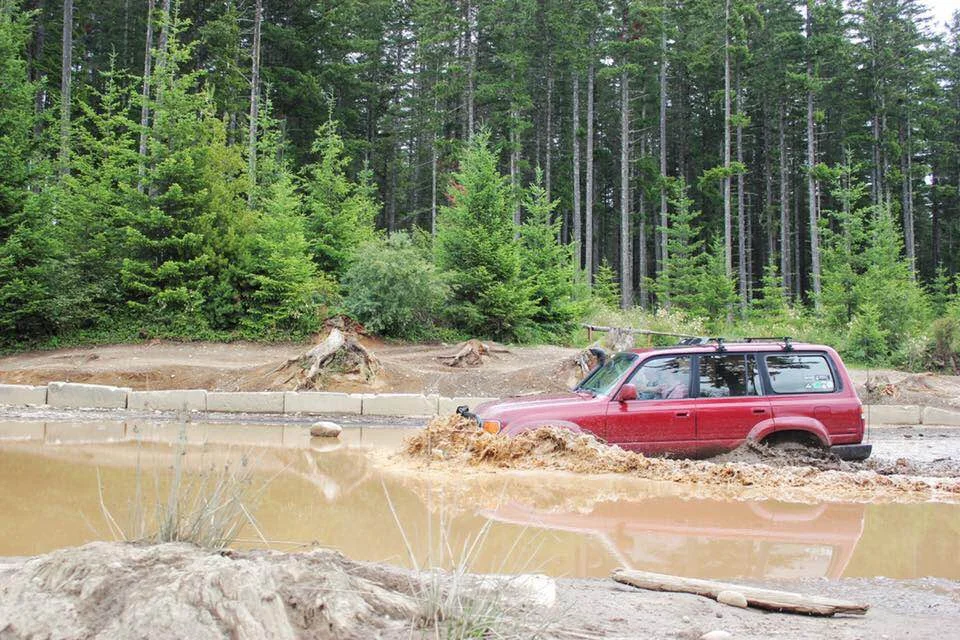
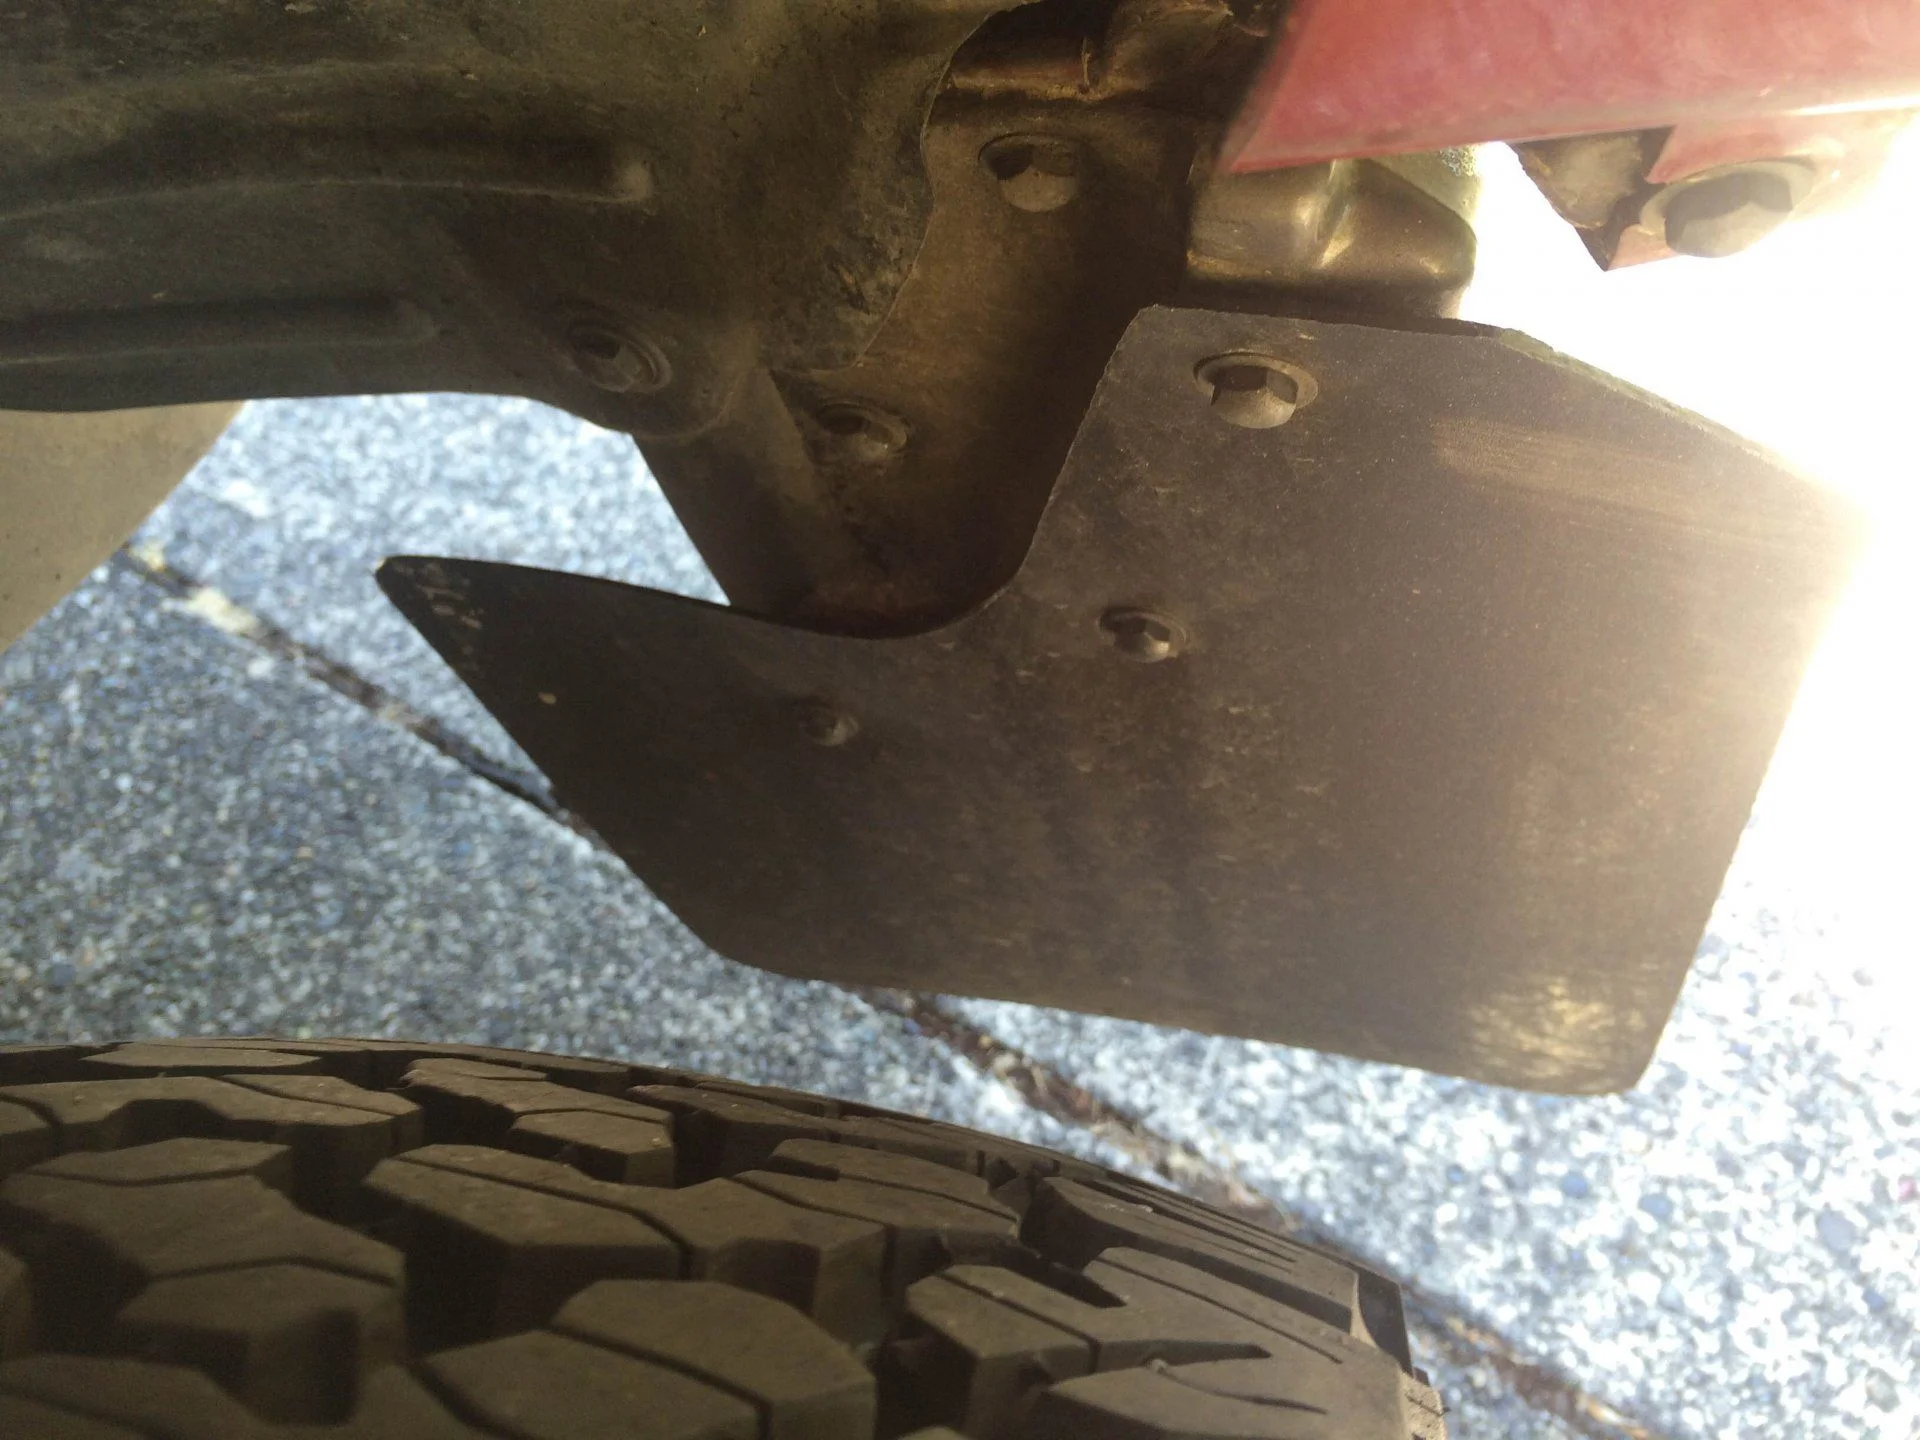
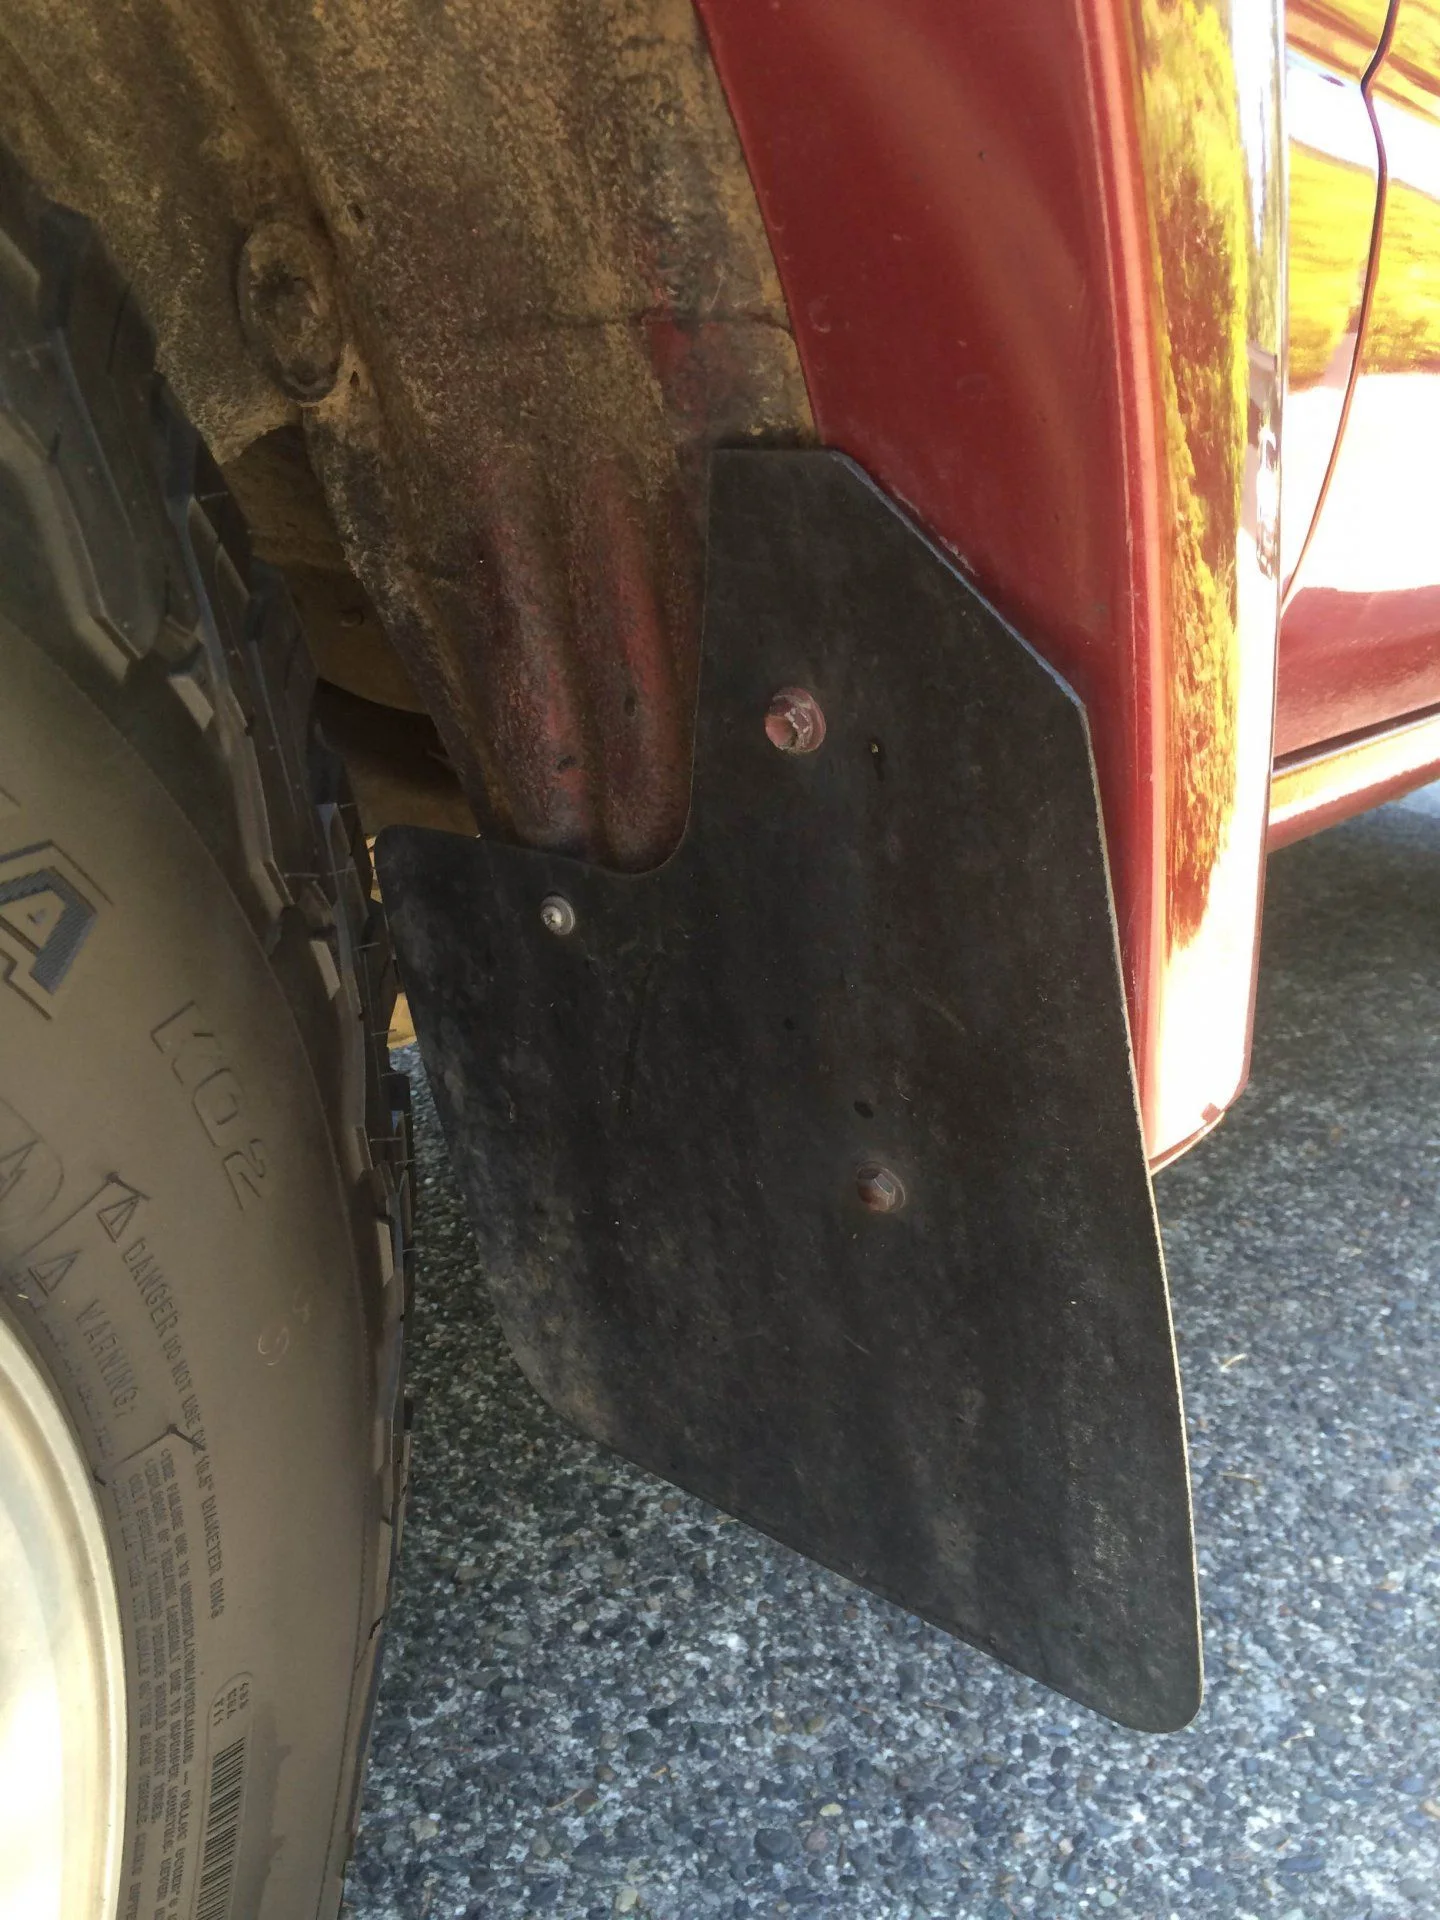
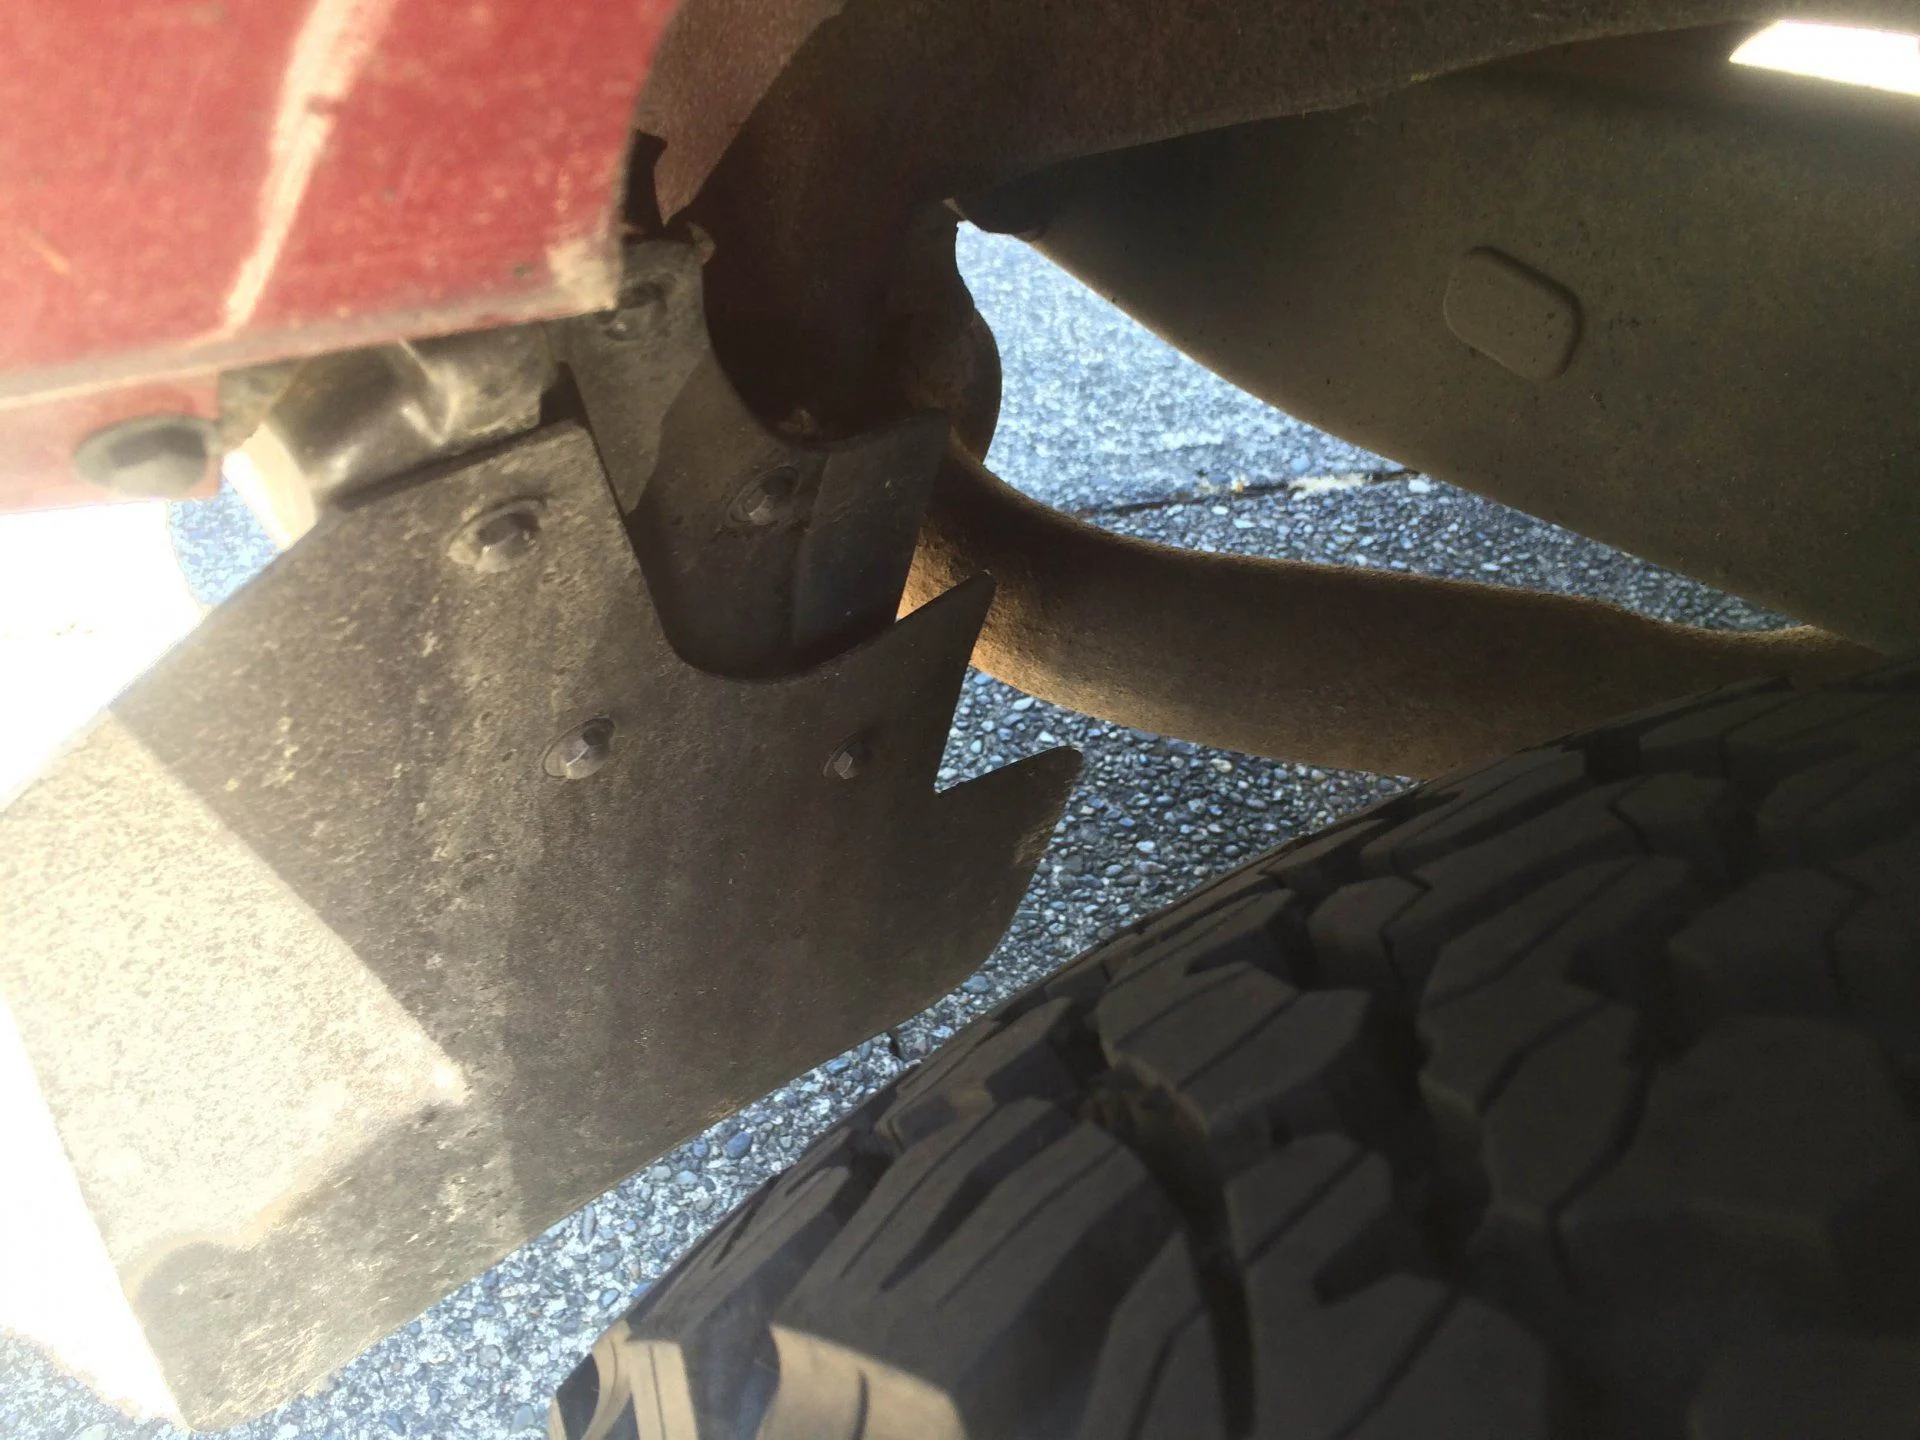
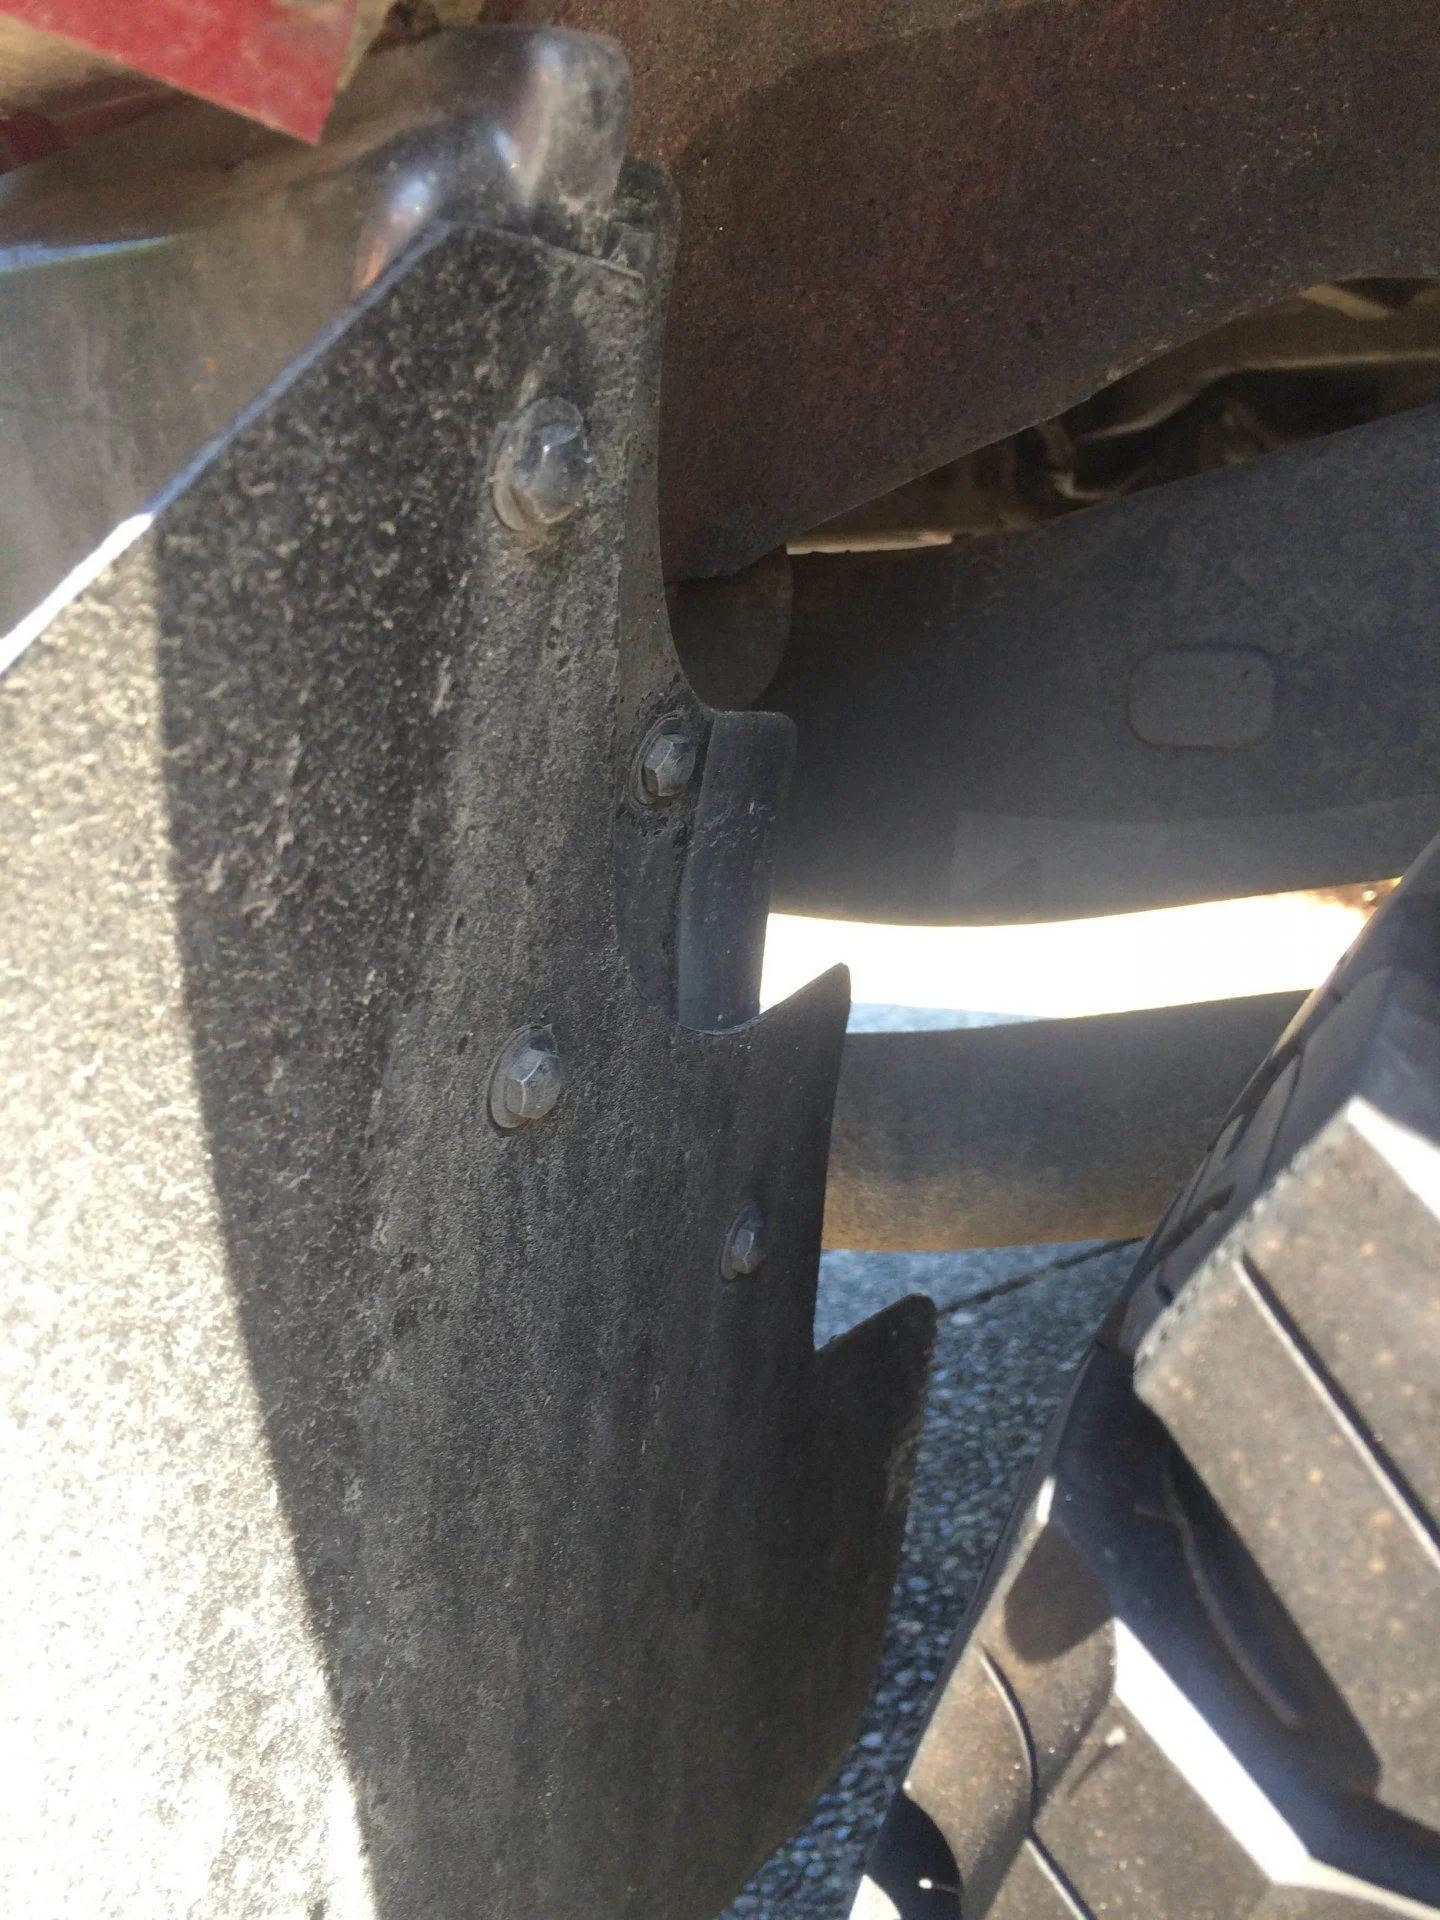
Exterior: Besides the ARB, I have Rally Armor mud flaps all around to save the OEM and give them more clearance/flex and painted the recovery/tow hooks bright red (because why not!). The Hellas were switched out or a 20' light bar and a small backup light was added to the rear bumper. The biggest changes are the snorkel and finally trading out the bald Toyo ATs for BFG KO2s (265/75/16 size). Traction is nice, and my friends with winches thanked me.
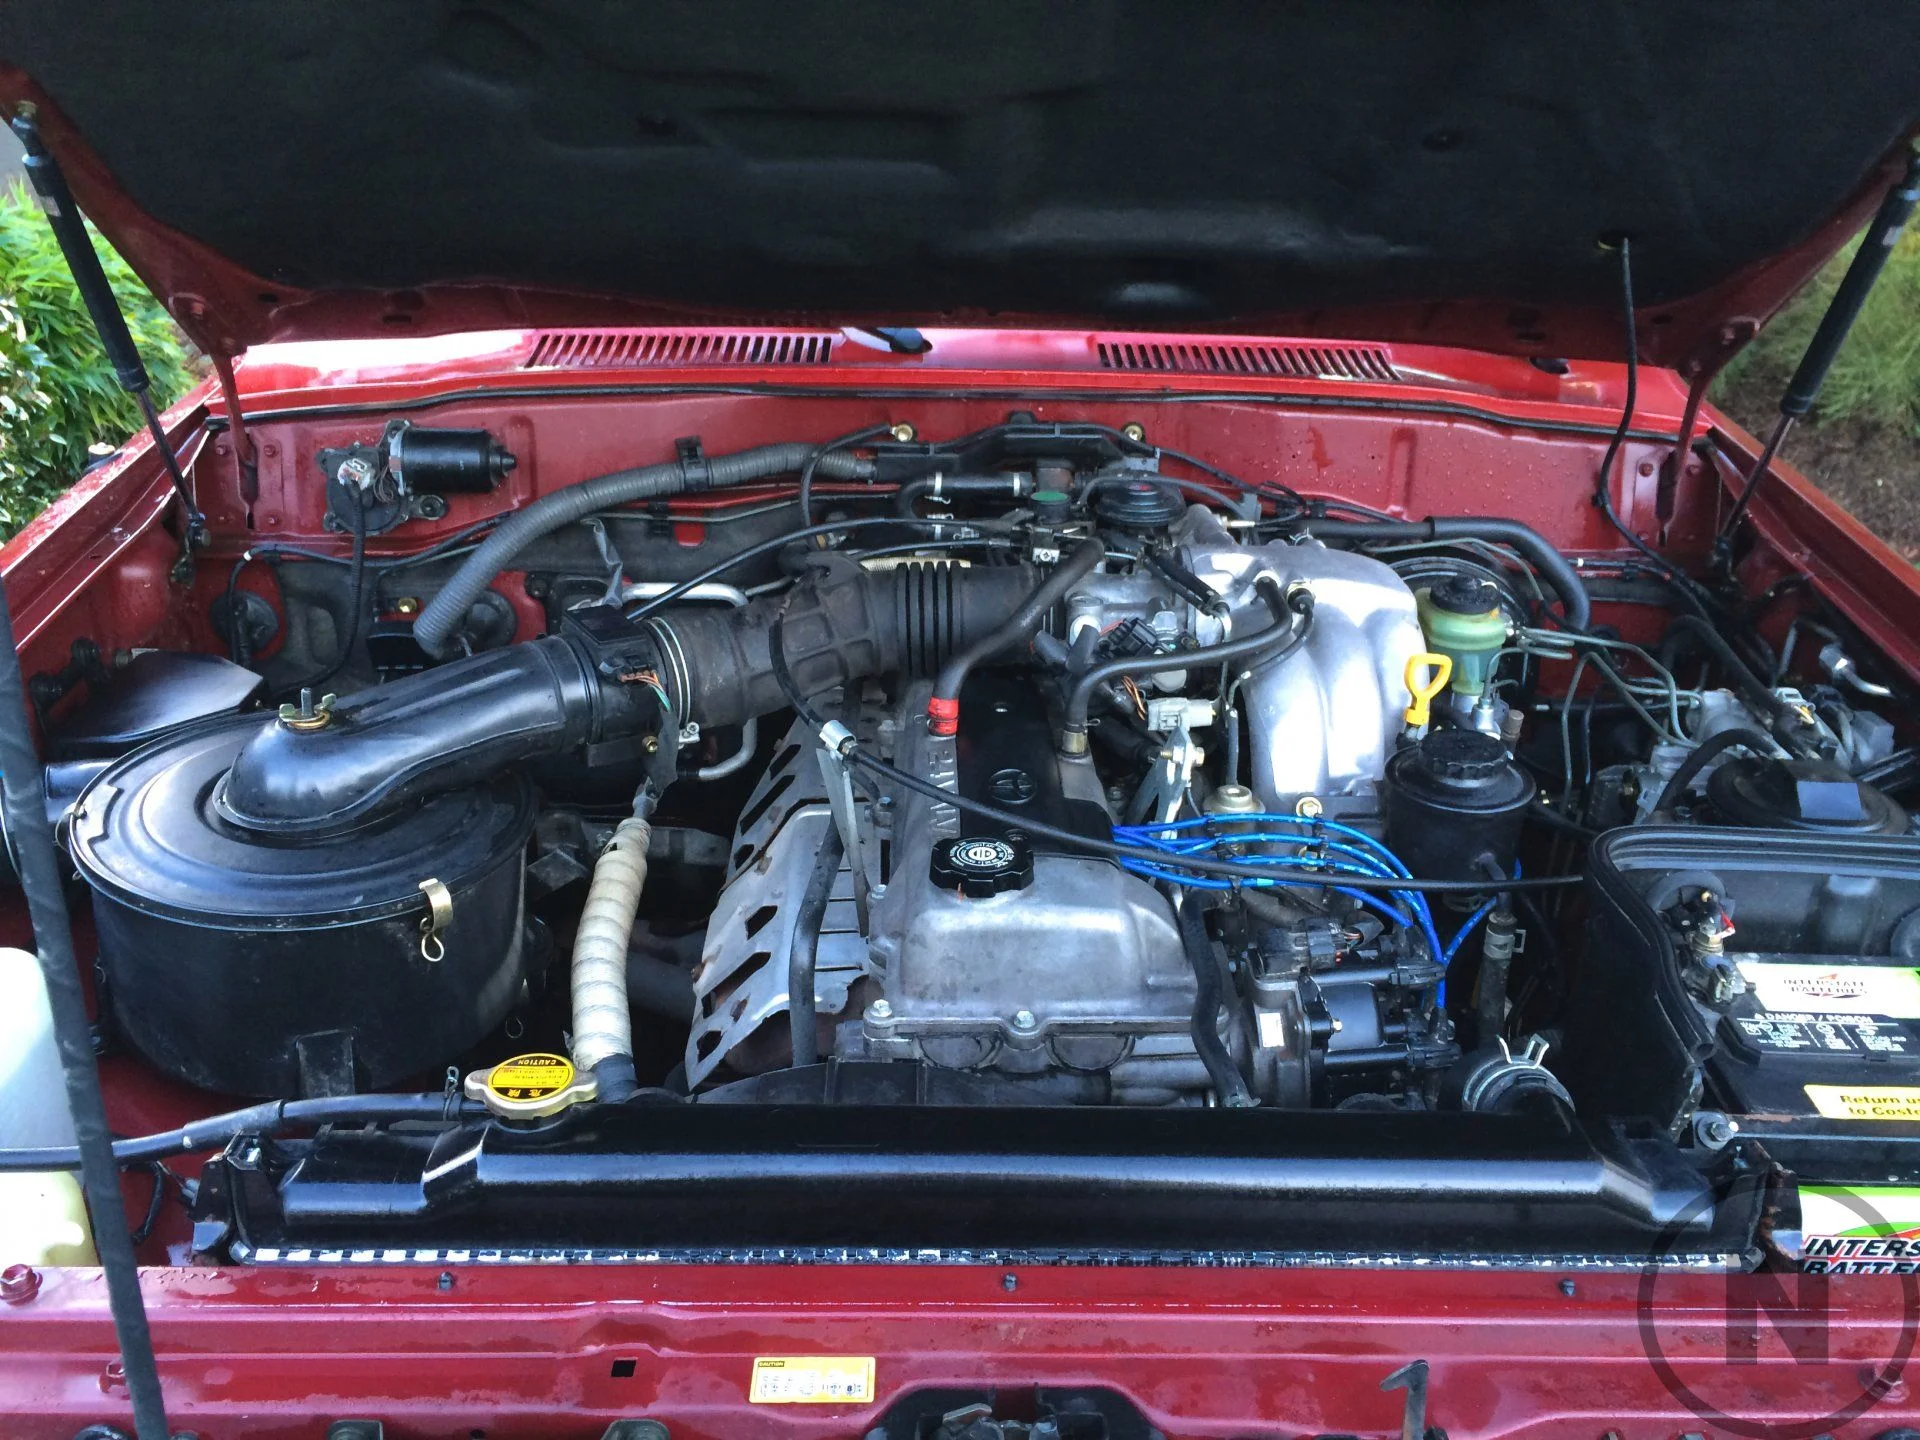
Engine: The engine is pretty much stock. One of the the previous owners did the blue fan clutch mod and the last owner did the head gasket. For the accessories I added a cheap fuse box under the kick panel in the drivers footwell. I also extended the breathers for both axles up next to the charcoal canister.
Thats where it is at now. In the future I want to add an OME stock height "lift" and do some touch up painting on the rear bumper. I'll see where it goes from there. Its a cool community and I'm glad I get to be a part of it!
Some more photos because I know we all love them:
First thing on the books was some standard maintenance (fluids, distributor and plugs, etc. etc.) then I immediately took it on two long road trips, one to Smith Rock and Bend, OR from Seattle, the next to Rialto beach on the Olympic Peninsula. I figured it was made to go so that was the best way to test it, plus I just wanted to get it on some dirt. Then my wallet started getting lighter and things started growing off the car. First up was a Uniden 520 CB with a Firestick antenna up front, some recovery gear, Hella 500s, and some universal Rally Armor mud flaps that I had for the Volvo.
A mantra for the build quickly developed; K.I.S.S. I wanted a good, simple 4x4 that I could daily drive, but was still incredibly capable off road. One thing I love about these vehicles is they are the perfect mix of basic luxury and ruggedness. With that, I'll go through where the cruiser is at right now.
Interior: I kept the interior as stock looking as possible, and started by taking off the "wood" trim. The CB is mounted to a pre existing interior screw (holds surprisingly well), and sought out switches that looked OEM (far left of photo below). I added the @bhicks cup holder (which is rad) and used sail tape over a rip in the passenger seat (sail tape works for everything, at least to a sailor). Topped it all of with a CDL switch and Weather Tech mats.
I also added a platform to the back to secure the spare. I wanted to get it up out of the way completely, but didn't want it on the back. All my tools and recovery gear fit in the space as well with a cover that snaps on.
Exterior: Besides the ARB, I have Rally Armor mud flaps all around to save the OEM and give them more clearance/flex and painted the recovery/tow hooks bright red (because why not!). The Hellas were switched out or a 20' light bar and a small backup light was added to the rear bumper. The biggest changes are the snorkel and finally trading out the bald Toyo ATs for BFG KO2s (265/75/16 size). Traction is nice, and my friends with winches thanked me.
Engine: The engine is pretty much stock. One of the the previous owners did the blue fan clutch mod and the last owner did the head gasket. For the accessories I added a cheap fuse box under the kick panel in the drivers footwell. I also extended the breathers for both axles up next to the charcoal canister.
Thats where it is at now. In the future I want to add an OME stock height "lift" and do some touch up painting on the rear bumper. I'll see where it goes from there. Its a cool community and I'm glad I get to be a part of it!
Some more photos because I know we all love them:


 , glad it stayed together for the trip to PDX) from Land Cruiser NW in Portland, OR. Great guys with some pretty amazing machines at the shop. A big thank you for helping me out while the truck was stranded there.
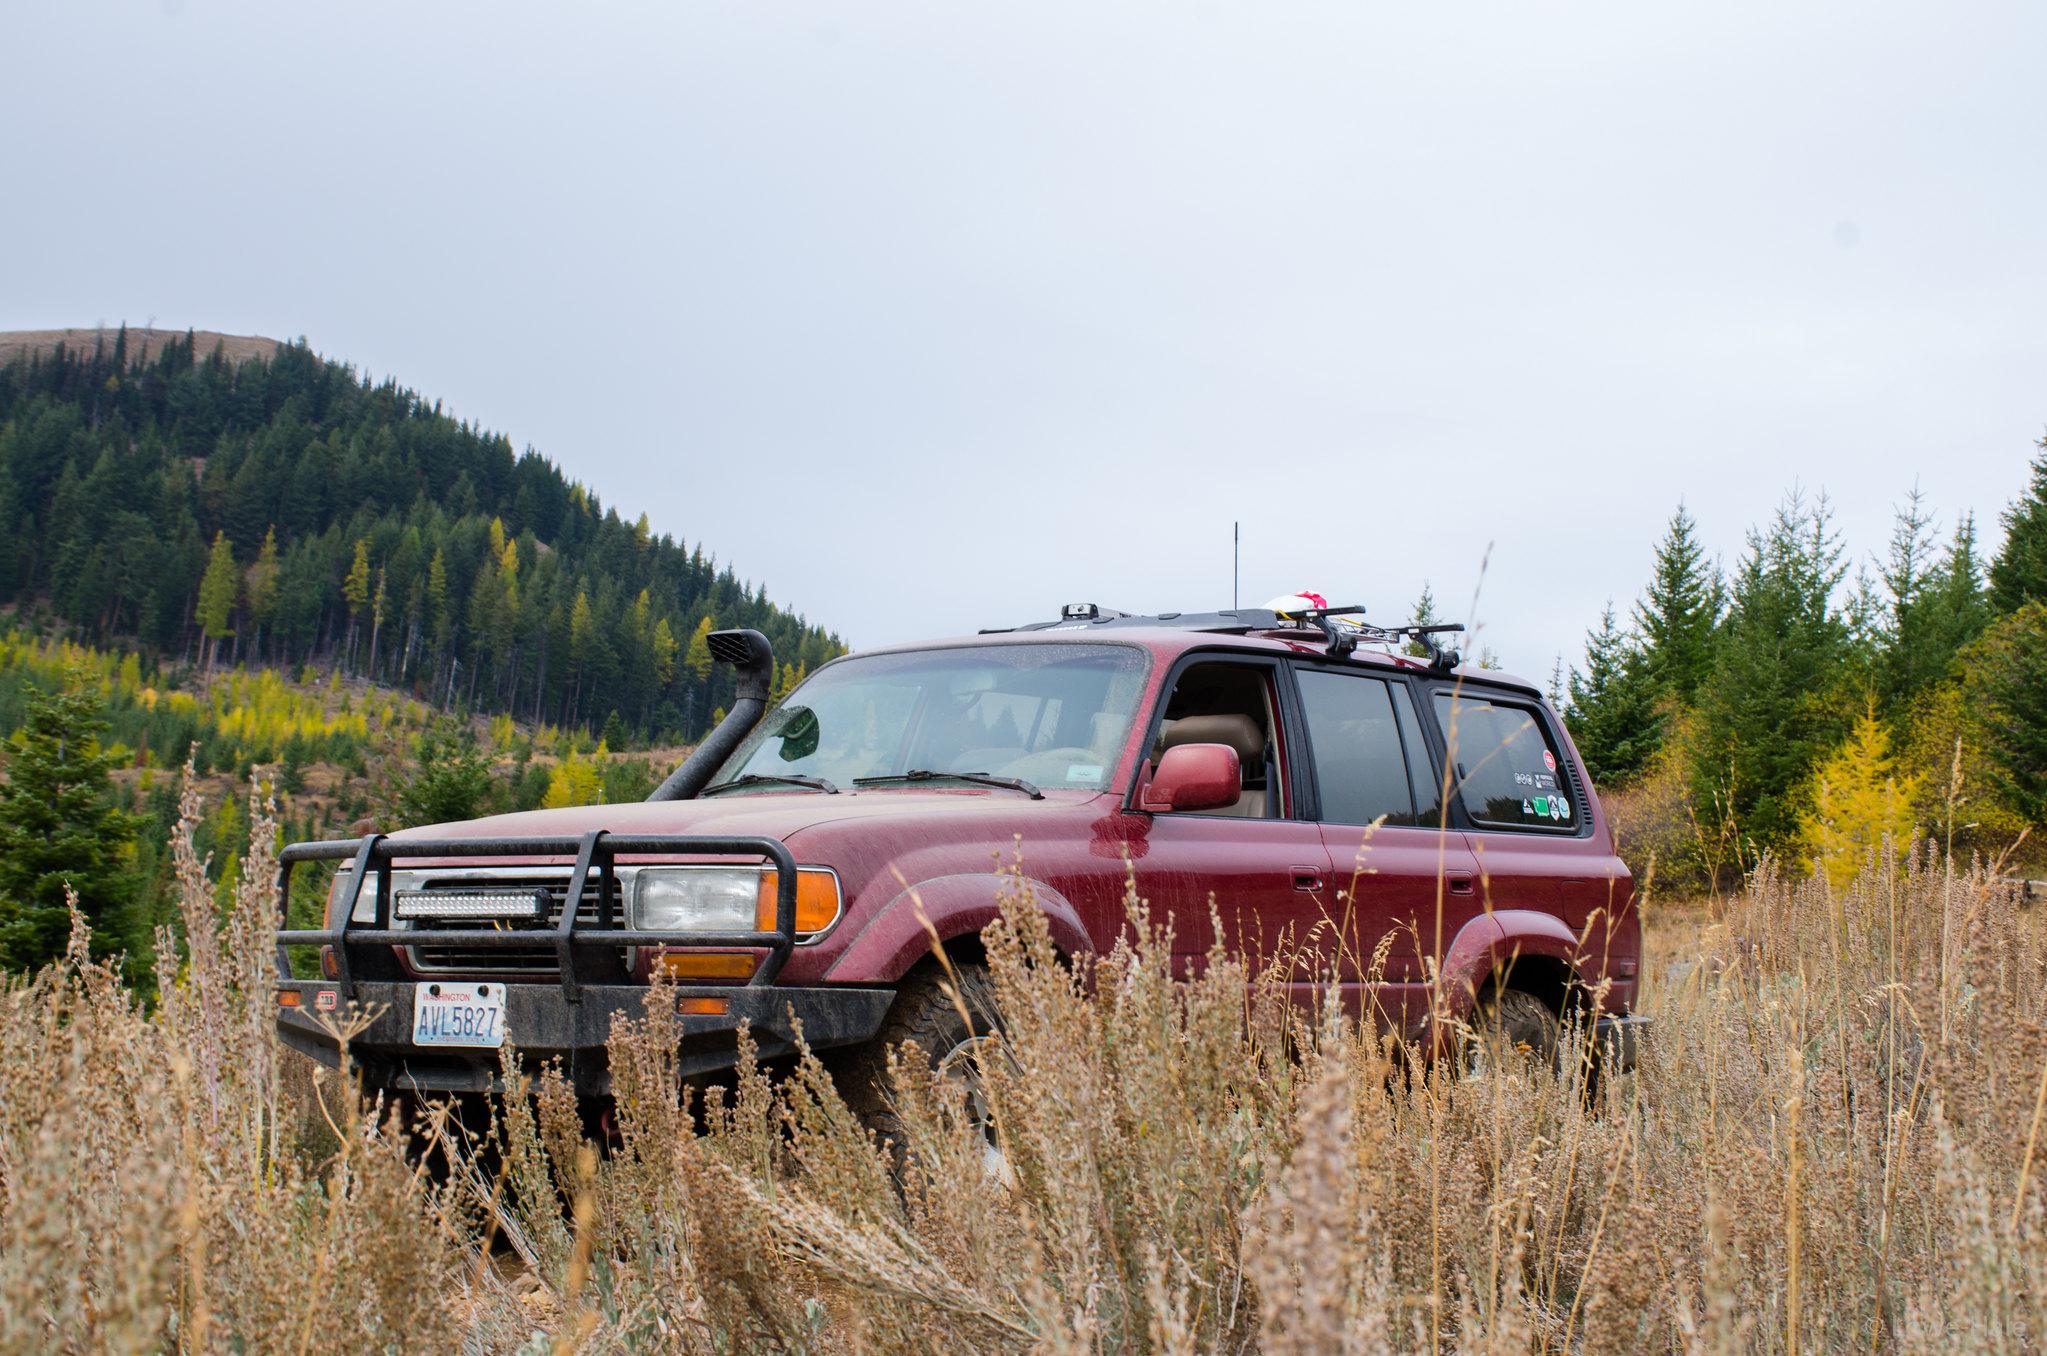


 .
.
 Yours is a great example of how great these things can be out of the box with a good set of tires.
") ). Since then we have been on a push to get out camping as much as possible.
). Since then we have been on a push to get out camping as much as possible.


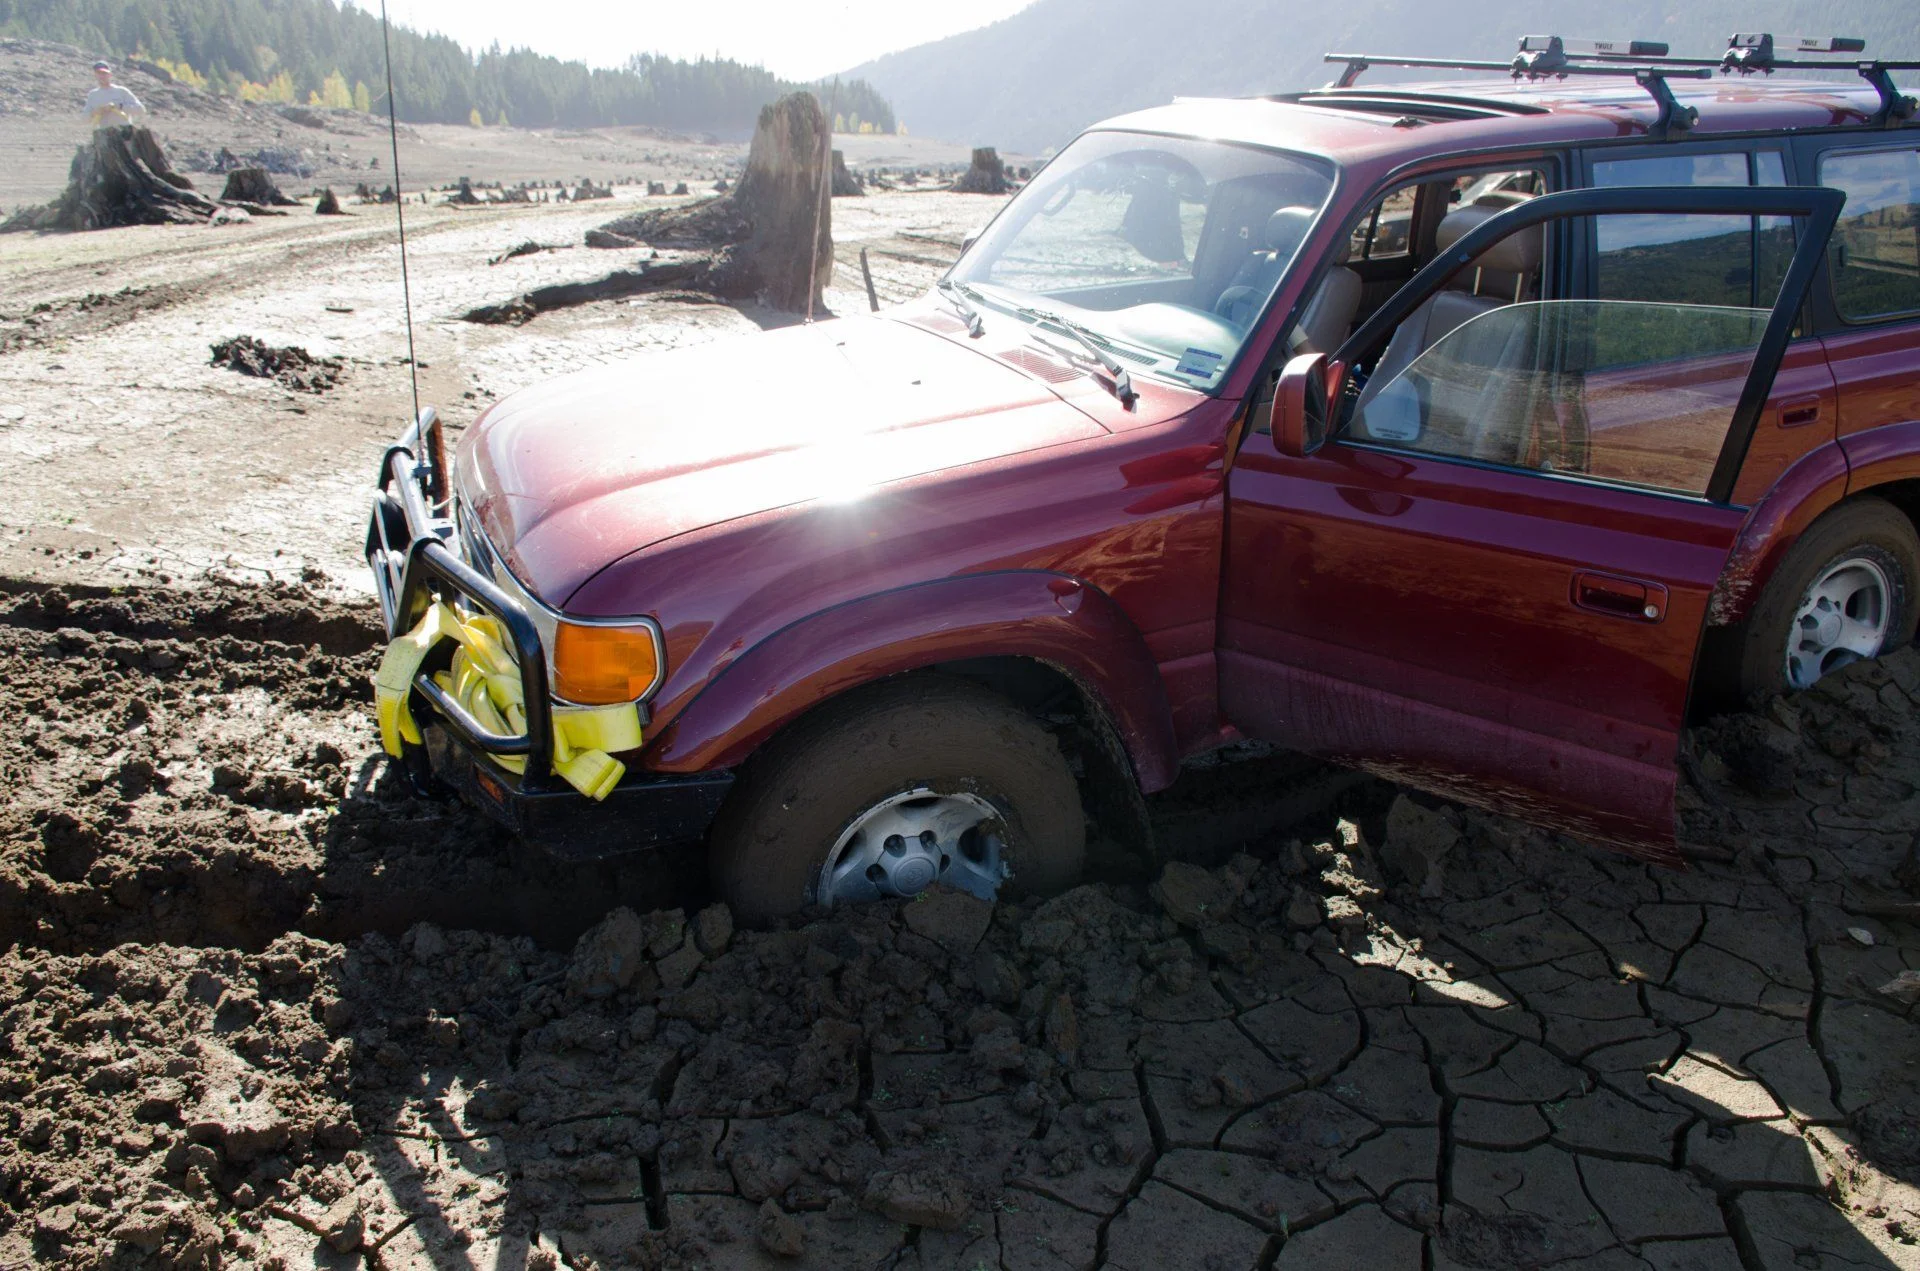
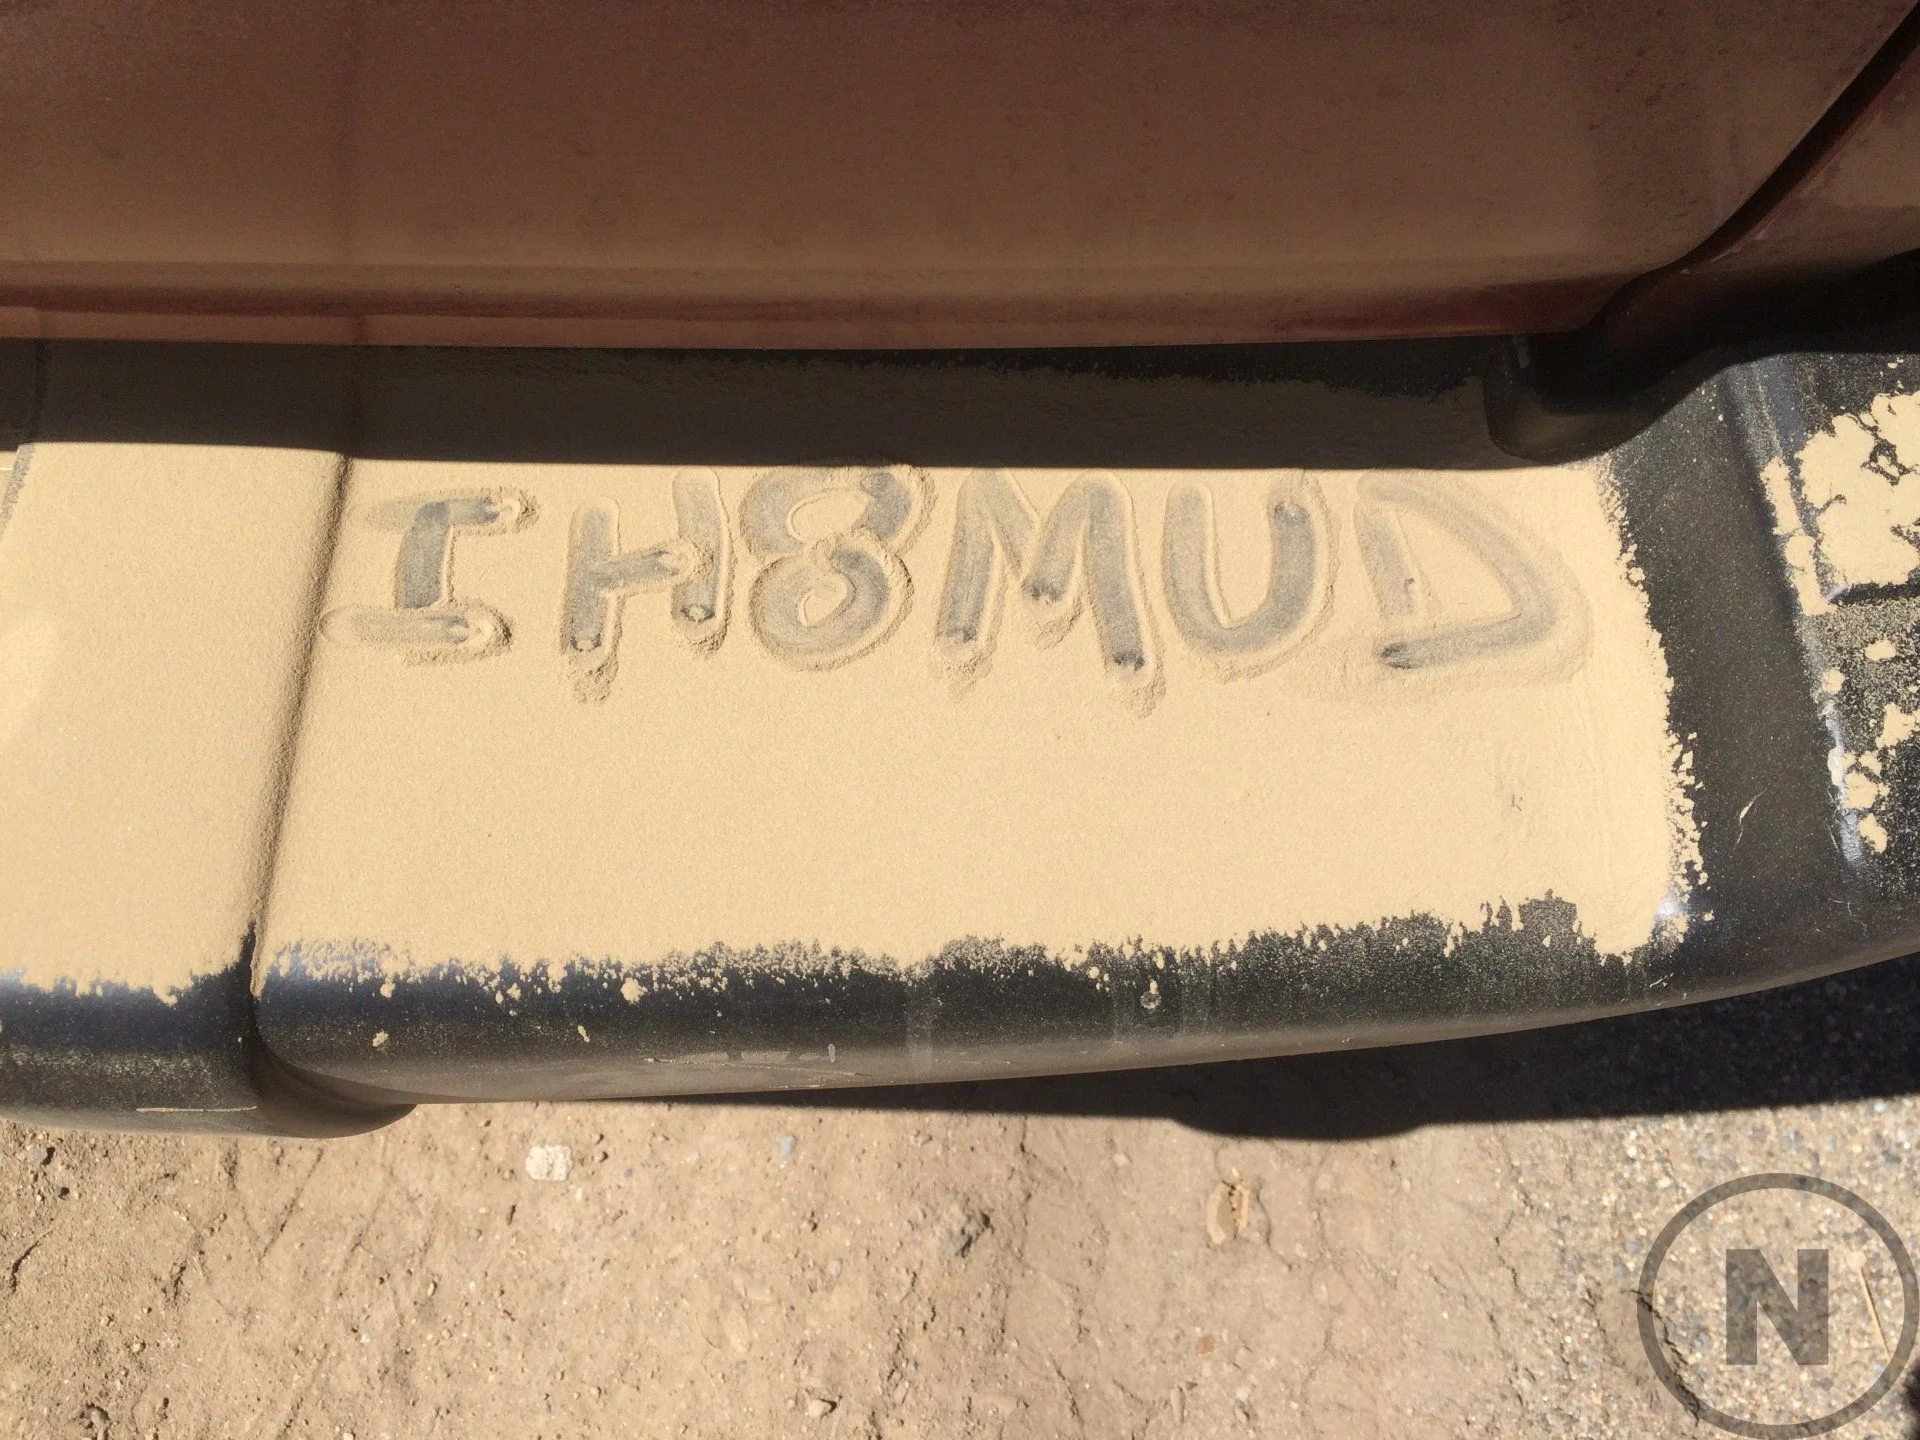
 . So I was glad this happened at 5 mph and not at 70 on I90, and we had cell service/internet. So up came the FSM and Ih8mud and we got it fixed, first of probably many times this forum will save my rear end. Gave my friend a chance to use his new portable impact gun on the lug nuts. Also, fun fact, when a 54mm socket is not available, a medium sized set of plies can be wedged between the bolt and the studs, and the hub can be used to rotate it
  (Not our proudest moment, but it got me home, and to the store for a 54mm socket). We got it all put together just at sunset, wheeled to our campsite, and then headed home the next day.