Mike's 1978 FJ40 Build (6 Viewers)

This site may earn a commission from merchant affiliate
links, including eBay, Amazon, Skimlinks, and others.

What kind of paint did you use to paint your valve cover? It looks great!

Thank you for the kind words! I use aluminum color automotive engine paint 500 degree range bought it from the Home depot for $4.99 and it works great, they also carry 2000 degree paint.
 
Last edited:
Great work!! And love the pictures! Thanks for sharing...
 
I installed just a few things this morning

The splash shield under the dizzy
28189-1414521694-f3f2cad9c207ebdbf5a660a3b5826904.jpg


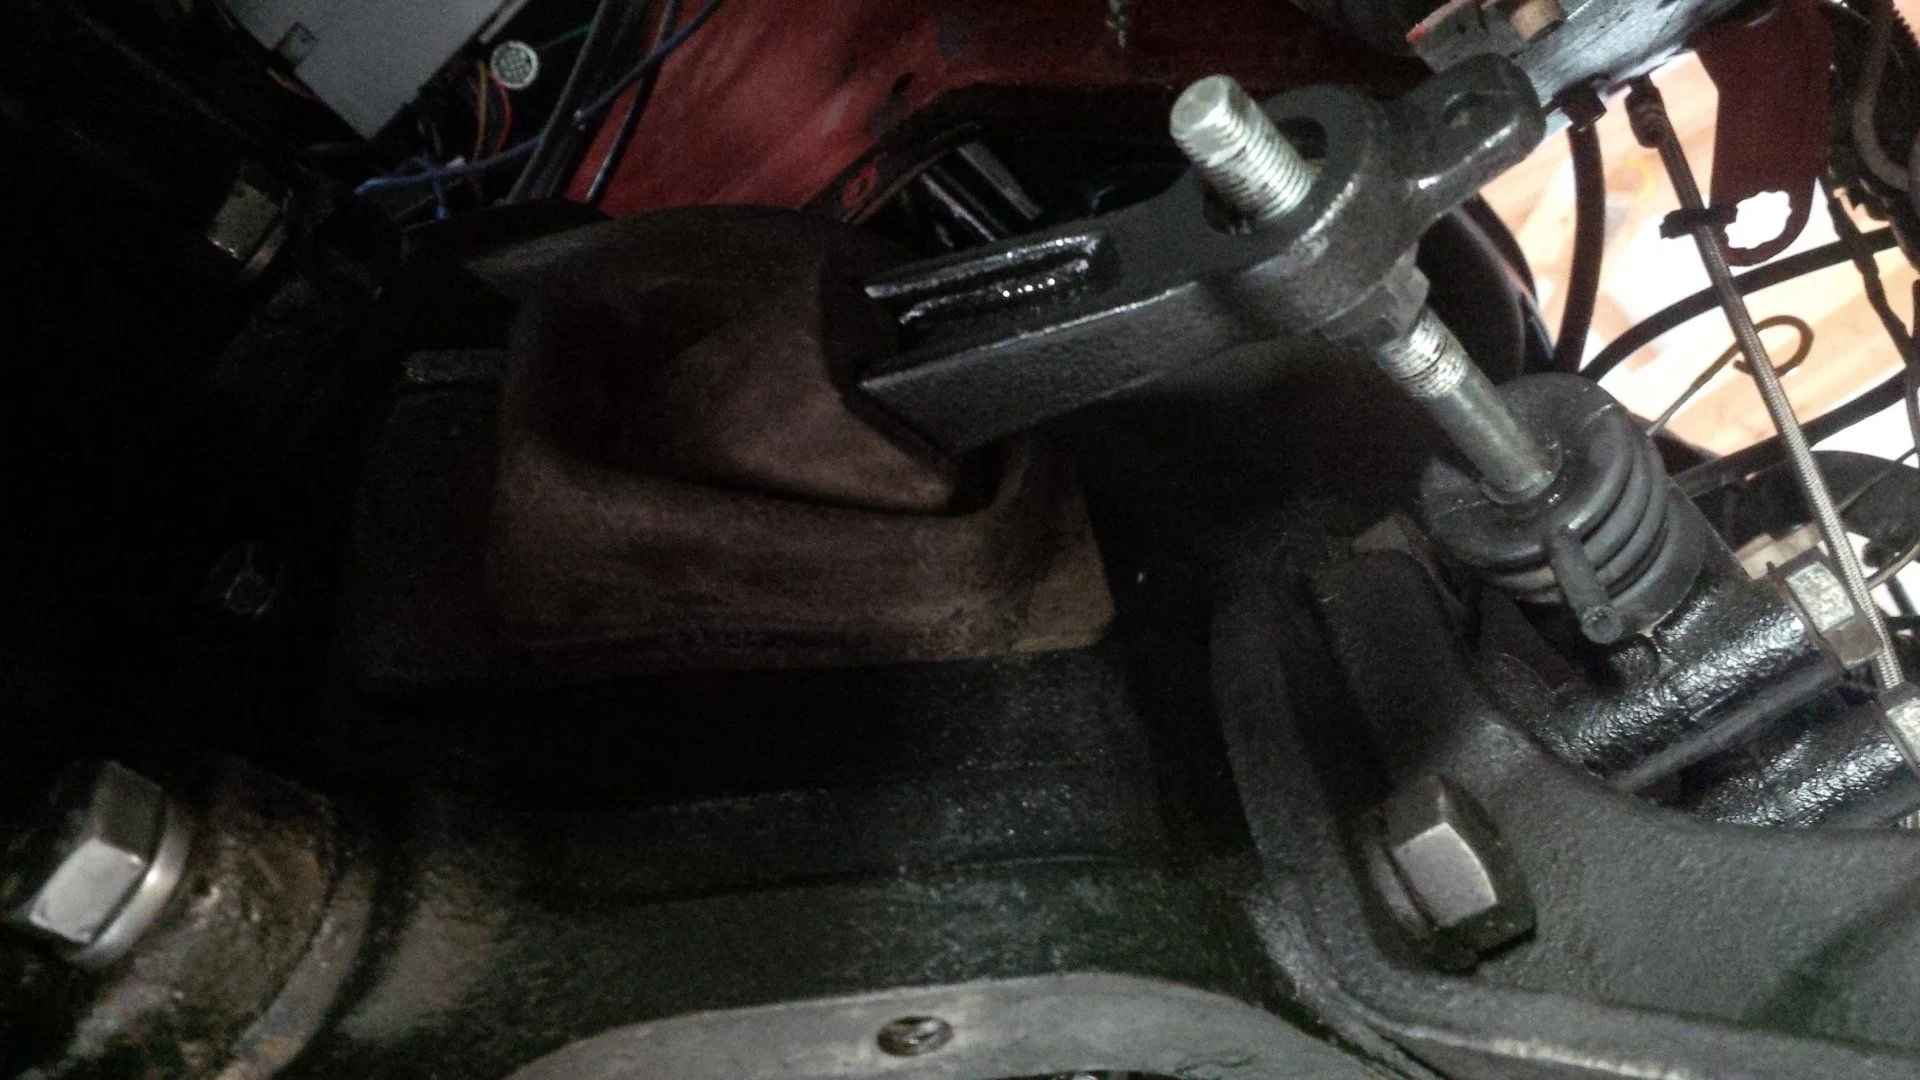
Installed the clutch fork rubber boot
full


Here are a few pics of the clutch and fork assembly

28191-1414522075-3e51ccd750df5f47ff1d9b1cd3731bbb.jpg


Next I'll be installing the clutch cover and other items
 
Last edited:
Today was a good day to paint the timing mark, it was easier to do it now rather than later with the flywheel all covered up.

28192-1414522287-51140a61adeb3013ac0bd099c9bb1269.jpg


I picked up this little gem from eBay to protect the dizzy, all OEM

28193-1414522470-26cdb3a84c55f241594dacddfe08437b.jpg


I installed a battery mat to protect the metal battery tray from any future corrosion
28194-1414522559-b861ca453df28b7ebd7a8b936bb3eebe.jpg


The EGR flex connector was a PIA to install
28195-1414522624-feb83de5c249cb8d912e9f0927395441.jpg


I spent a long long long time cleaning the drive shafts, this is the rear section the front will be installed tomorrow
28197-1414522902-5a8035186d09fac1bff9b7bf1ceda222.jpg


Latest engine shot
28198-1414522957-42a67f2776f8acf17875f846b4ccf08f.jpg
 
Last edited:
For some reason I am unable to view your photos on the last few pages...... I just see a box with an X and "img"
 
Today was a very productive day and got a lot accomplished.

I sanded, primed and painted the fuel tank.
28201-1414523794-45c61ce48631719874b822be0b3ecf79.jpg


28202-1414523831-86b91554131c419166711ed2d279fd09.jpg


Installed the front drive shaft

28203-1414523913-503044440f9561d3966f3e98799f28d7.jpg


Installed a new clutch spring and used a bracket to connect the other end of the spring, the PO jerry rigged the old spring and connected it to the dizzy splash shield.
28204-1414523969-5d5246bf9a05c0393fde10cbdbecd5a9.jpg


New bracket for spring it's attached to the clutch slave cylinder, a very stable connection
28205-1414524013-4ab497c9ad35cee3e9fa7940d5e9a87a.jpg


28206-1414524040-fe37be2f48881625909644a4d9e43fe7.jpg


Installed the radiator and the bibb
28198-1414522957-42a67f2776f8acf17875f846b4ccf08f.jpg


28208-1414524412-cf2d6d75c26e985e93ebb5b167b6104f.jpg


28209-1414524479-224bea6bbcdc81b0e0a57164dc7f06ef.jpg


28210-1414524499-14981e3799ba5fd20c0daae152da69fd.jpg
 
Last edited:
I'm preparing to install the tranny hump and then the gas tank

28199-1414523589-7ce32bf051177841c25c053b14898978.jpg


Need to clean the floor pans first as they full of black goop

28200-1414523627-327150d68925f786612a95027defb2ac.jpg
 
Last edited:
I'm preparing to install the tranny hump and then the gas tank

IMG_20141008_182951.jpg


Need to clean the floor pans first as they full of black goop

IMG_20141008_182822.jpg
Yep, pictures look like those above (not visible). You must be linking them from a password protected area instead of uploading them.
 
Recently I installed a new to me WARN 8274 winch and fog lights from SOR

28187-1414519457-6dd590fa11b98baaf7170605099c87ac.jpg
 
Update: I'm slowly updating the pics that are not properly loading, I'm now using MUD picture hosting services. Thanks to all for alerting me of the failed pics.
 
It was time to rebuild the front heater box, it was in sad shape, full of dirt all of the sealing was disintegrating when touched the heating coil was totally clogged with a combination of crap.

Before pics:
28241-1414608599-9bf8d11ebb972123108b84d9ee6b3a34.jpg

Really gross
28242-1414608641-7c01b64f7cae055fc5cf50ebcbaec4fd.jpg


Can't believe I was breathing the air coming out of this POS

28243-1414608677-ff3b03a62b3937636b5020a5bd591dbc.jpg


28246-1414608775-b5c6de88f091e1ca013c256188ecbfe7.jpg


28244-1414608723-e6cd01ee65c1655c003bc77a07c257d1.jpg


28247-1414608861-0f983da0da5e0ceef2575f57fecbc37d.jpg


To make a long story short, I cleaned the hell out of it by removing all dead skin cells, dust mites, hair, lint, dead bugs, and disintegrated foam, etc.
 
Last edited:
I finally received the heater rebuild kit from Bend Oregon.

28248-1414608891-7f51dcff2d41dd9f0a5e538136e963cc.jpg


Here are the after pics, saving you all from all the gory details of pressure washing the core and disinfecting the housing etc.

28249-1414608920-25374df23d21bf2a0bfe5e027a40b152.jpg


28250-1414608950-90ce928300d7a91f61c00090707056d0.jpg


28251-1414608984-715bc67f30dac8933690cf2f900eb316.jpg


I finally installed the heater, in the process I cleaned up the radio bowl of spaghetti wires installed by the PO what a mess as you can see
28252-1414609009-0f994b75da042004a19349f8f9984b22.jpg


28253-1414609039-eec672dbf47167962d9df8af40ee1f2c.jpg


28298-1414710107-14ba4cb97198c6d8668fc249ae66e486.jpg


Now I can fill the engine with antifreeze.
 
Last edited:
Wow, what great work and great documentation. I am looking at a reseal project as well but ...... can't get sucked into the vortex.... no because it wouldn't be fun and interesting.... just want to drive it some more first....
 
By the way are you planning the Trans/TC hose connection now that everything is new and tight?
 

Users who are viewing this thread

Back
Top Bottom