Builds LuckyNB 77 FJ40 - 7 Year Journey (1 Viewer)

This site may earn a commission from merchant affiliate
links, including eBay, Amazon, Skimlinks, and others.

Joined
Mar 9, 2013
Threads
14
Messages
113
Location
New Braunfels, TX
Documenting the 7 year journey..

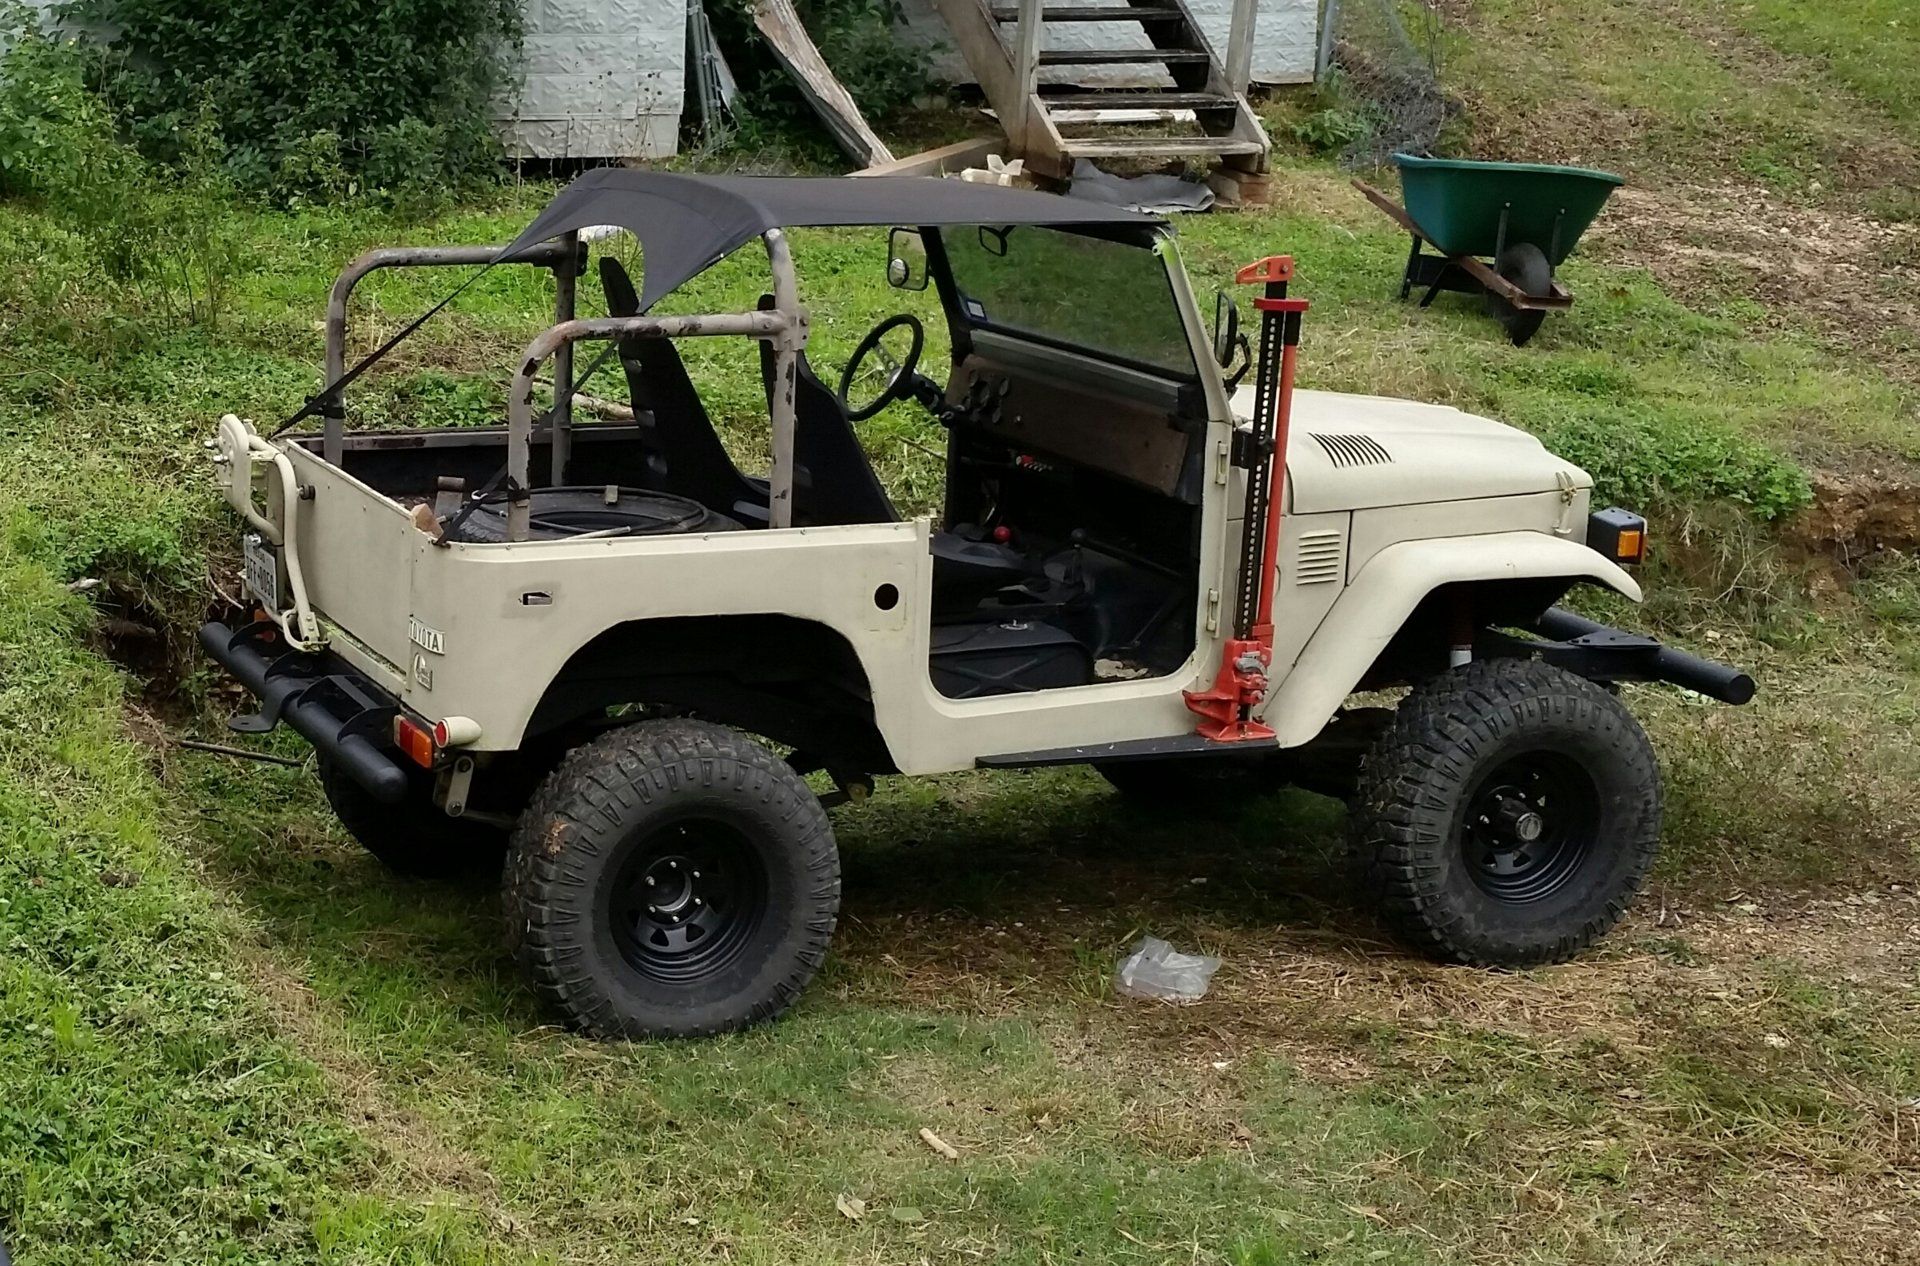
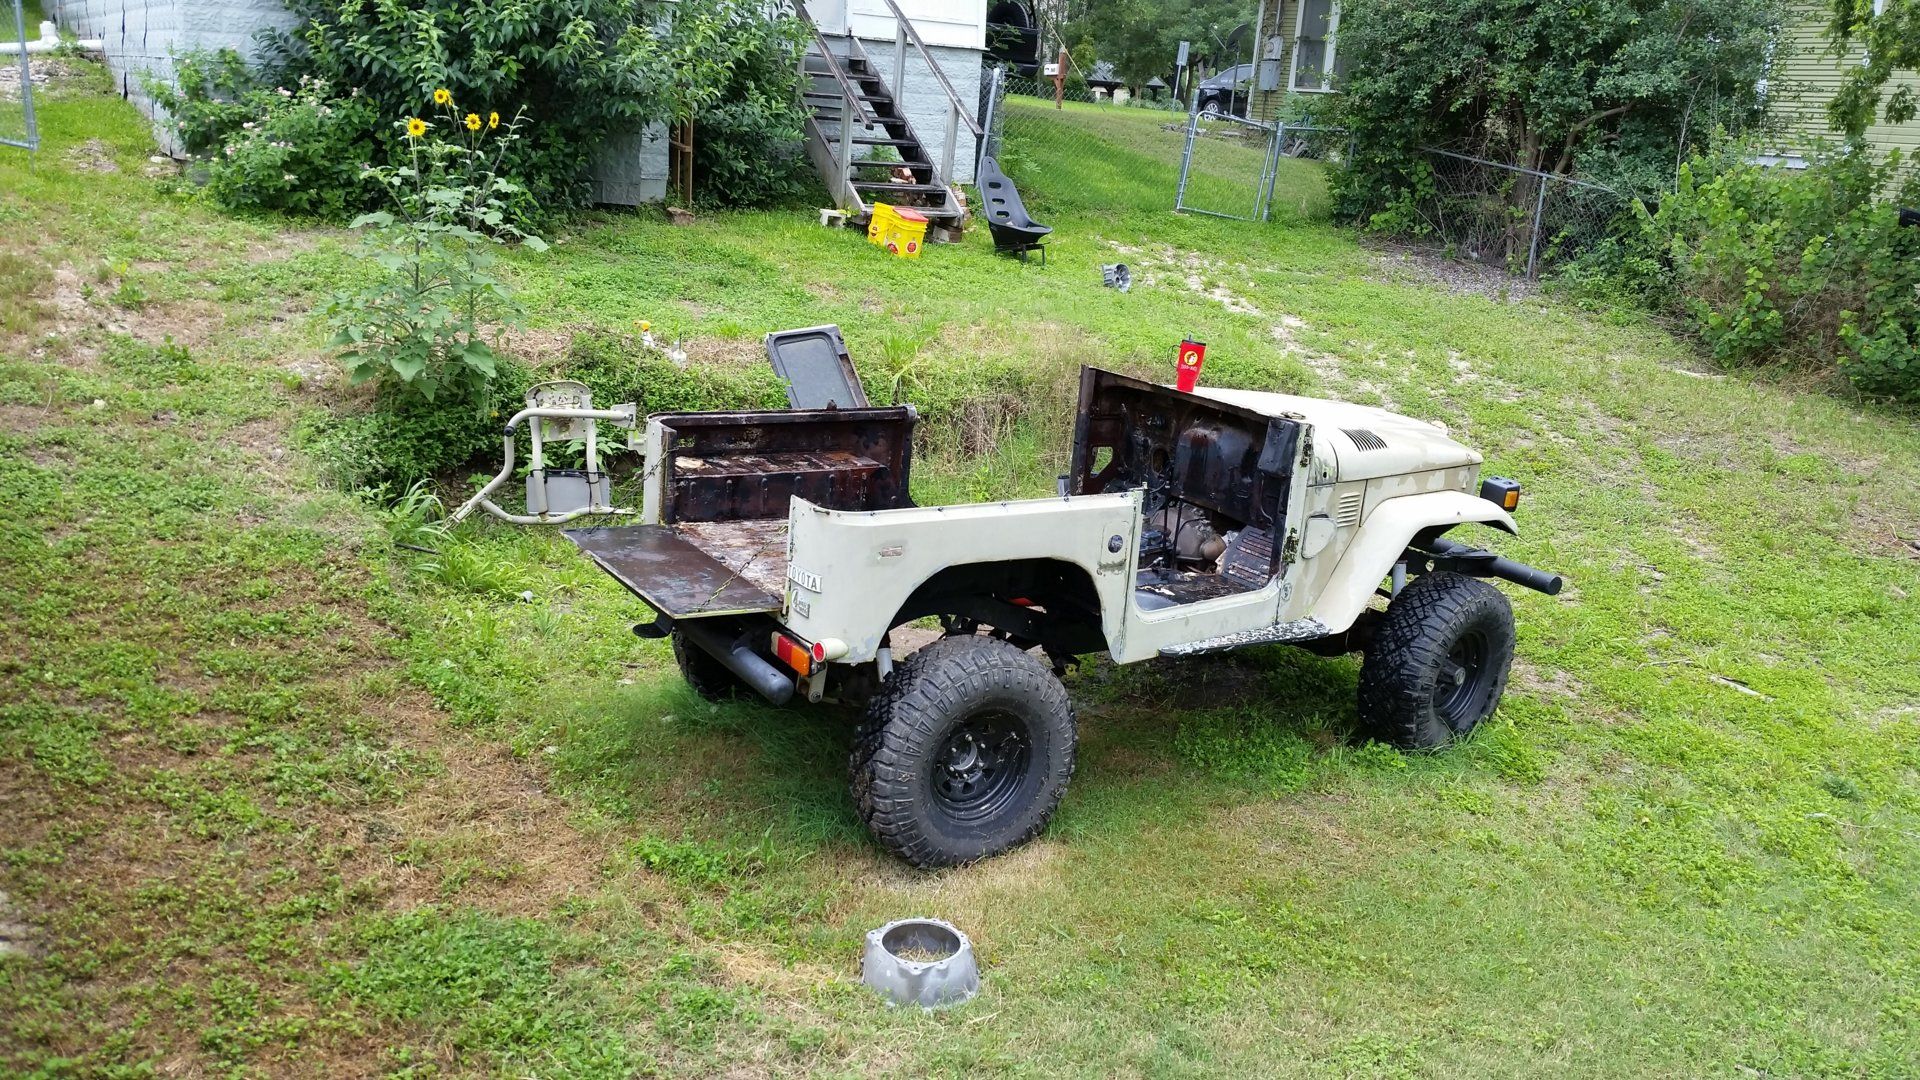
I bought this 77 FJ40 for $2400 back in 2011. Stock 2f and drivetrain, with SOA. It was barely driveable (no brakes) and fugly.

full


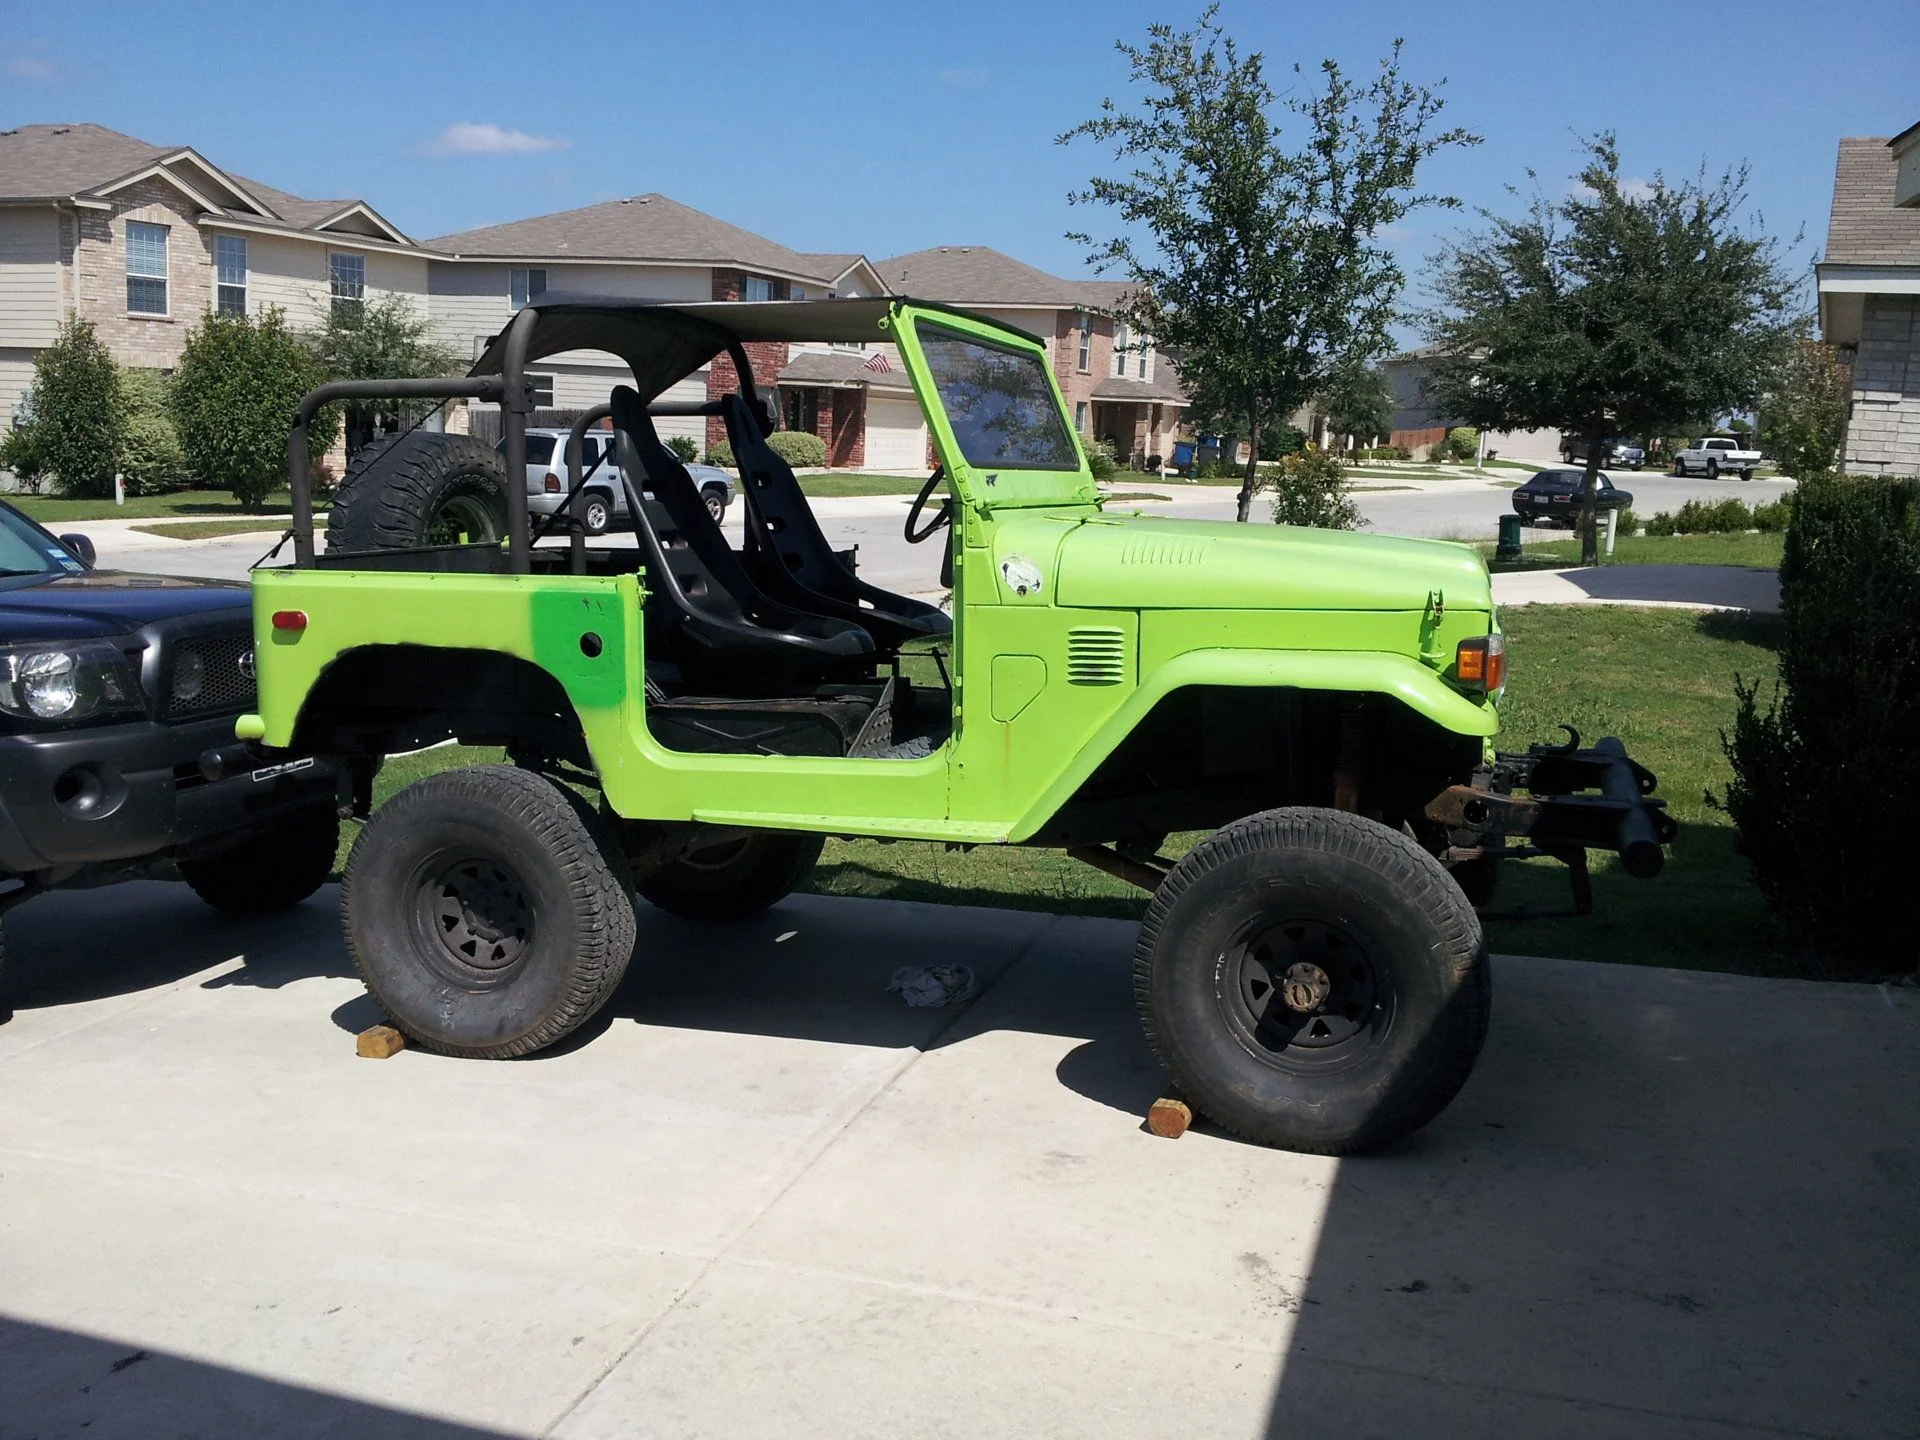
During first week I fixed the brakes and got rid of the toxic green.. 8 cans of Flat Desert Tan, a little flat black and some flat white - all rattle can.

full


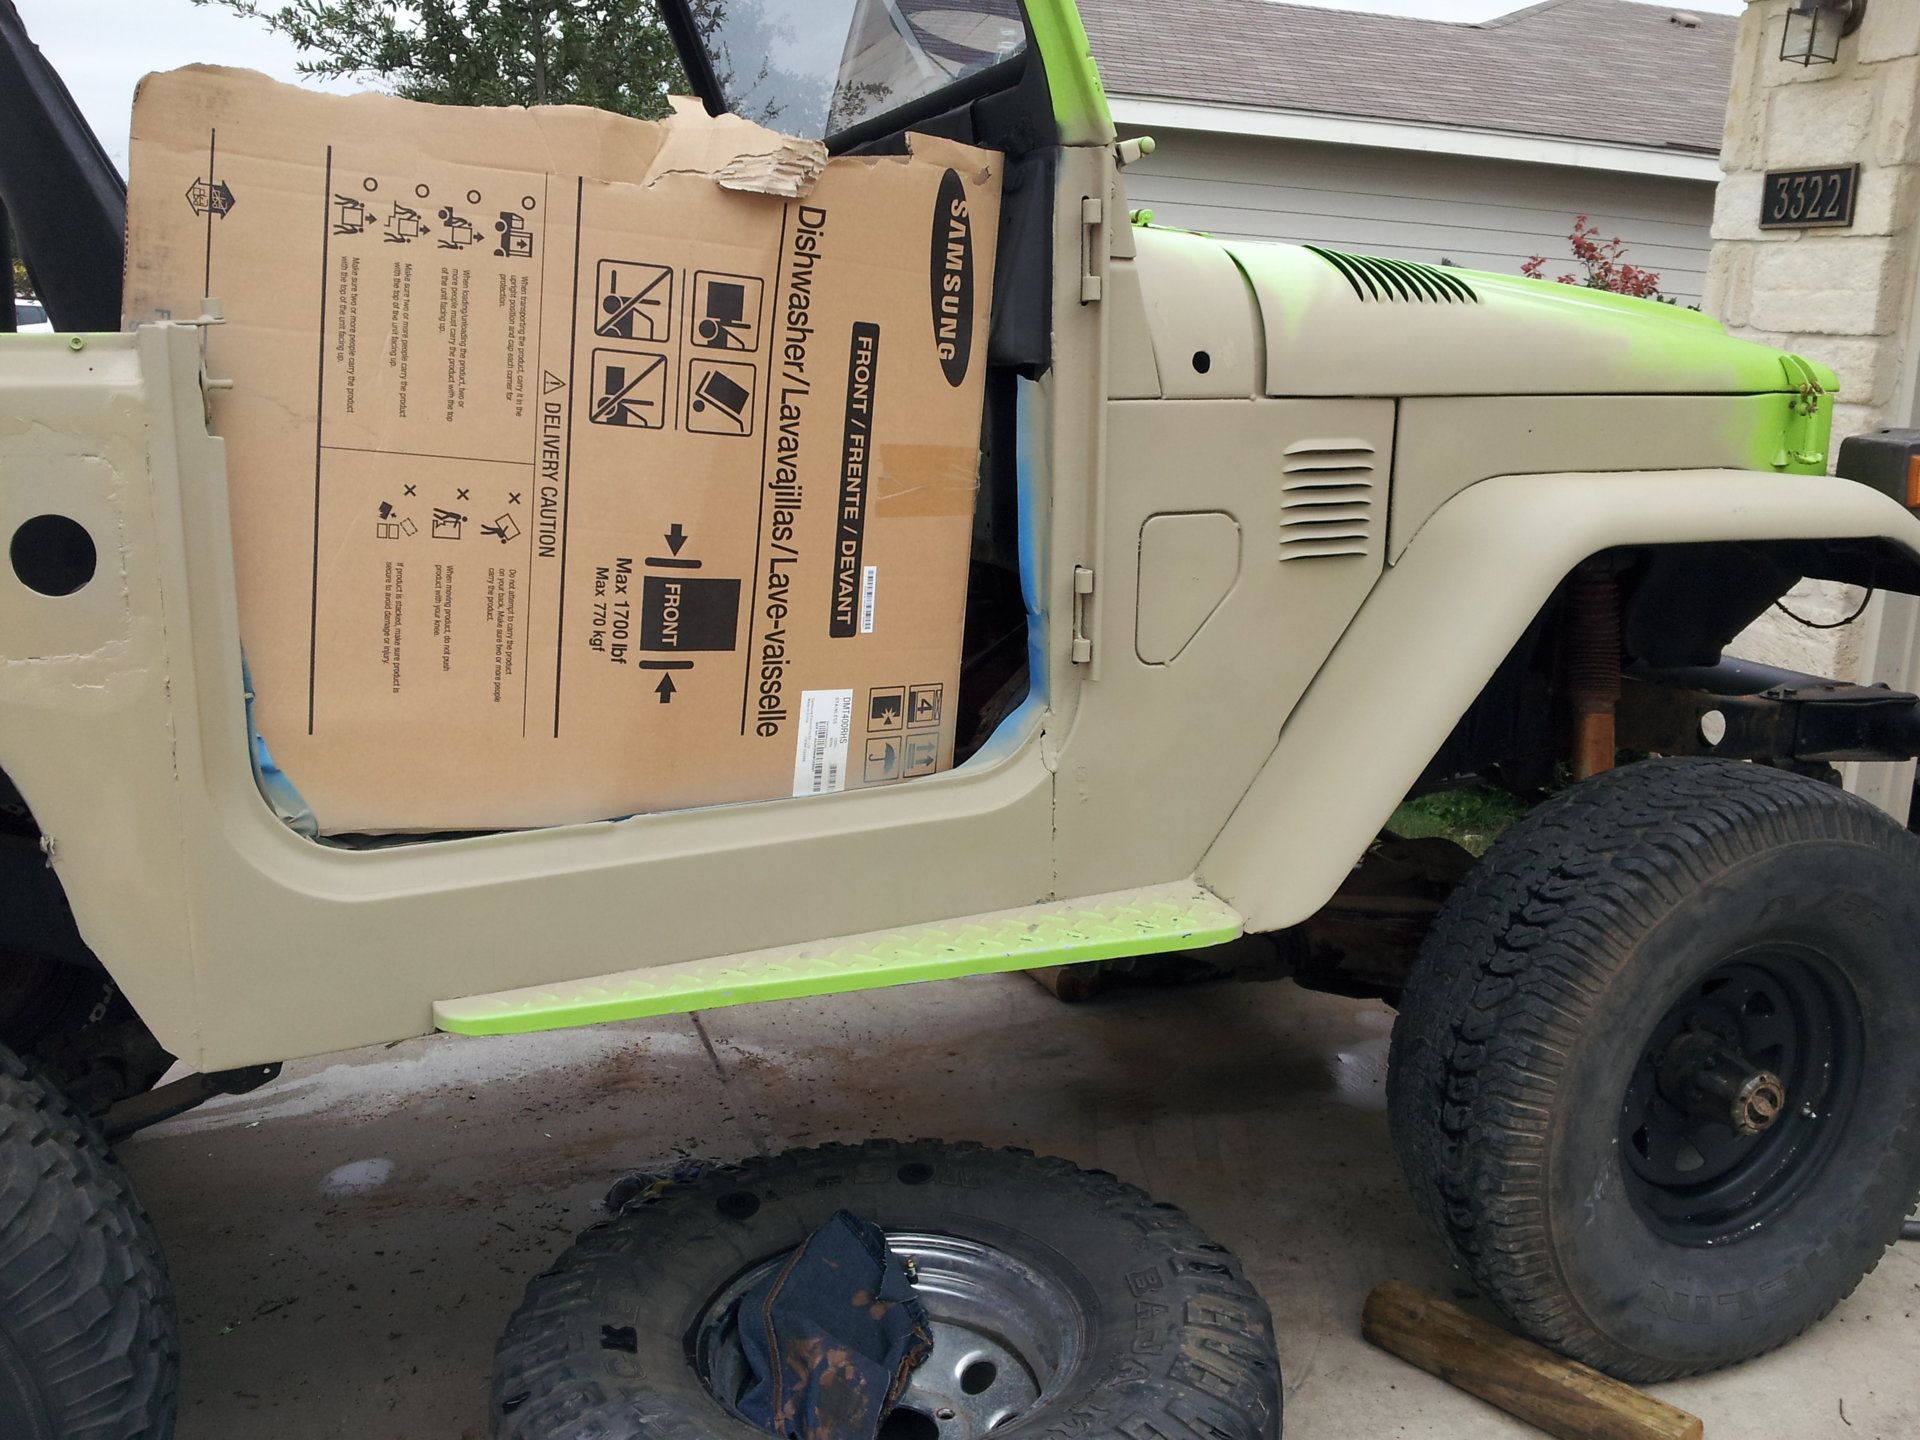
Added some new tires, cleaned up the mess of wiring and got it inspected and legal.

full


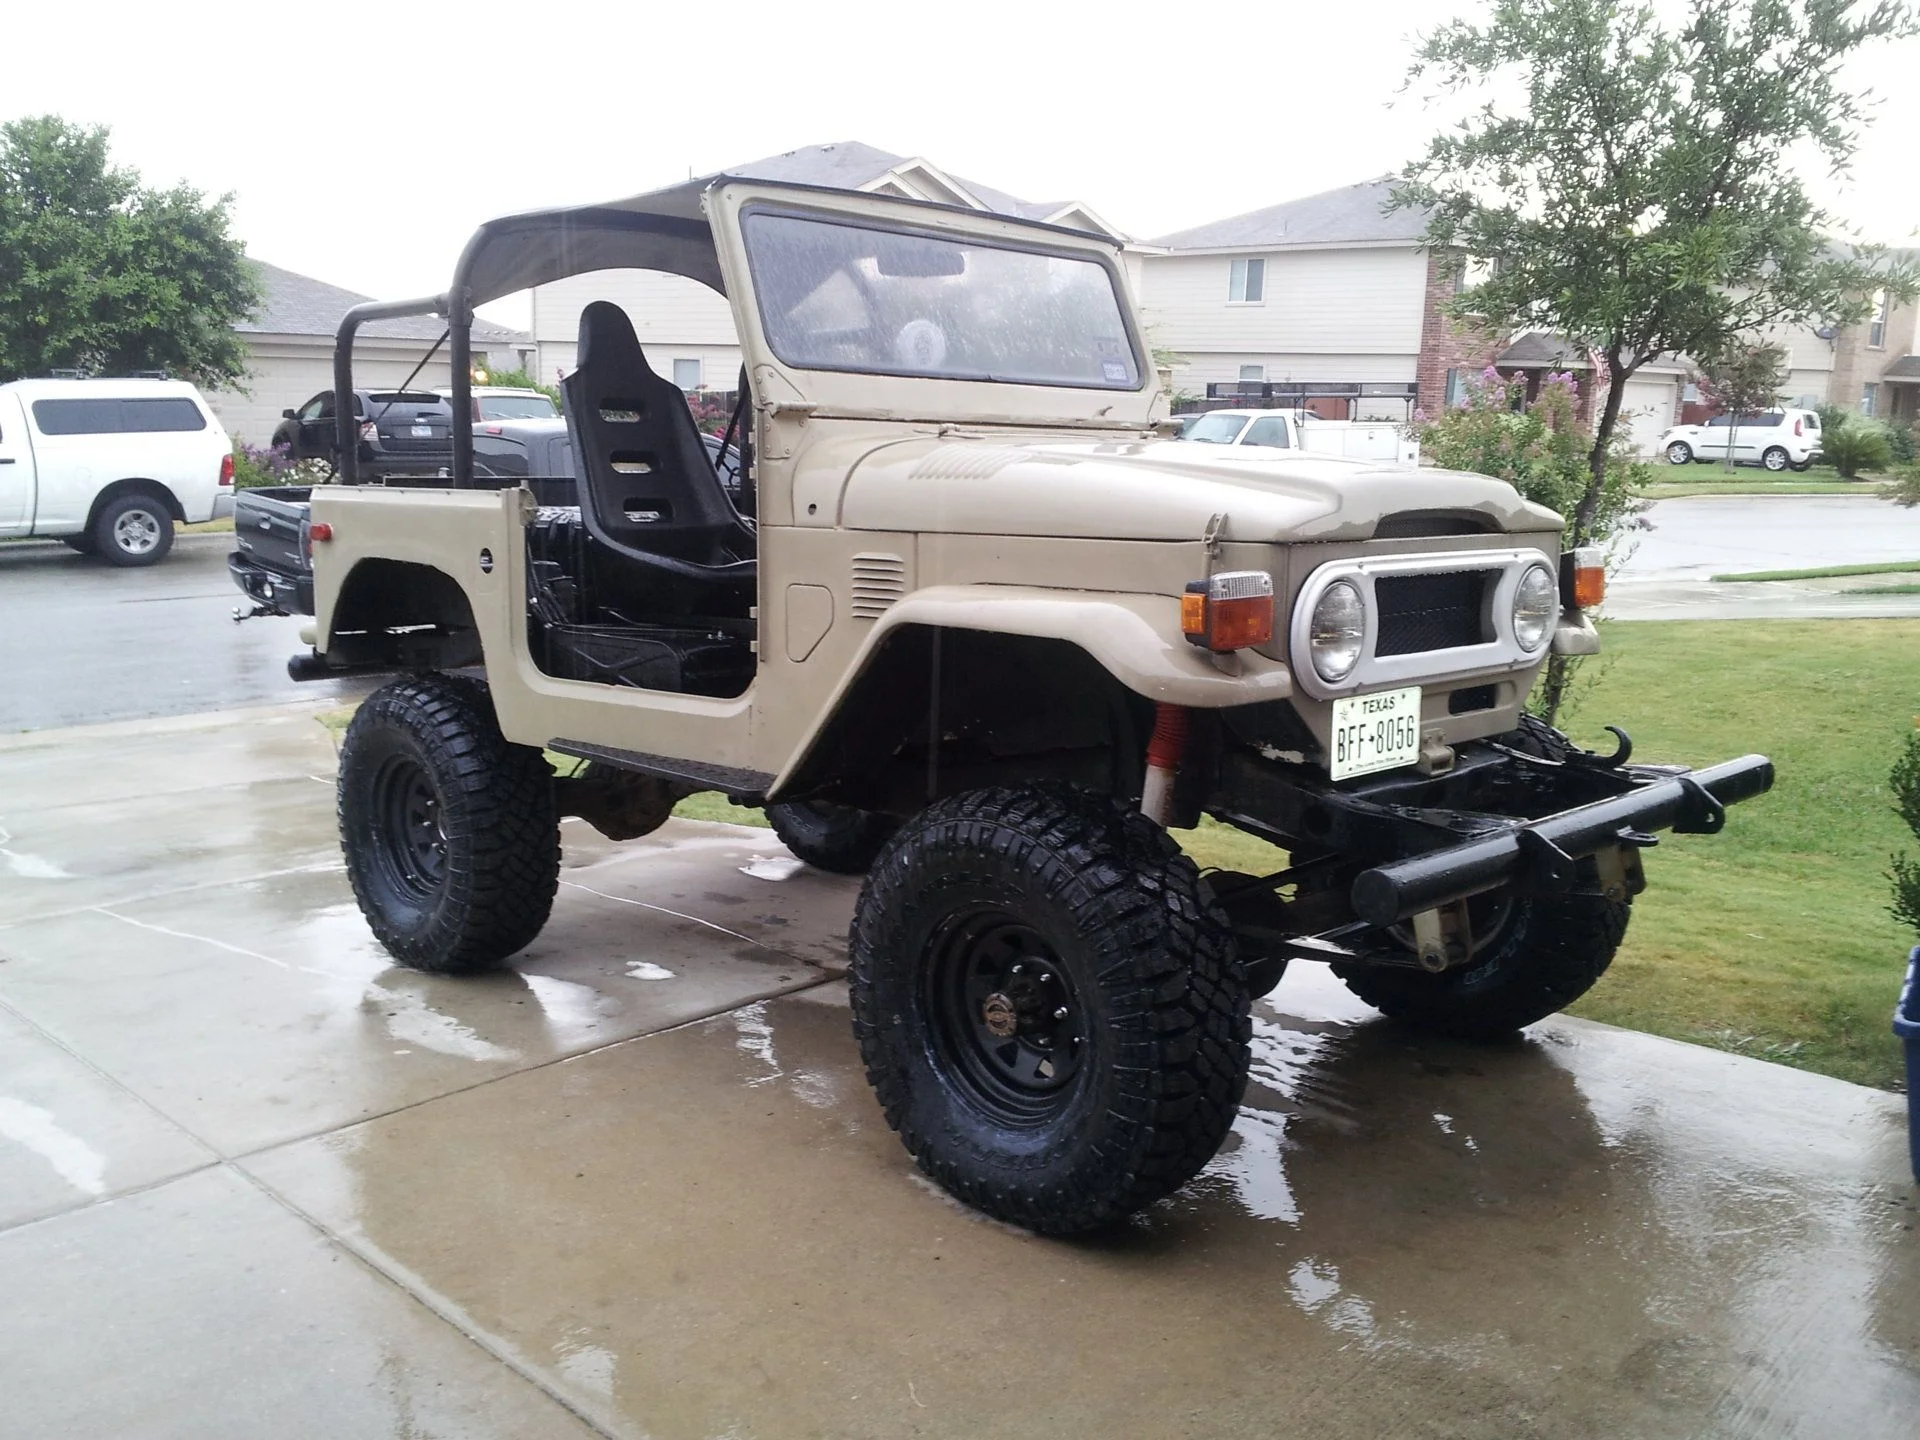
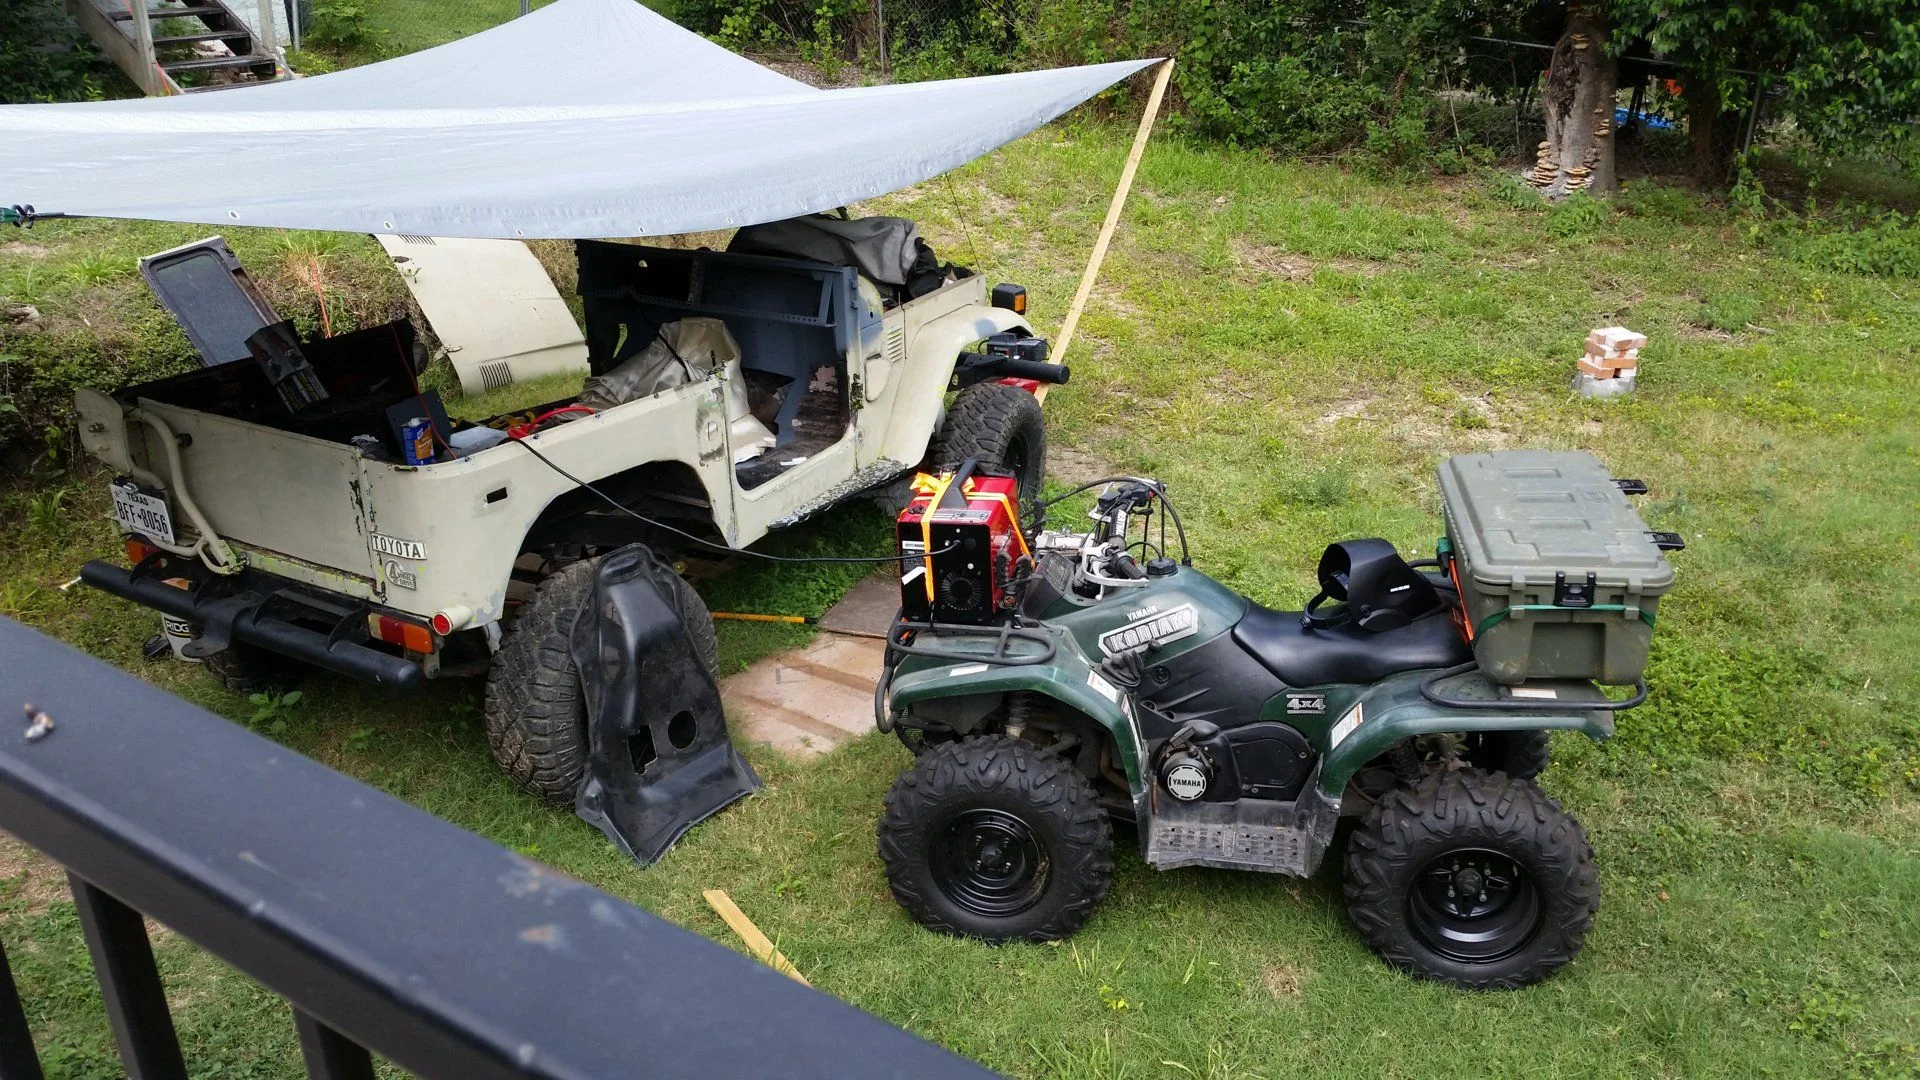
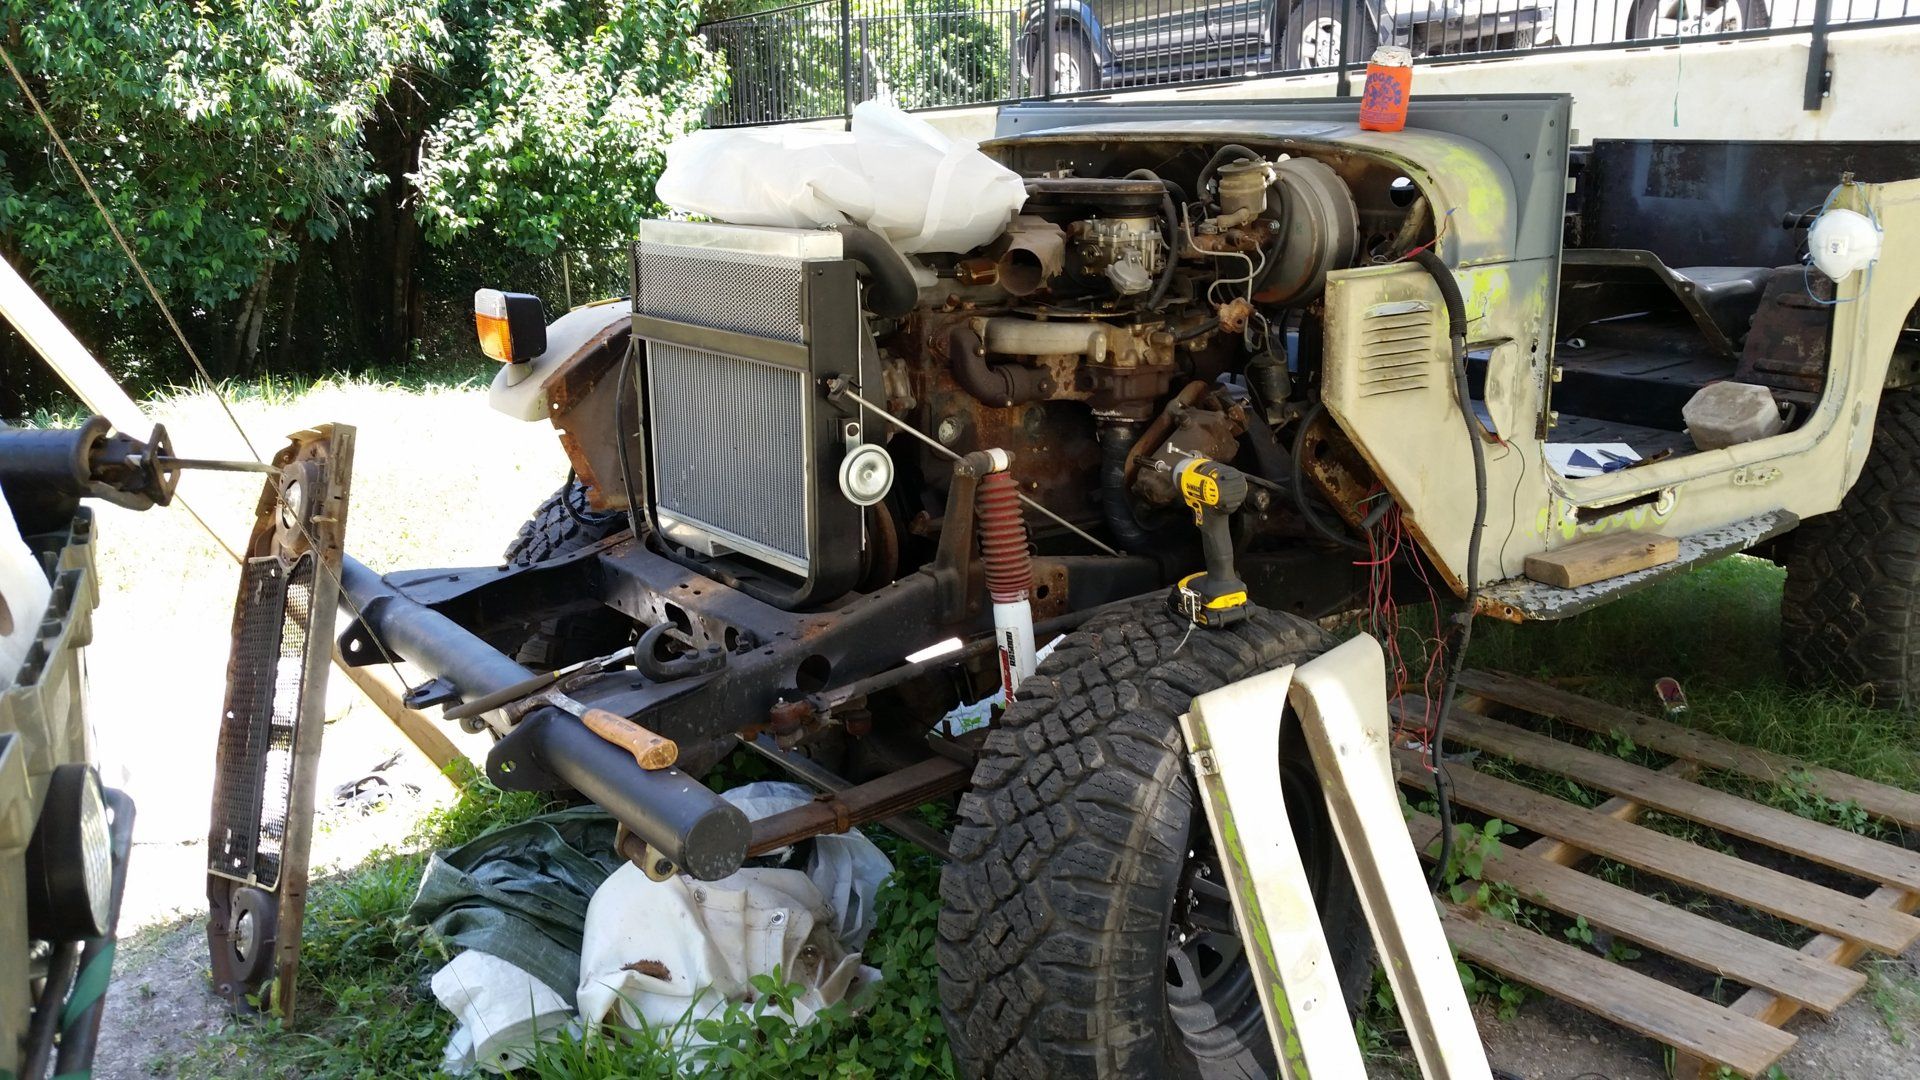
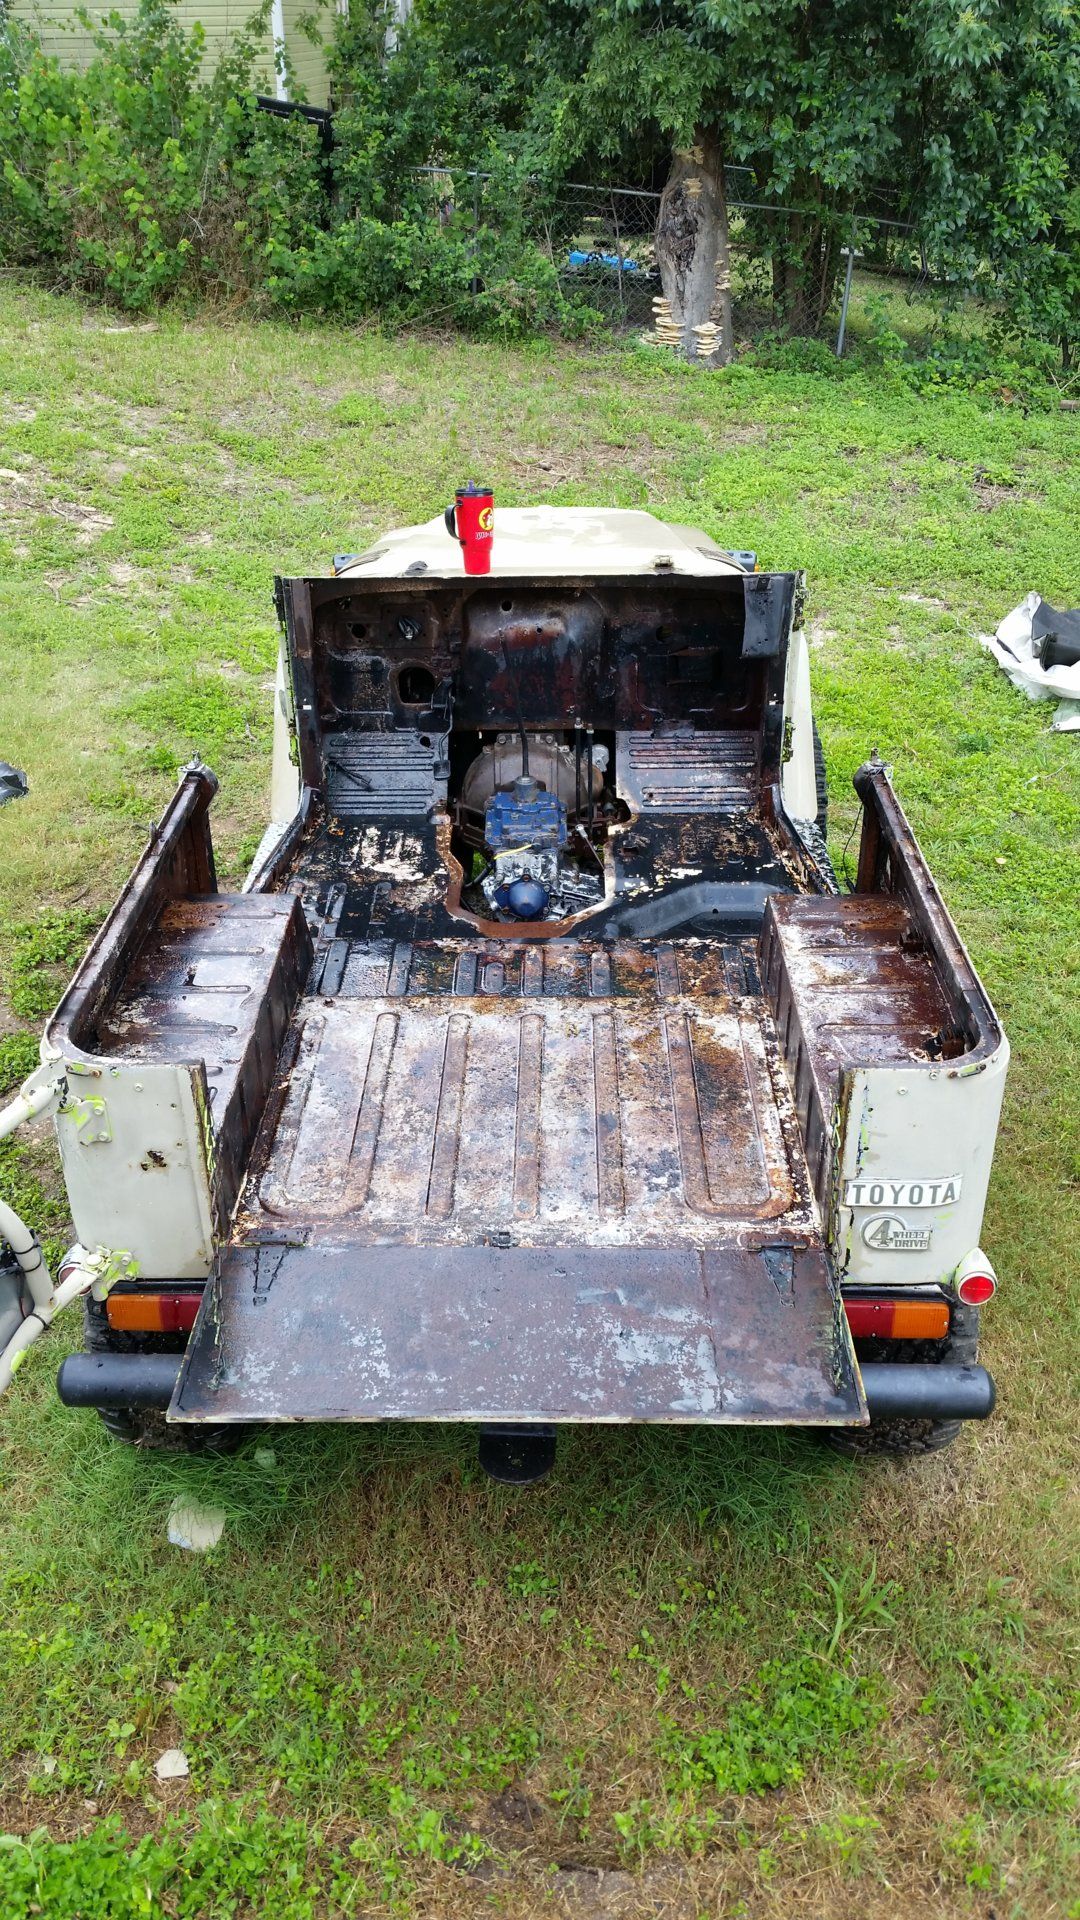
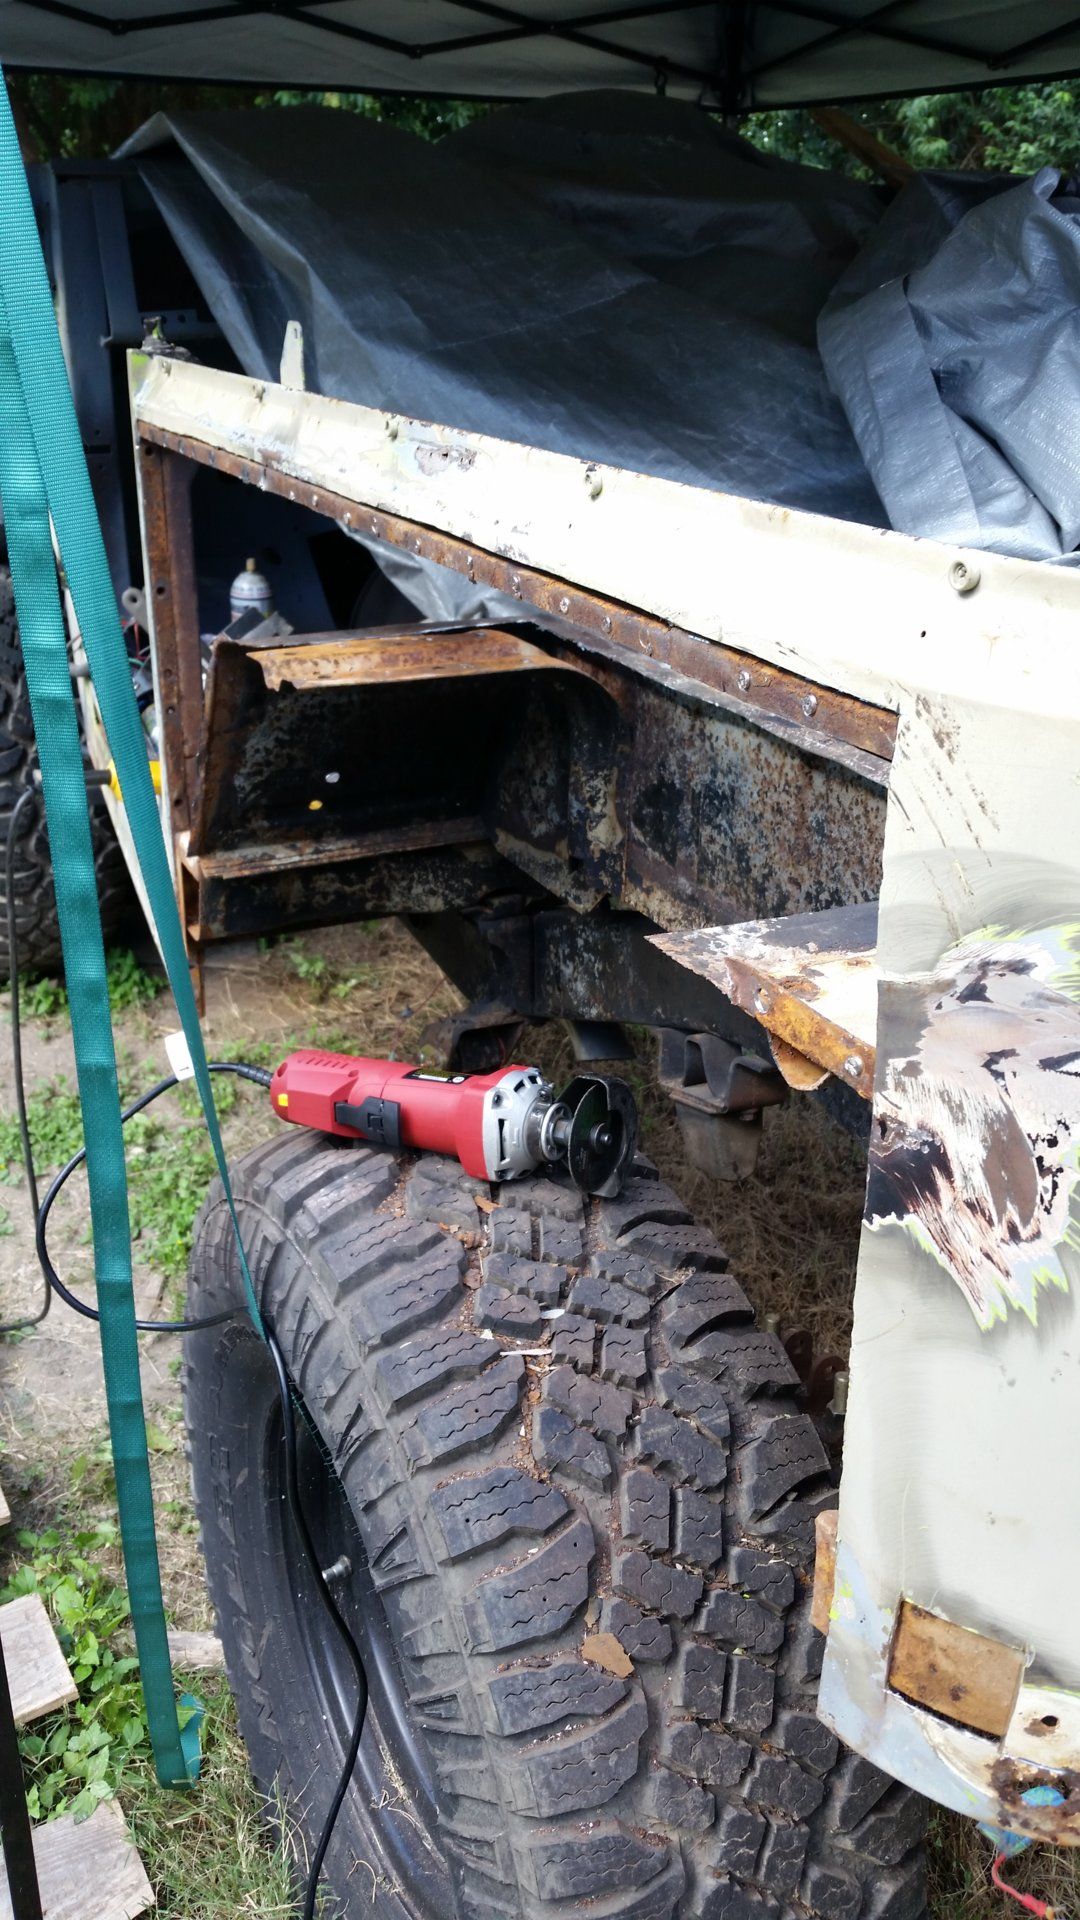
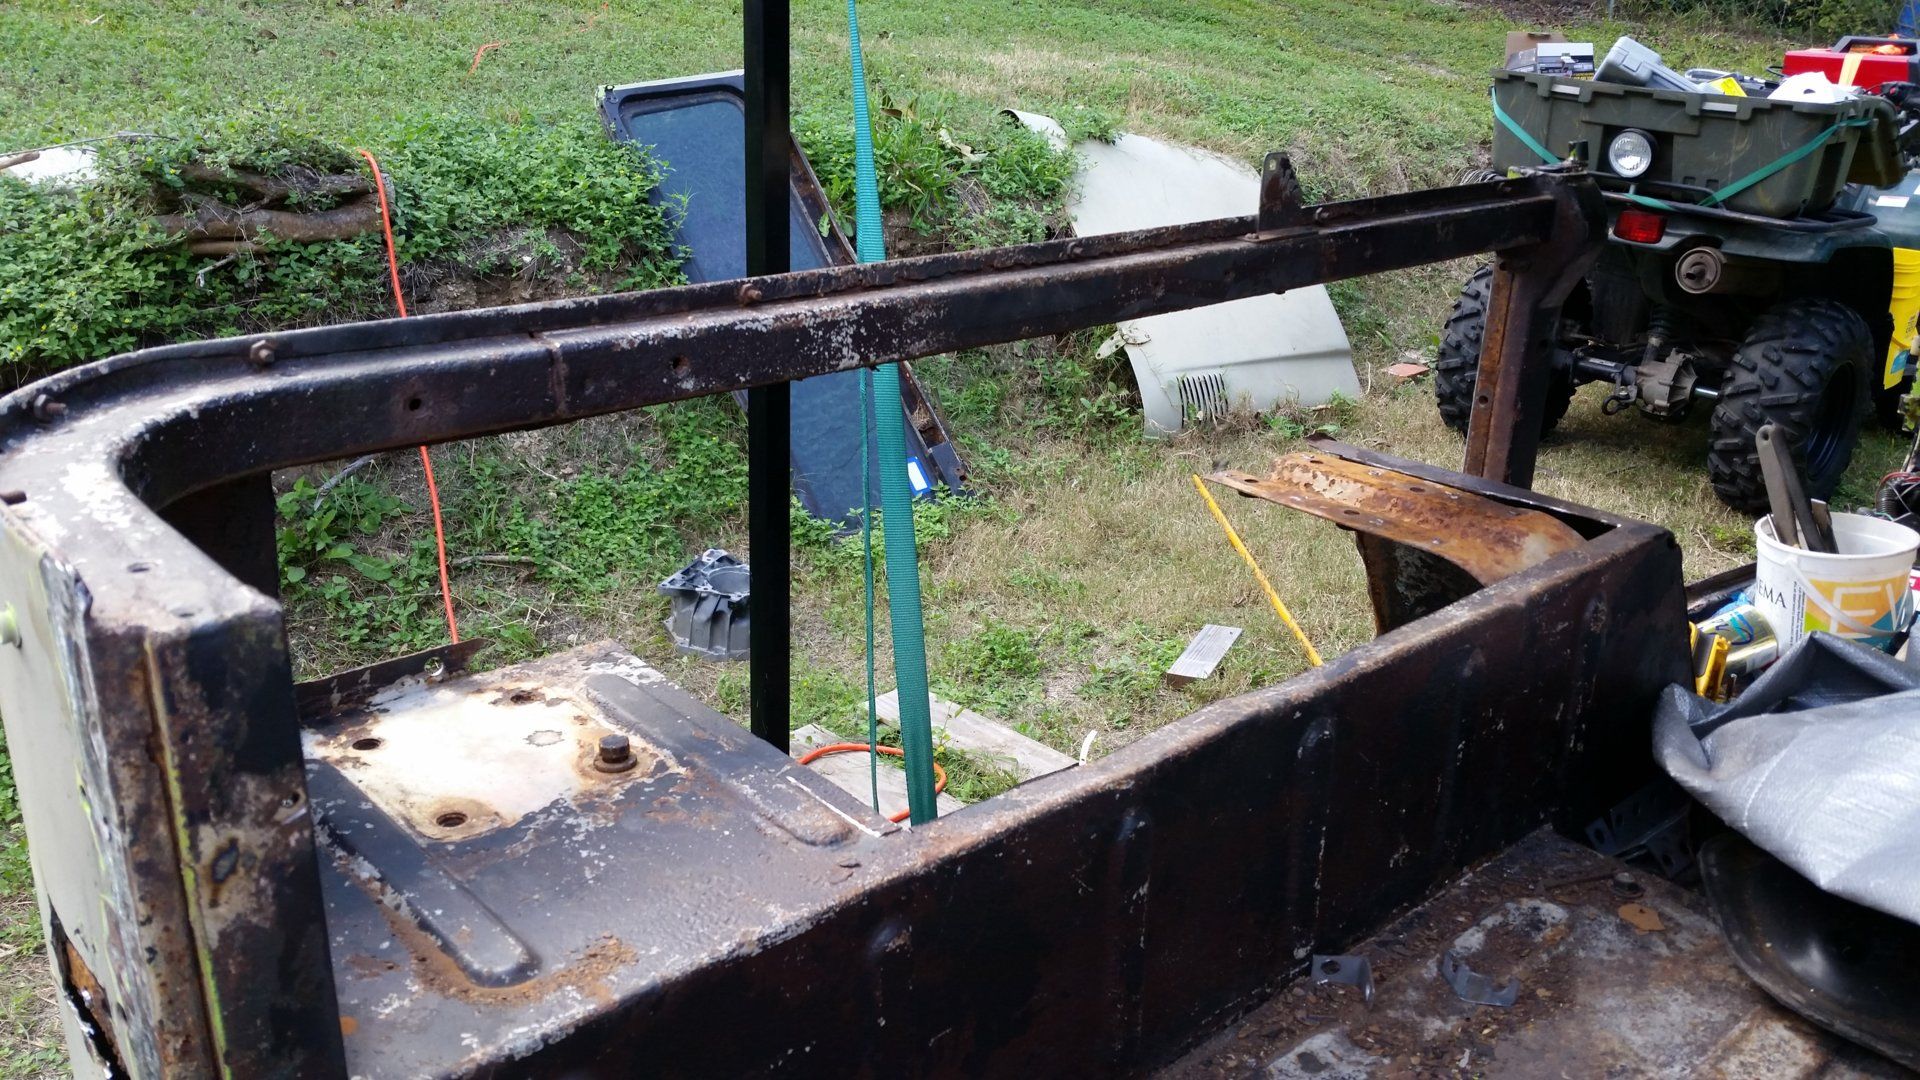
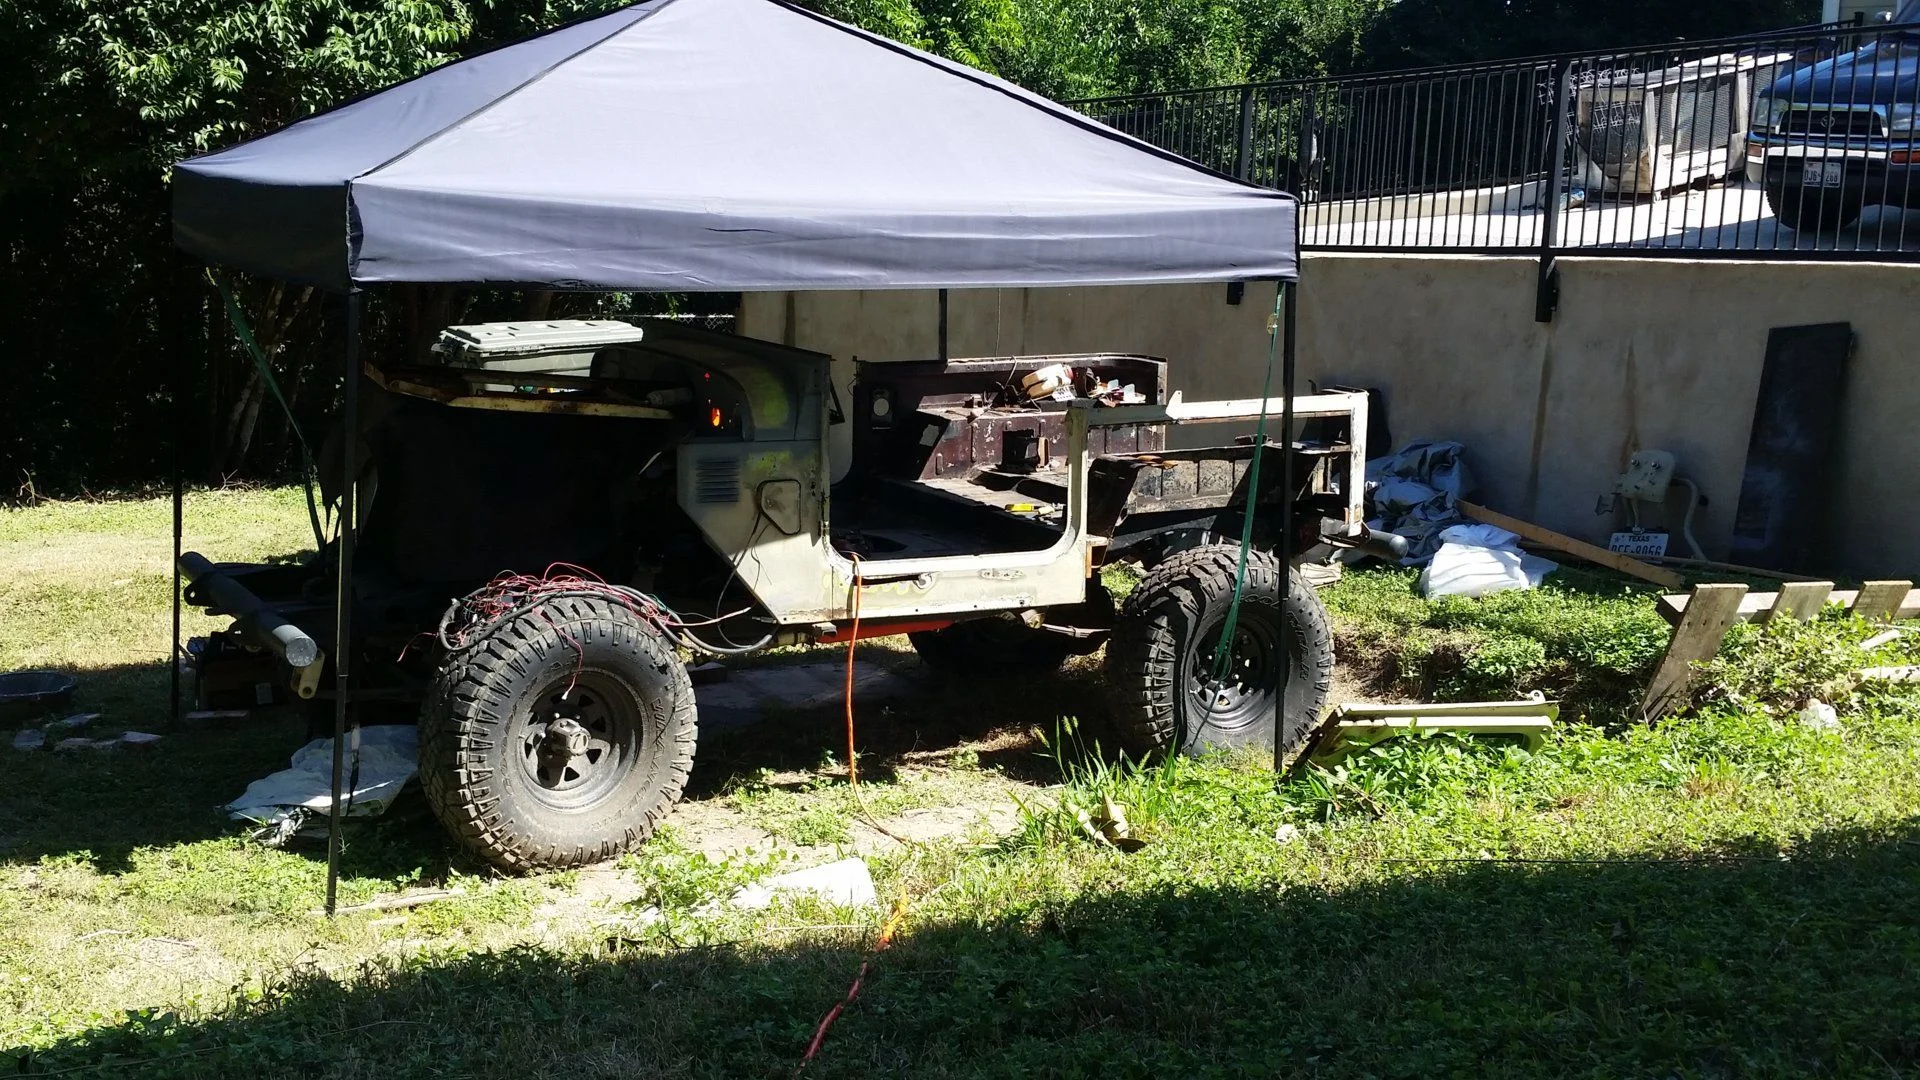
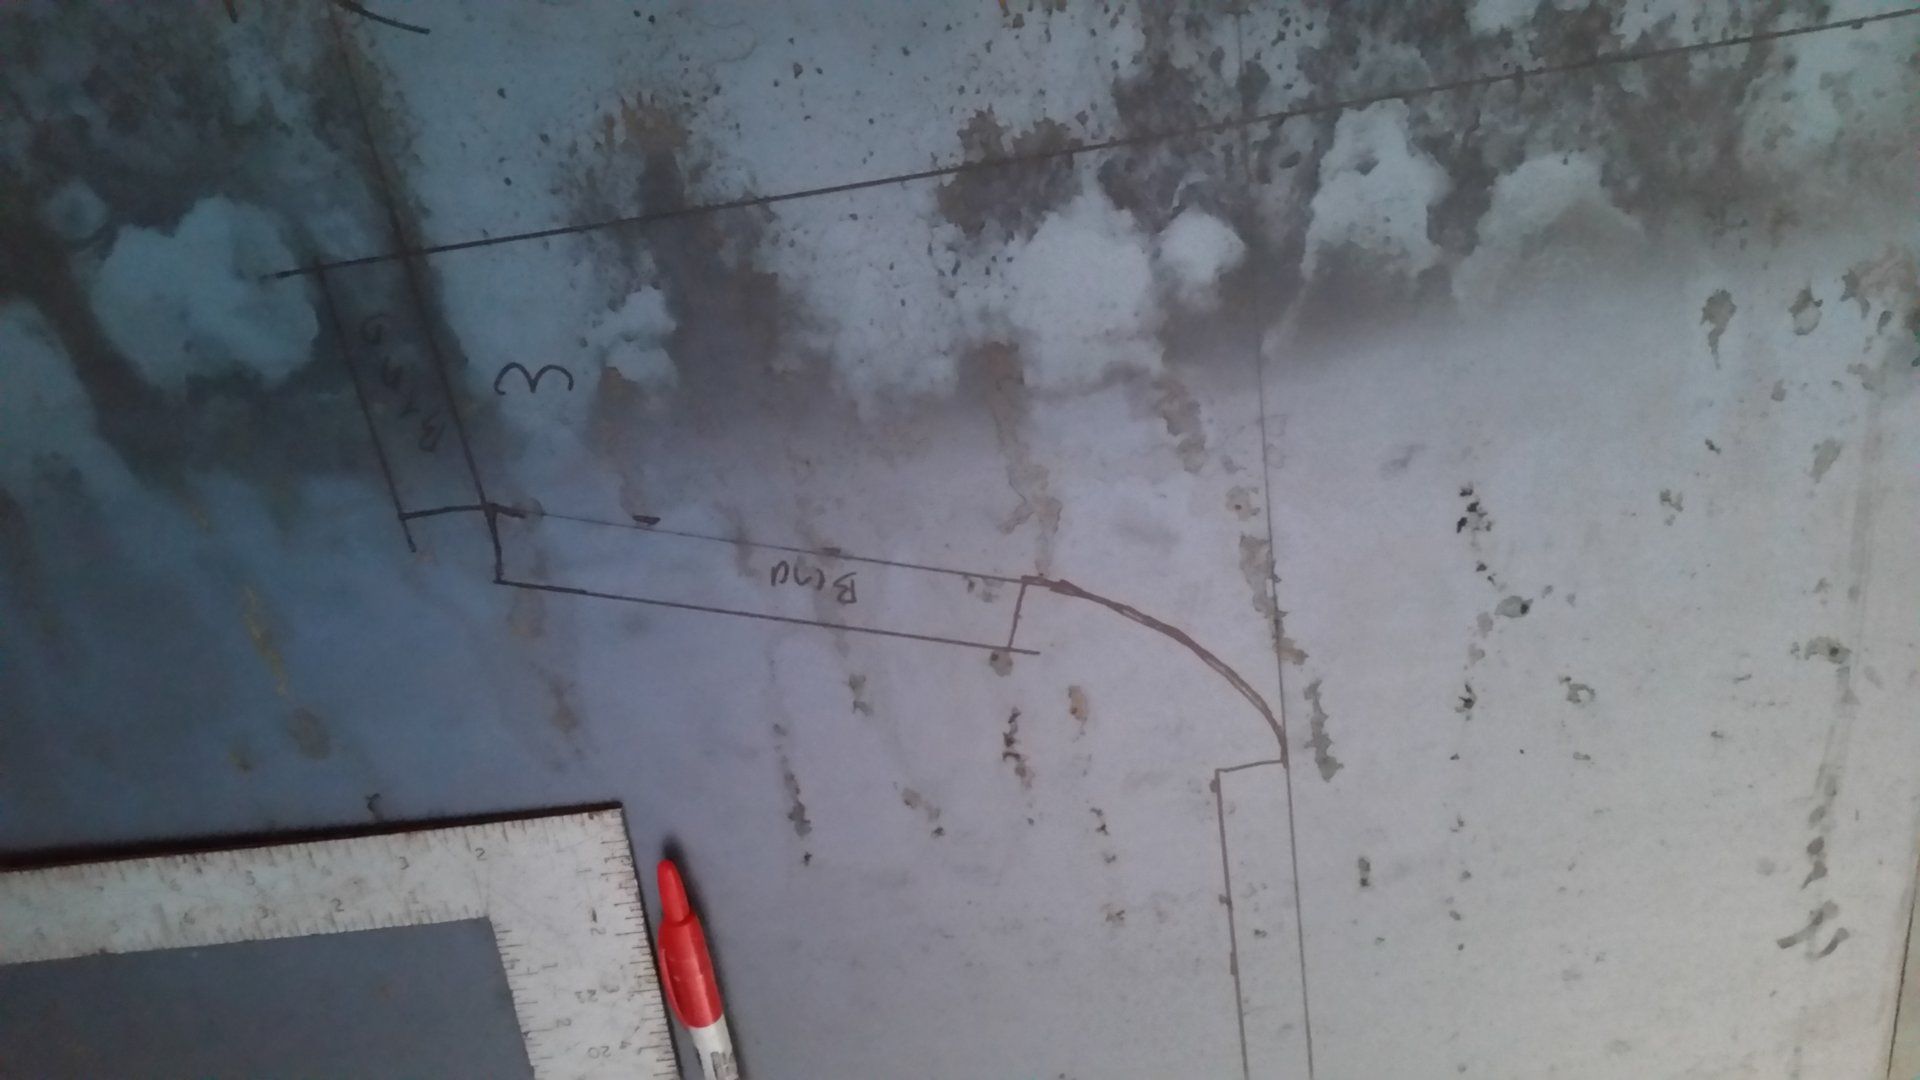
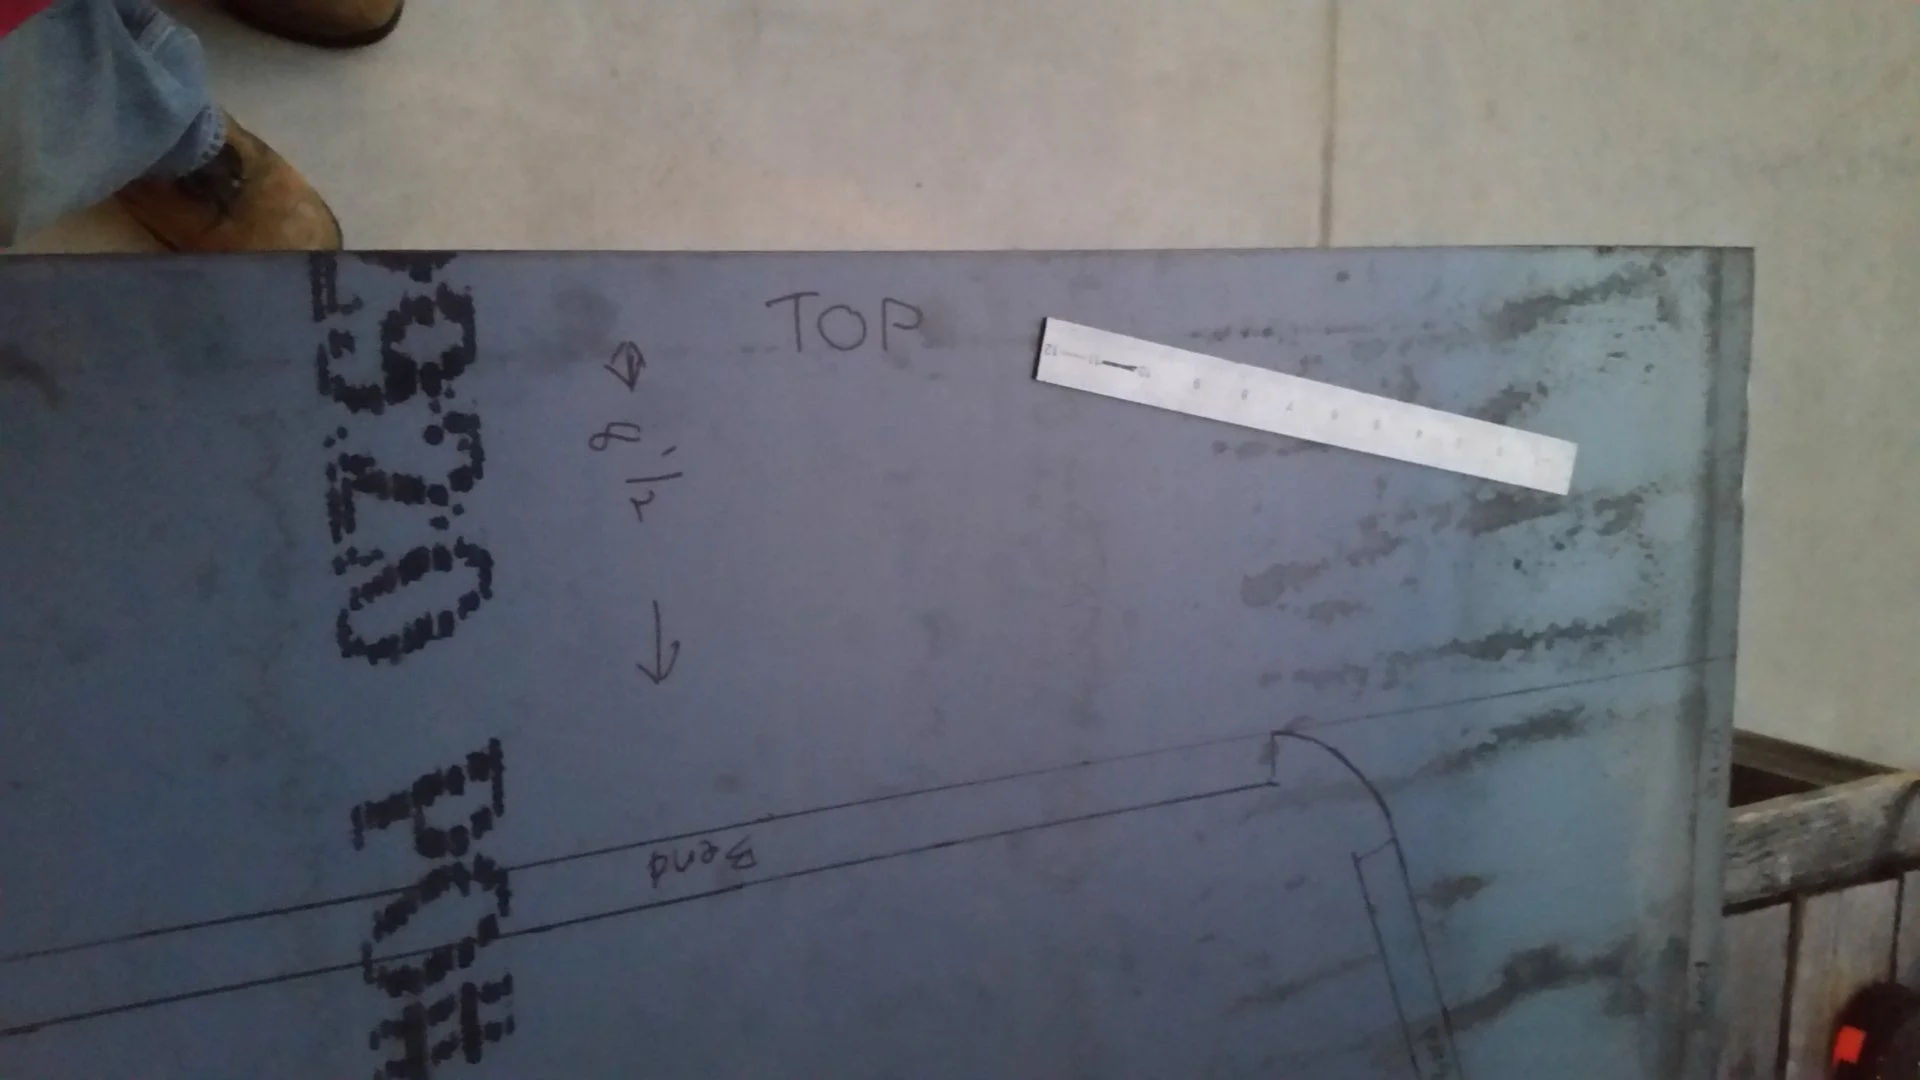
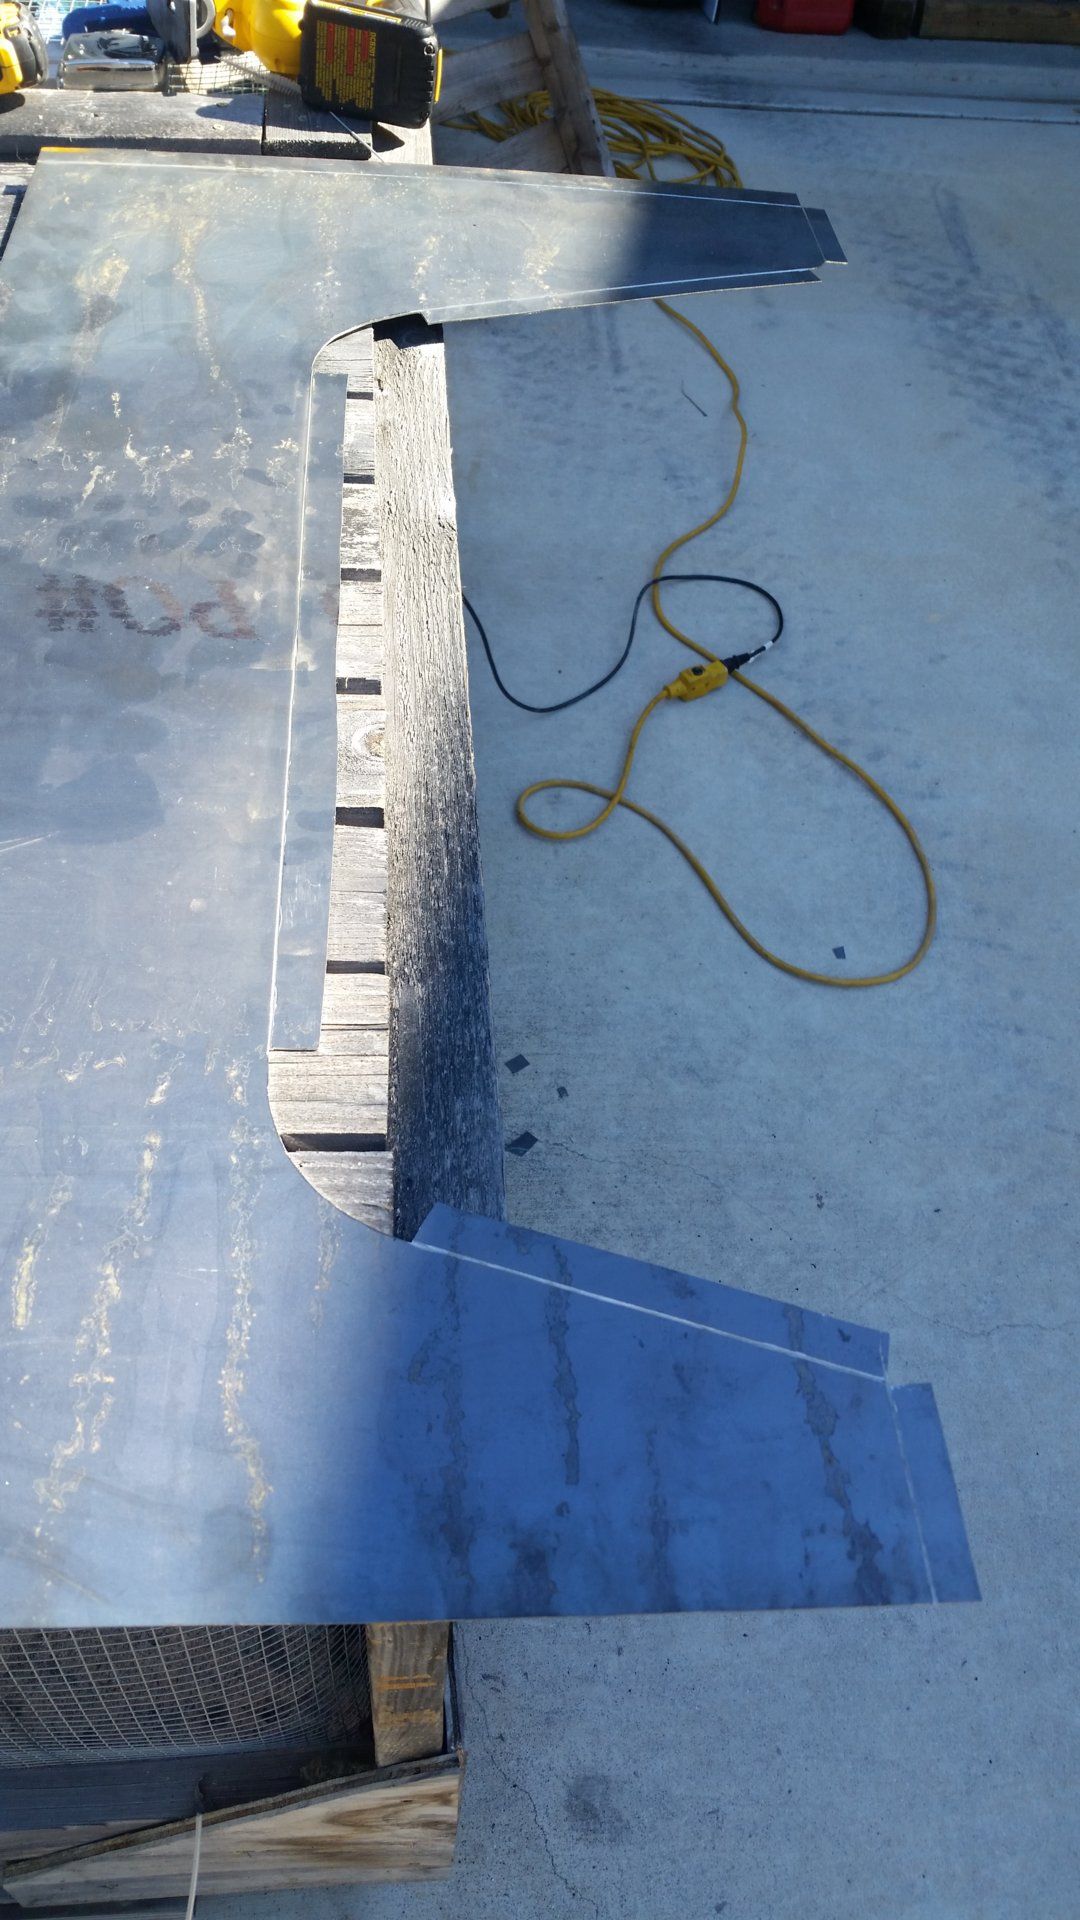
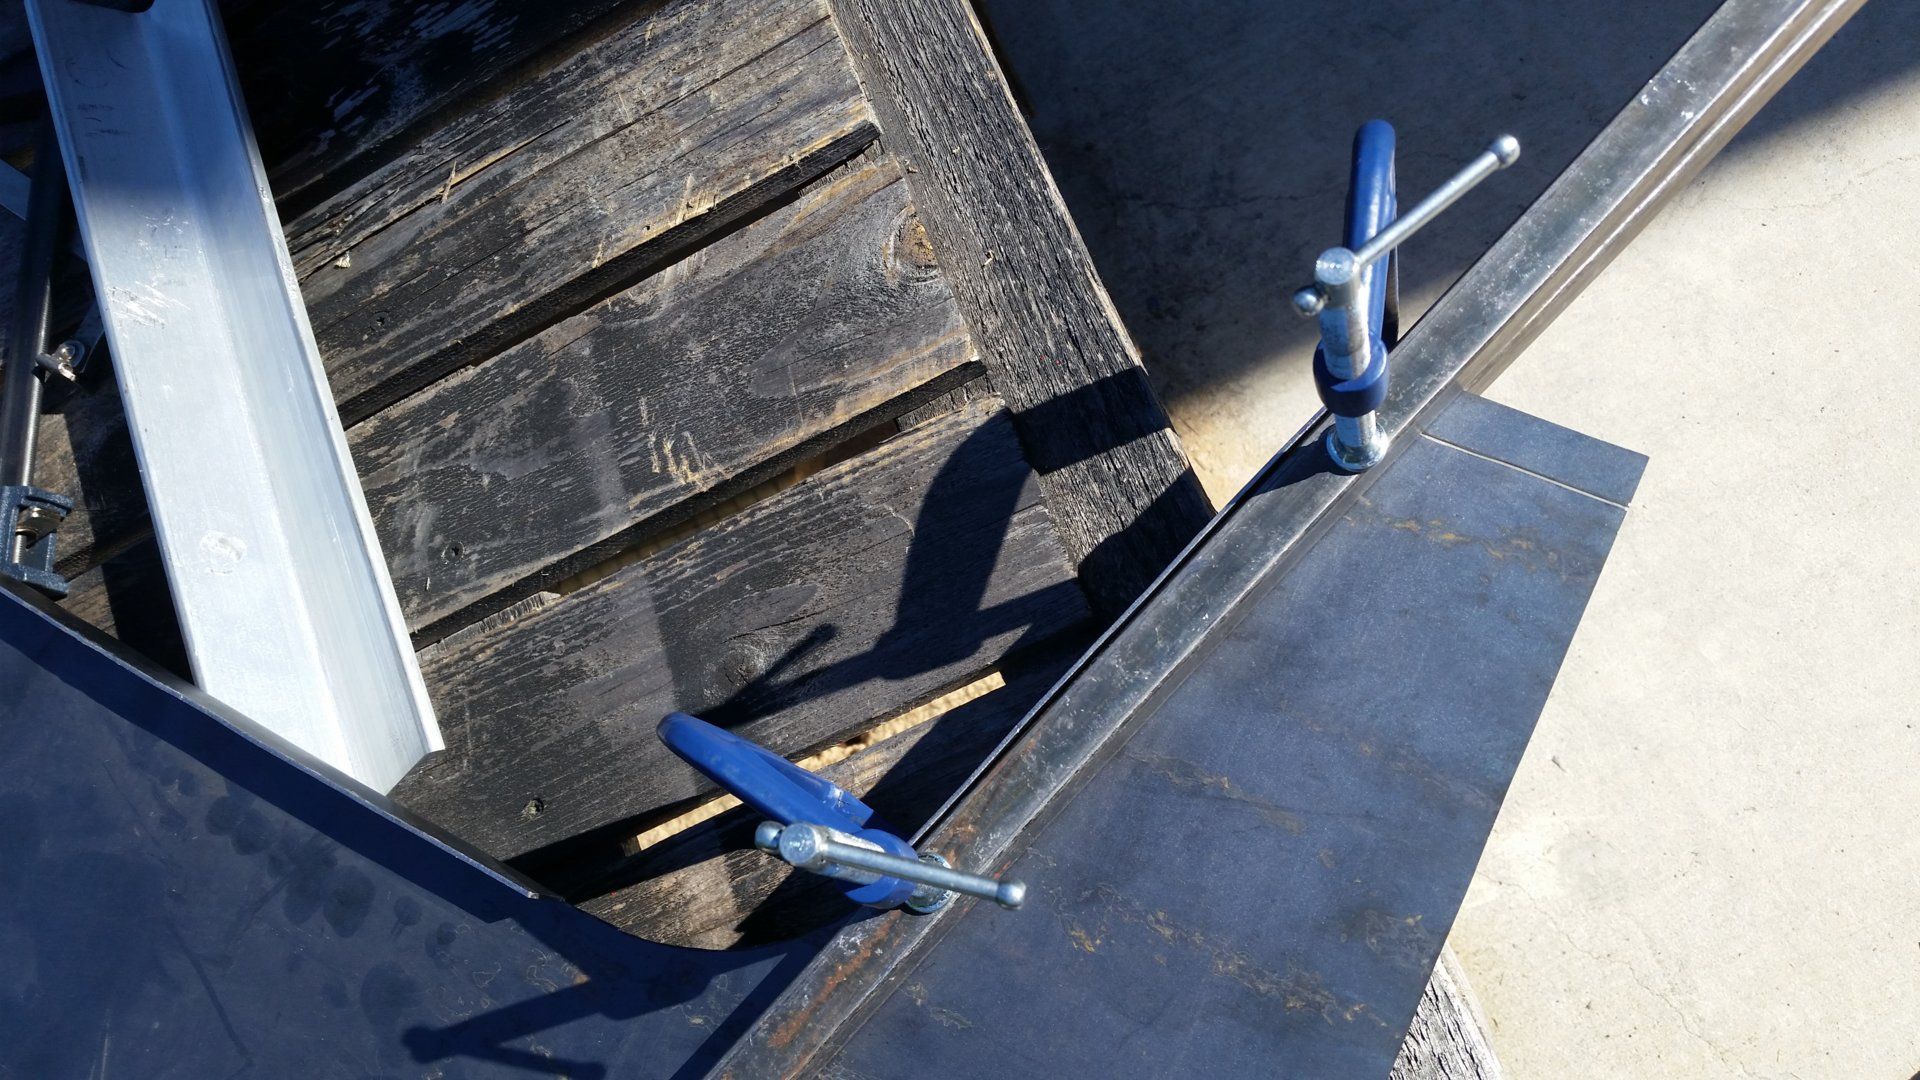
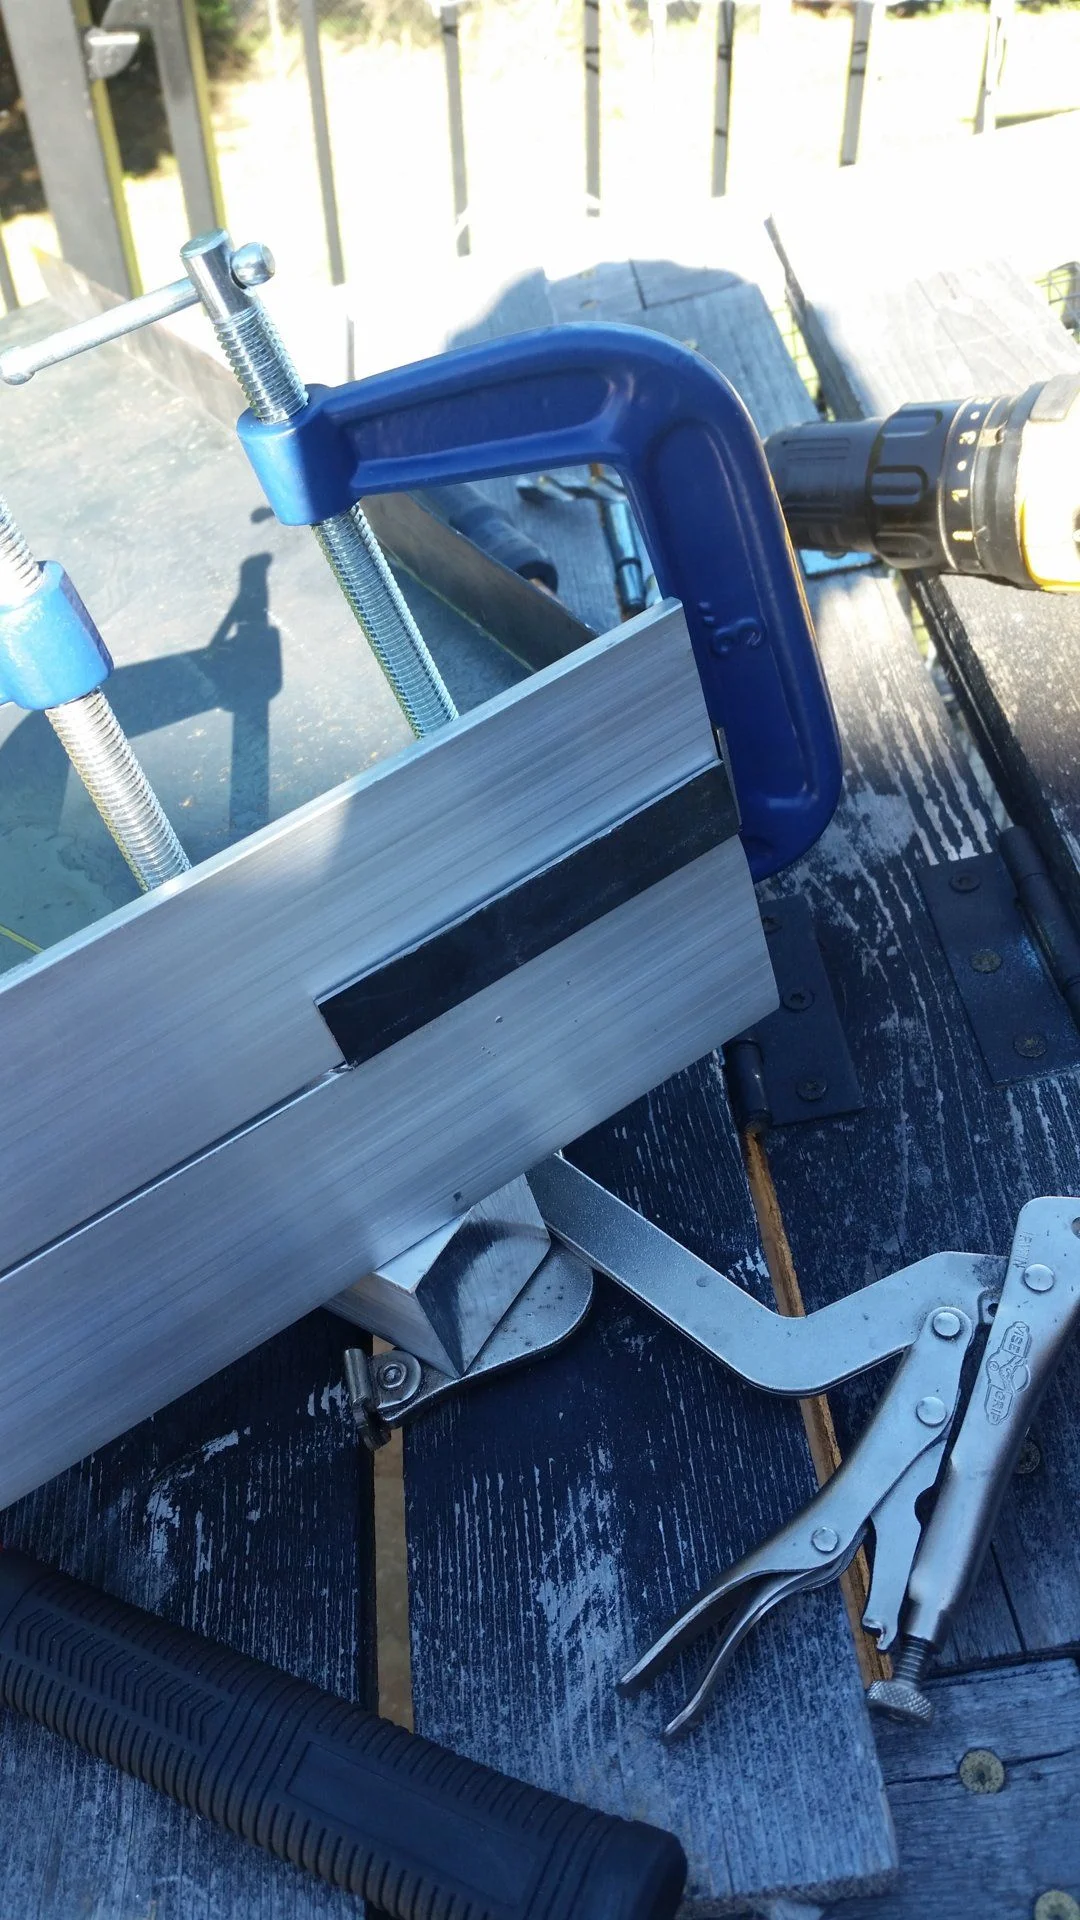
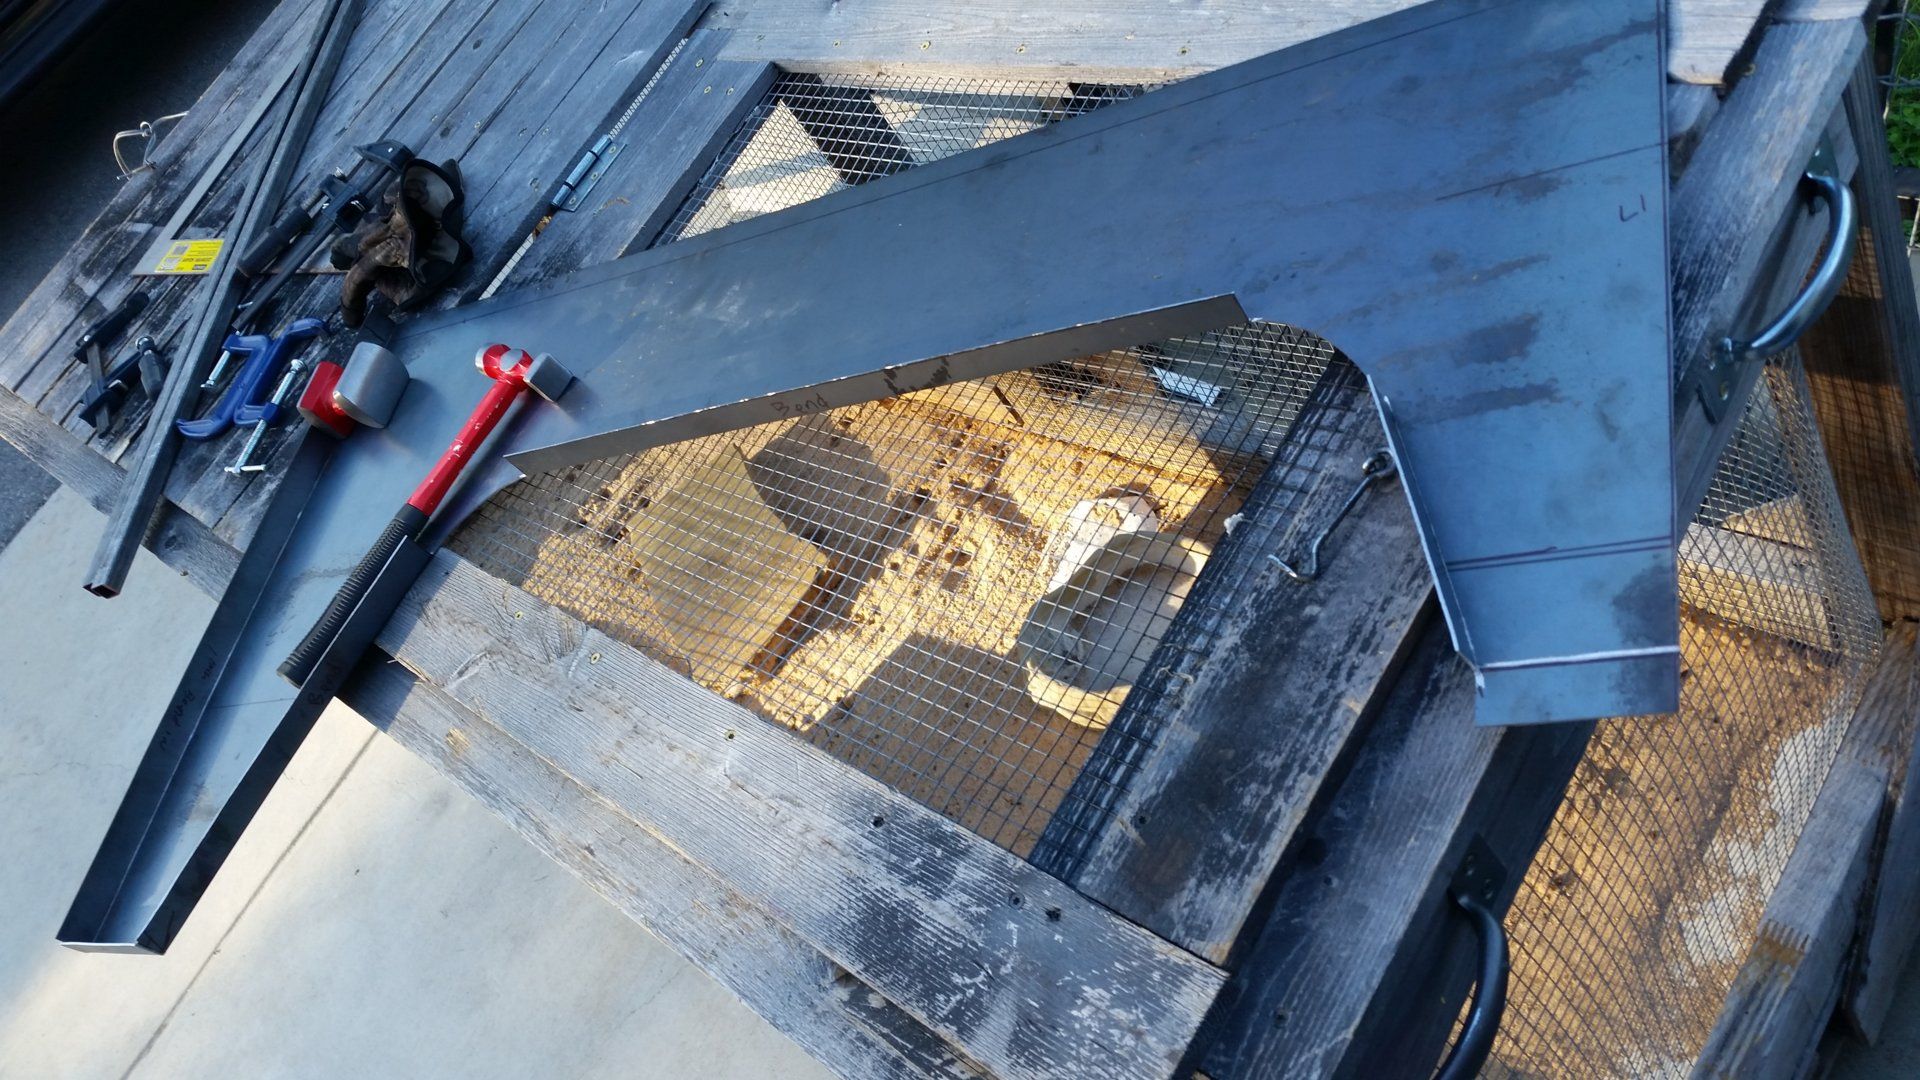
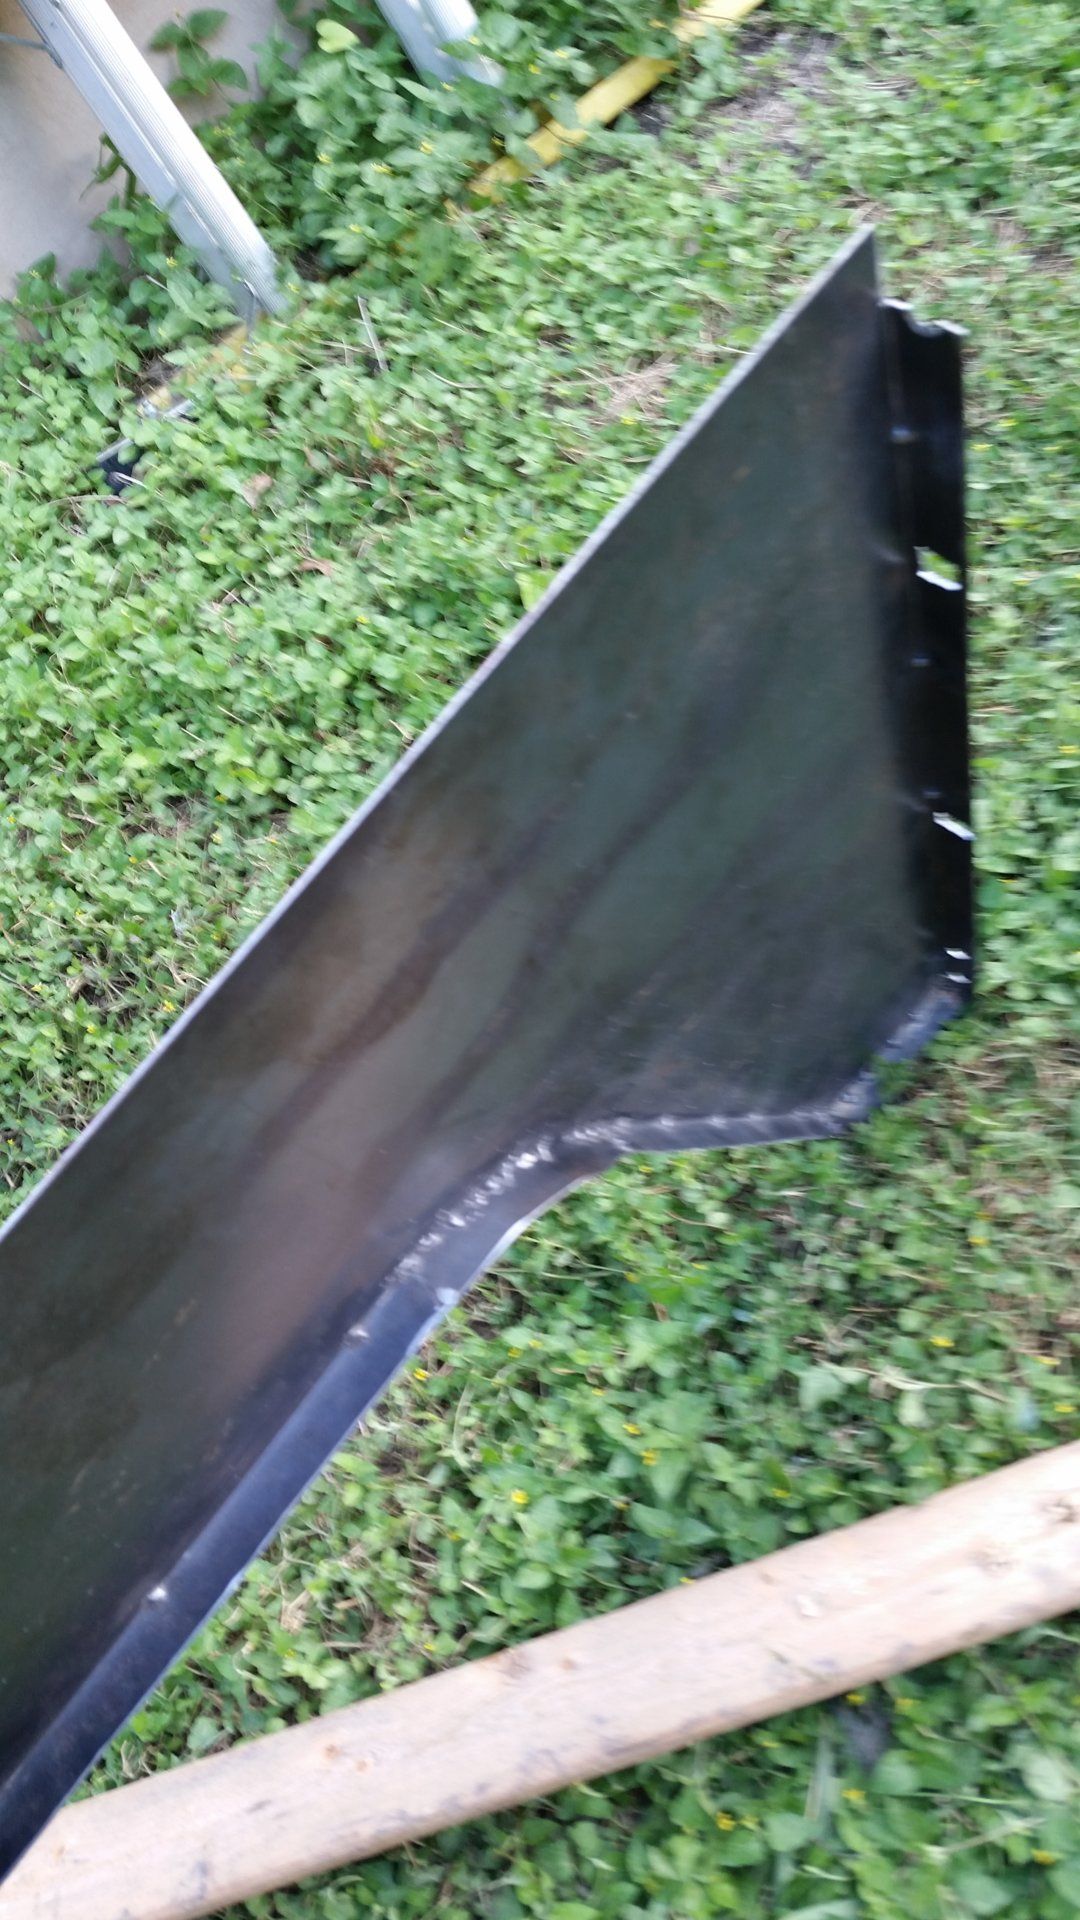
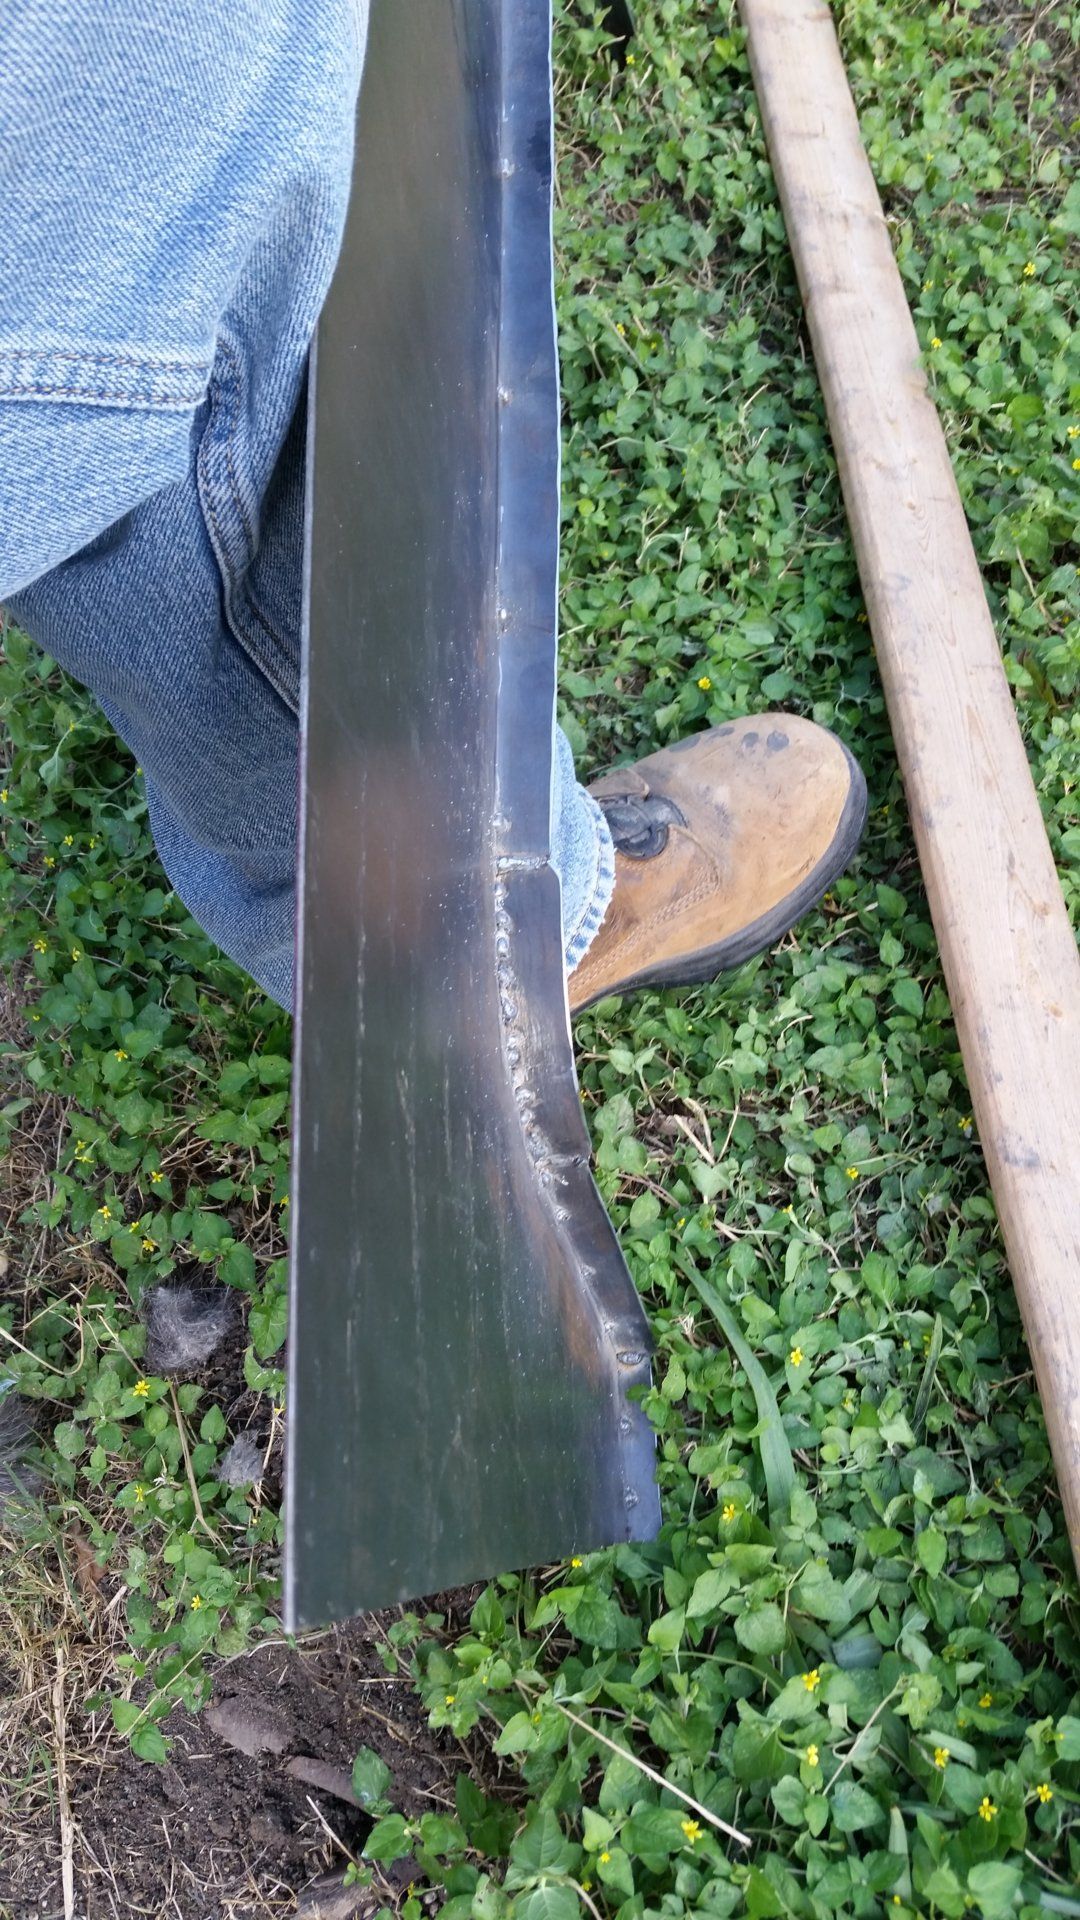
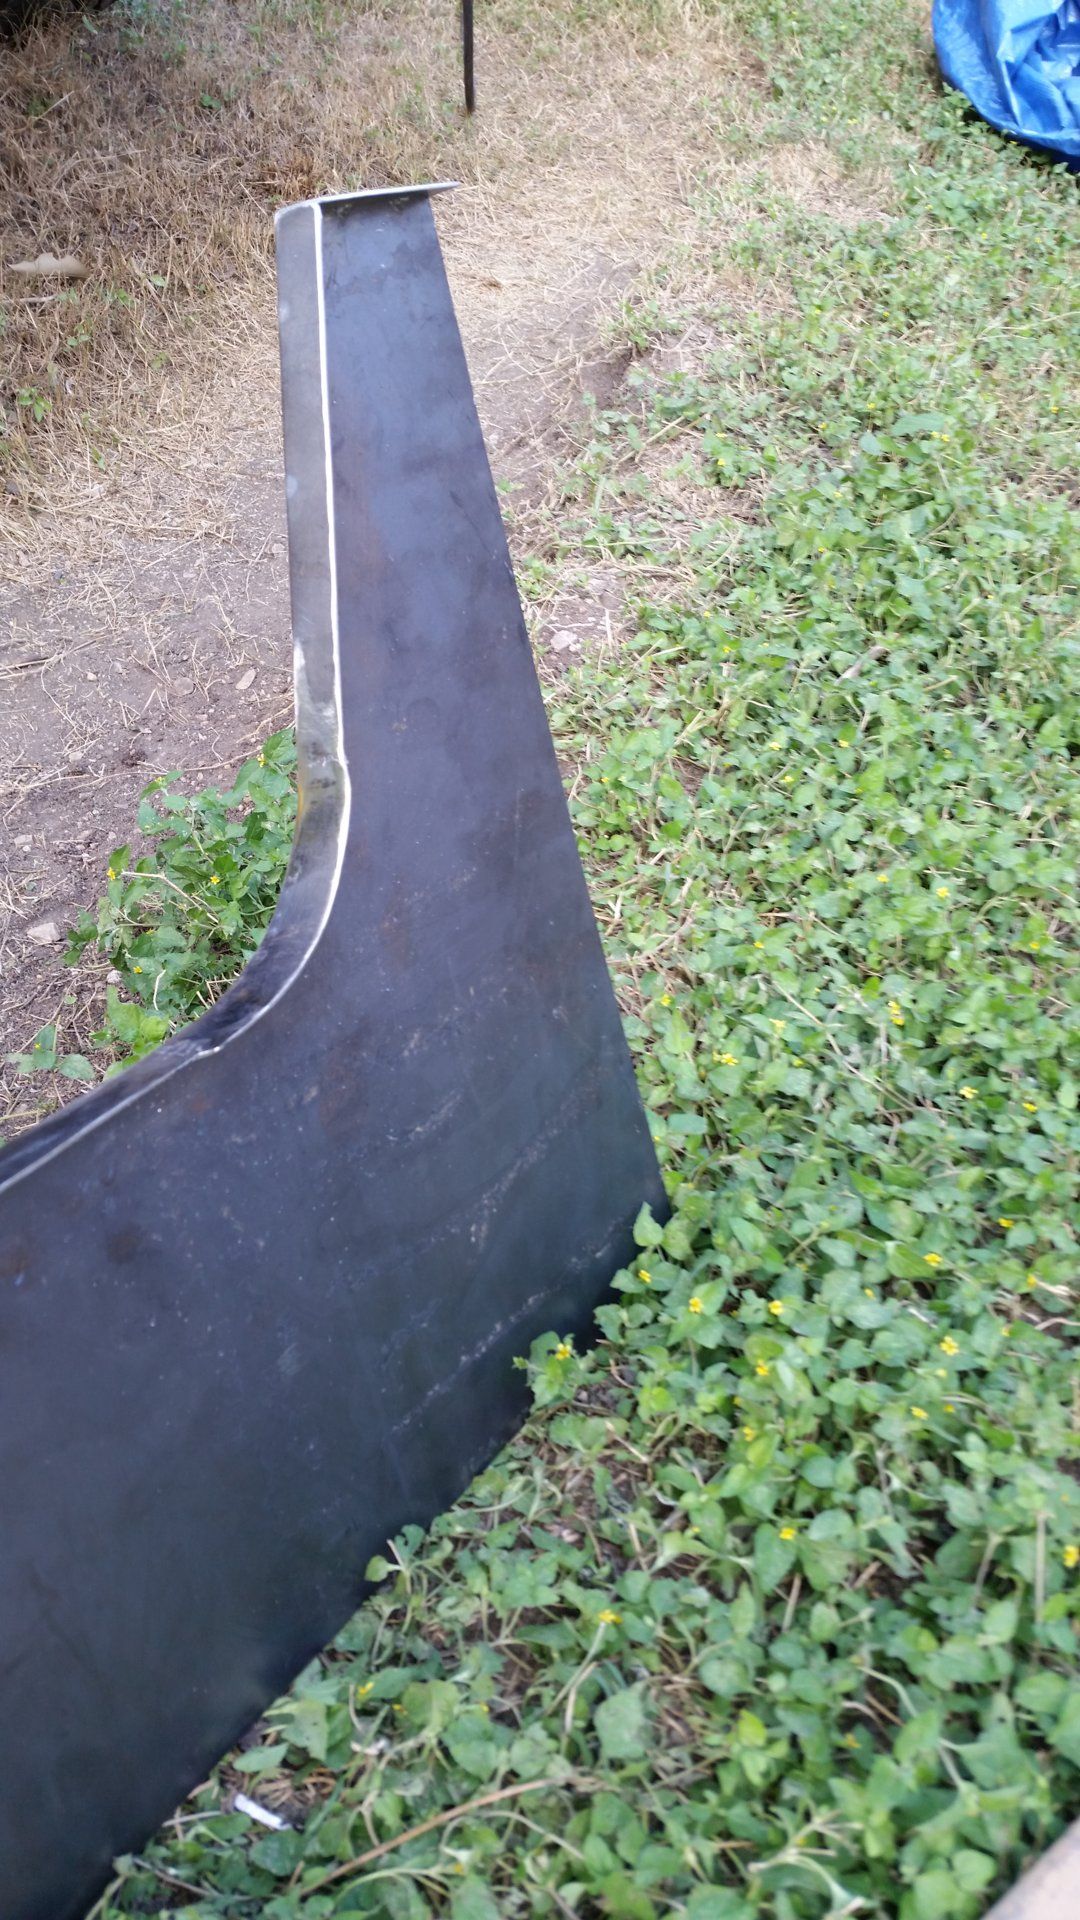
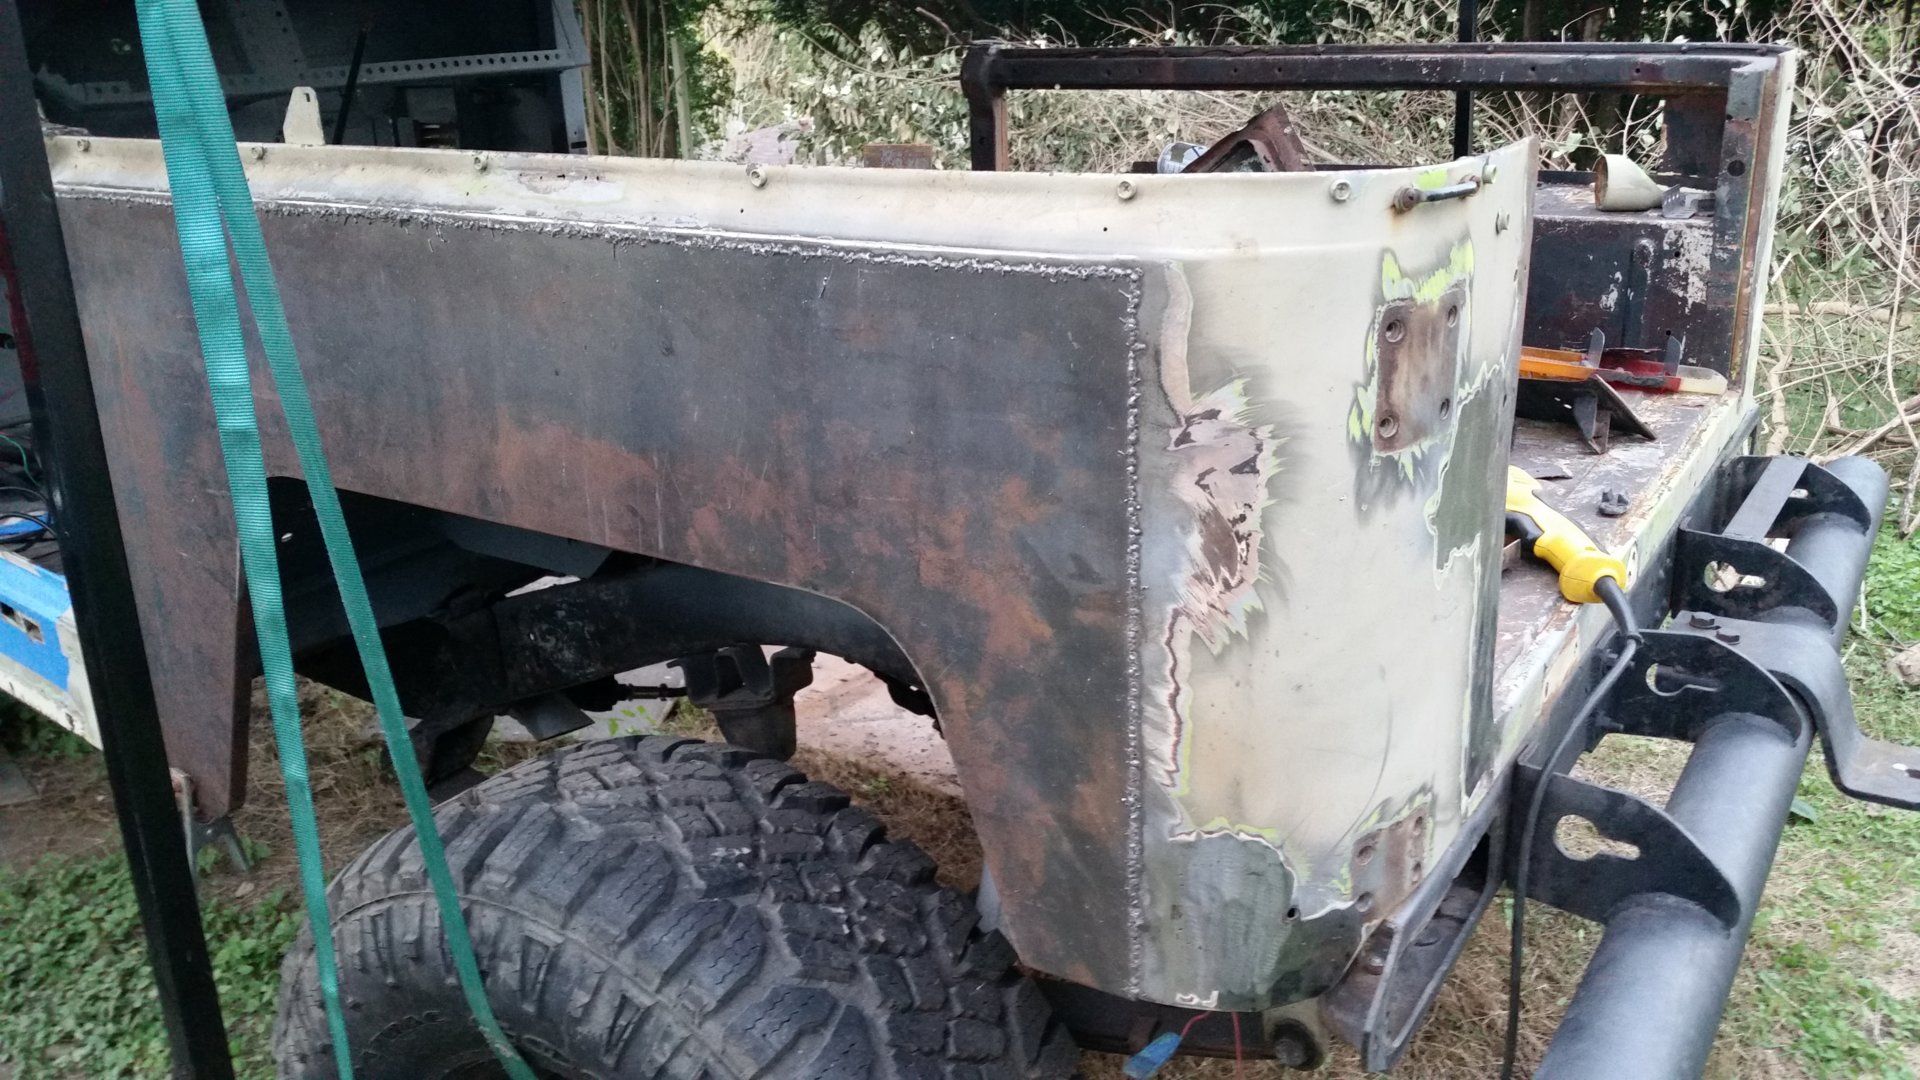
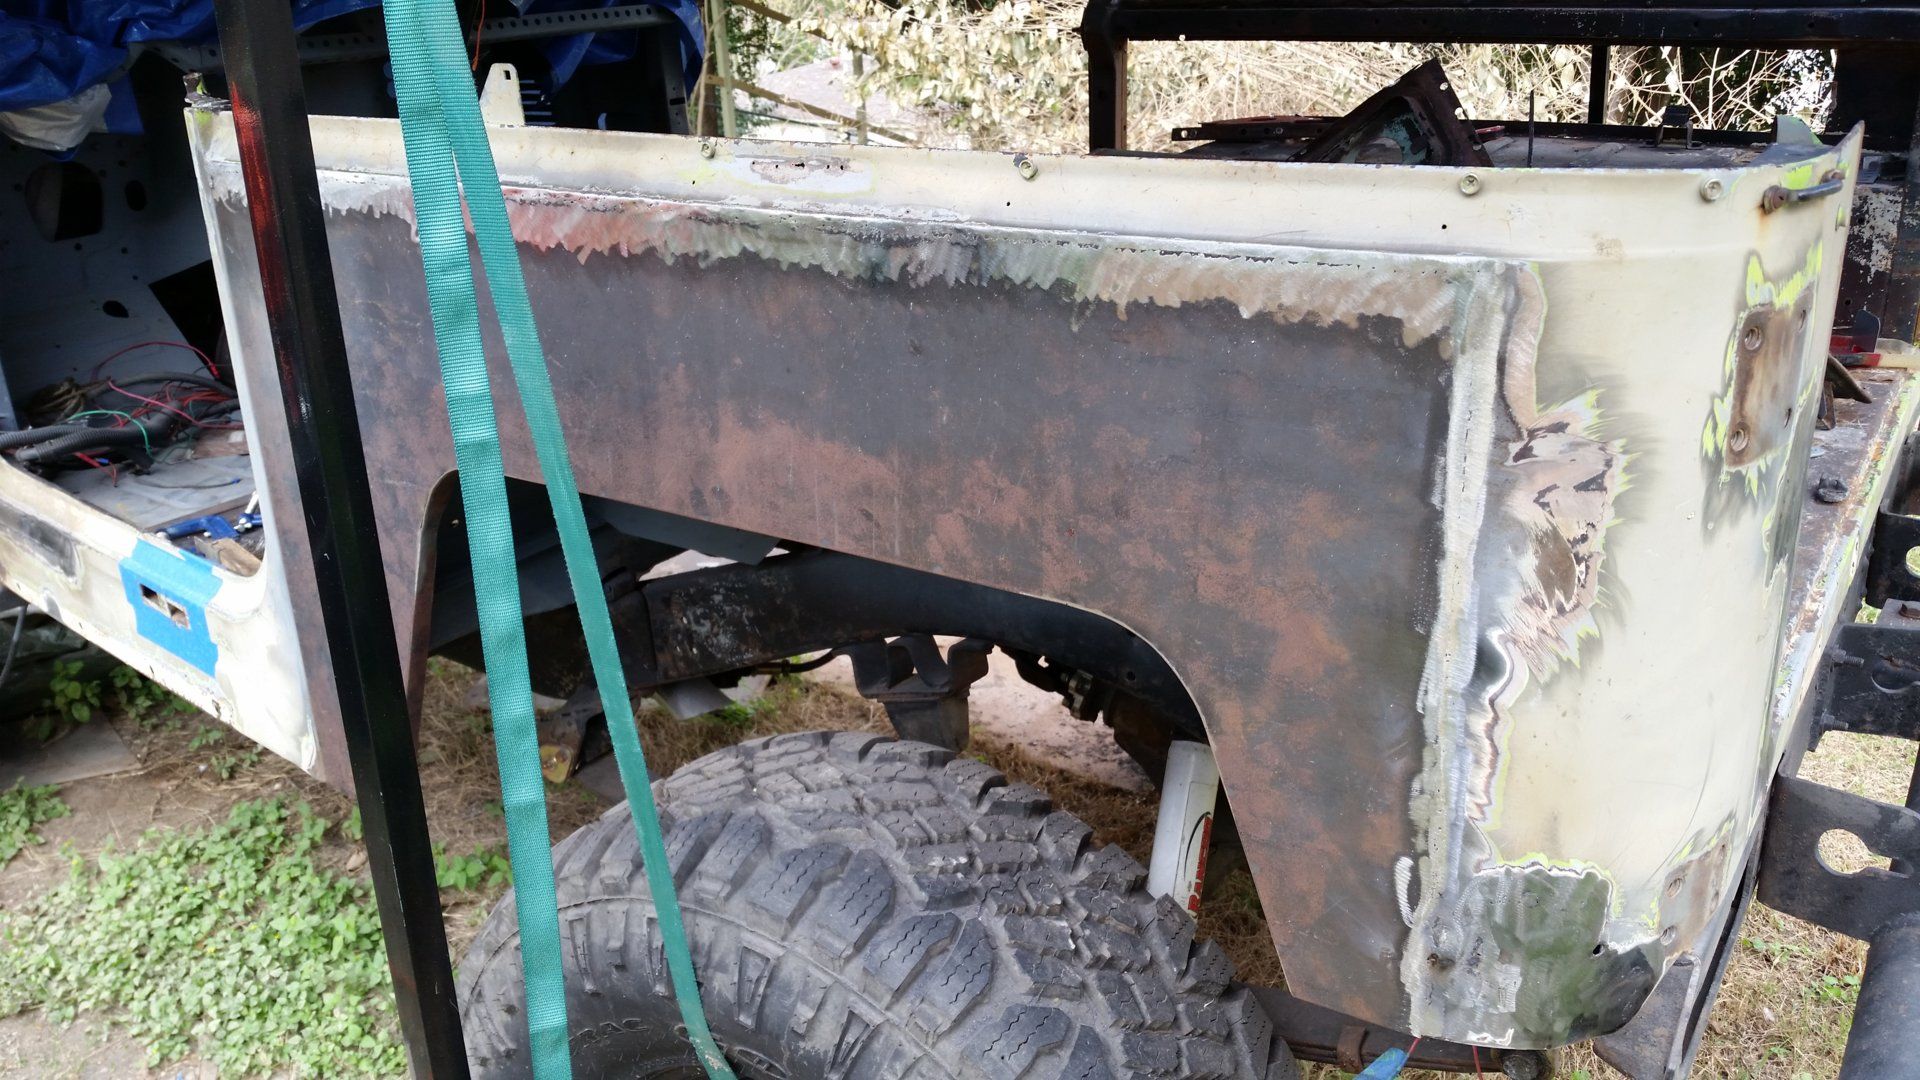
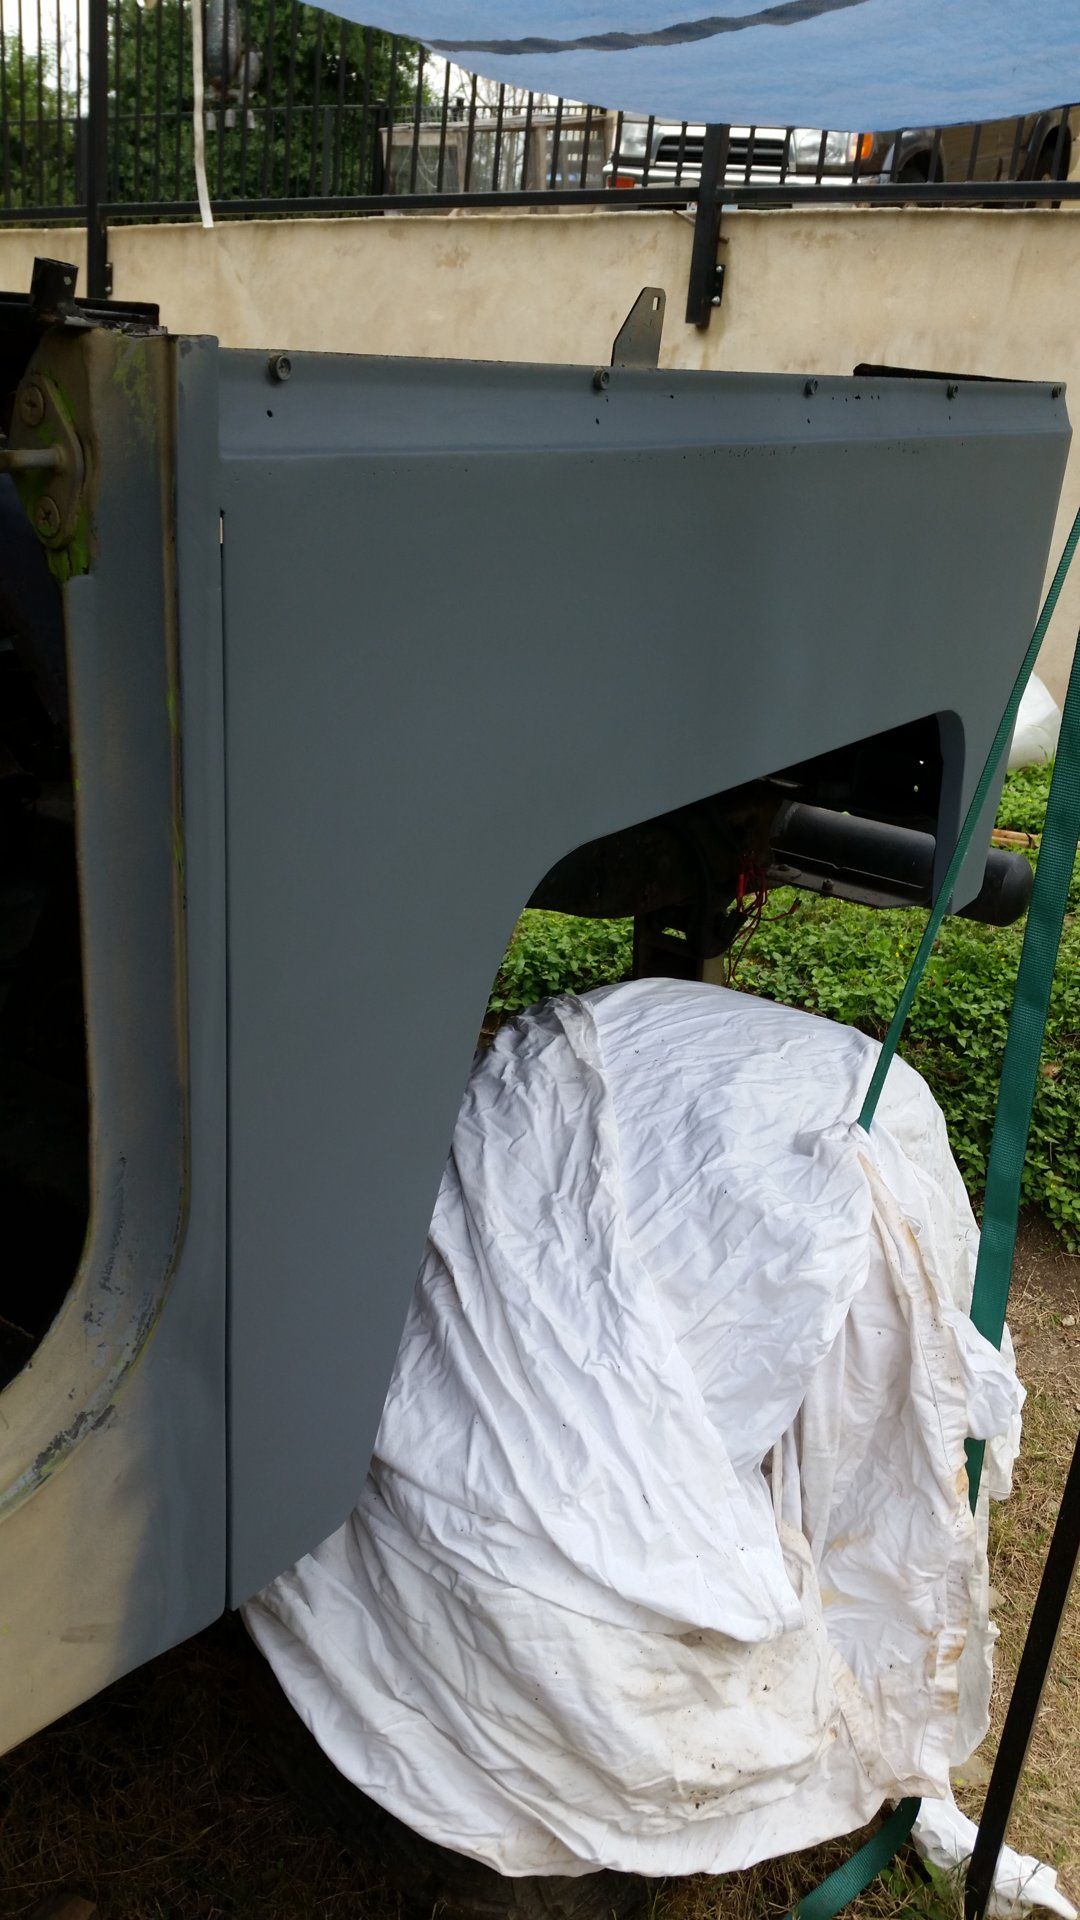
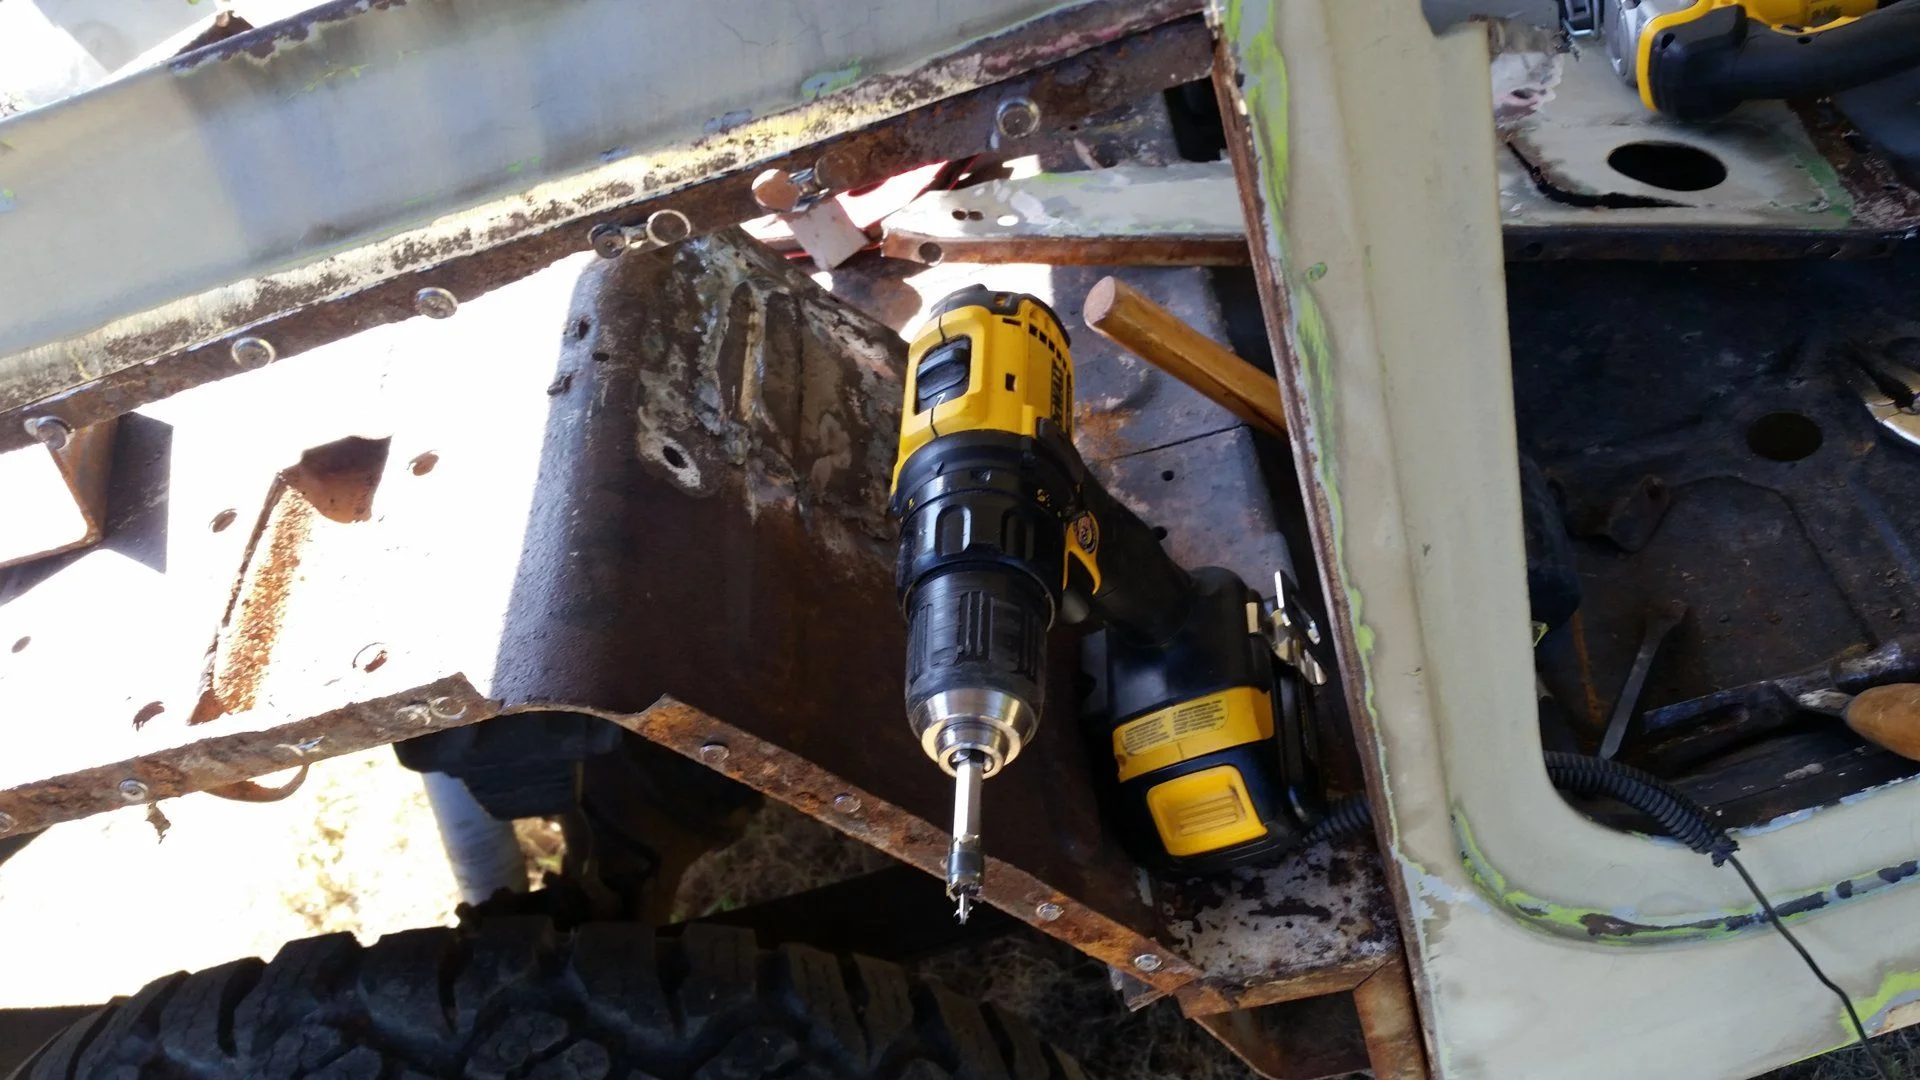
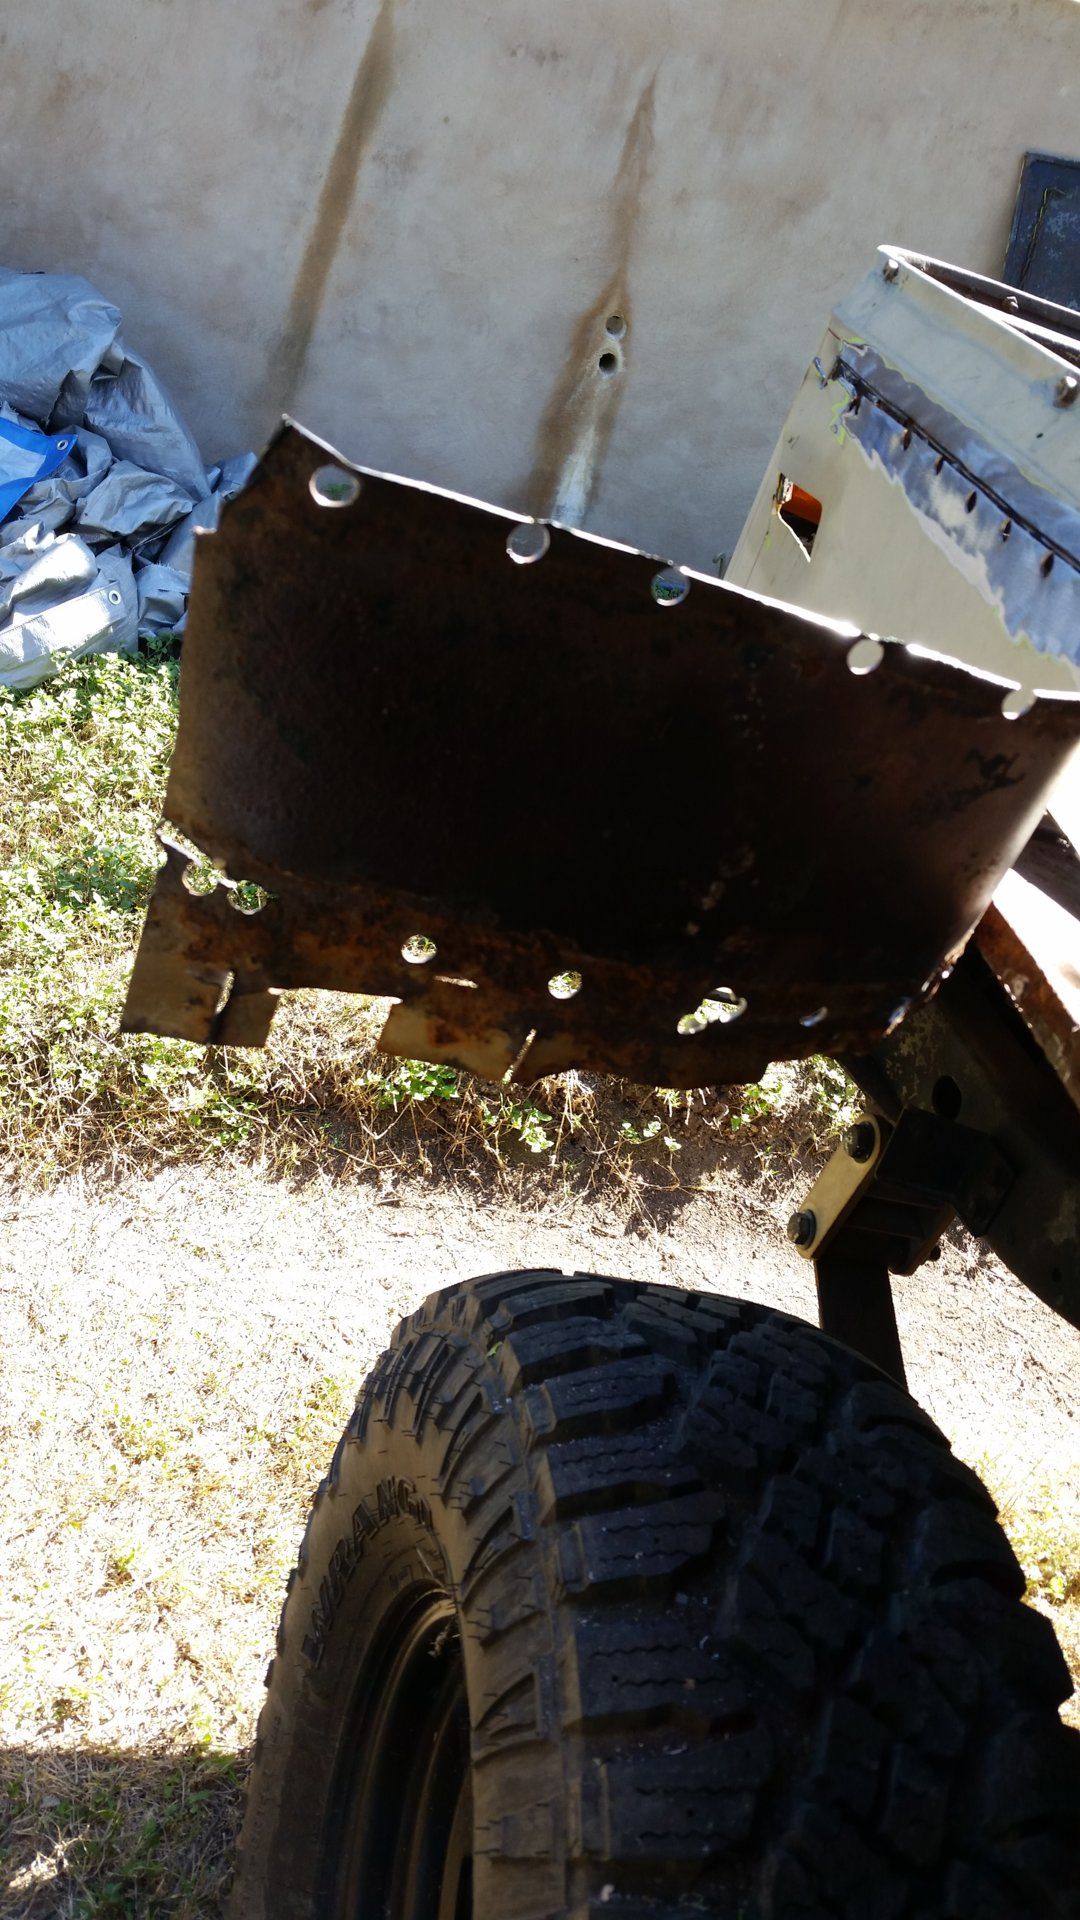
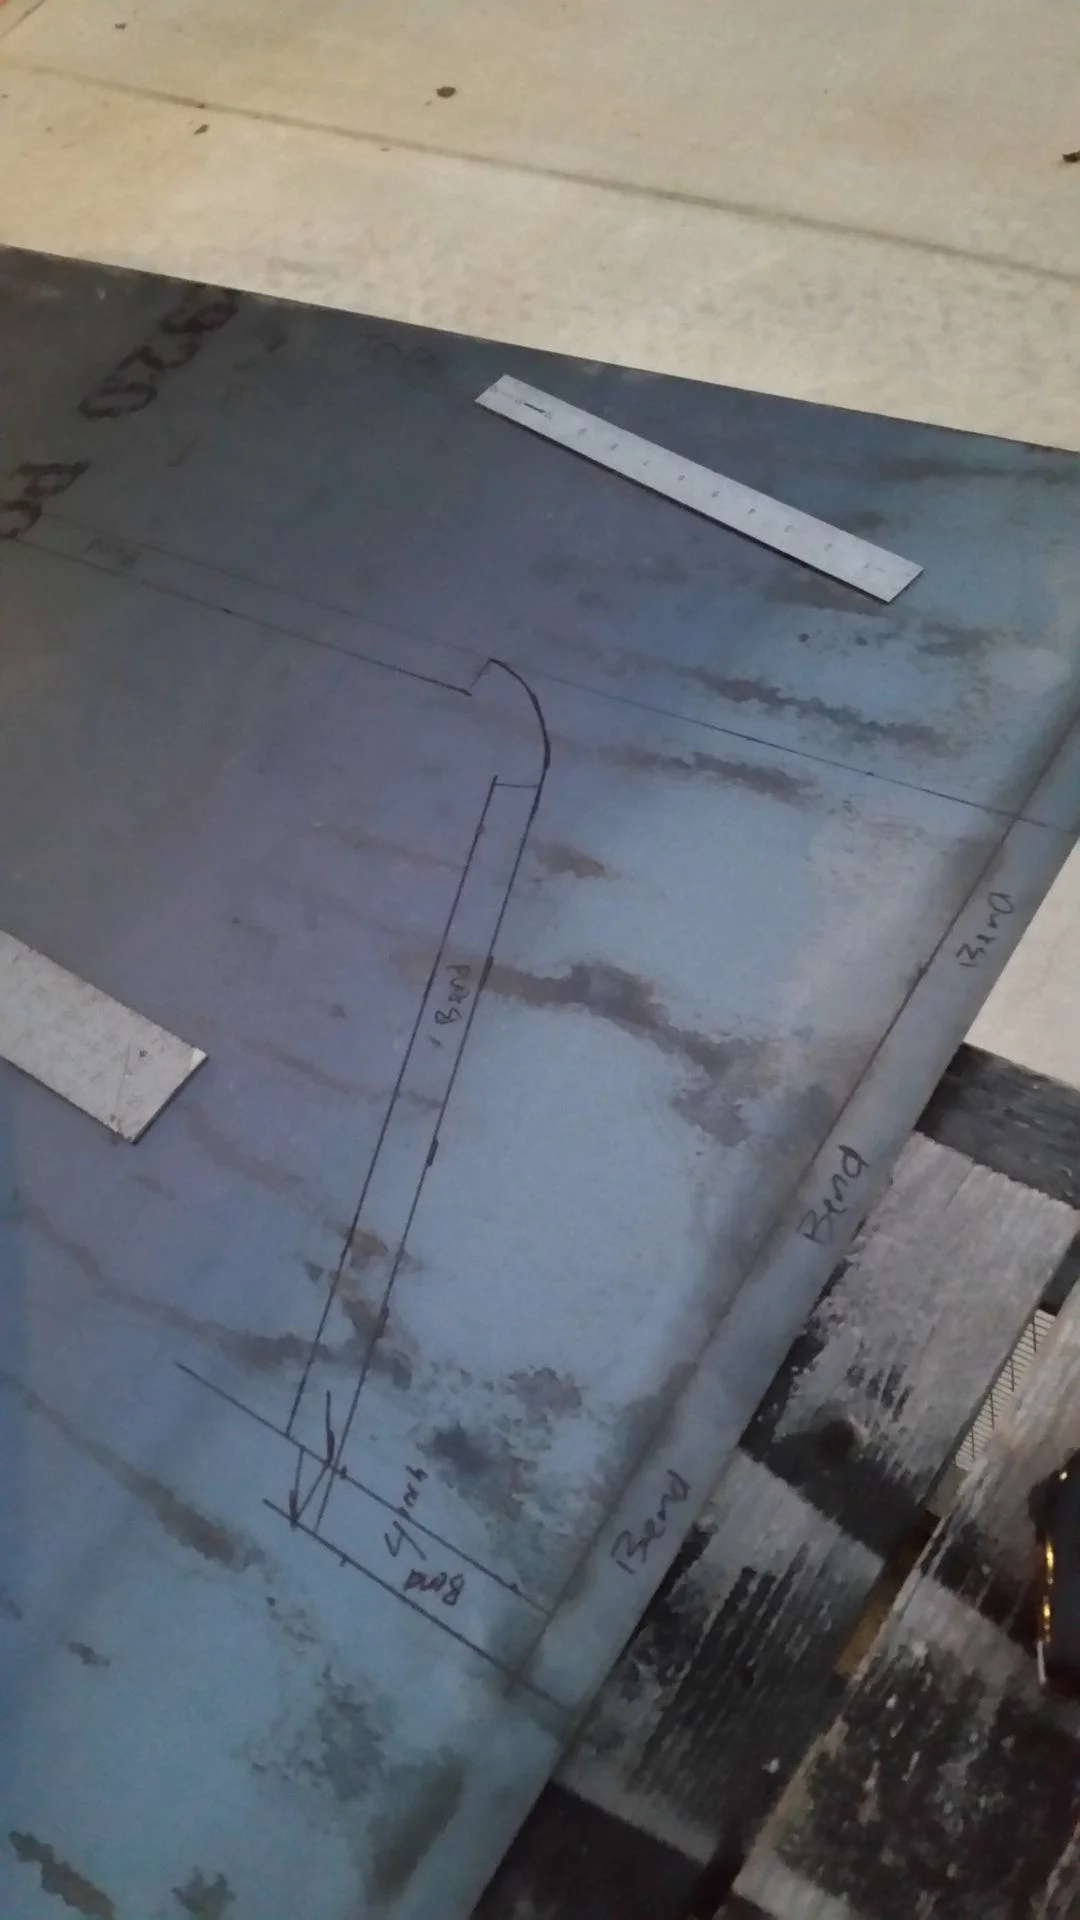
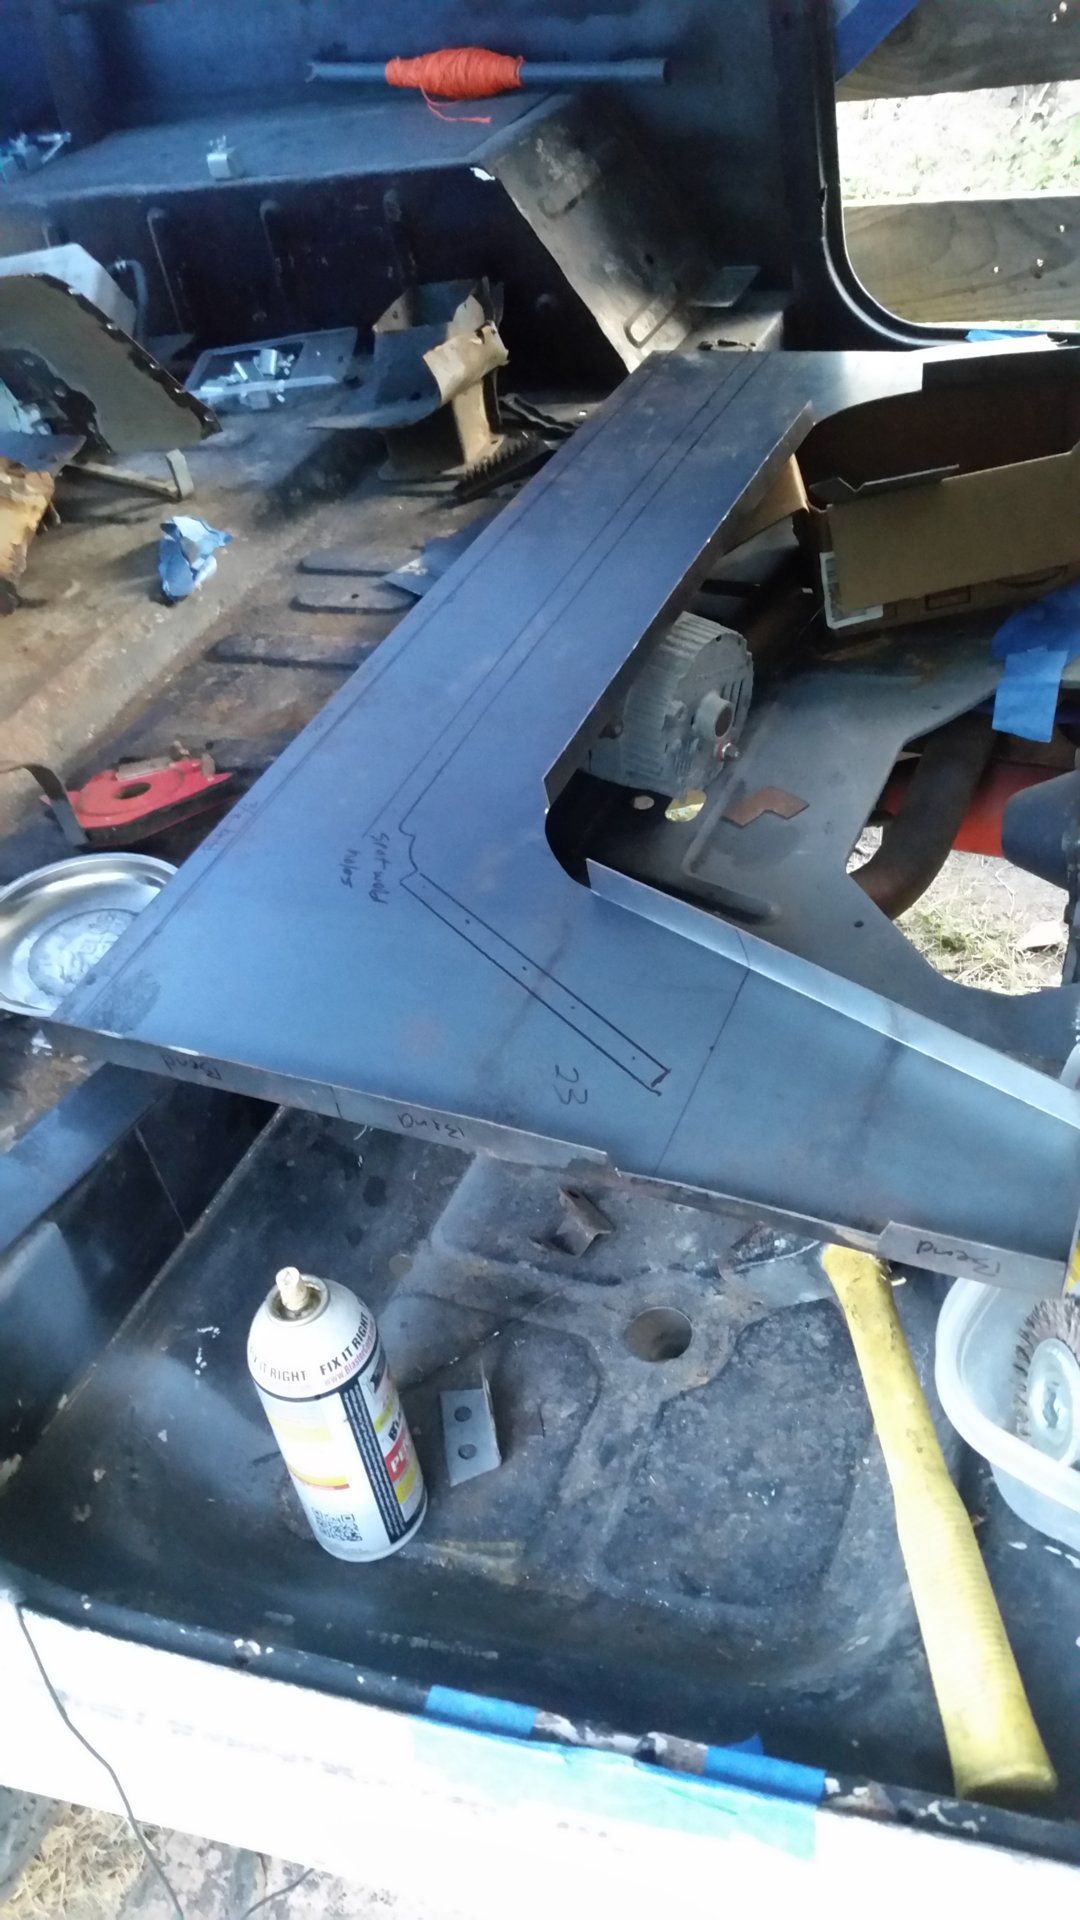
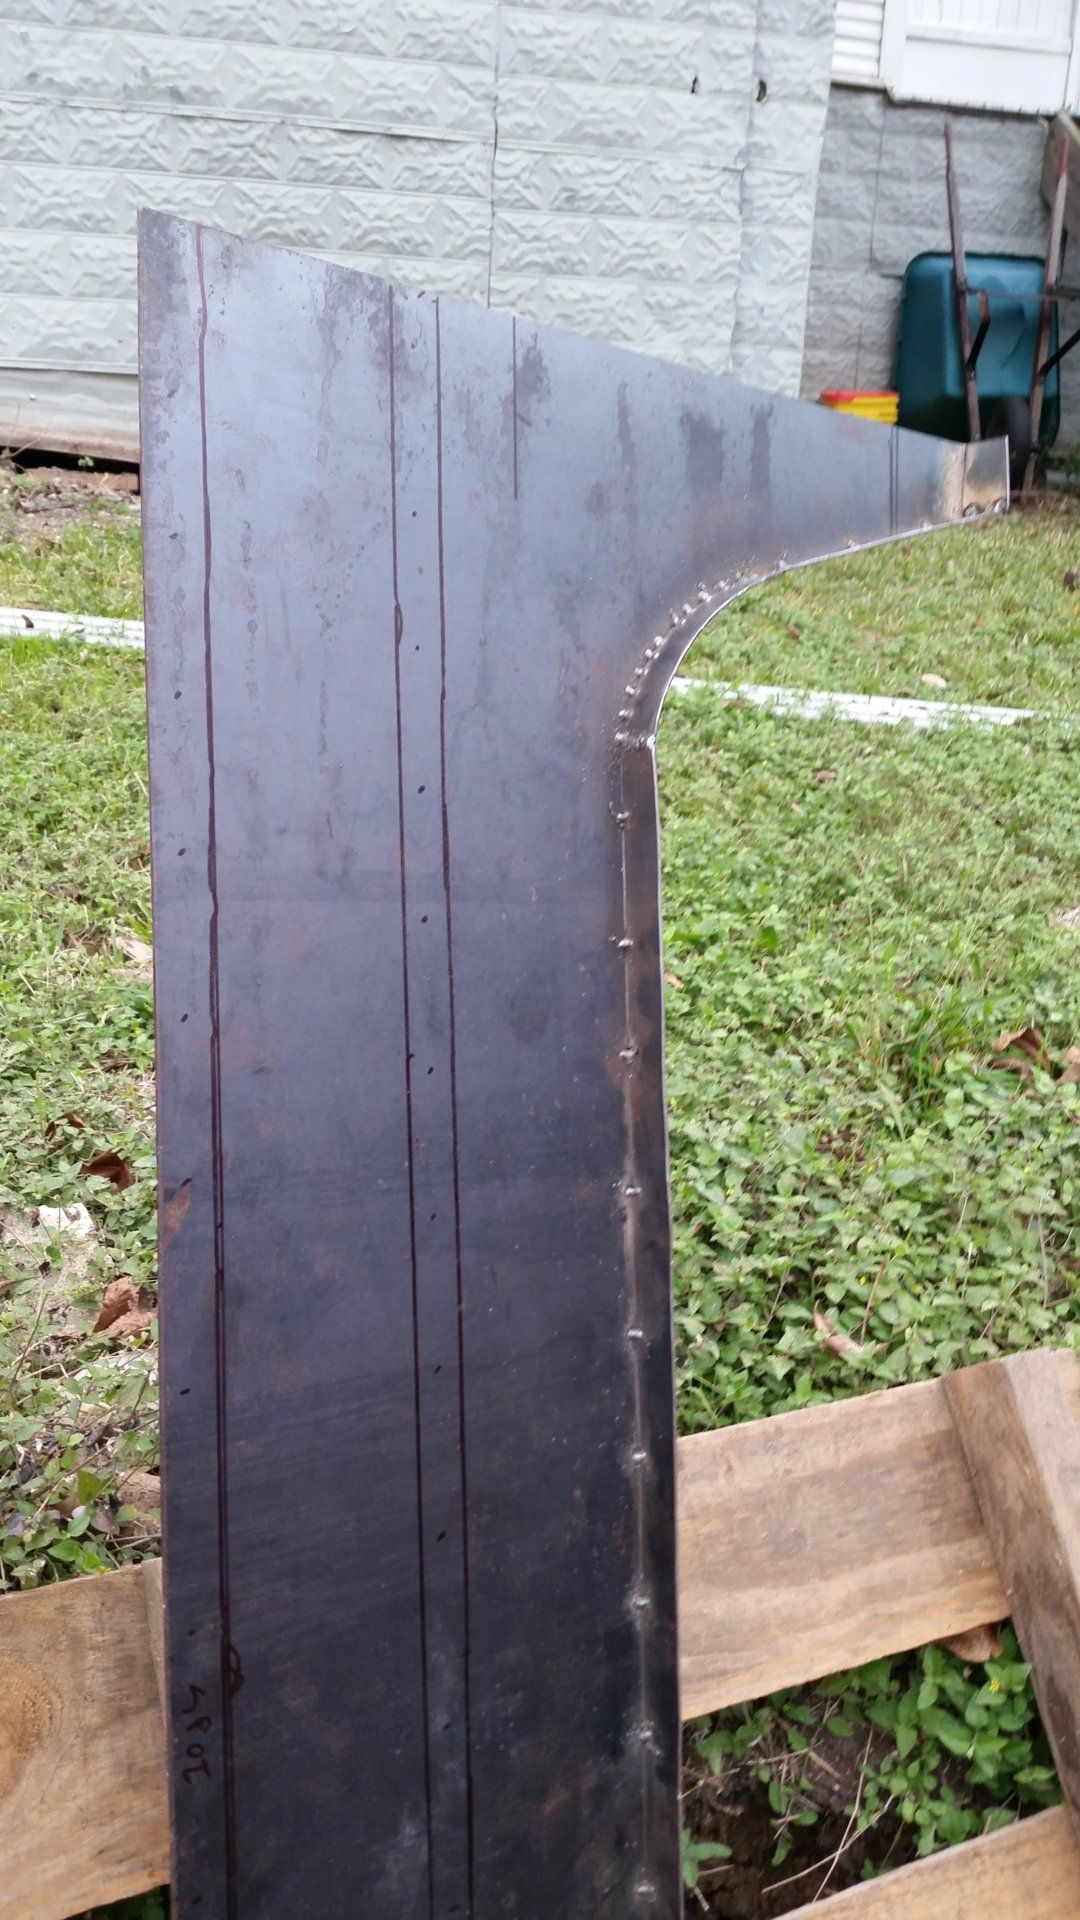
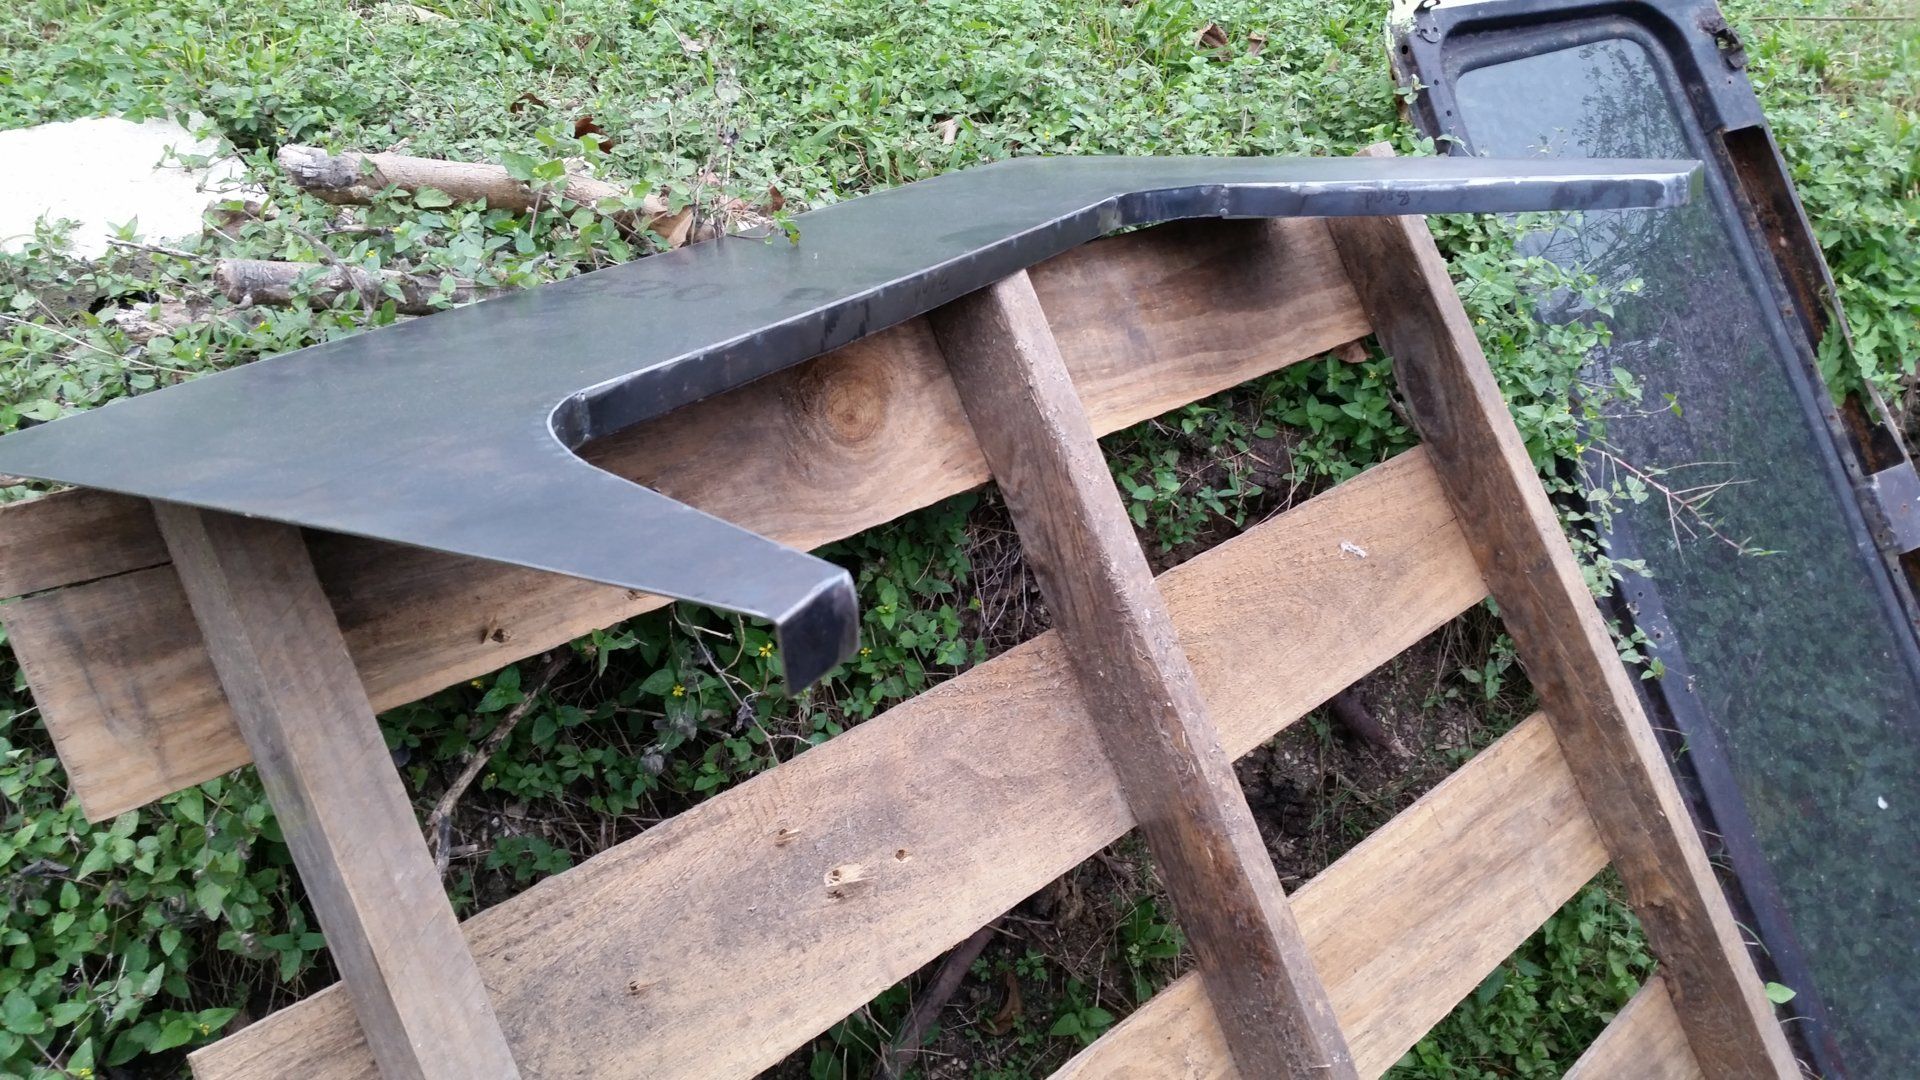
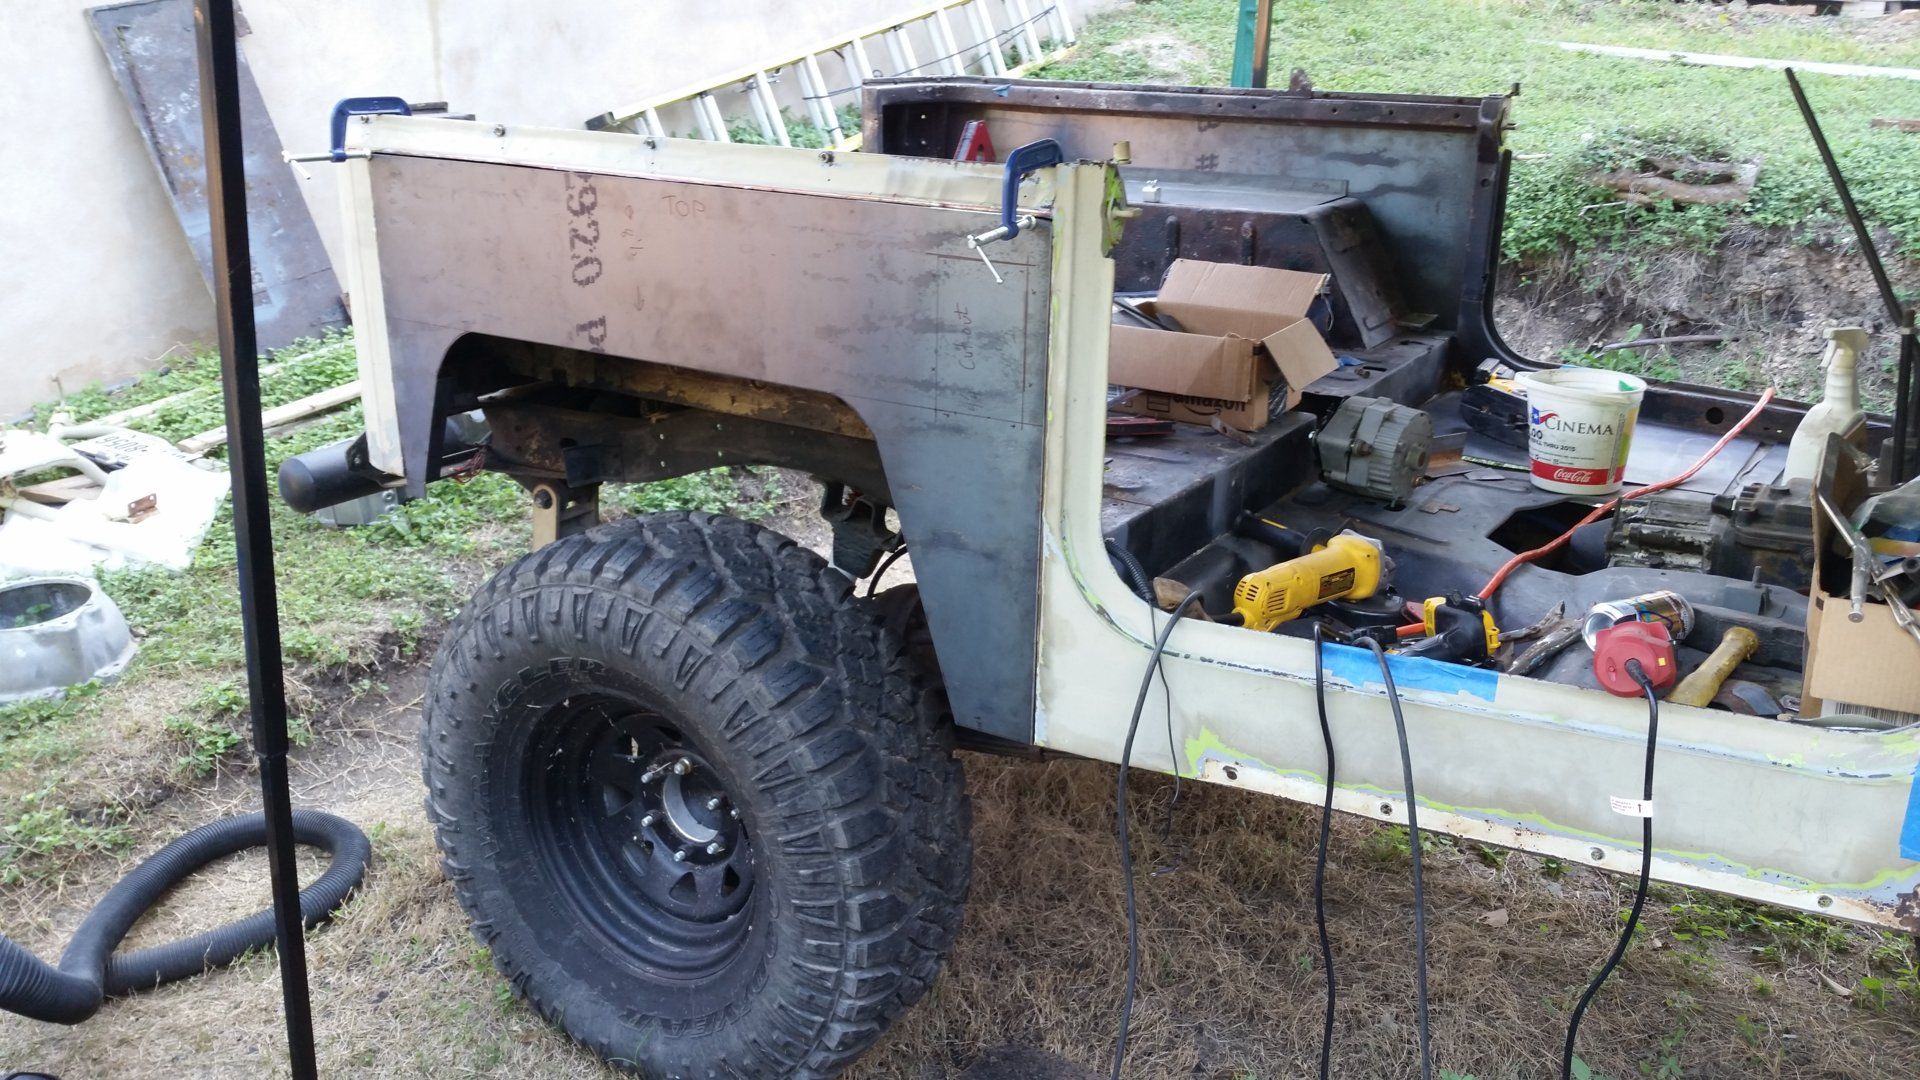
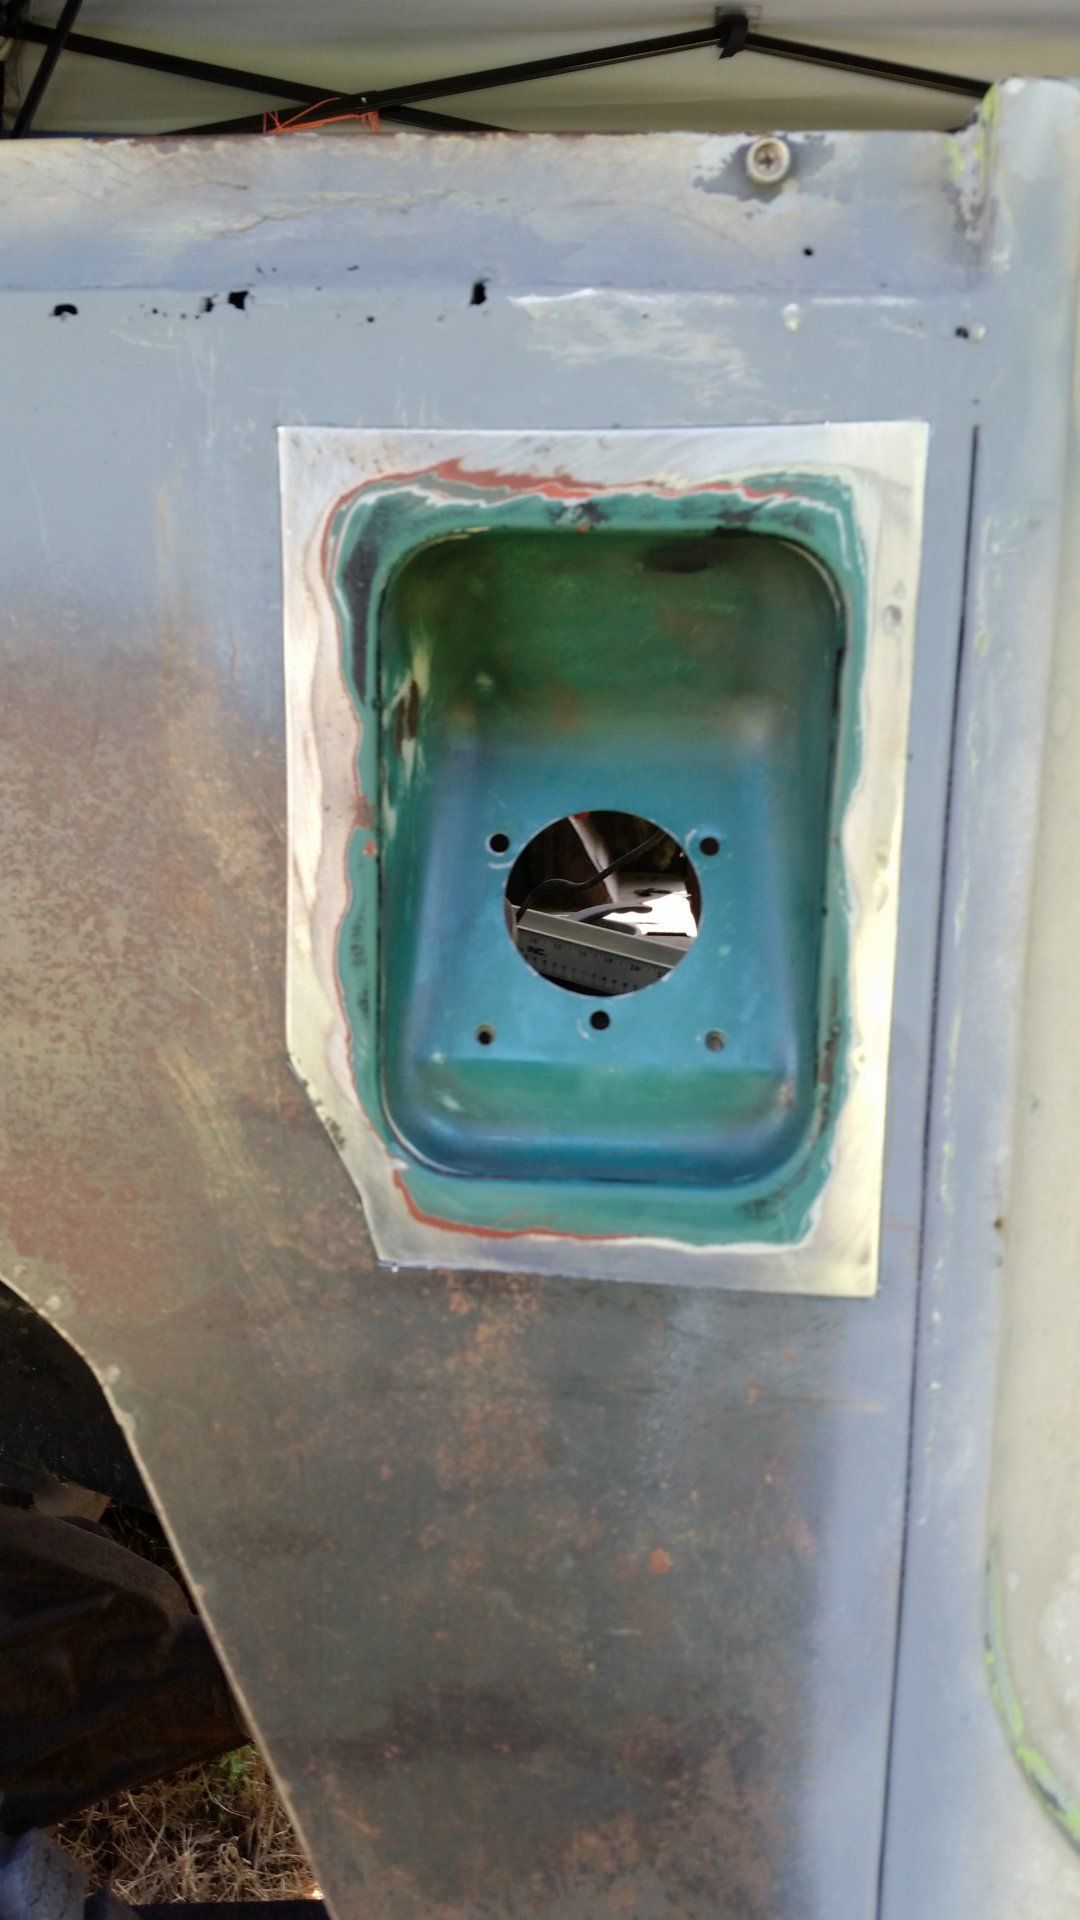
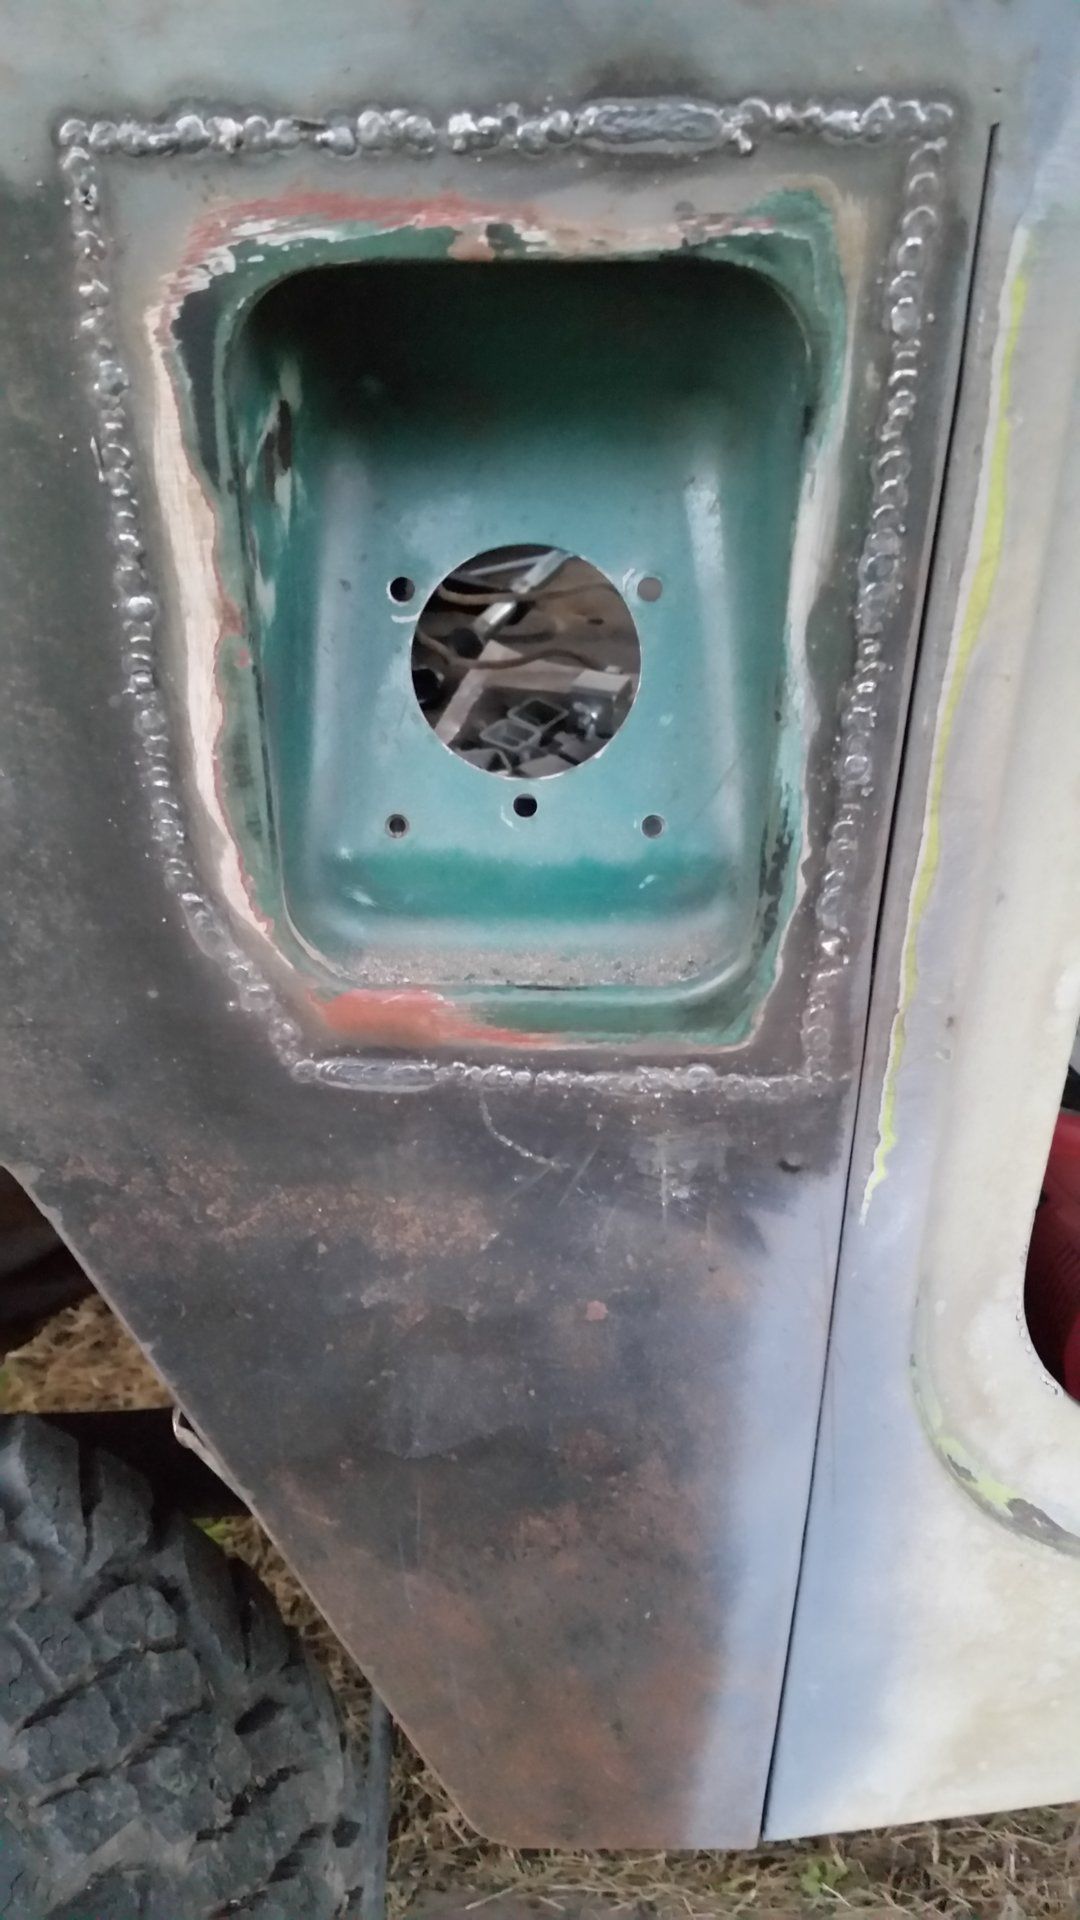
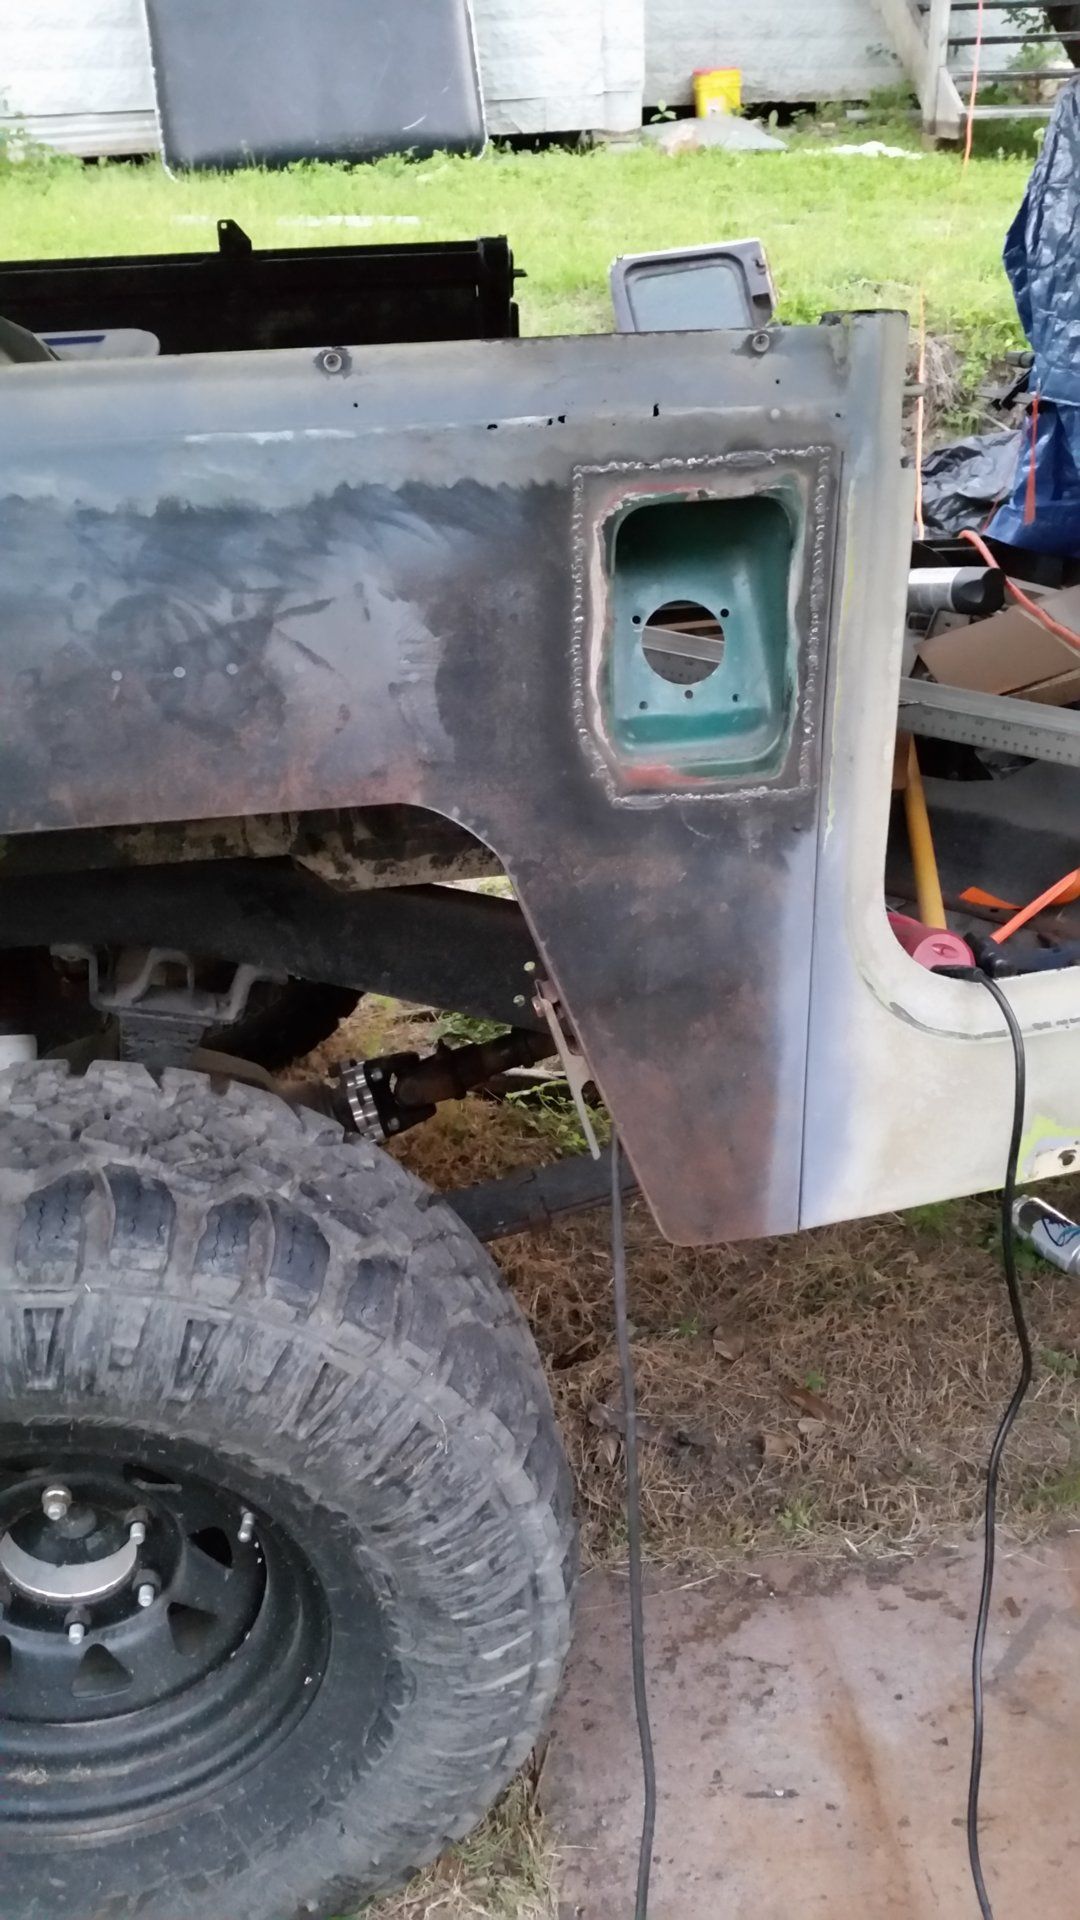
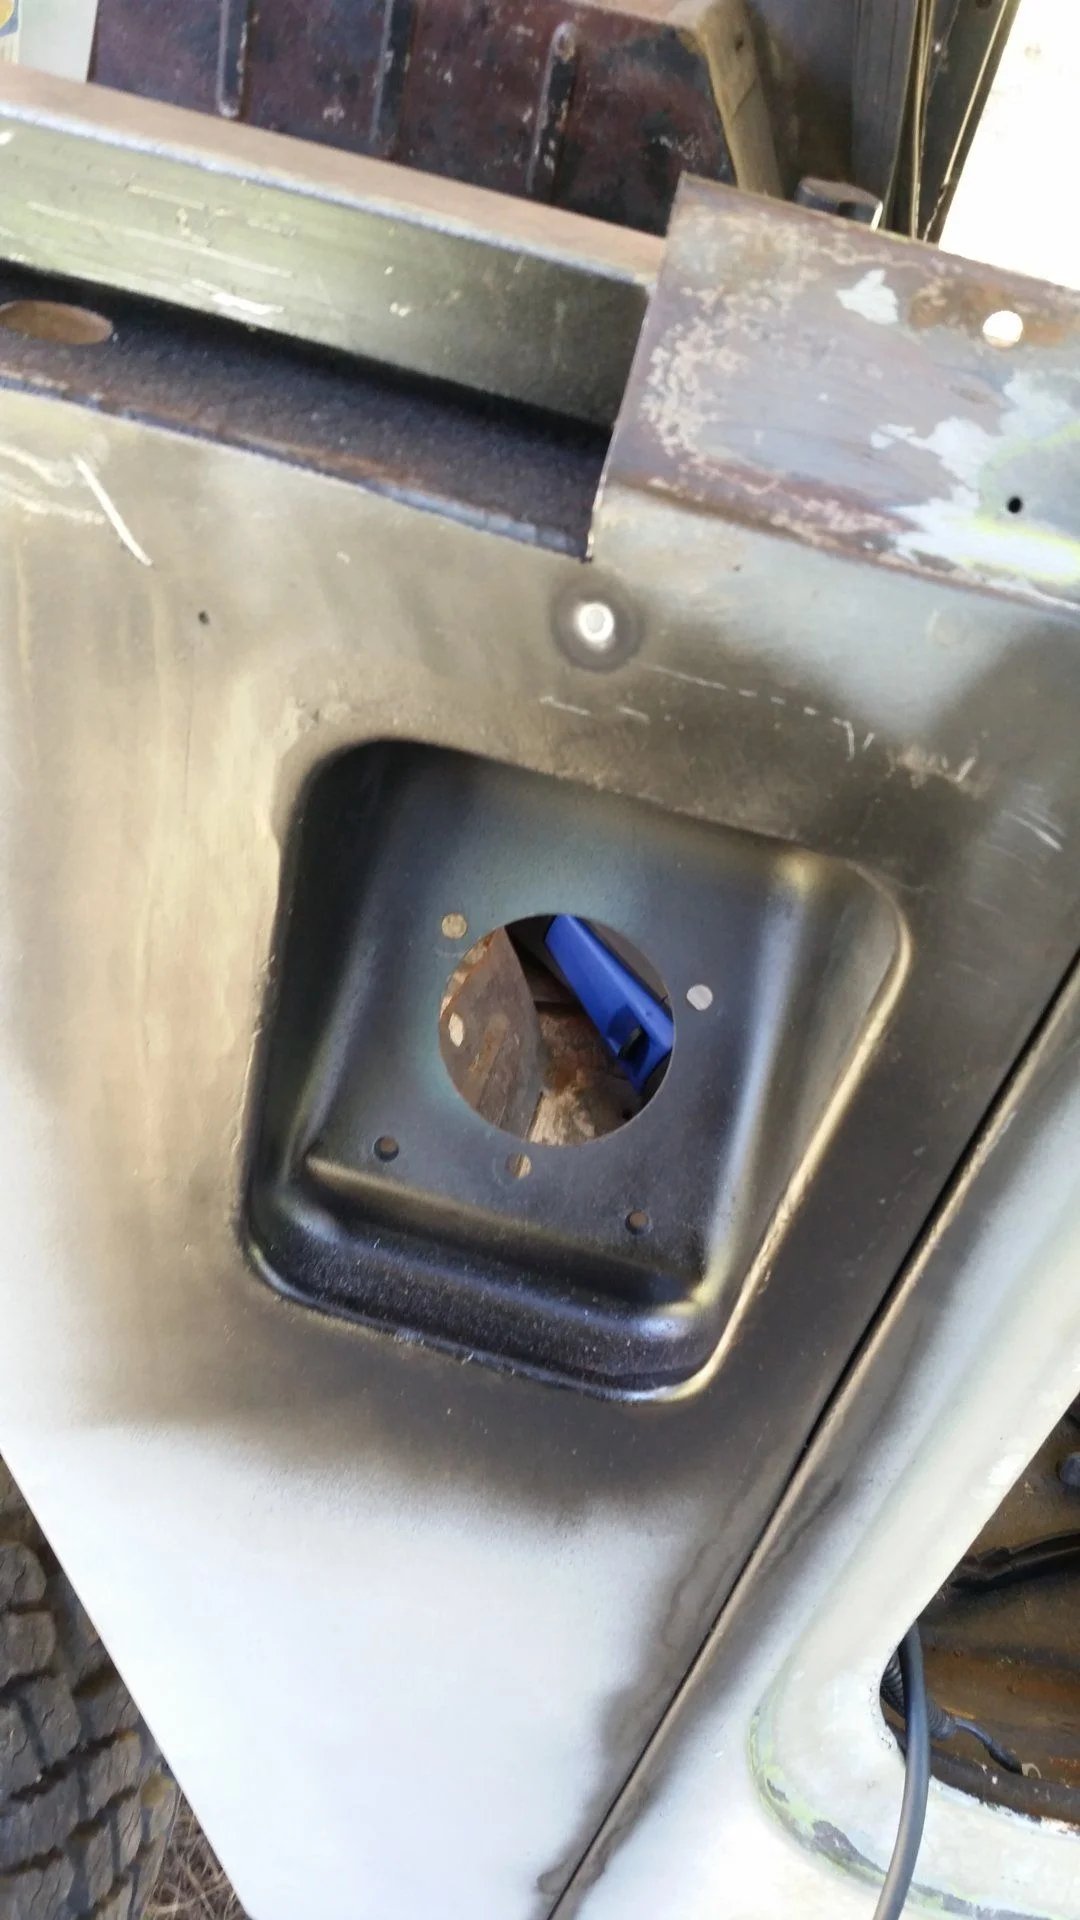
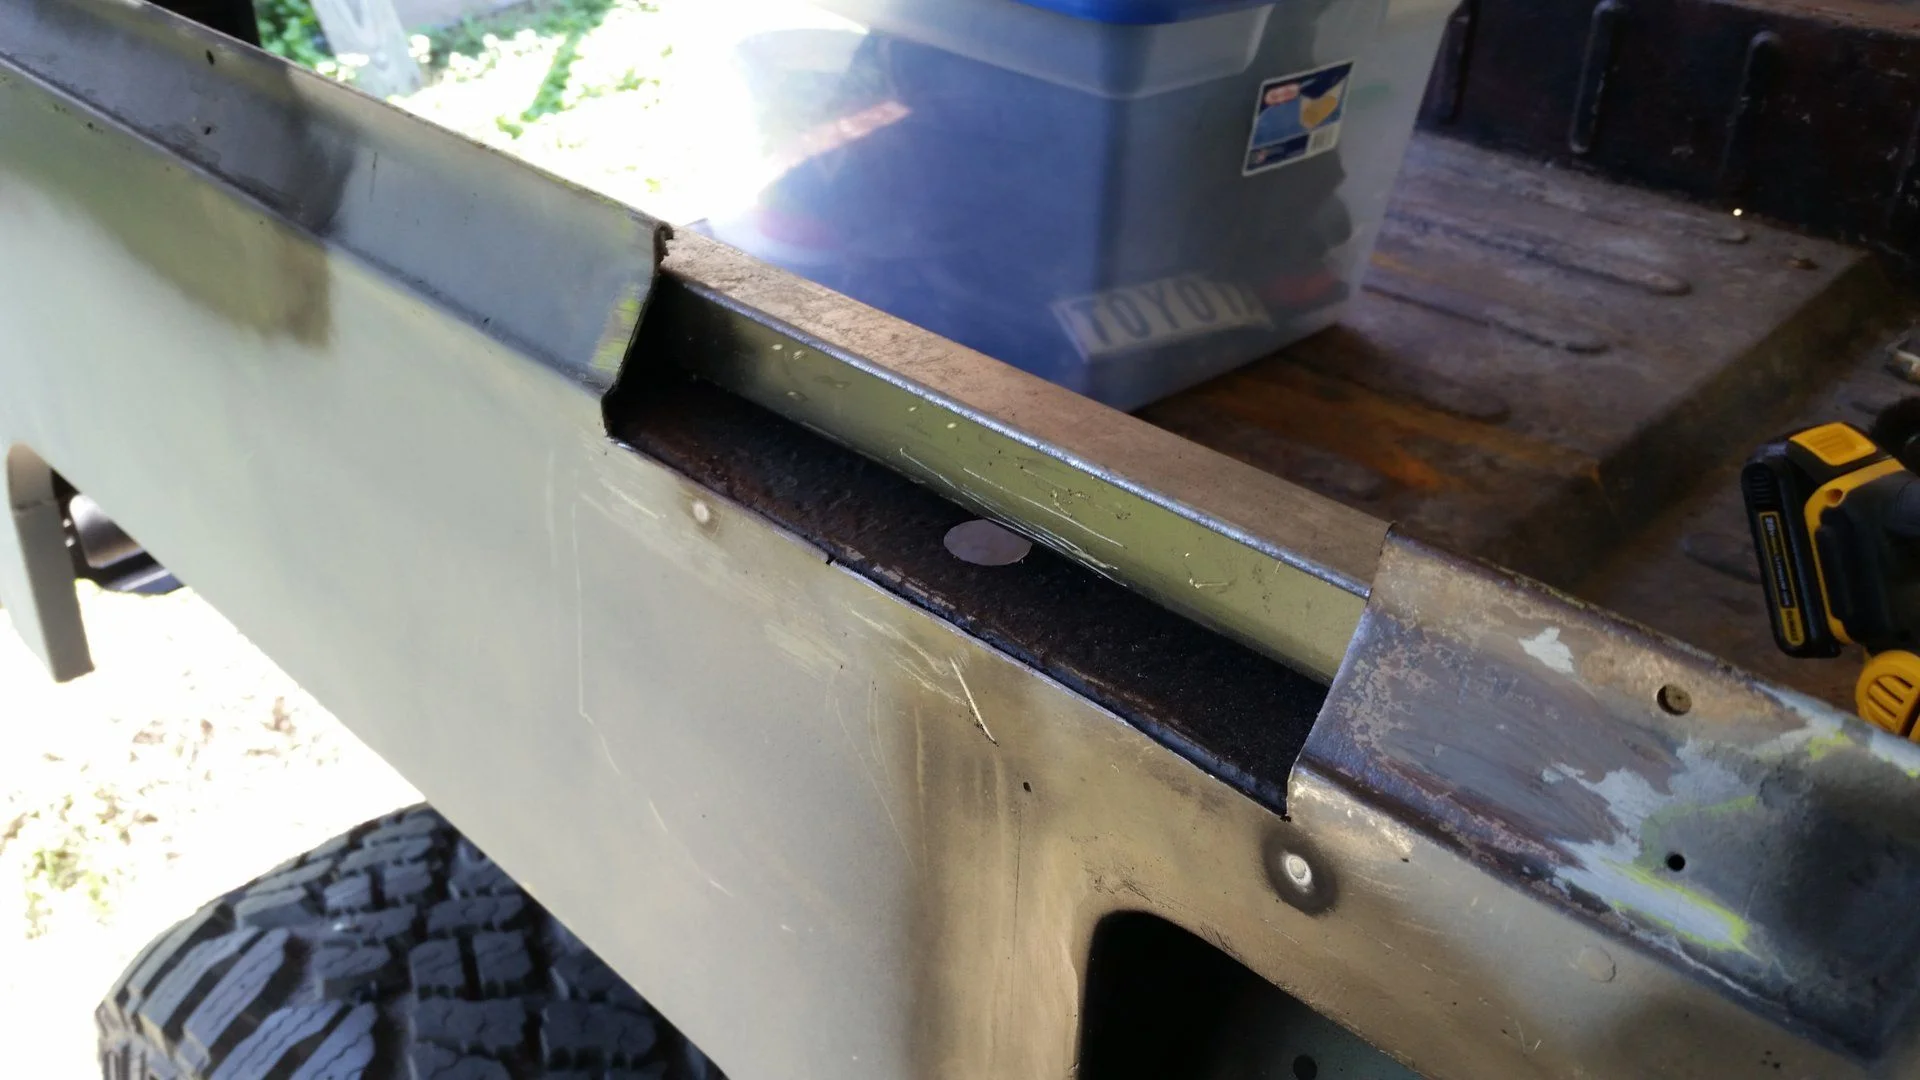
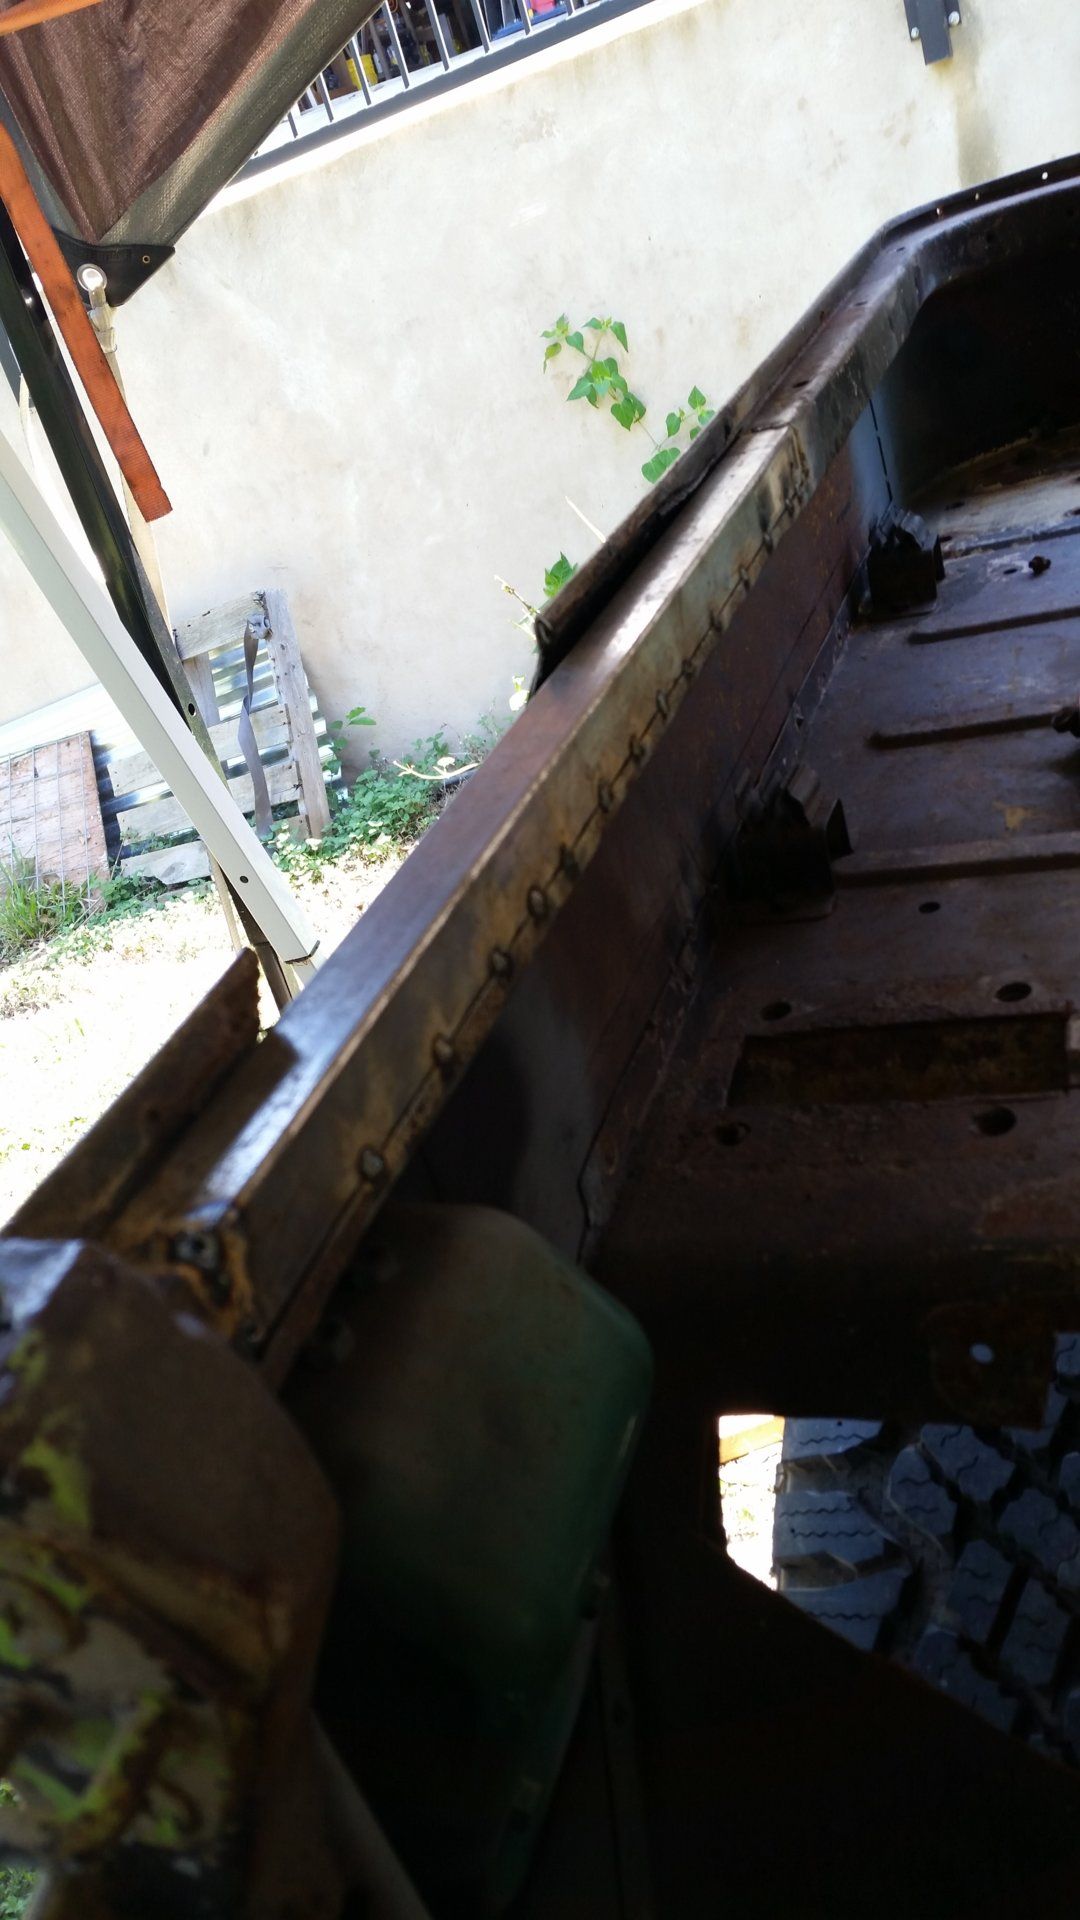
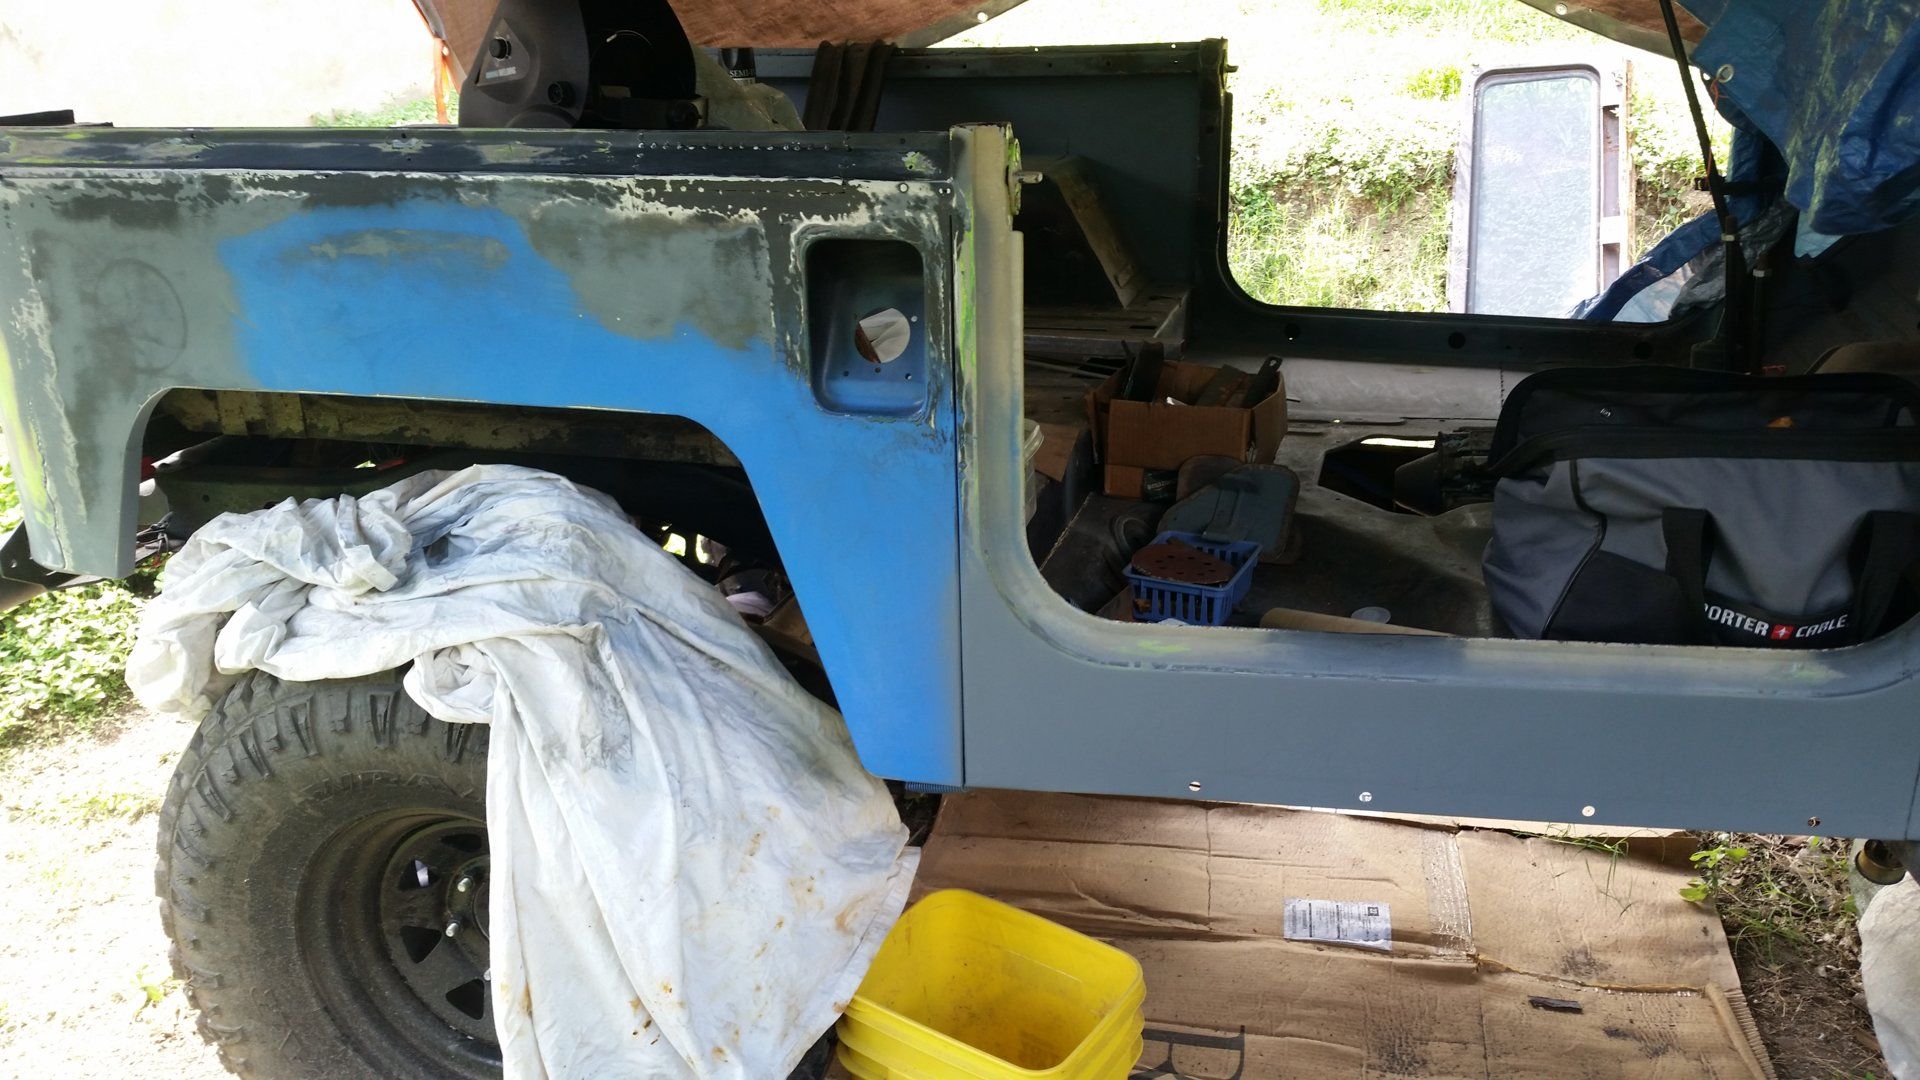
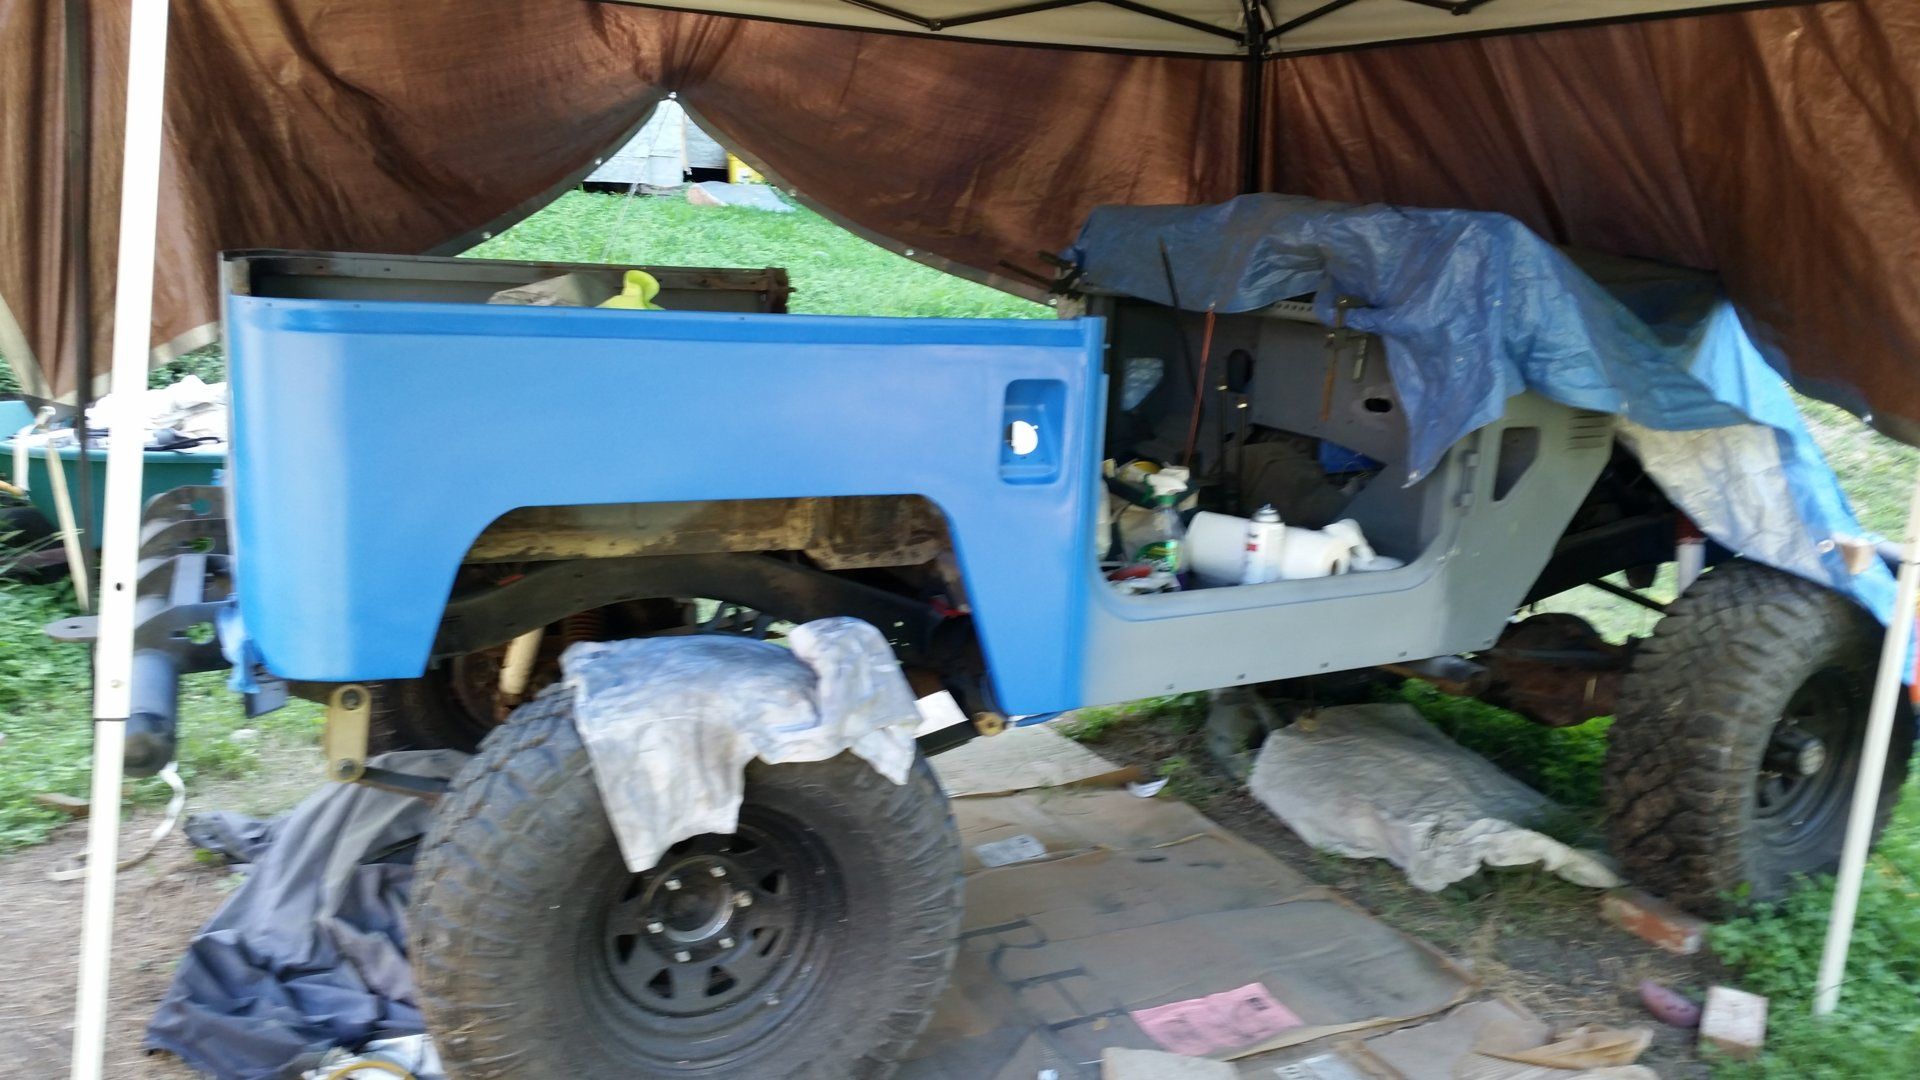
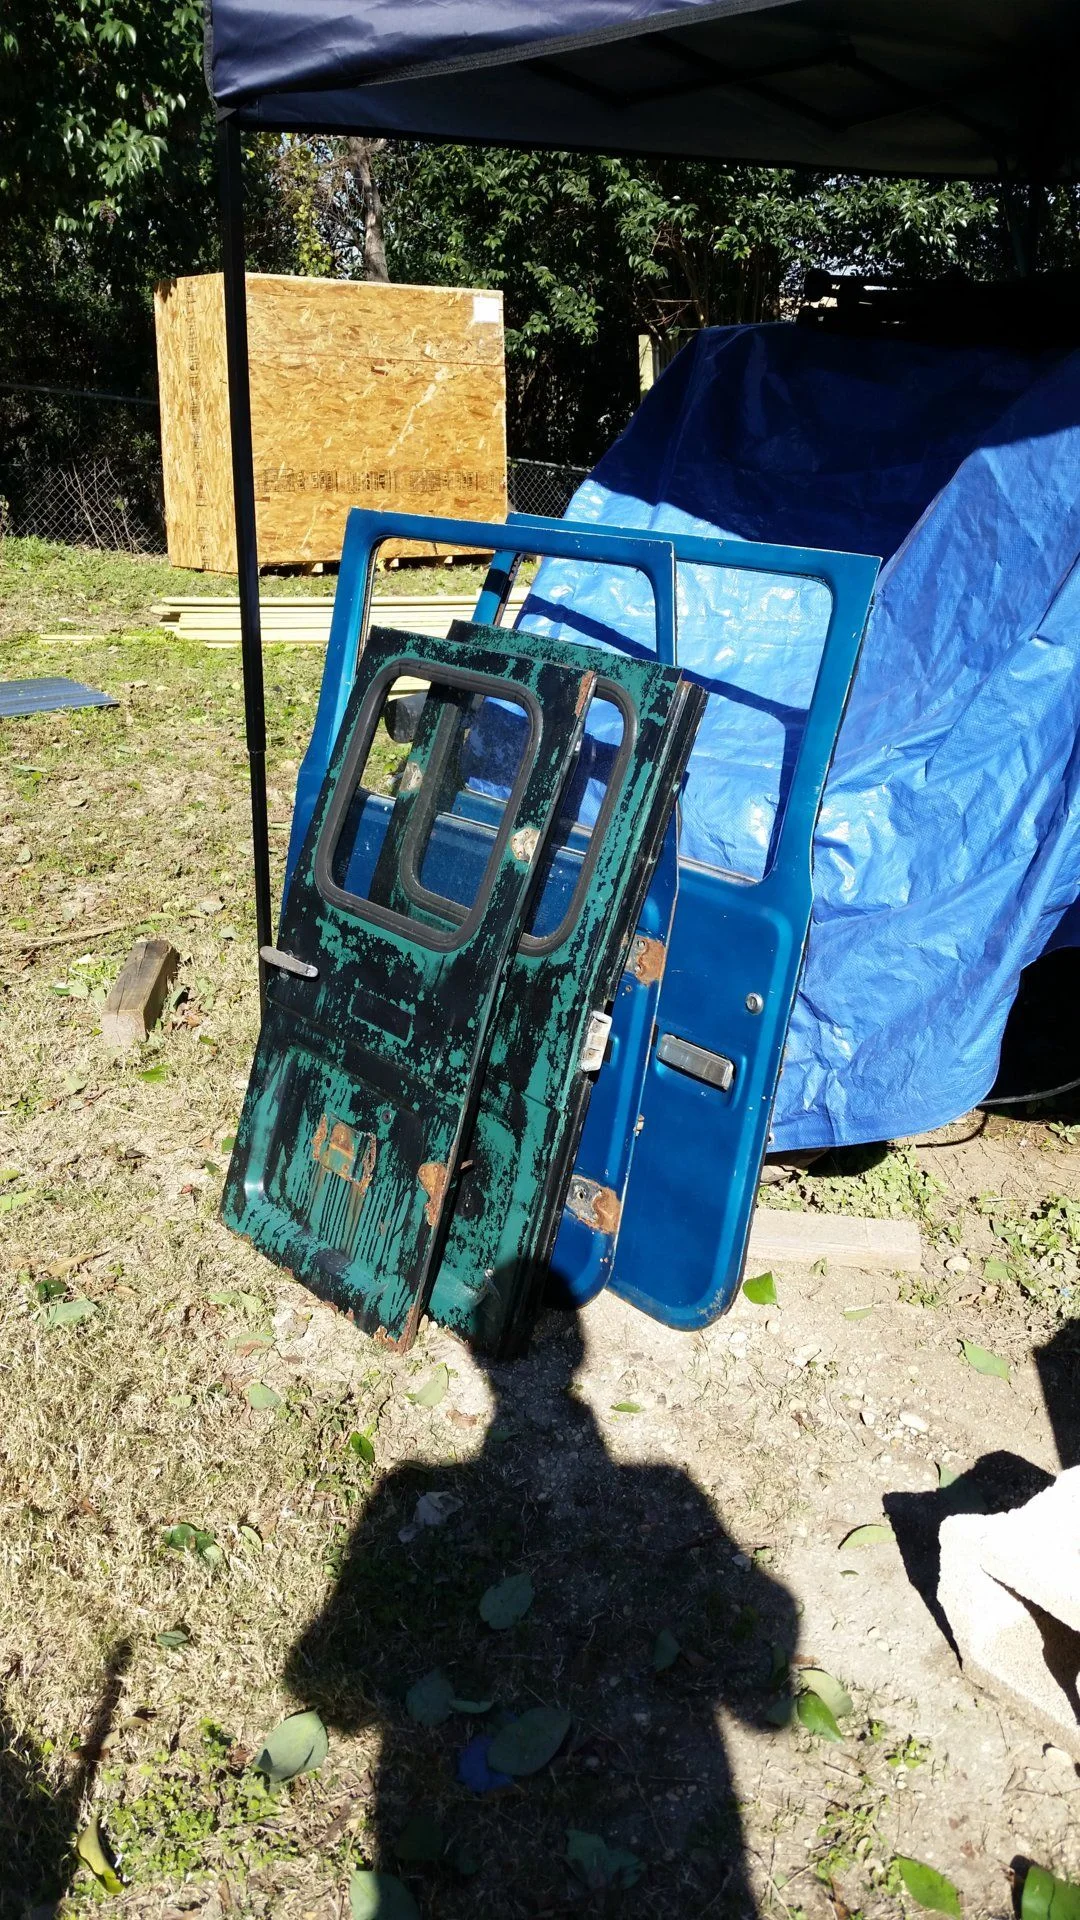
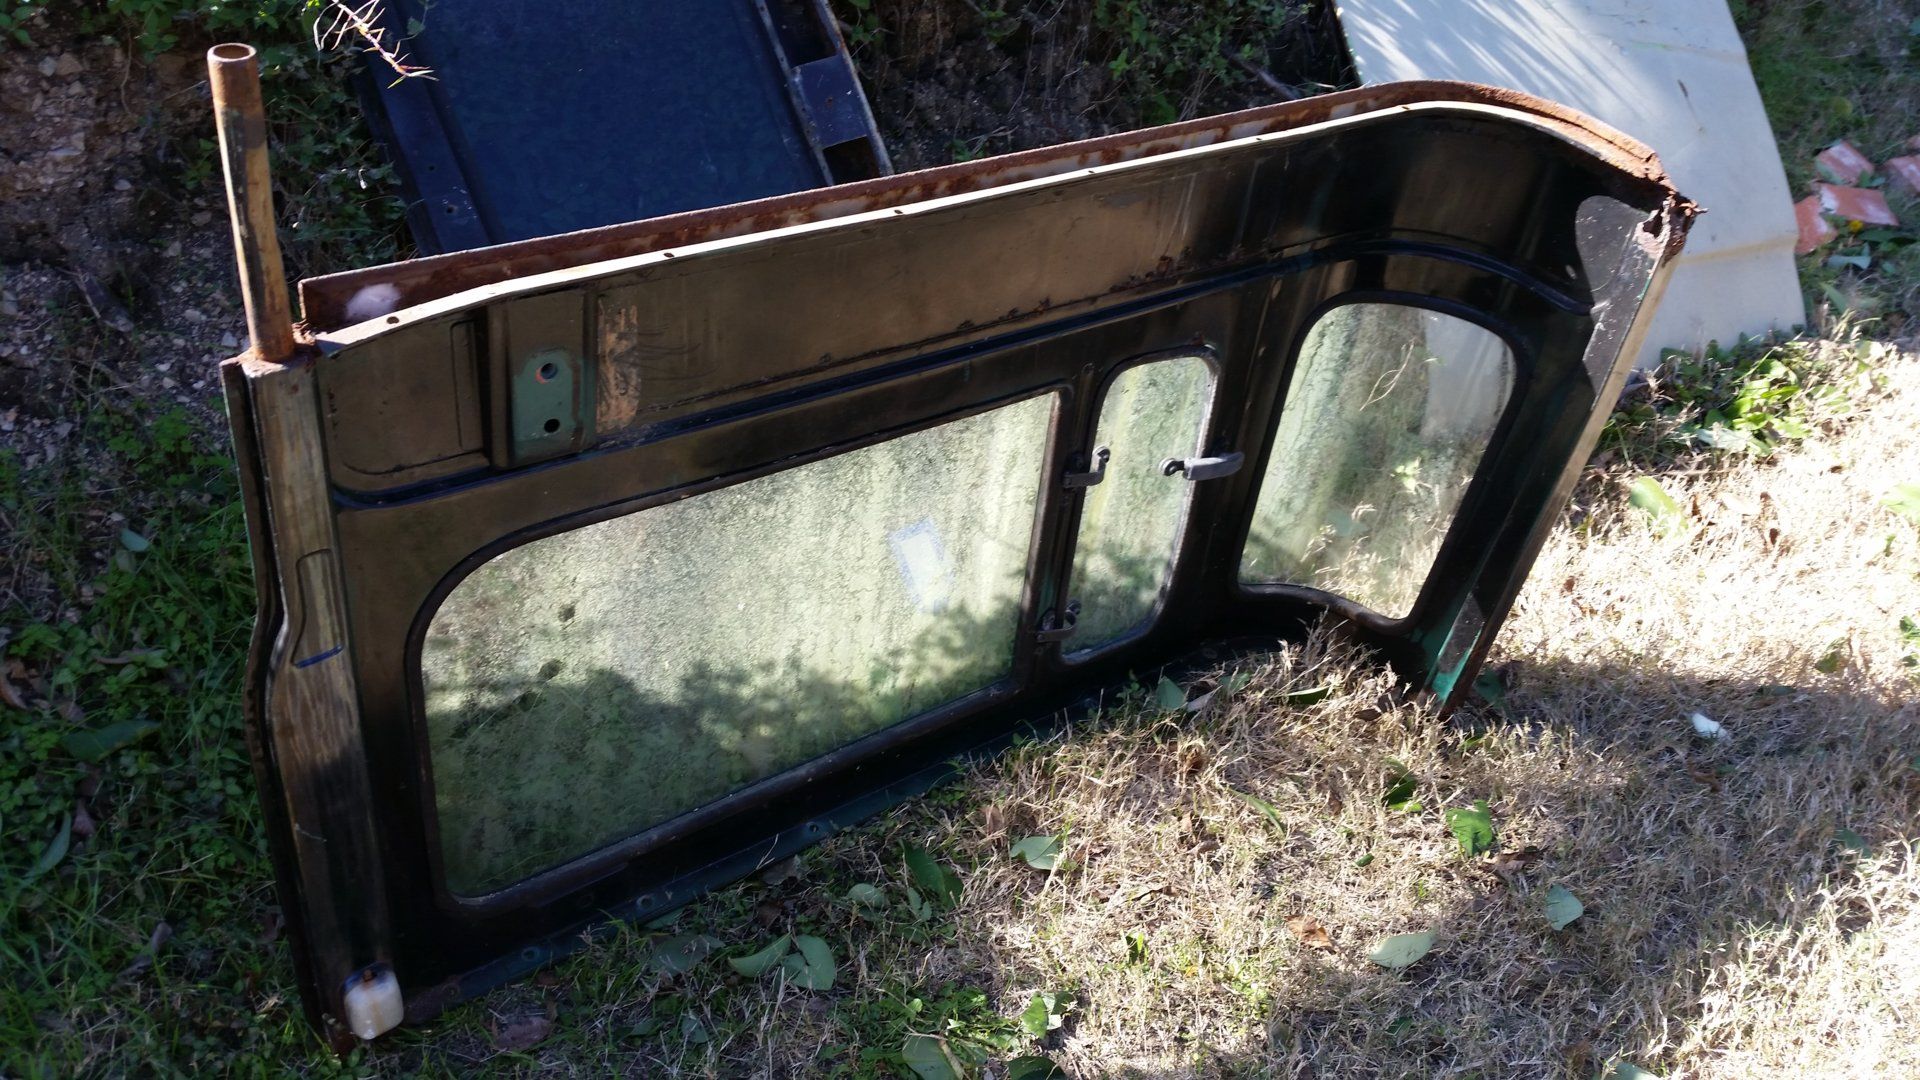
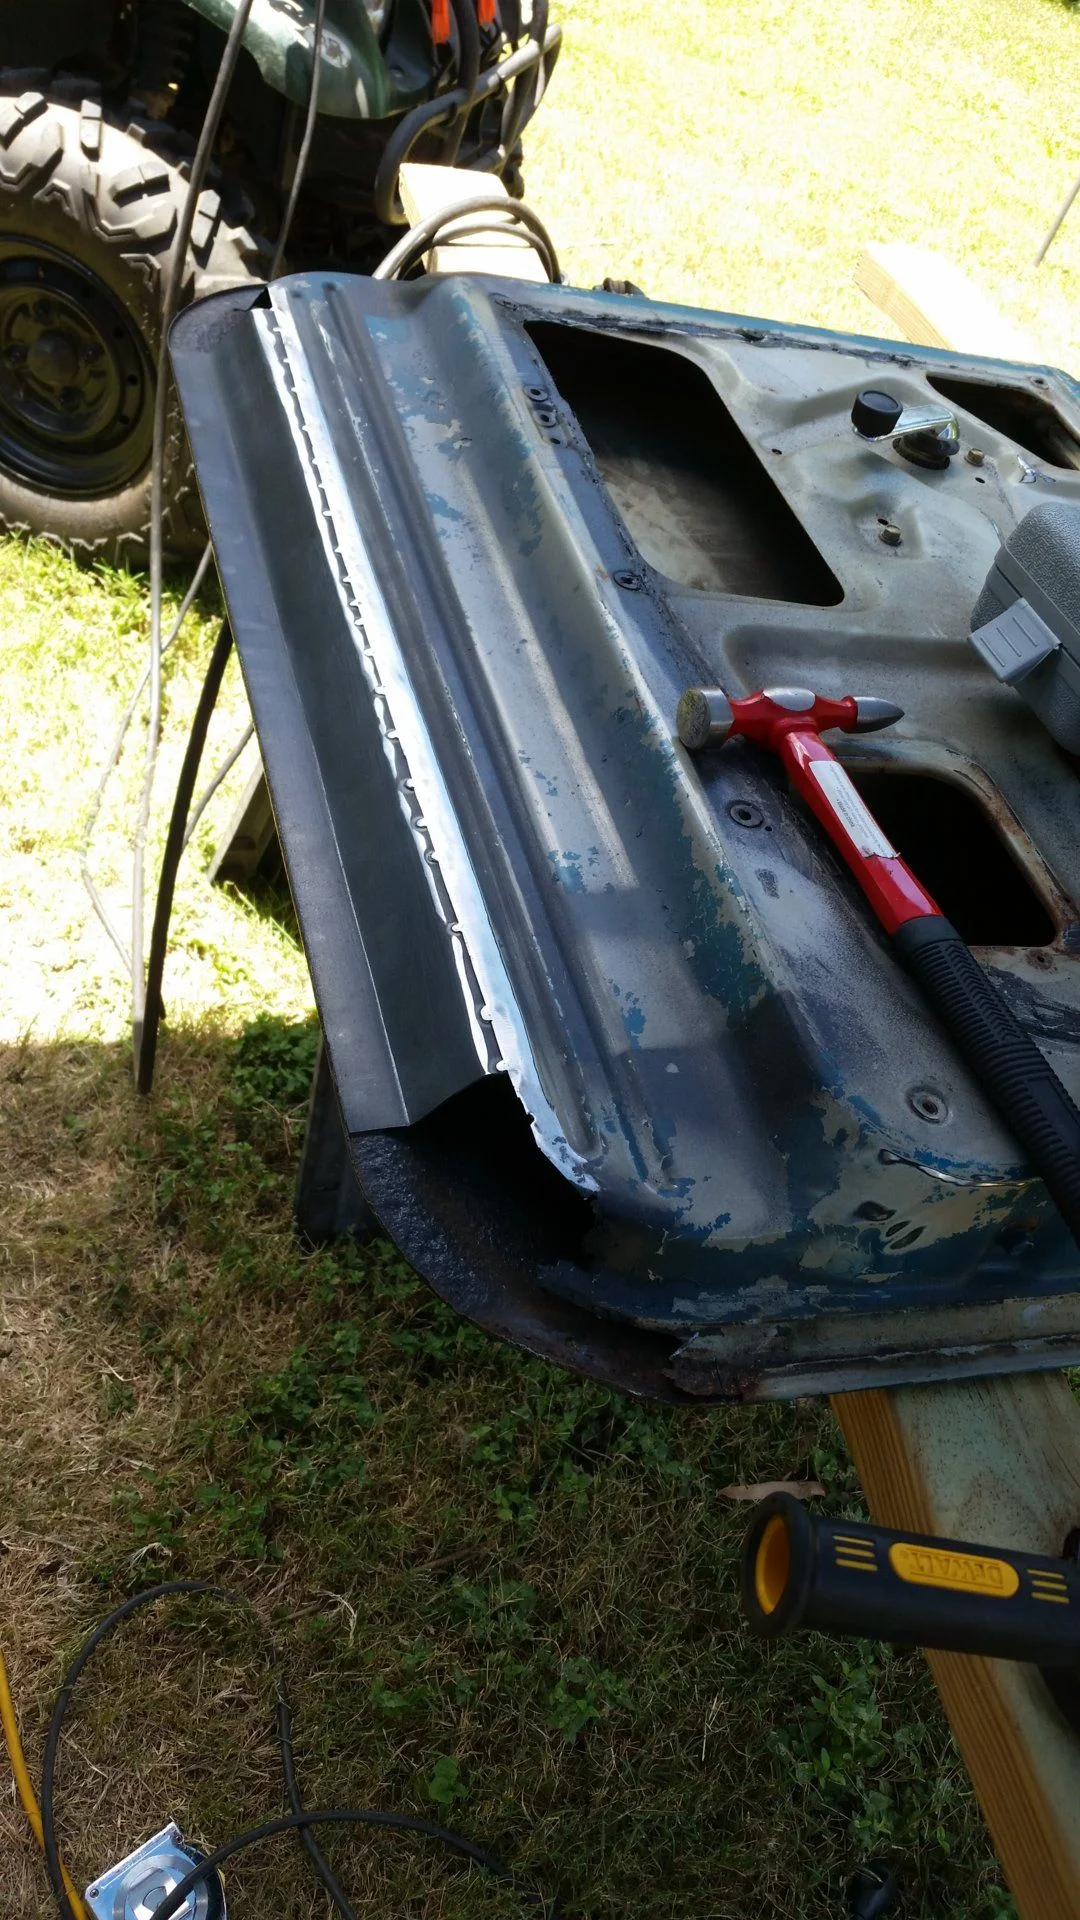
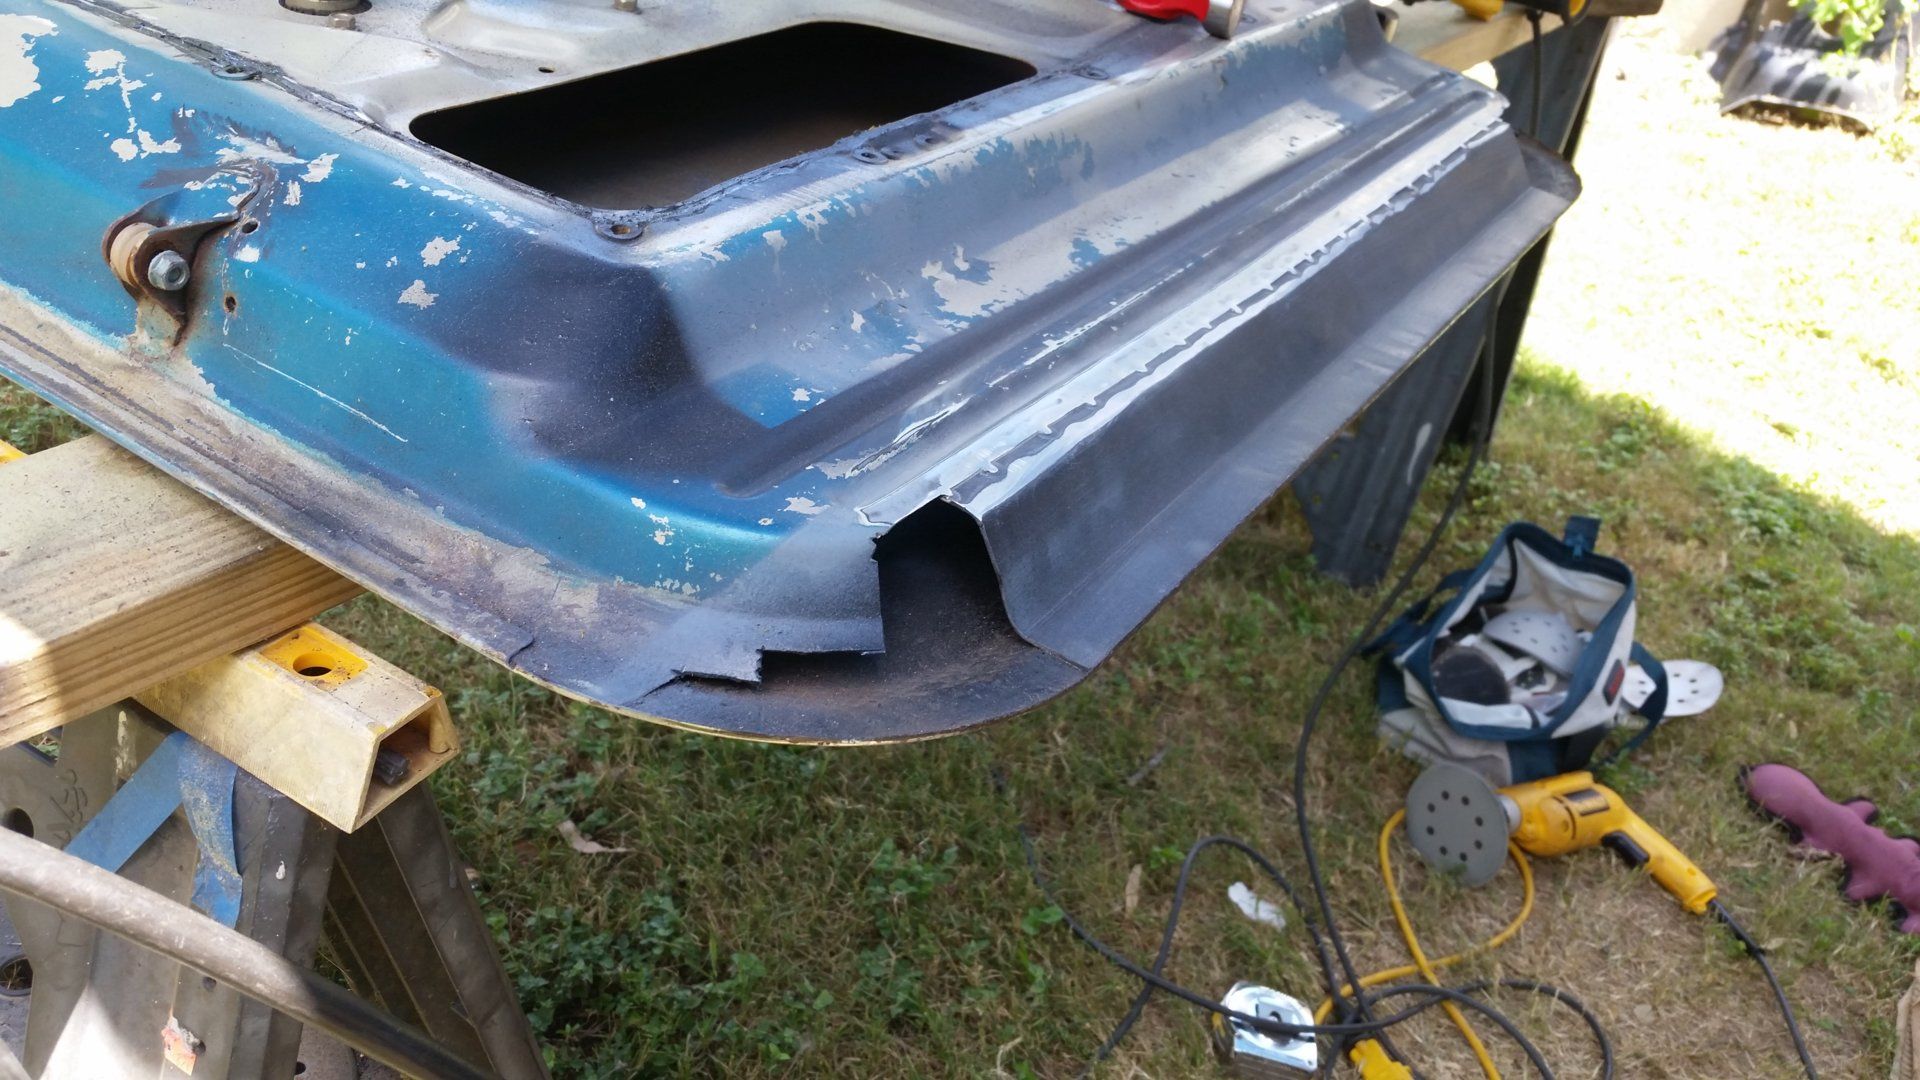
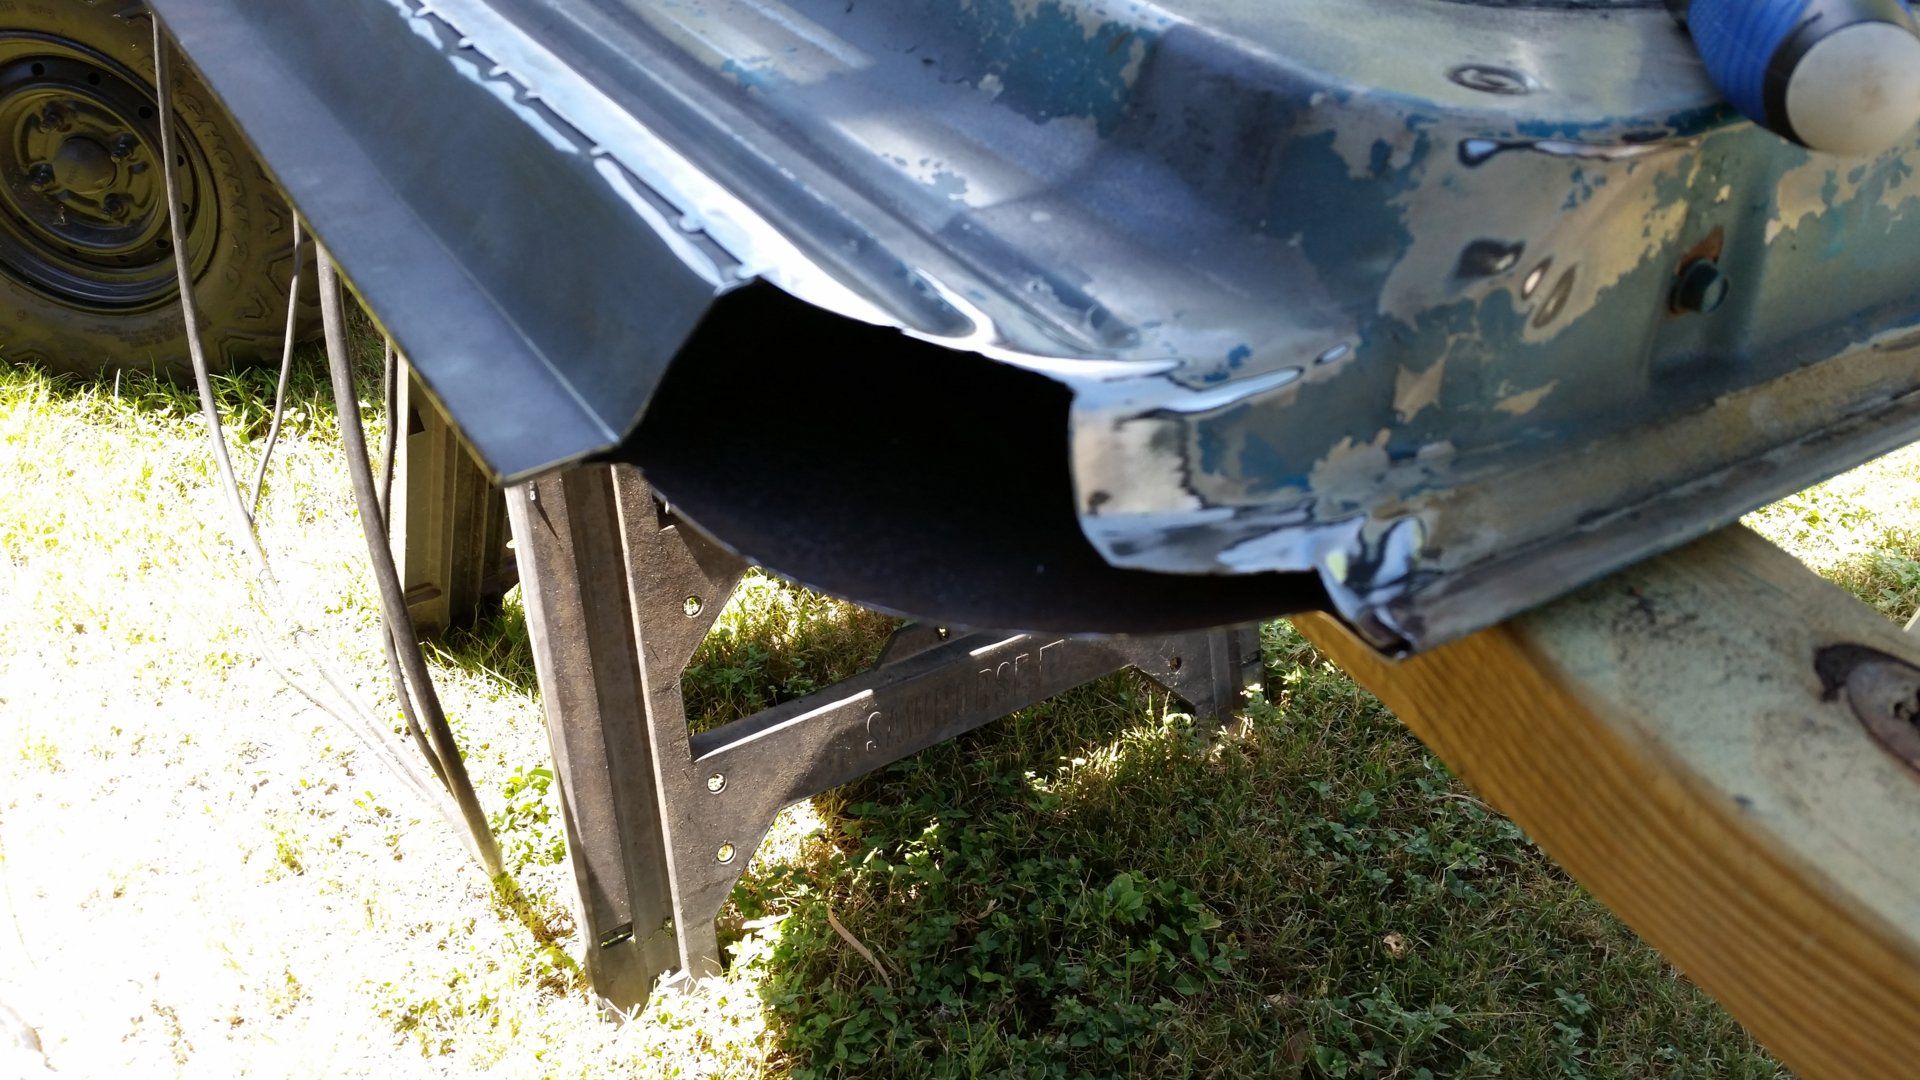
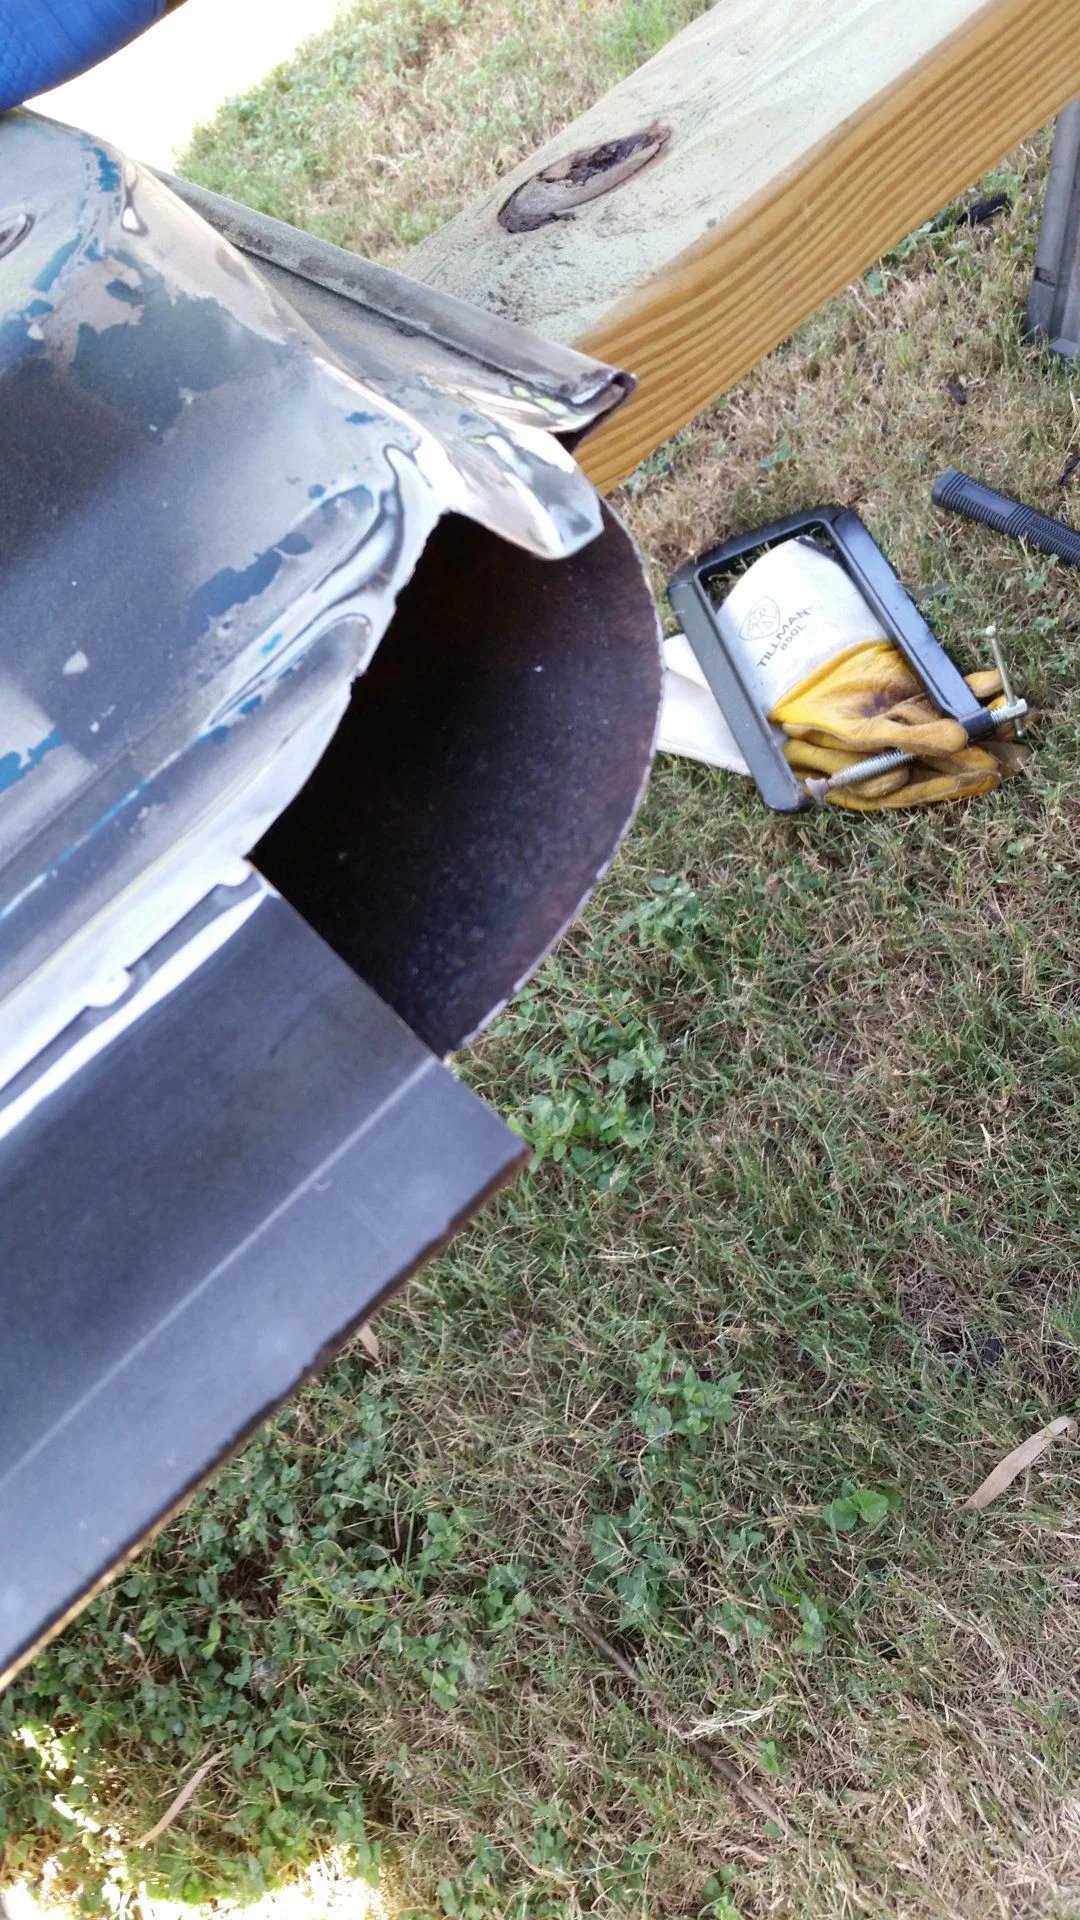
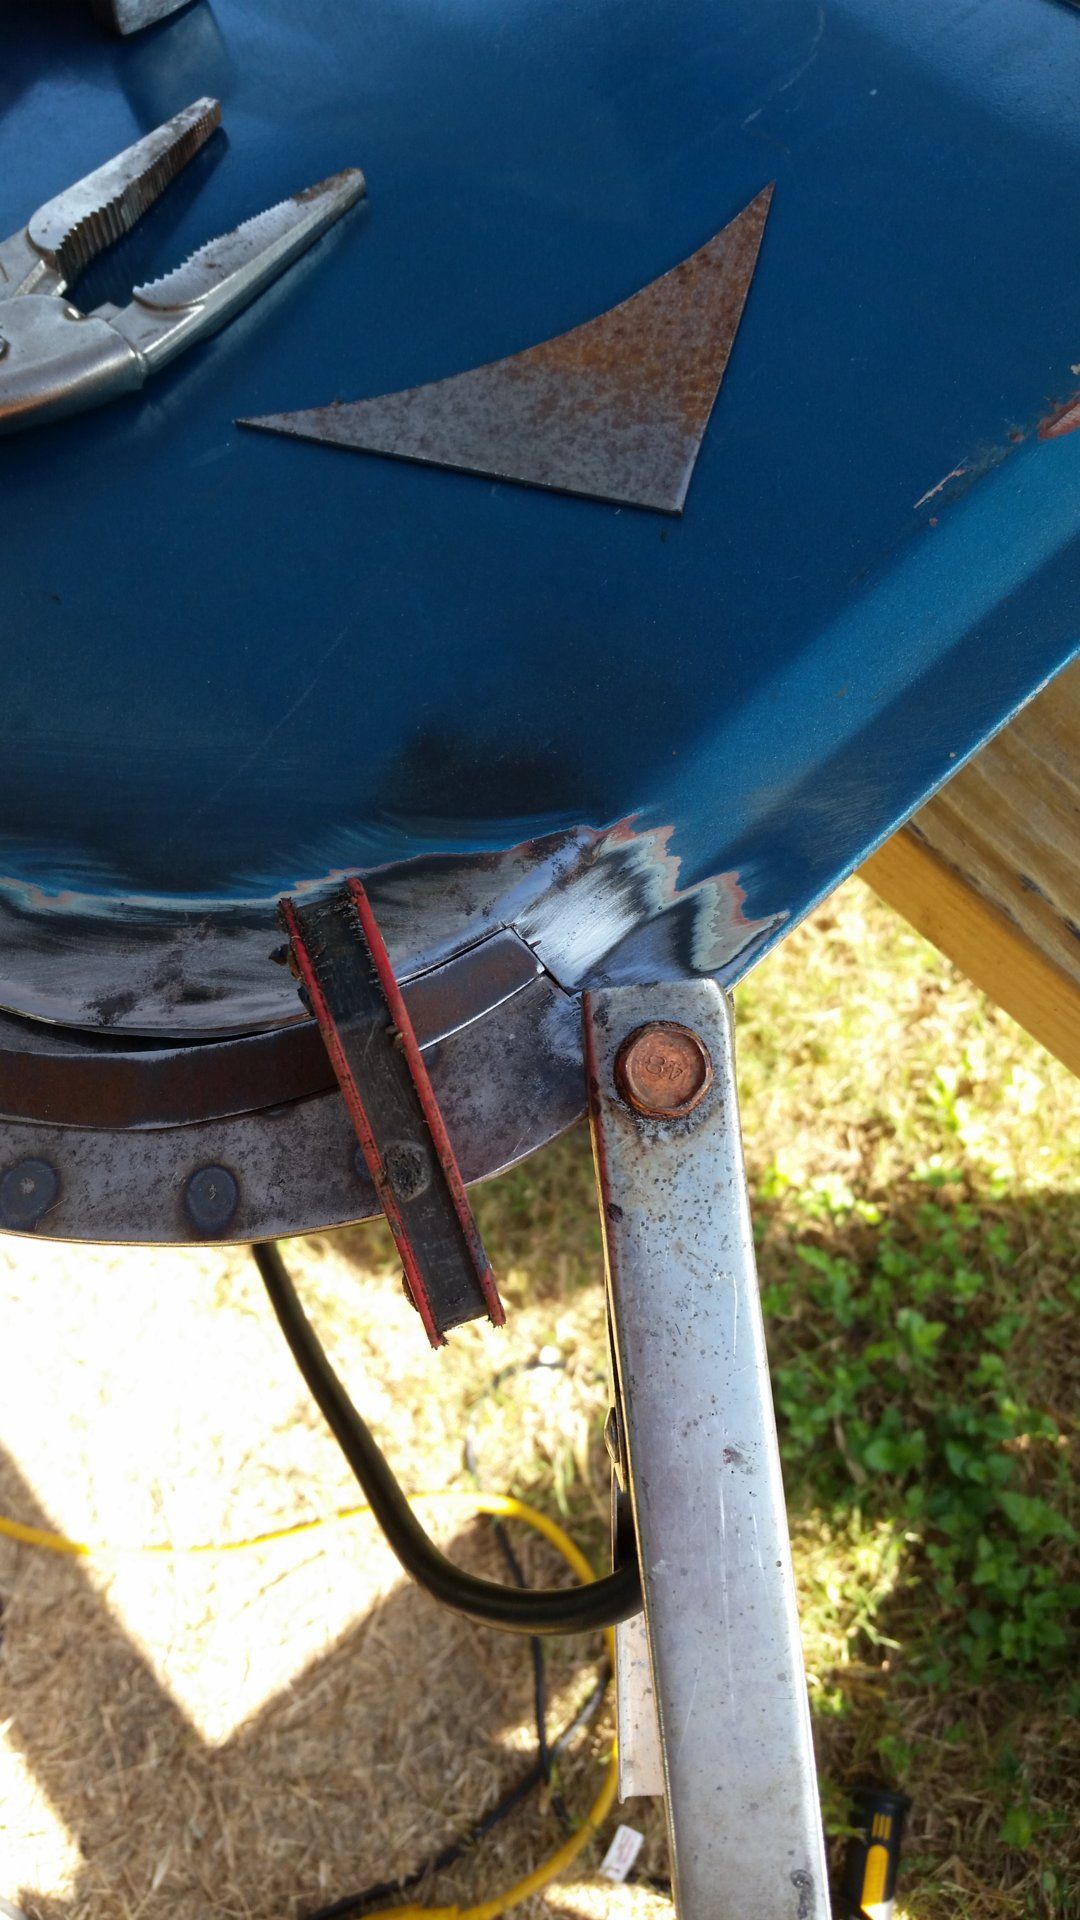
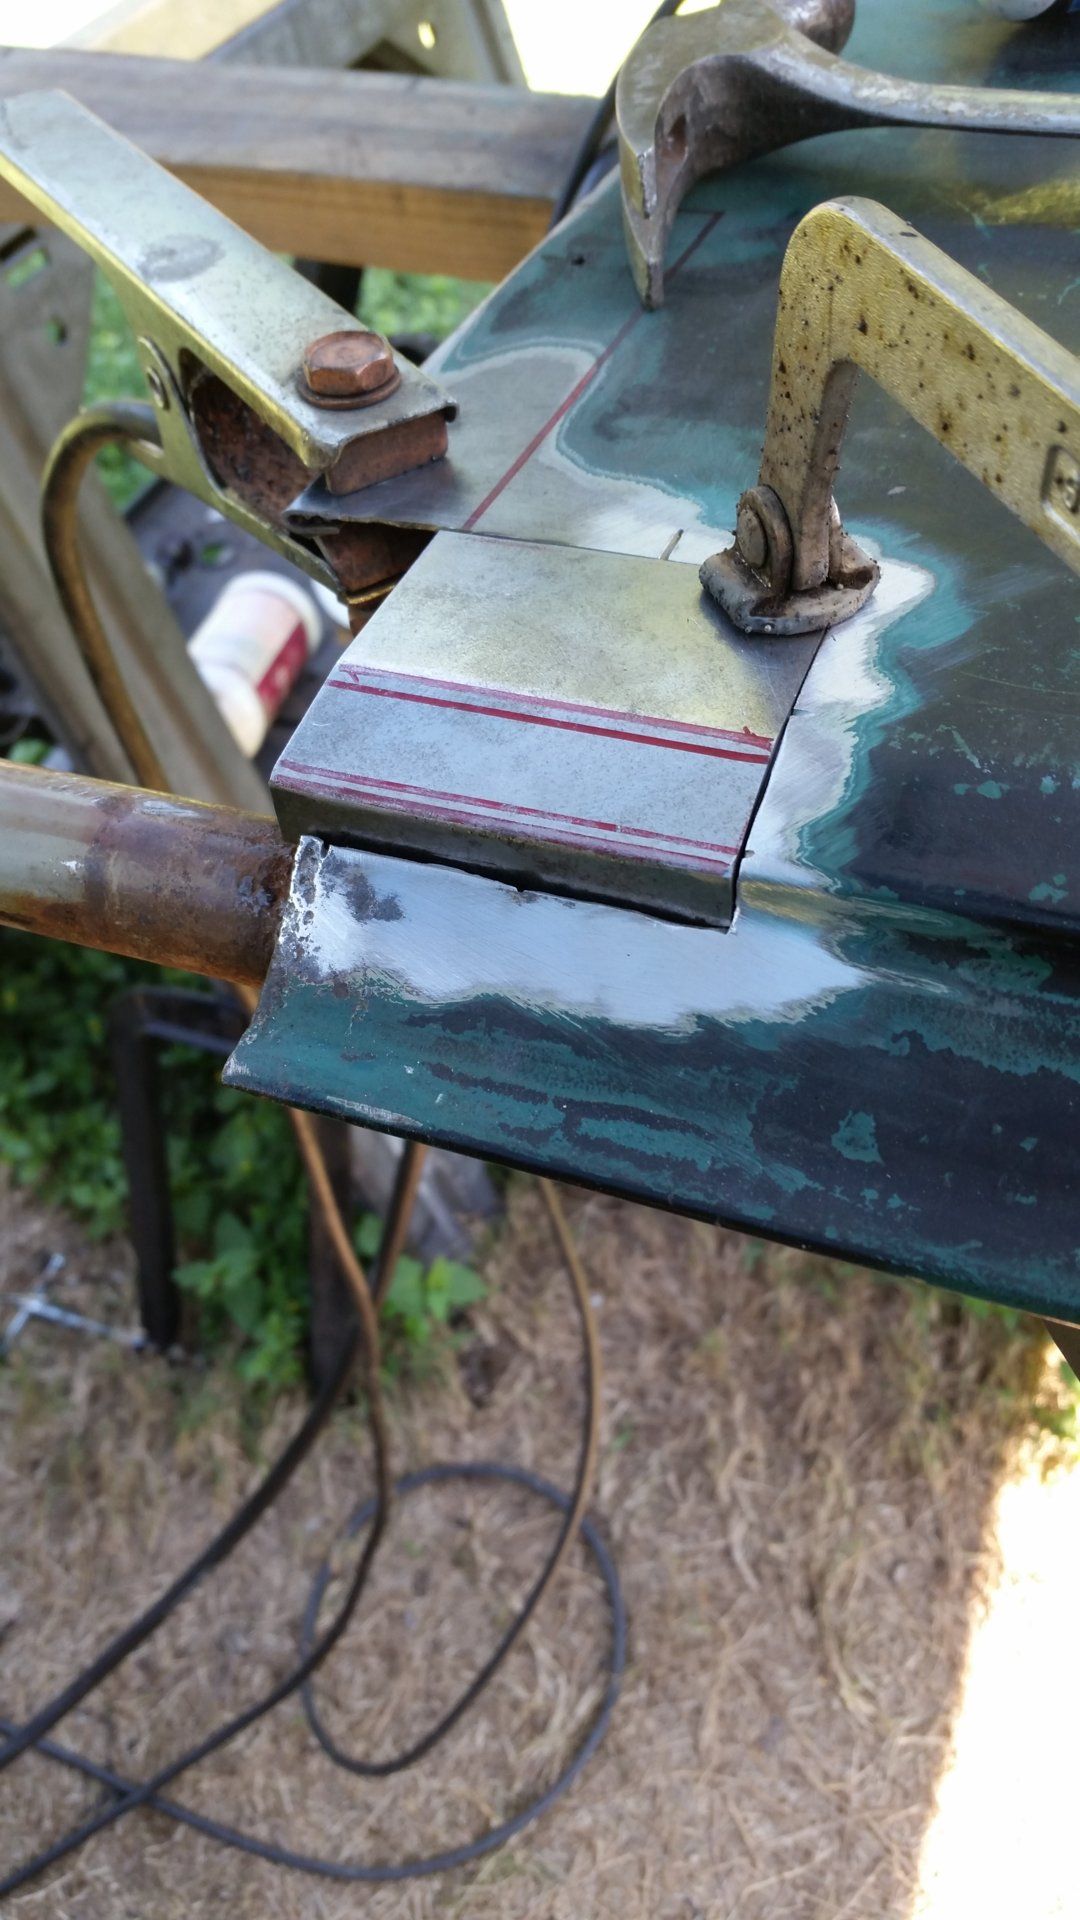
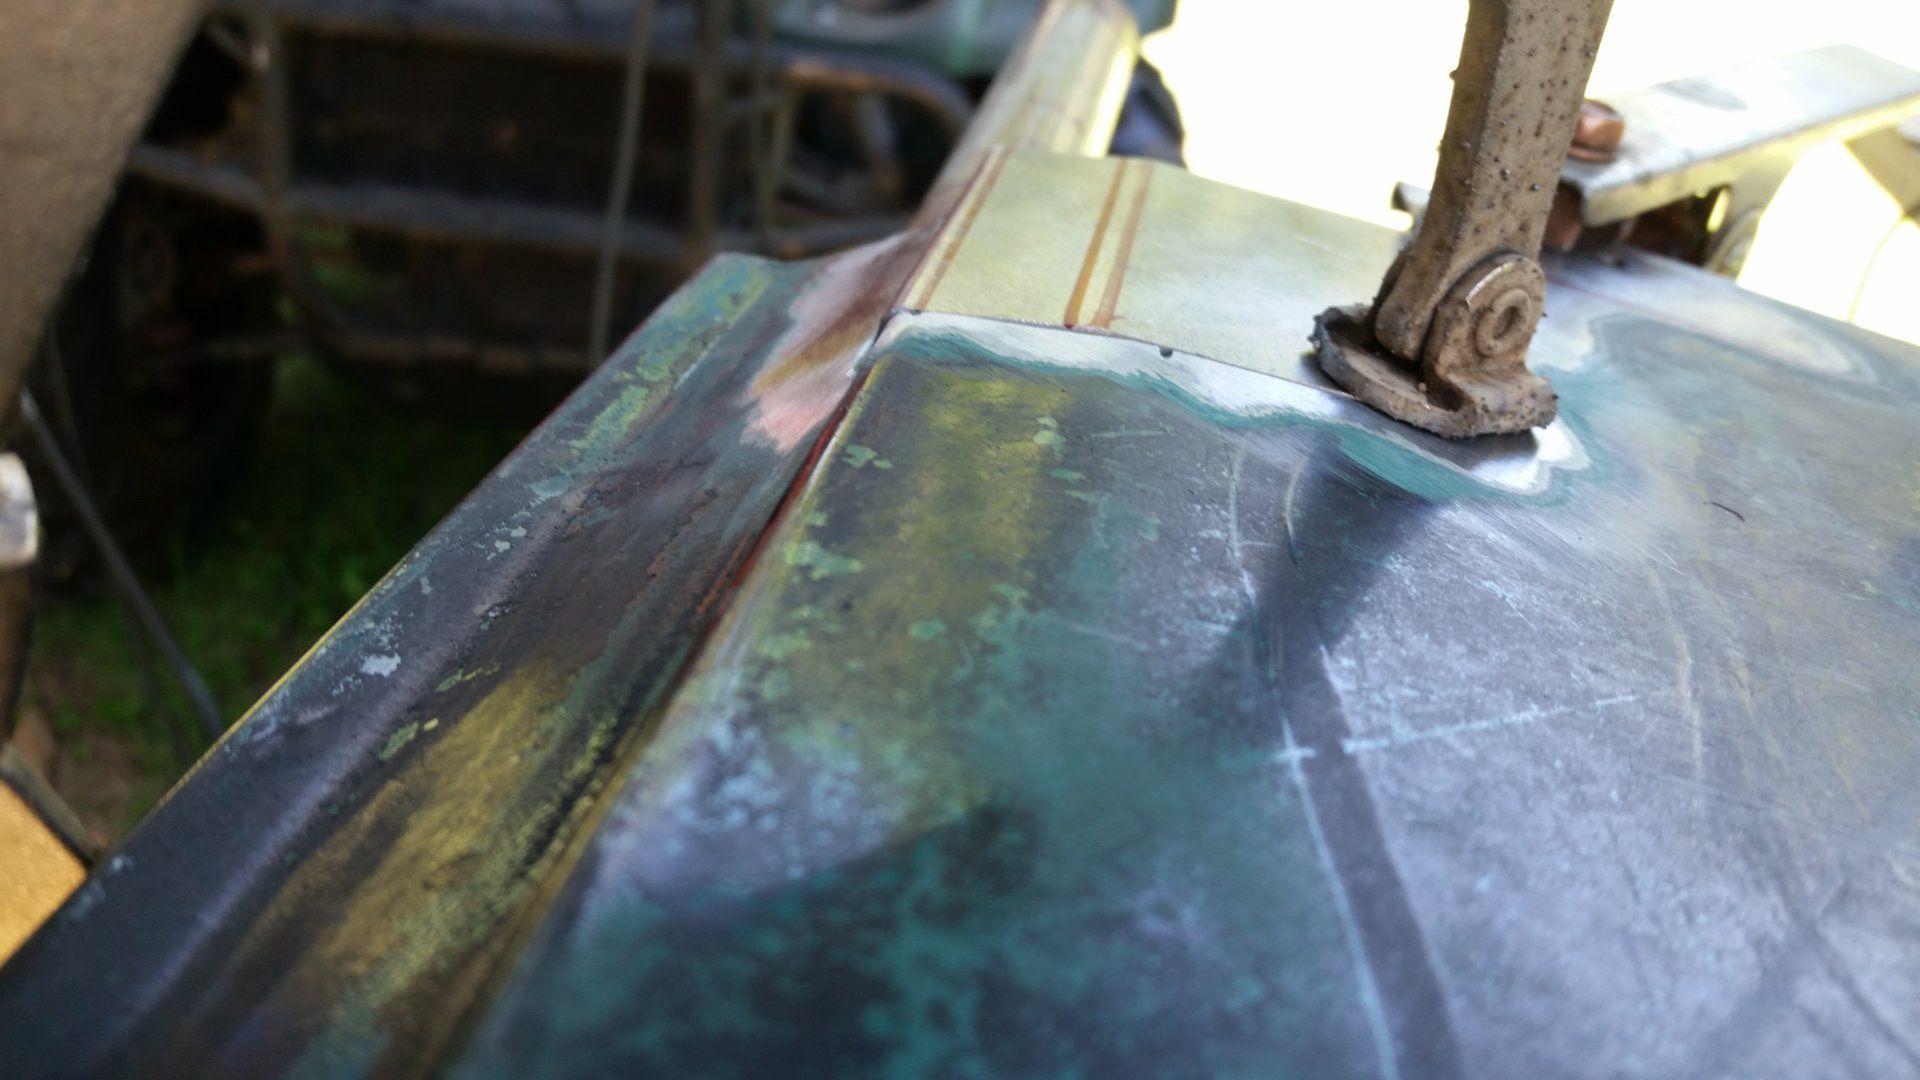
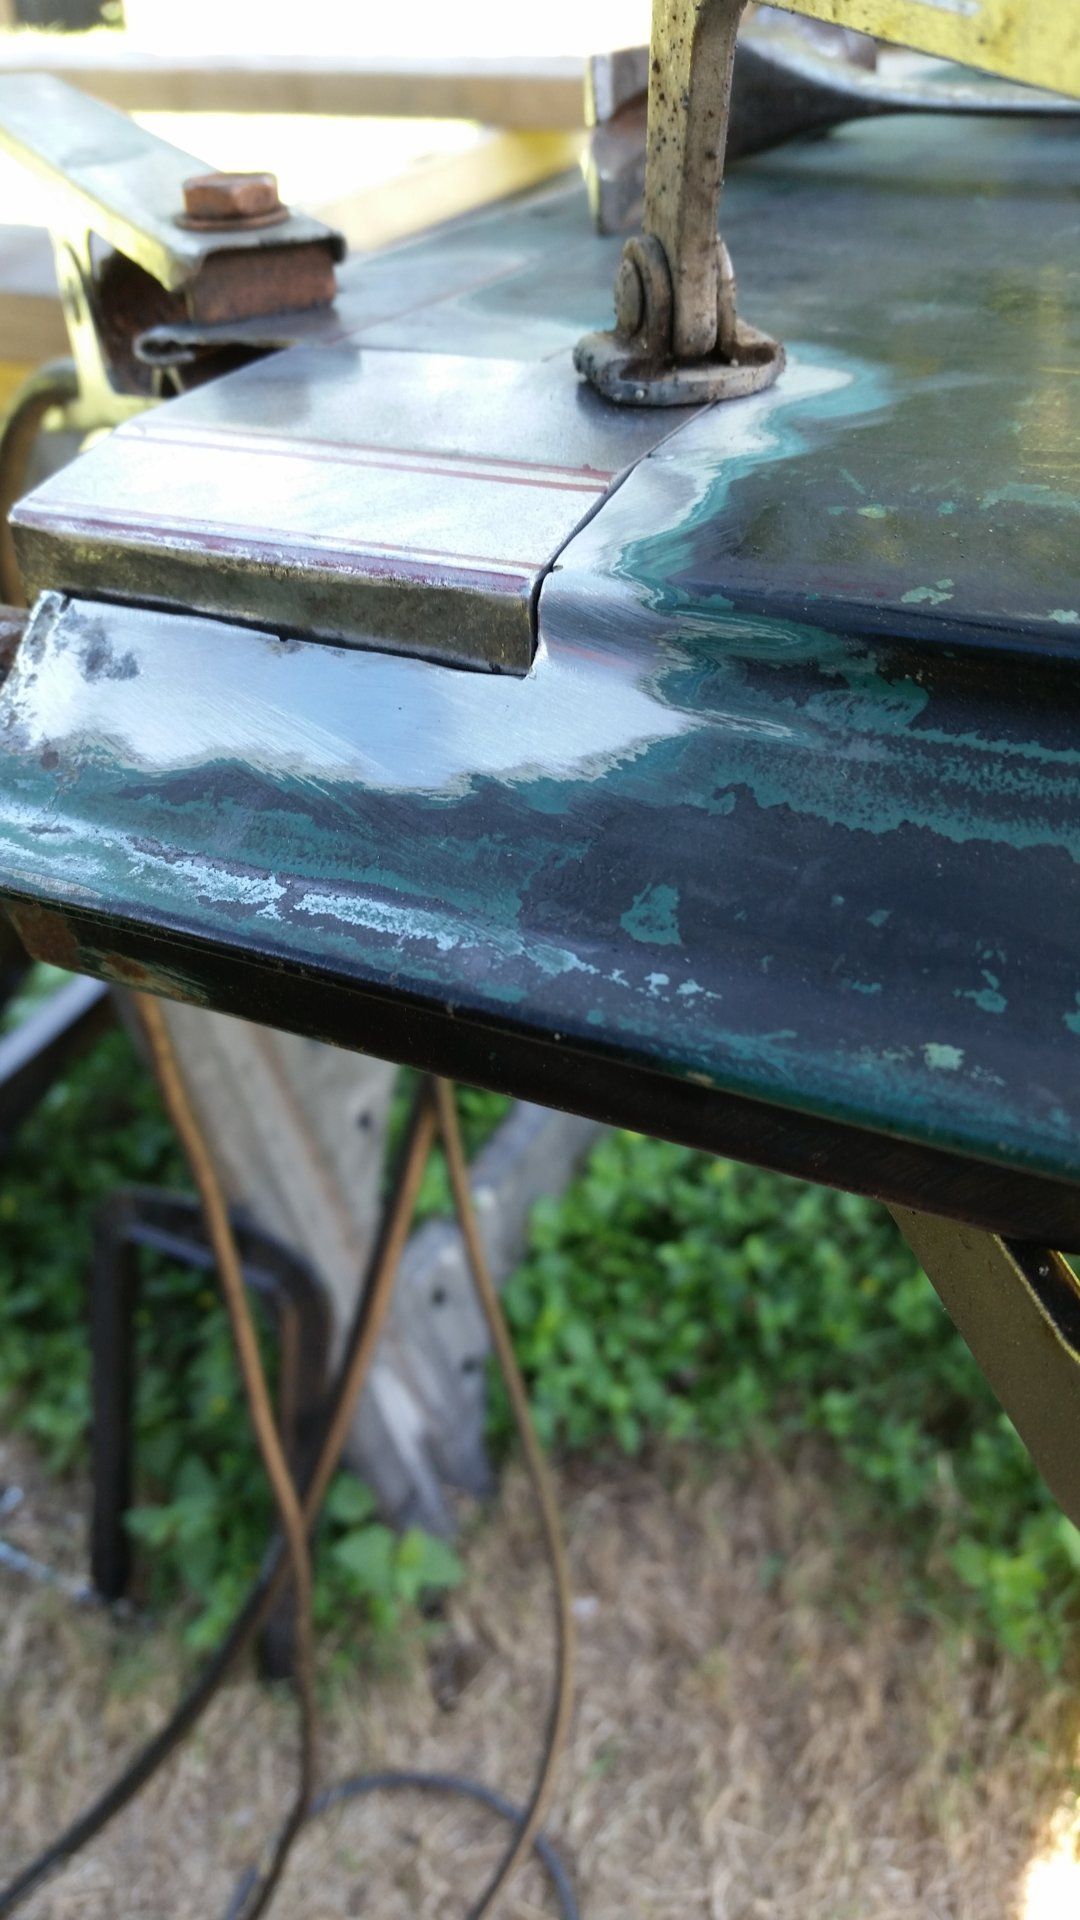
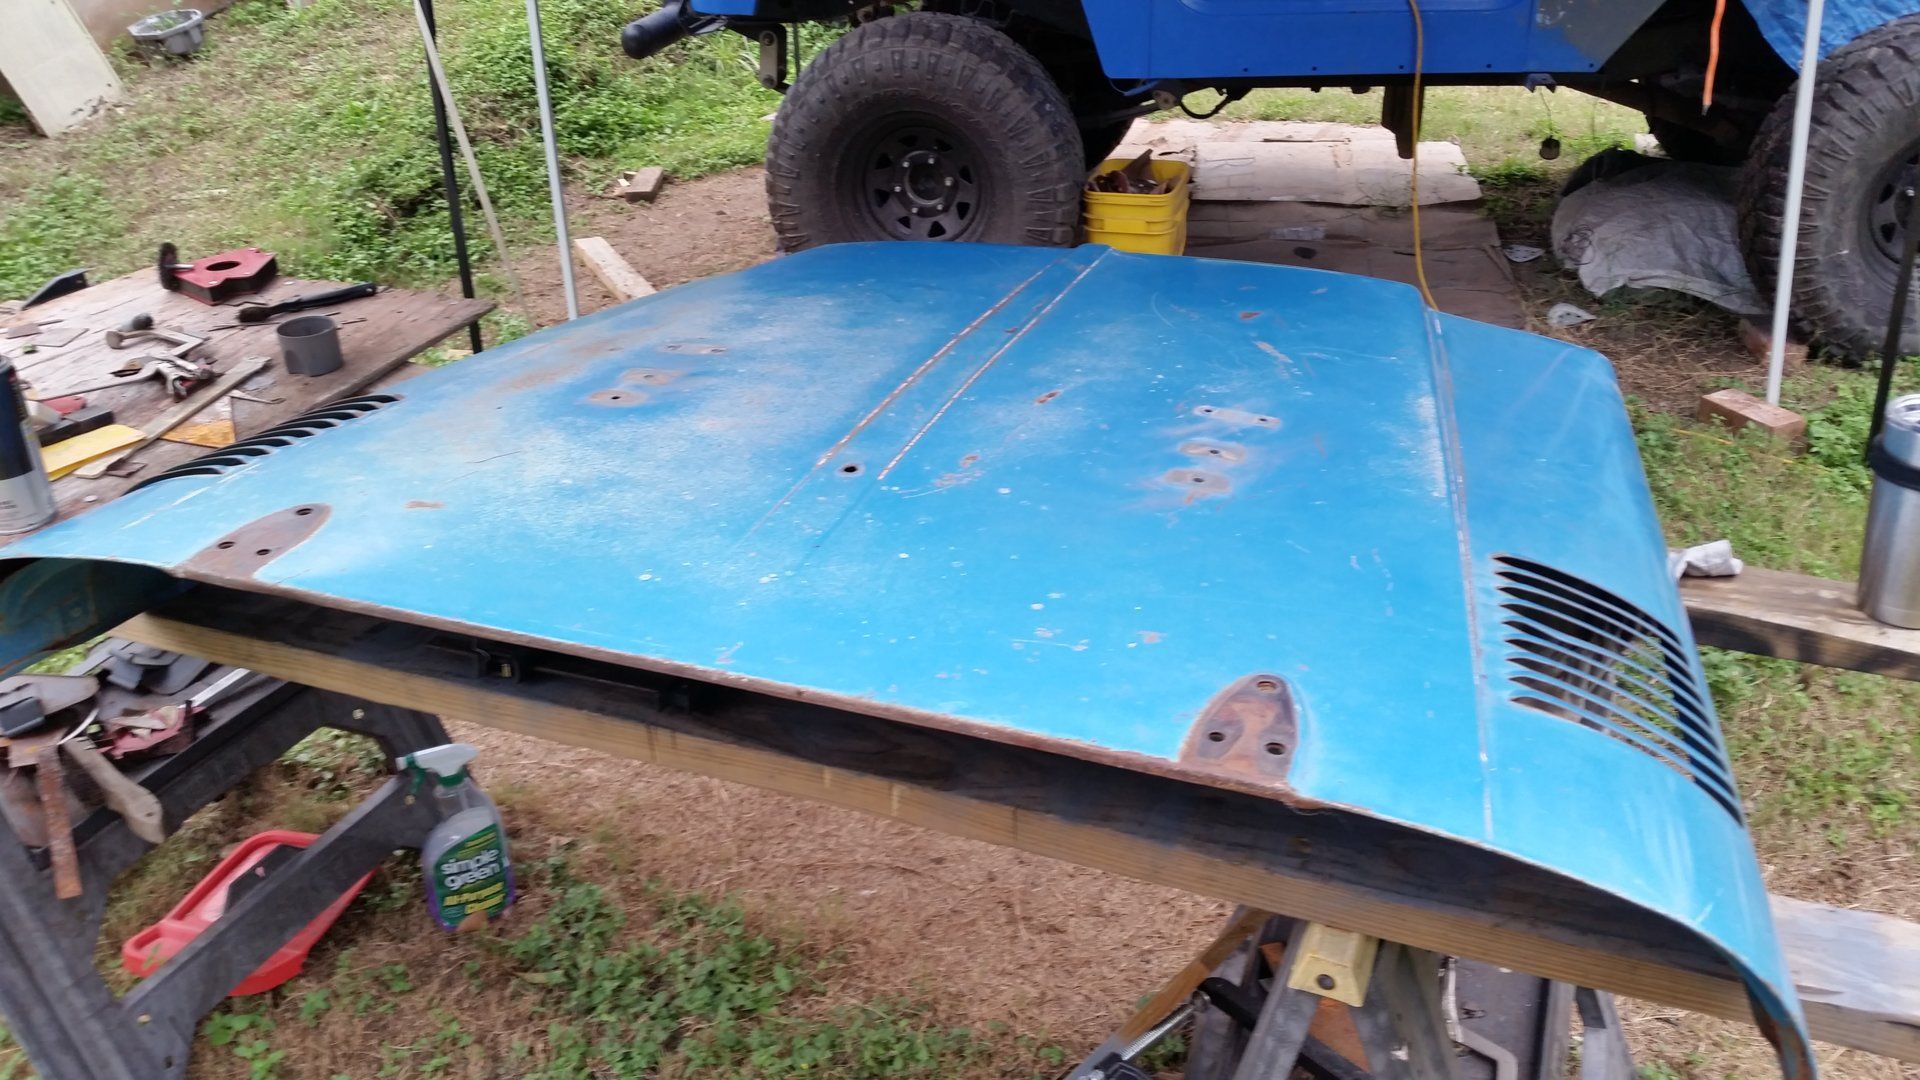
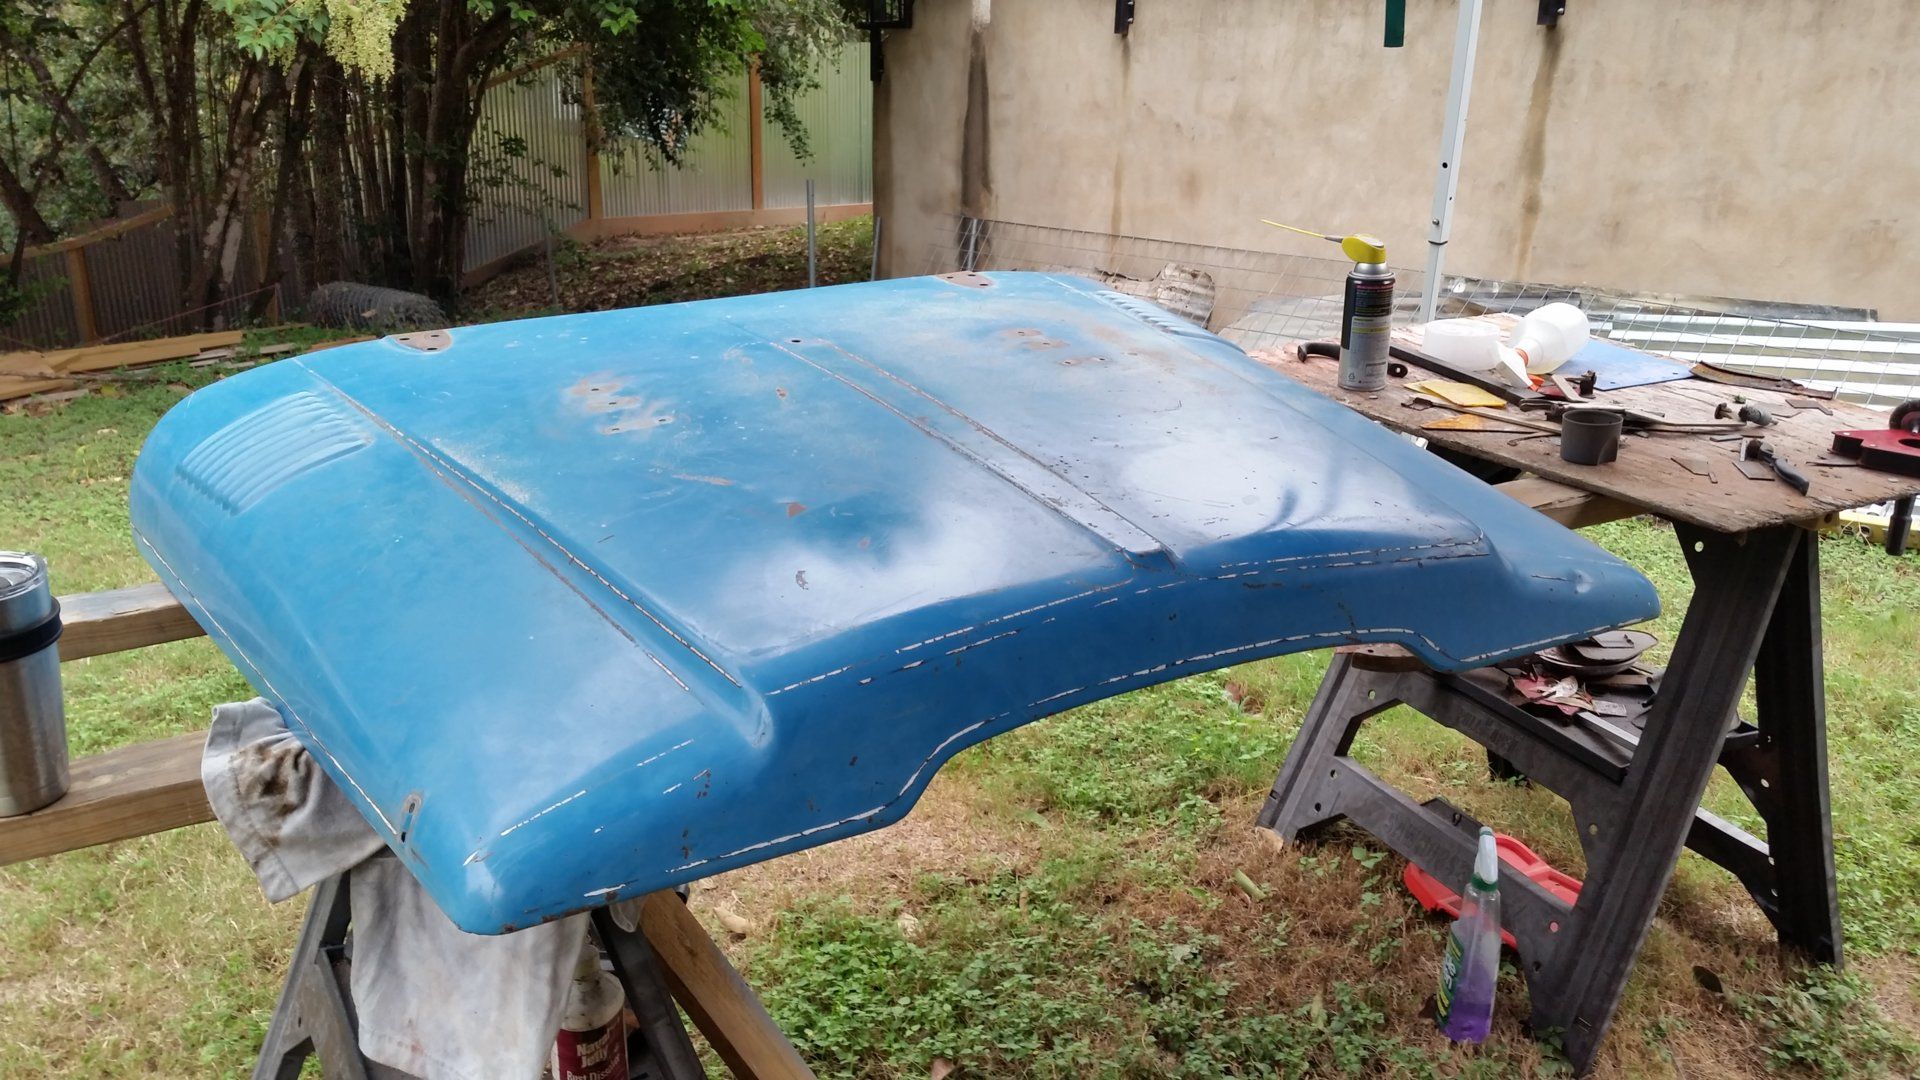
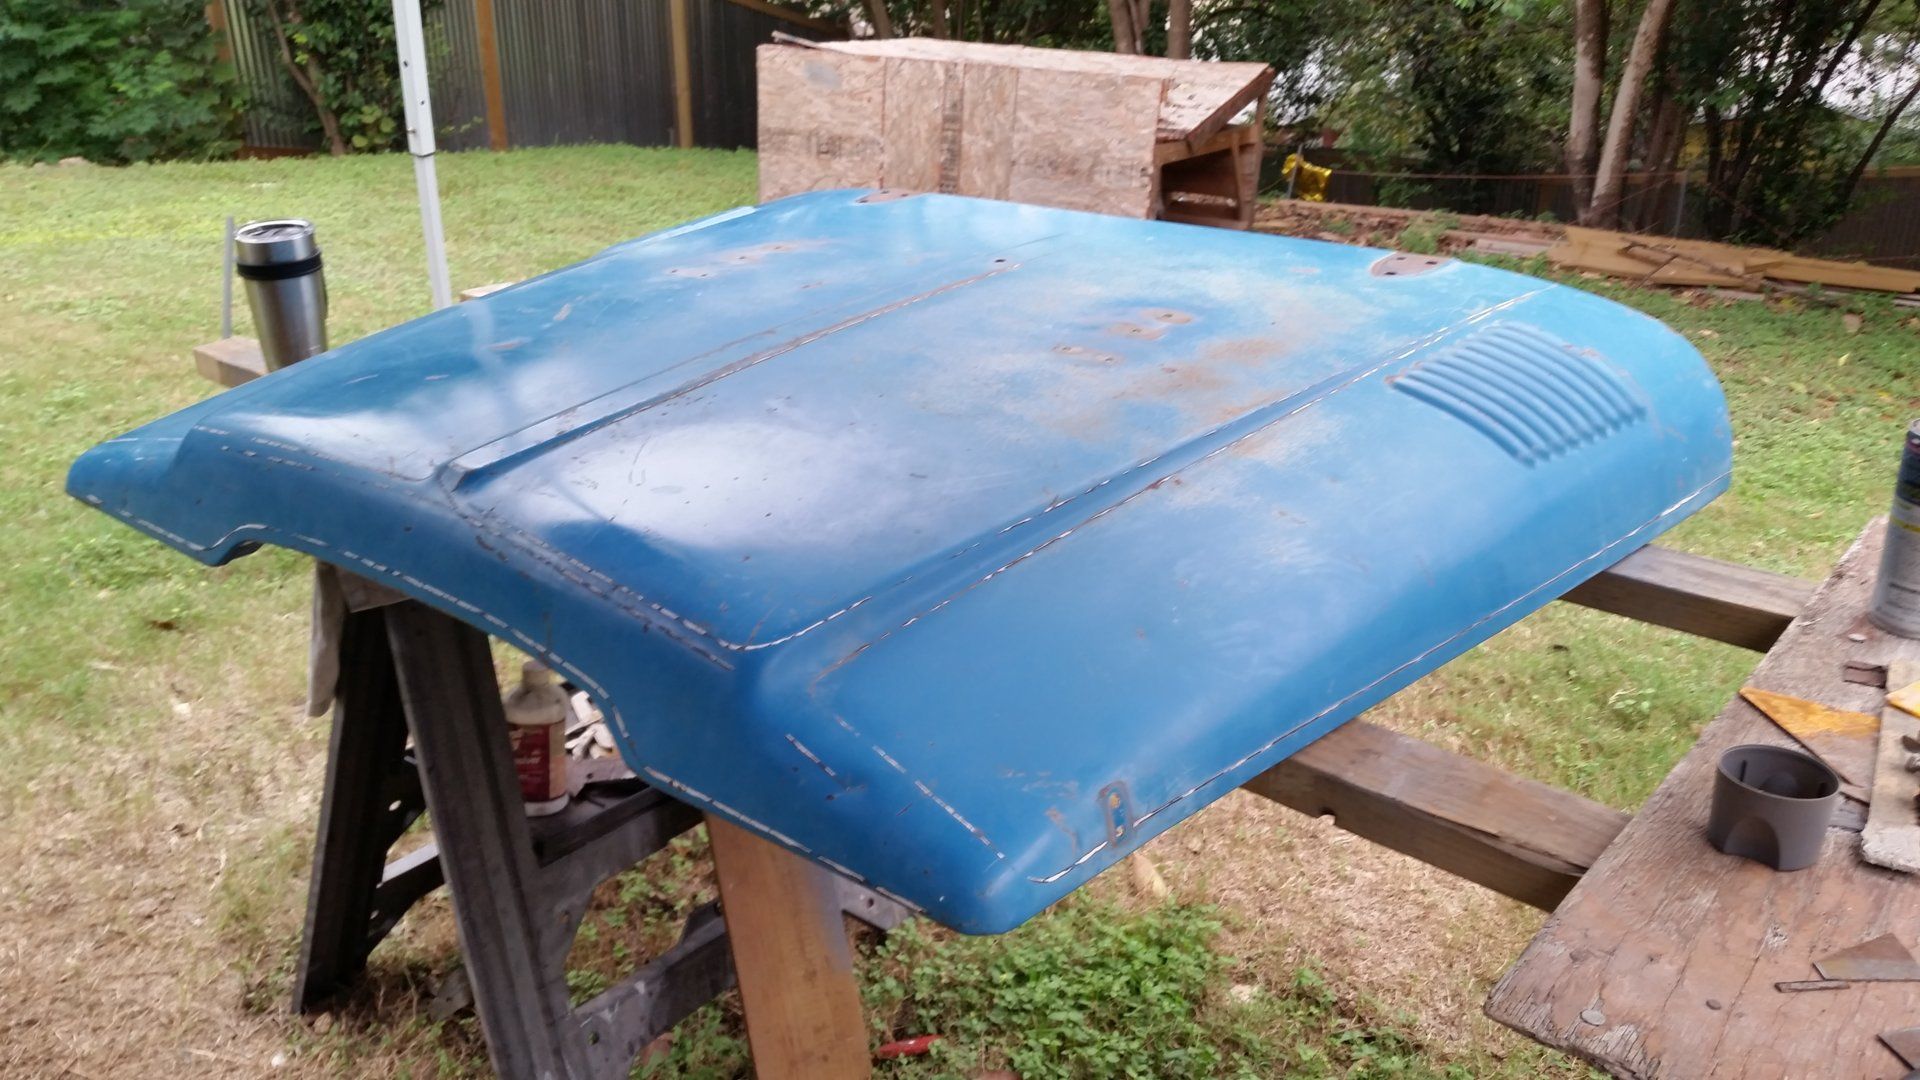
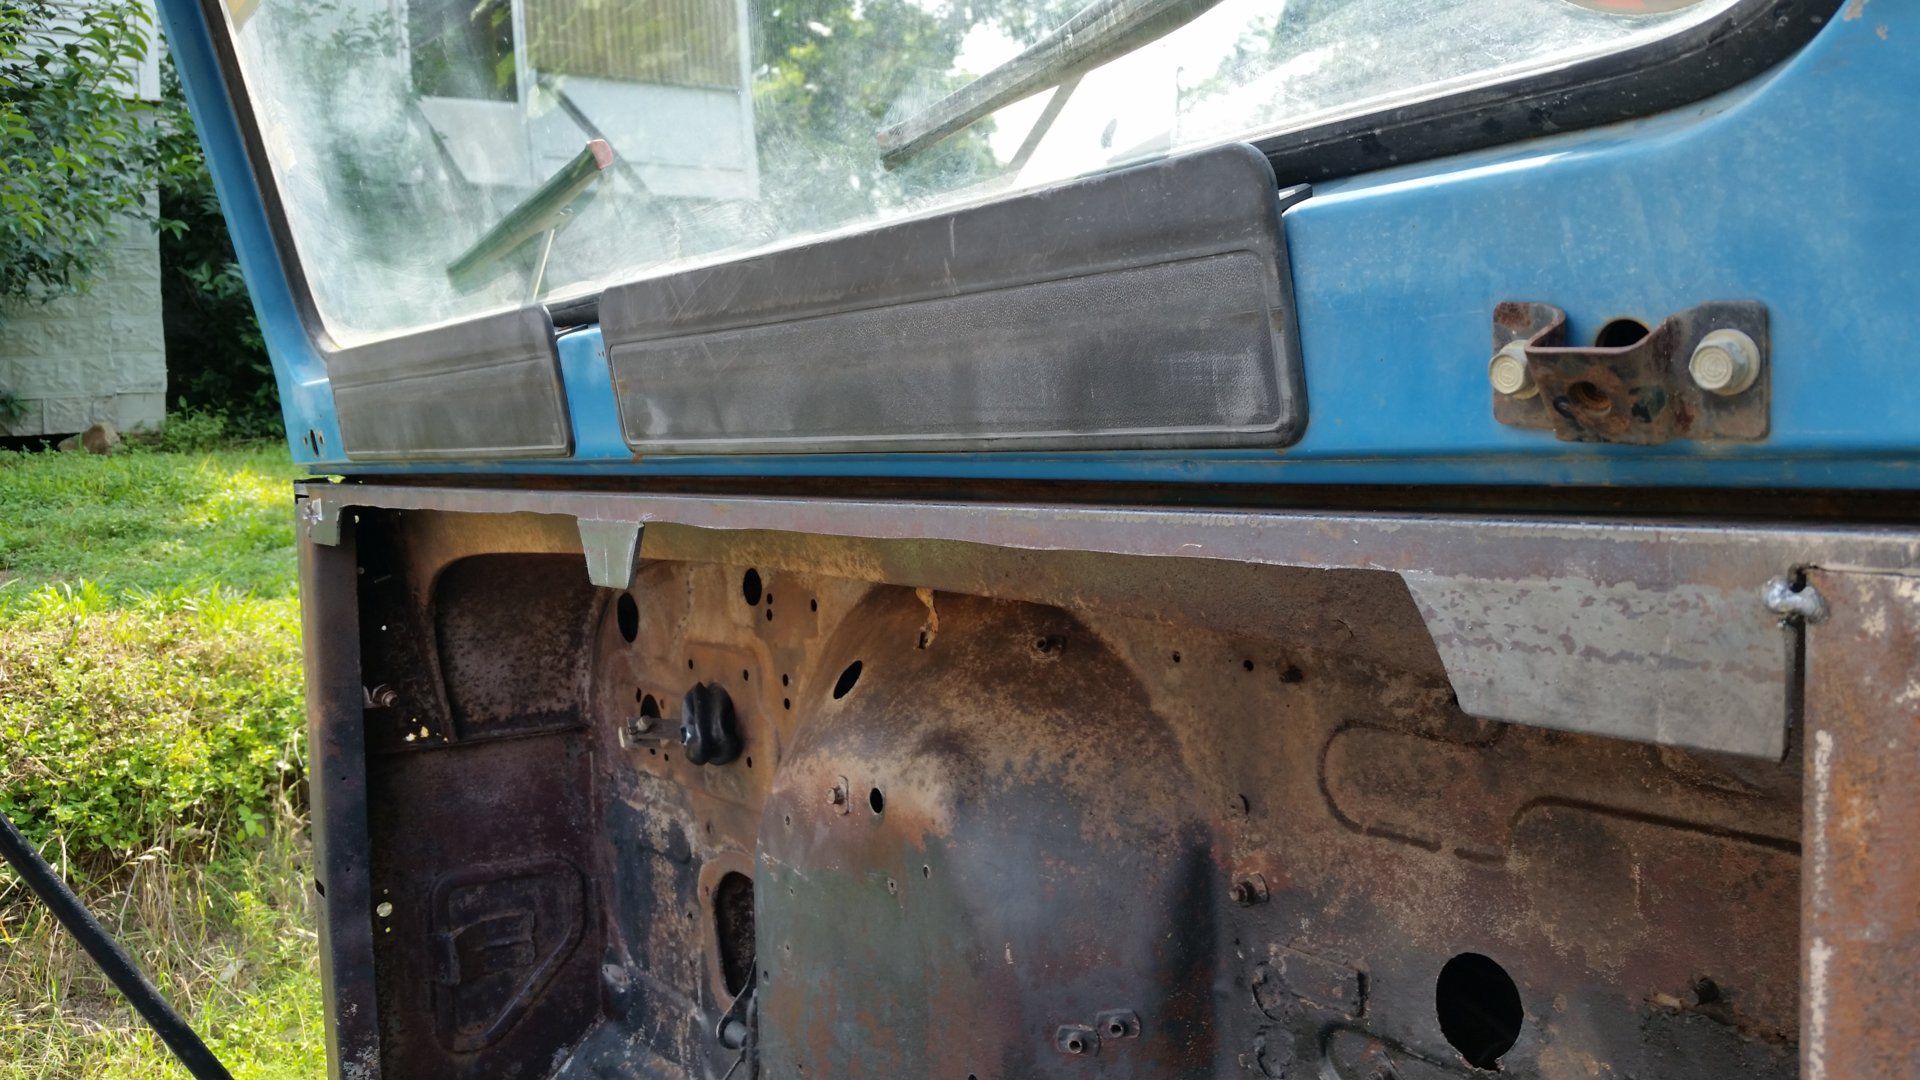
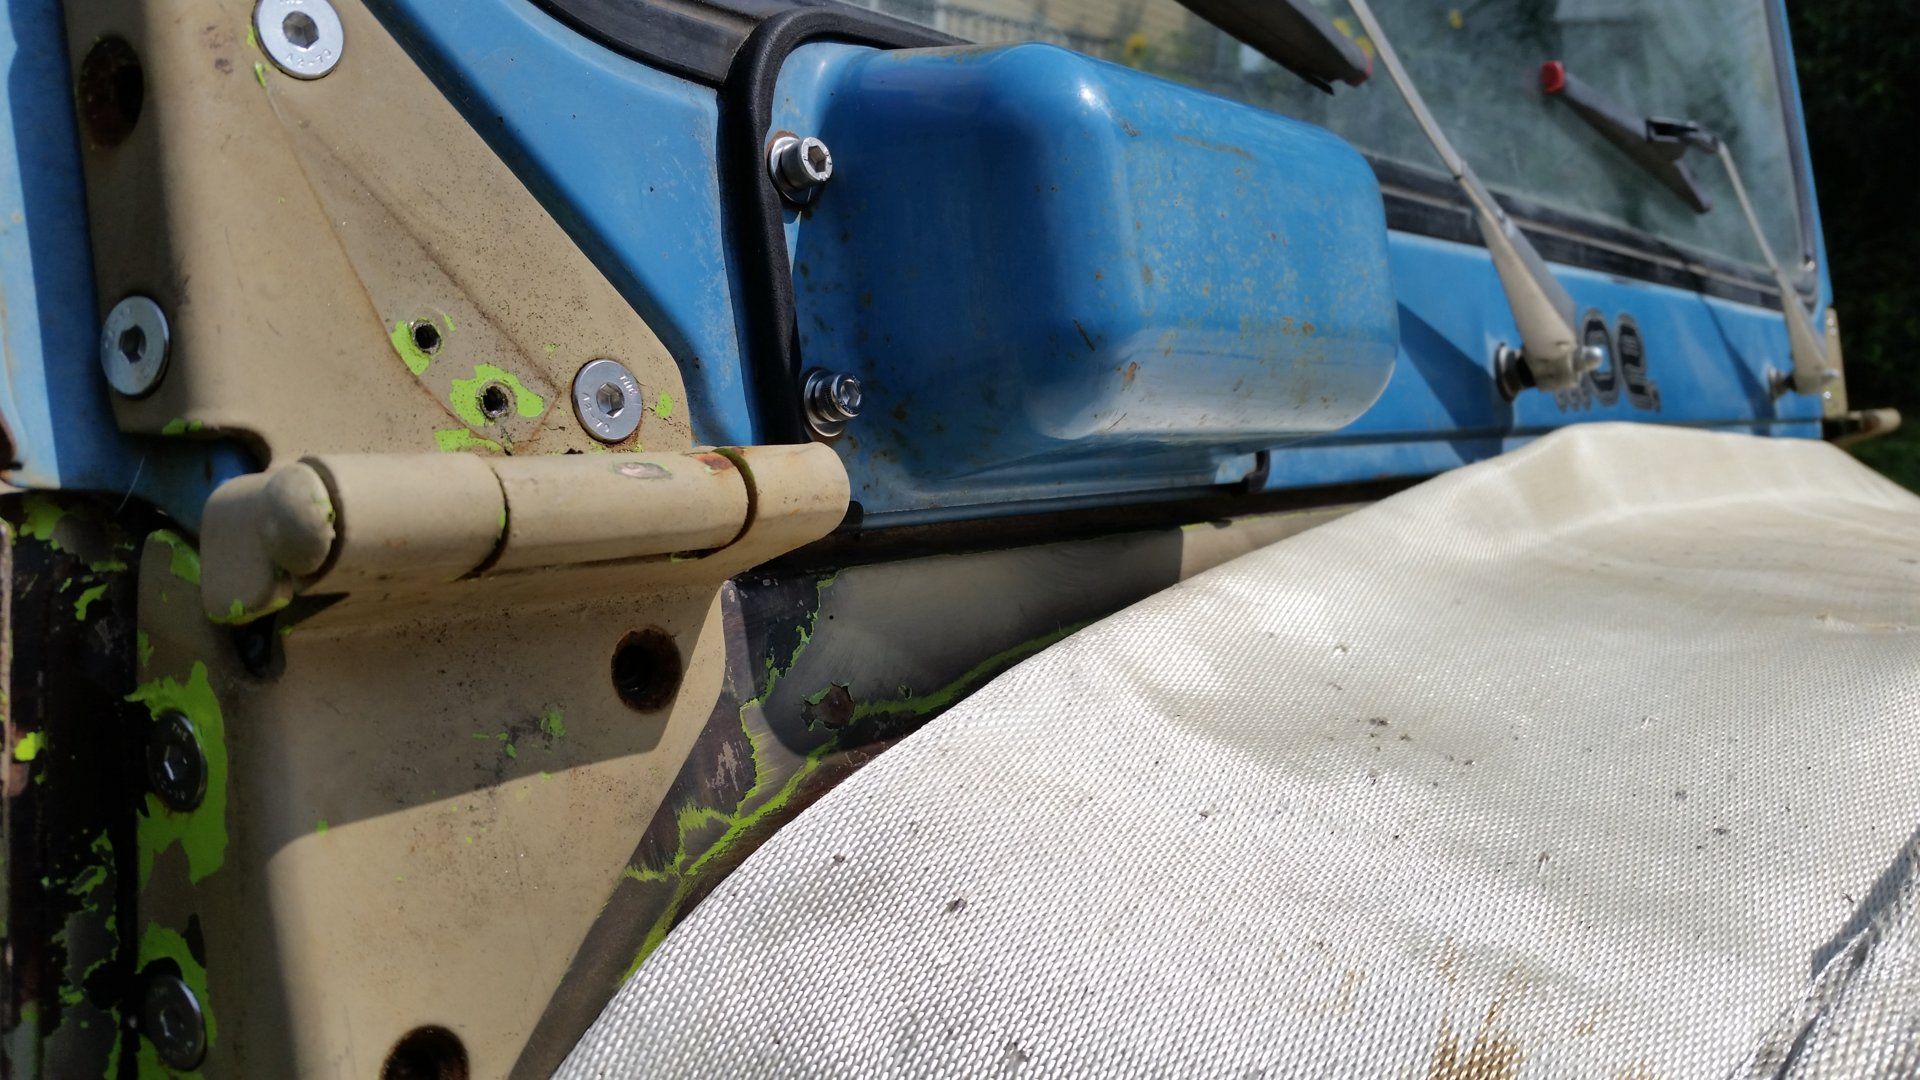
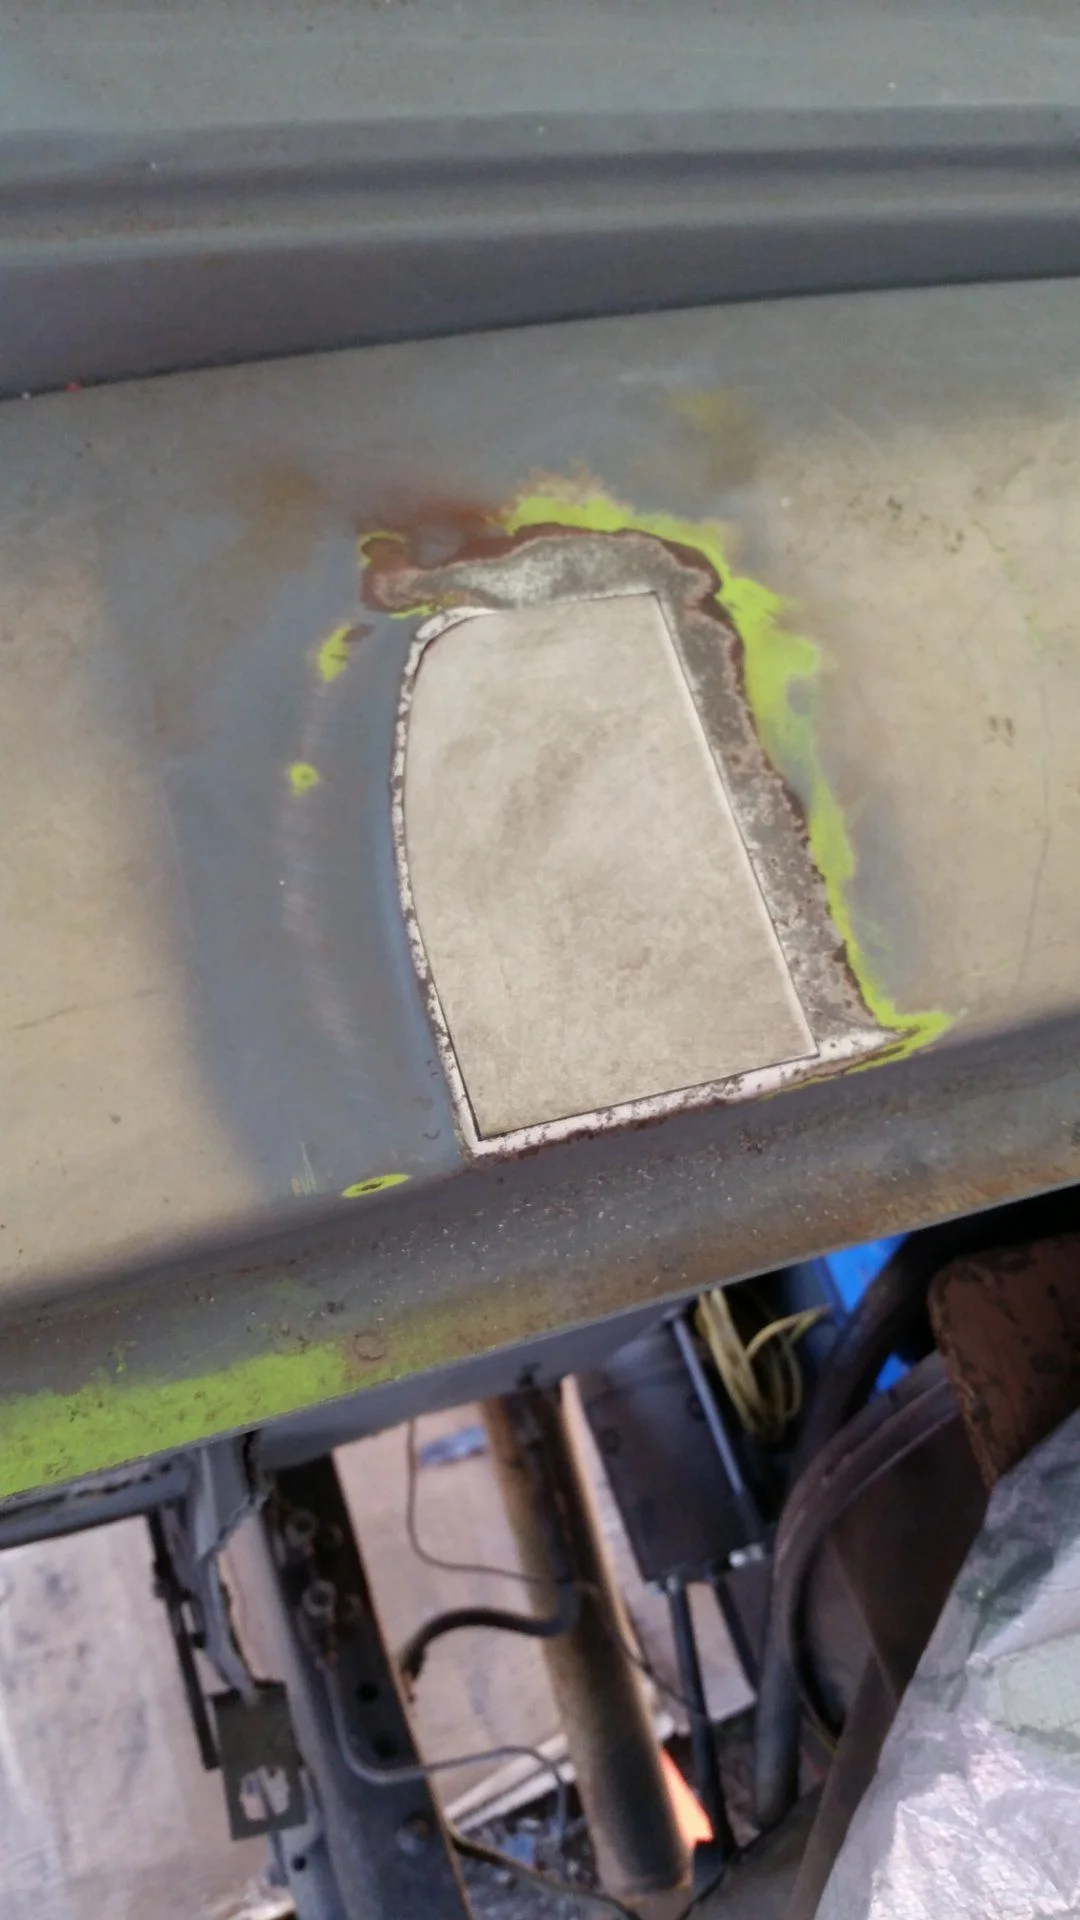
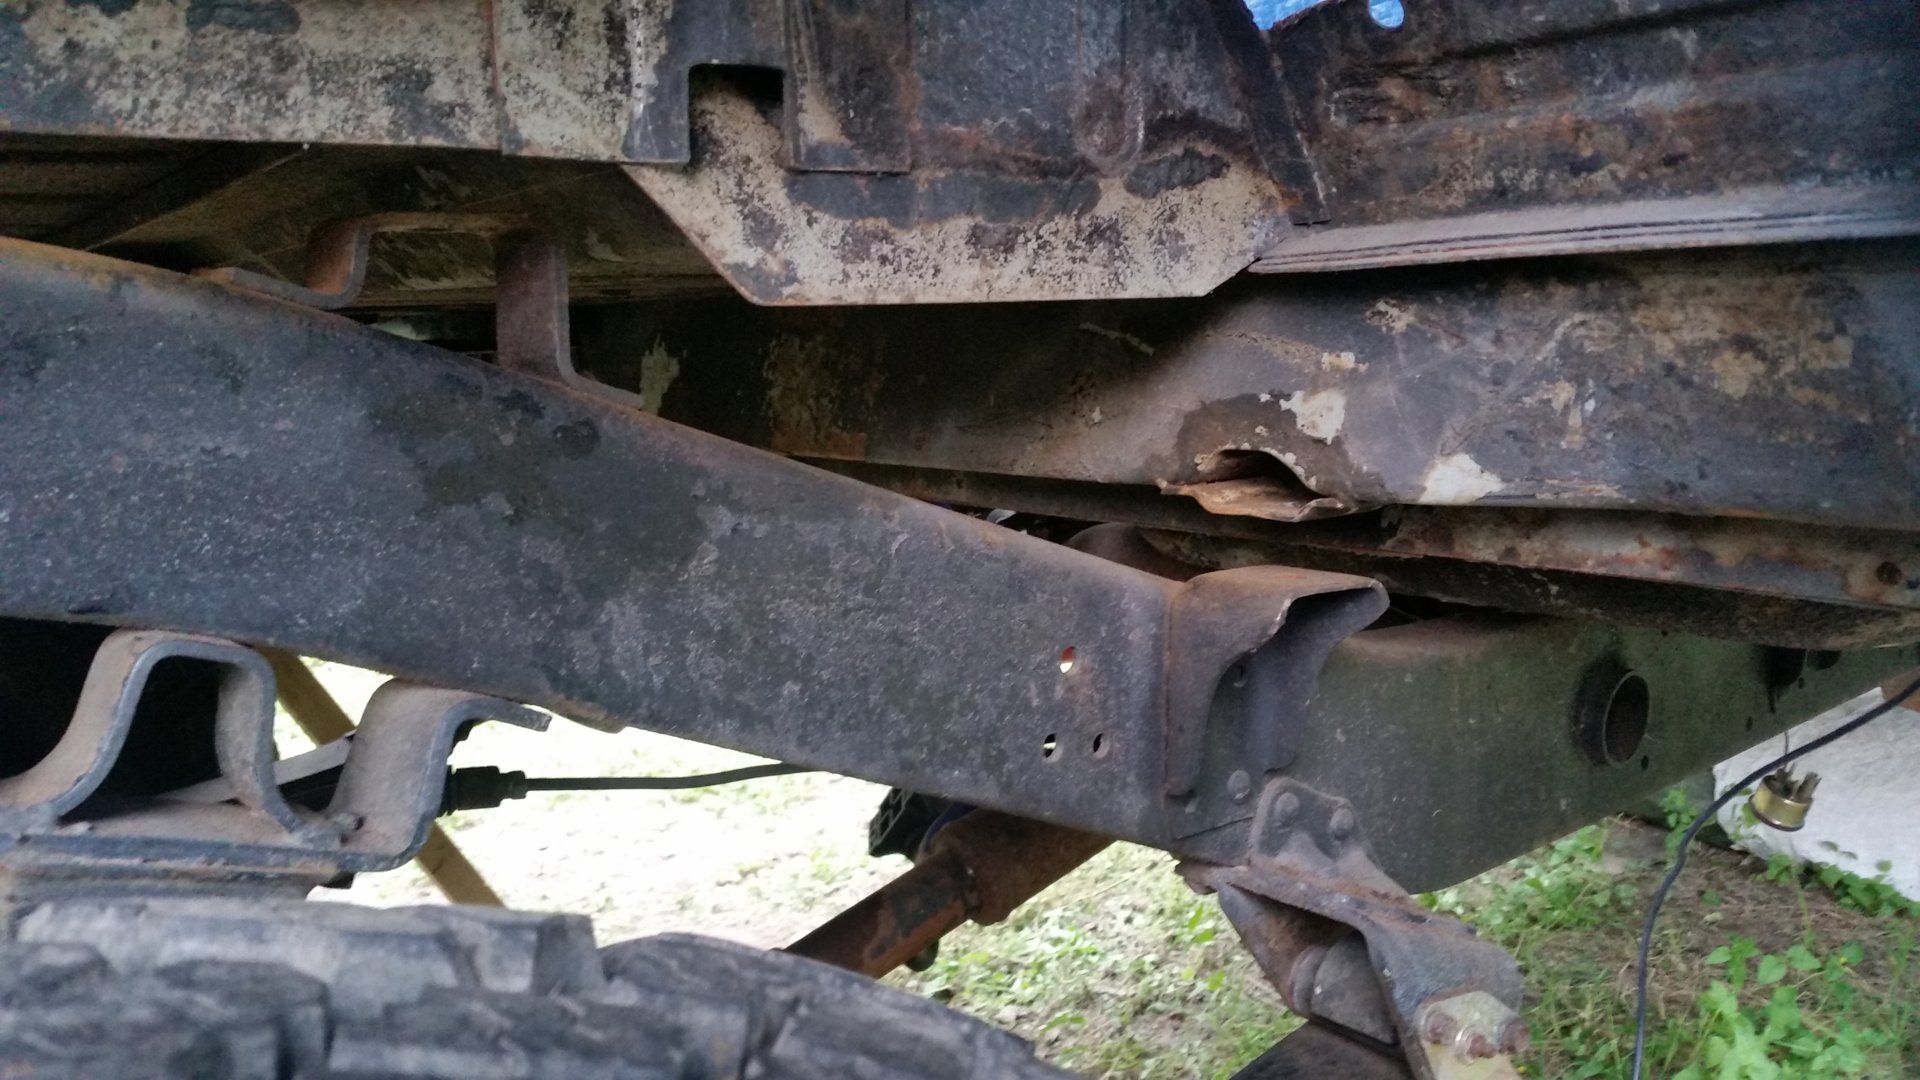
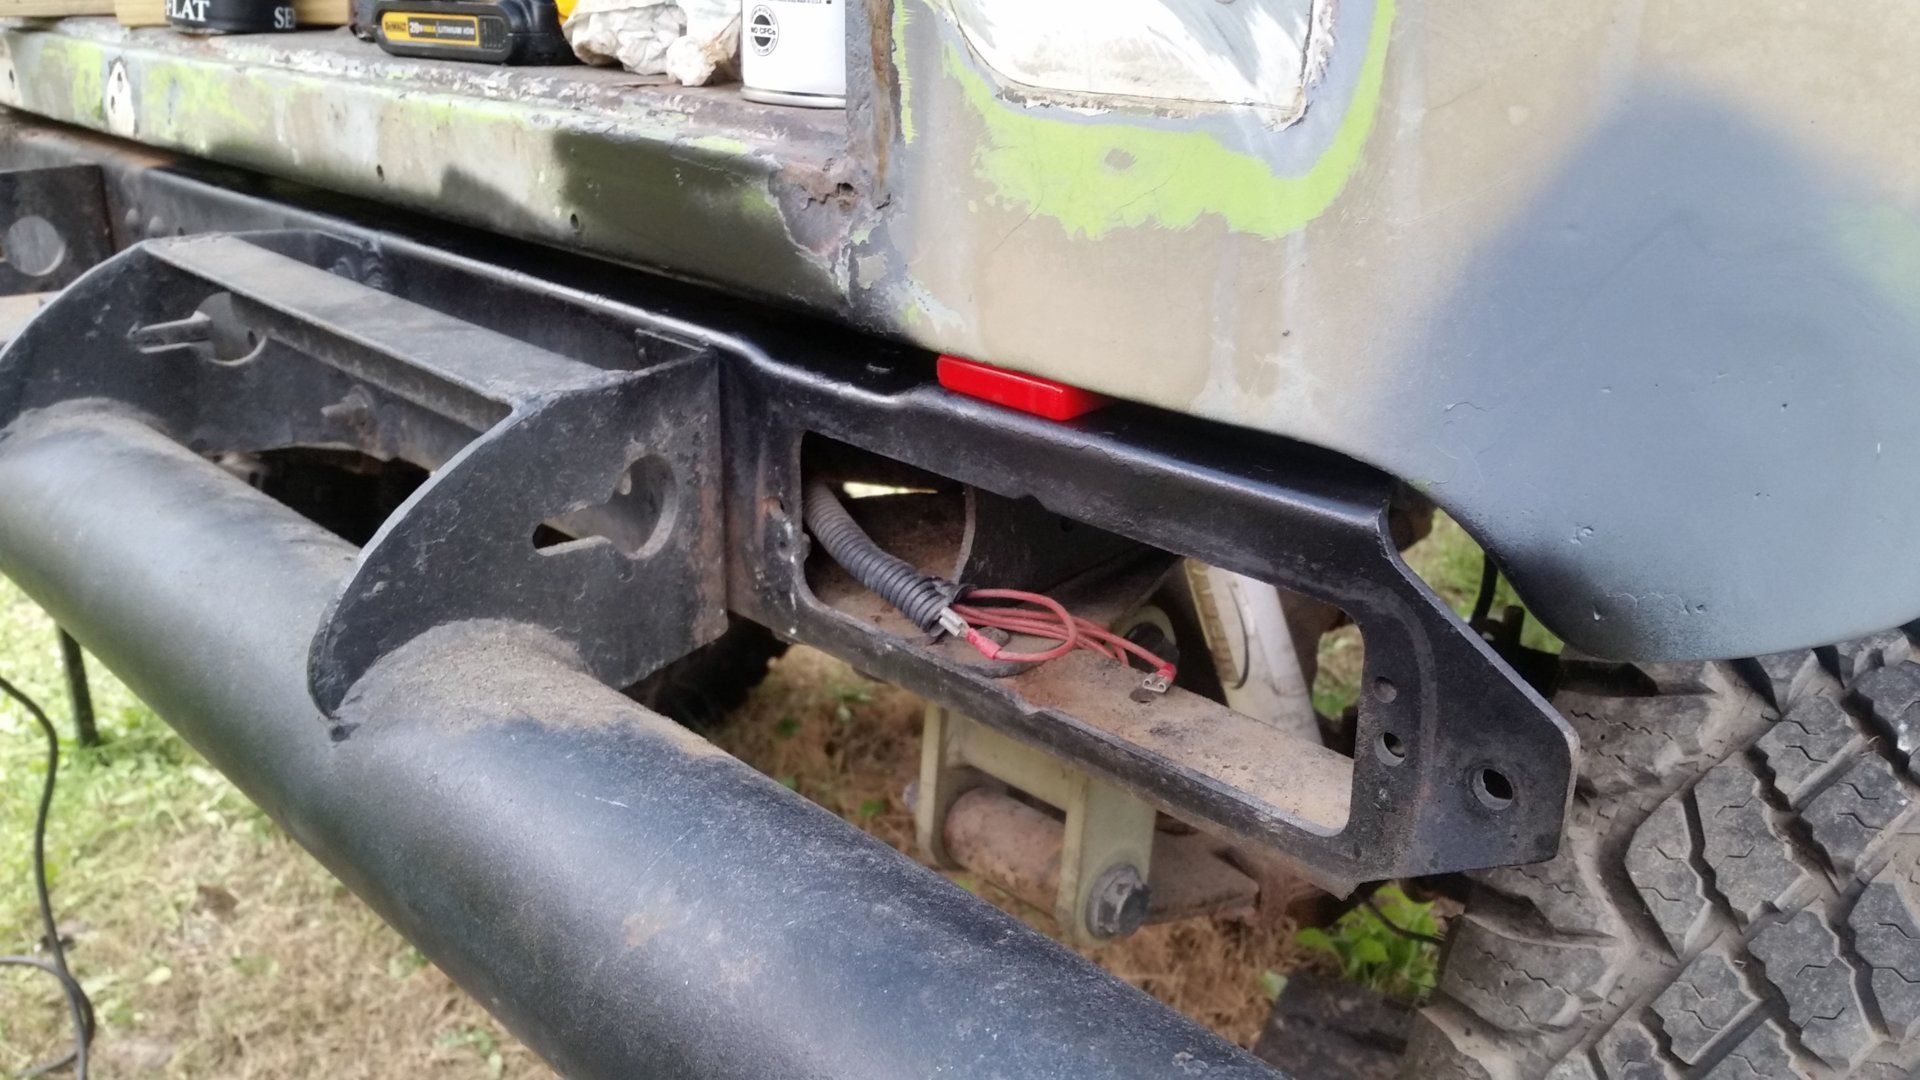
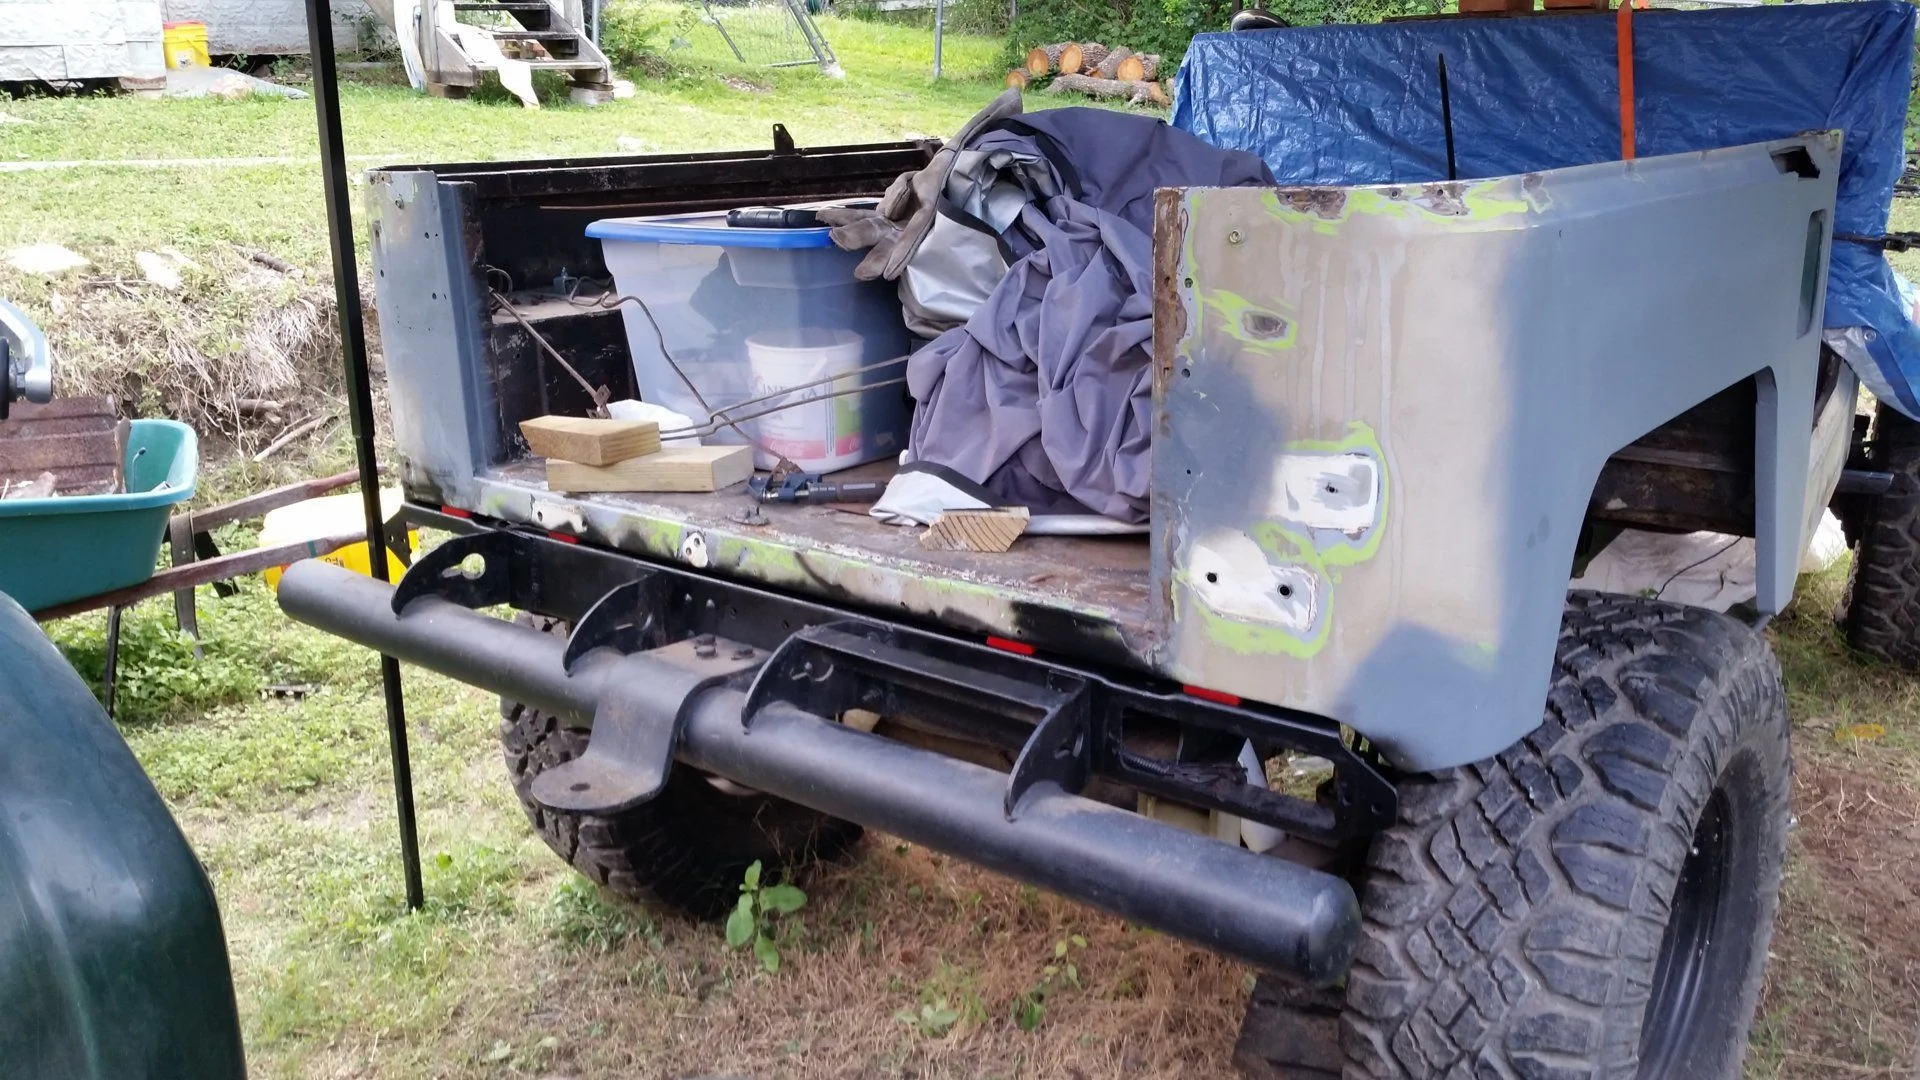
I enjoyed it just like this for around 4 years. Fixing things here and there.. then about 3 years ago decided it was time for a makeover, so I tore it all apart.

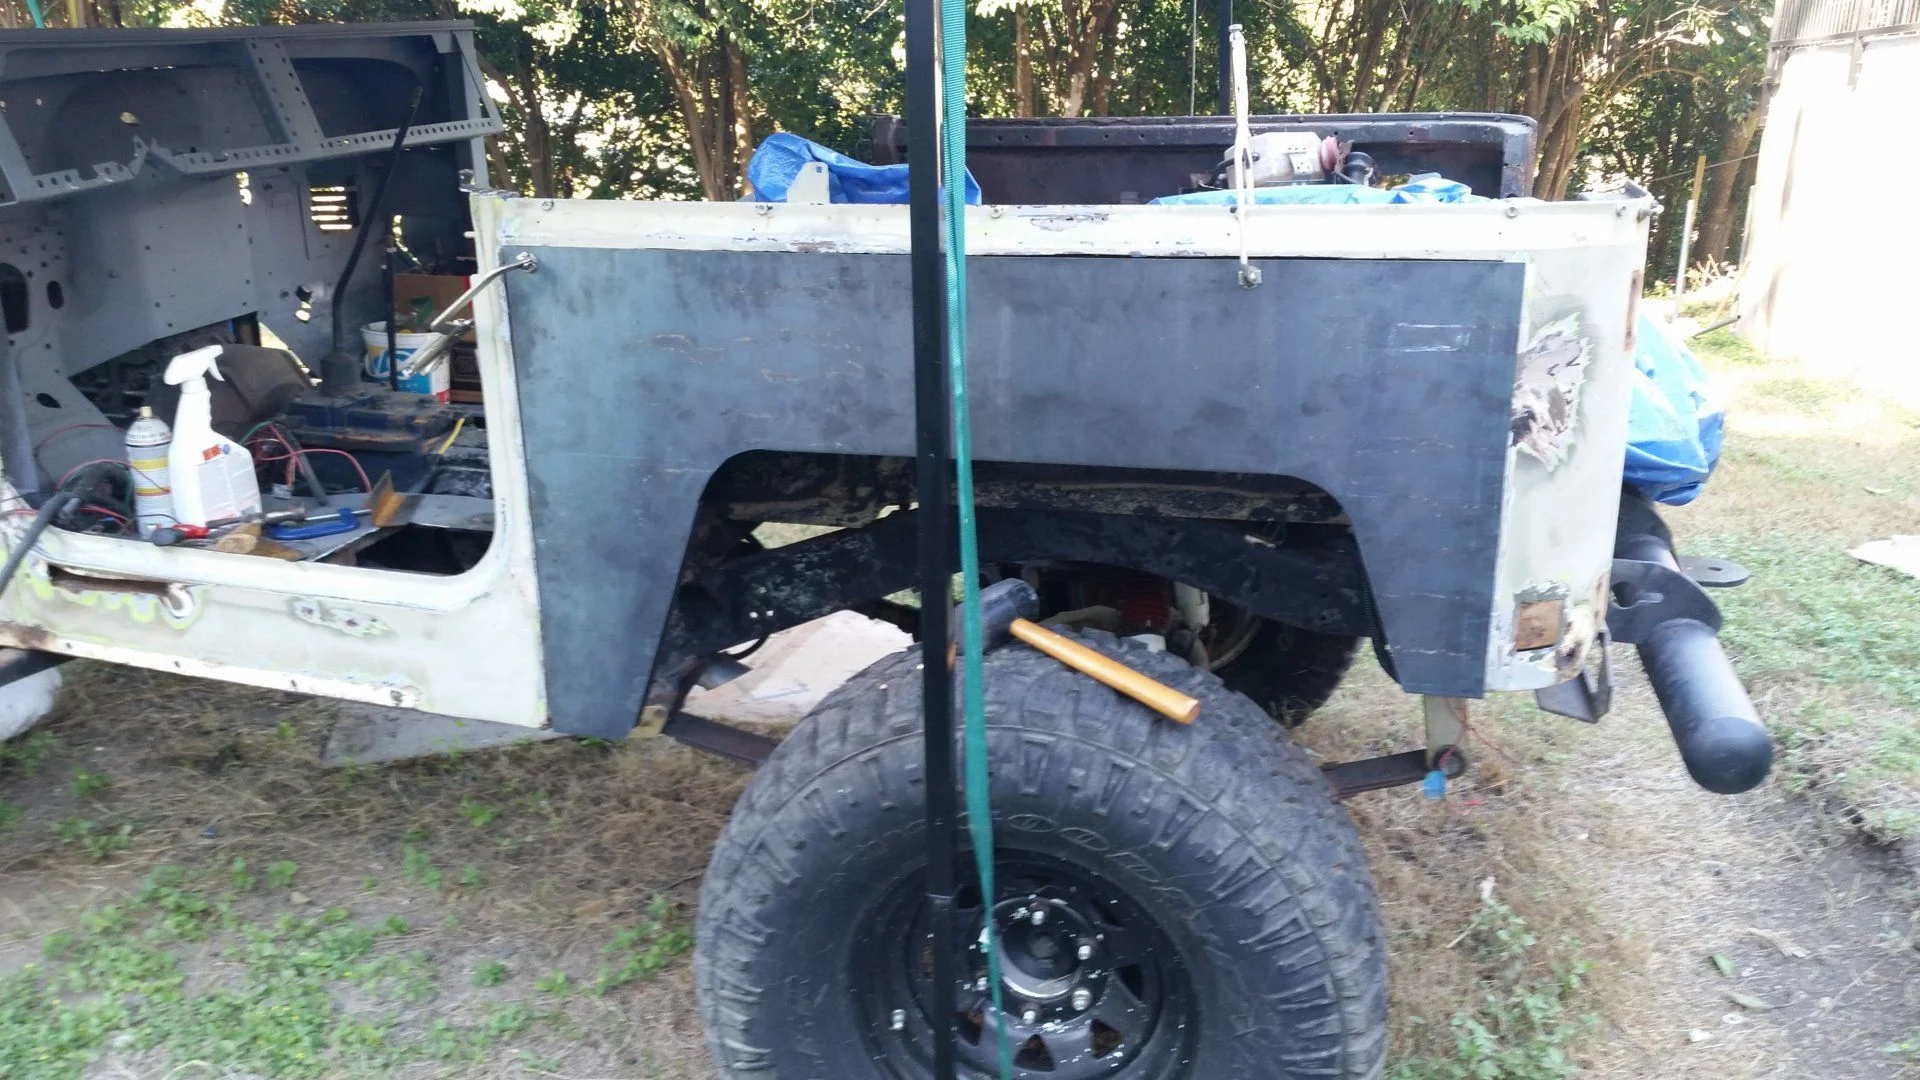
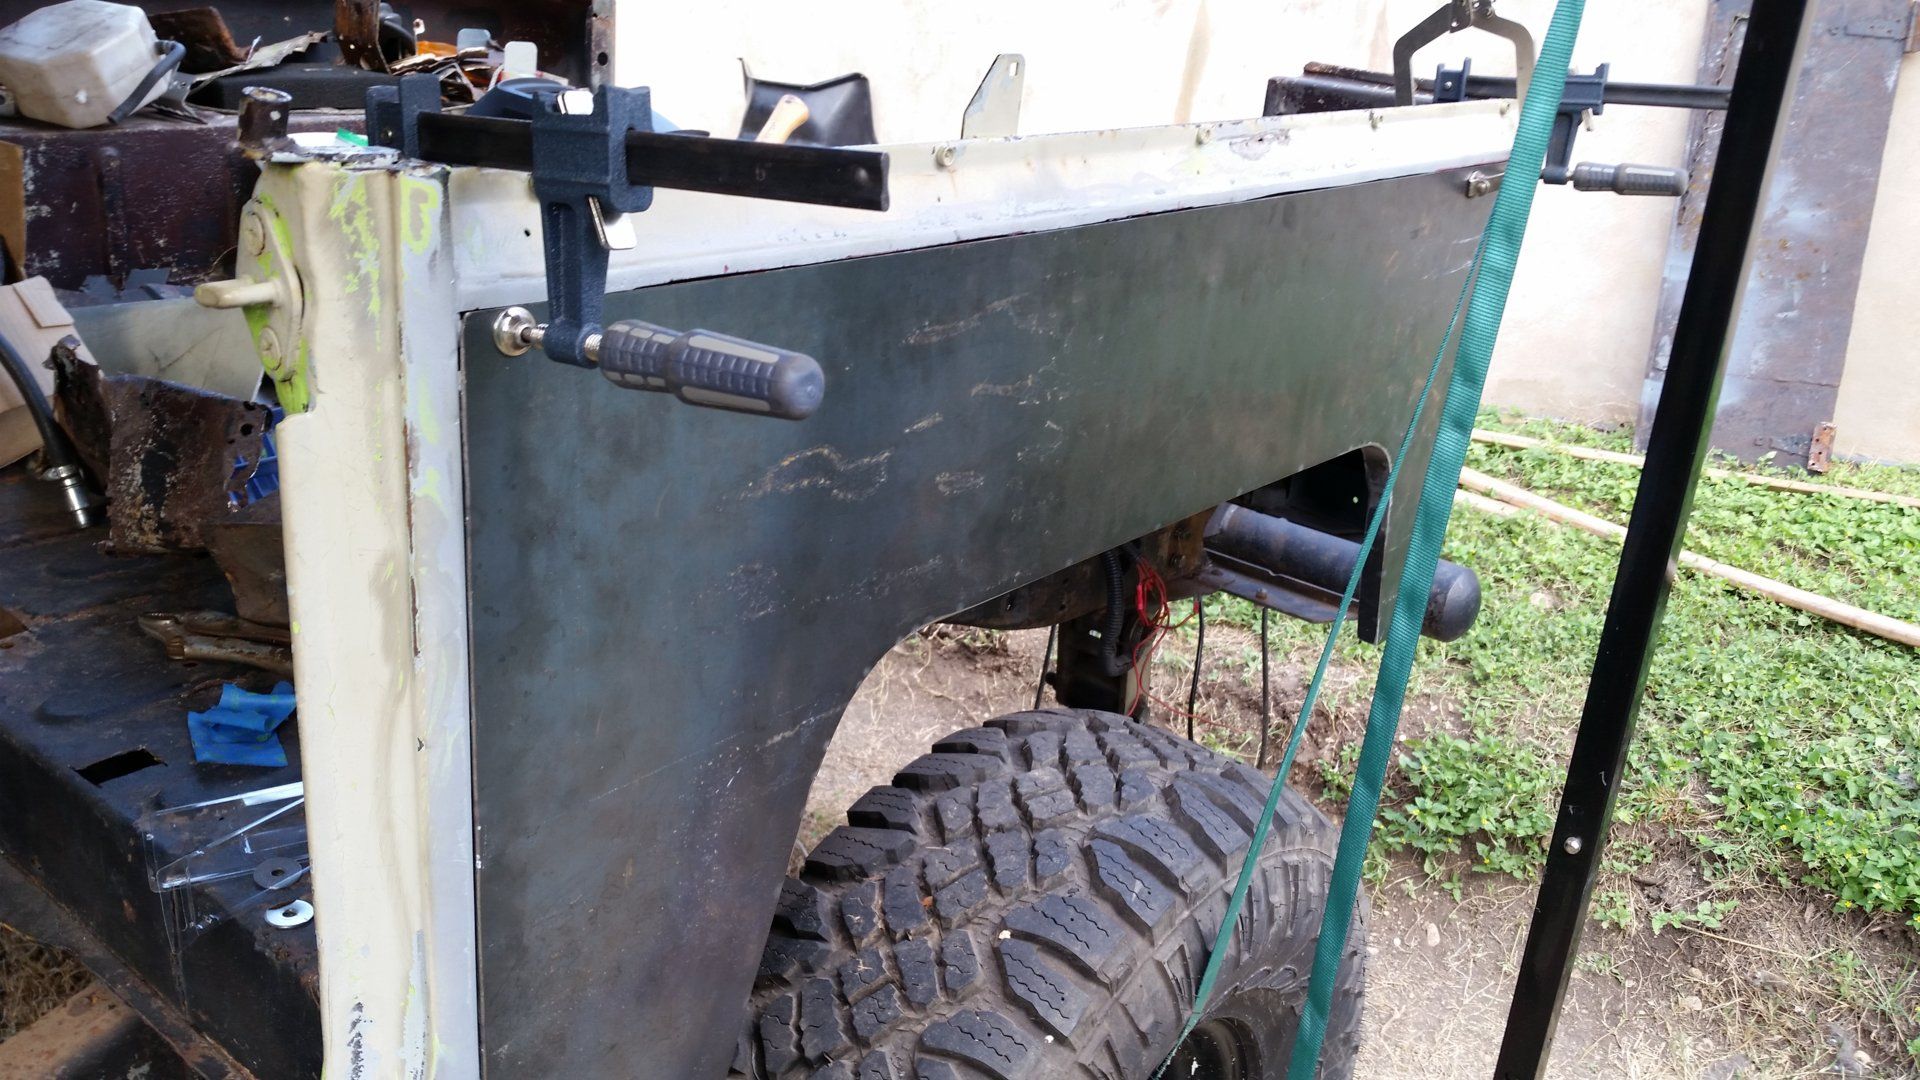
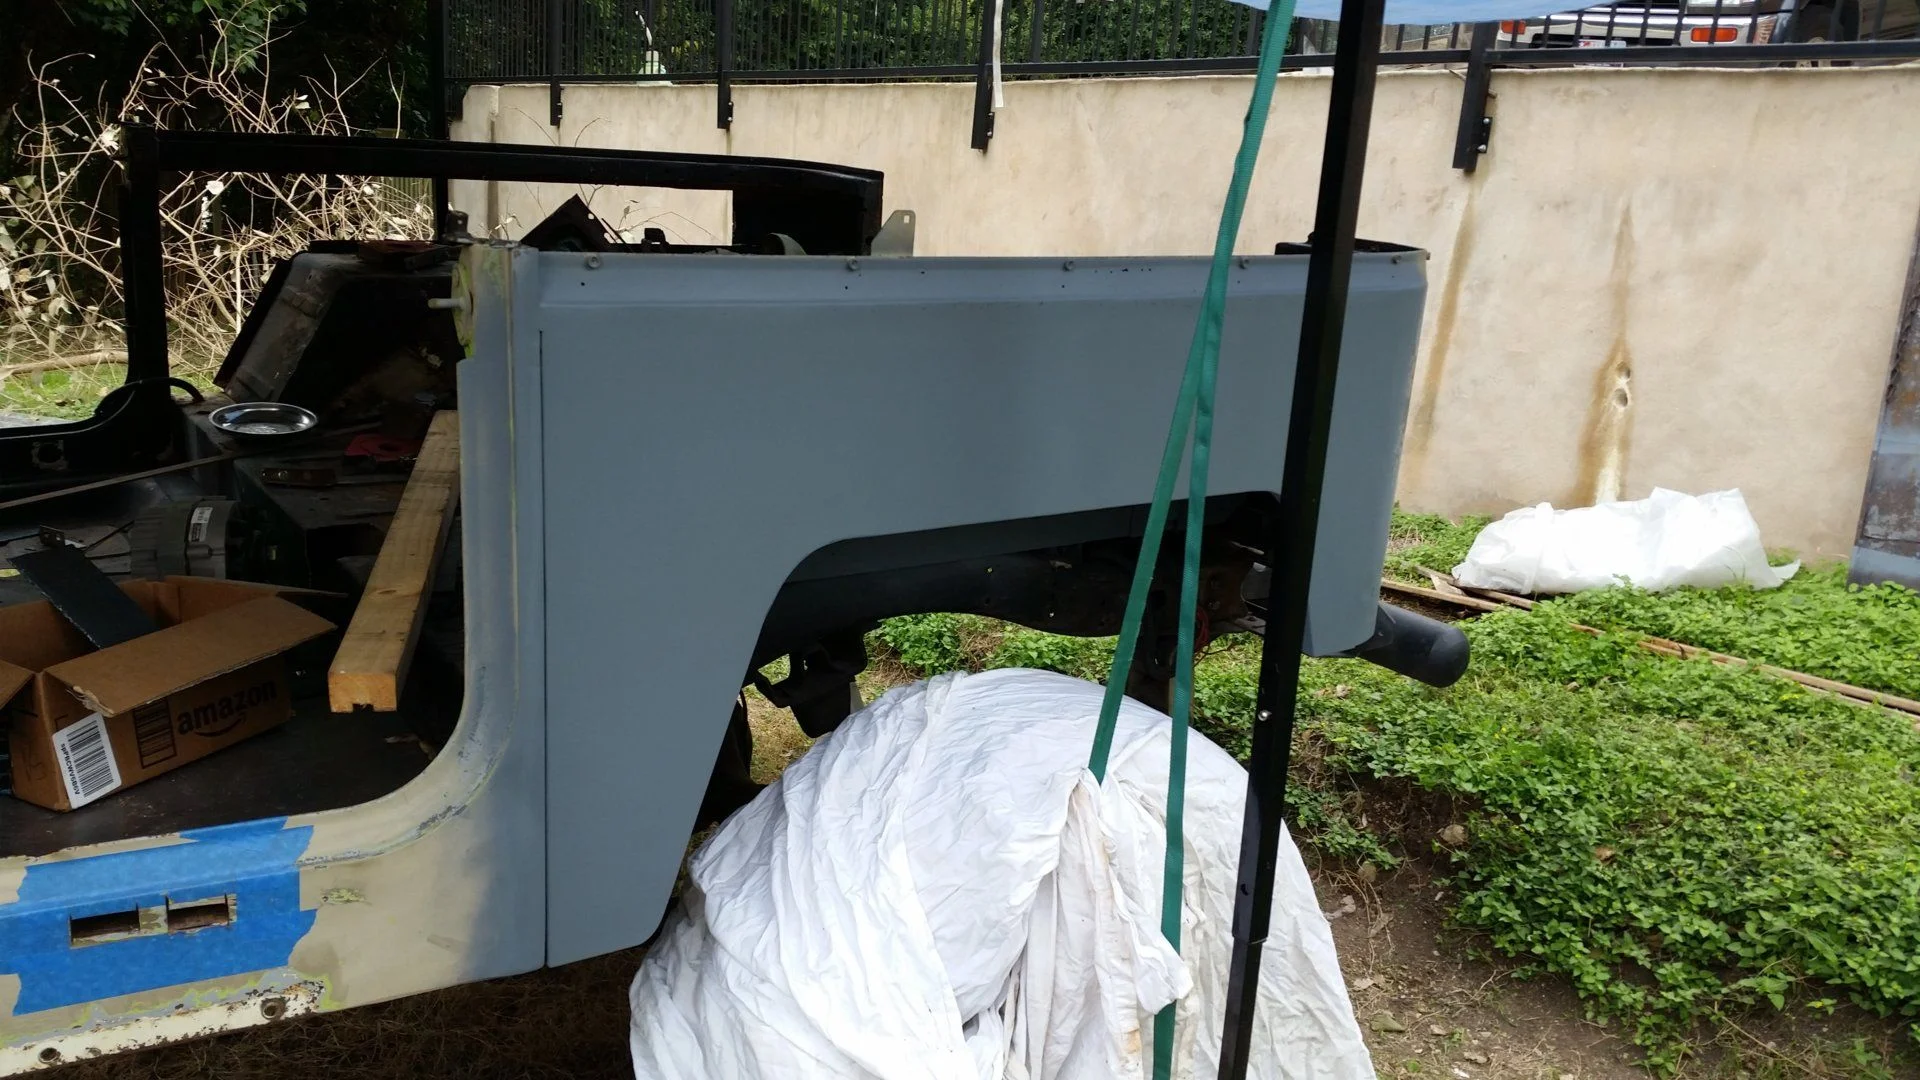
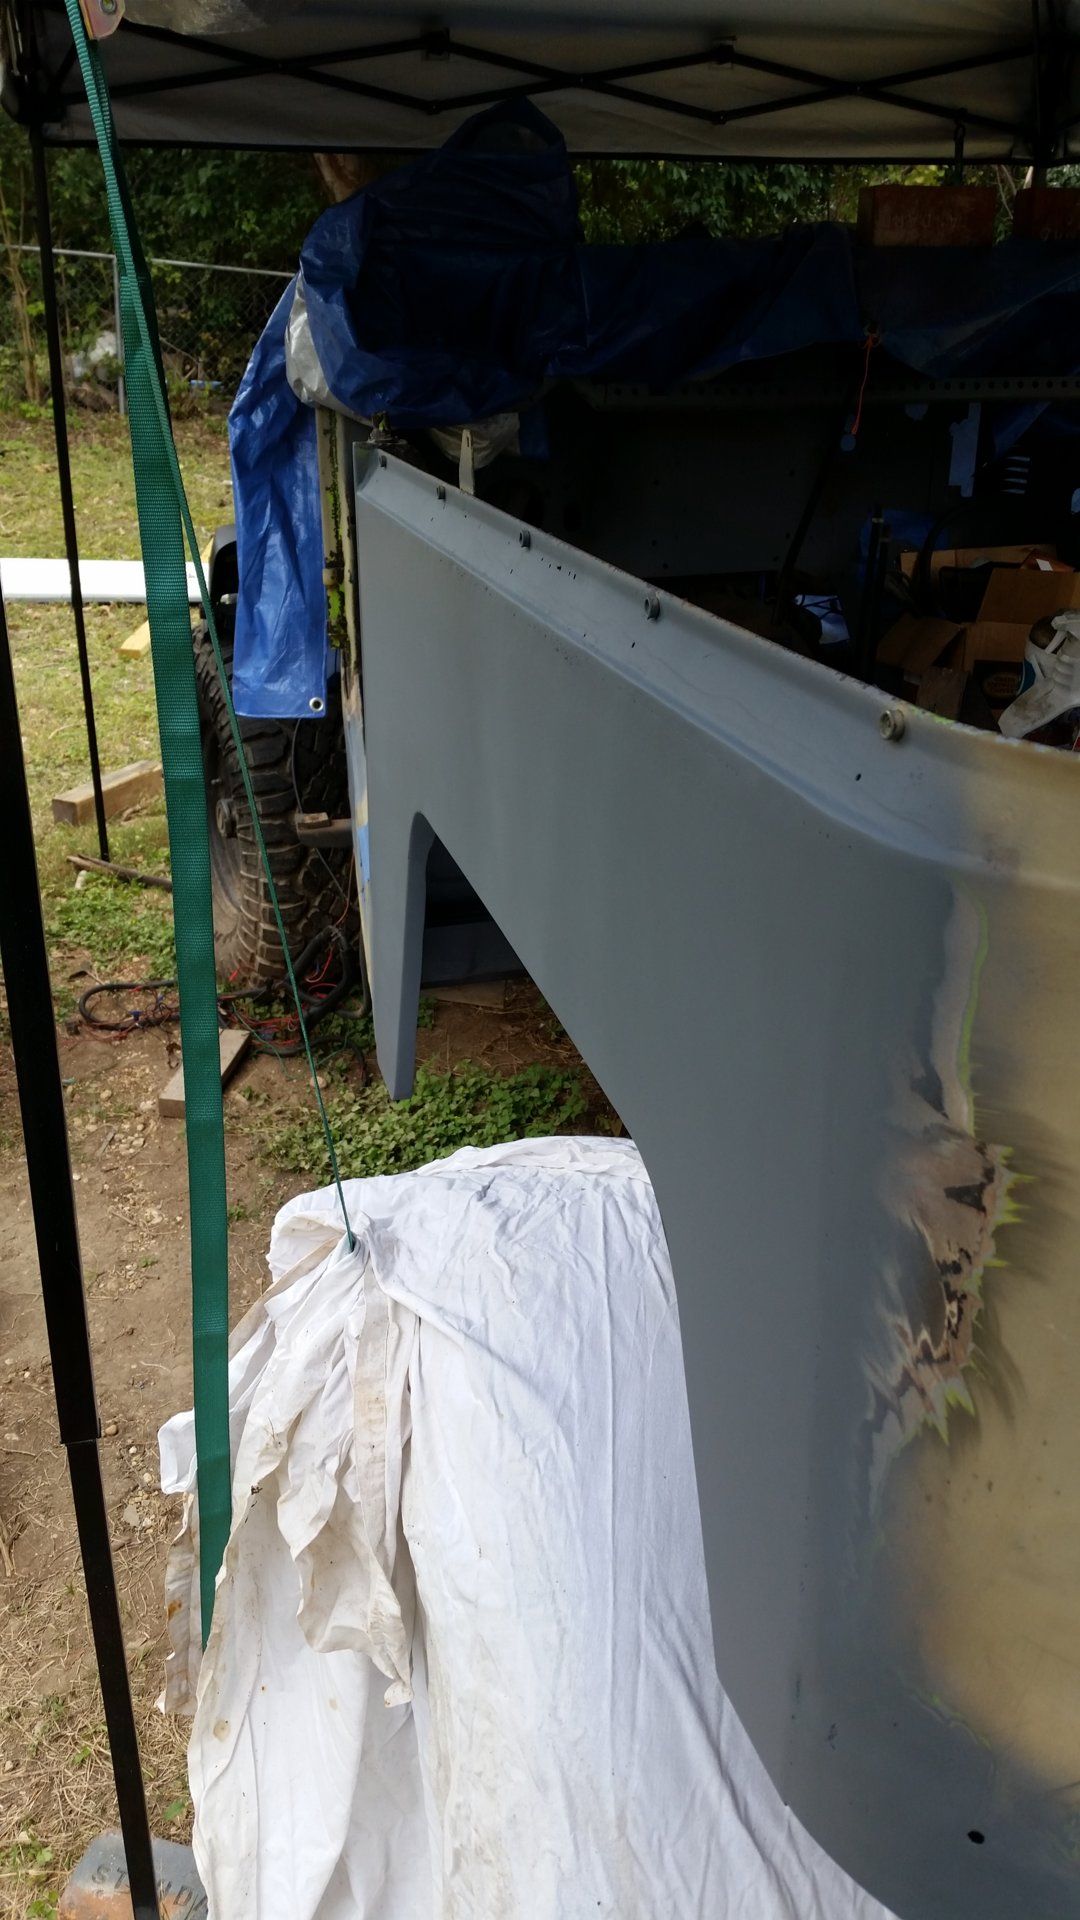
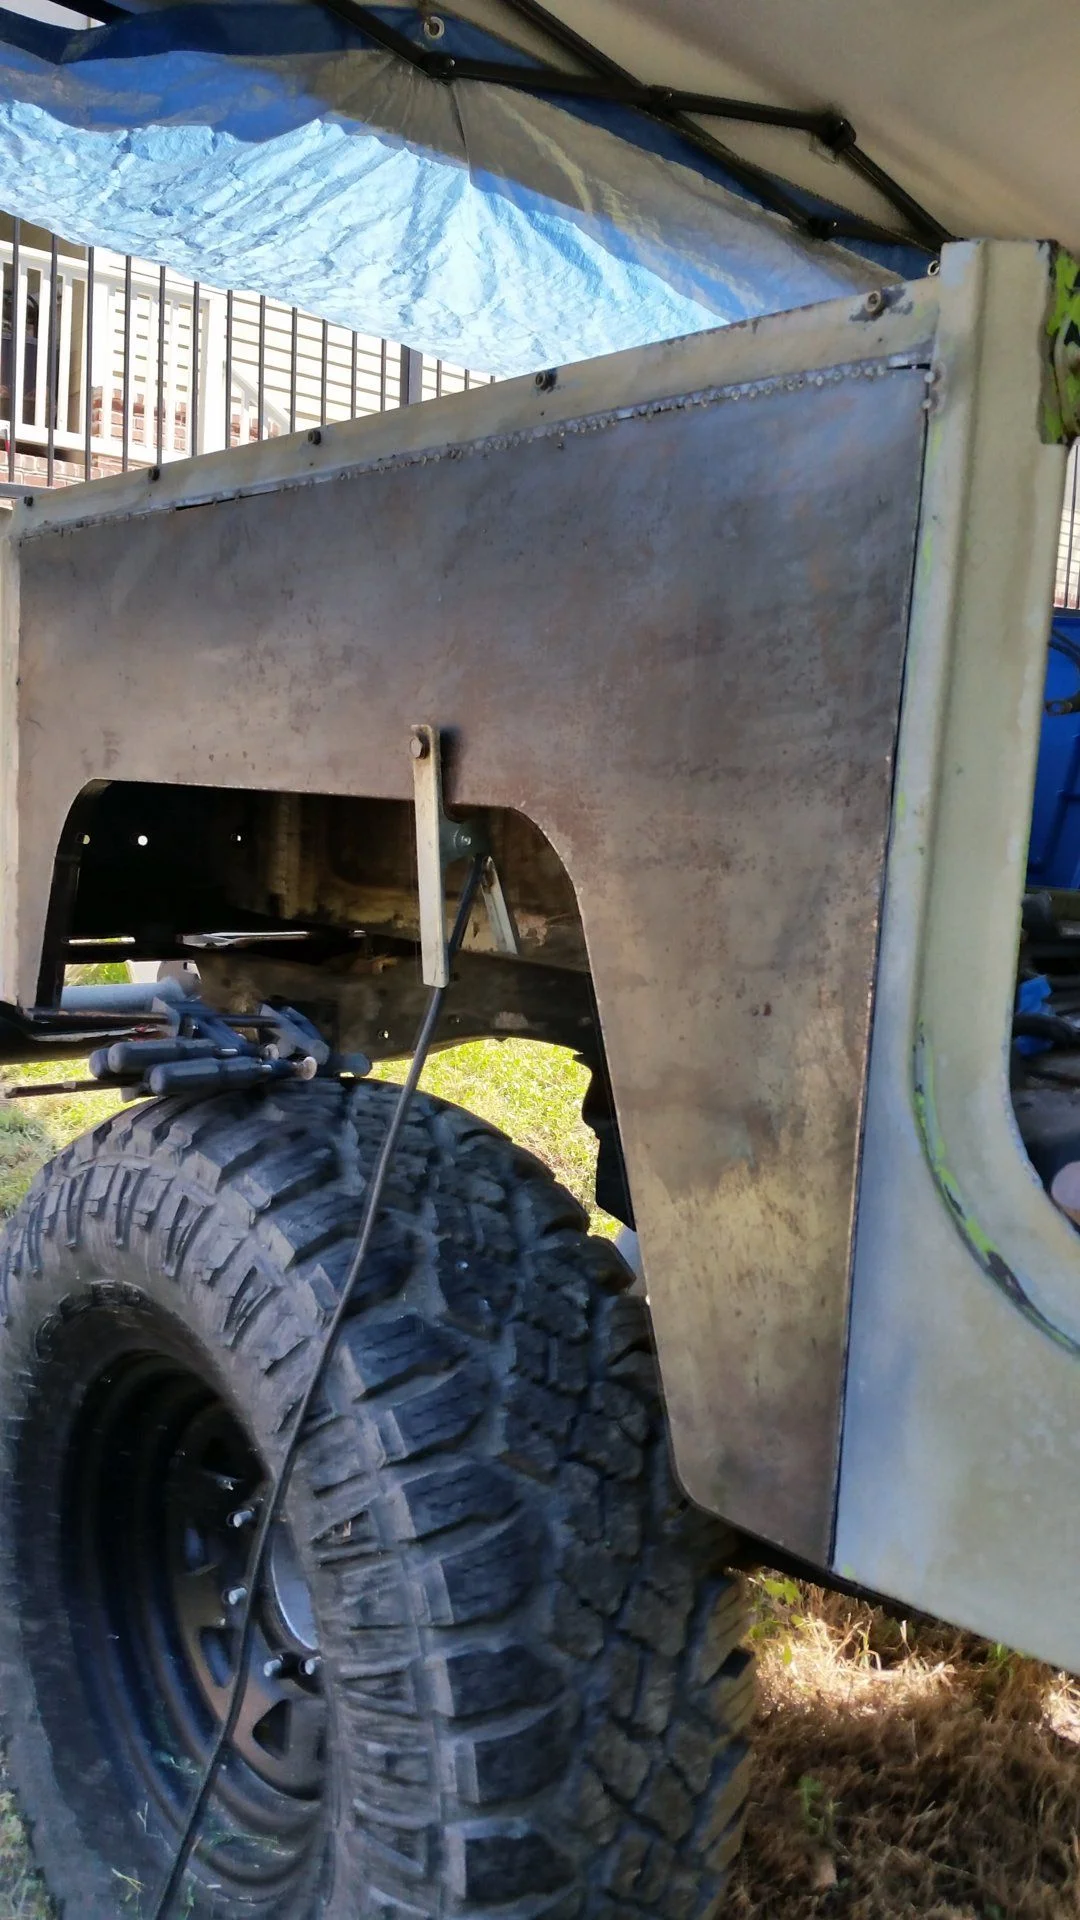
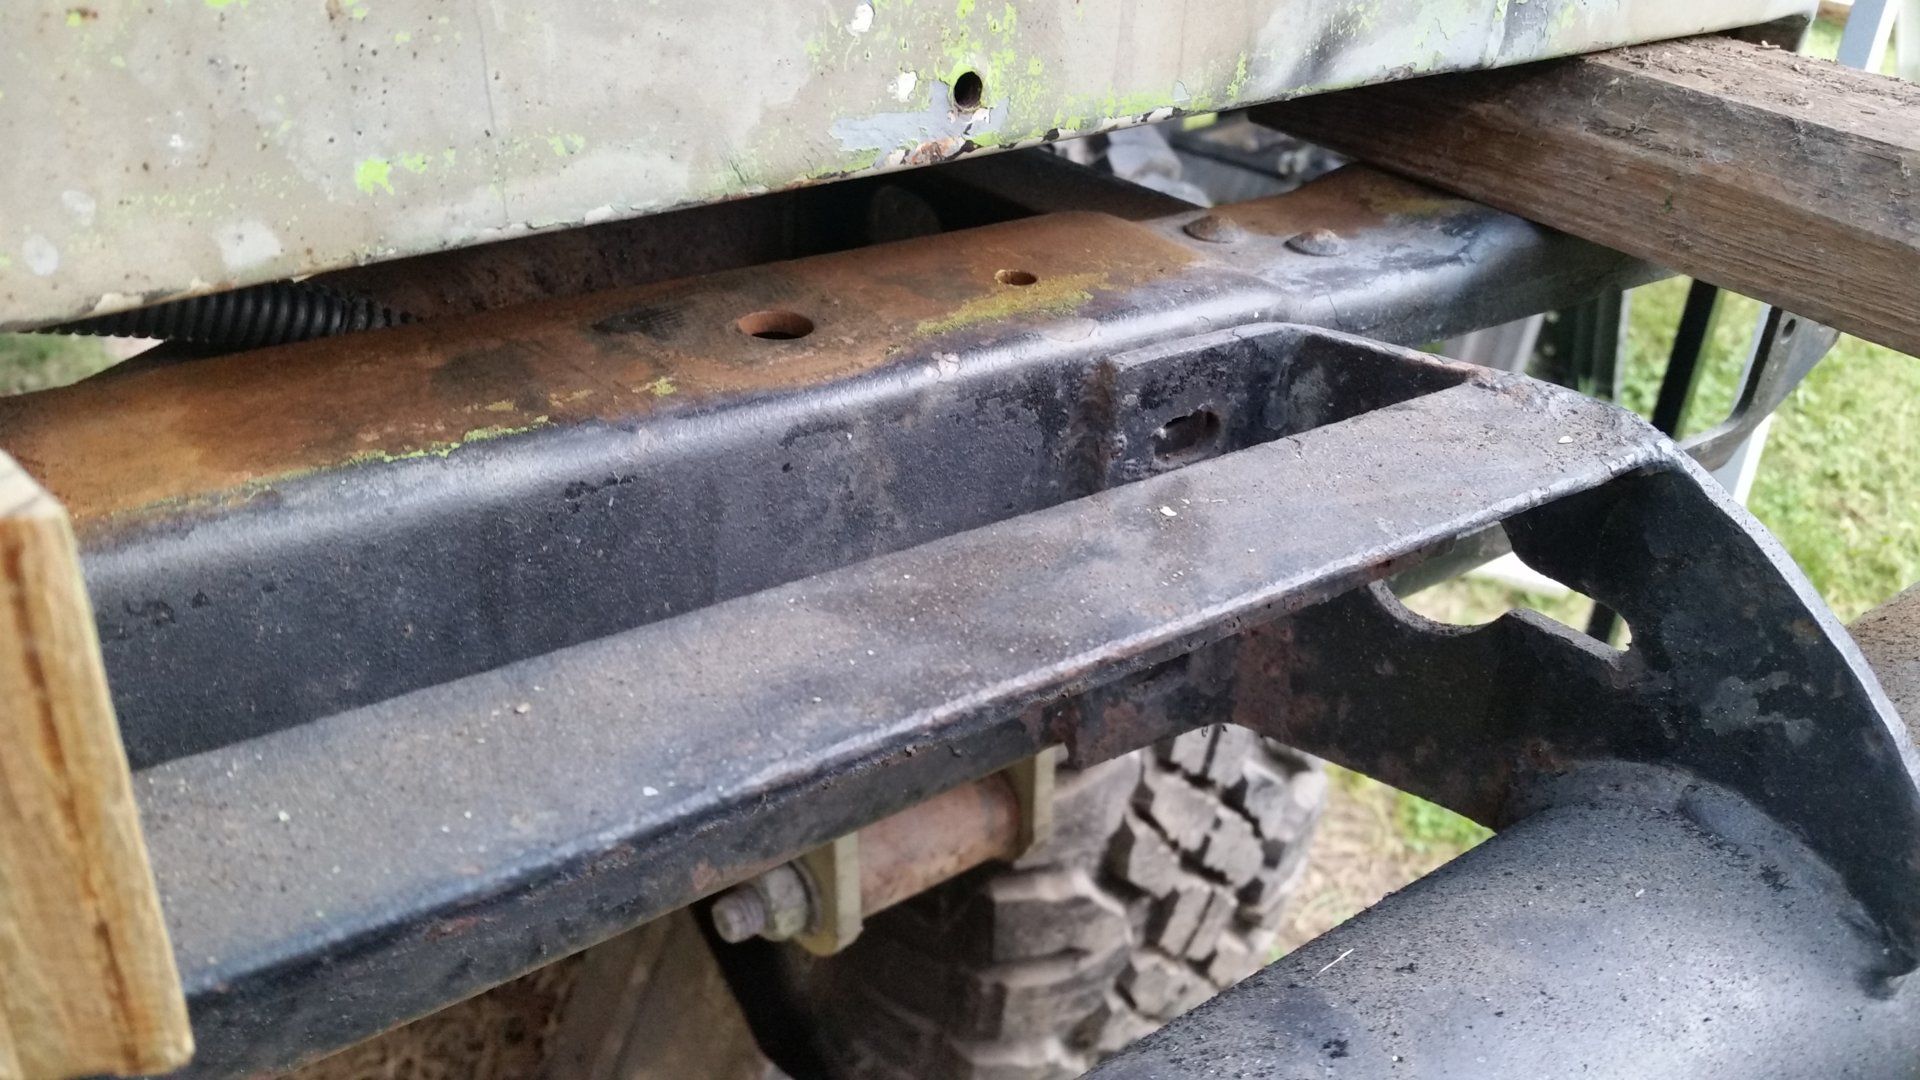
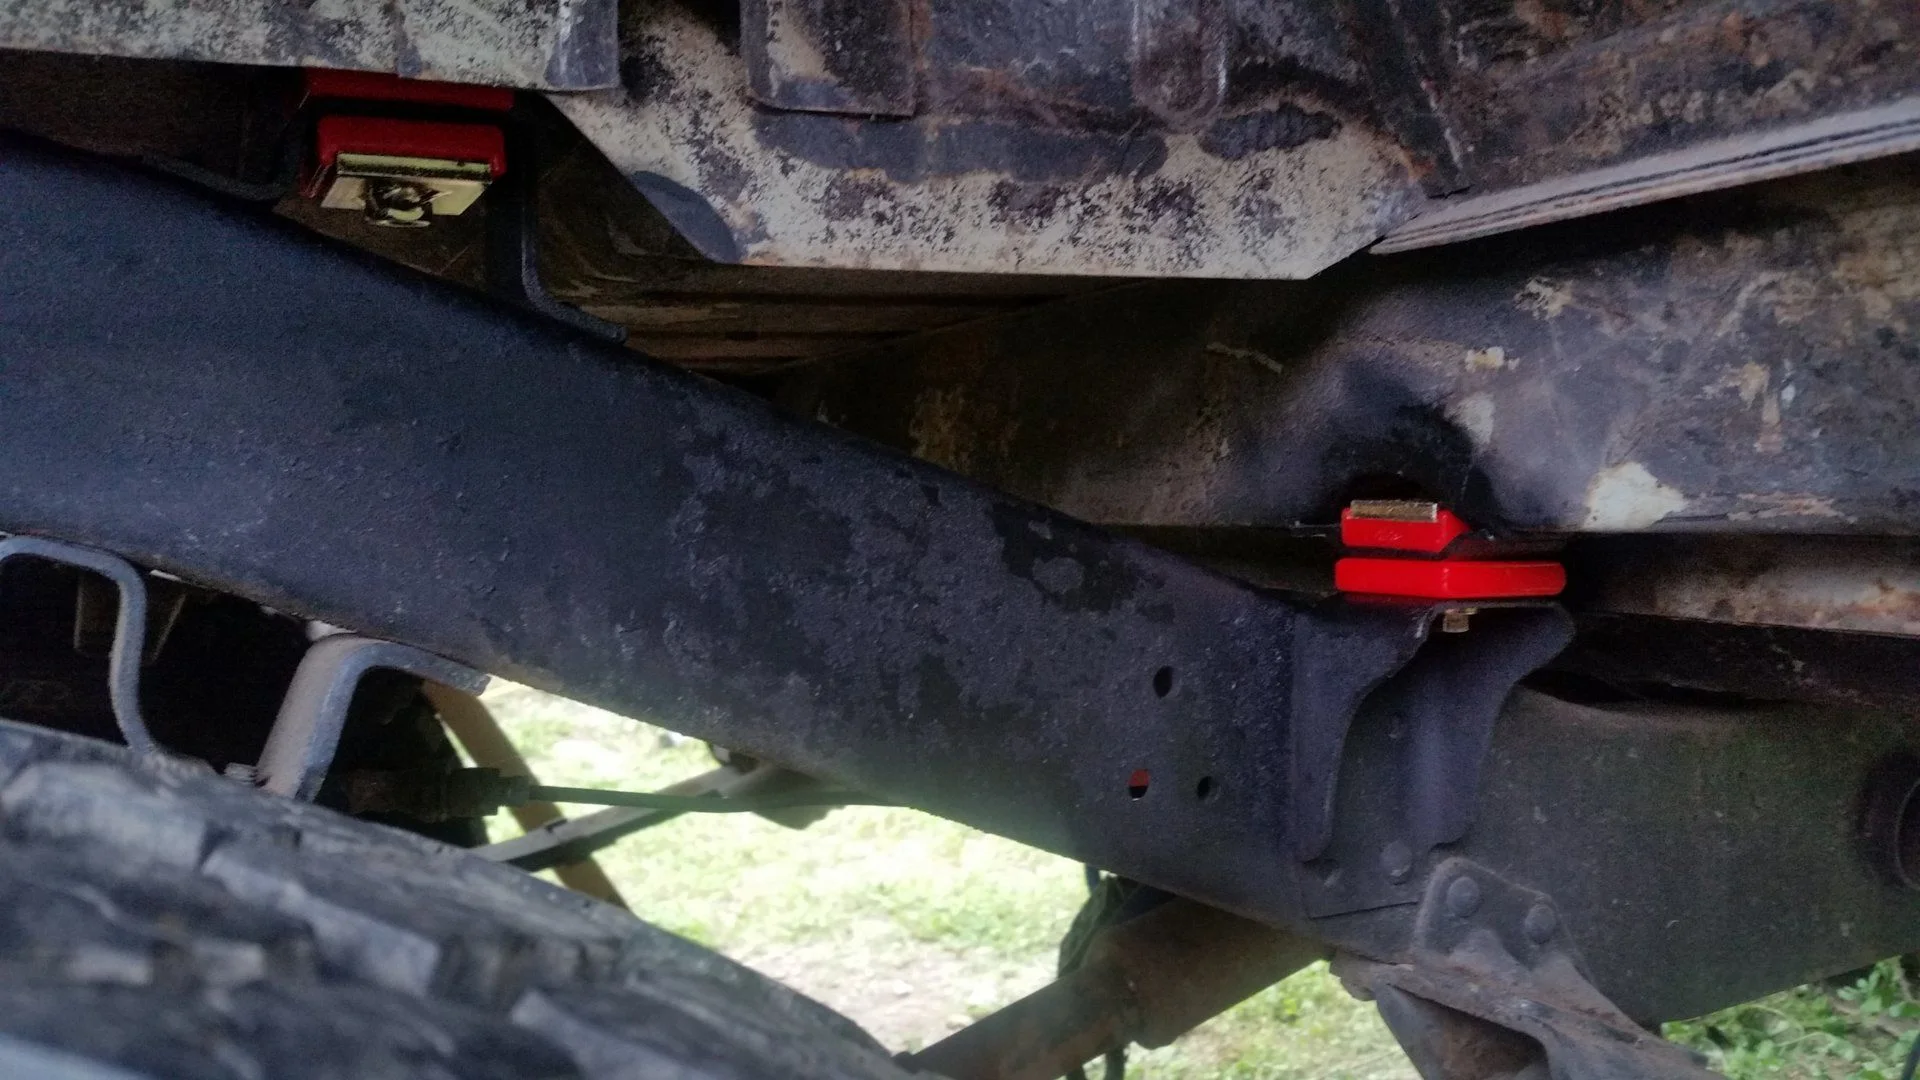
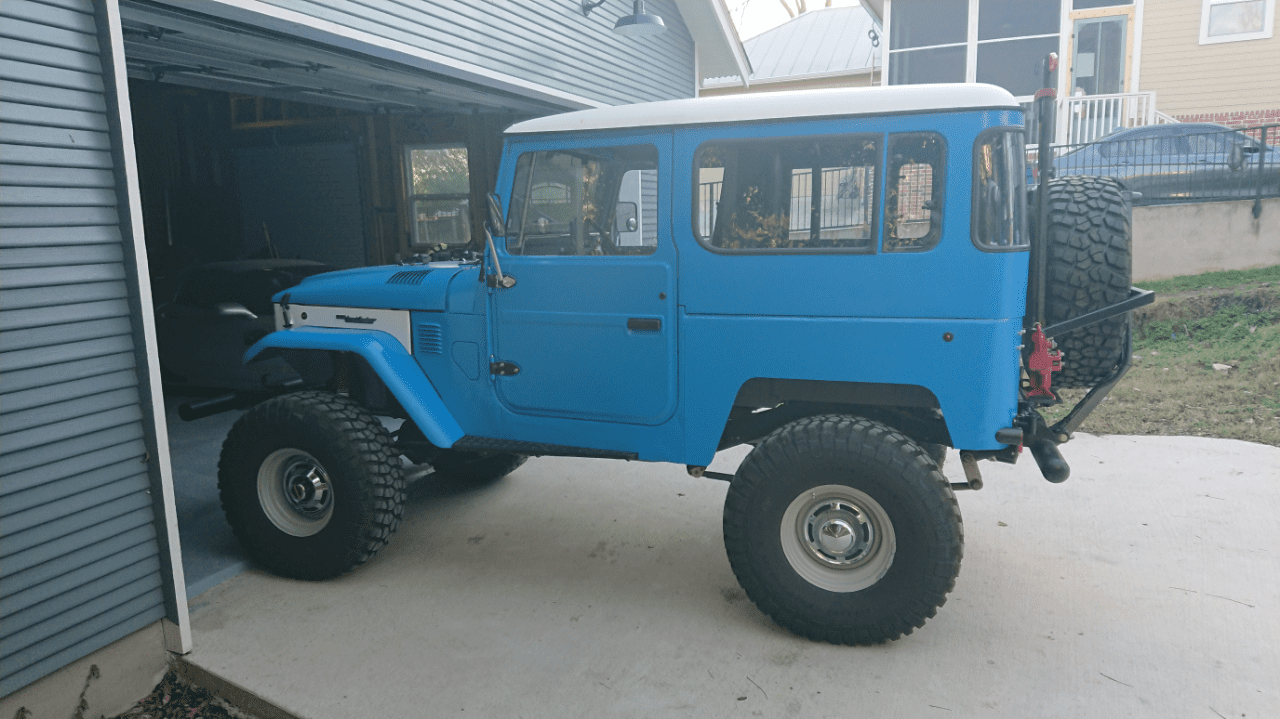
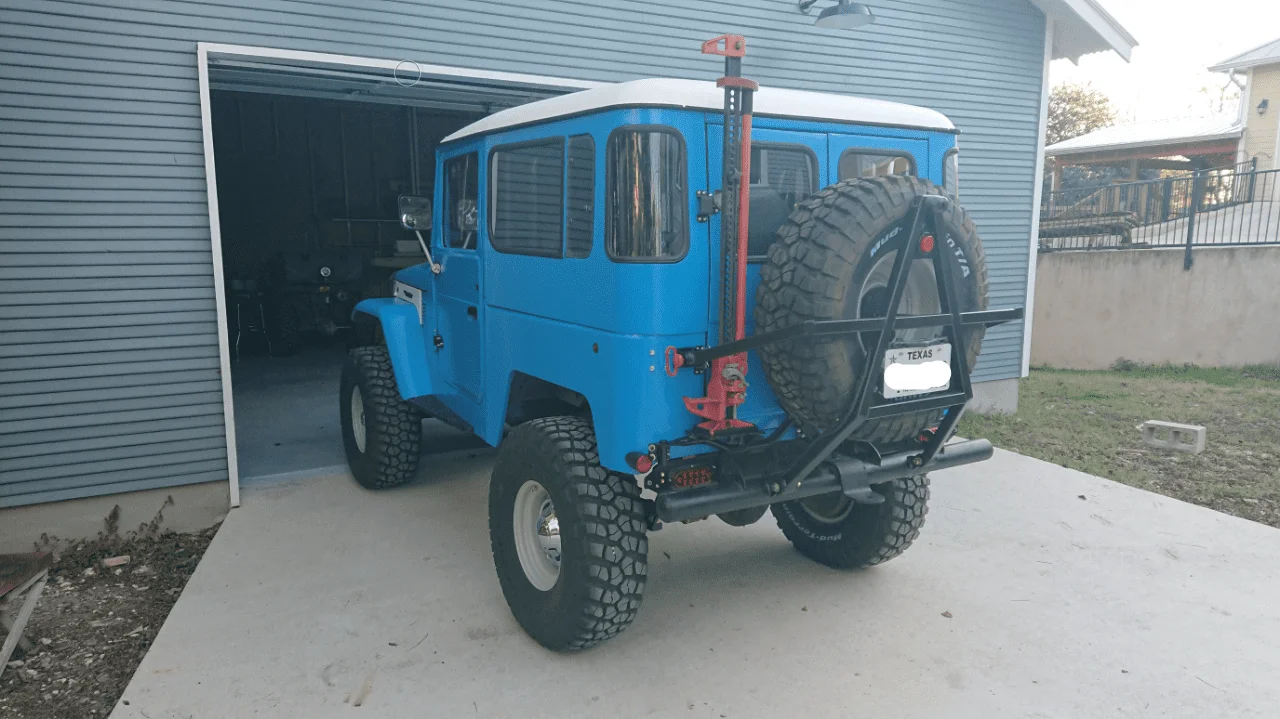
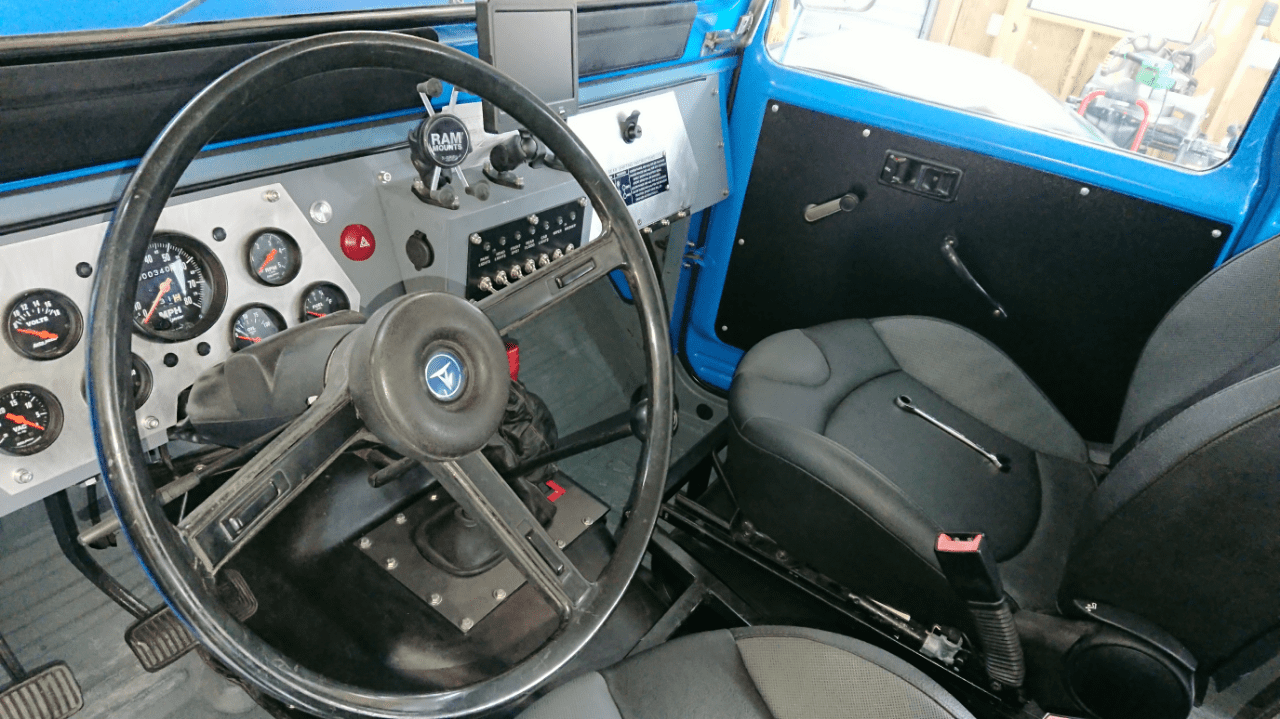
As of this month (dec 2018), it is back together again, safety inspected, legal and sporting a new look. Still on same stock 2F and drivetrain, running like a champ.

full


full


full


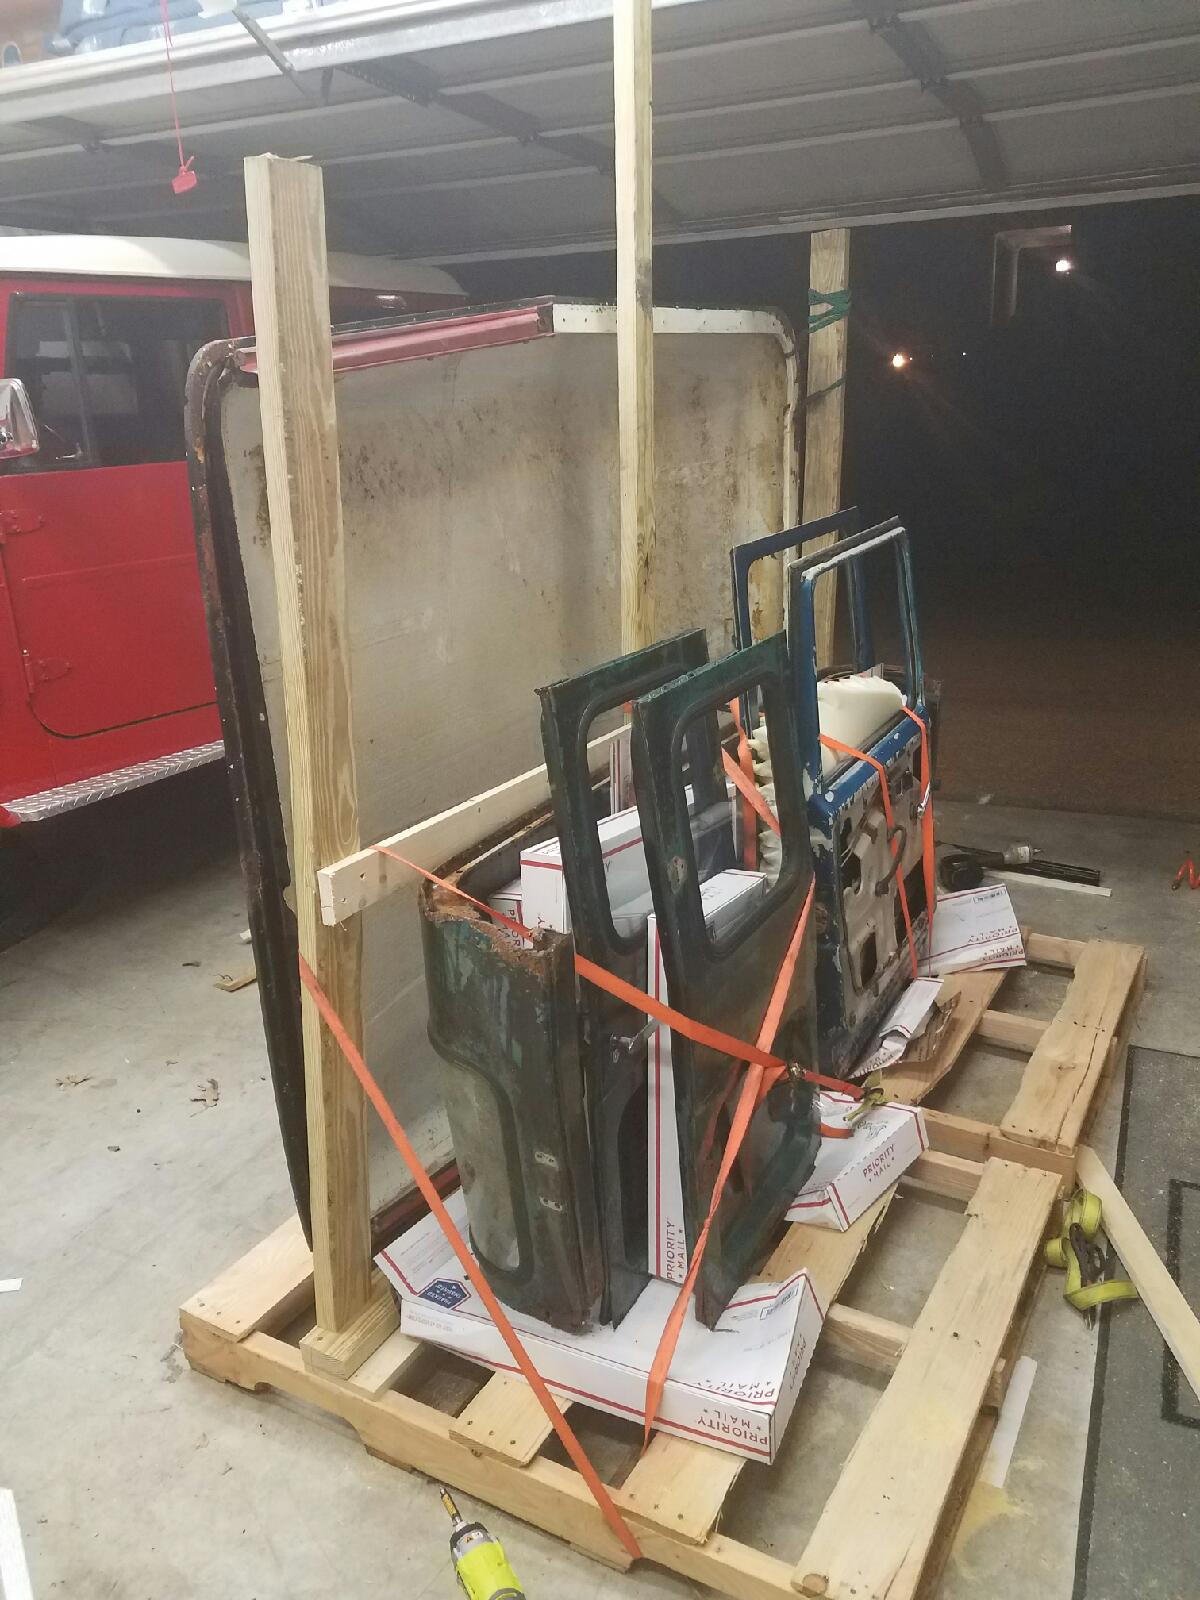
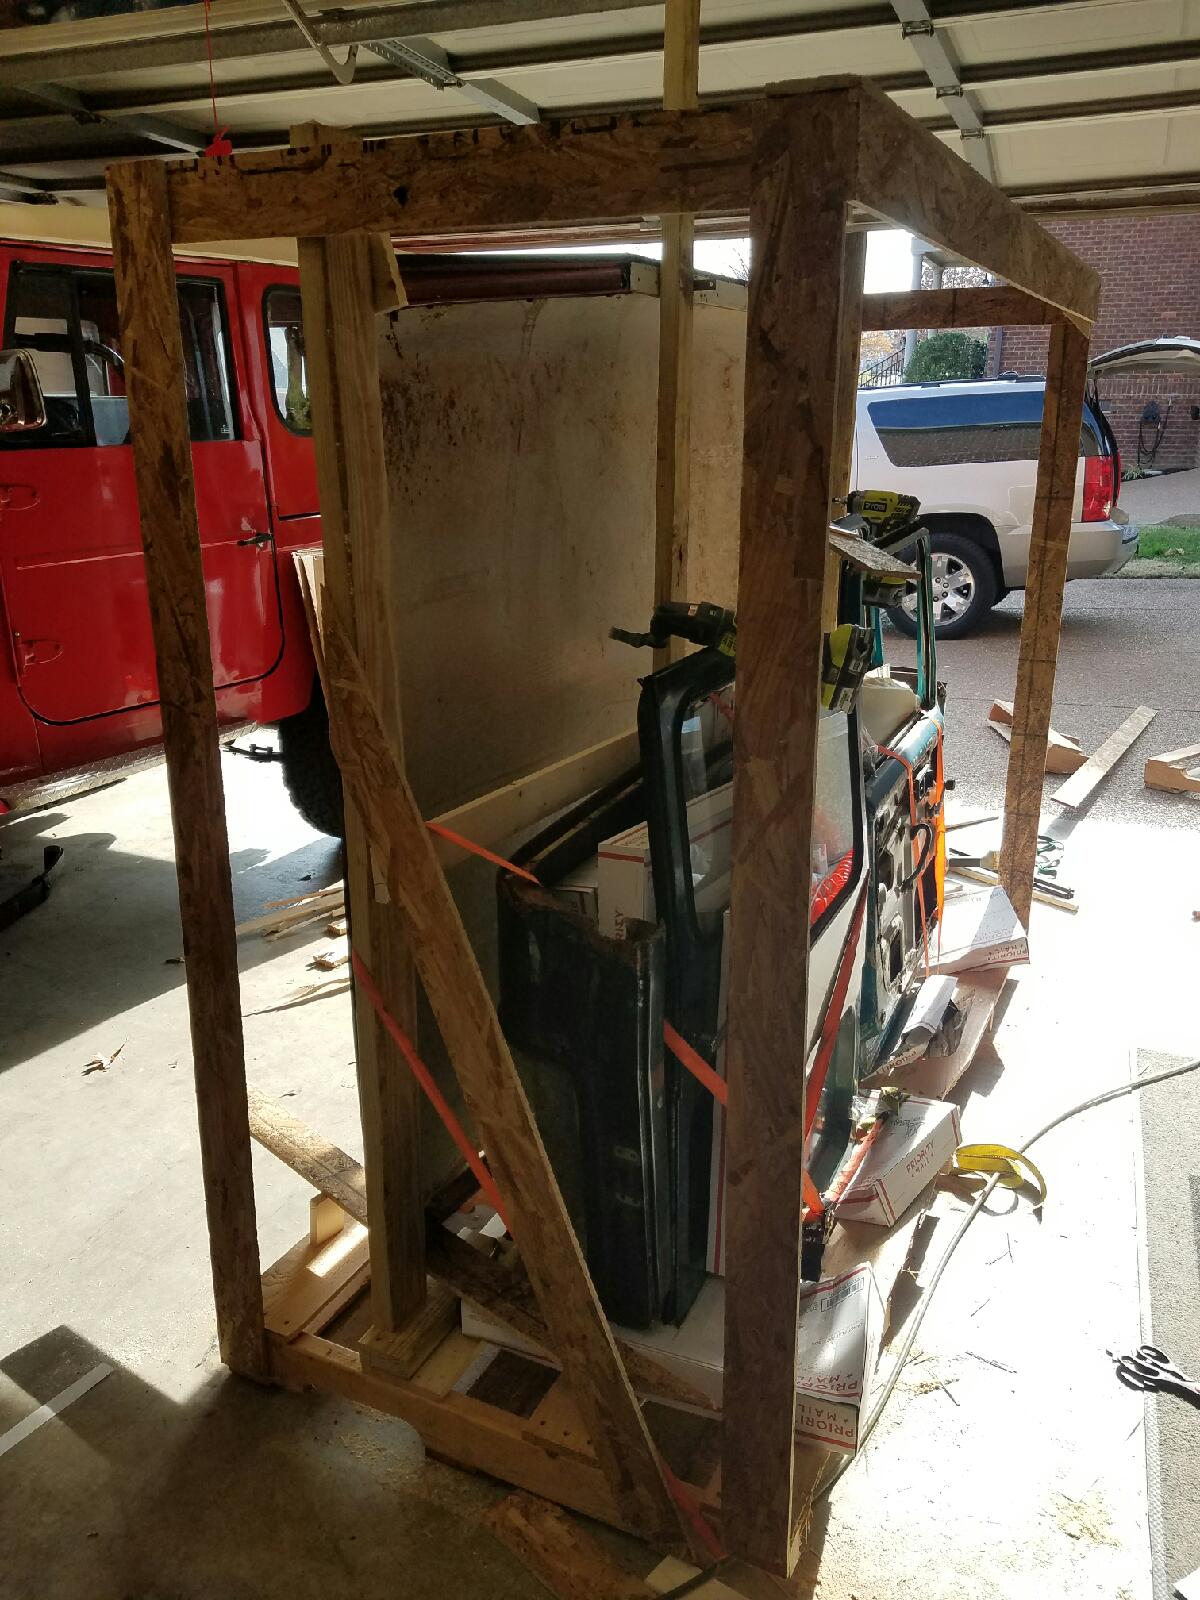
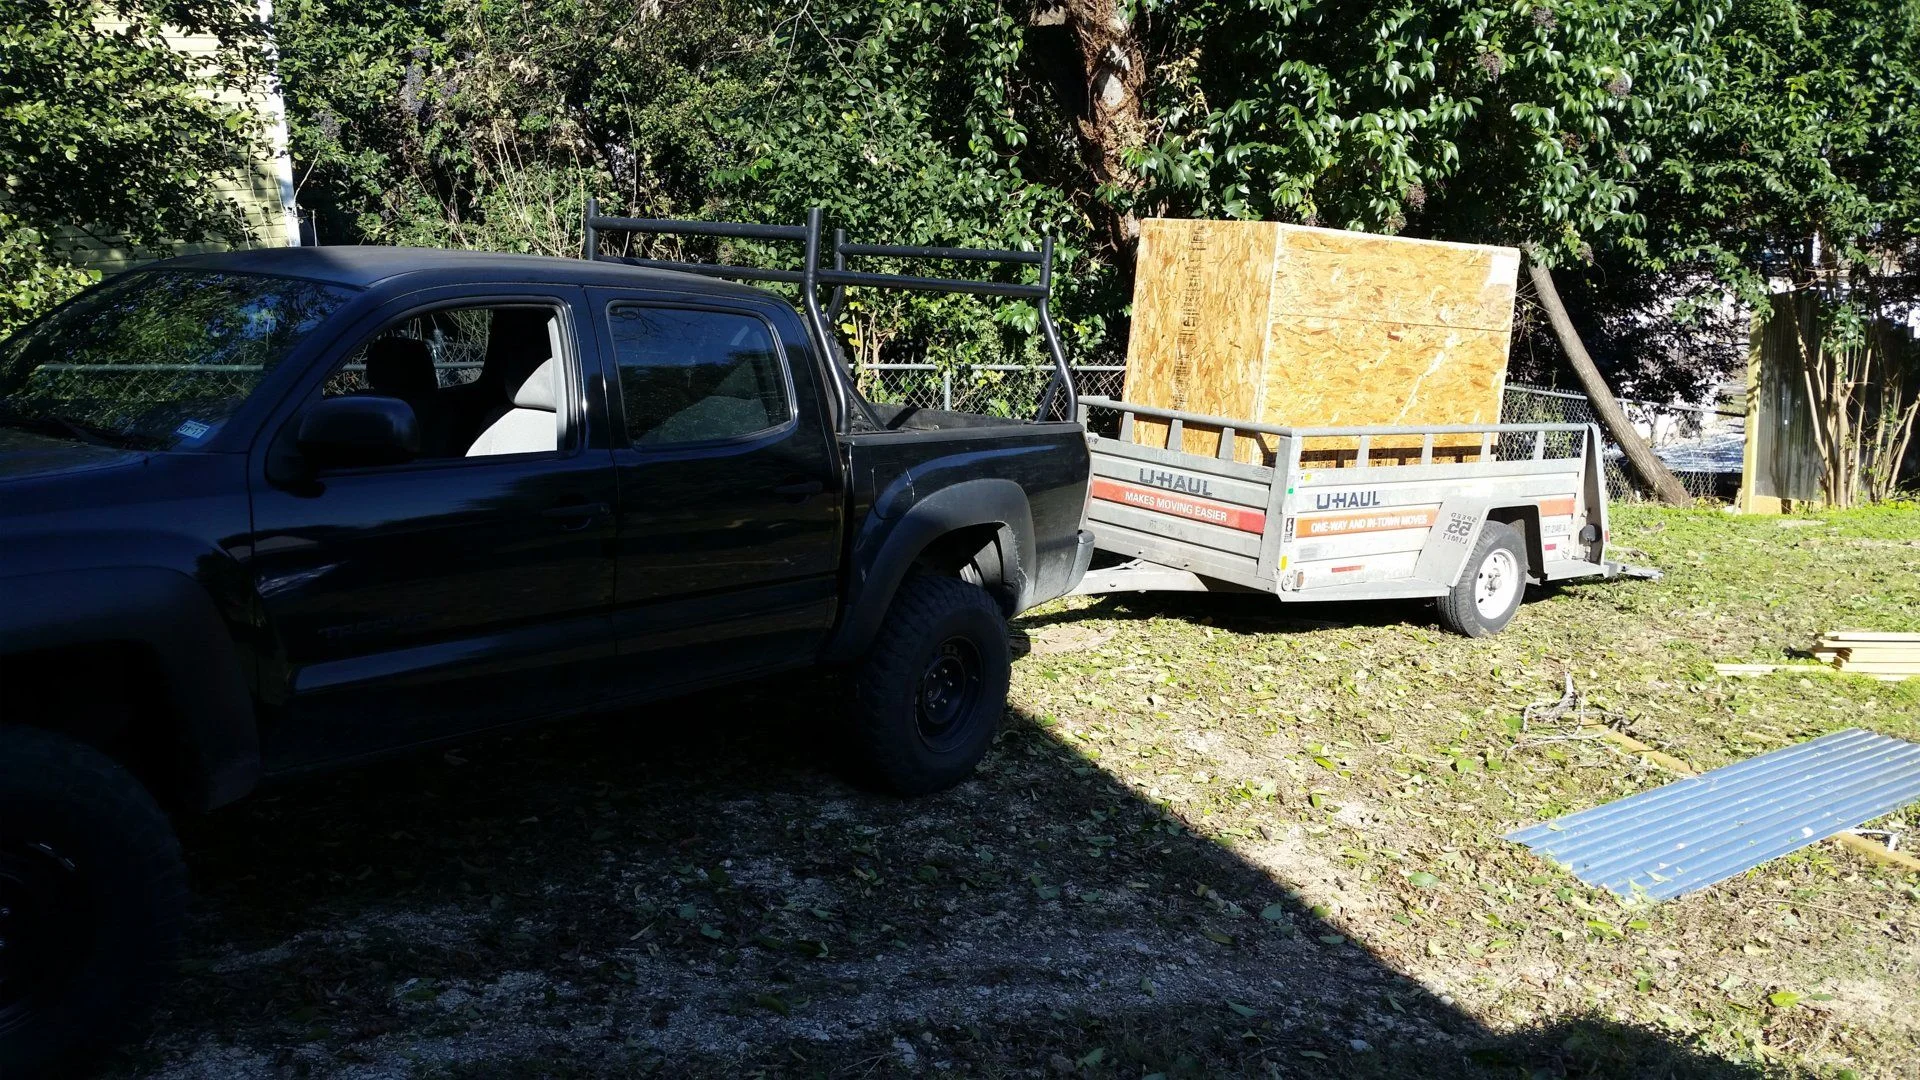
More posts to follow on what all happened in between 2011 and Dec 2018.
 
Man that paint made a big difference. What are the details on your rims and tires ? Did you widen them yourself ?
 
Man that paint made a big difference. What are the details on your rims and tires ? Did you widen them yourself ?
I looked at going the widening route, but tried something different instead.
Tires 35x12-15 BFG Mud KM2
The wheels are from Summit... 15x8 Wheel Vintiques 12 Series Smoothie Wheels 12-580604
I was able to get oem hubcaps to work by fusing a baby-moon cap that fit the wheel with the oem cap that I modified the underside of in order to attach to the moon cap.

Any clearance issues ? Does it hit your steering etc ?
 
Going to try and post the process in order, showing what all happened over the 3 years I had it apart..

Teardown begins.. in my backyard. 2 years out in the elements, cutting, welding, grinding.
full


Improvised shade.
full


full


full


full


It was a long walk from my garage to where the FJ sat. Set up my 4wheeler as a tool hauling welding rig.
Not enough room in garage for the FJ. I did eventually build a shop, but the FJ project was almost done by that time. New shop in future post.
full
 
Last edited:
Quarters were rusty and butchered by PO.. Cut em out made new ones. I chose to make my own so I could do the wheel opening exactly where I wanted it.

Cut, cut, cut
full

full

full


Make pattern out of poster board and test fit.
full


Transfer pattern to 16 ga and mark the bends.
full

full


I scored the bend lines with cutoff wheel in order to make bending easier.
full


I didnt have a bending brake so I improvised.. again.
full

full


Cleaned up the bends with HF cheap body hammer kit
full


Test fit
full


Welded in the bends since scoring the lines made the metal thinner at bend point.
full

full


Ready to mount
full

full


Welded in. This took a while... 1 spot weld at a time as to not overheat and burn through...Plus the fab'd quarters where thicker metal than the stock body panels. I still burned through many times and had to redo a bunch of places.
full


Grinding... revealing some poor weld deposit. I had to do a bunch more spots.
full


Cleaned up and looked good enough for me. I later had to cut out some metal above the new panel and weld in new. I couldnt find any pics of that though.
full

full

full
 
A couple weeks later, repeated the process on passenger side. Much more surgery required here, plus I had to graft in a fuel filler.
full

full


Reused my patter and transferred to metal
full

full


Tacked in the bends again
full

full


Ready to mount
full


More welding, 1 spot weld at a time.
full


Next is fuel filler cutout and weld...
 
Adding the fuel filler and replacing some top rail metal..
Marked the spot.
full


Cut out the hole to match the peice I got from Lascaral. I got pretty precise here - nearly no gap anywhere.
full


More spot welding
full

full


Grinding done and a glimpse of what i cut out of top rail
full


full


Square tubing to replace what was rotted out
full


All buttoned up
full


I found some rattle can that was close to what I was going to have the body shop shoot - just to see.
full
 
Time for a top and doors...
FJ parts seller on ehay had a top, side panels, ambi doors and front doors. I had bought several other small parts from him in the past, so hit him up for a package deal. He crated it all up nicely and we shipped via Fastenal. Not very fast, but way cheap.
full

full


Crate too tall to fit in my Tacoma due to the rack.. rented a trailer.
full


Front and rear doors from different trucks. All glass was good and original except for one large side panel and one front door.
full


Top, ambi doors, and side panels look like from same truck.
full


Quite a bit of rust to cut out and weld in new metal, but got a pretty good deal I thought.
full
 
Looking good
 
I found a nice hood and windshield frame locally. Reportedly they are from a 78. Guy had lots of parts and a very well equiped 40 he was trying to sell for $40K.. its still for sale - 1978 Toyota FJ40 Landcruiser. Said he was switching to Land Rovers and had a brand new one in the driveway. I also got an extra roll bar hoop from him that I used for rear cage.
Hood and windshield only needed basic paint prep - no patching, cutting, welding, etc...

full


full


full


Windshield frame came complete with wiper motor, cover, linkage, wiper arms, glass, defrost plastic

full


full


My cowl needed some patching around the hinge locations.

full
 
If I have any regret on what I should have done differently, its not completely removing the tub. This is as close as I got to frame off... tub was disconnected long enough to replace the body bushing/pads. Would have been nice to have a sandblasted and epoxied frame and new paint all over the tub, not just the topside.

full


full


Reconnected - opportunity lost

full


full


full
 

Users who are viewing this thread

Back
Top Bottom