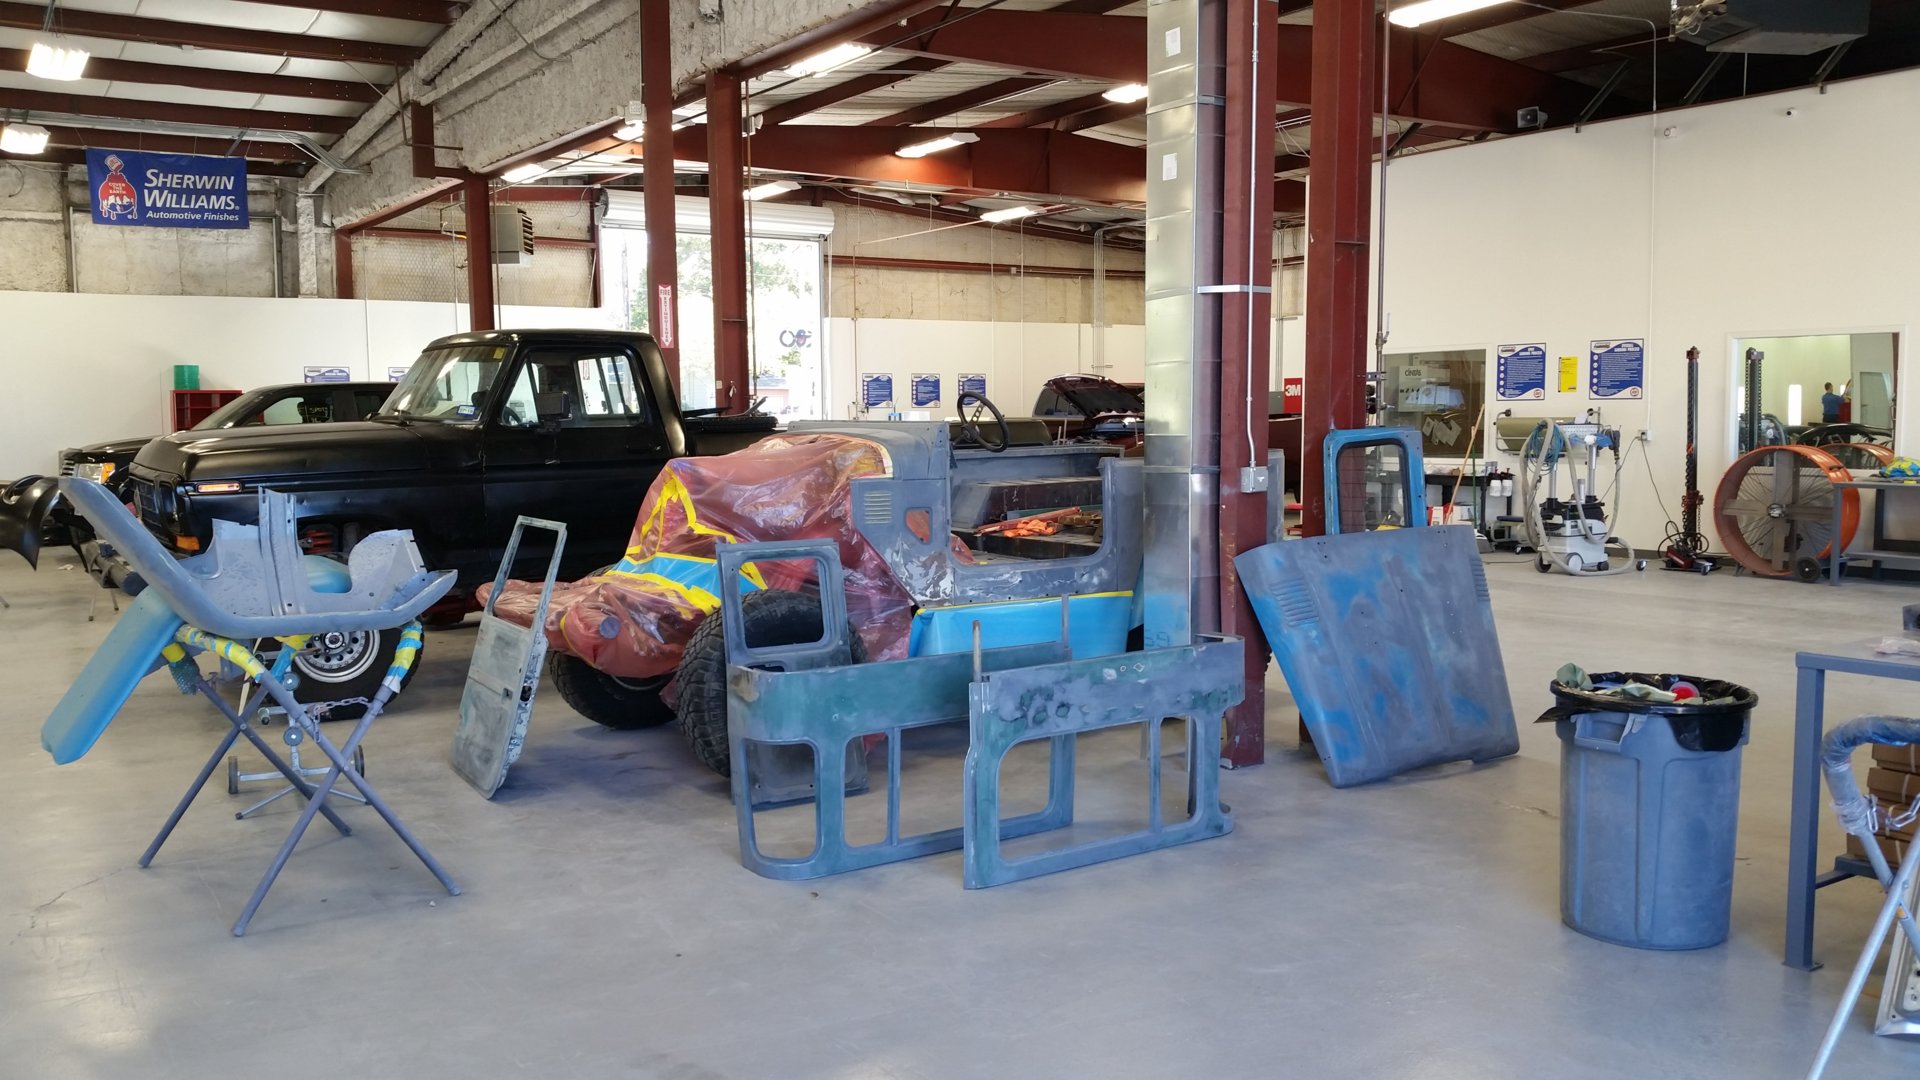
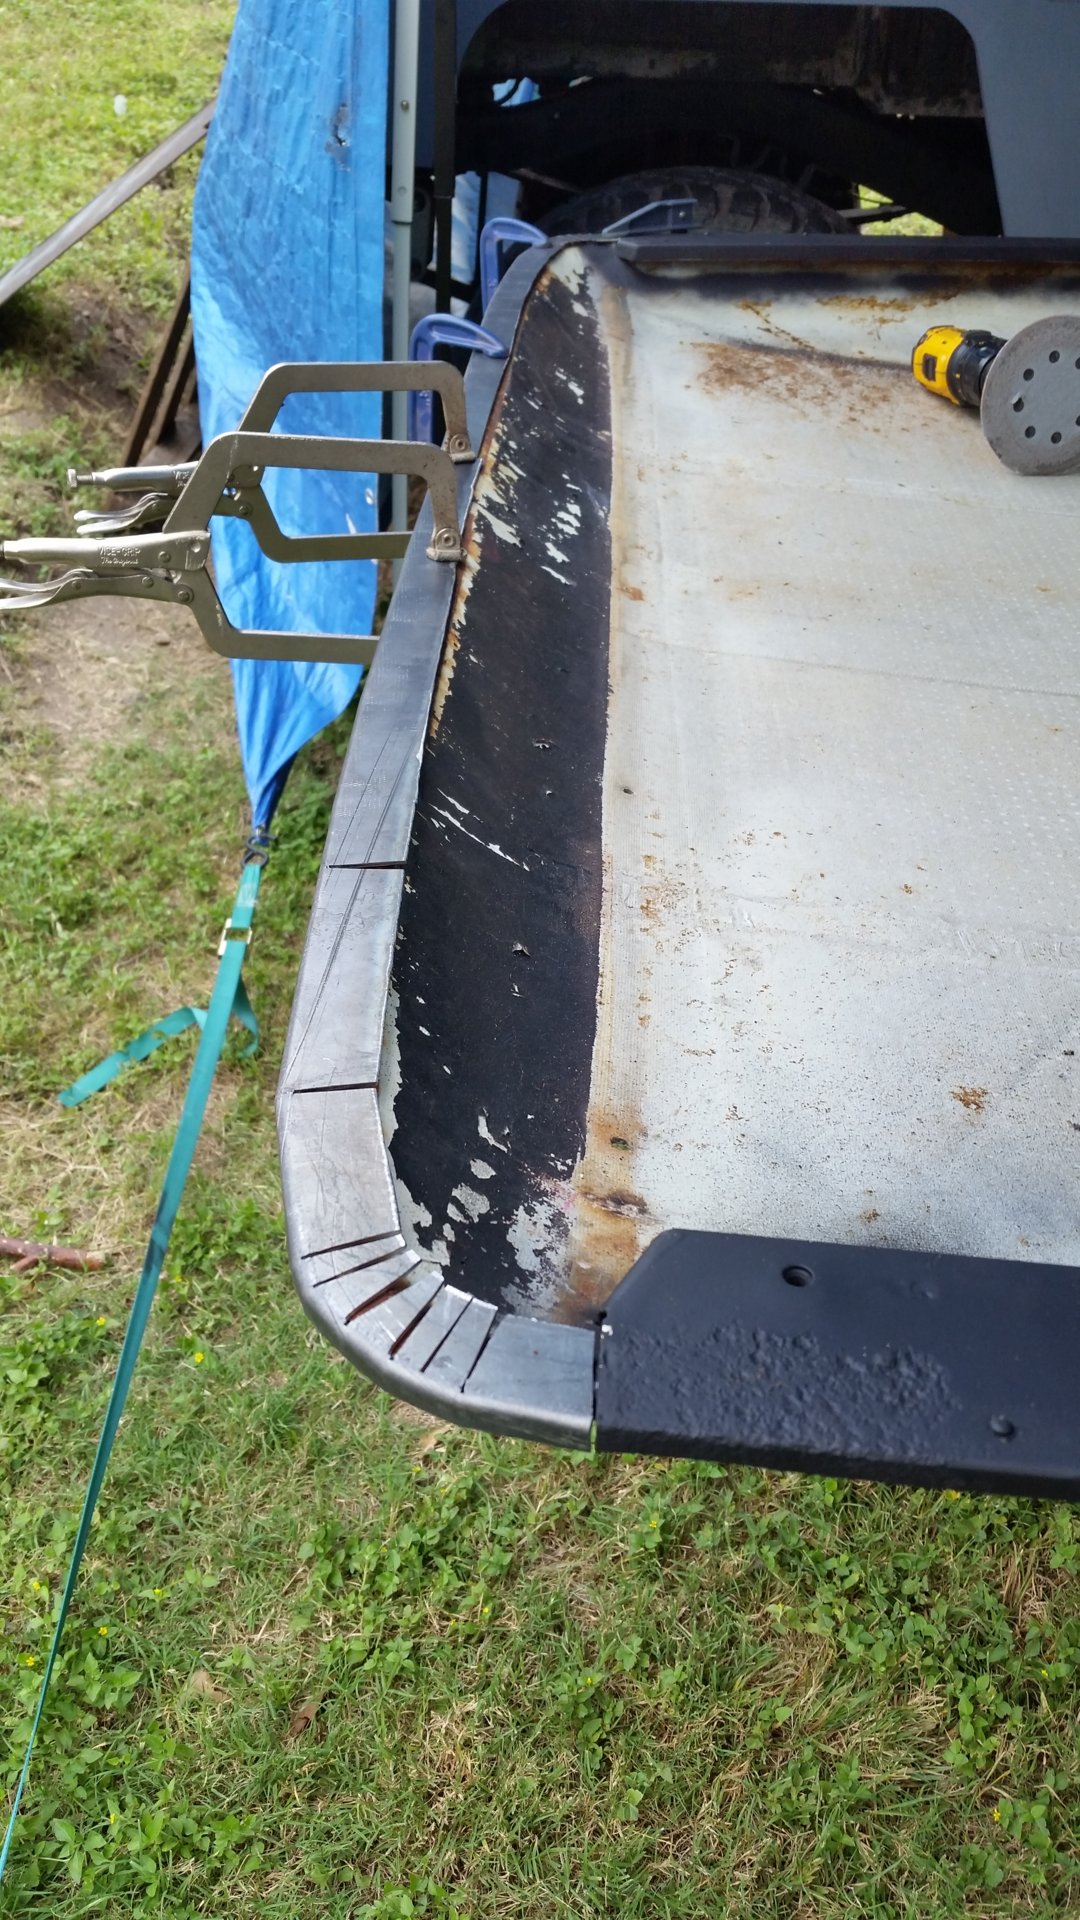
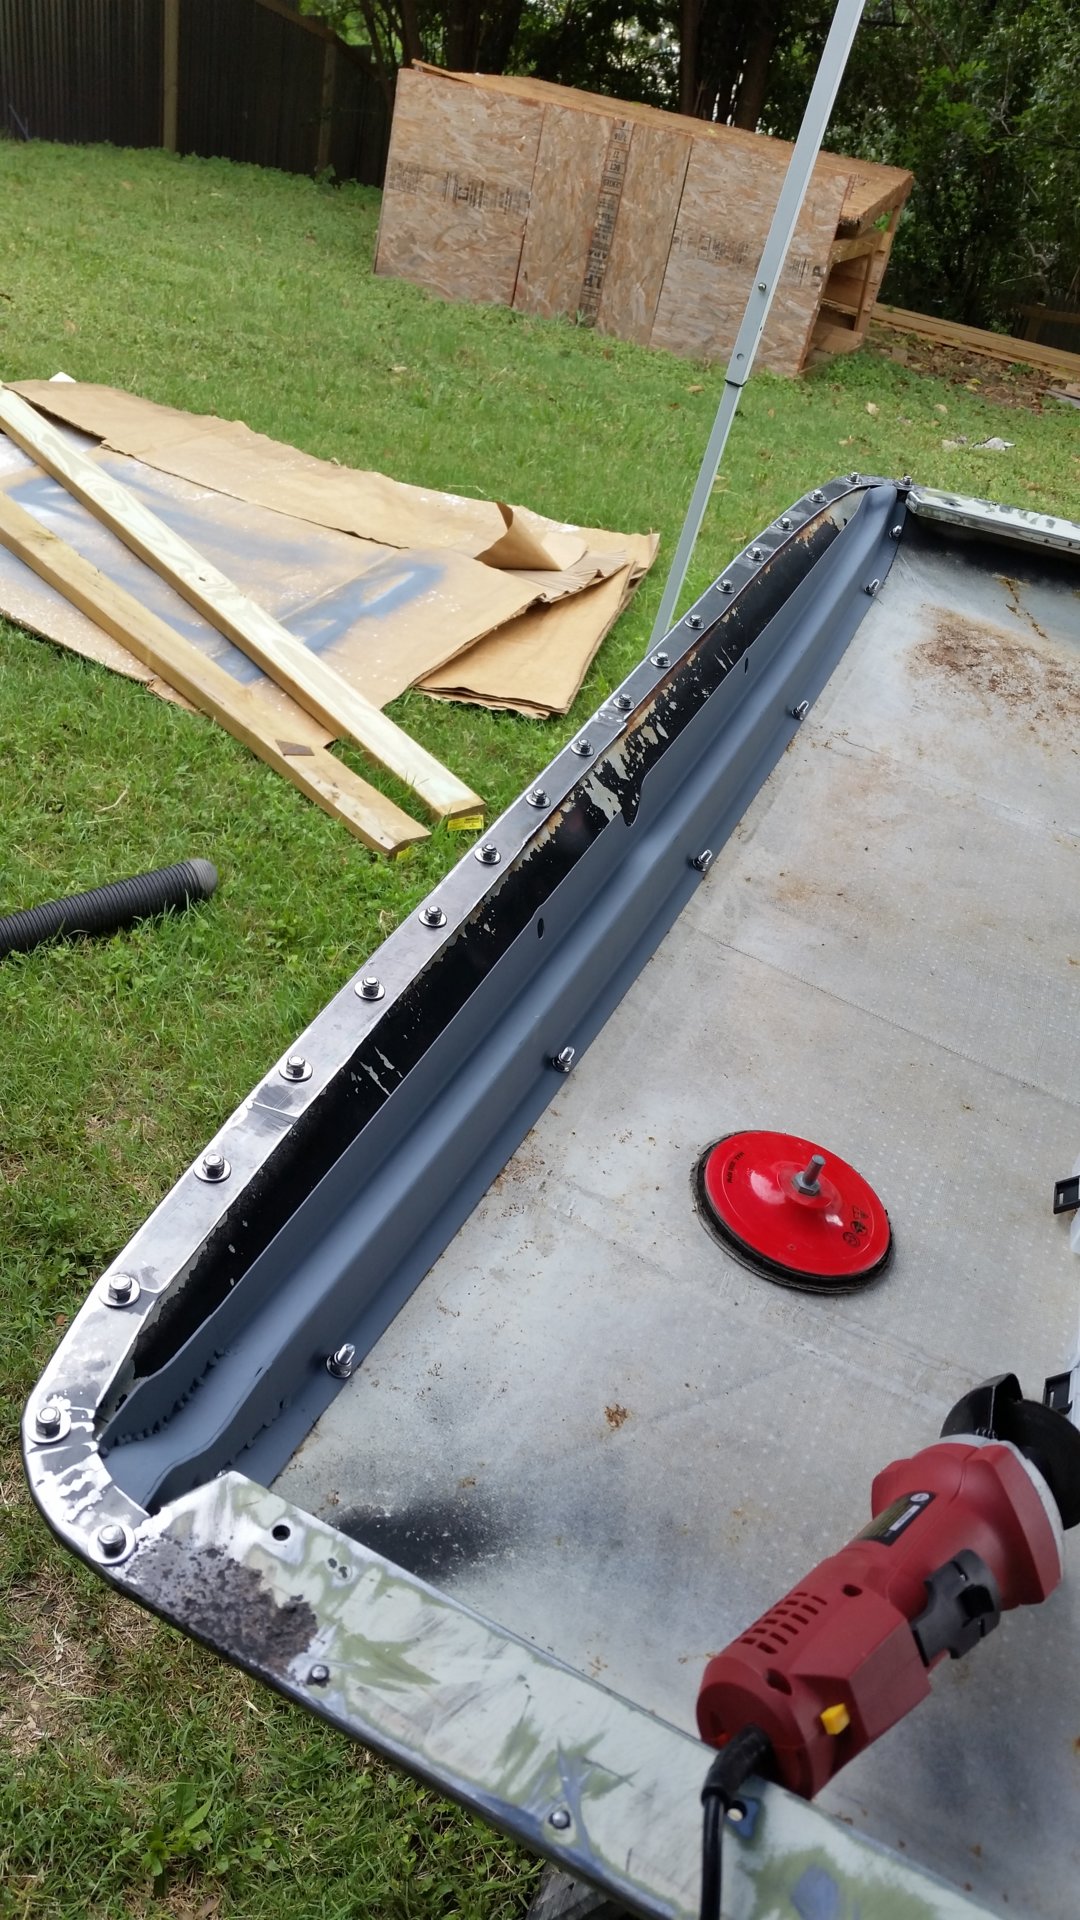
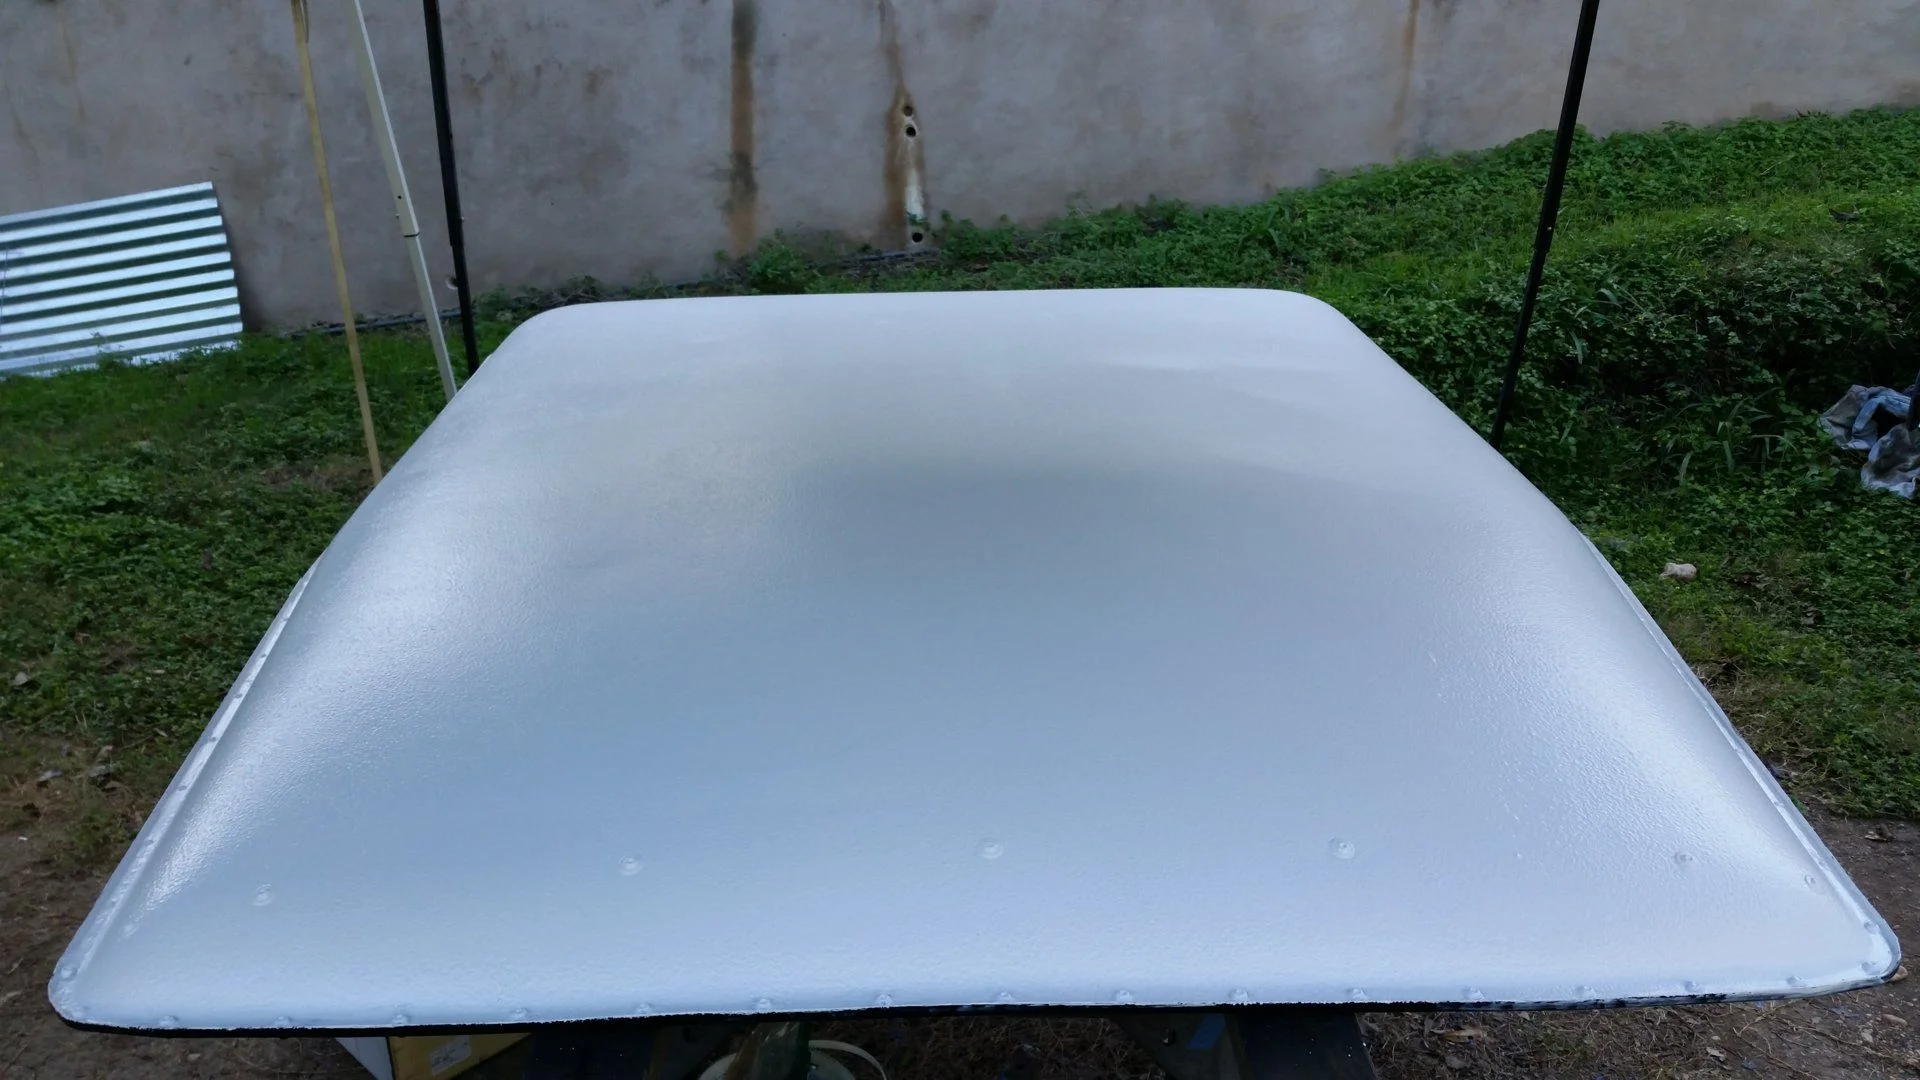
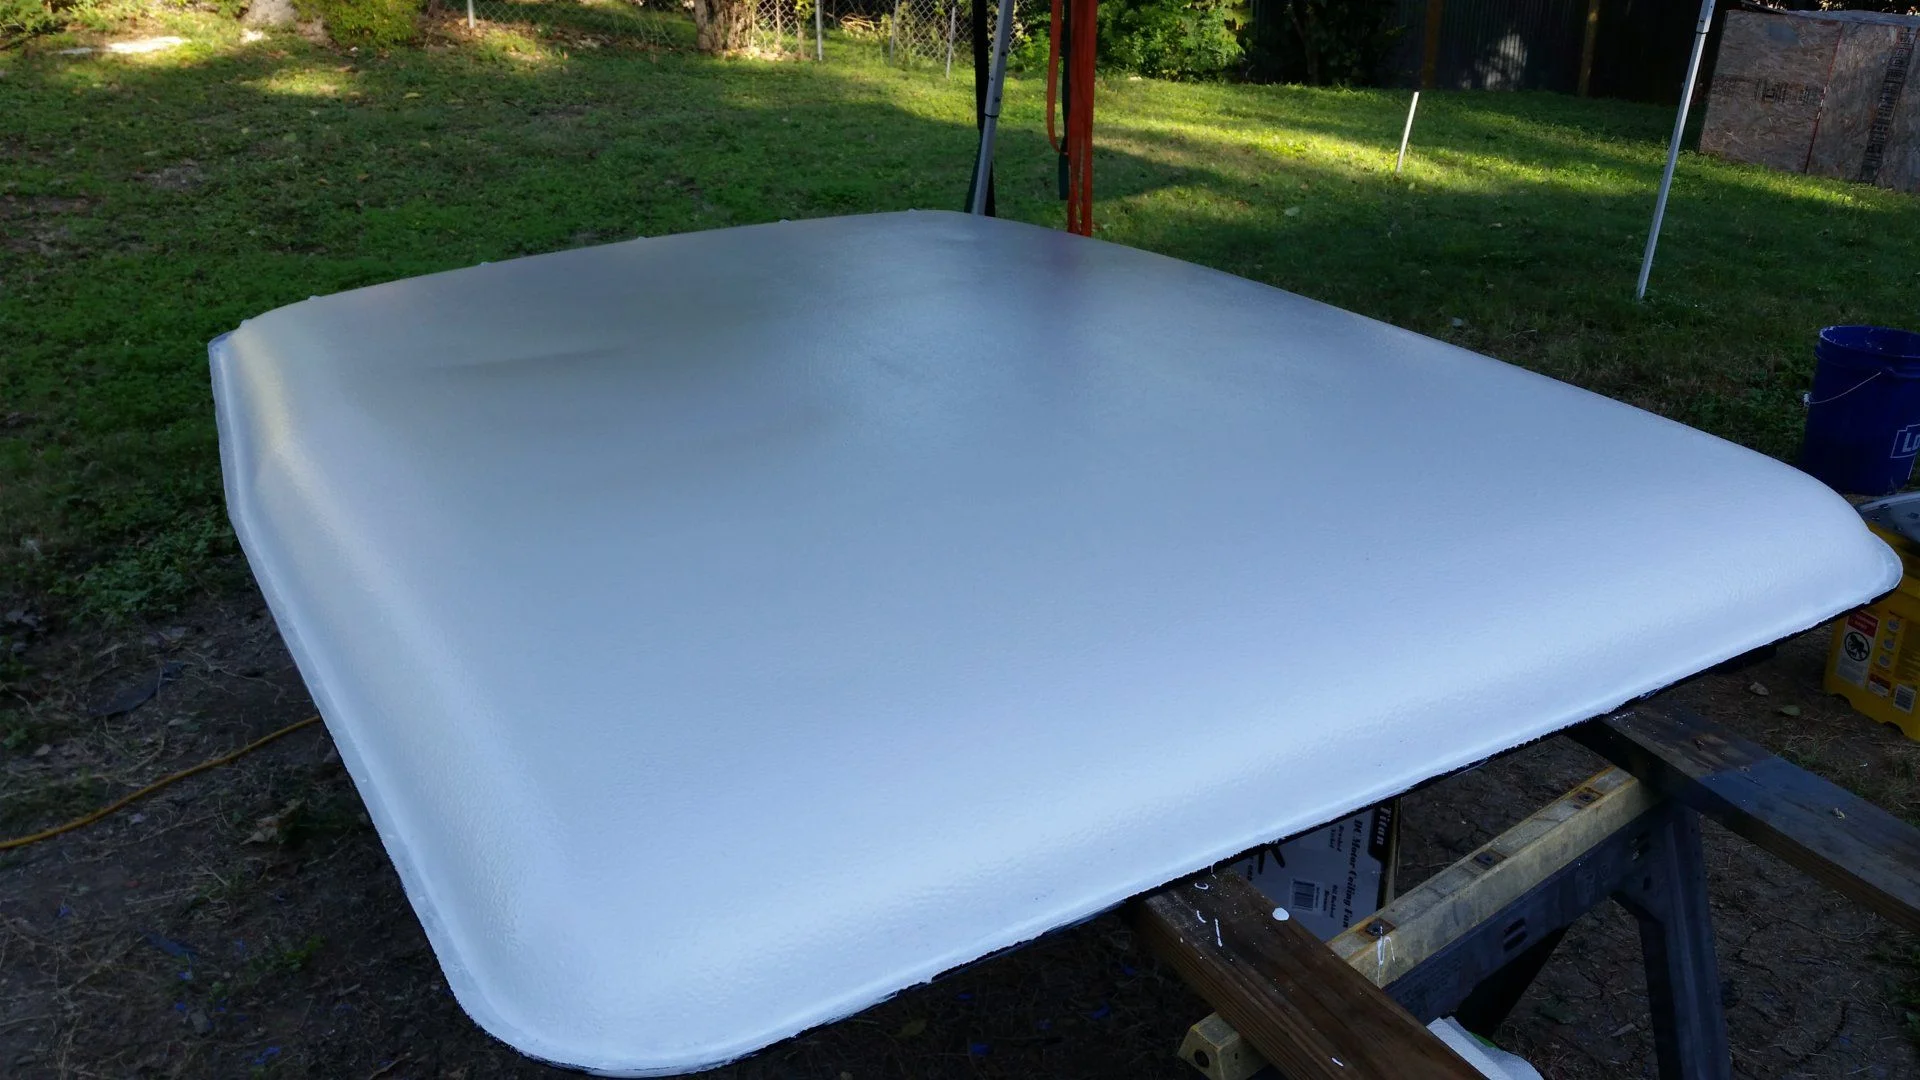
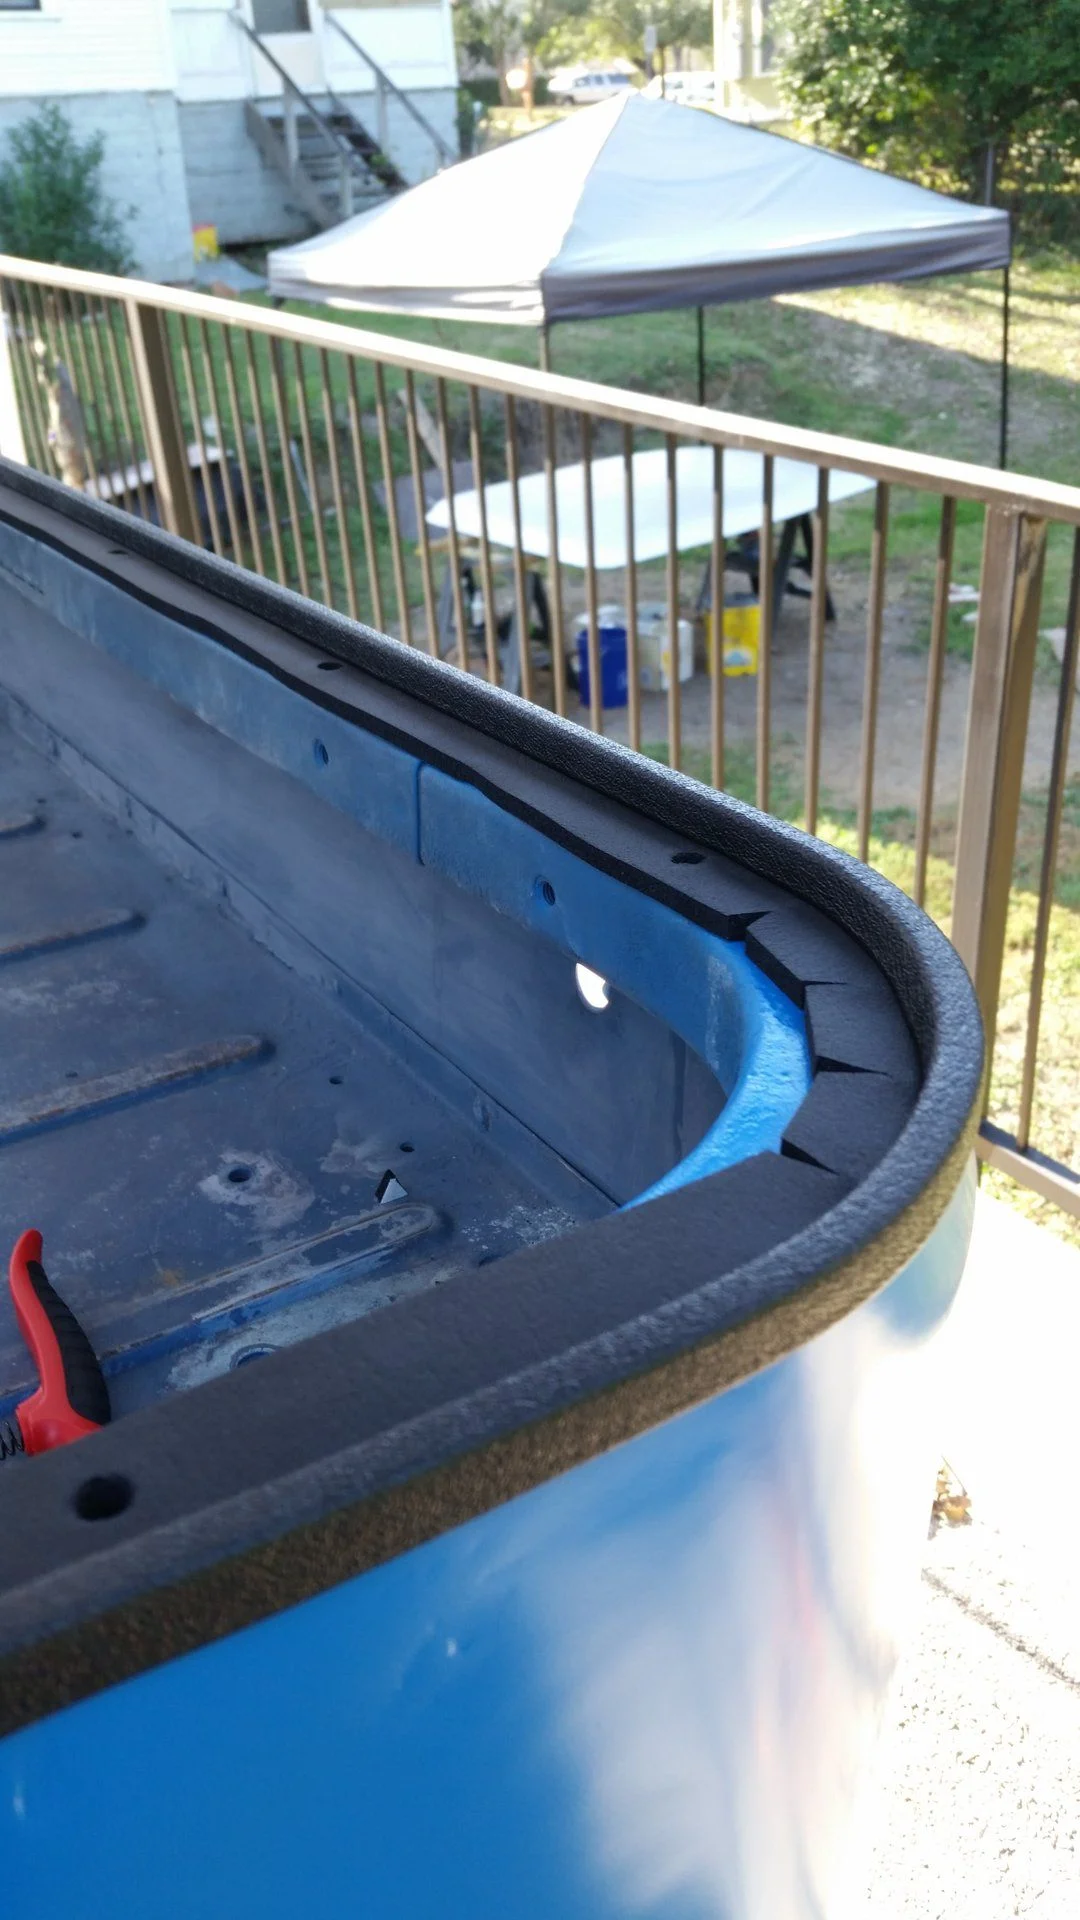
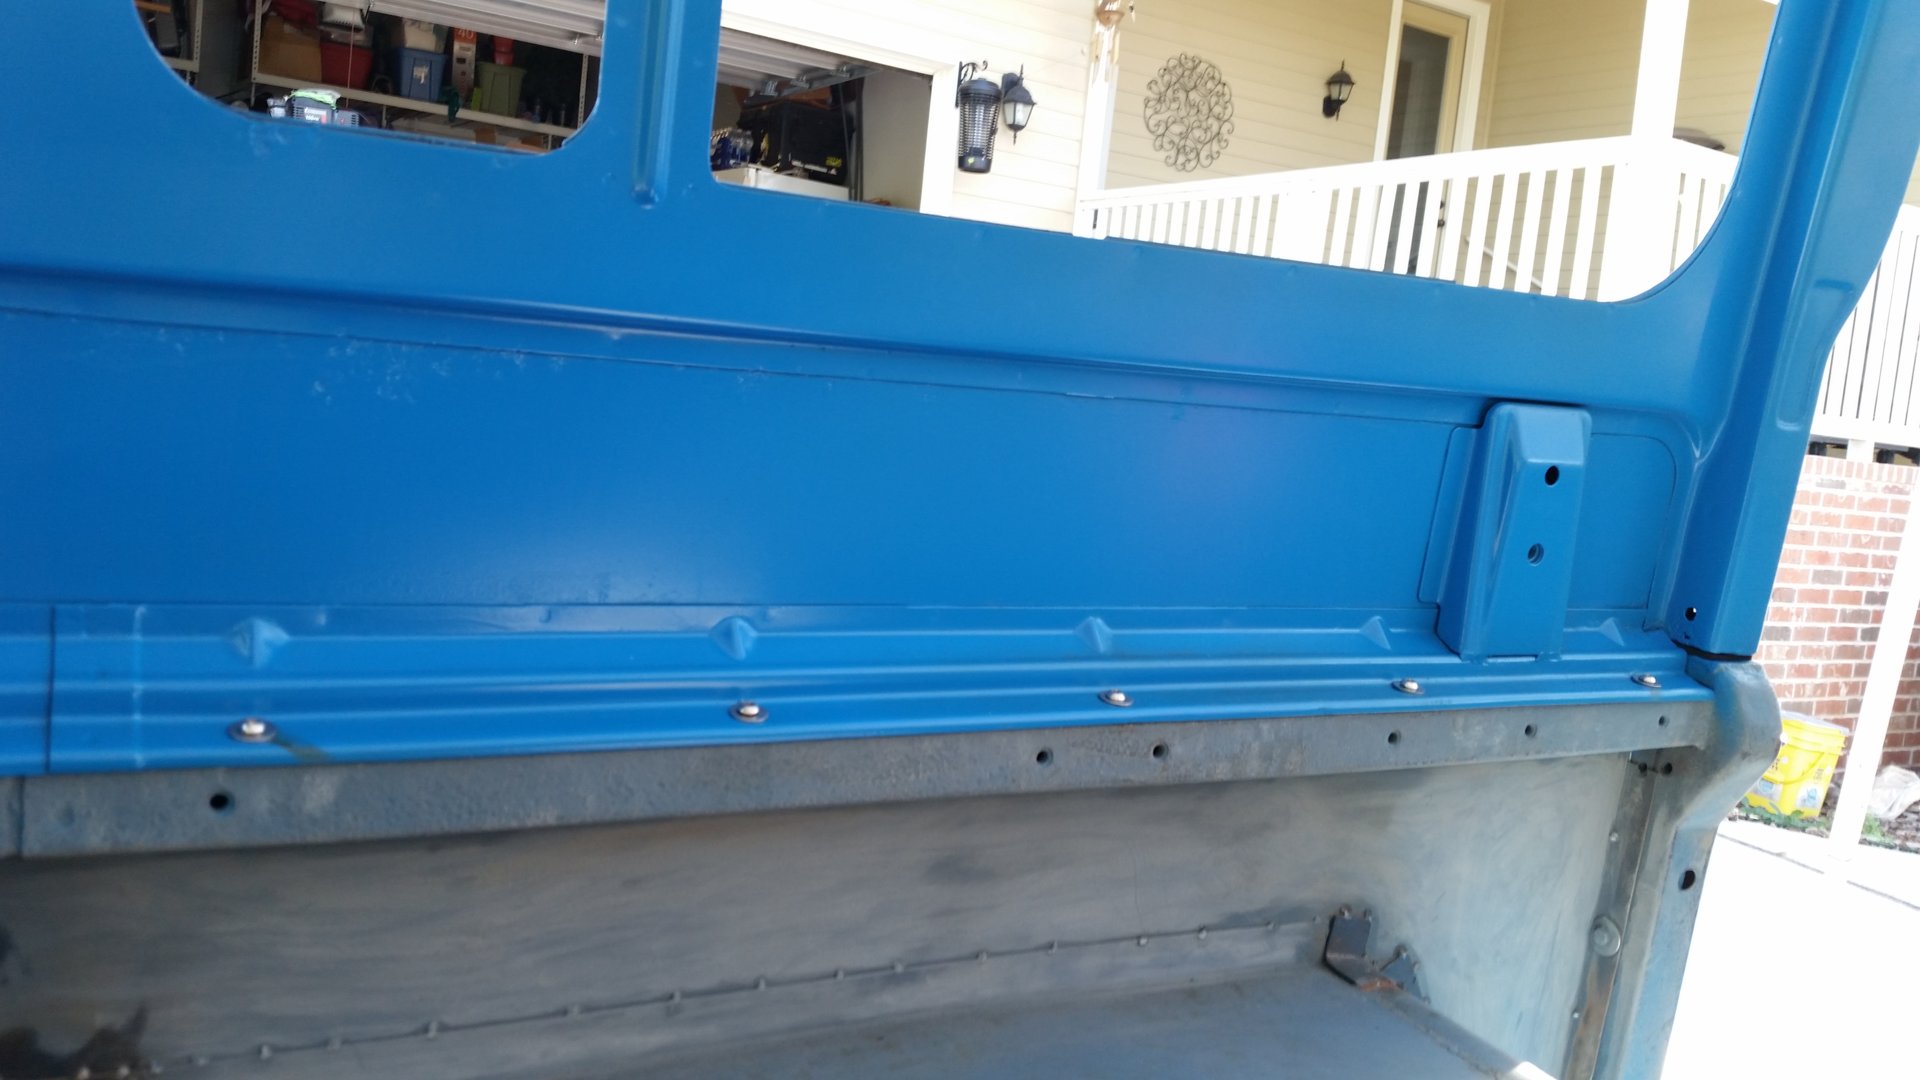
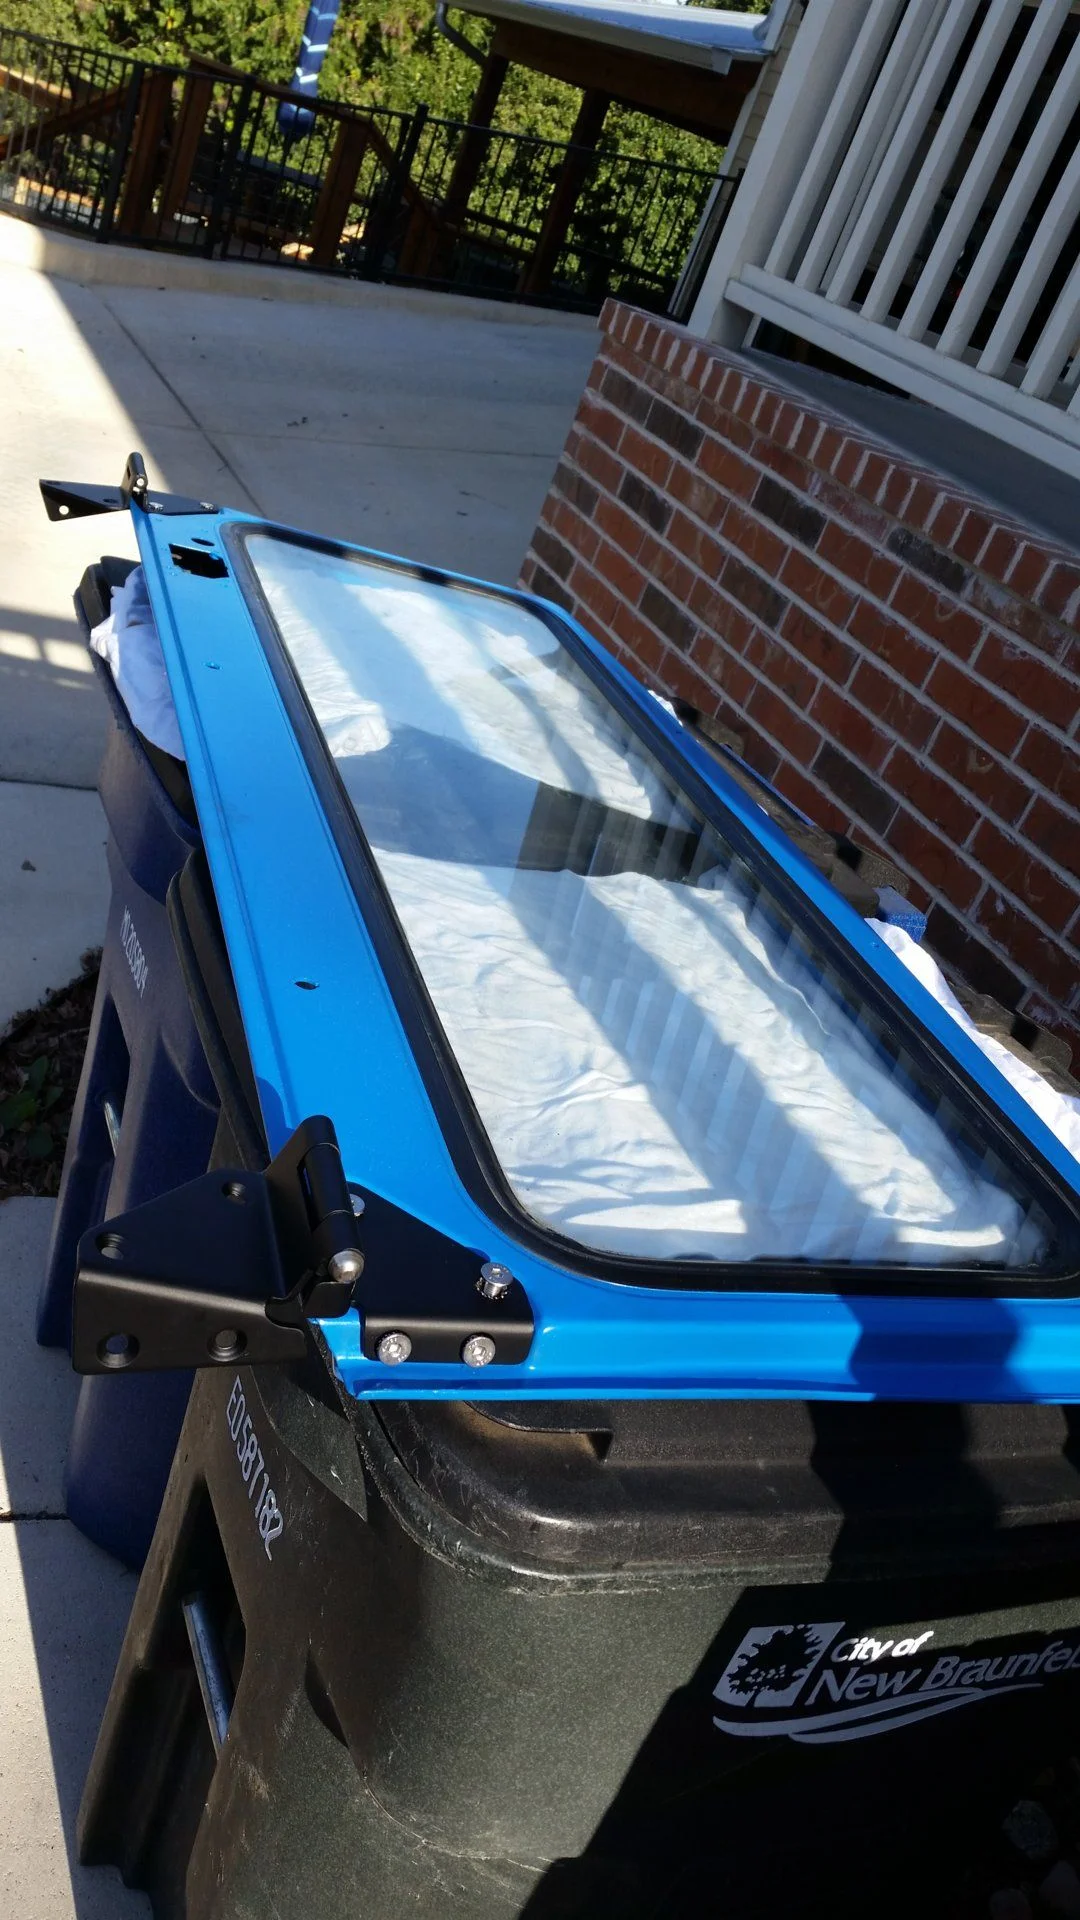
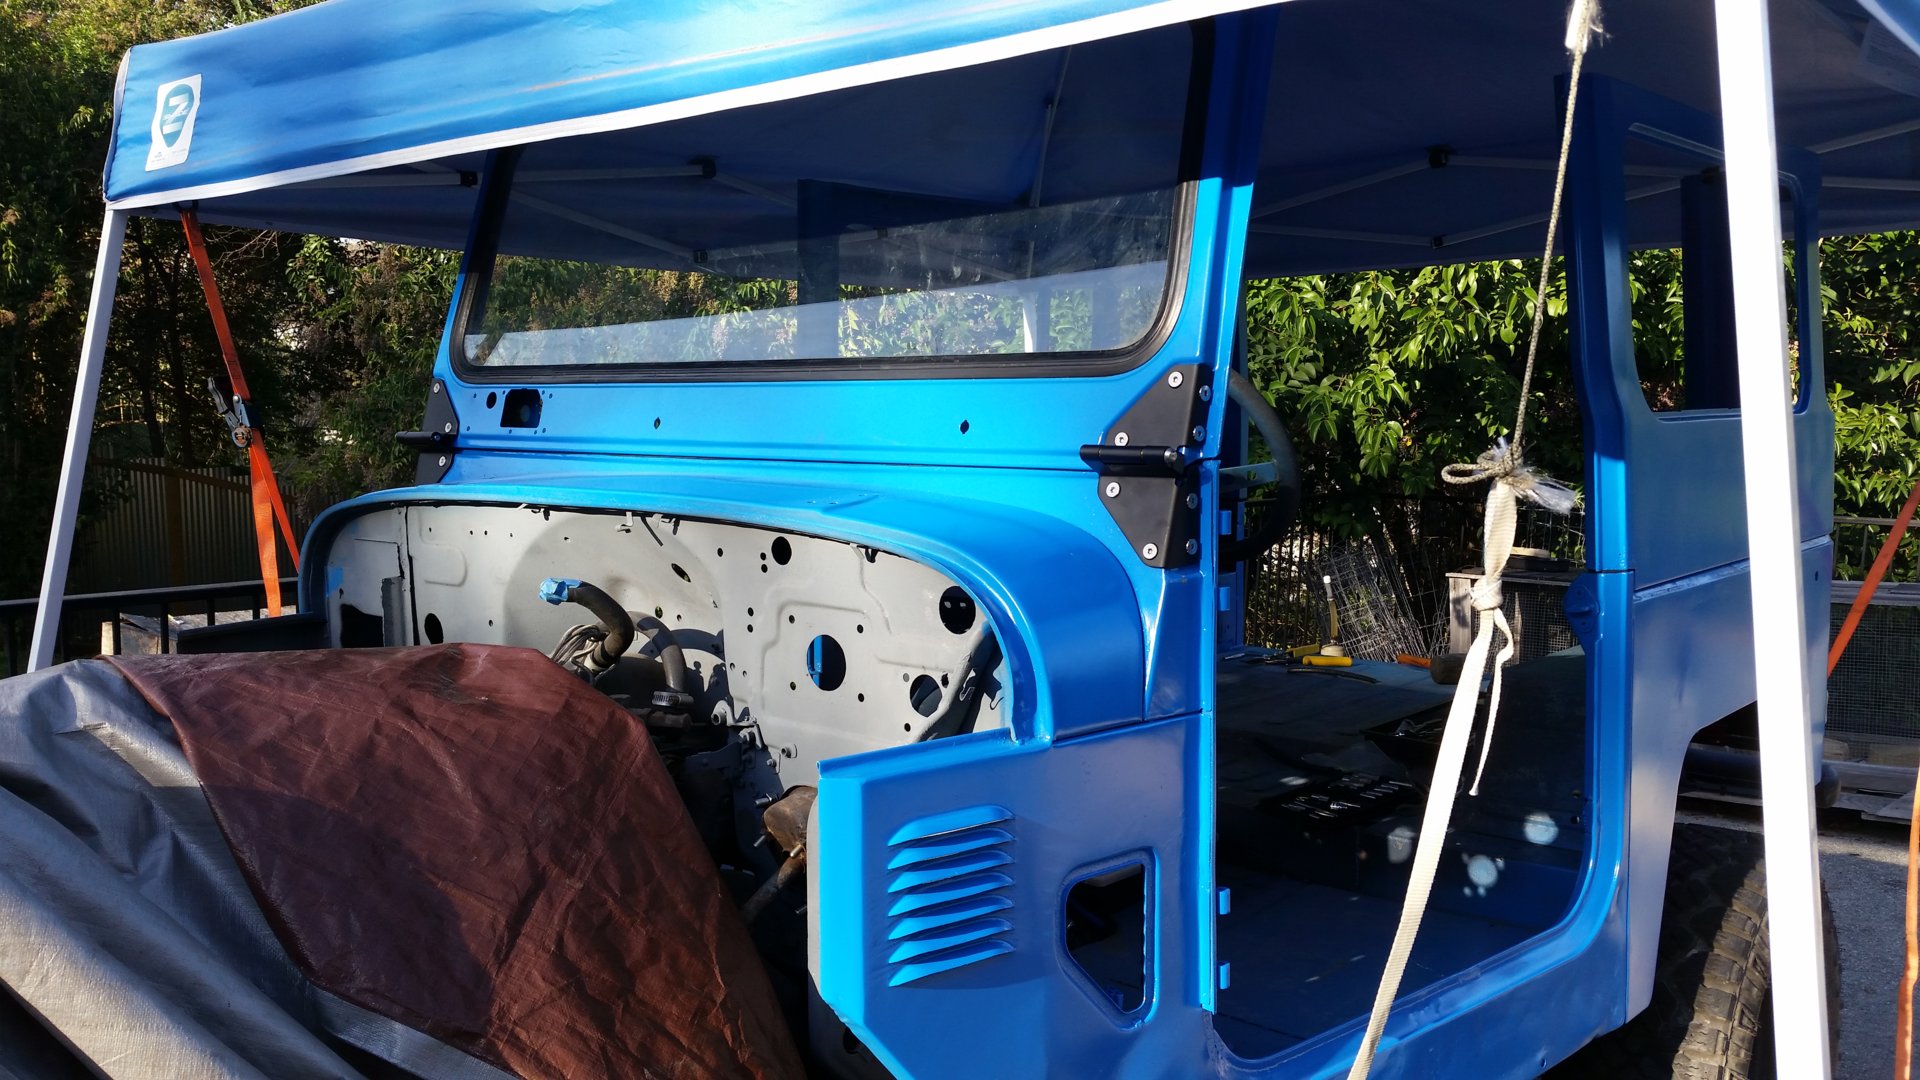
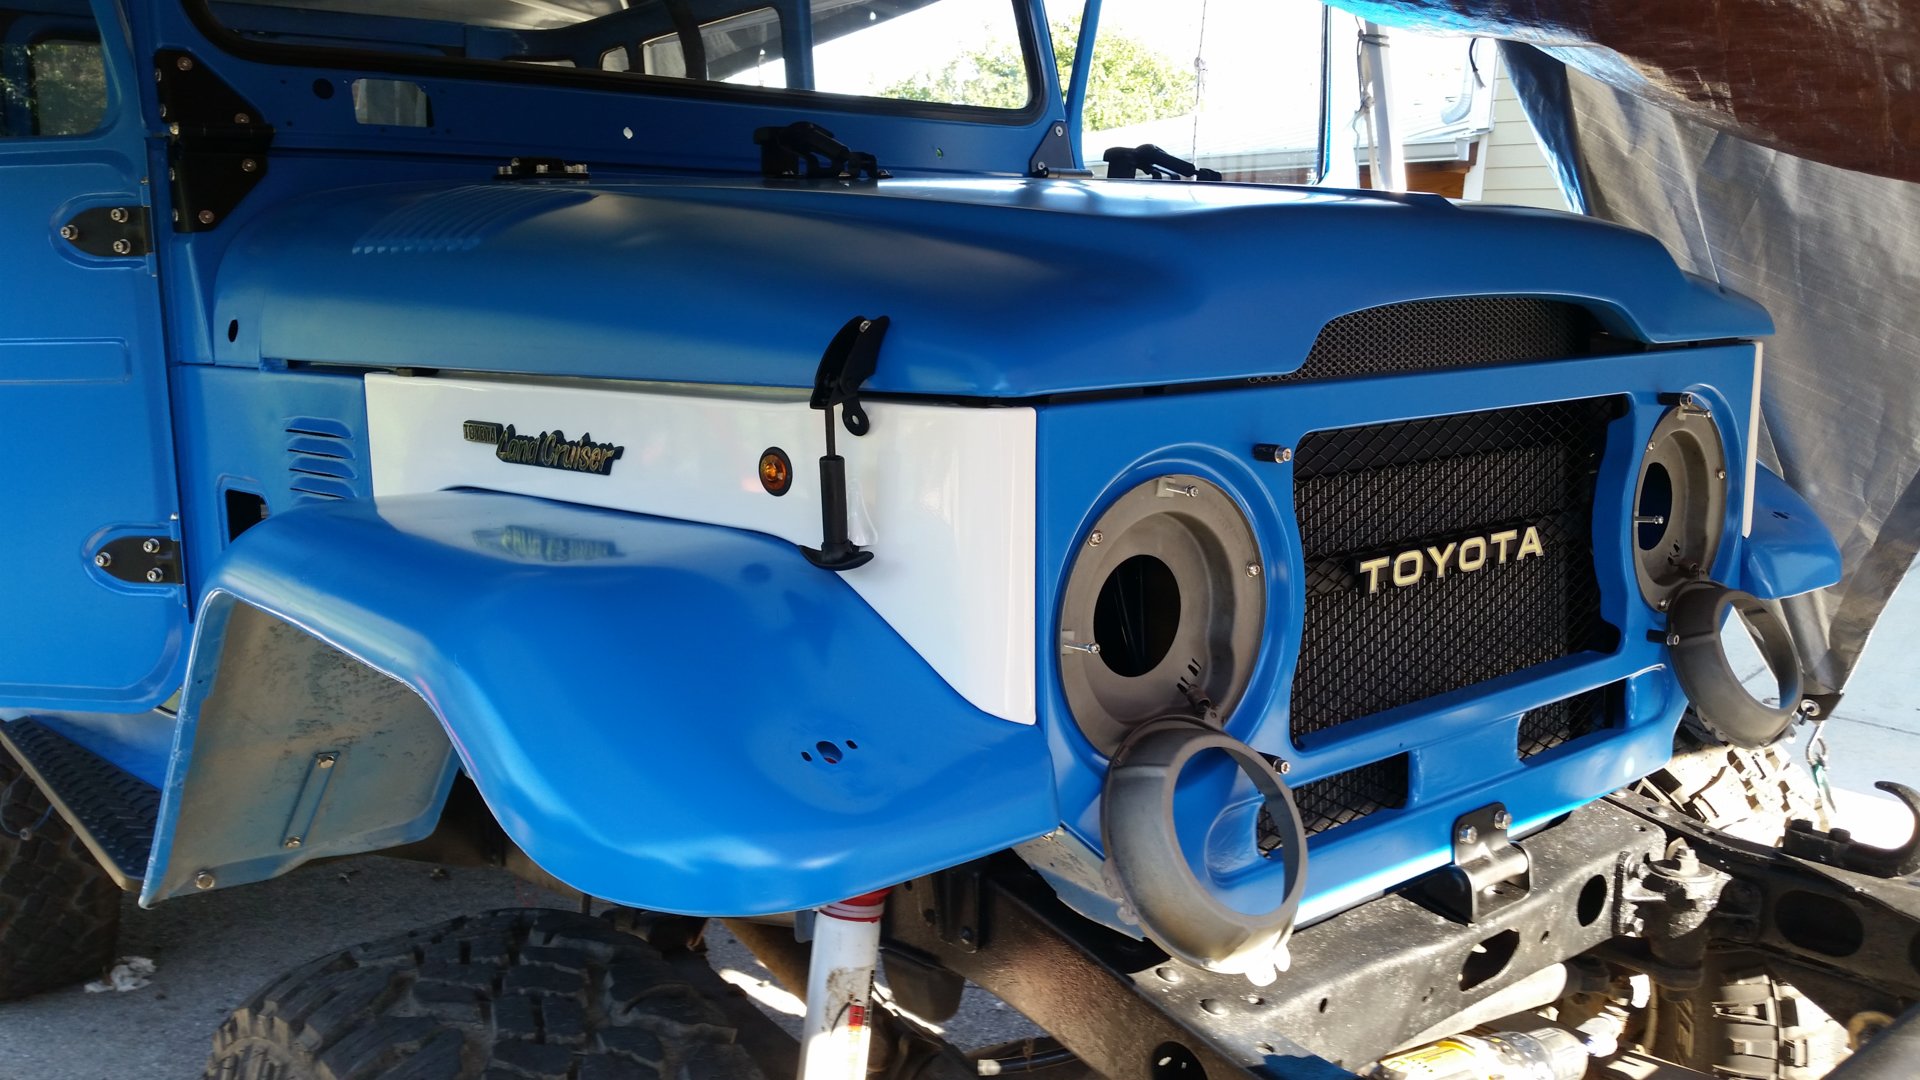
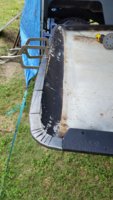
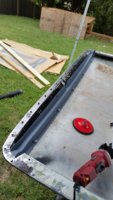
The nose of the roof lip was toast. Cut it out and added some new metal. Some of the rivet holes were a little bored out. I ended up using M6 stainless button head bolts instead of rivets. Needed a little work on the top cap peice as well.
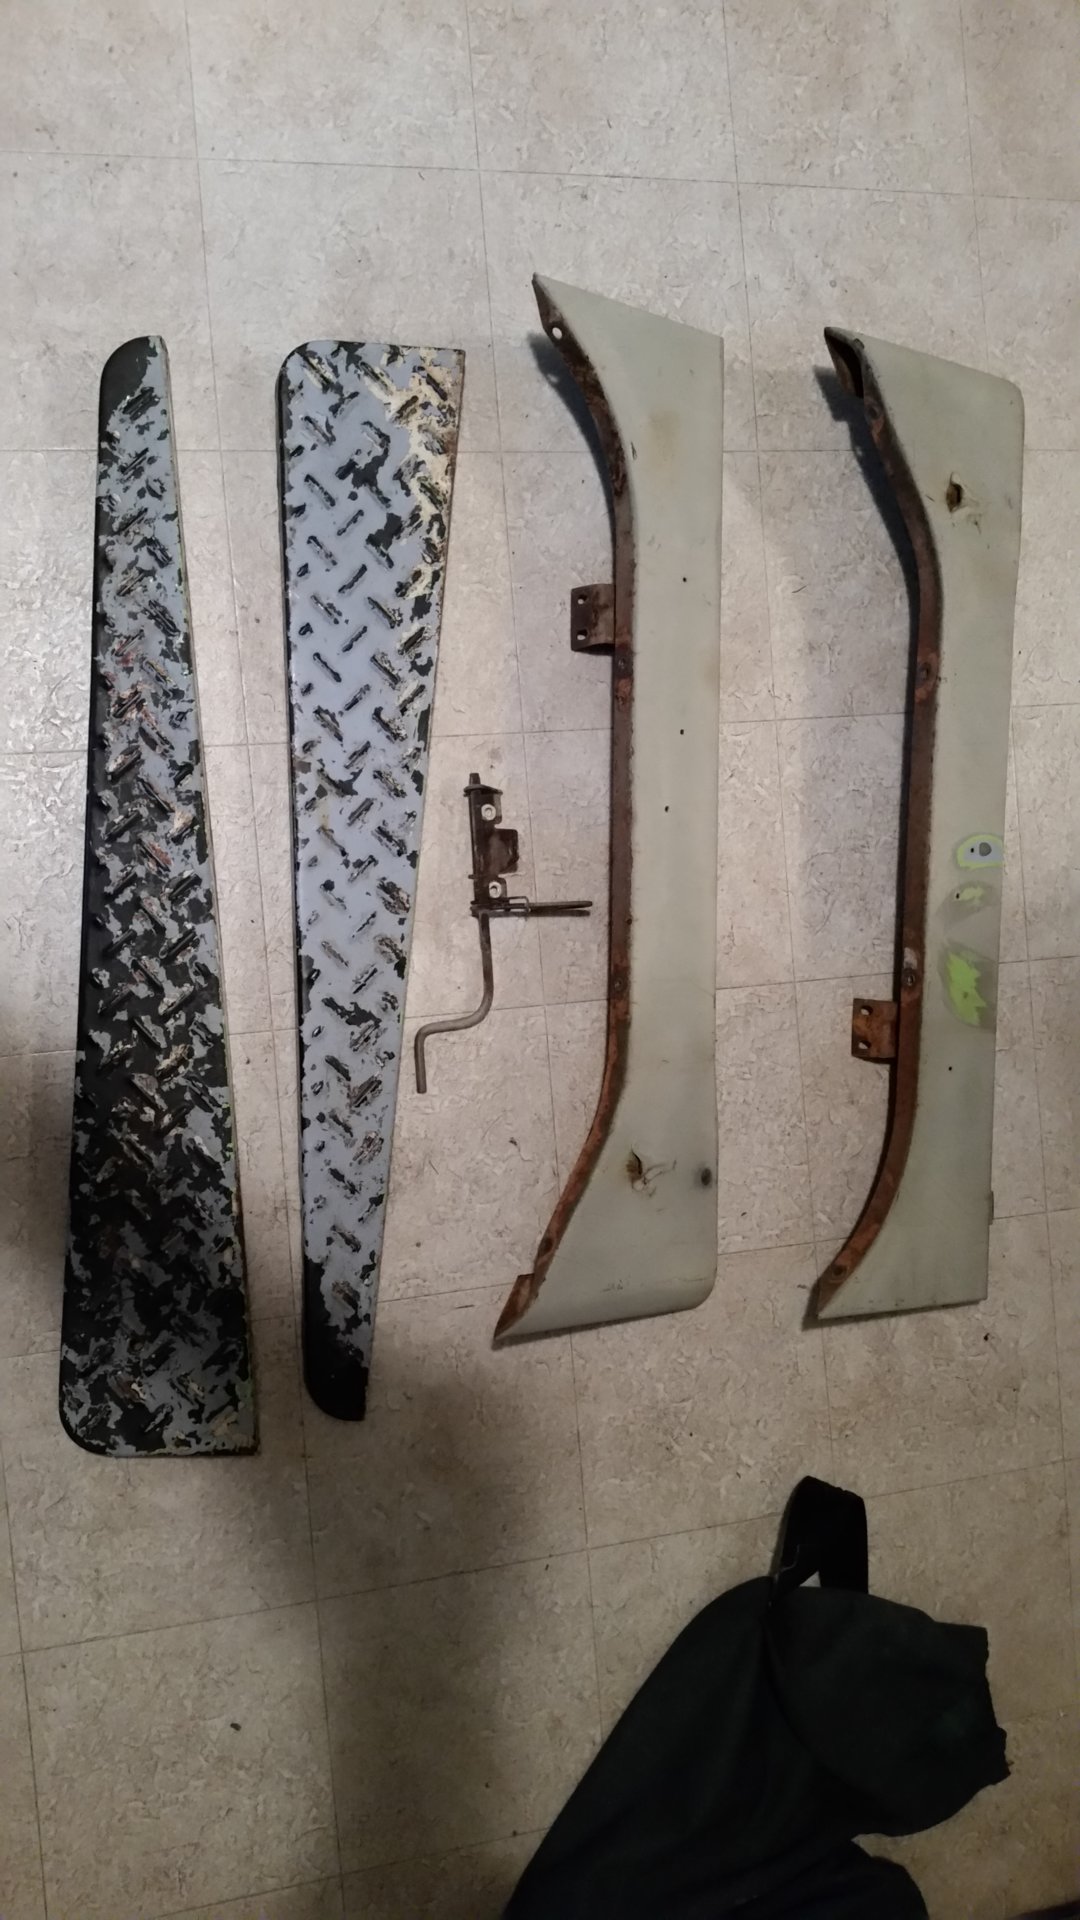
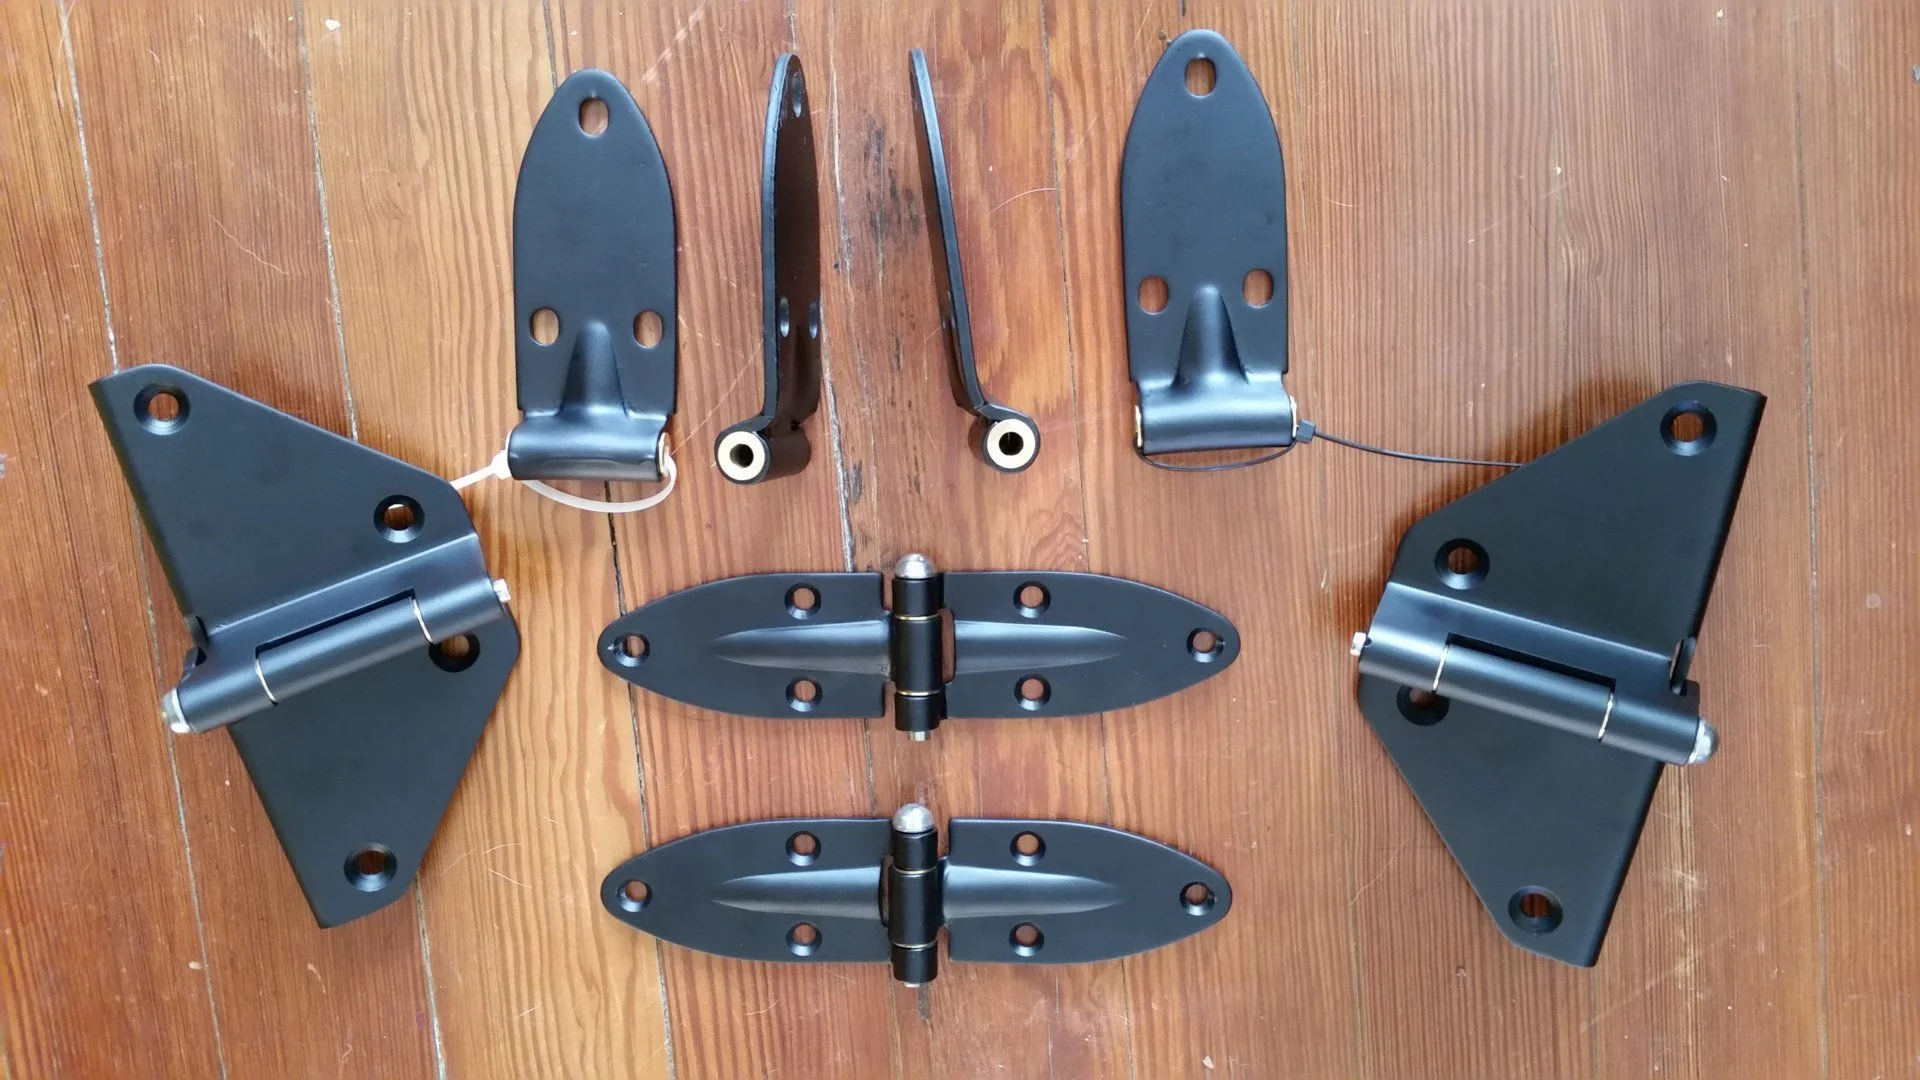
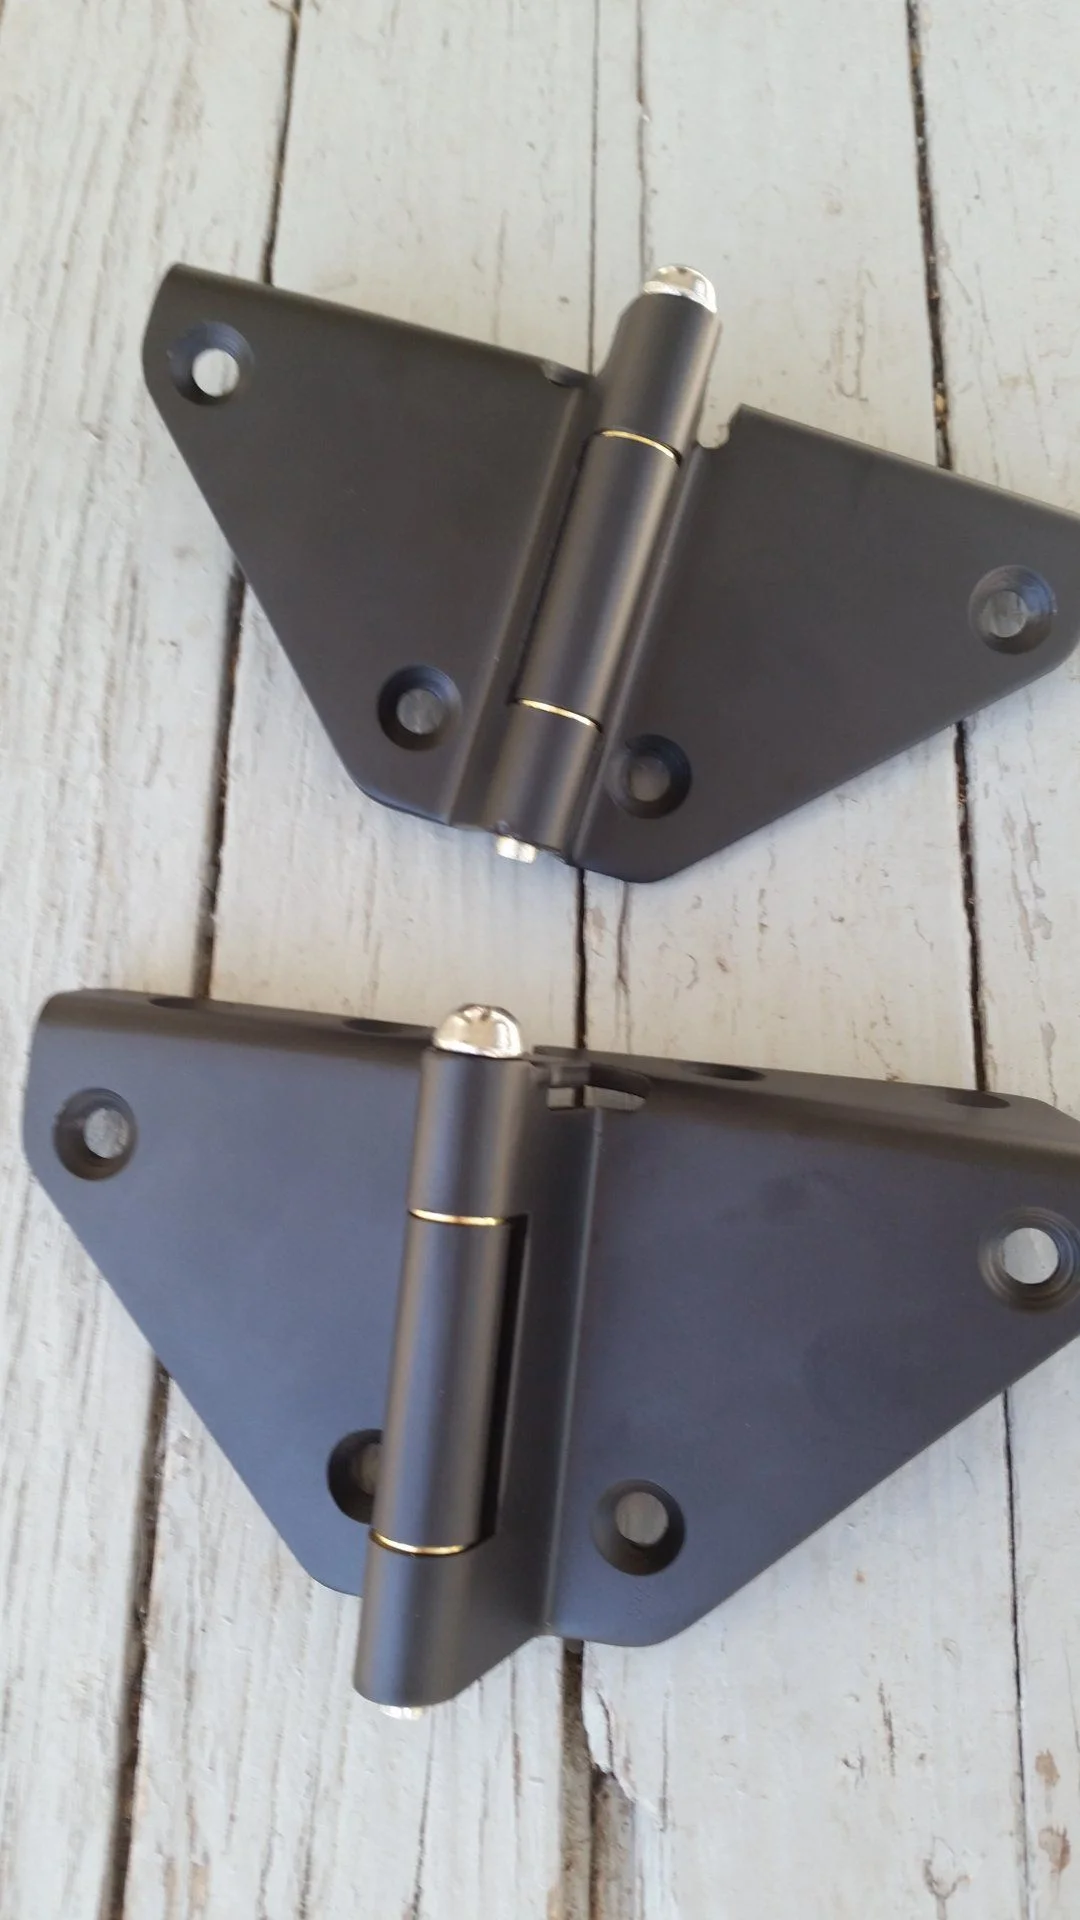
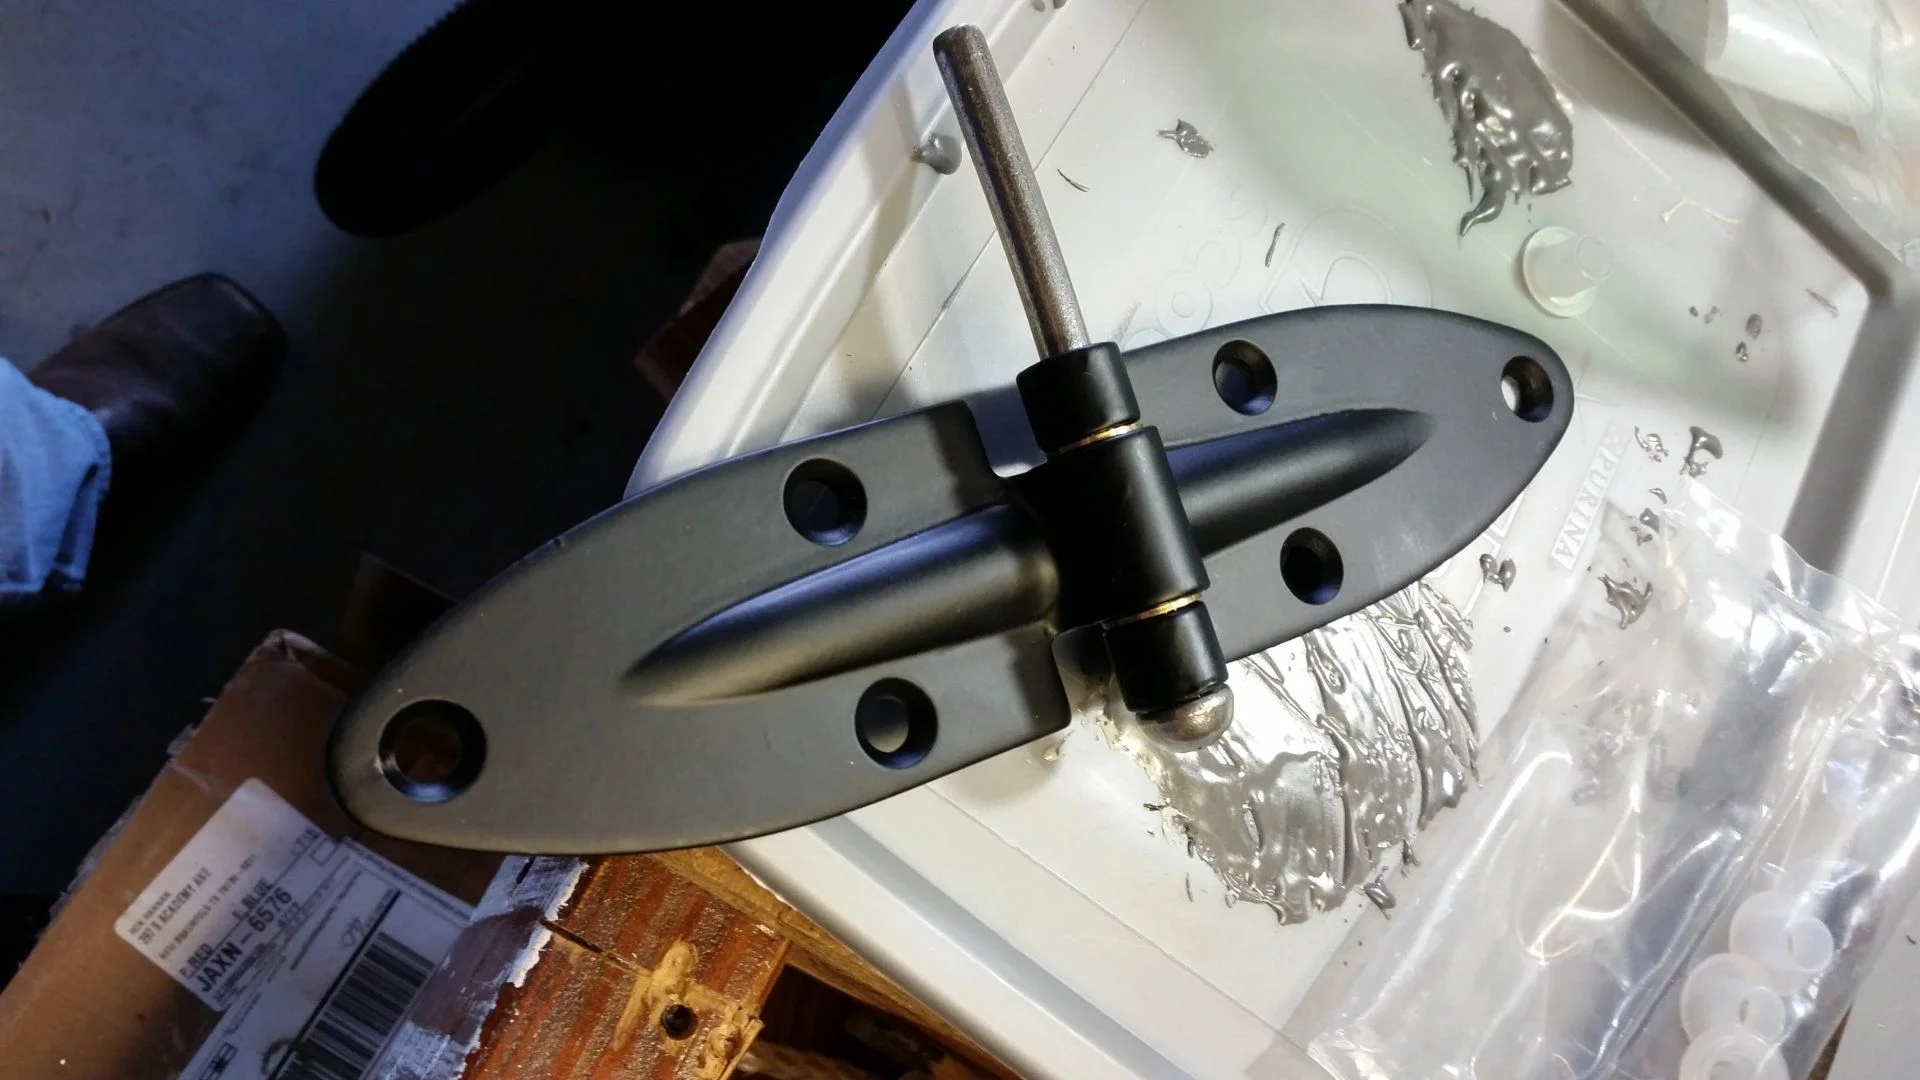
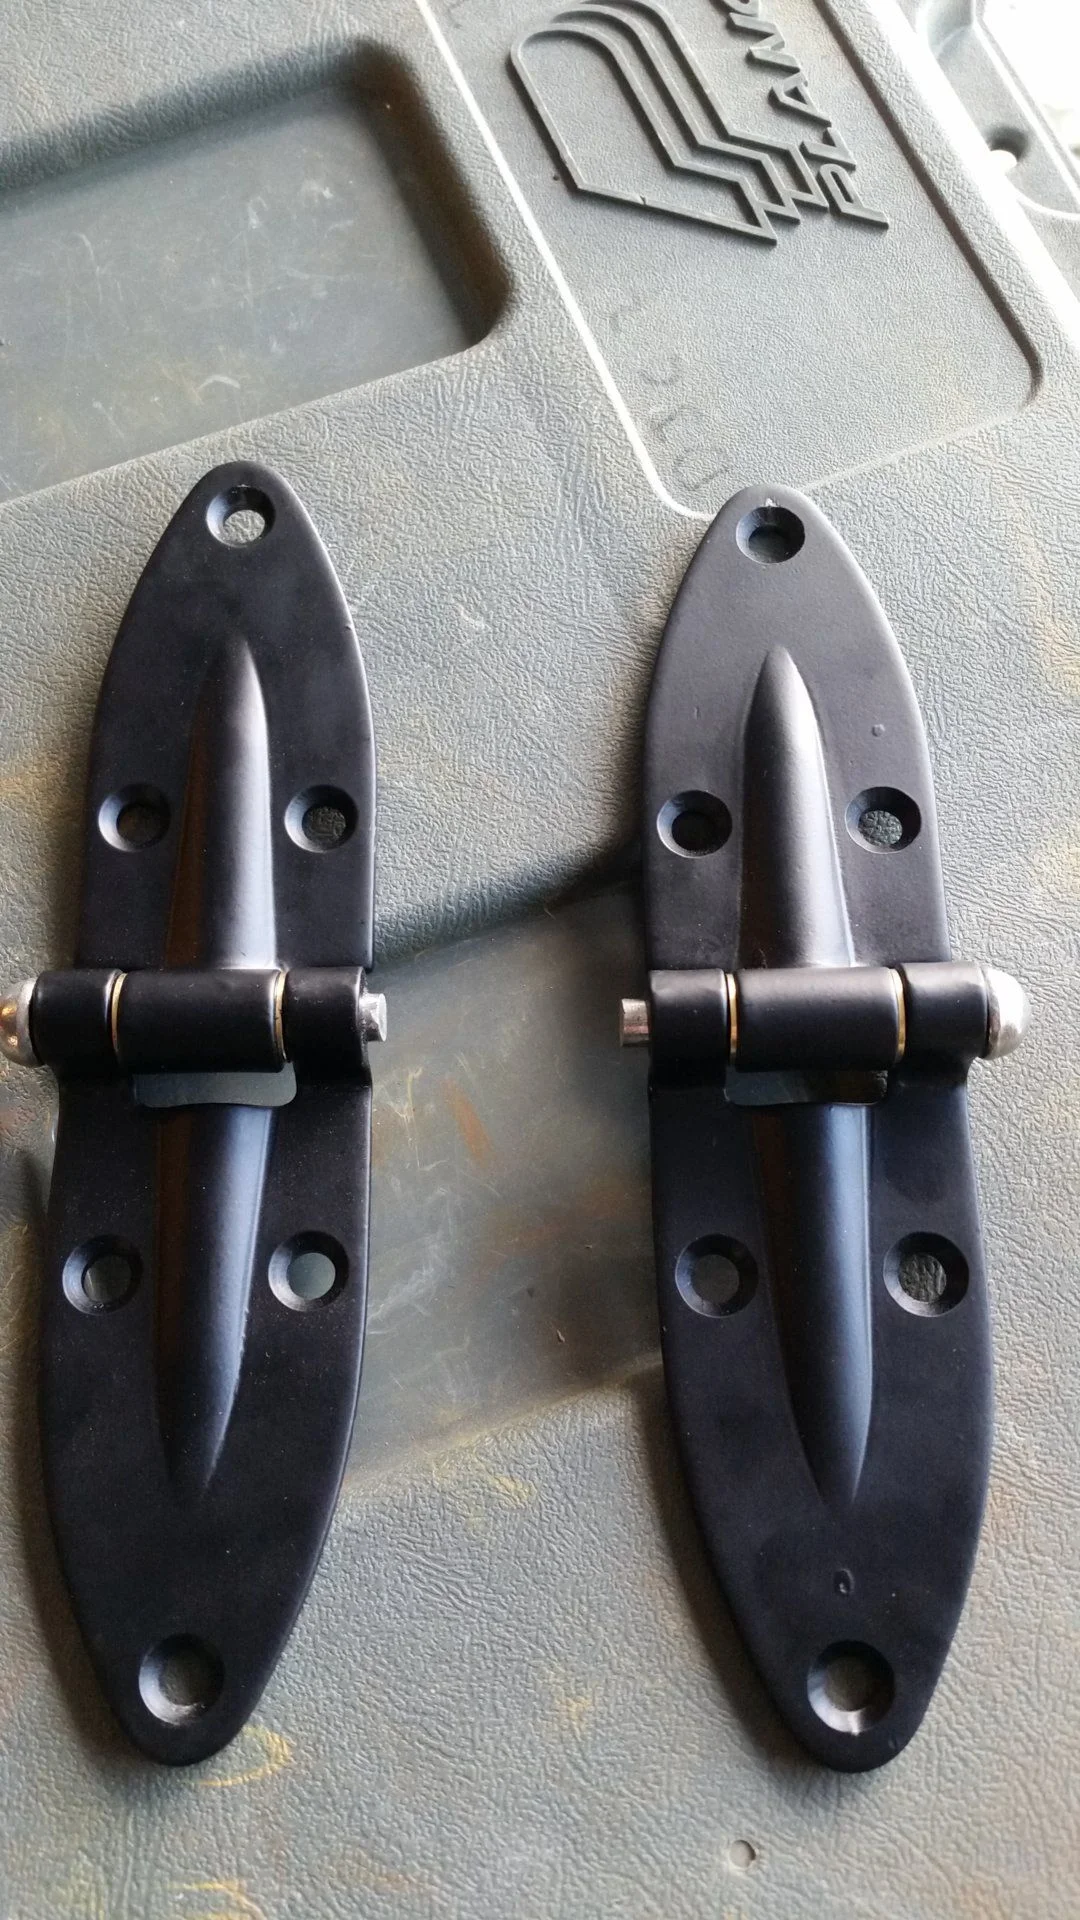
I took all my hinges plus a few other parts to local powder coat shop. Reassembled hinges with brass bushings from cruiserbits@gmail.com and stainless pins from BTB. The bushings stainless door pins from BTB also work well for the hood and ambi door hinges, just cut them down a little. For the ambi door hinges, you also need to grind the pin head down a little to clear the bolts that mount it to the body.
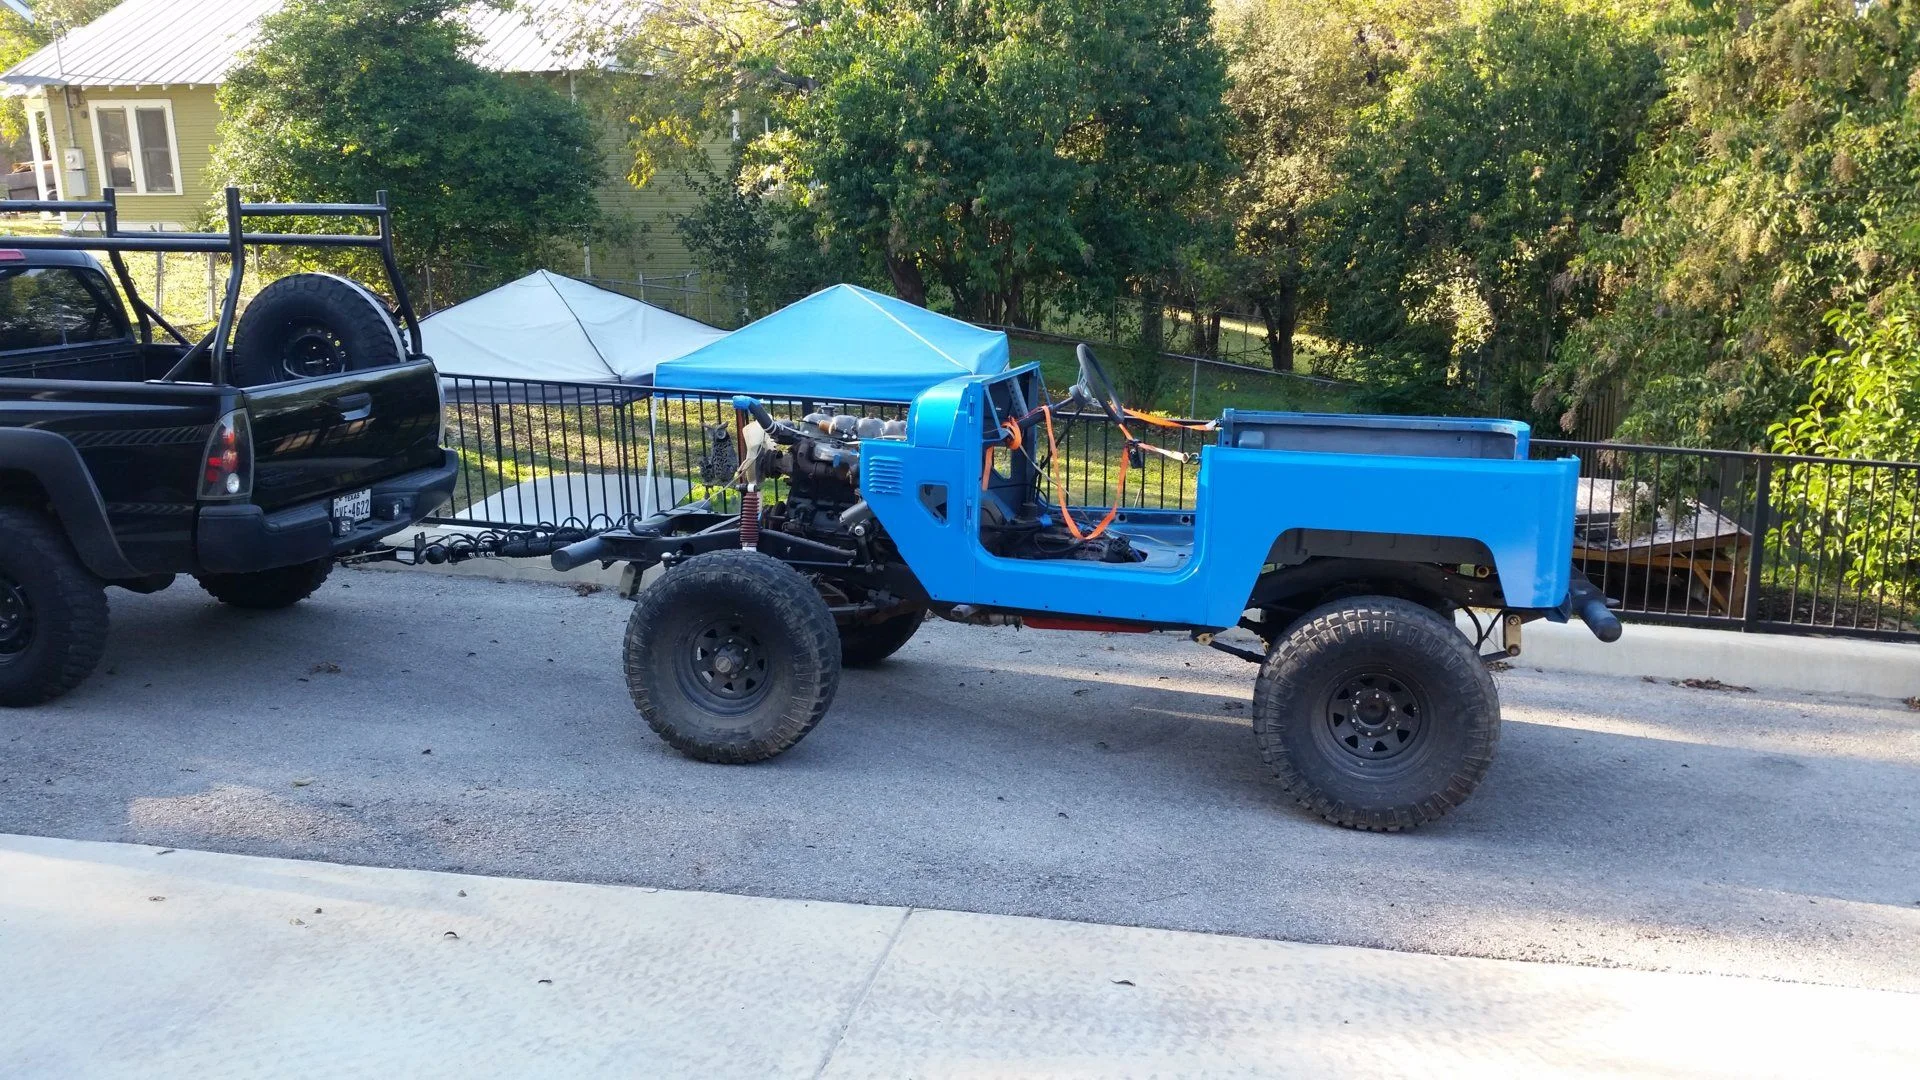
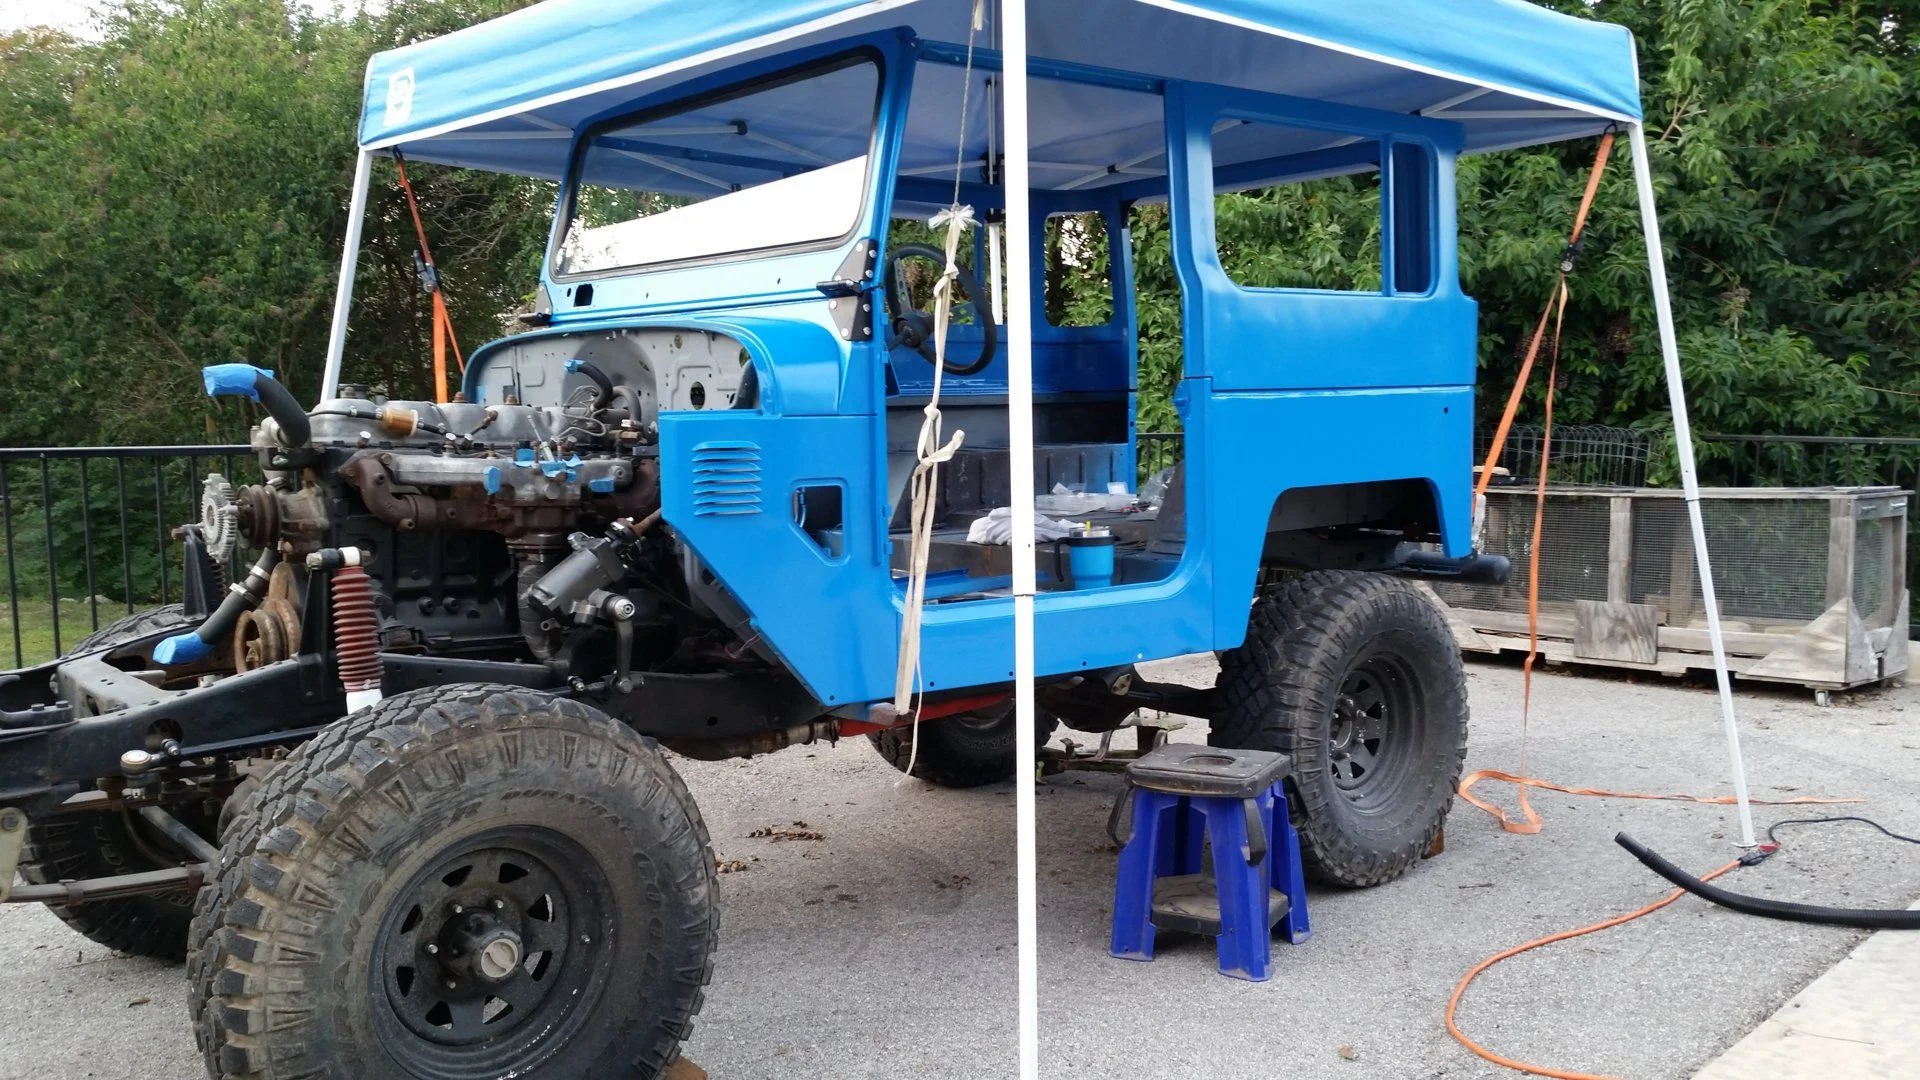
Starting reassembly.. this was around Nov-Dec 2017
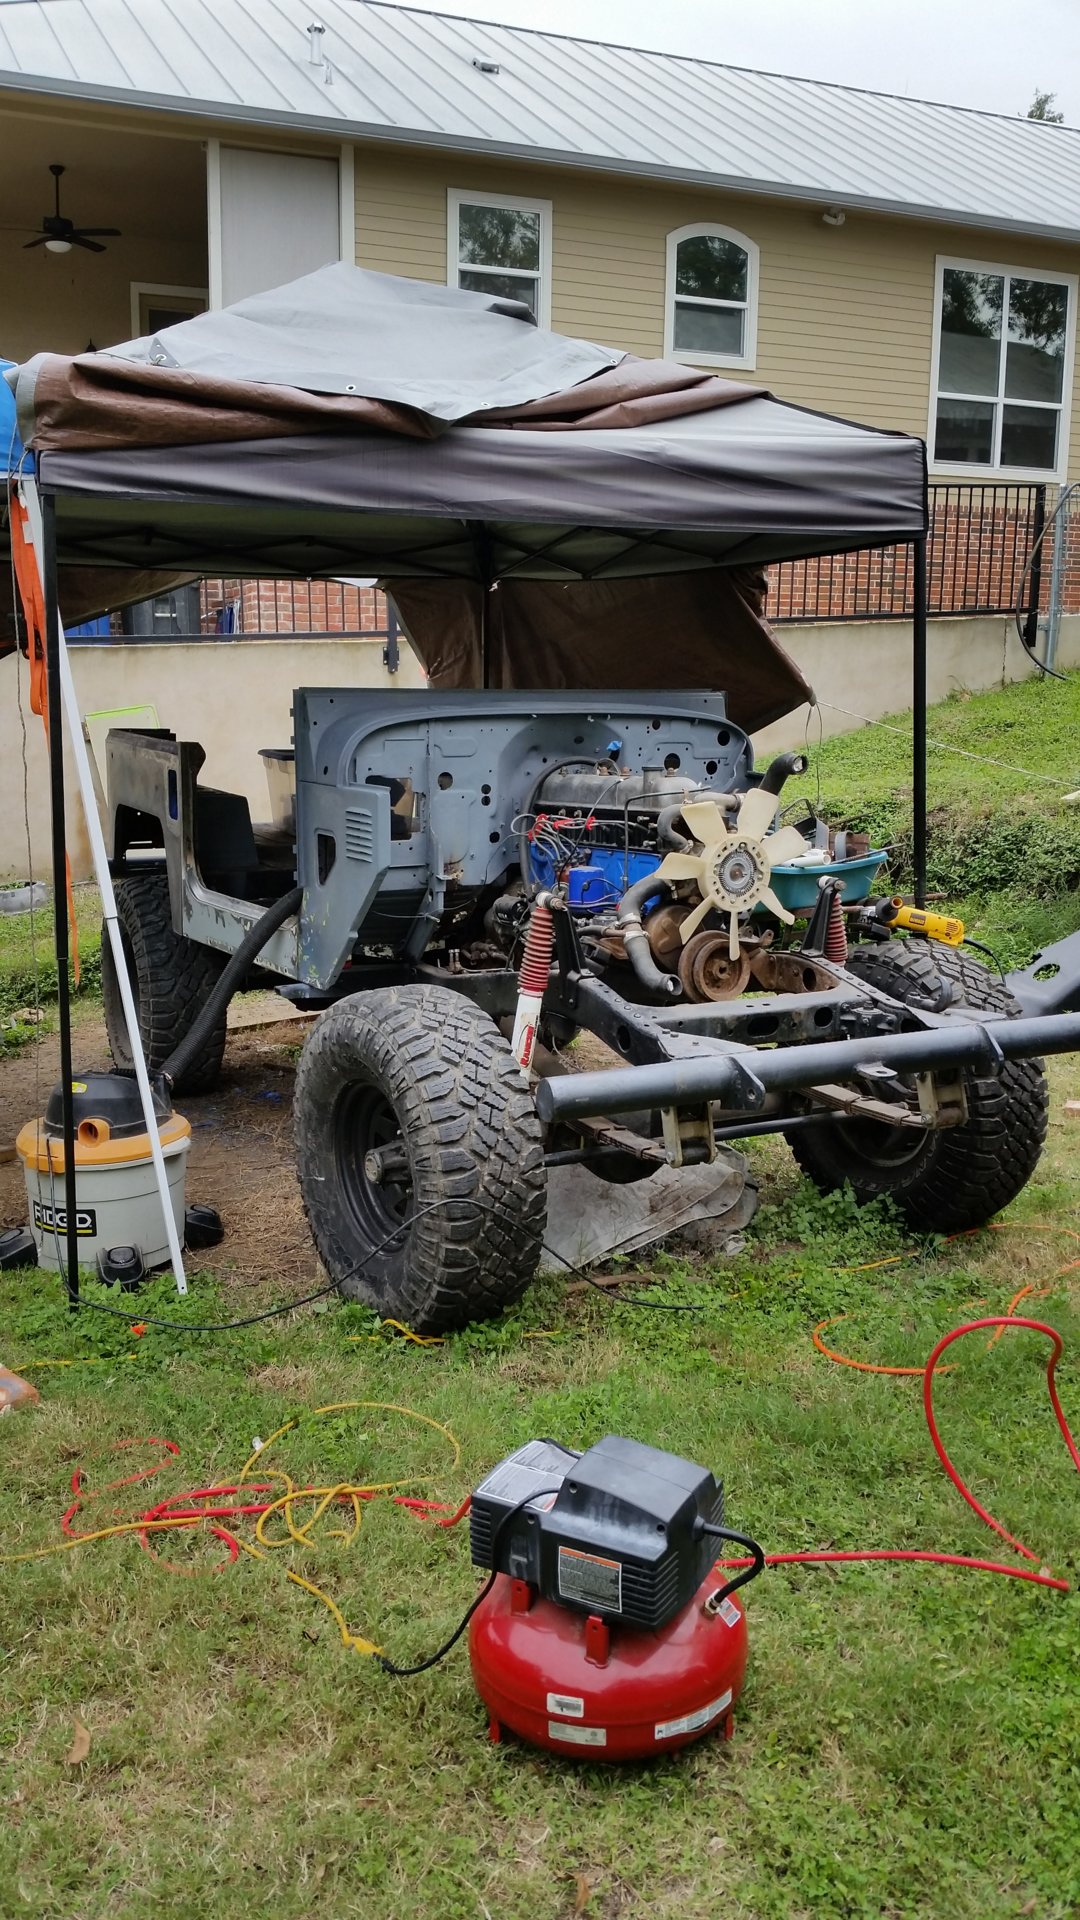
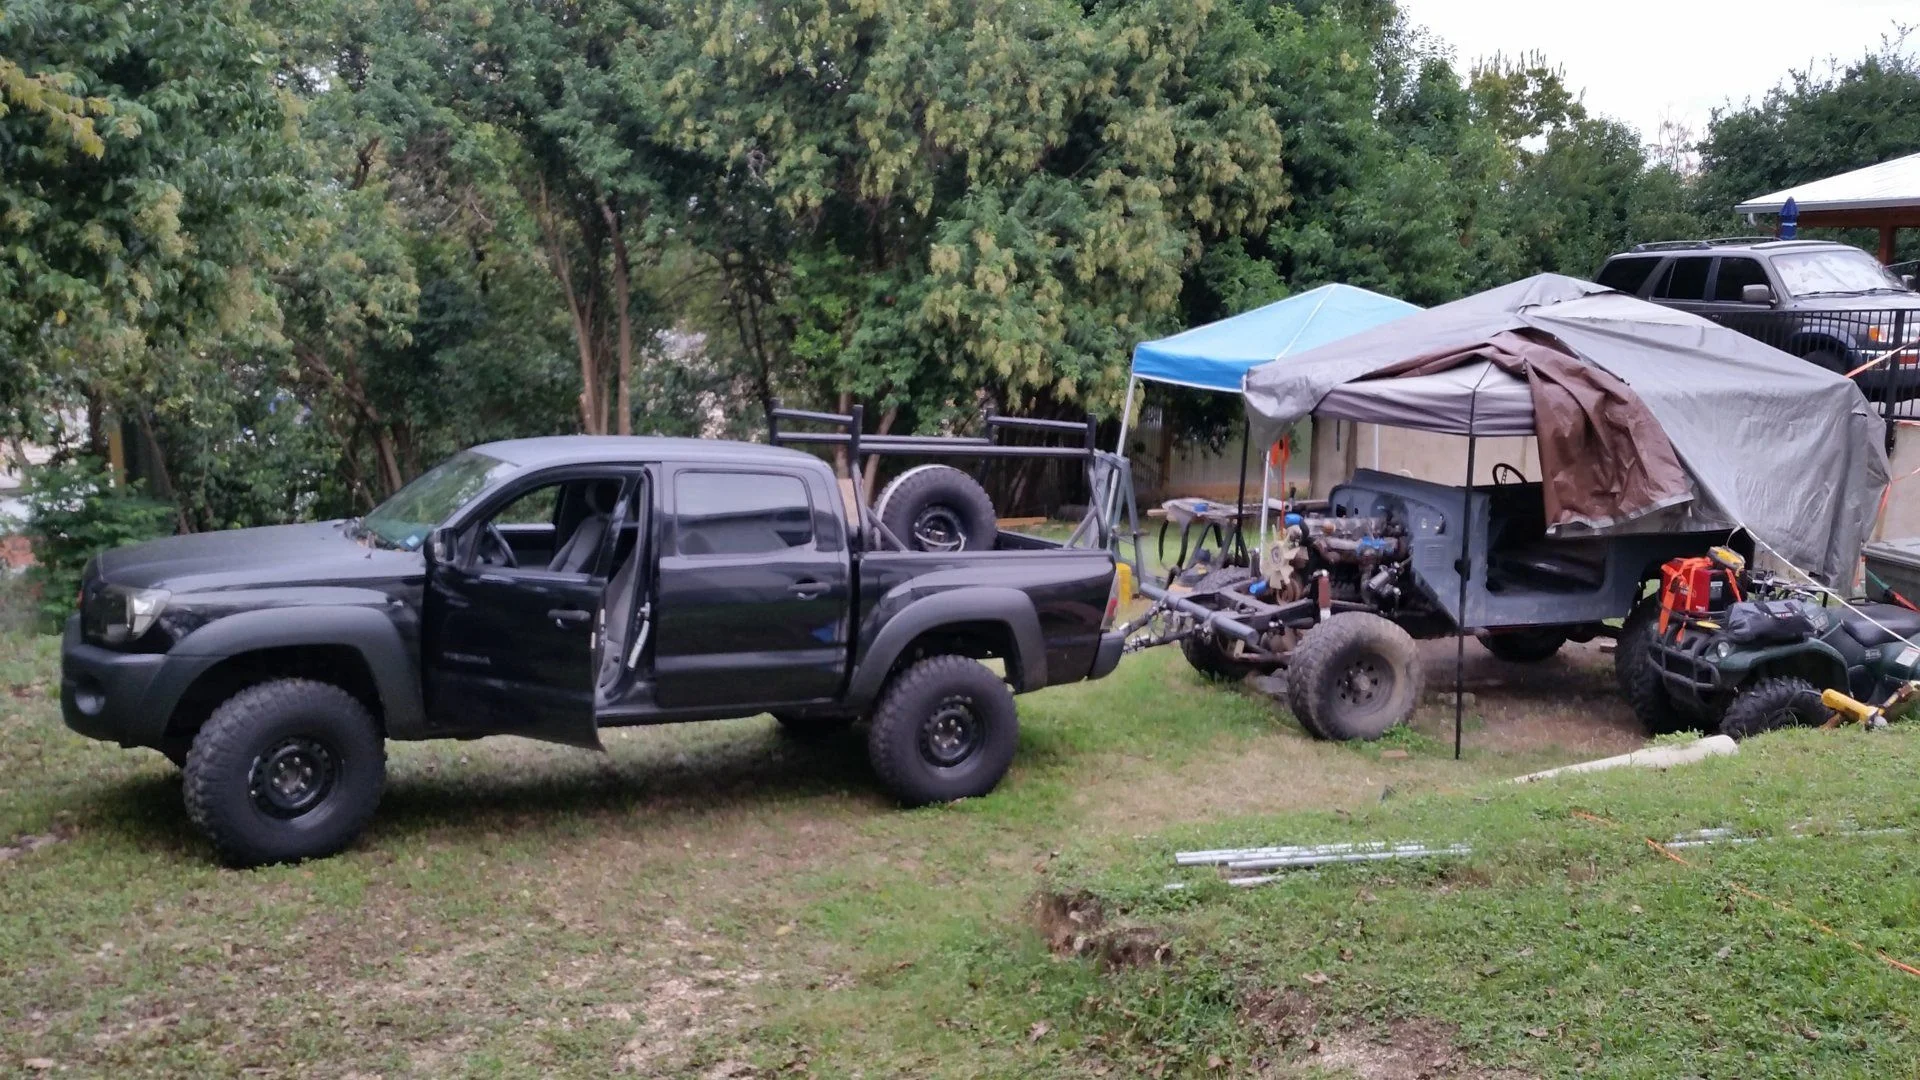
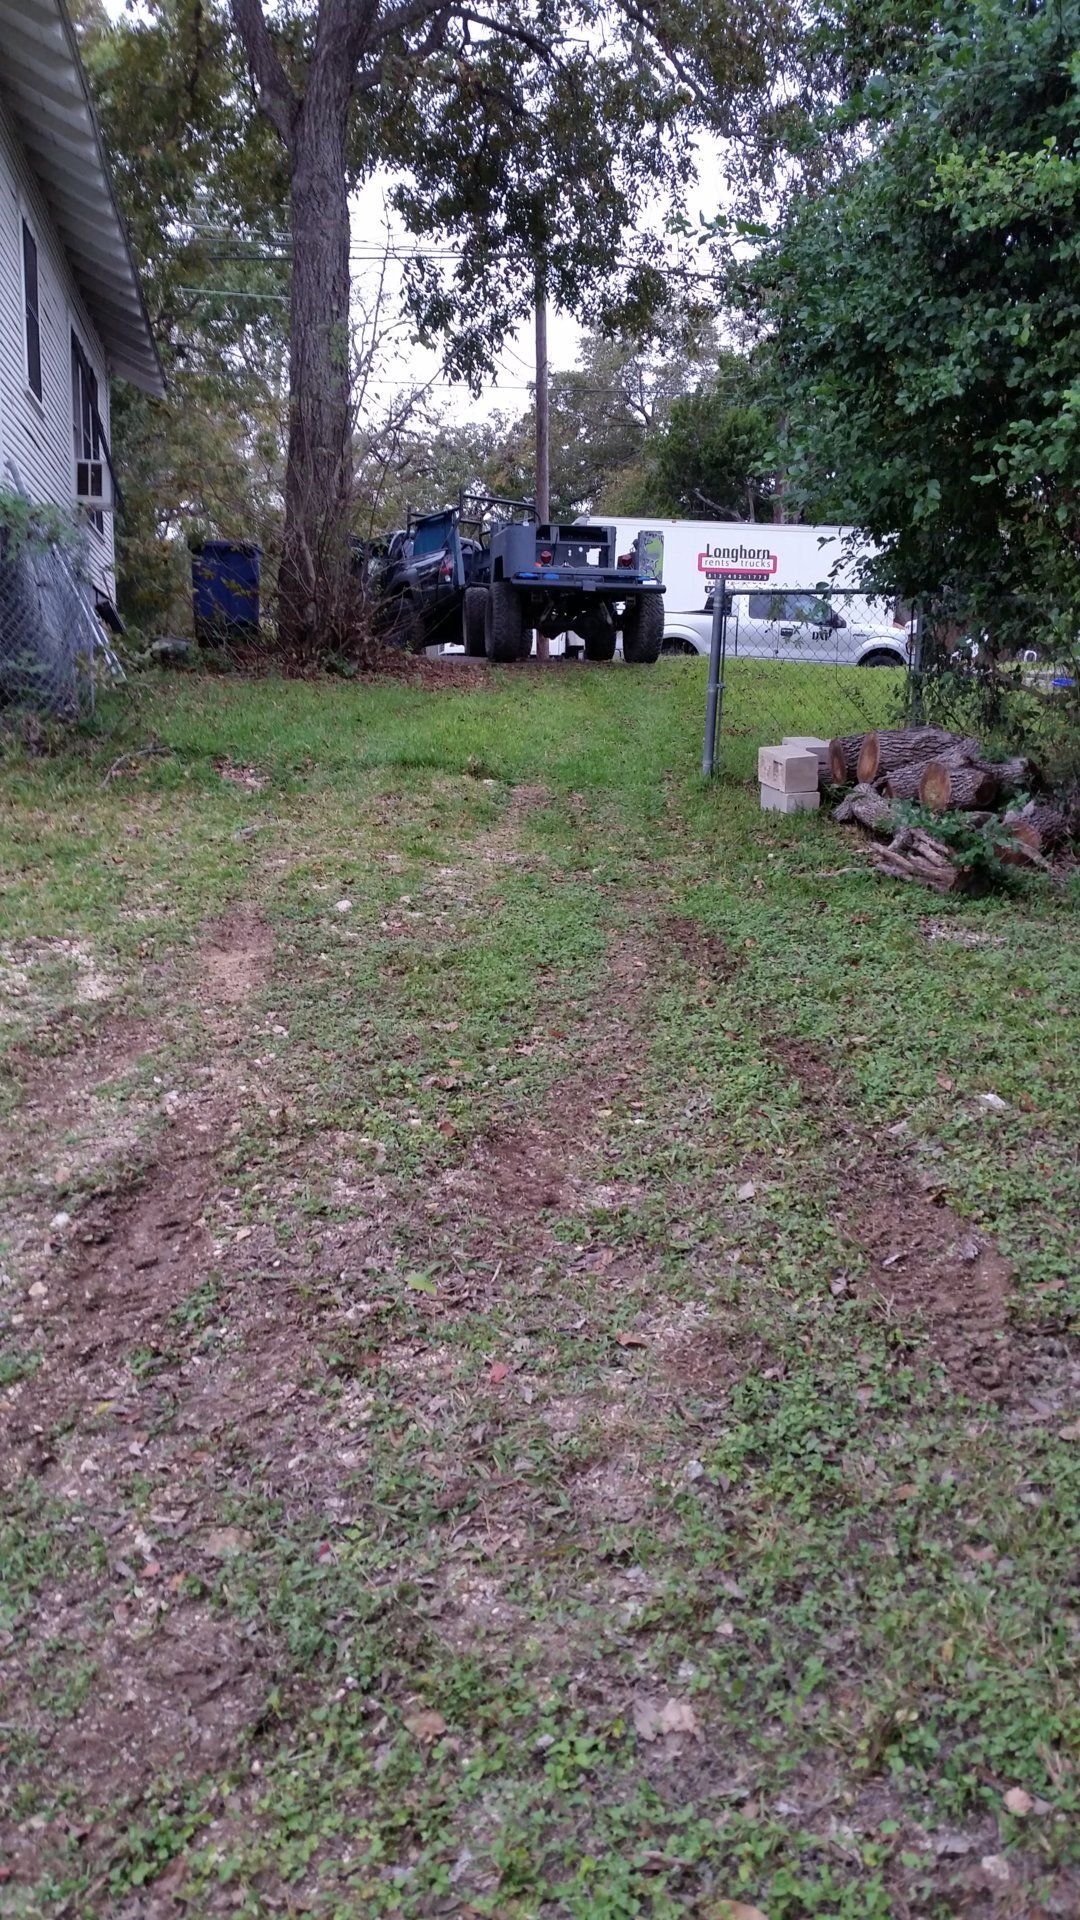
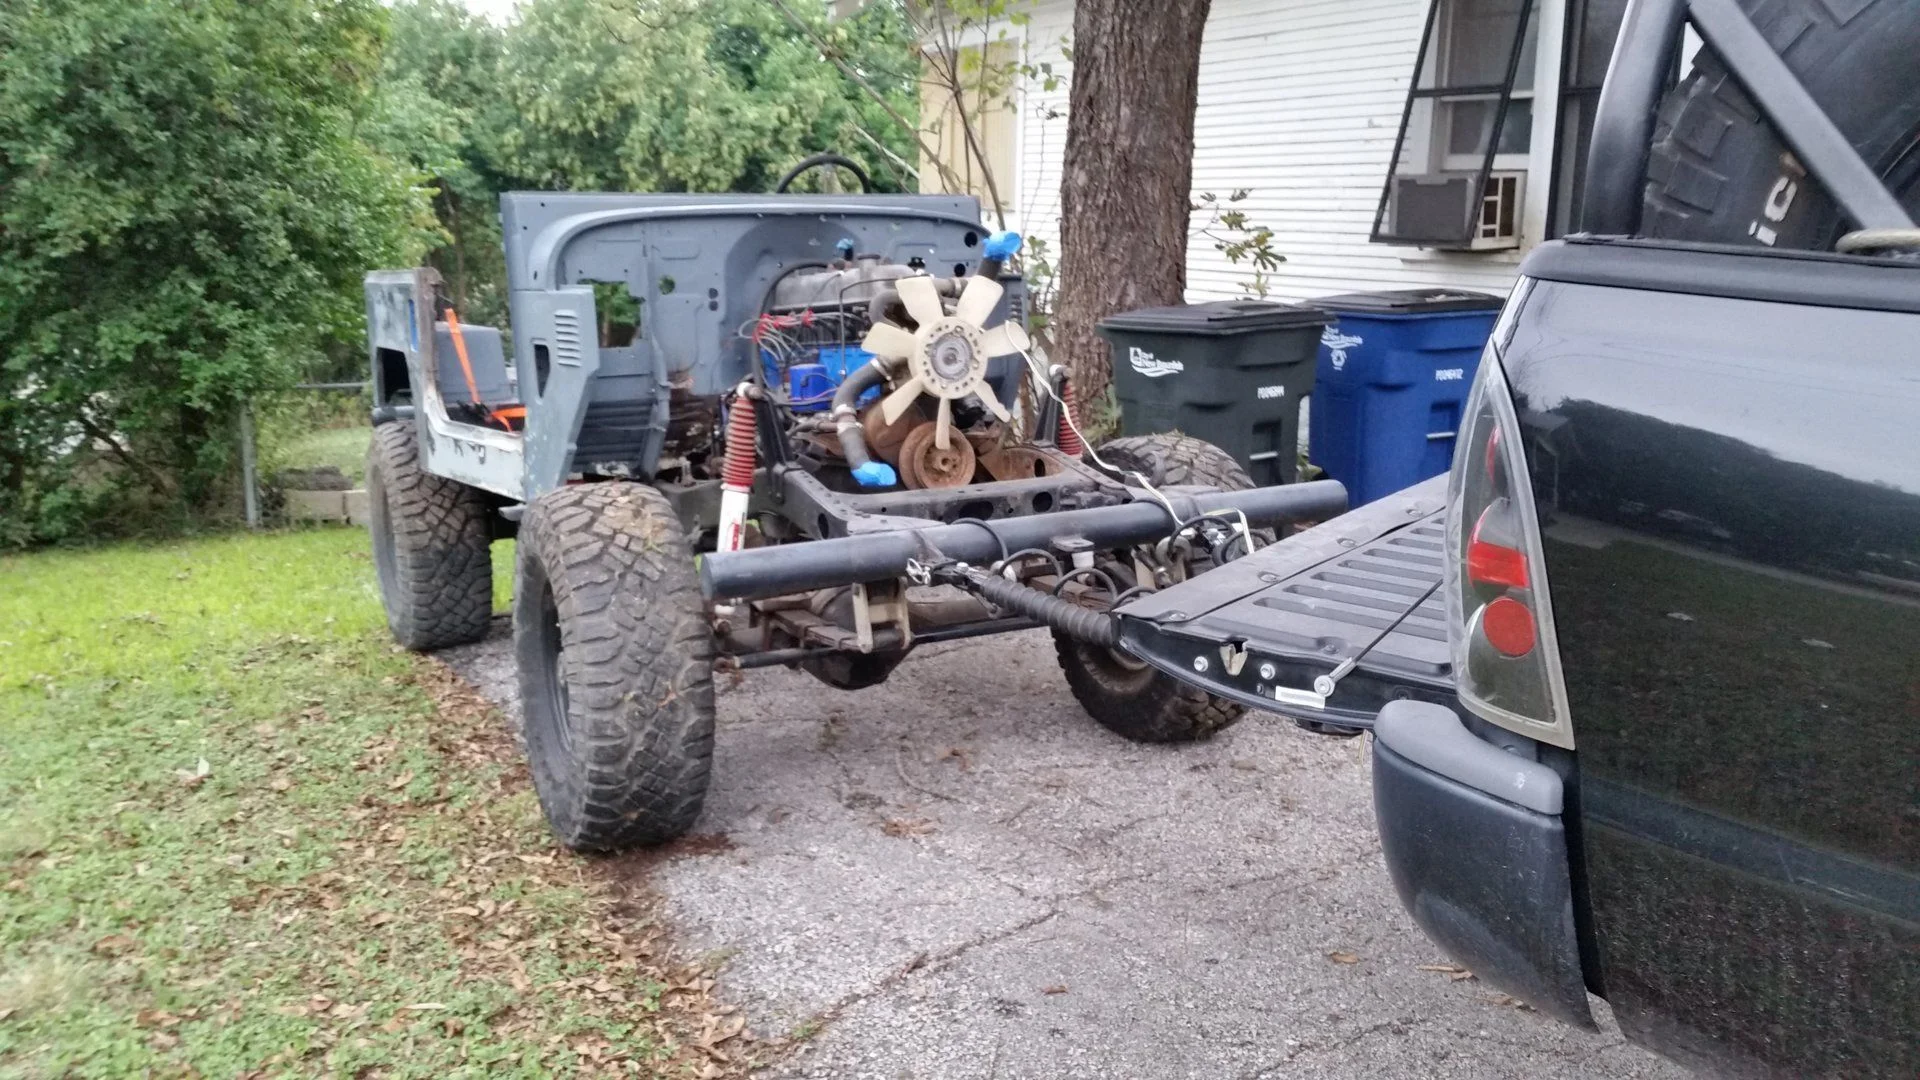
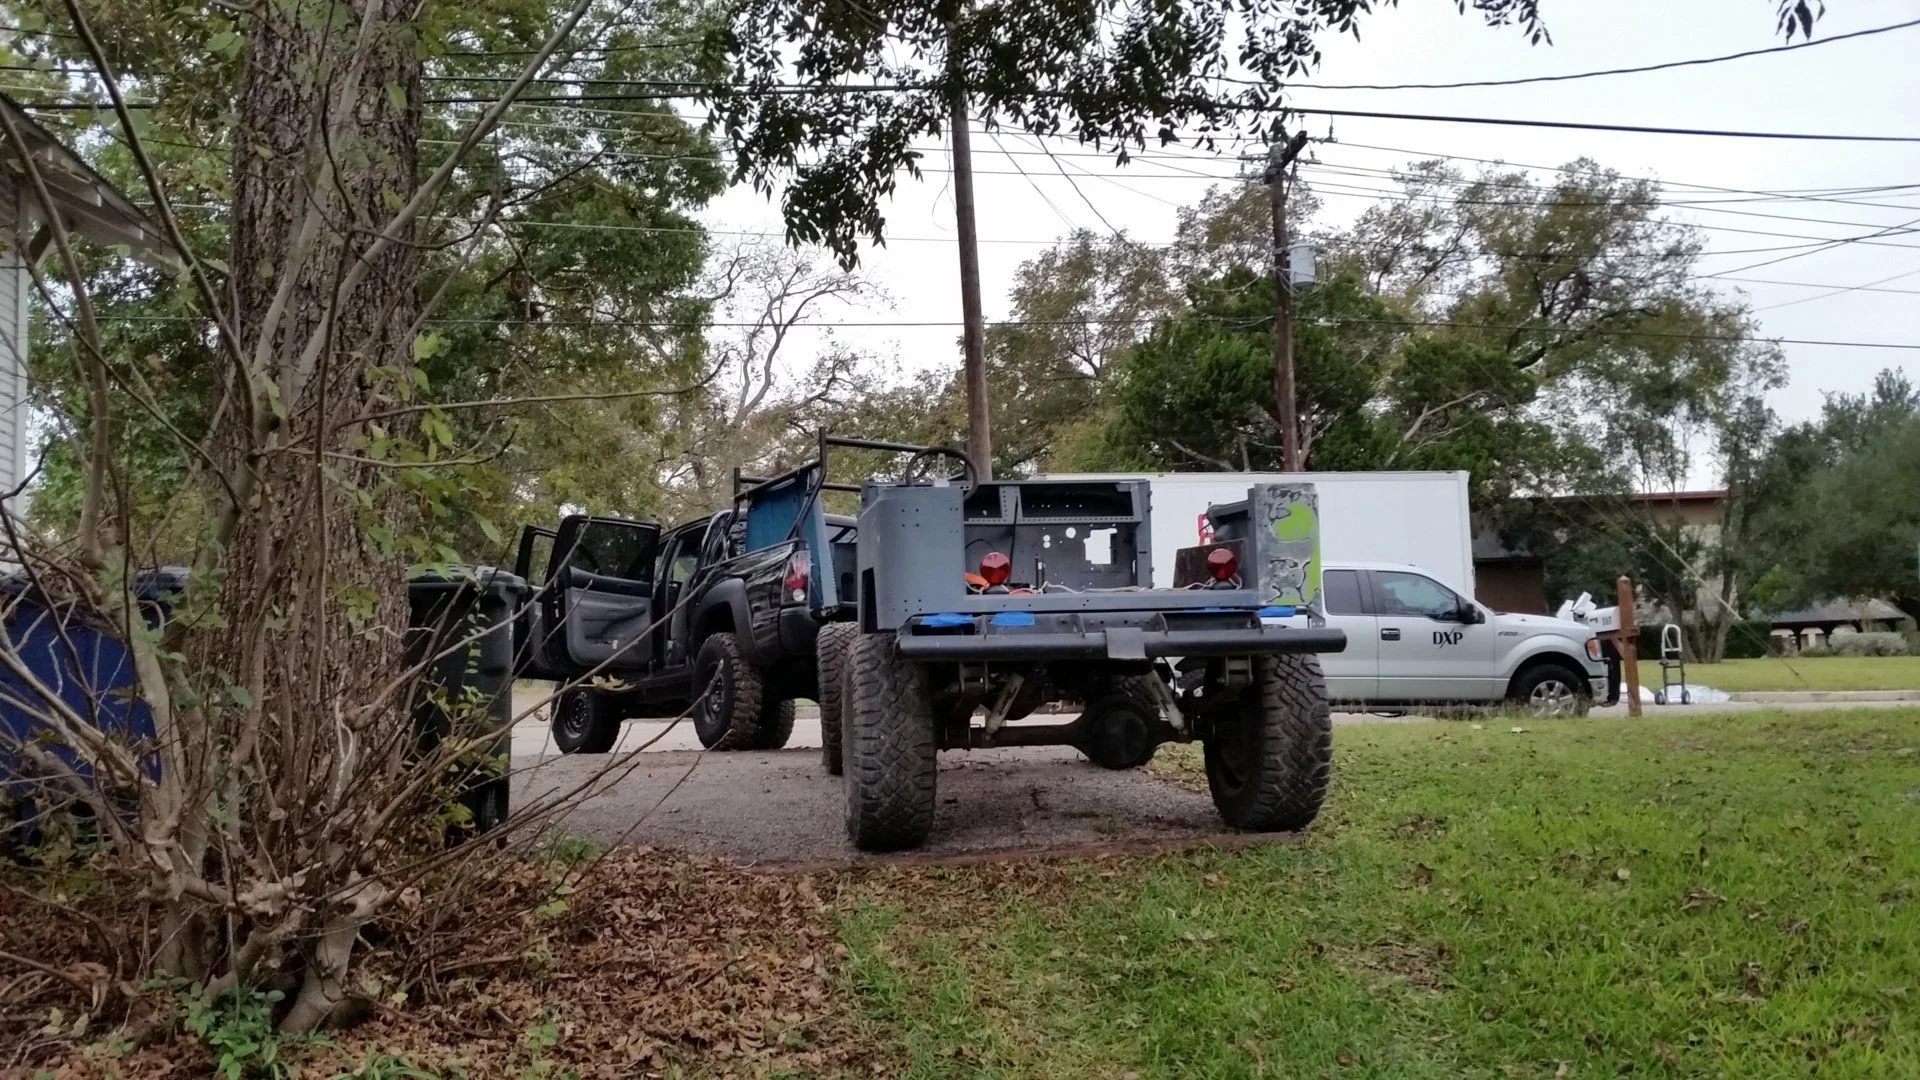
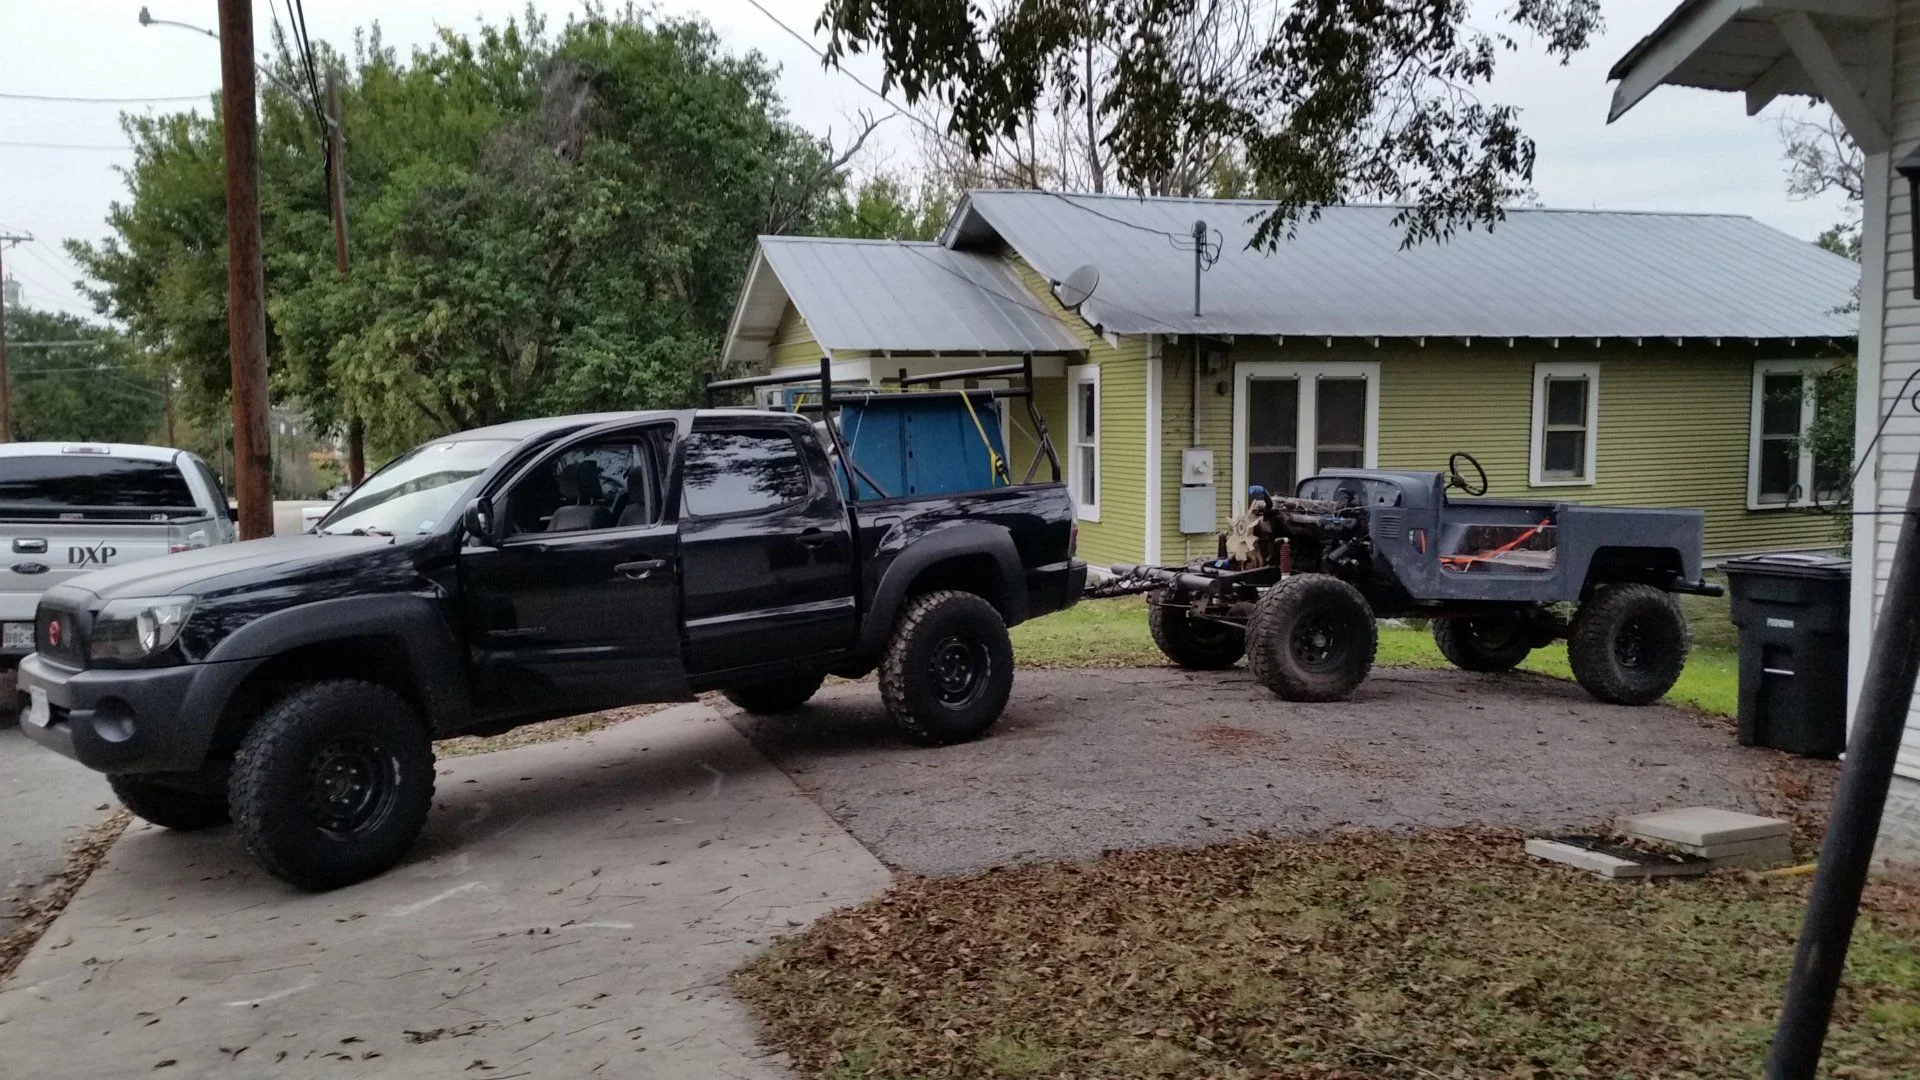
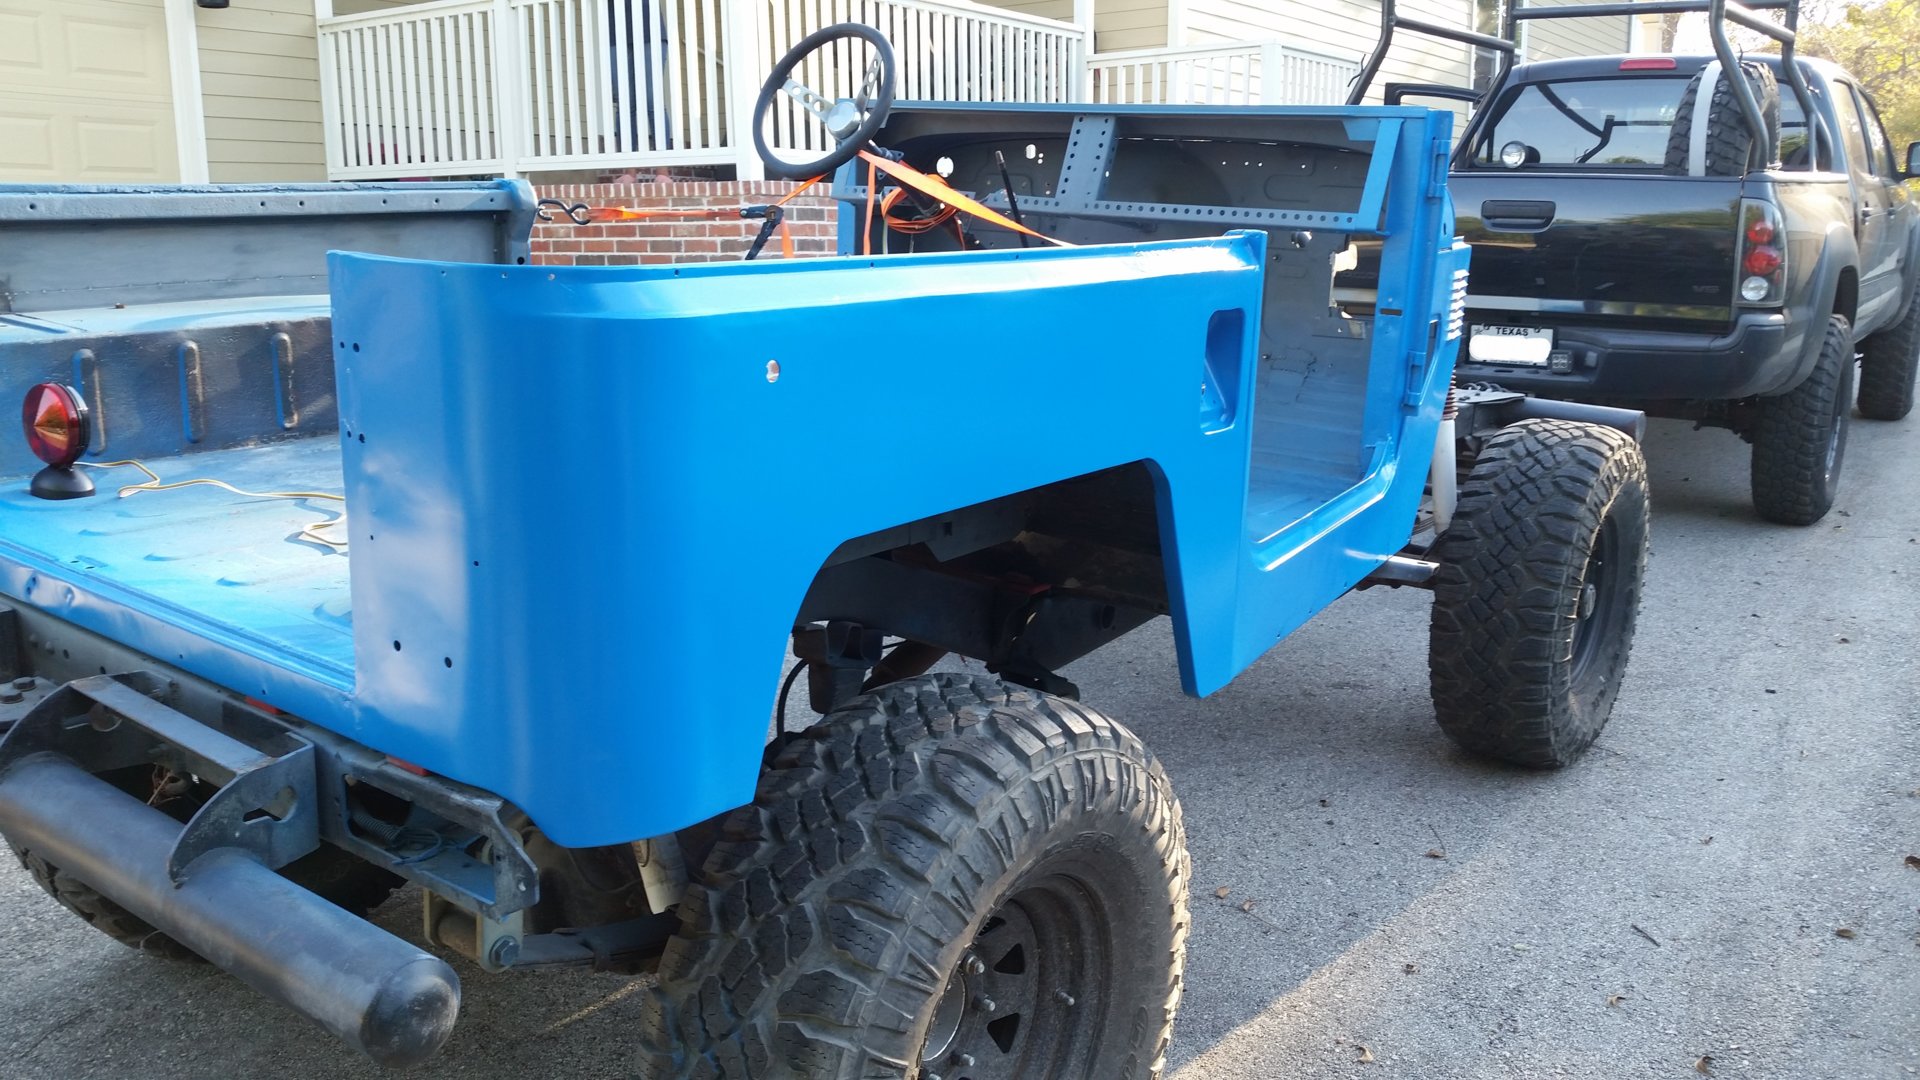
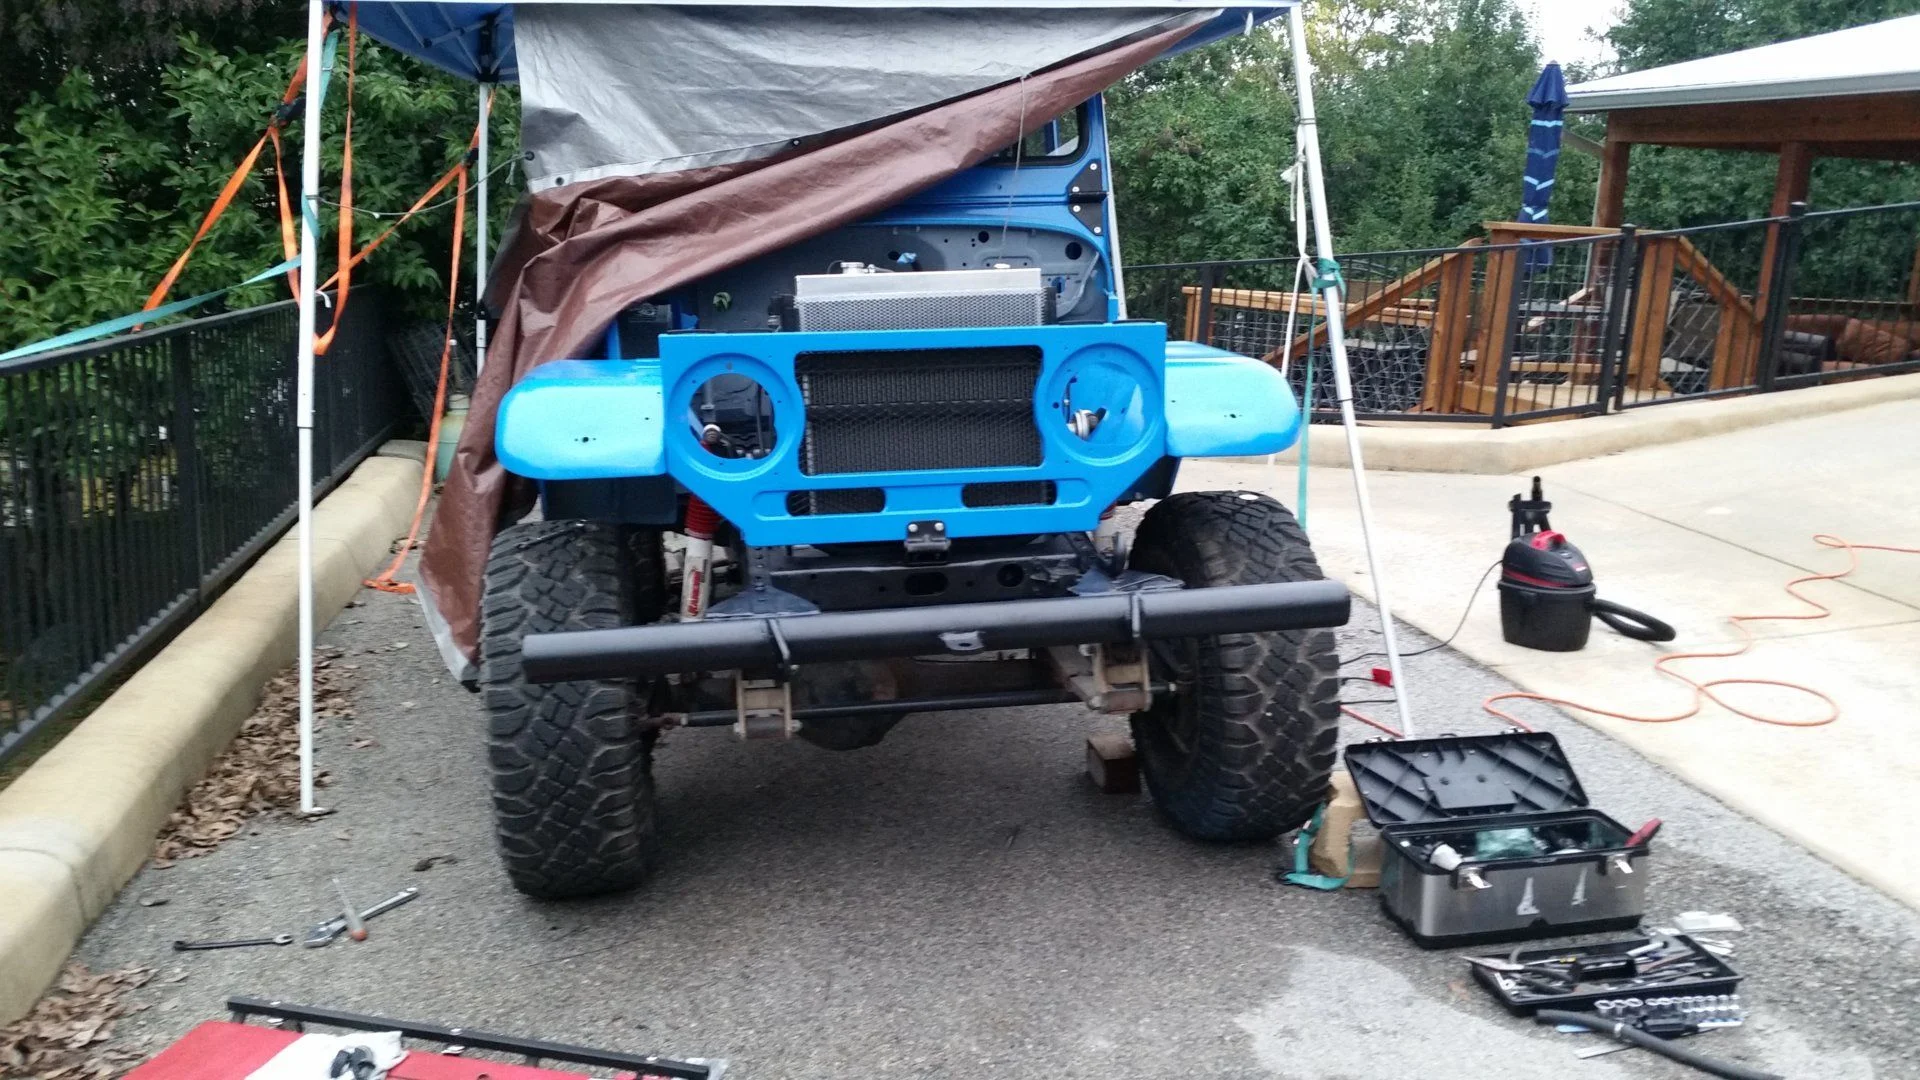
My shop had not been built yet, so still doing all the work outside, but in the driveway instead of the backyard.
In the background is the spot where I worked on it up until I got it back from paint shop.
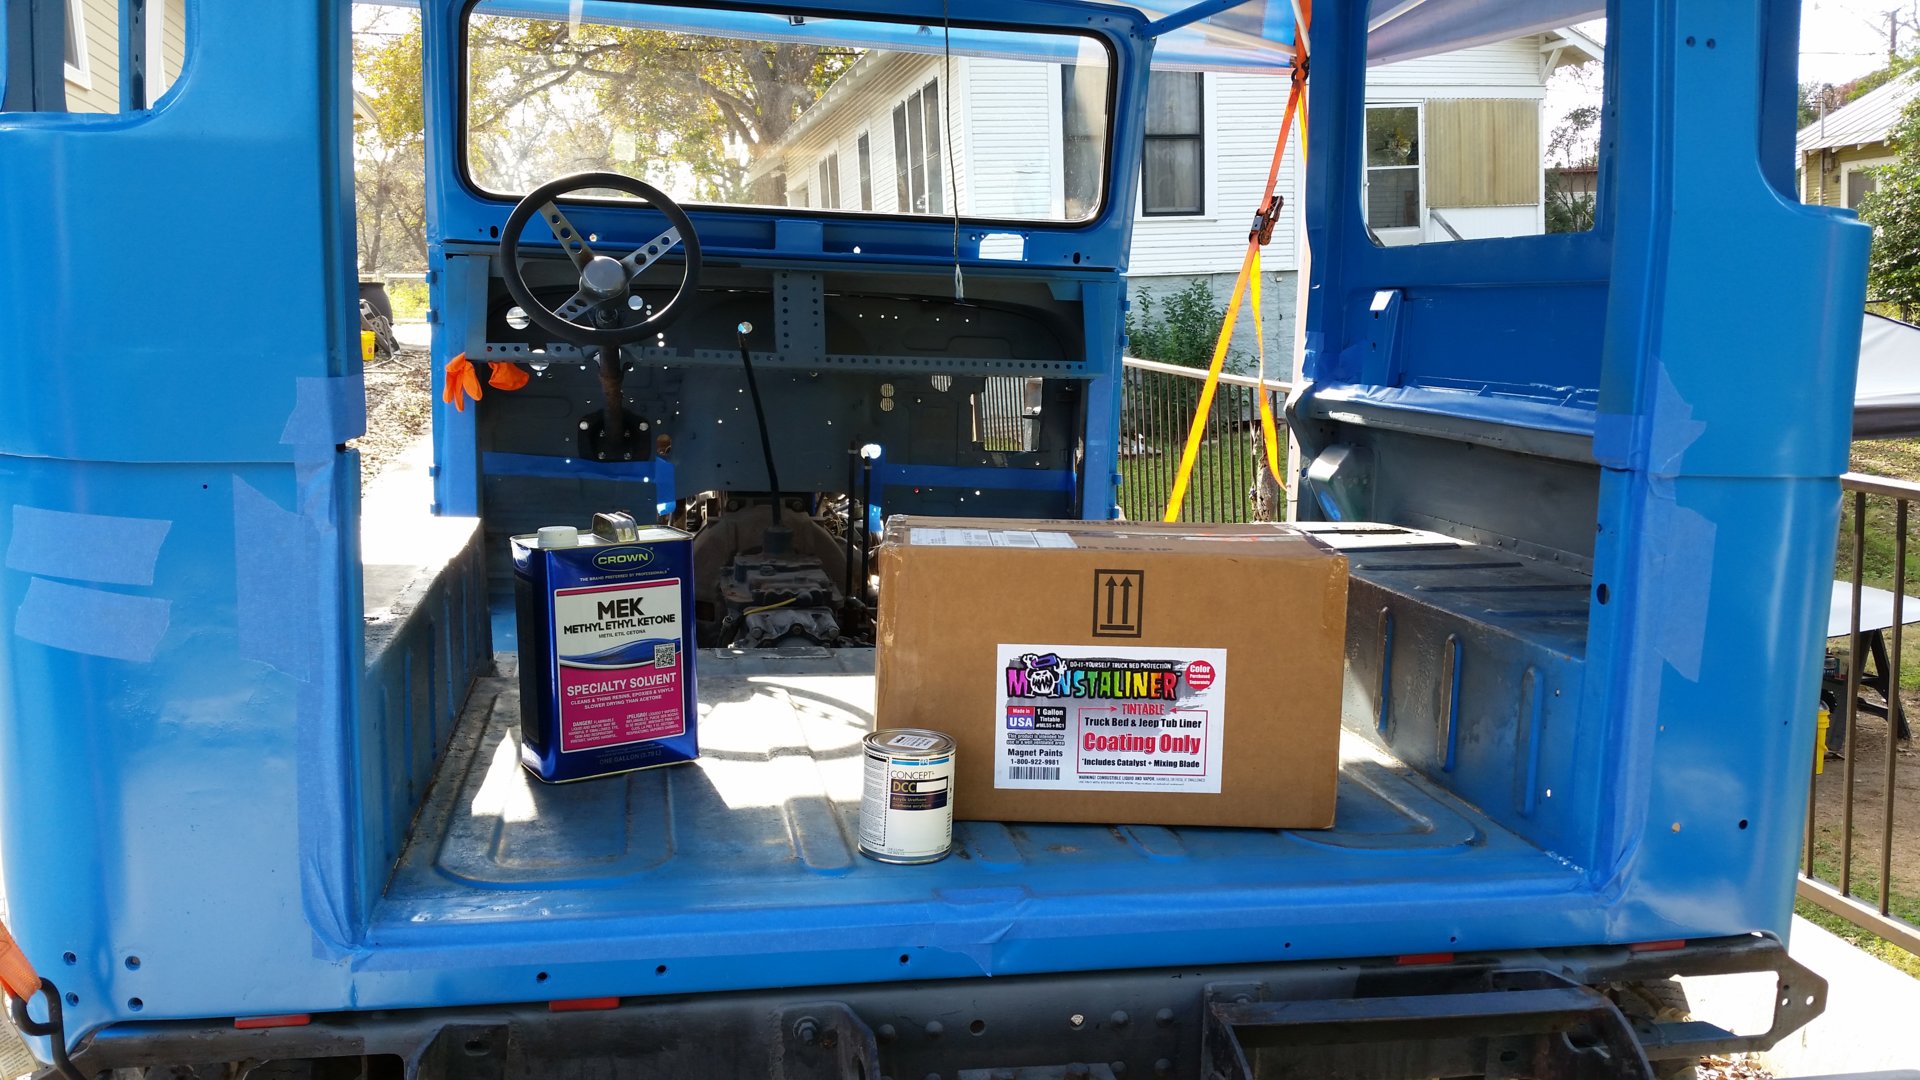
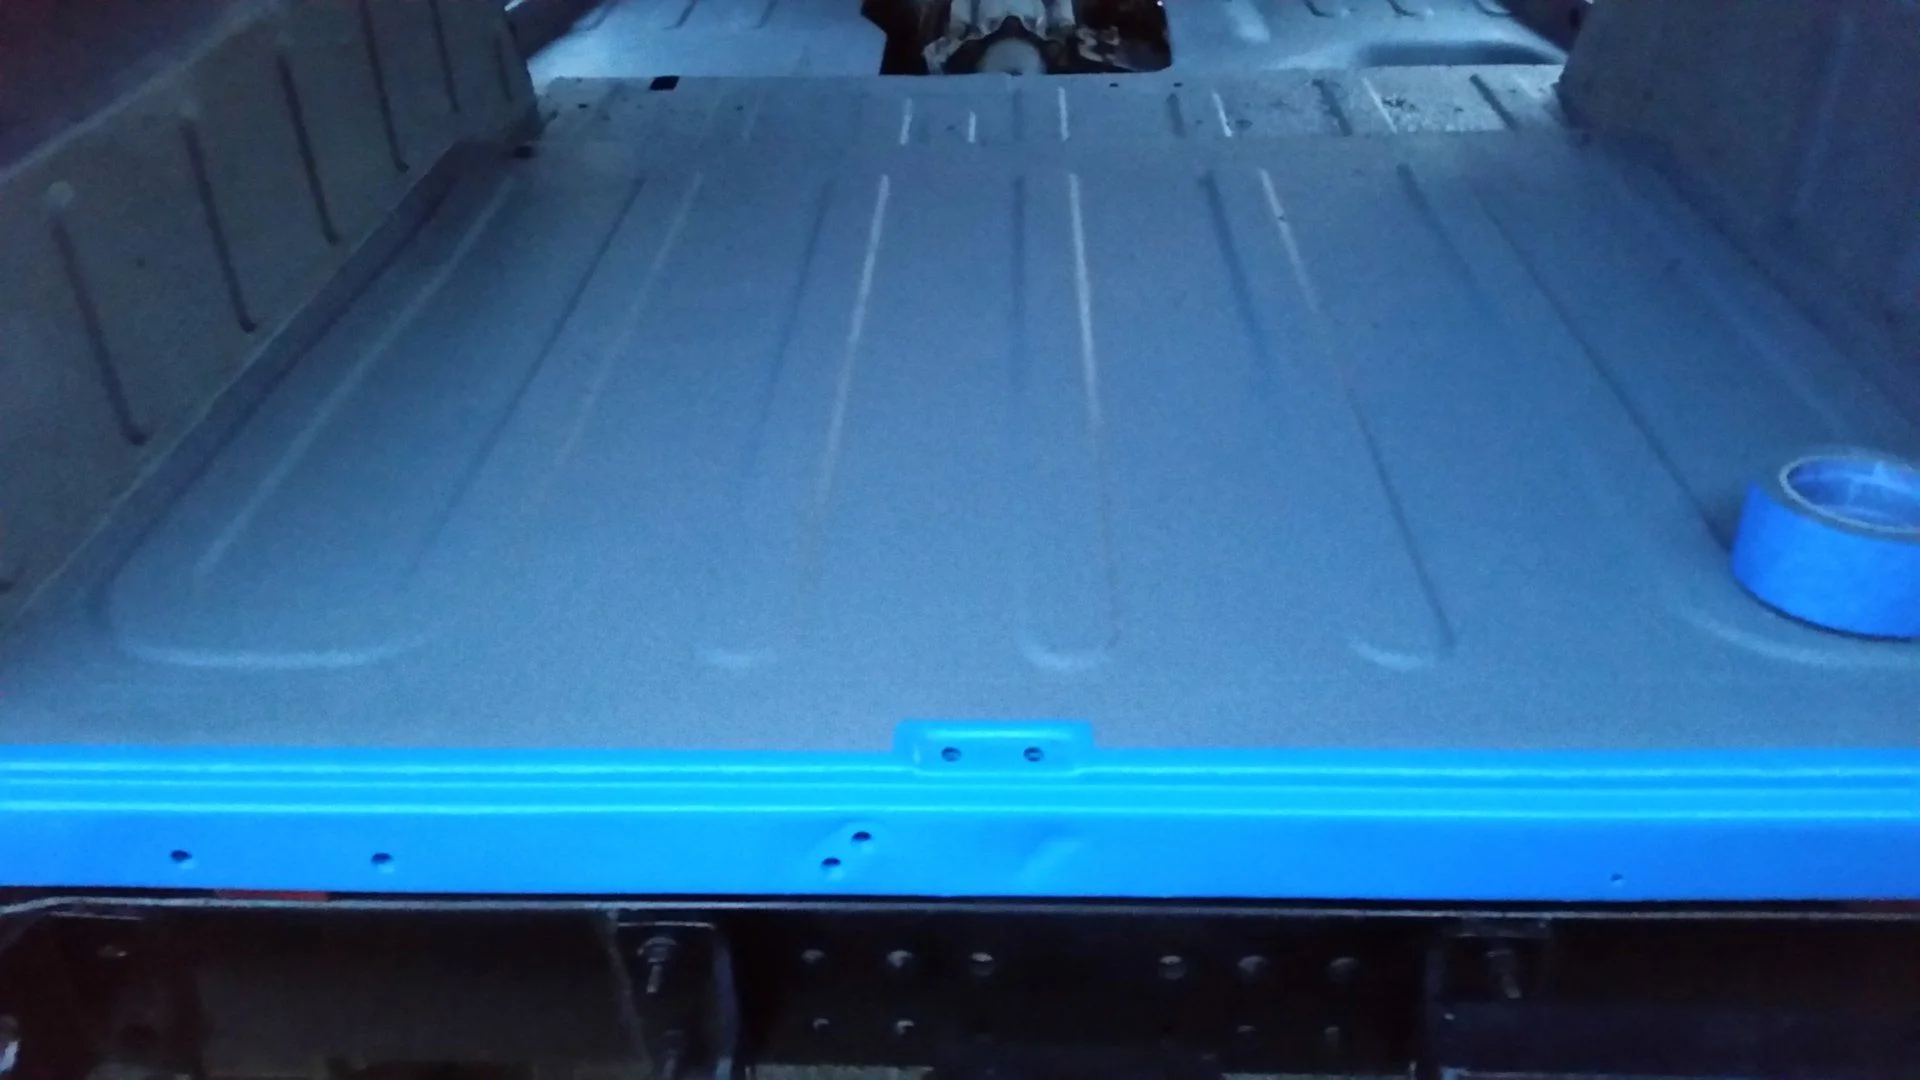
Once sides and windshield on, I decided to Monstaline the tub...
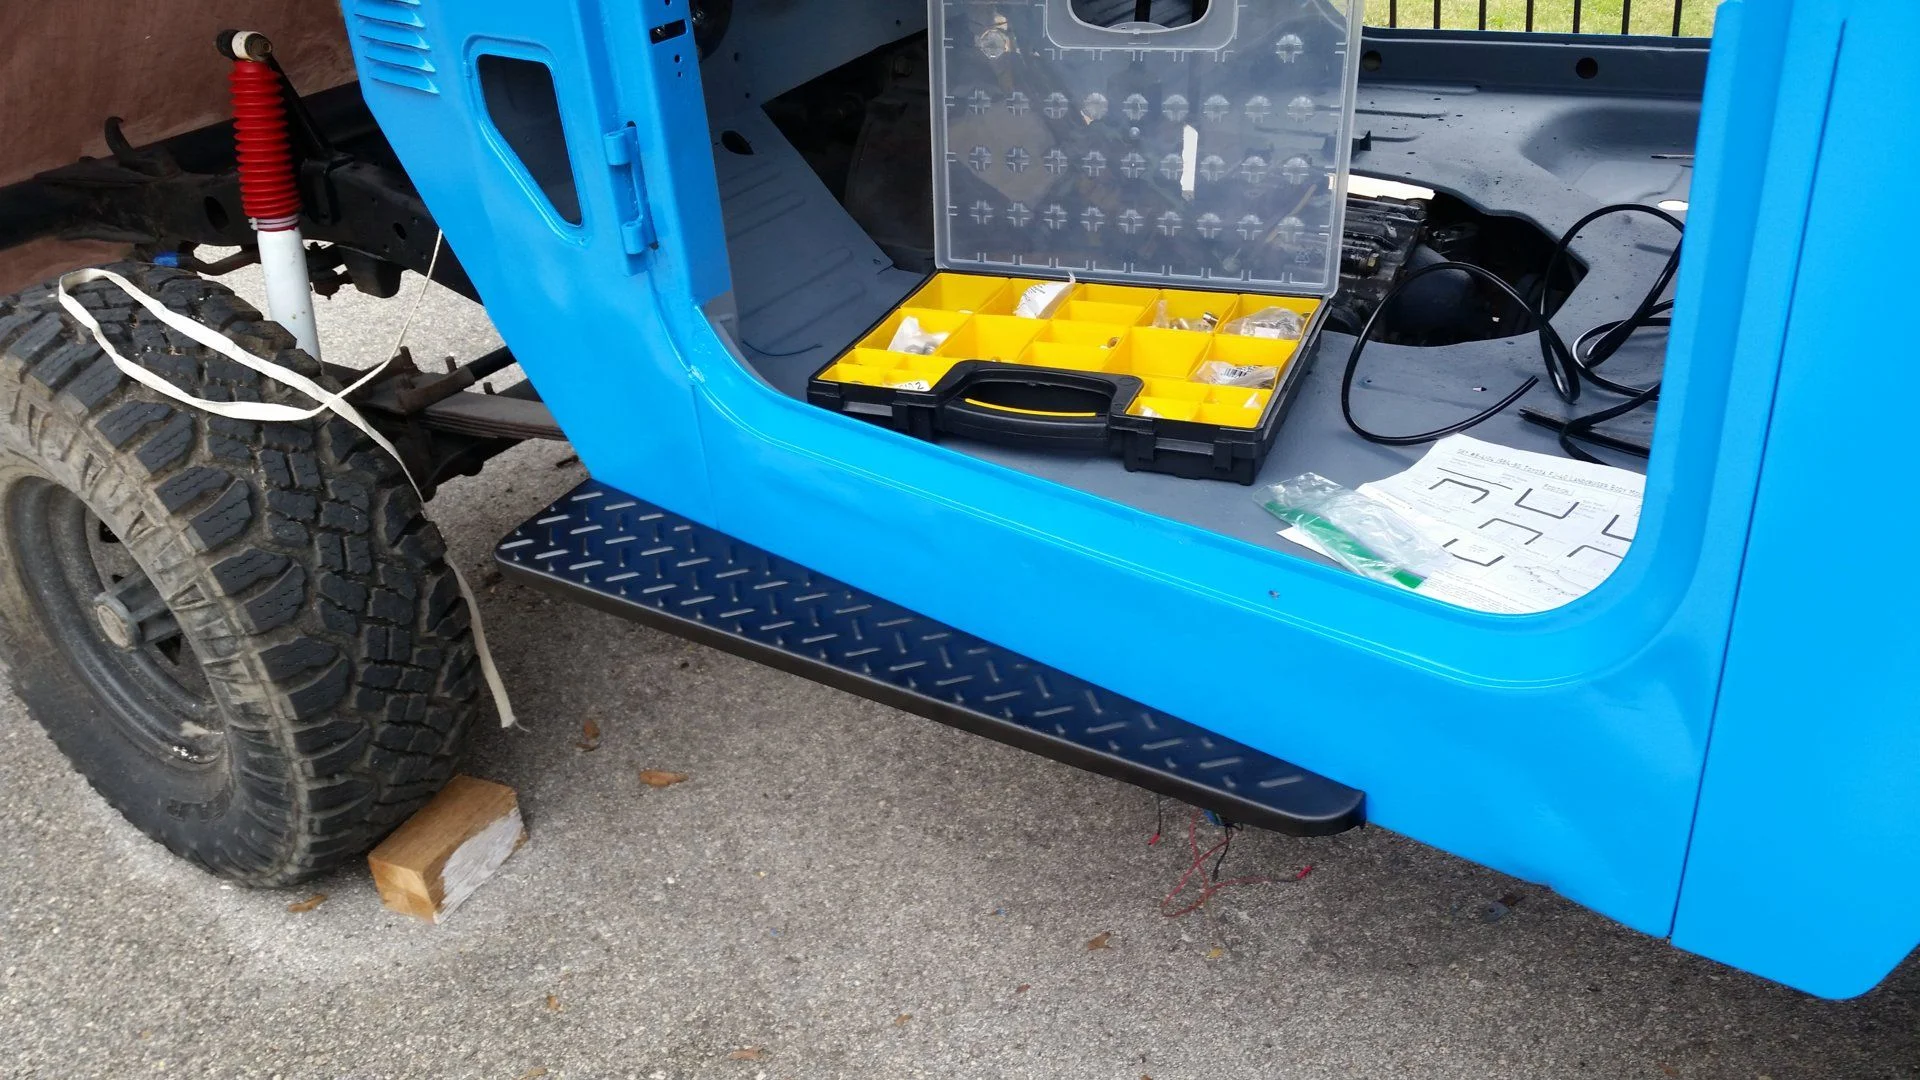
Powder coated steps back on.
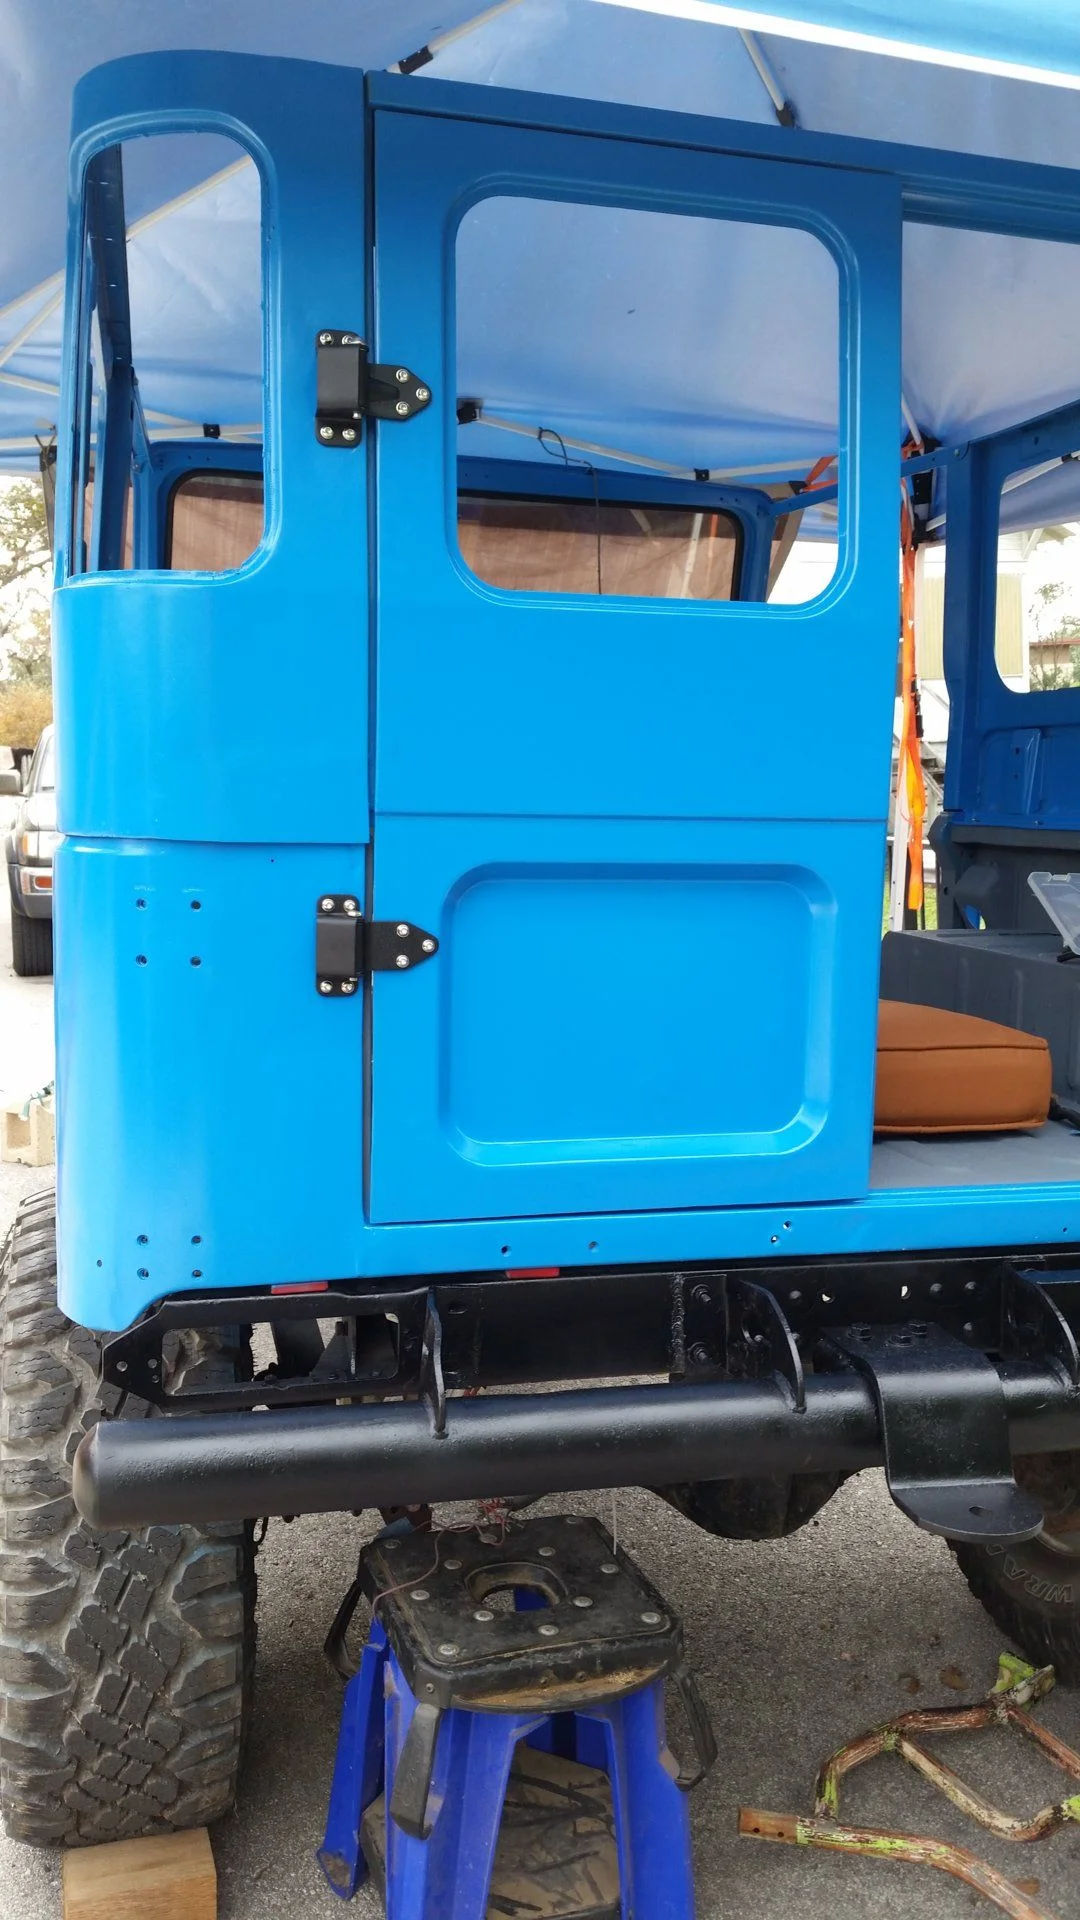
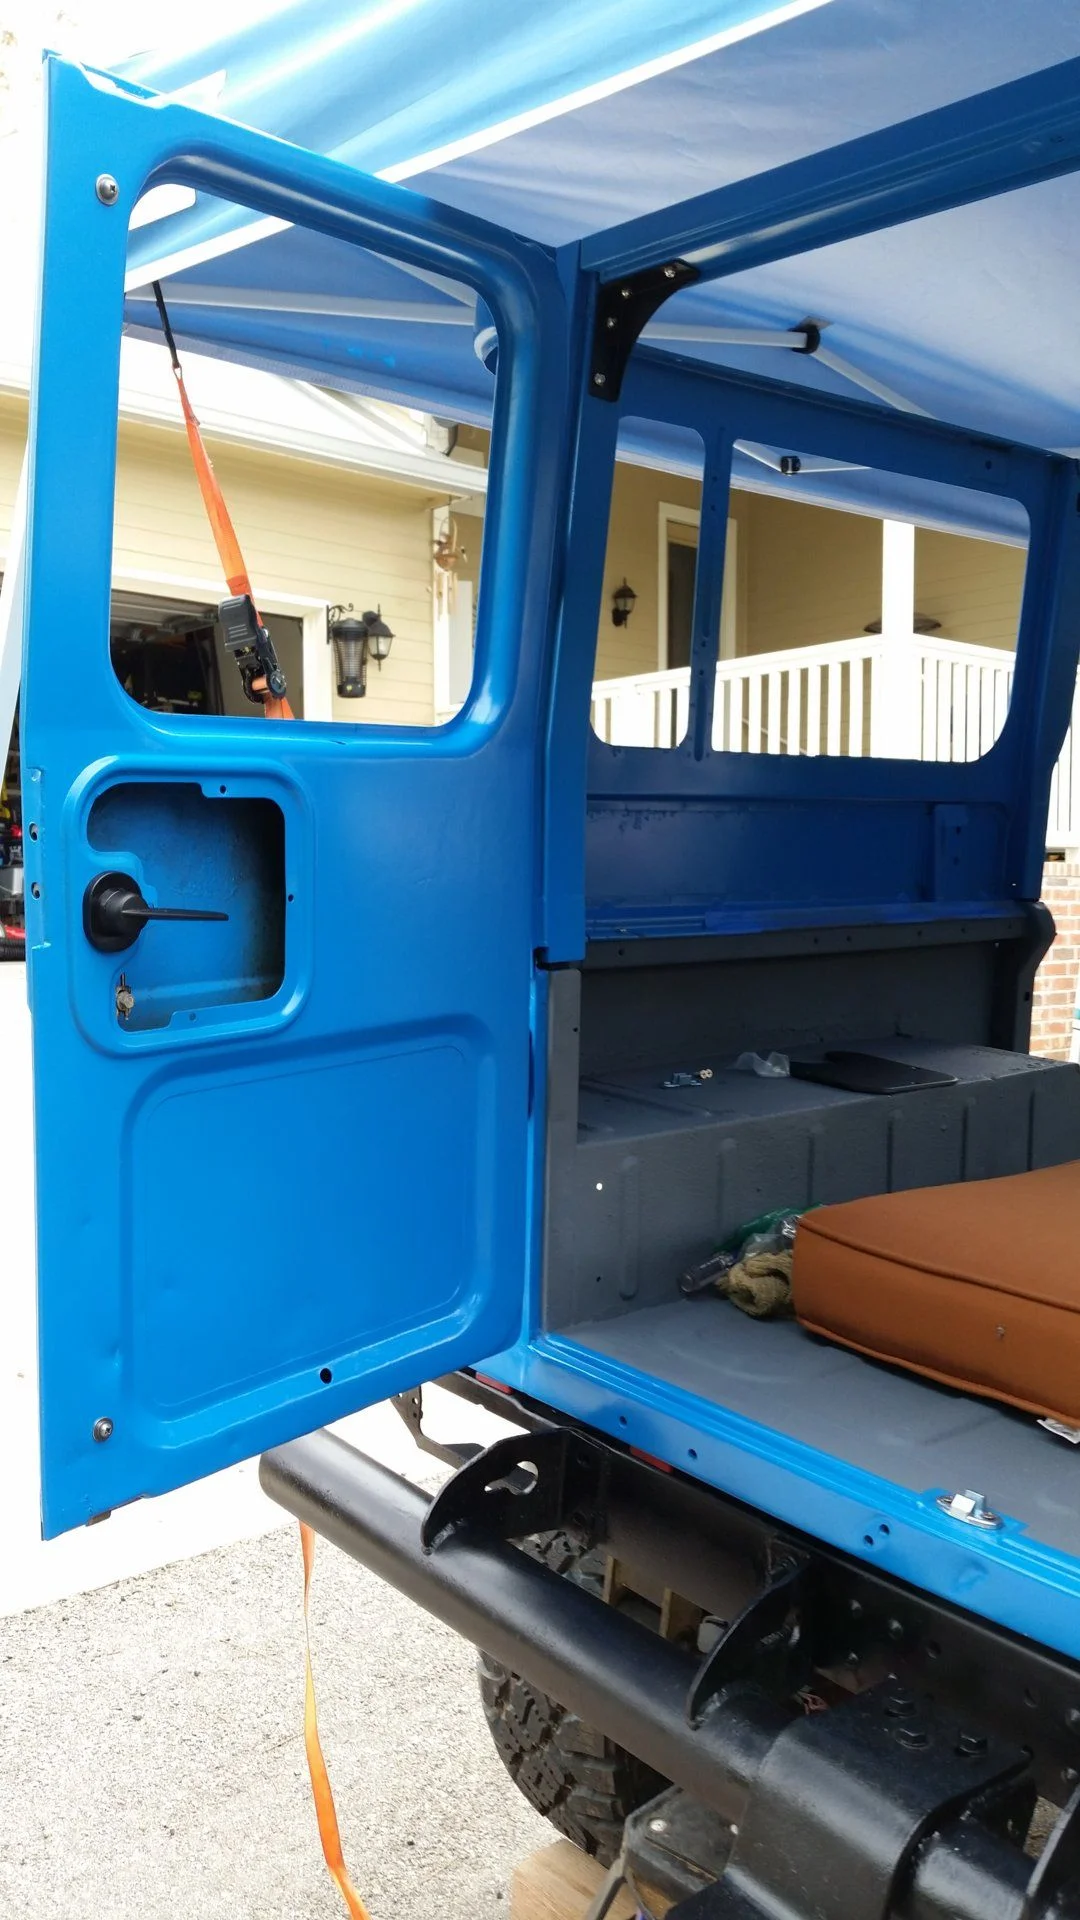
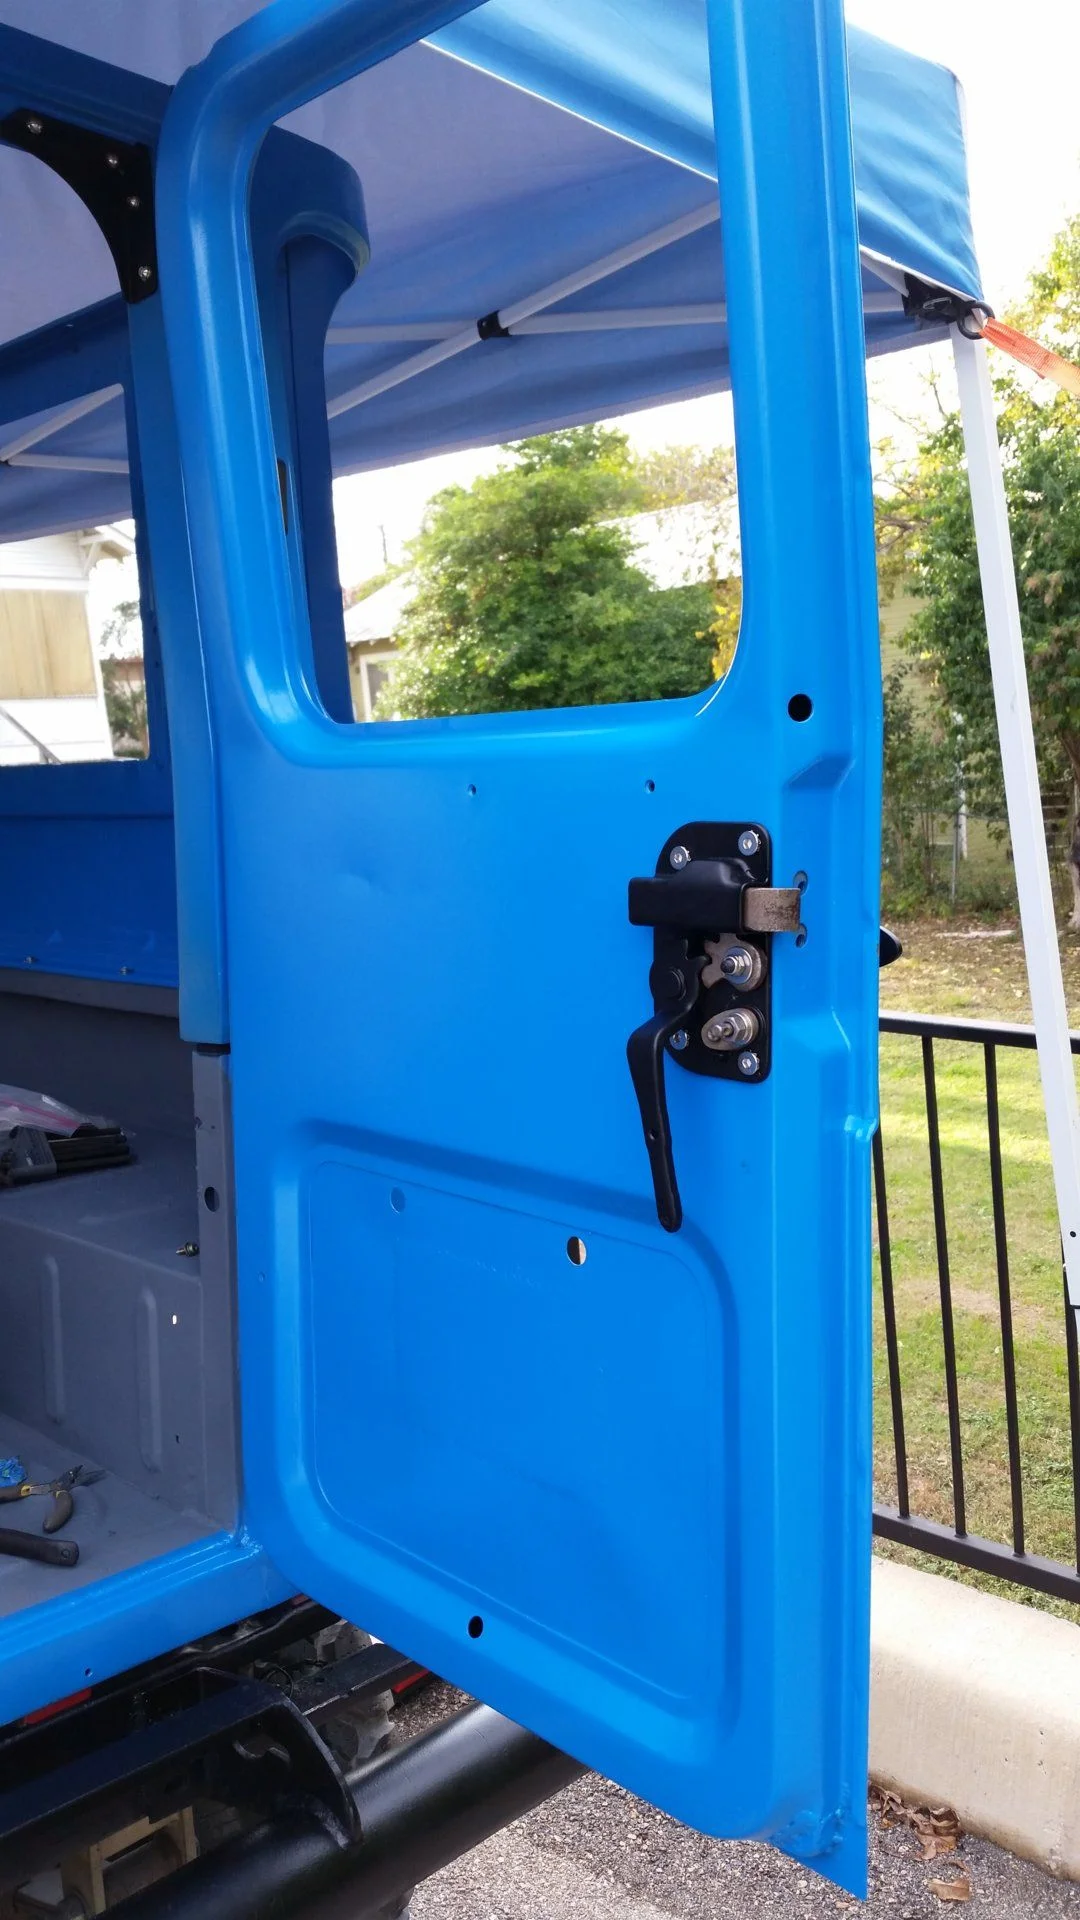
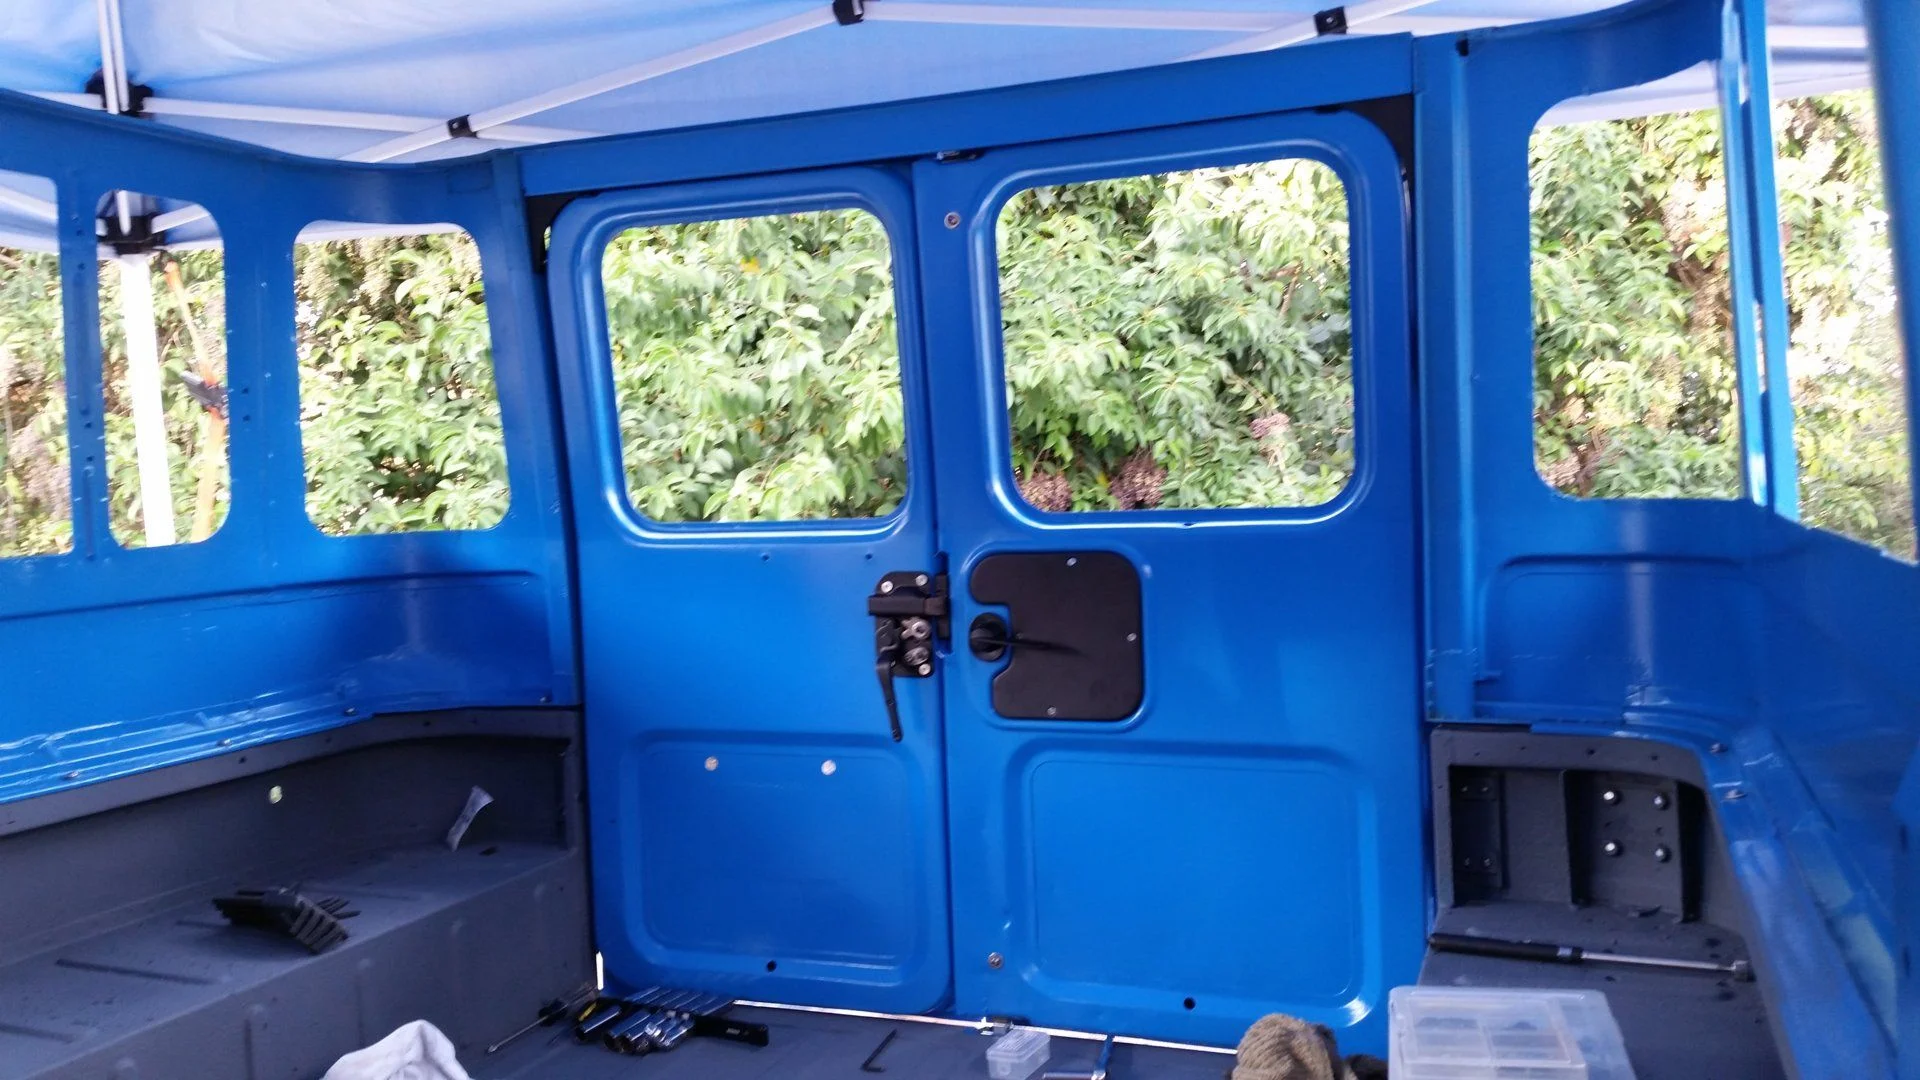
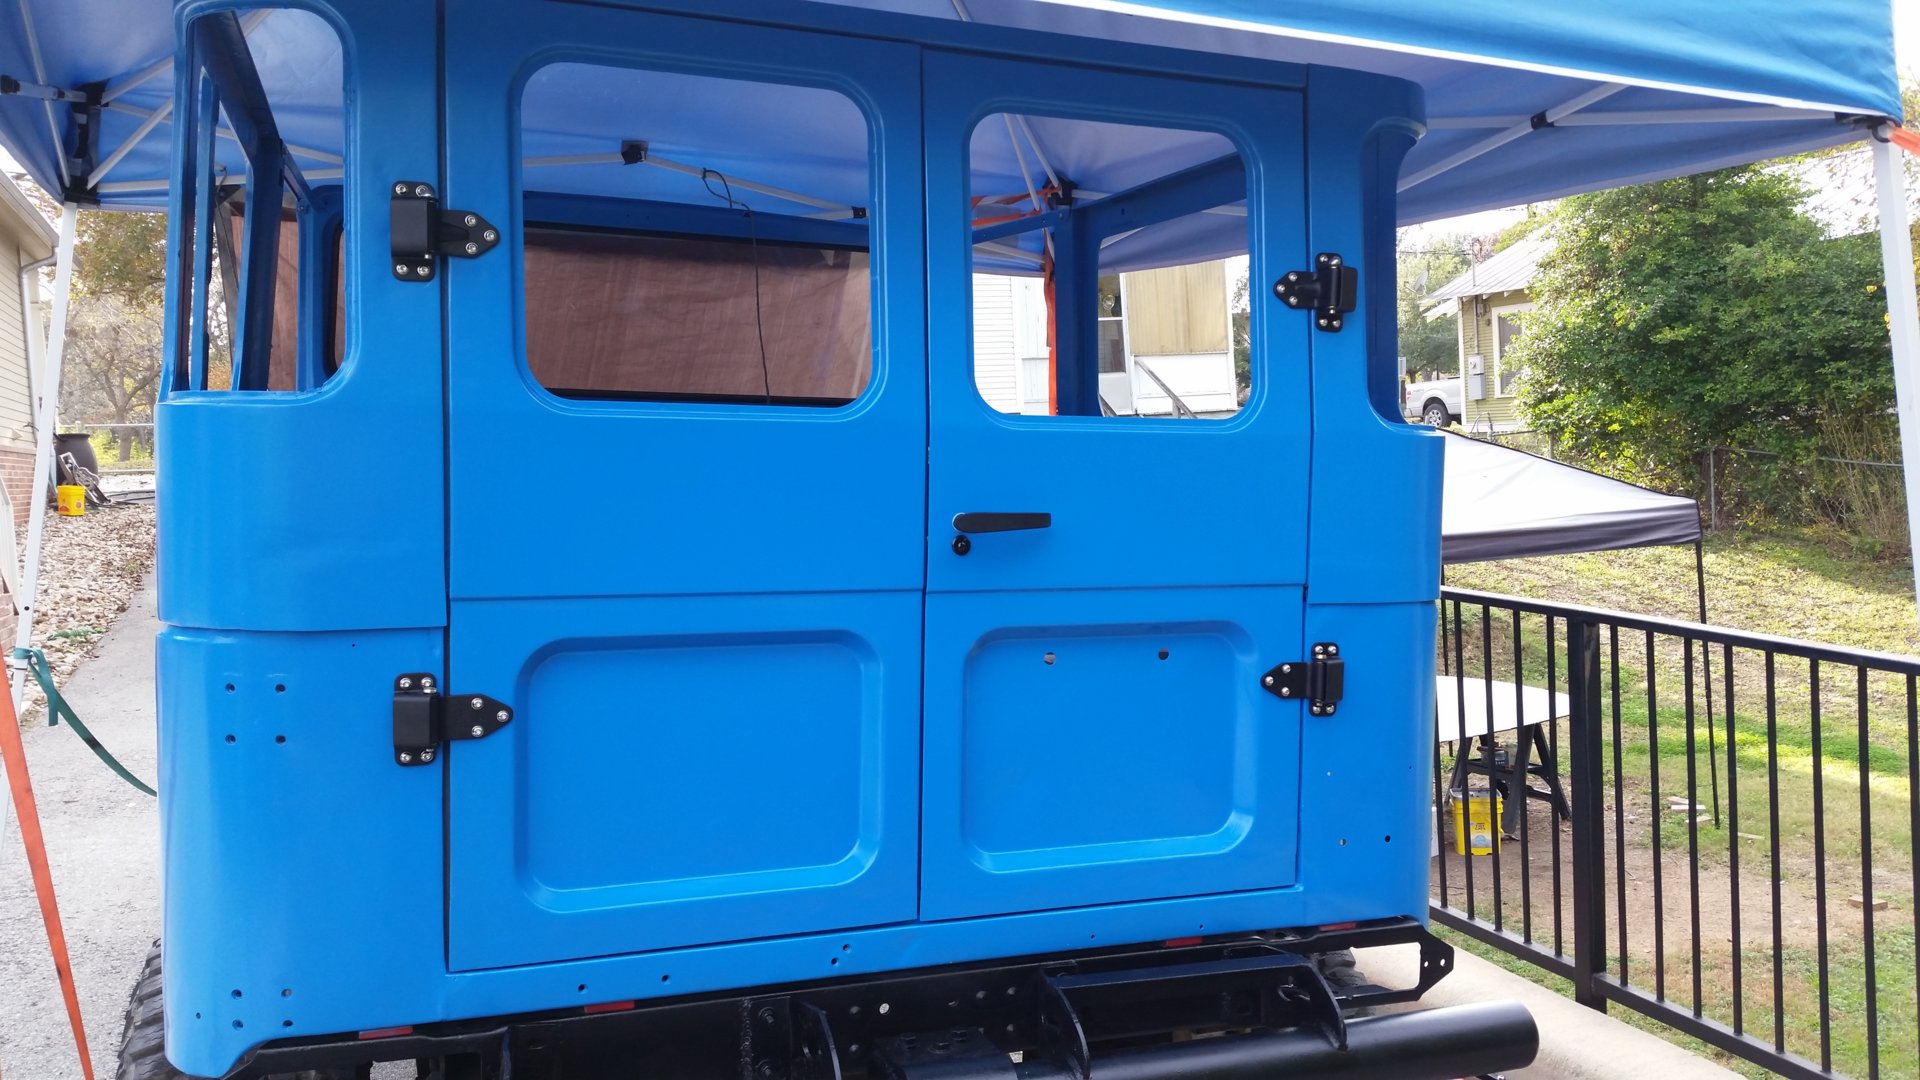
Rear doors and hardware. As mentioned earlier, I used the BTB Stainless front door pins for rear hinges, length cut down and pin head ground down a little. Most of the door hardware is powder coated black. Weatherstripping and glass done later.
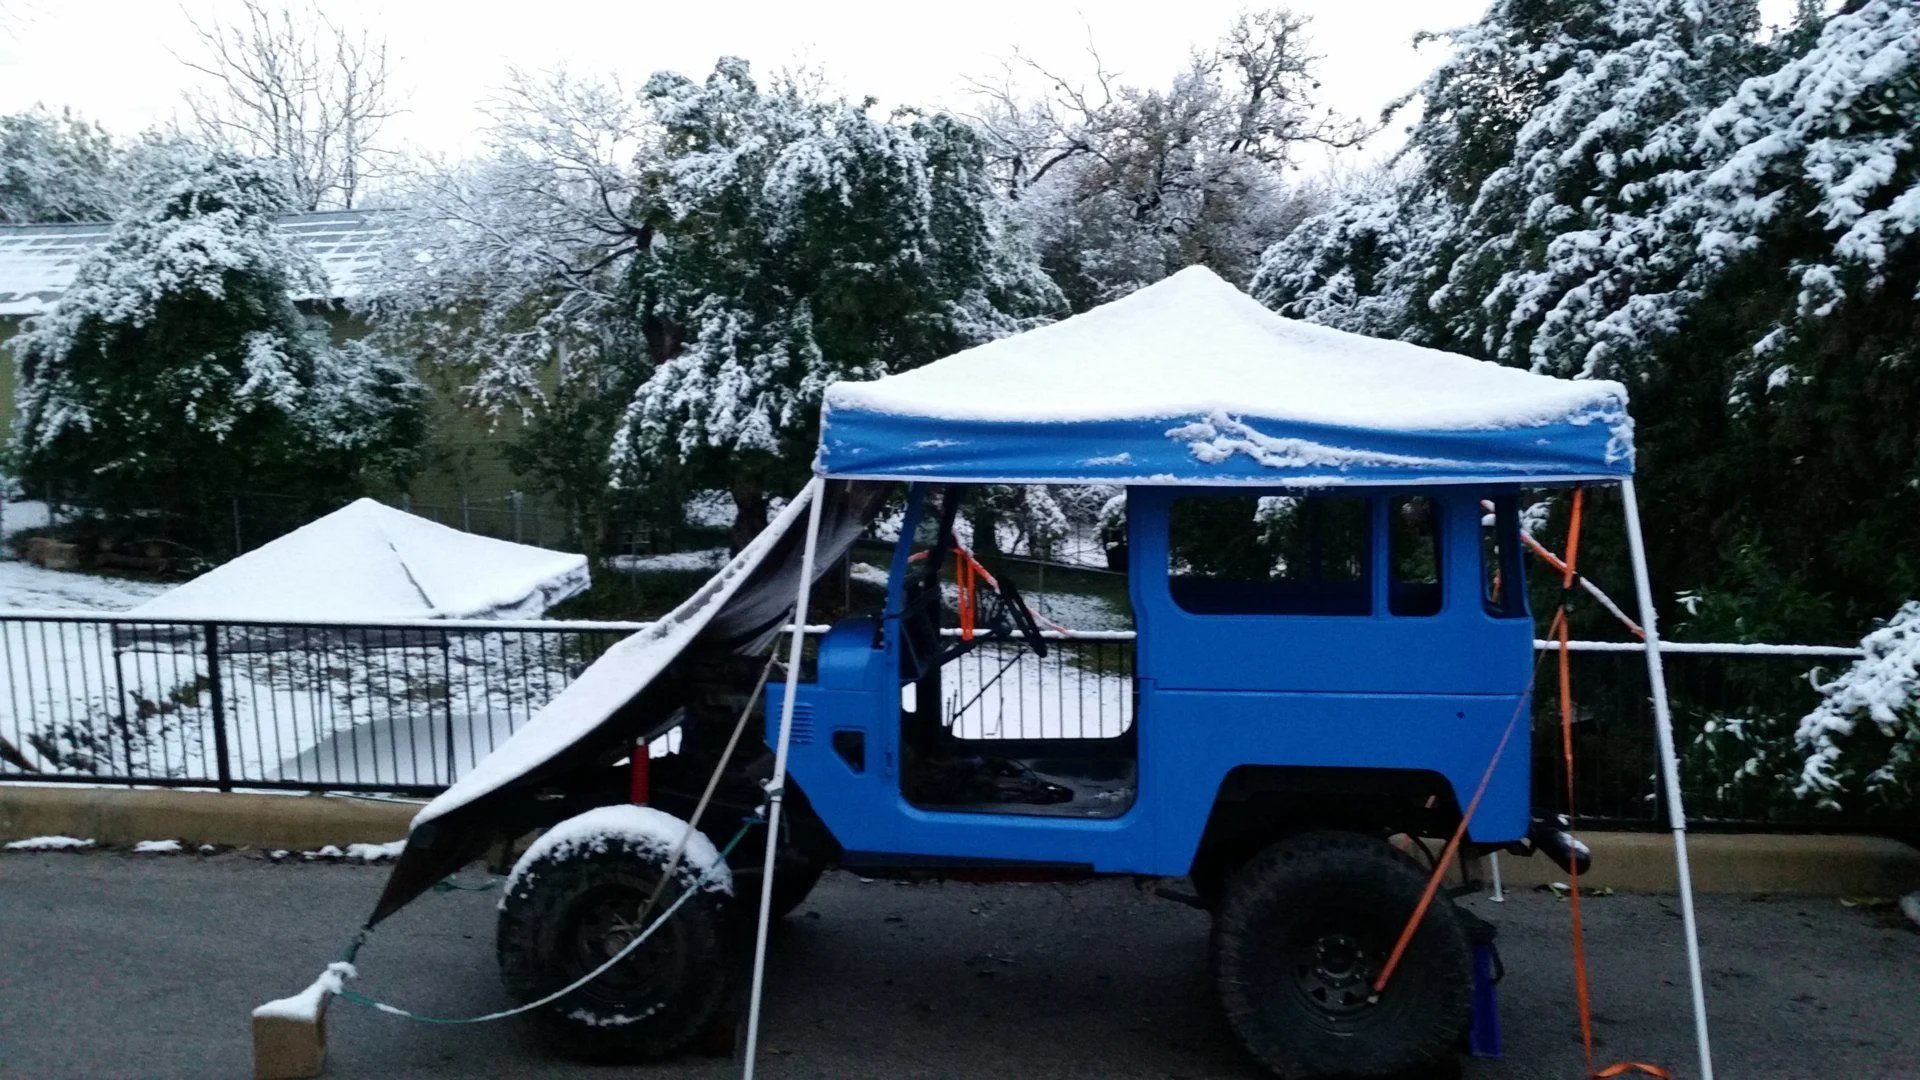
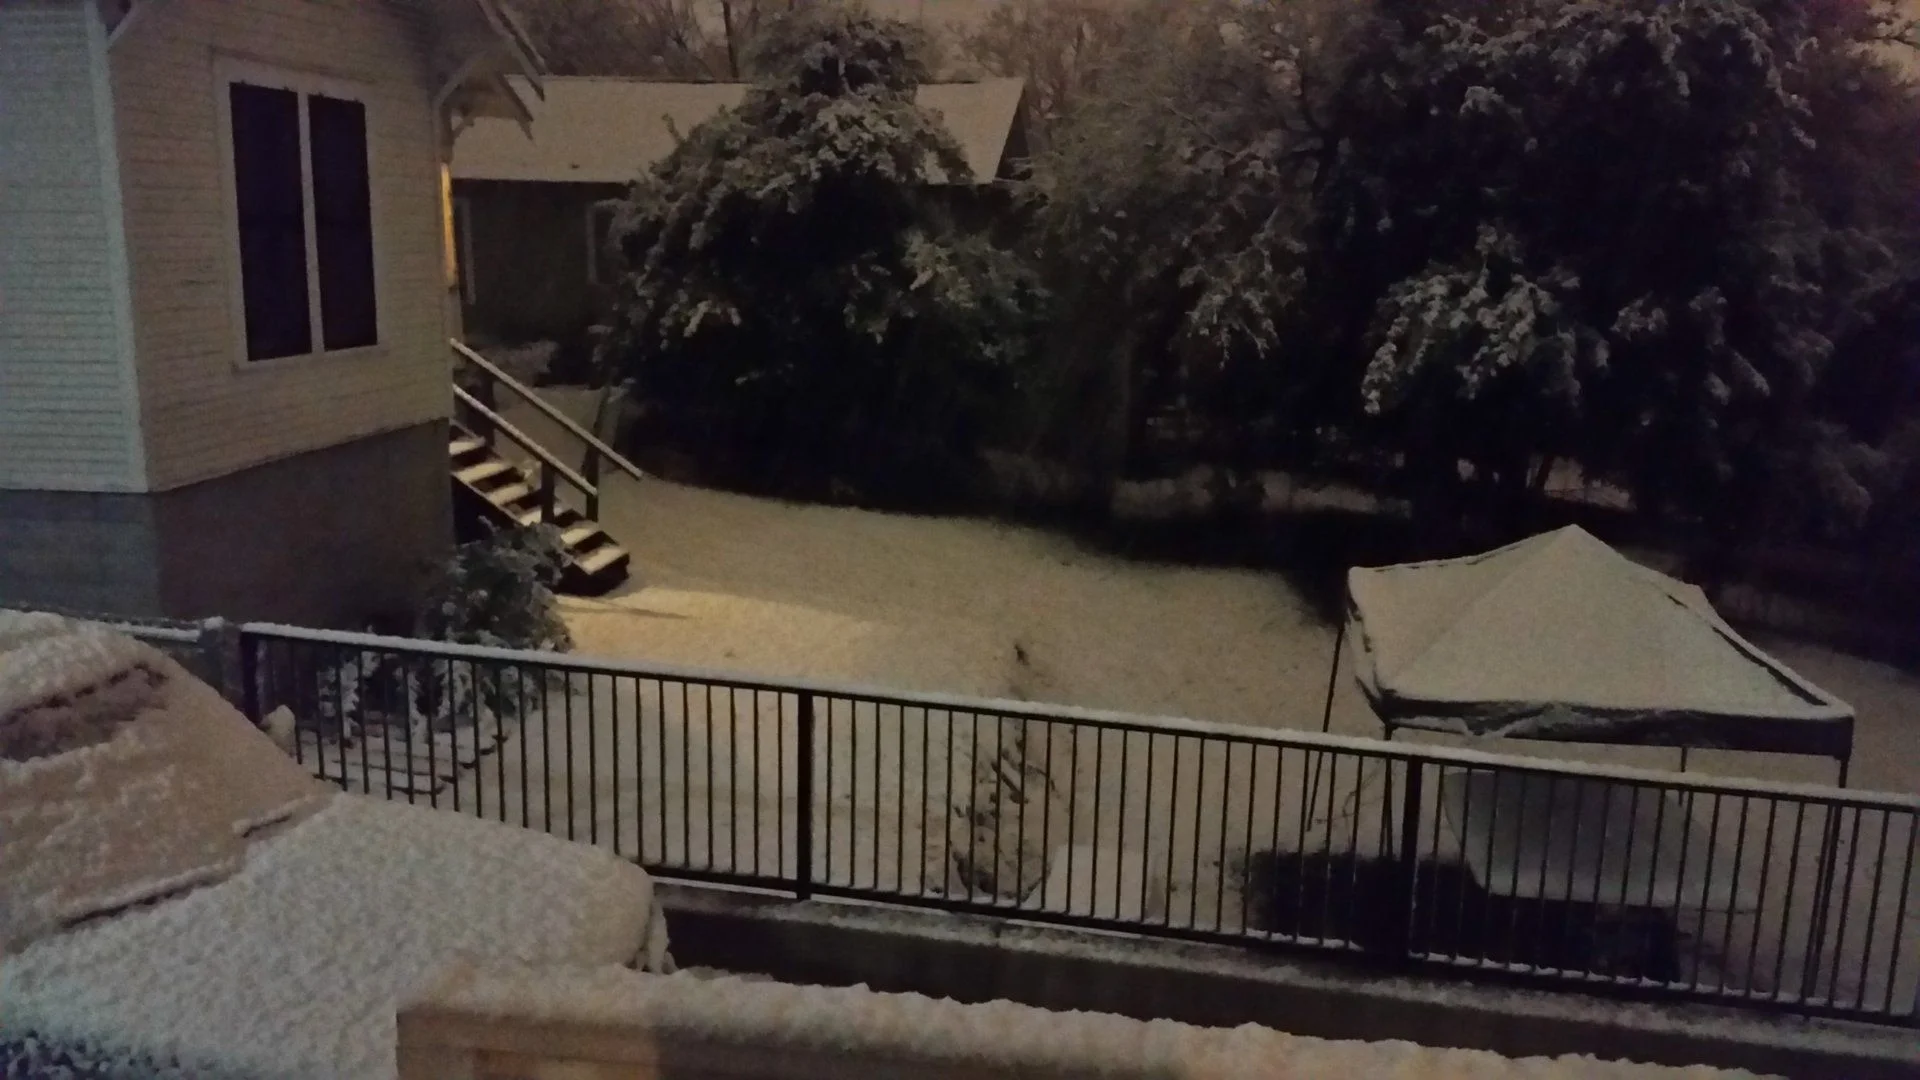
Weather delay... Snow in South Texas (December 2017). Shop is months away.
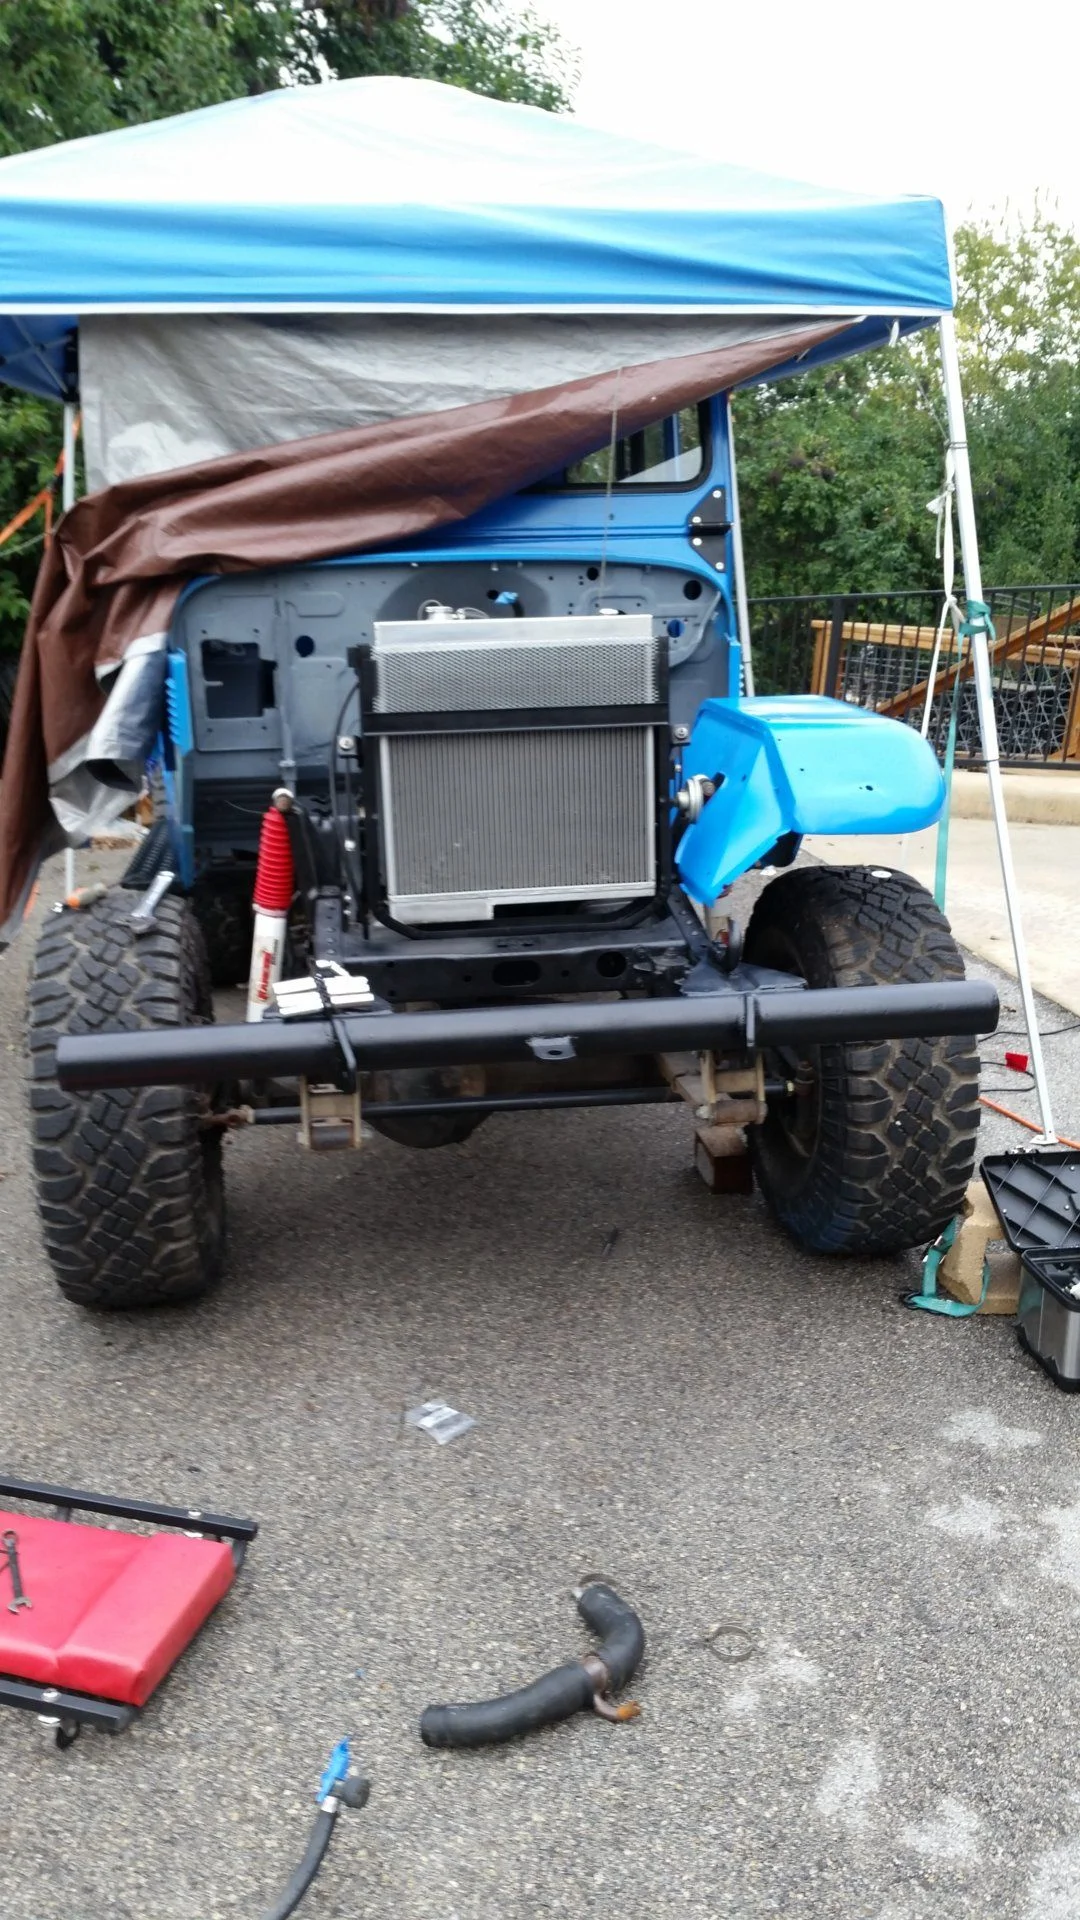
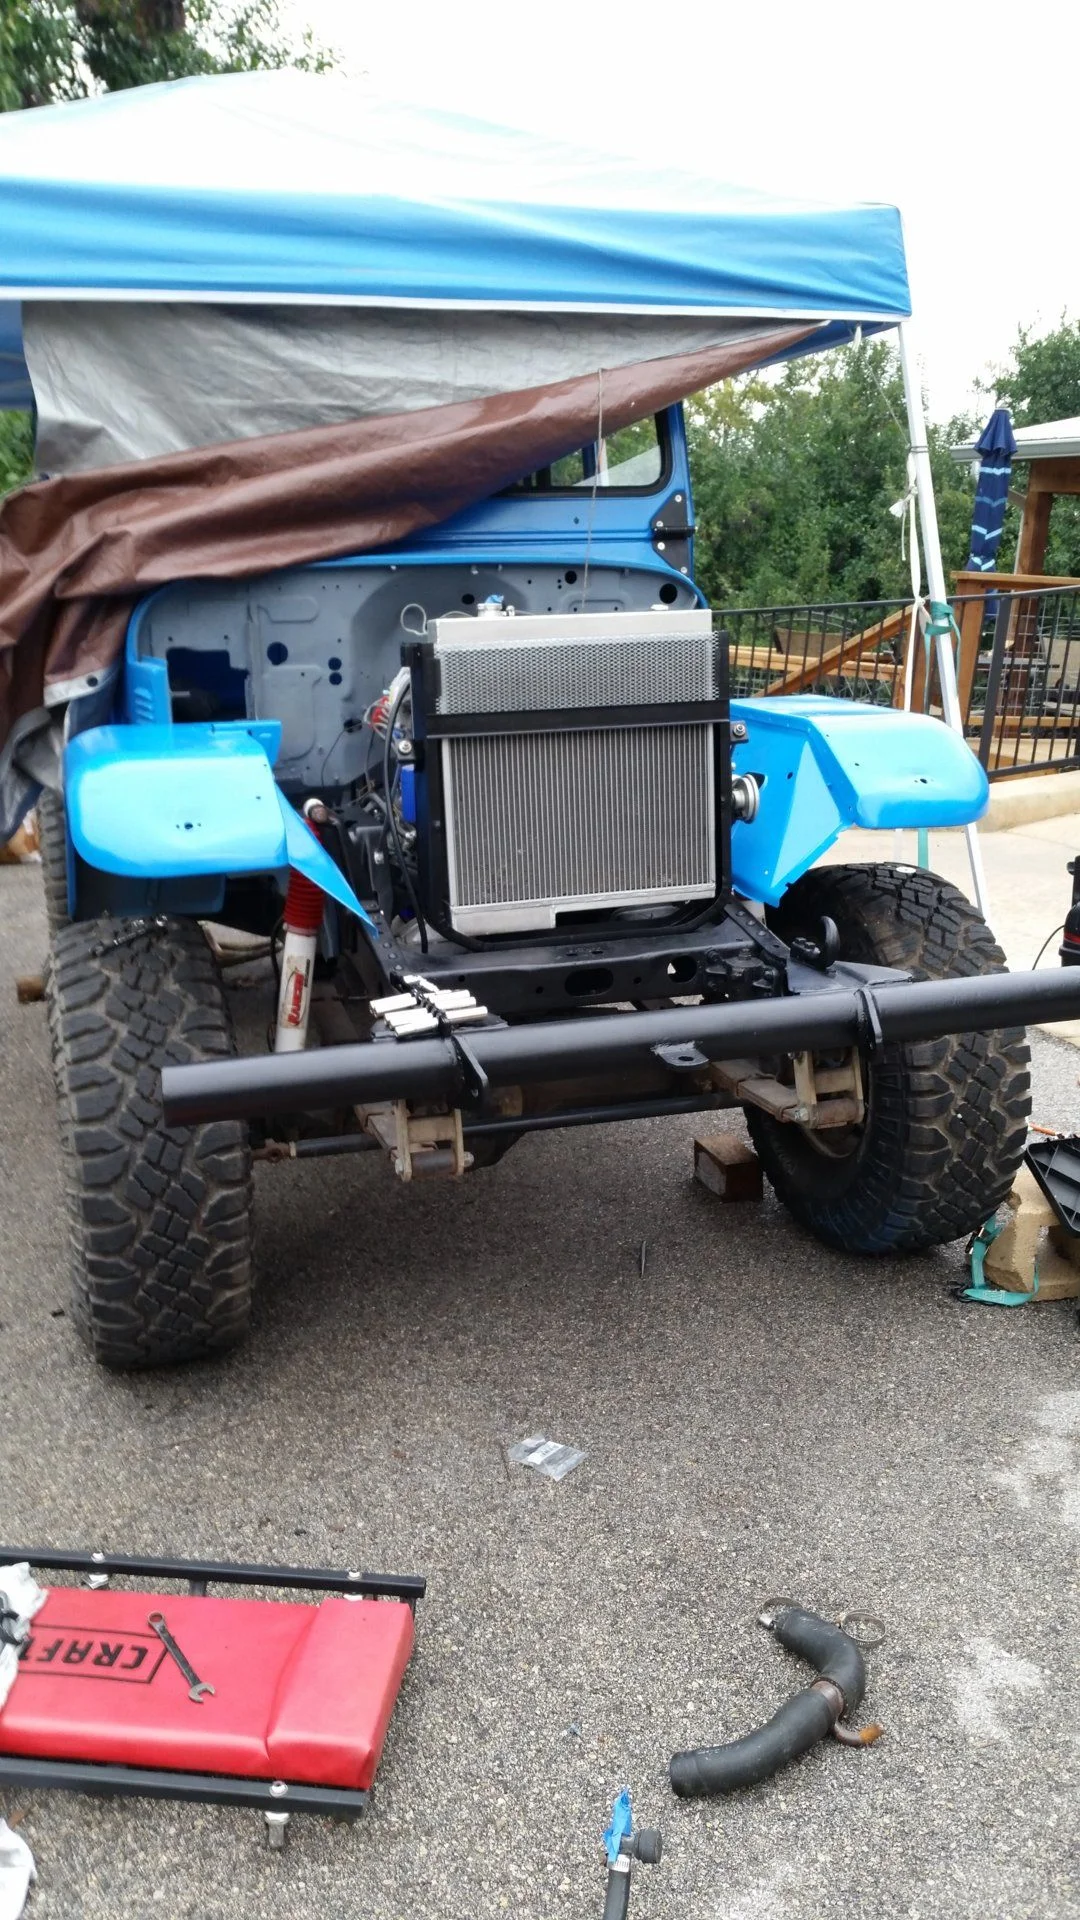
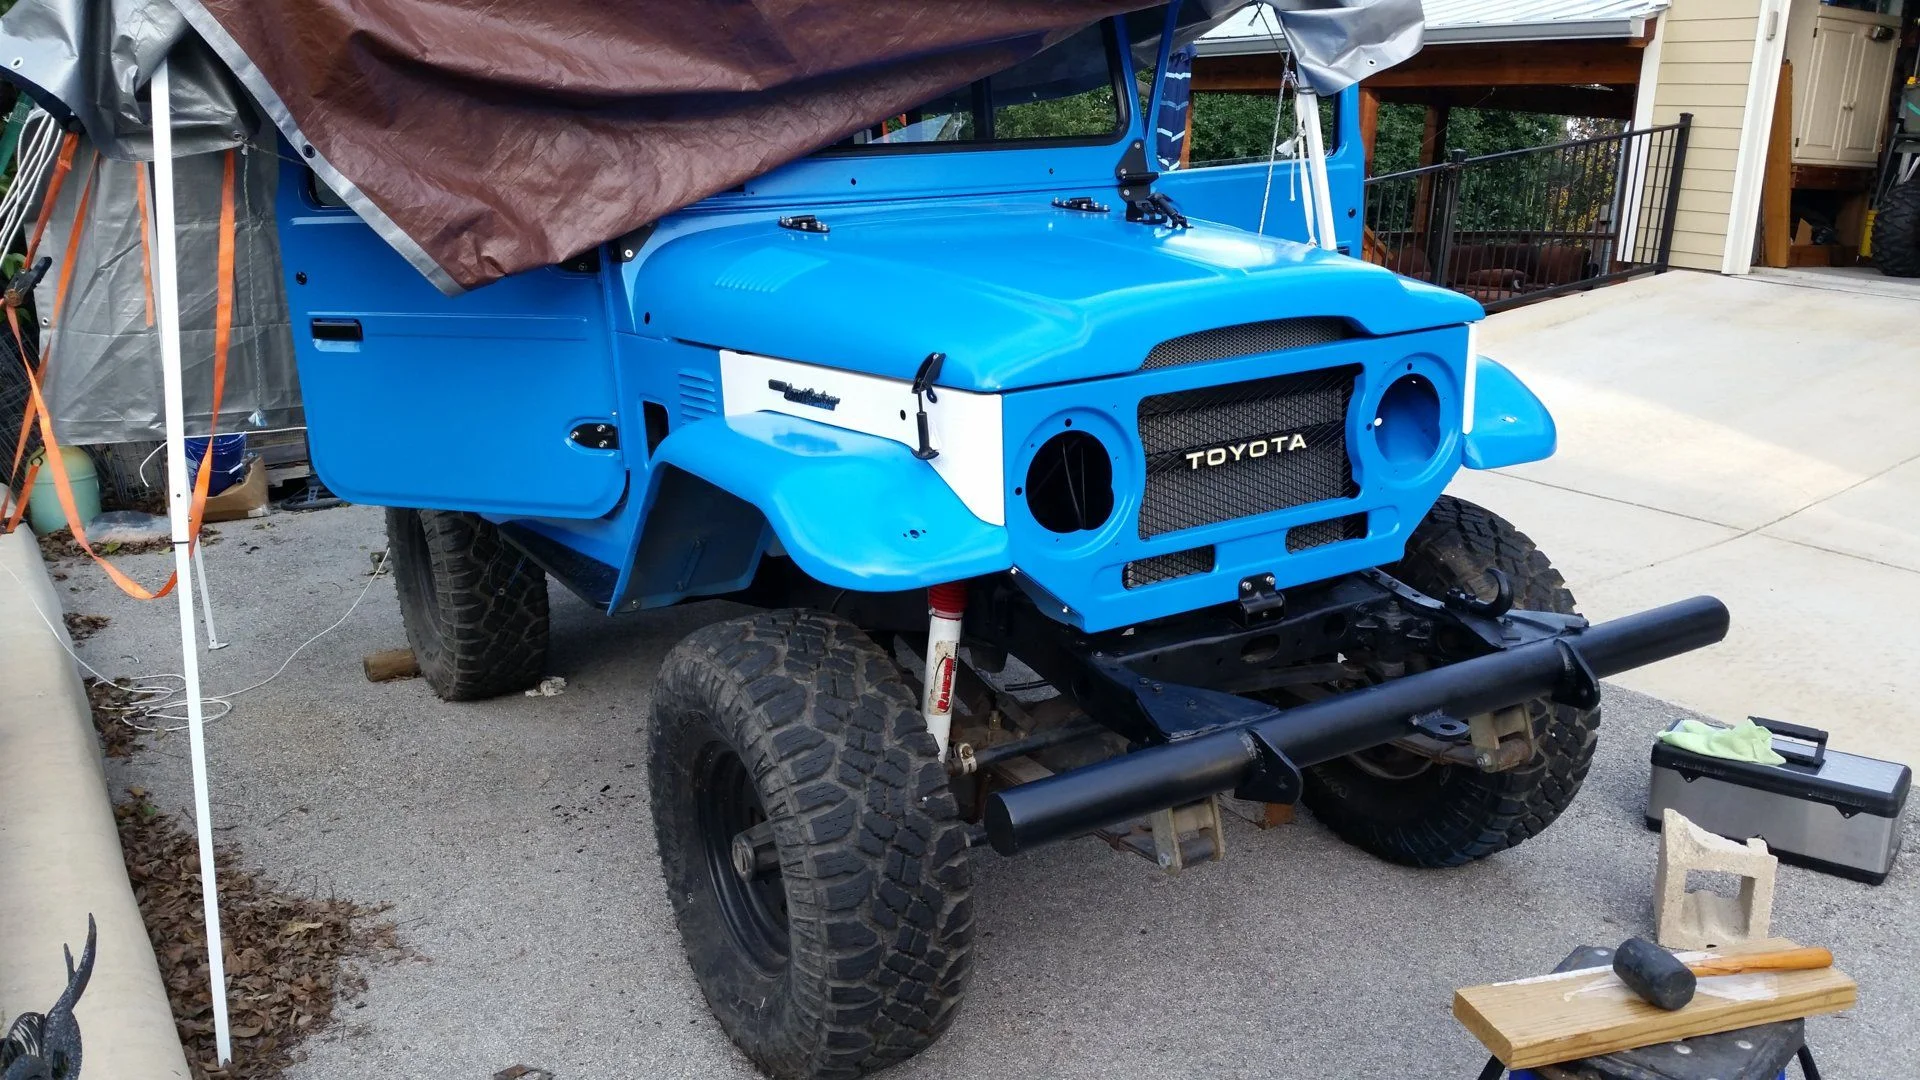
Reassembly continued - still working from the driveway with a tarp. New shop coming soon.
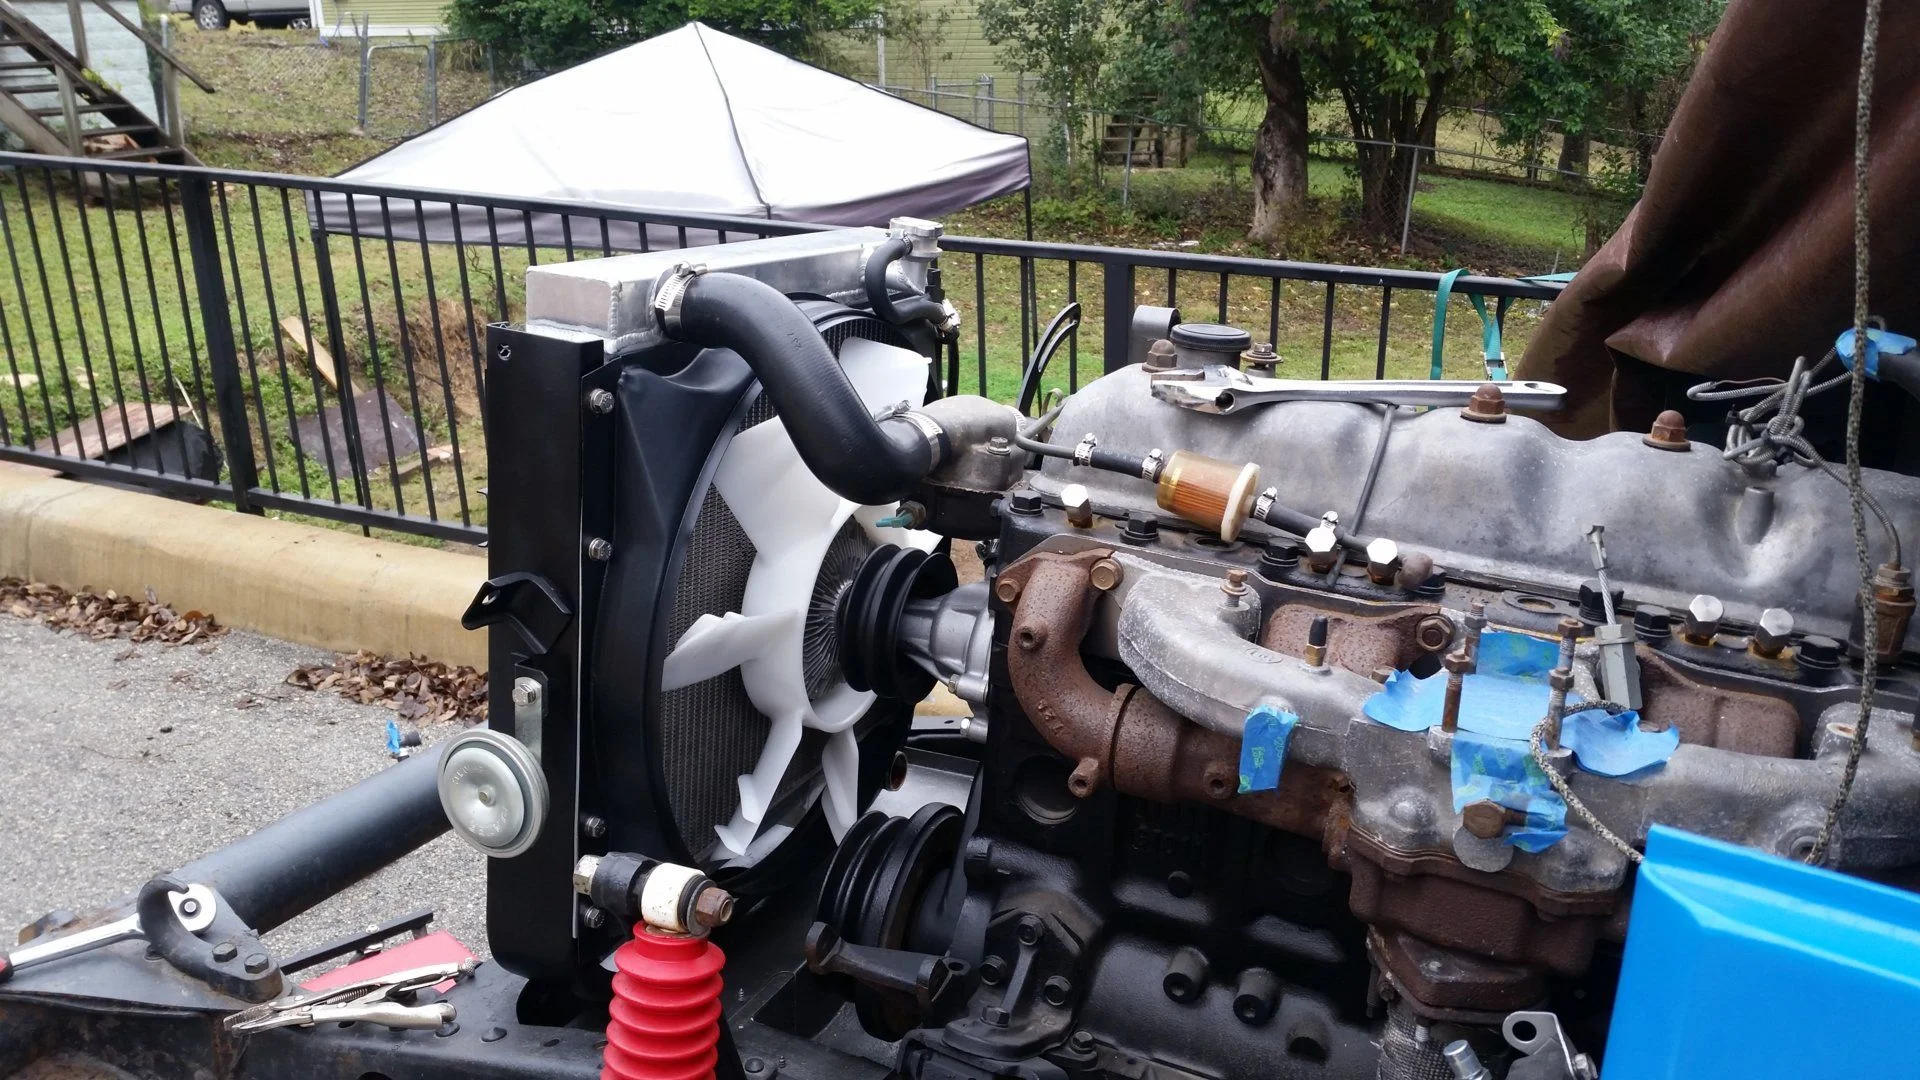
New fan and water pump added. The aluminum radiator is an ebay special that I've had for a long time, works fine, eben in south Texas heat. Paid $140 for it, shipping included.
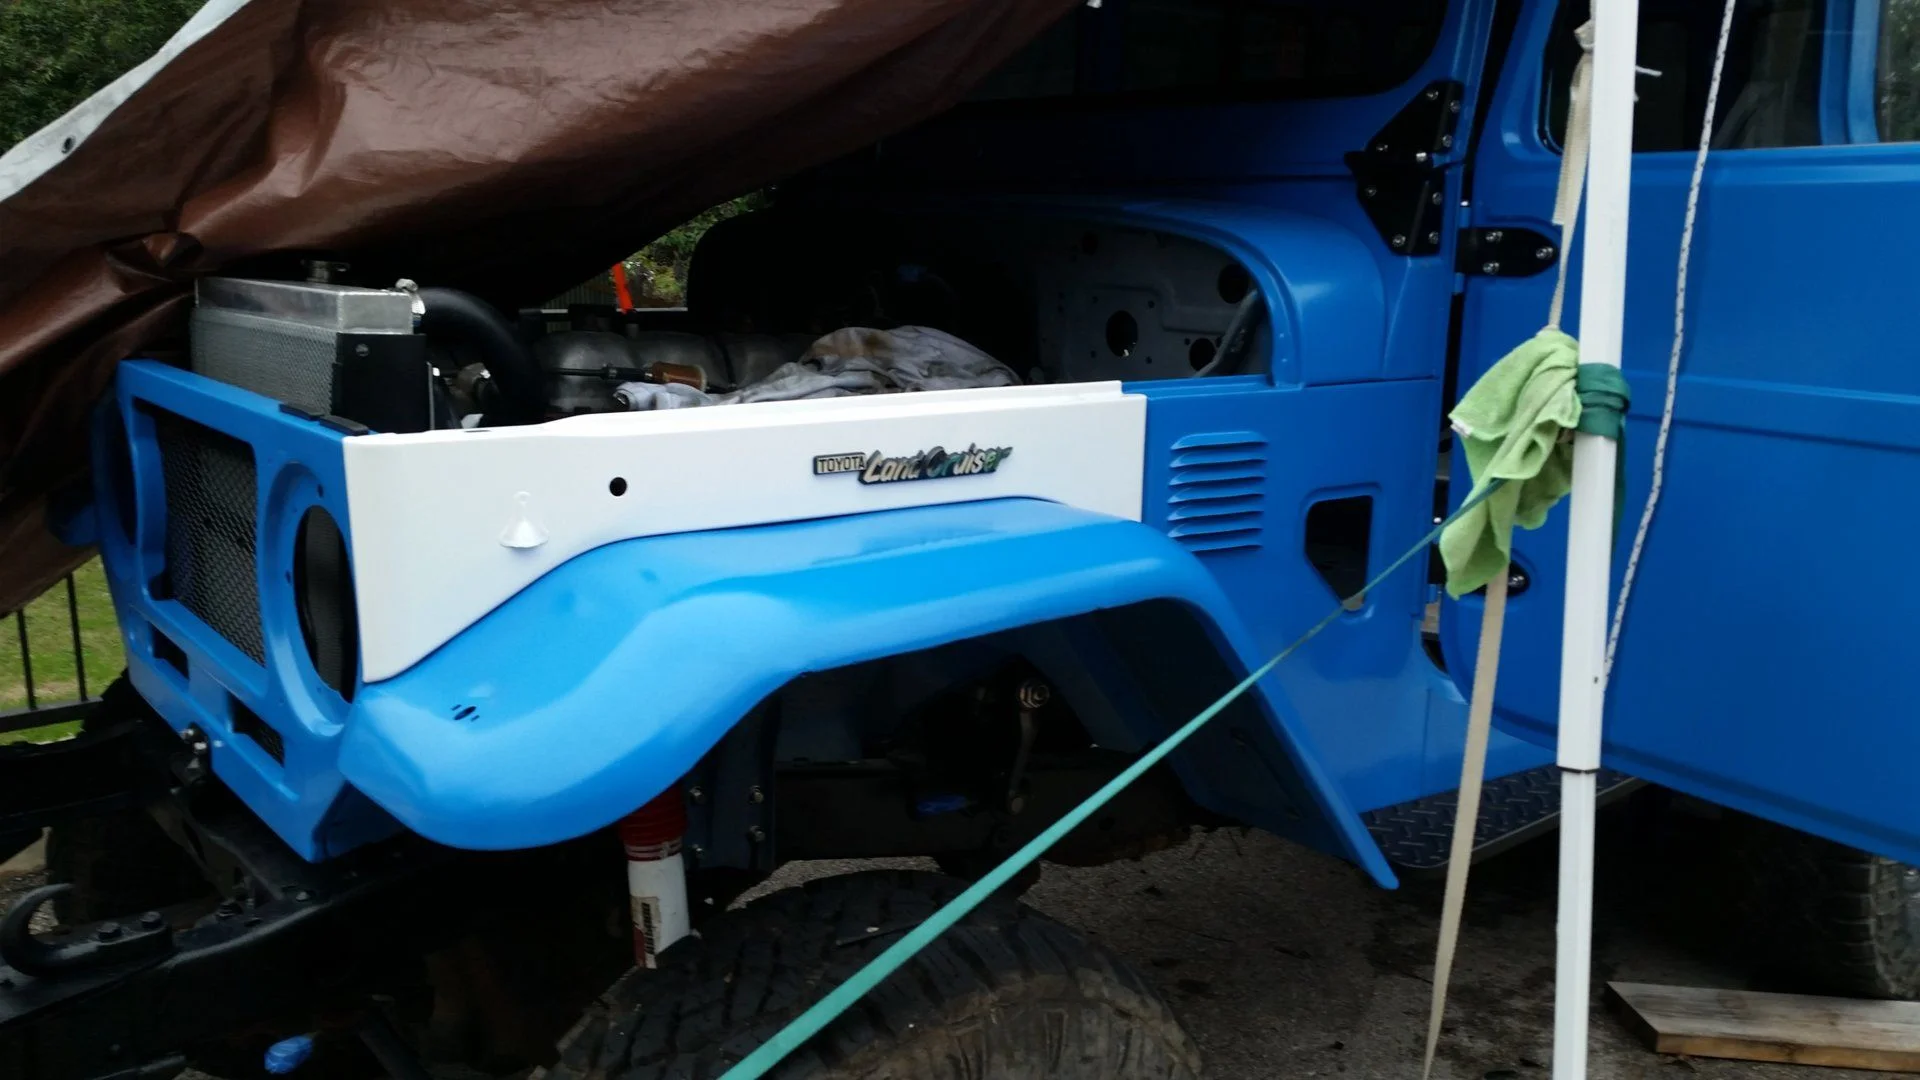
Fenders back on
Bib
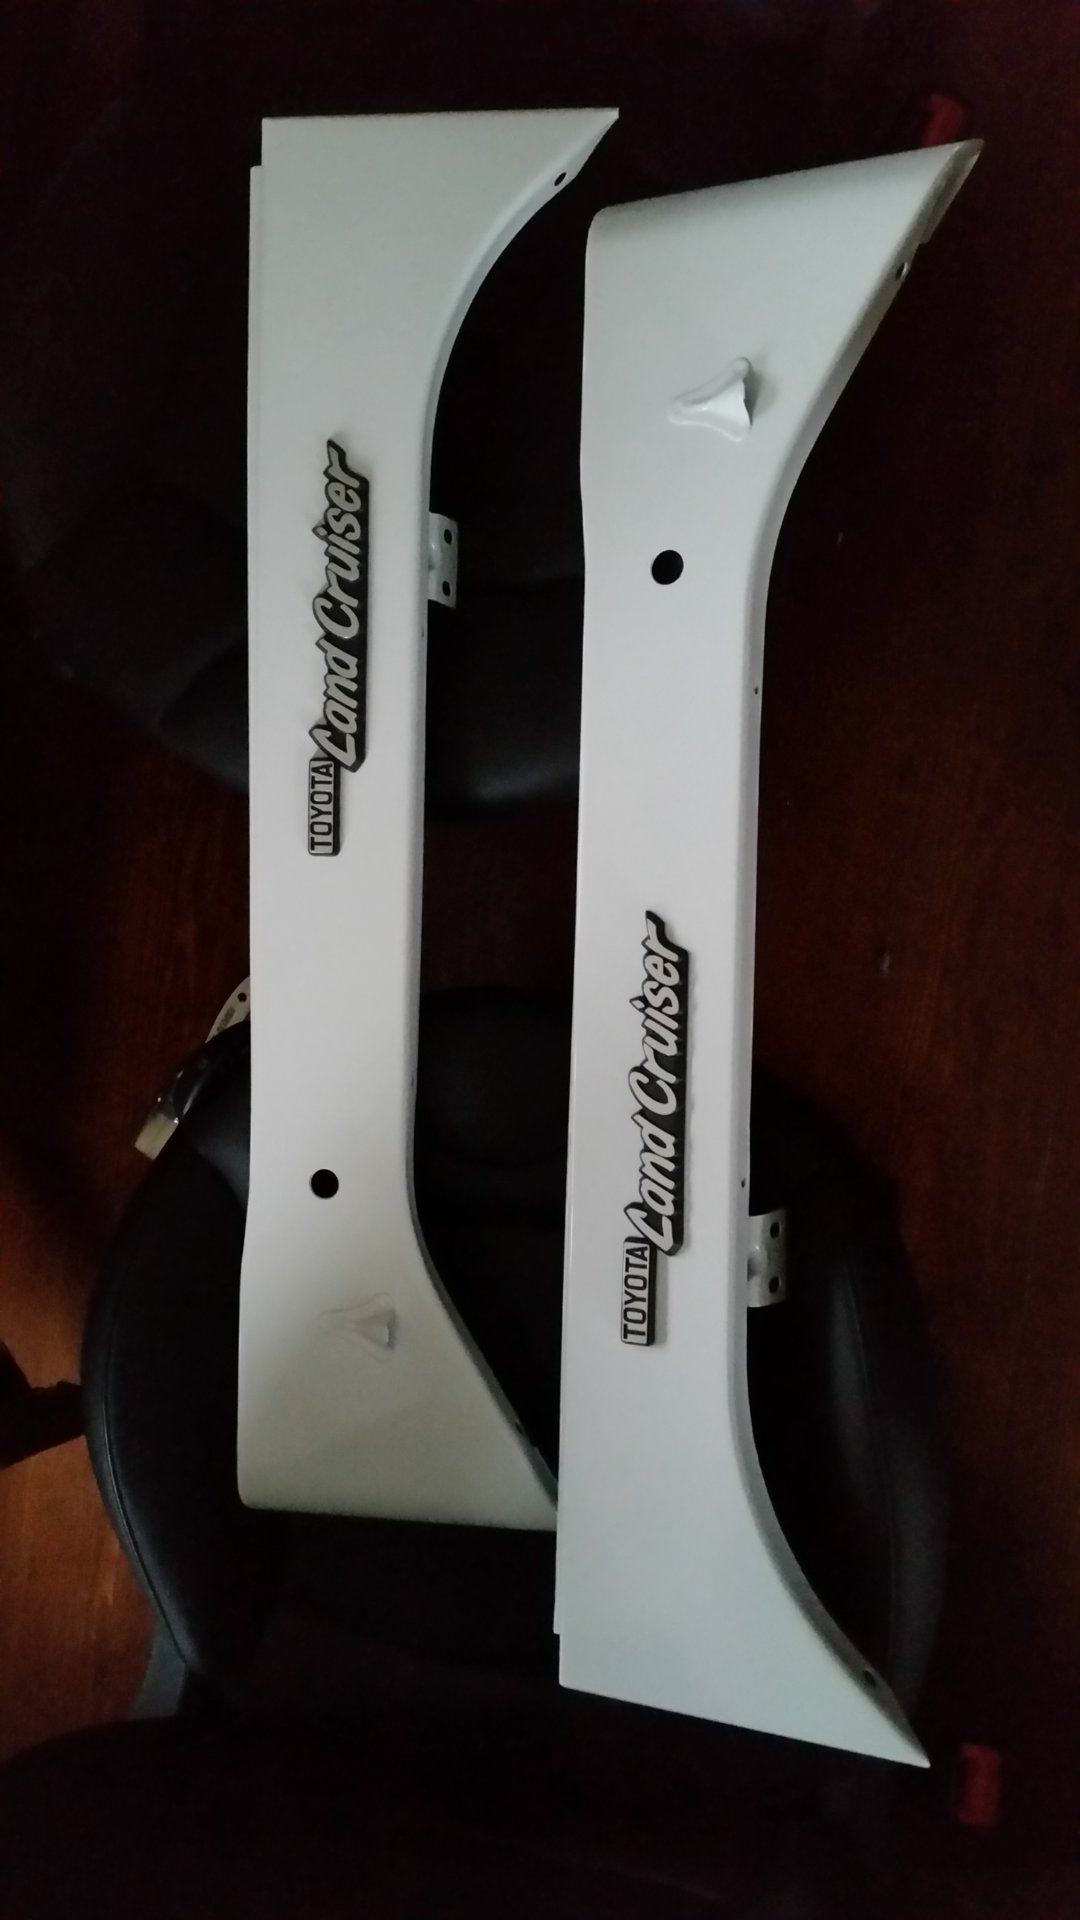
The side skirts I had powder coated. I knew early on that I was going to do skirts a different color than the rest of body. White seemed ideal to go with the white roof and headlight bezel. New oem emblems. In case your wondering what the round holes are for, I took a different route with side markers versus OEM options. I wanted LED everywhere - these are small and bright.
I used these:
Side marker amber front
Warrior Products 2925 Side Marker Light Kit https://www.amazon.com/gp/product/B007S01XCO/?tag=ihco-20
$17 pair
Hood and hardware
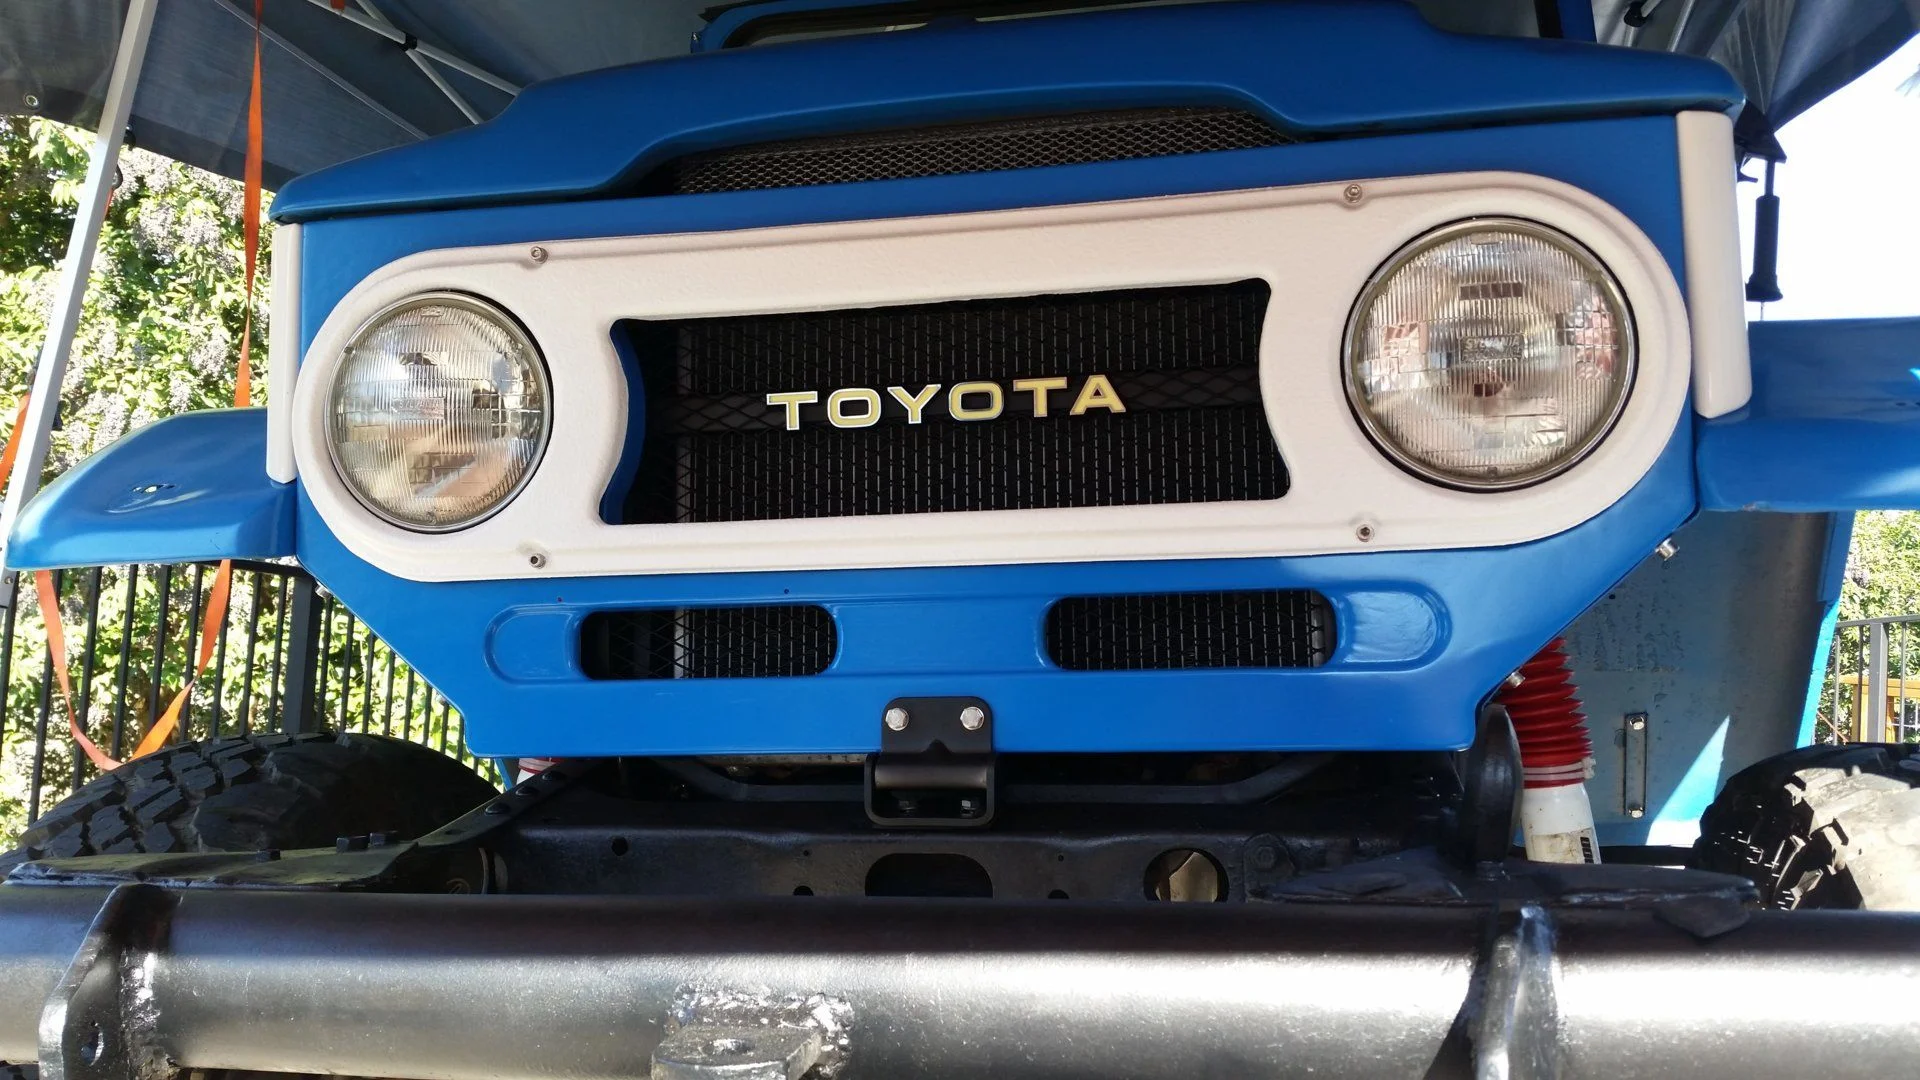
The headlights. You can also see the small side marker here too. Comes with rubber grommet allowing it to snap in to the correct size hole very securely. I had all of the headlight bucket hardware blasted, then baked but with no color. This is what the raw metal looks like with clear.
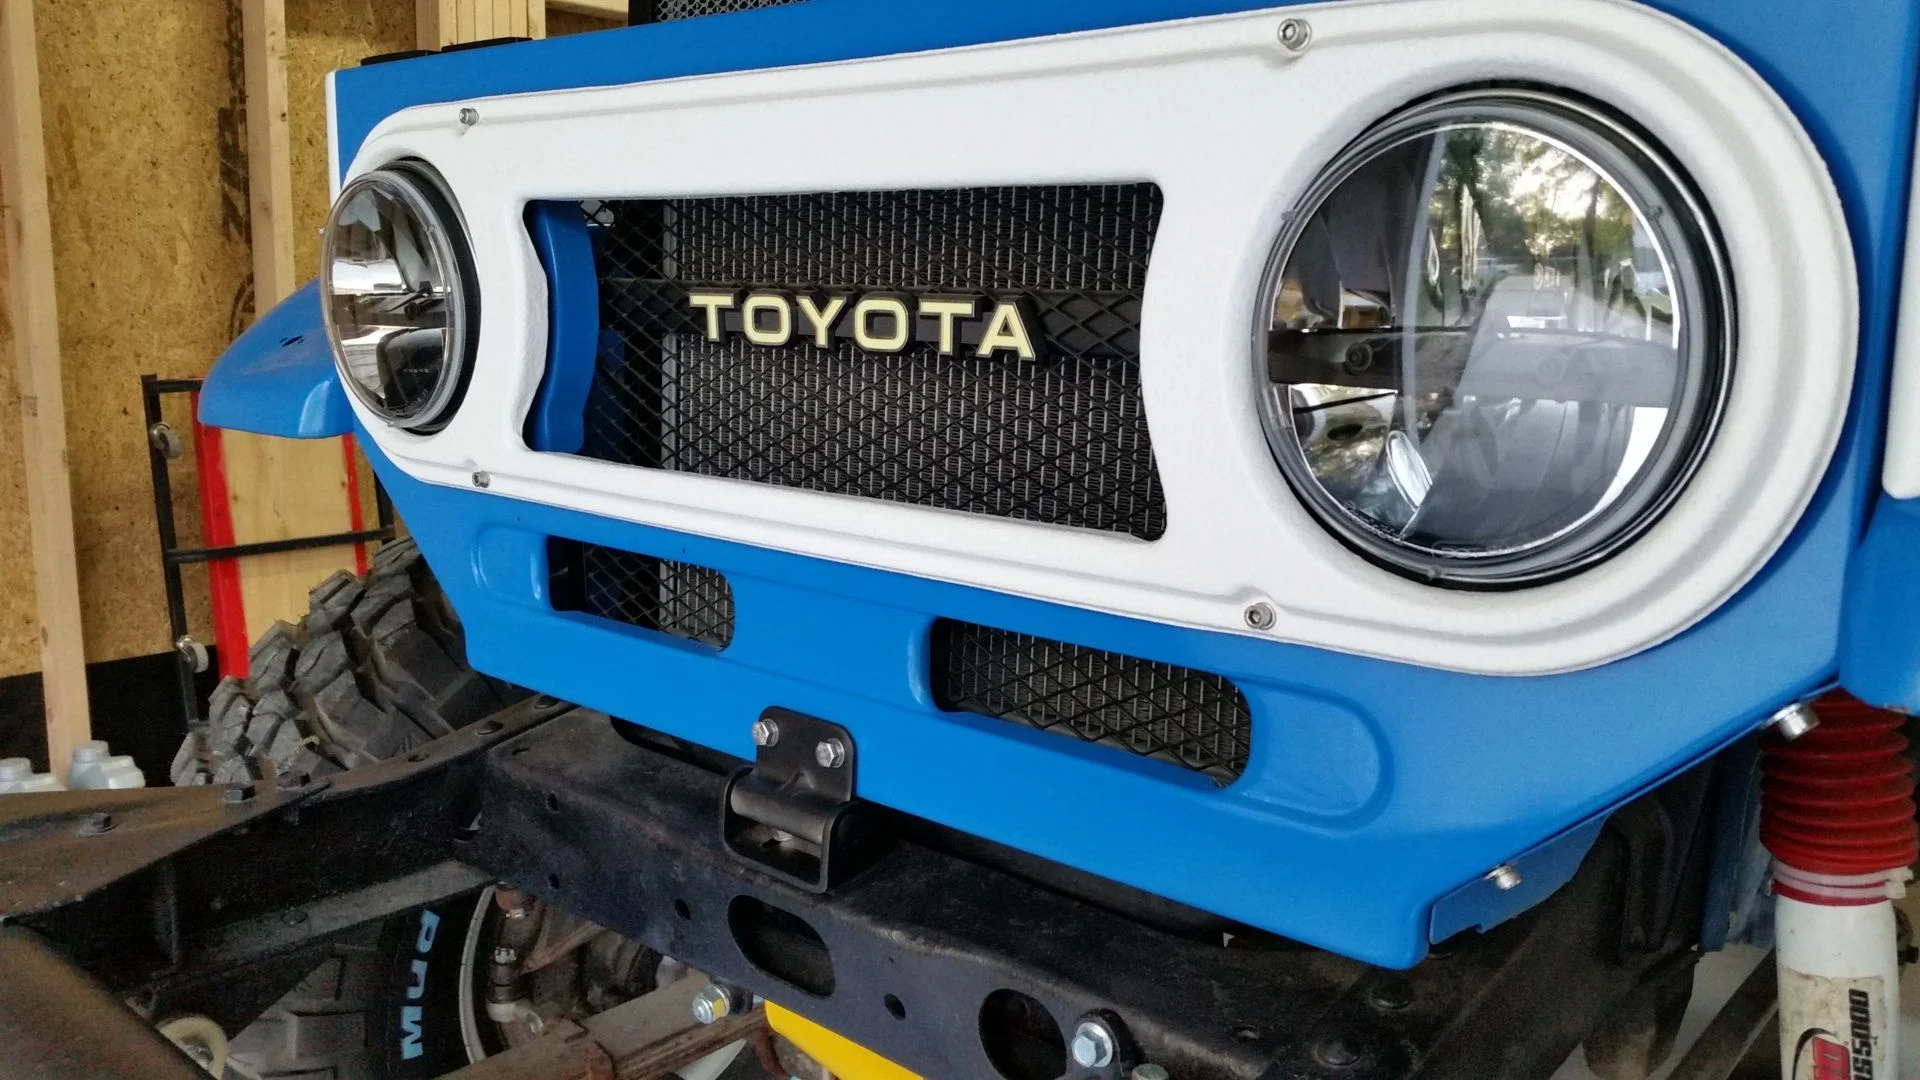
Bezel and headlights all done. I later changed the headlights to TruckLites model 27270C LEDs. They fit perfectly without bucket modification.
Thx Honger... I did a few other under hood parts and brackets raw baked and have a couple more that may get it. Last weekend I welded up and installed a RuffStuff anti-wrap bar. I havent coated it with anything yet, but am leaning towards the clear-raw-baked treatment.
Rollbar.. added a second stock front hoop to the rear and welded them together. Bolted in the spot where the original short hoops would be on the fender well. I have not tied in to the frame yet, but intend to do that. Also attached 3 point seatbelts to the back with 2 of the mounting points being on the rear hoop. You'll see that better when I post the rear seat install.
Seats... I spent a long time evaluating what seats I'd use... aftermarket, FJ-oem, toyota oem... I finally settled on these. All 4 are matching front seats from 2009-2012 Mini Cooper Clubman Sport. I got them for $125 each at LKQ. They are manual adjusting and can raise/lower, slide and recline. They are also narrow enough to get side by side between the fender wells for front facing in the rear. The mounting rails are mostly flat making it easy to build a frame to attach them to. Here's me final testing width and height before making the frames and bolting them in.
You can see the seatbelt mounting points... seatbelts are also Mini Cooper, but rears only (ebay $25 per pair). The only modification is to open it up and reposition the mechanical lock mechanism that prevents the belt from moving under g-forces or tilting in any way. These belts in the mini are mounted at an angle by default - i mounted them vertical so they didnt work right until reset the lock mechanism inside the belt spool. Takes about 5 minutes to do and does not damage or change the effectiveness of the belt to lock or free spool when its supposed to.
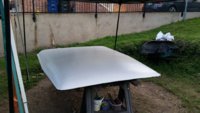
Roof required a restoration. Fiberglass was good, butt he windshield top cap was pretty rusty. I cut off the bad stuff and welded in some new metal.
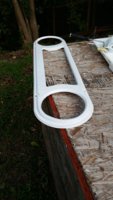
Also had to buy or make a new front piece for rain gutter - I opted to make.
Rather than using rivets, I used button head stainless bolts and lock nuts for the top cap and gutter.
Finished it off with 2 coats of MonstaLiner.
Had some Monstaliner left over so I did the grill too.
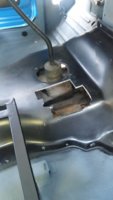
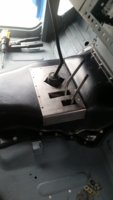
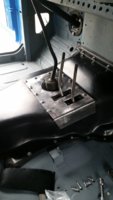
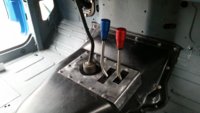
Tranny Hump
The original was total trash. i bought one of the fiberglass units from Jt outfitters. I had to cut it up a bit to allow the twin stick conversion and didnt like the way it turned out. Made a plate to cover the old holes.
Bent the shifters in a little to be closer to reach.
Linkage reattached
I dont have boots on it yet, but I do have some silicon sheet underneath.
Original dash was toast from the very beginning along with the wiring harness. I set out to build both from scratch. Here is the beginning of the dash underlying structure.
I covered the frame with 16 gauge steel sheet, then made cutouts for 1/8 inch aluminum plate for gauge cluster and glove box. The one-off wiring harness terminates behind glove box.
Gauge cluster is all Auto-Meter Z Series with white LED bulbs. Additional LEDS for turn signal indicators, hi beam and brake.
Pull knob on left is the choke. Silver button on right is starter. Turn key to run position, hit the button.
In the center is a switch console I made. Switch panel is custom made by Matt at 12voltunlimited.com Labels are Blue led lit. Switch in ON position lights up the green led above the label. He can make anything you want, all colors, any text, any size, with switches or without. I used my own switches - position locking water-proof. Also added 2 usb socket chargers, 1 each side and topped it off with 3 ram-mounts.
The center ram-mount gets 7" screen for b/u cam - autosensing when put in reverse. Going to eventually switch it out to a 10" touch screen with autosensing and also connect rpi based car-pc to run music and navigation.
Glovebox door has custom shift plate from mud member @shipmag ... He has several configuration to choose from to include the common swaps owner's do. Mine is stock 4 sp with twin stick. He really does a good job with these.
They're easy to mount. Mark your holes, secure the edges of the plate so they dont lift when drilling, and bolt or rivet them wherever you want.
The hinge I used is something I found at homedepot.
Finished it of with a push button latch from Amazon, $8.
I still intend to fab some sort of tray or box to go behind the door, but for now left it open for easier access to the fuse panels as I'm still tinkering with adding things, like the rpi for nav and music.