Compressor
I highly recommend buying a new/re manufactured compressor if you’re going to be doing this install. It would be horrible to go through all this work only to find out the compressor you have is leaking. I bought mine at AutoZone, and since I got the A/C install kit which came with the drier, expansion valve, and A/C schrader valves I qualify for a lifetime warranty on it – which is awesome!
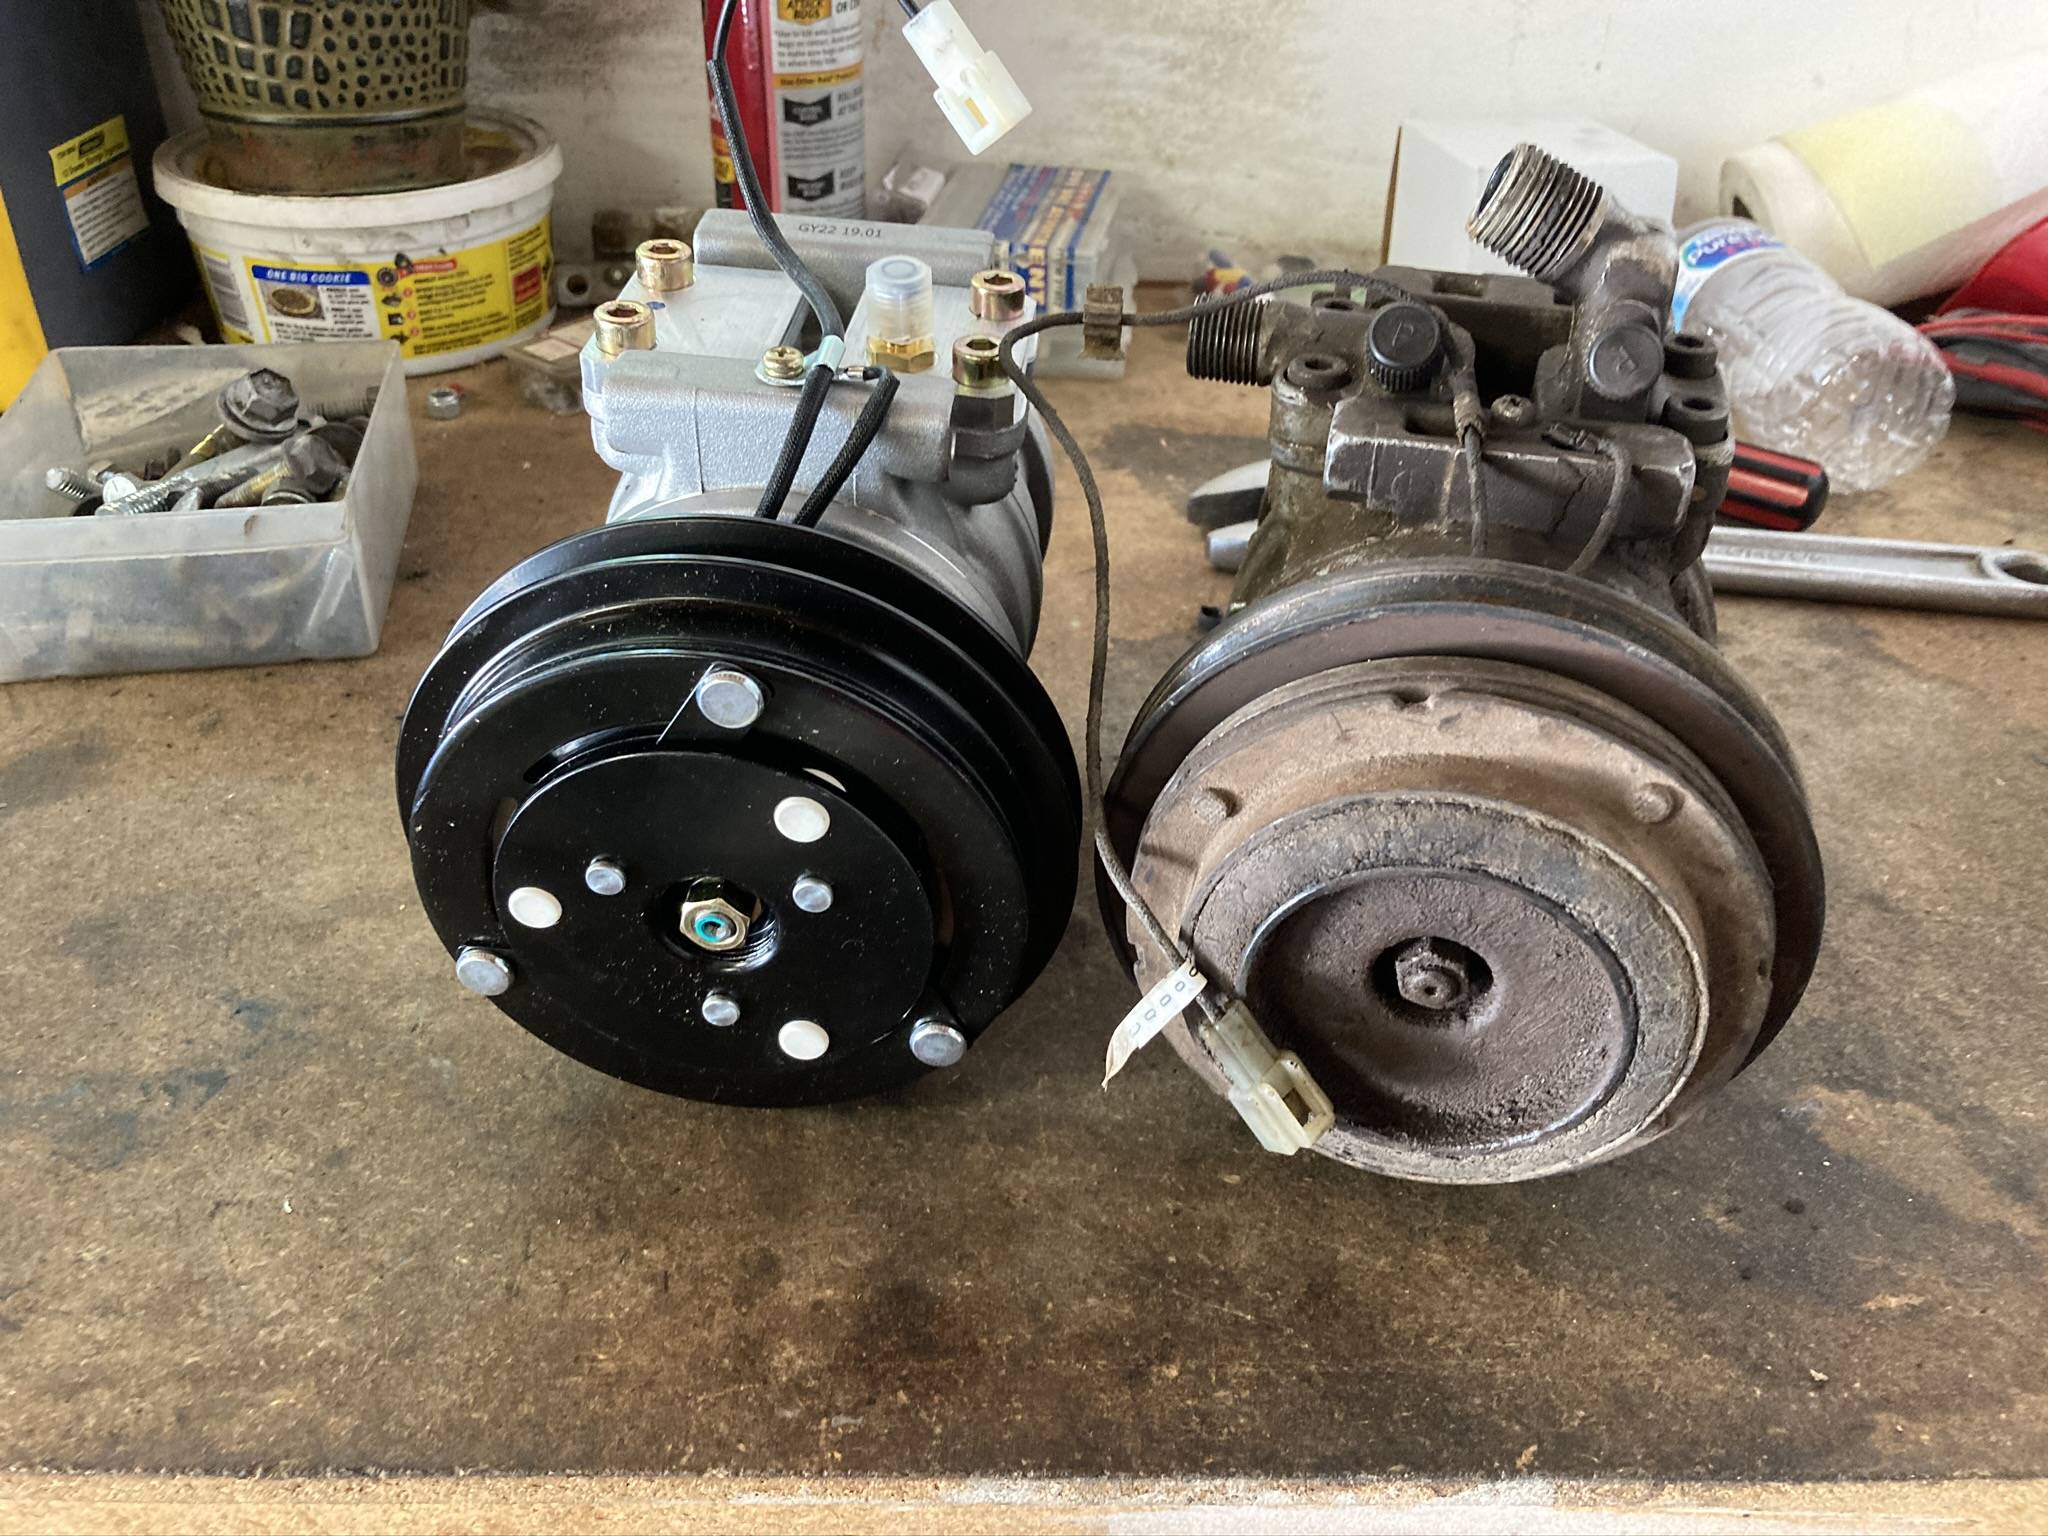
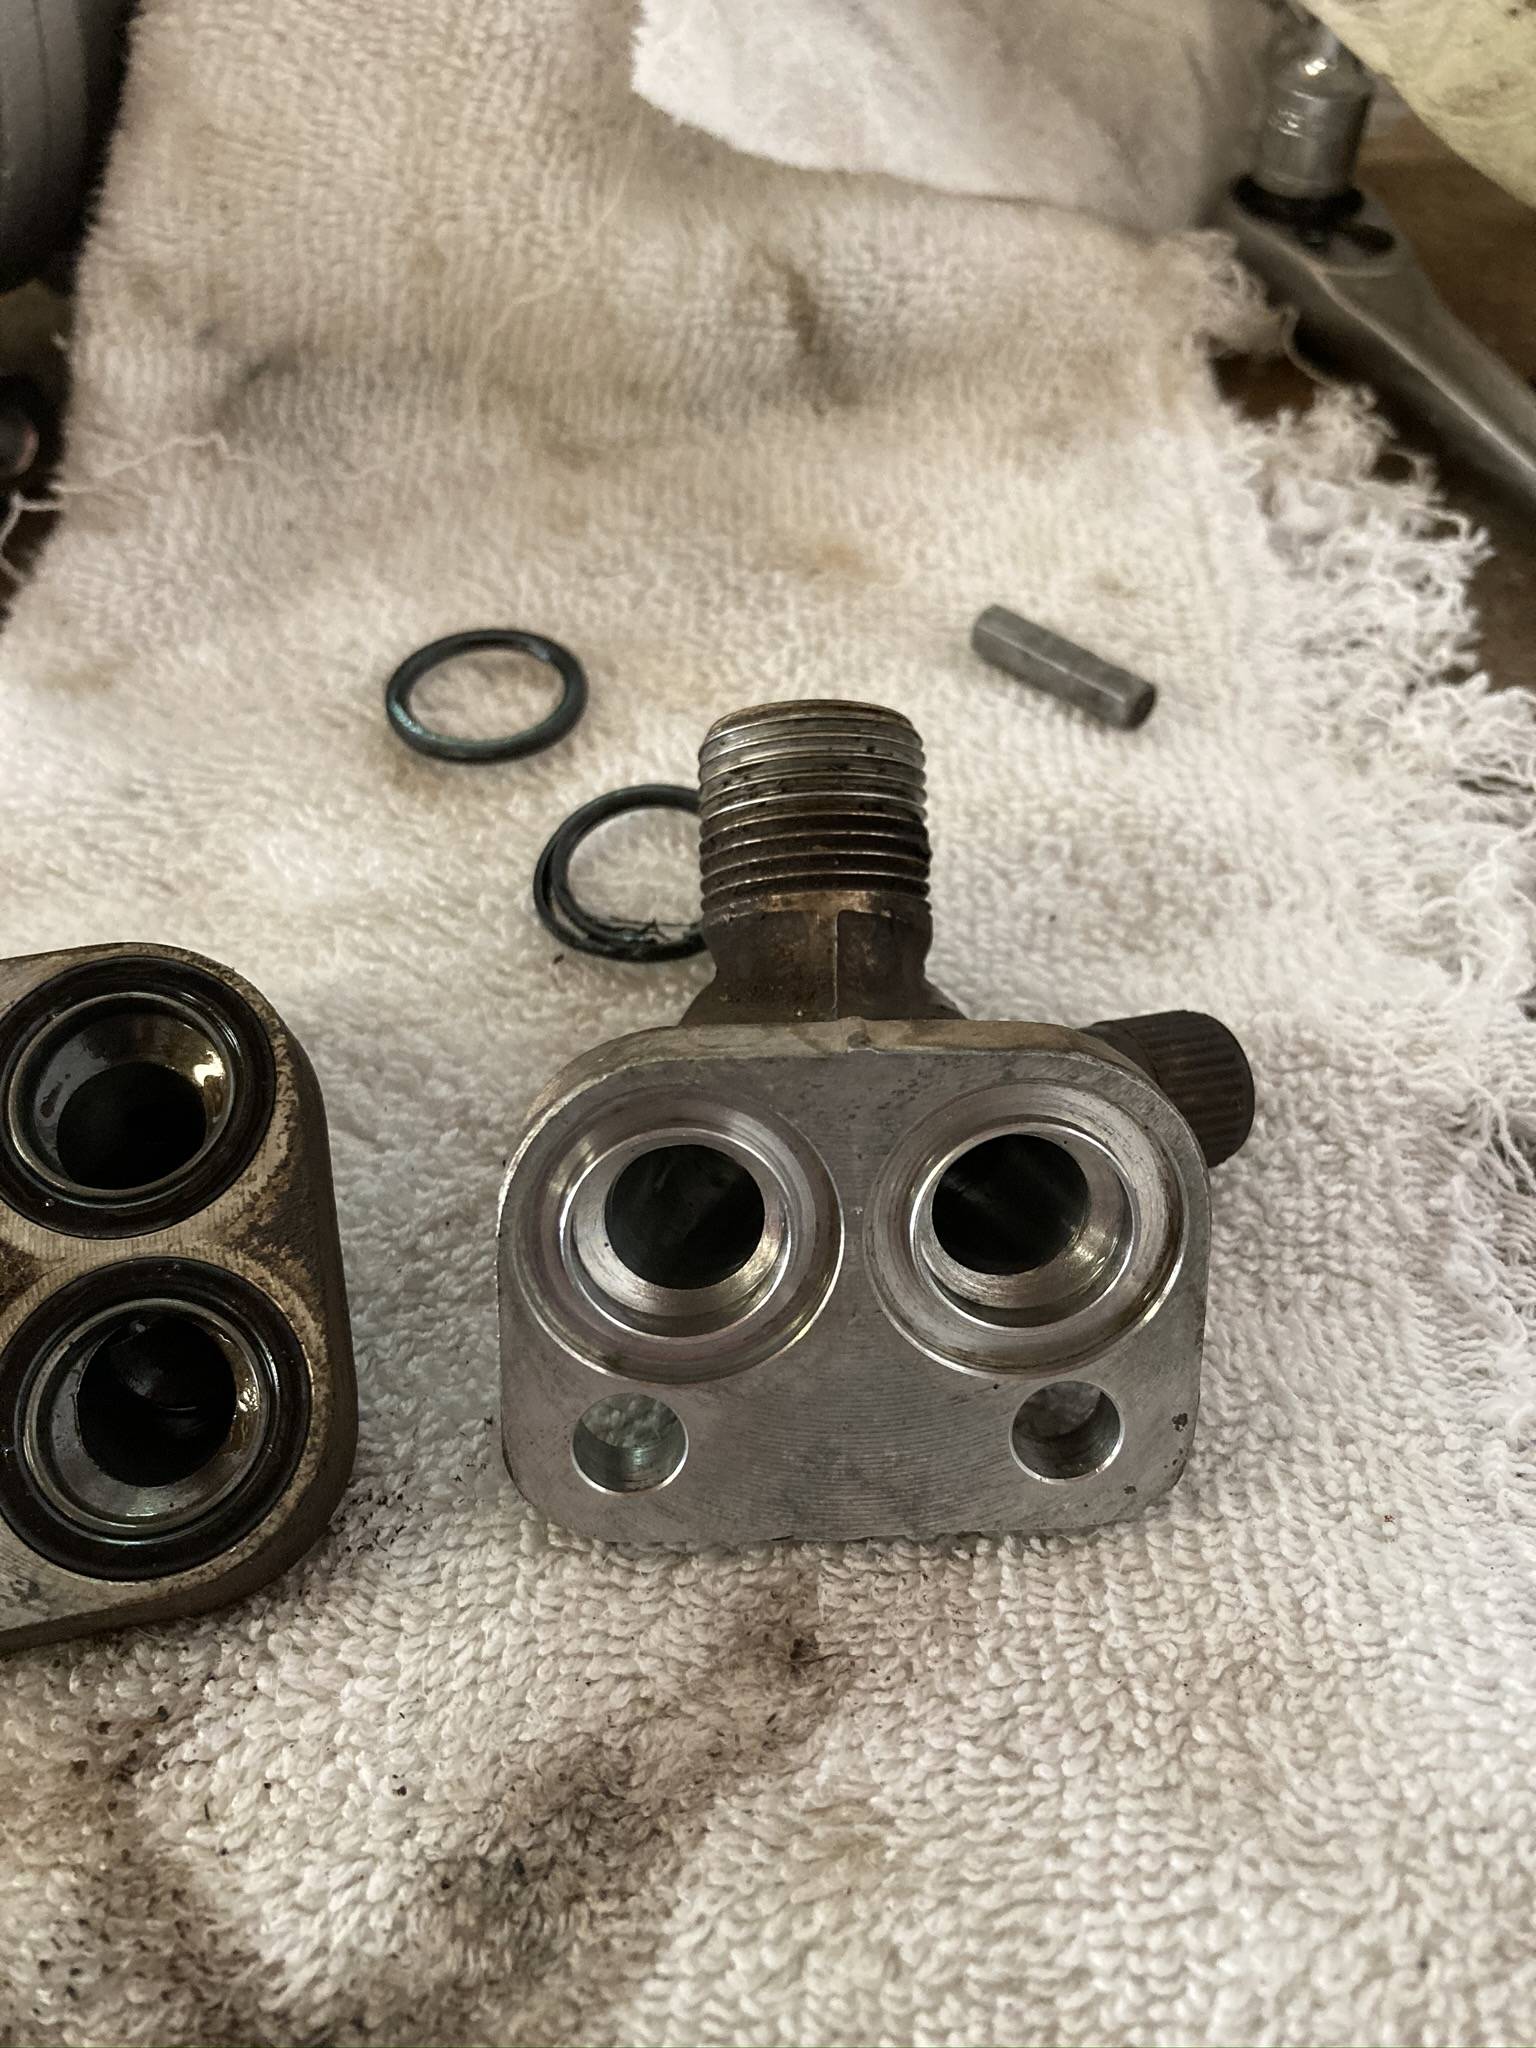
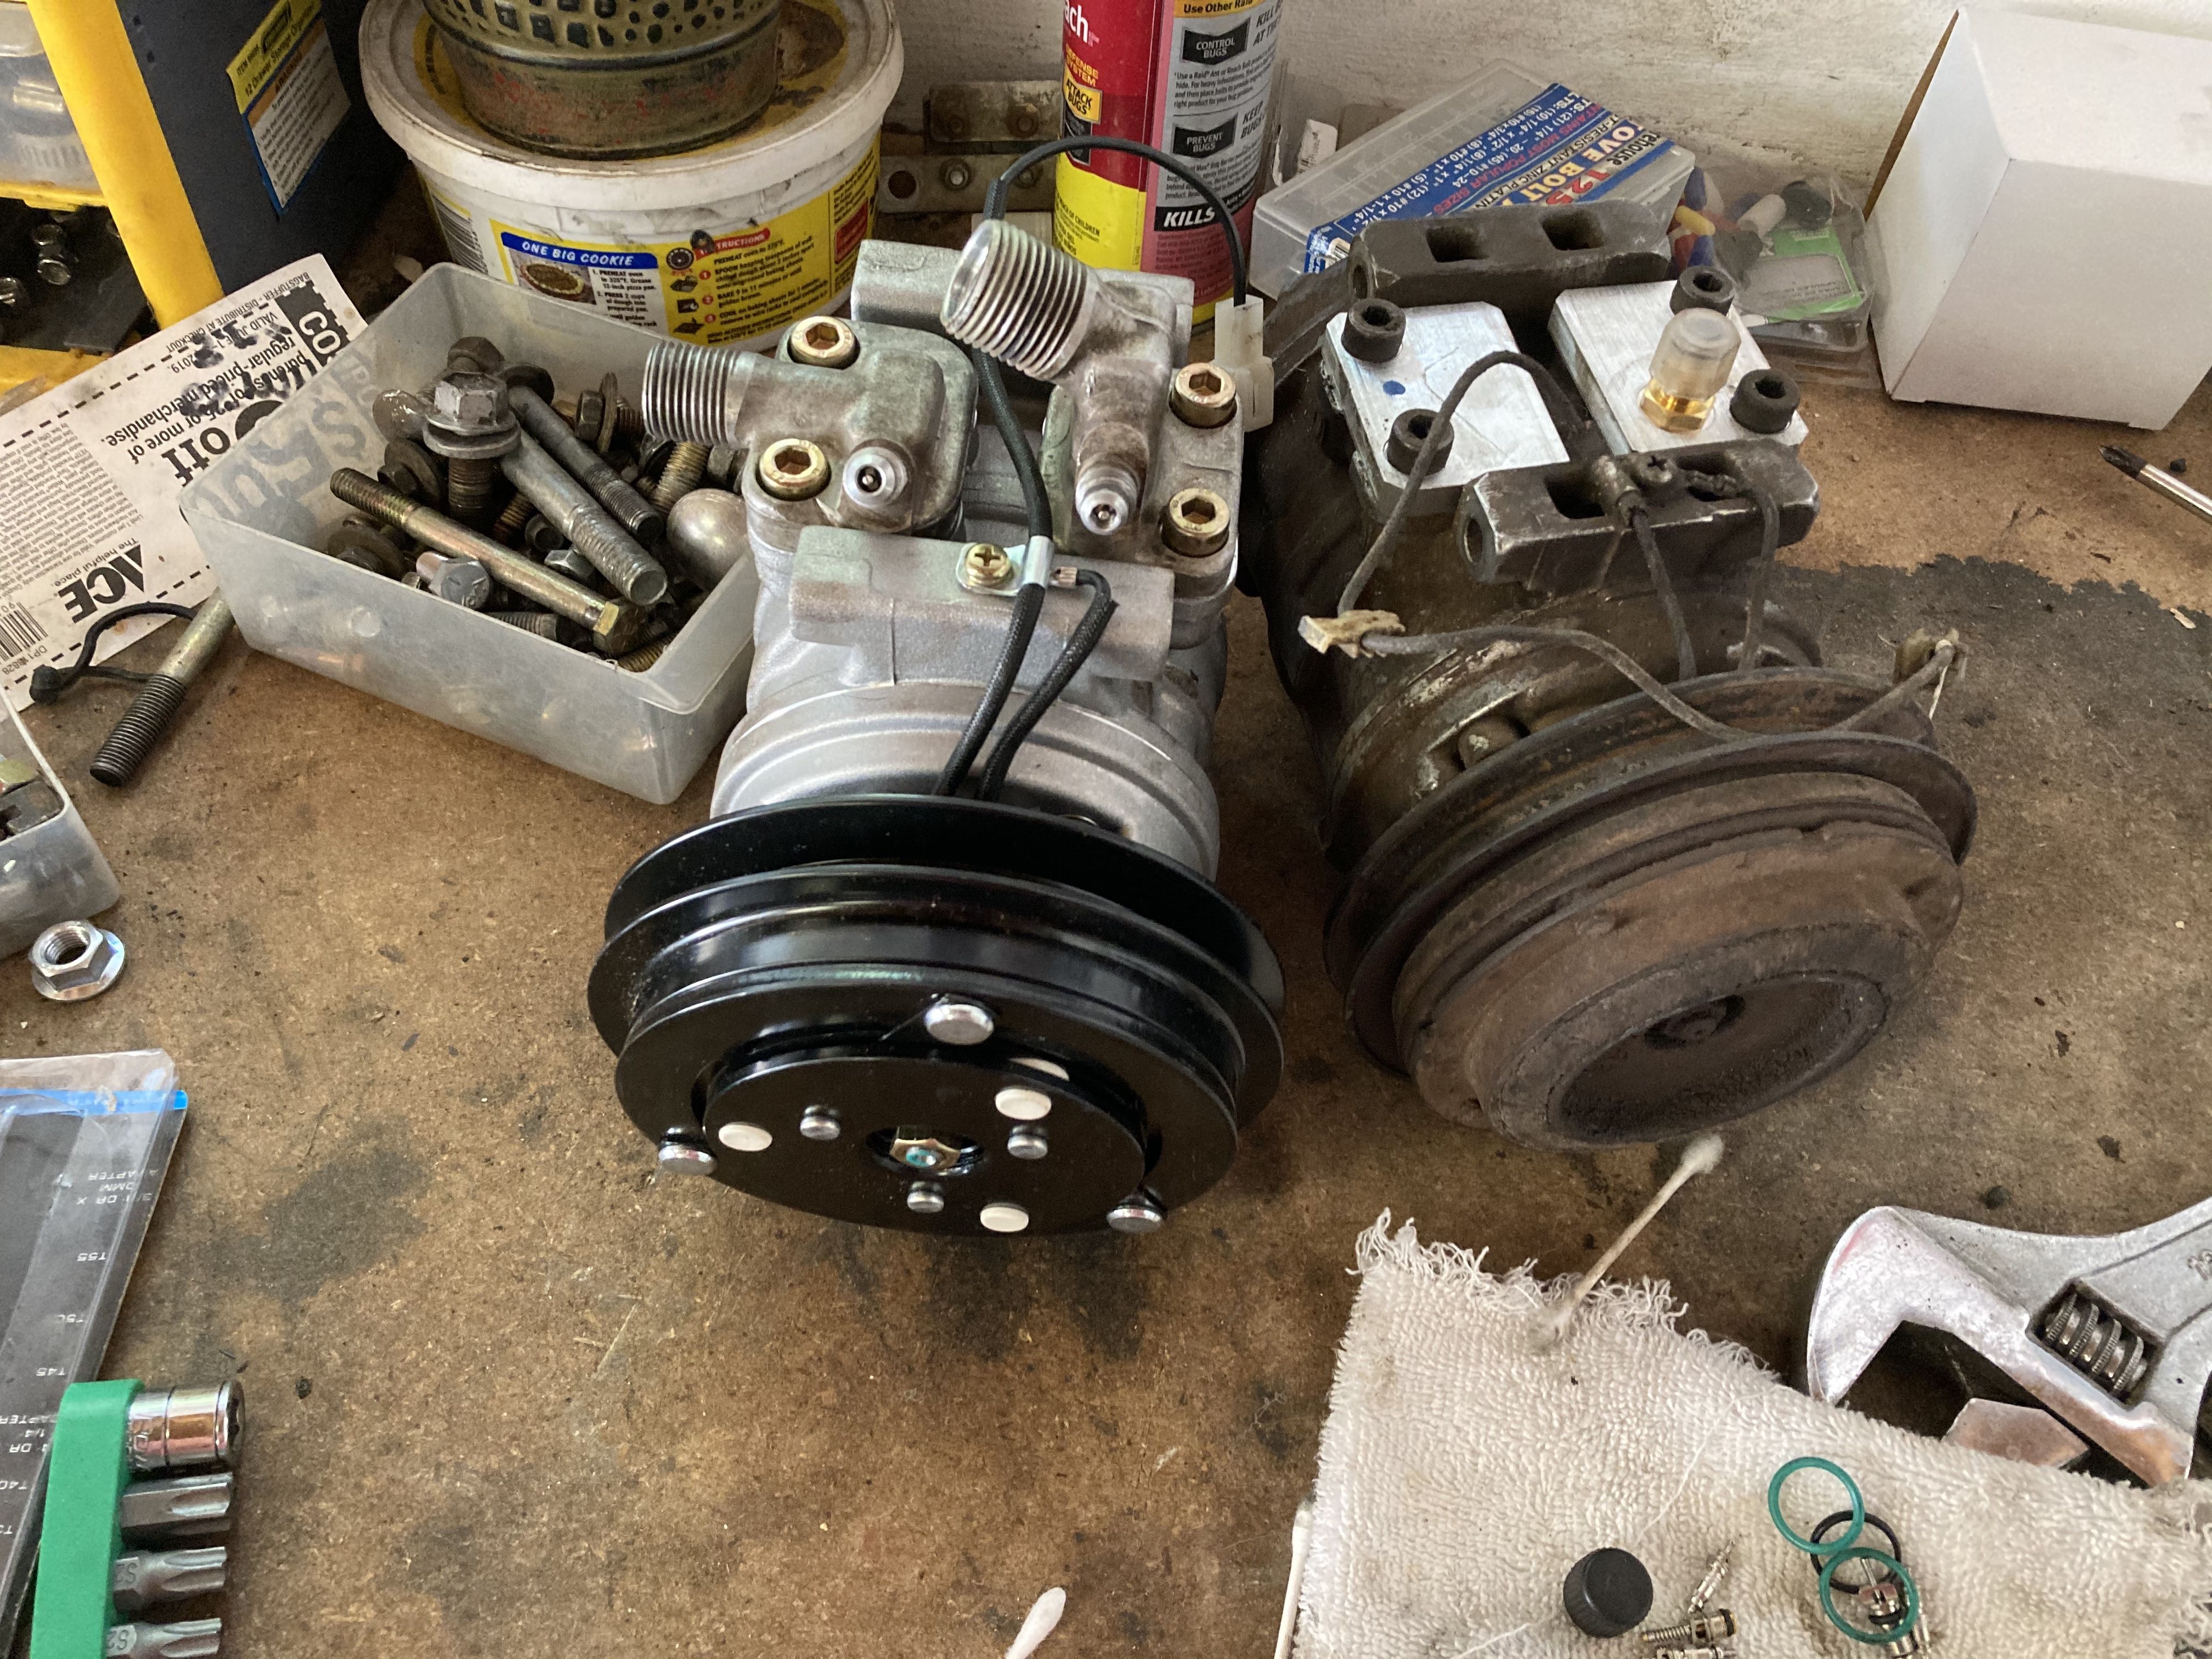
When you buy your new compressor put it next to your old one so you can make sure it’s the same. You’re going to notice that your new compressor doesn’t have the fitting for the A/C lines to go.
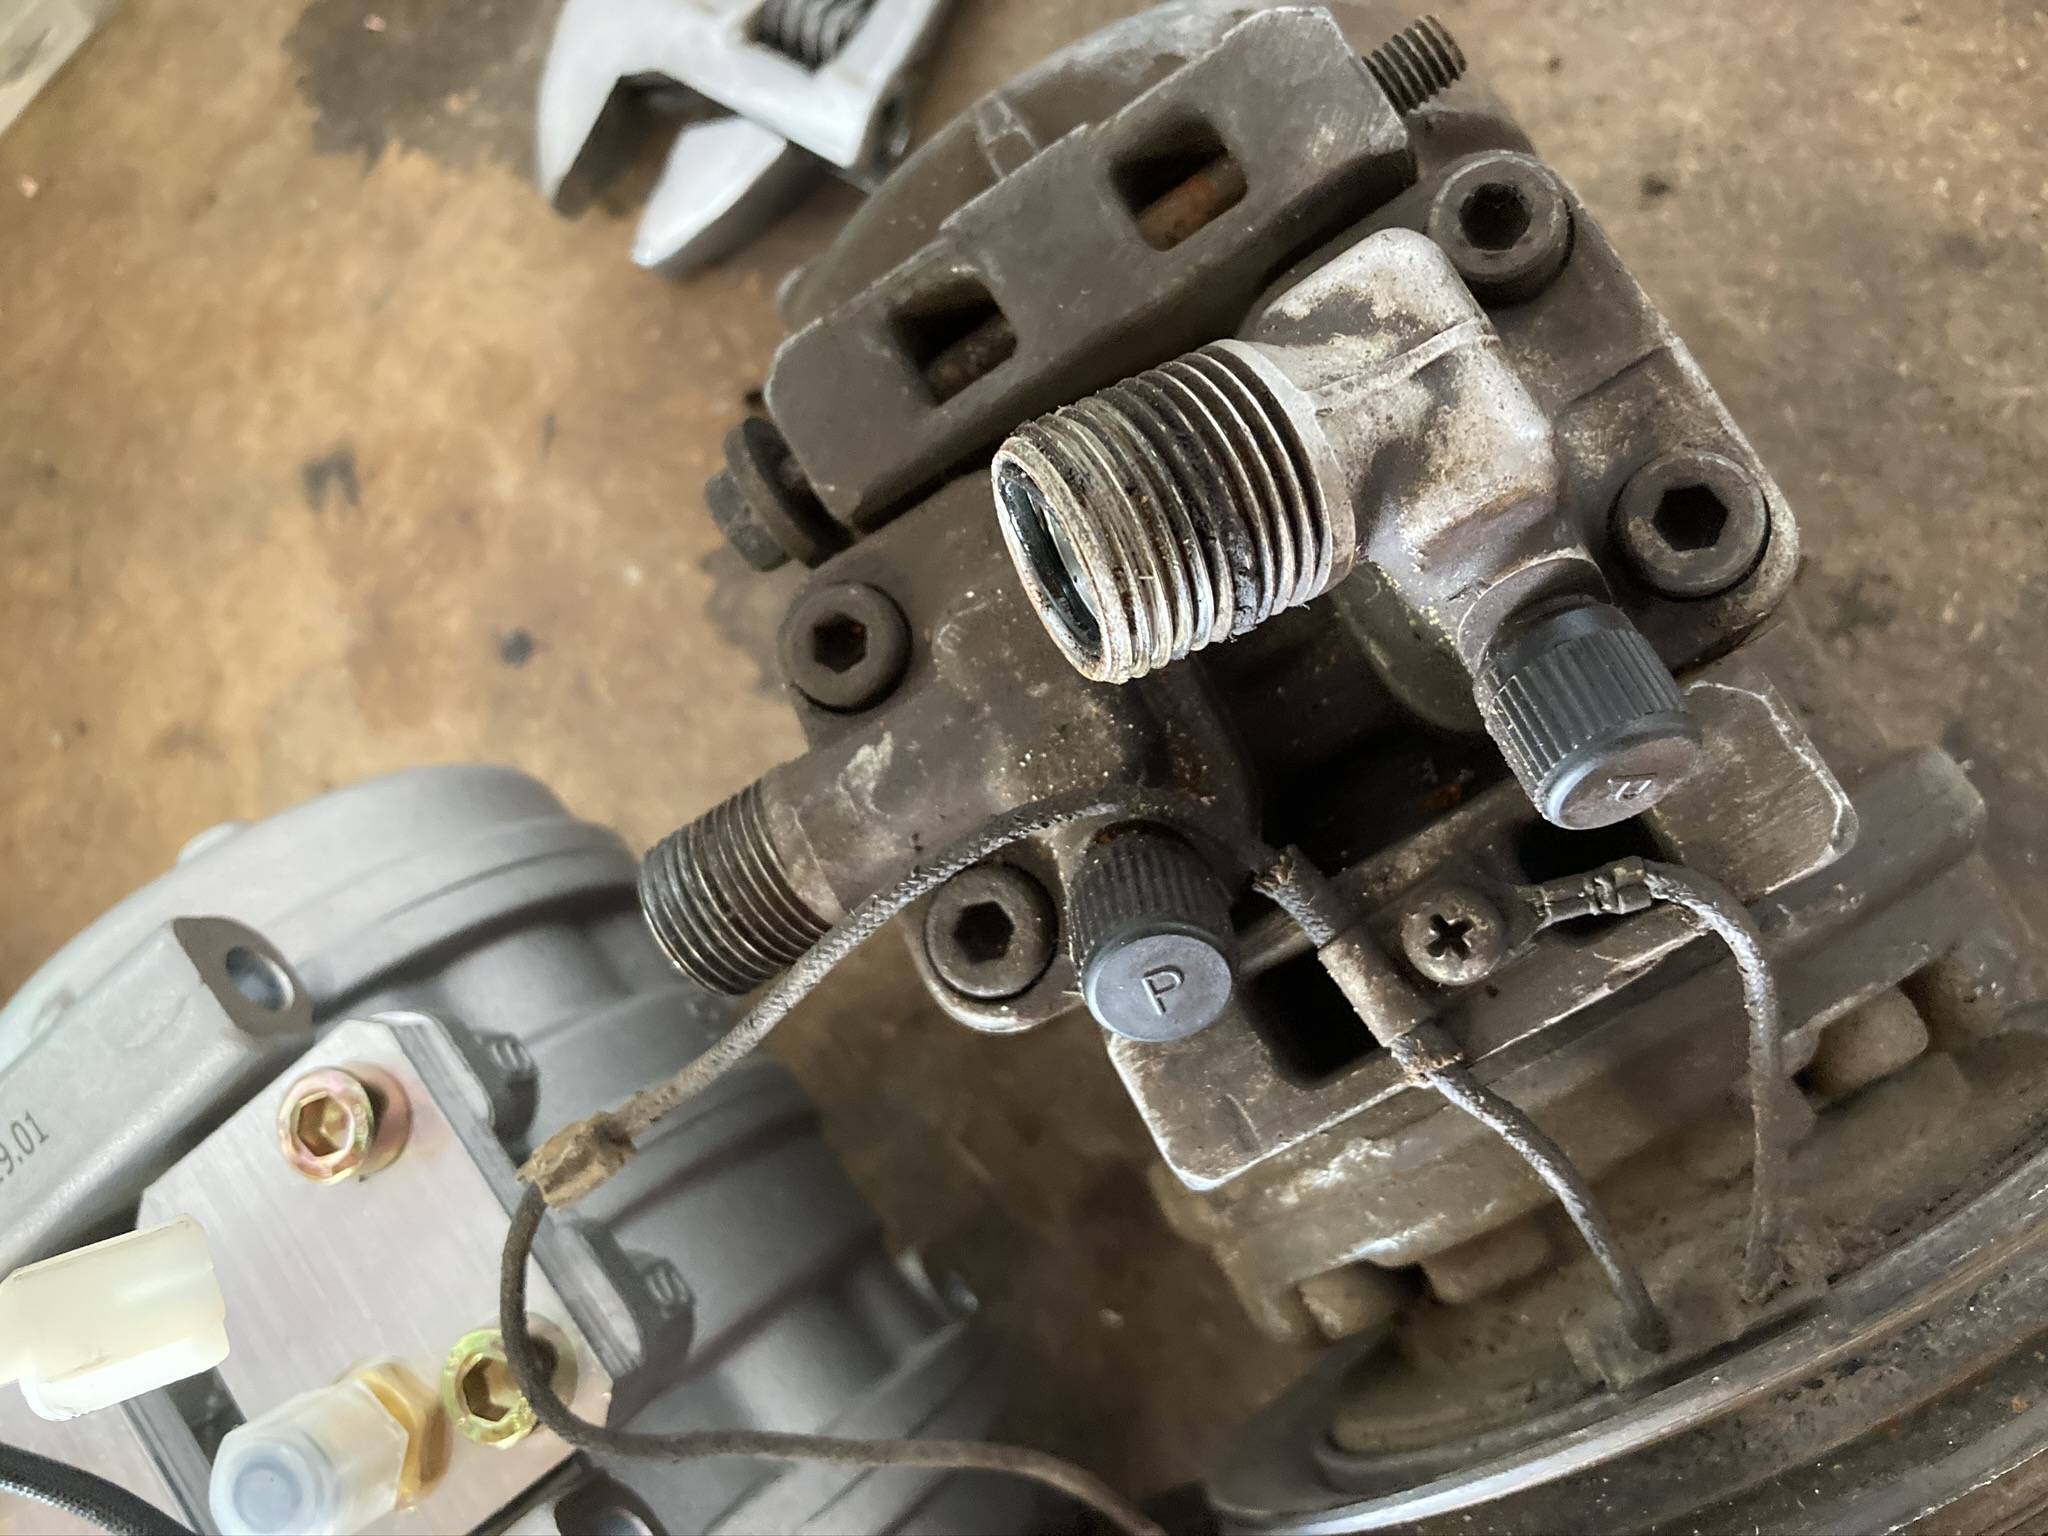
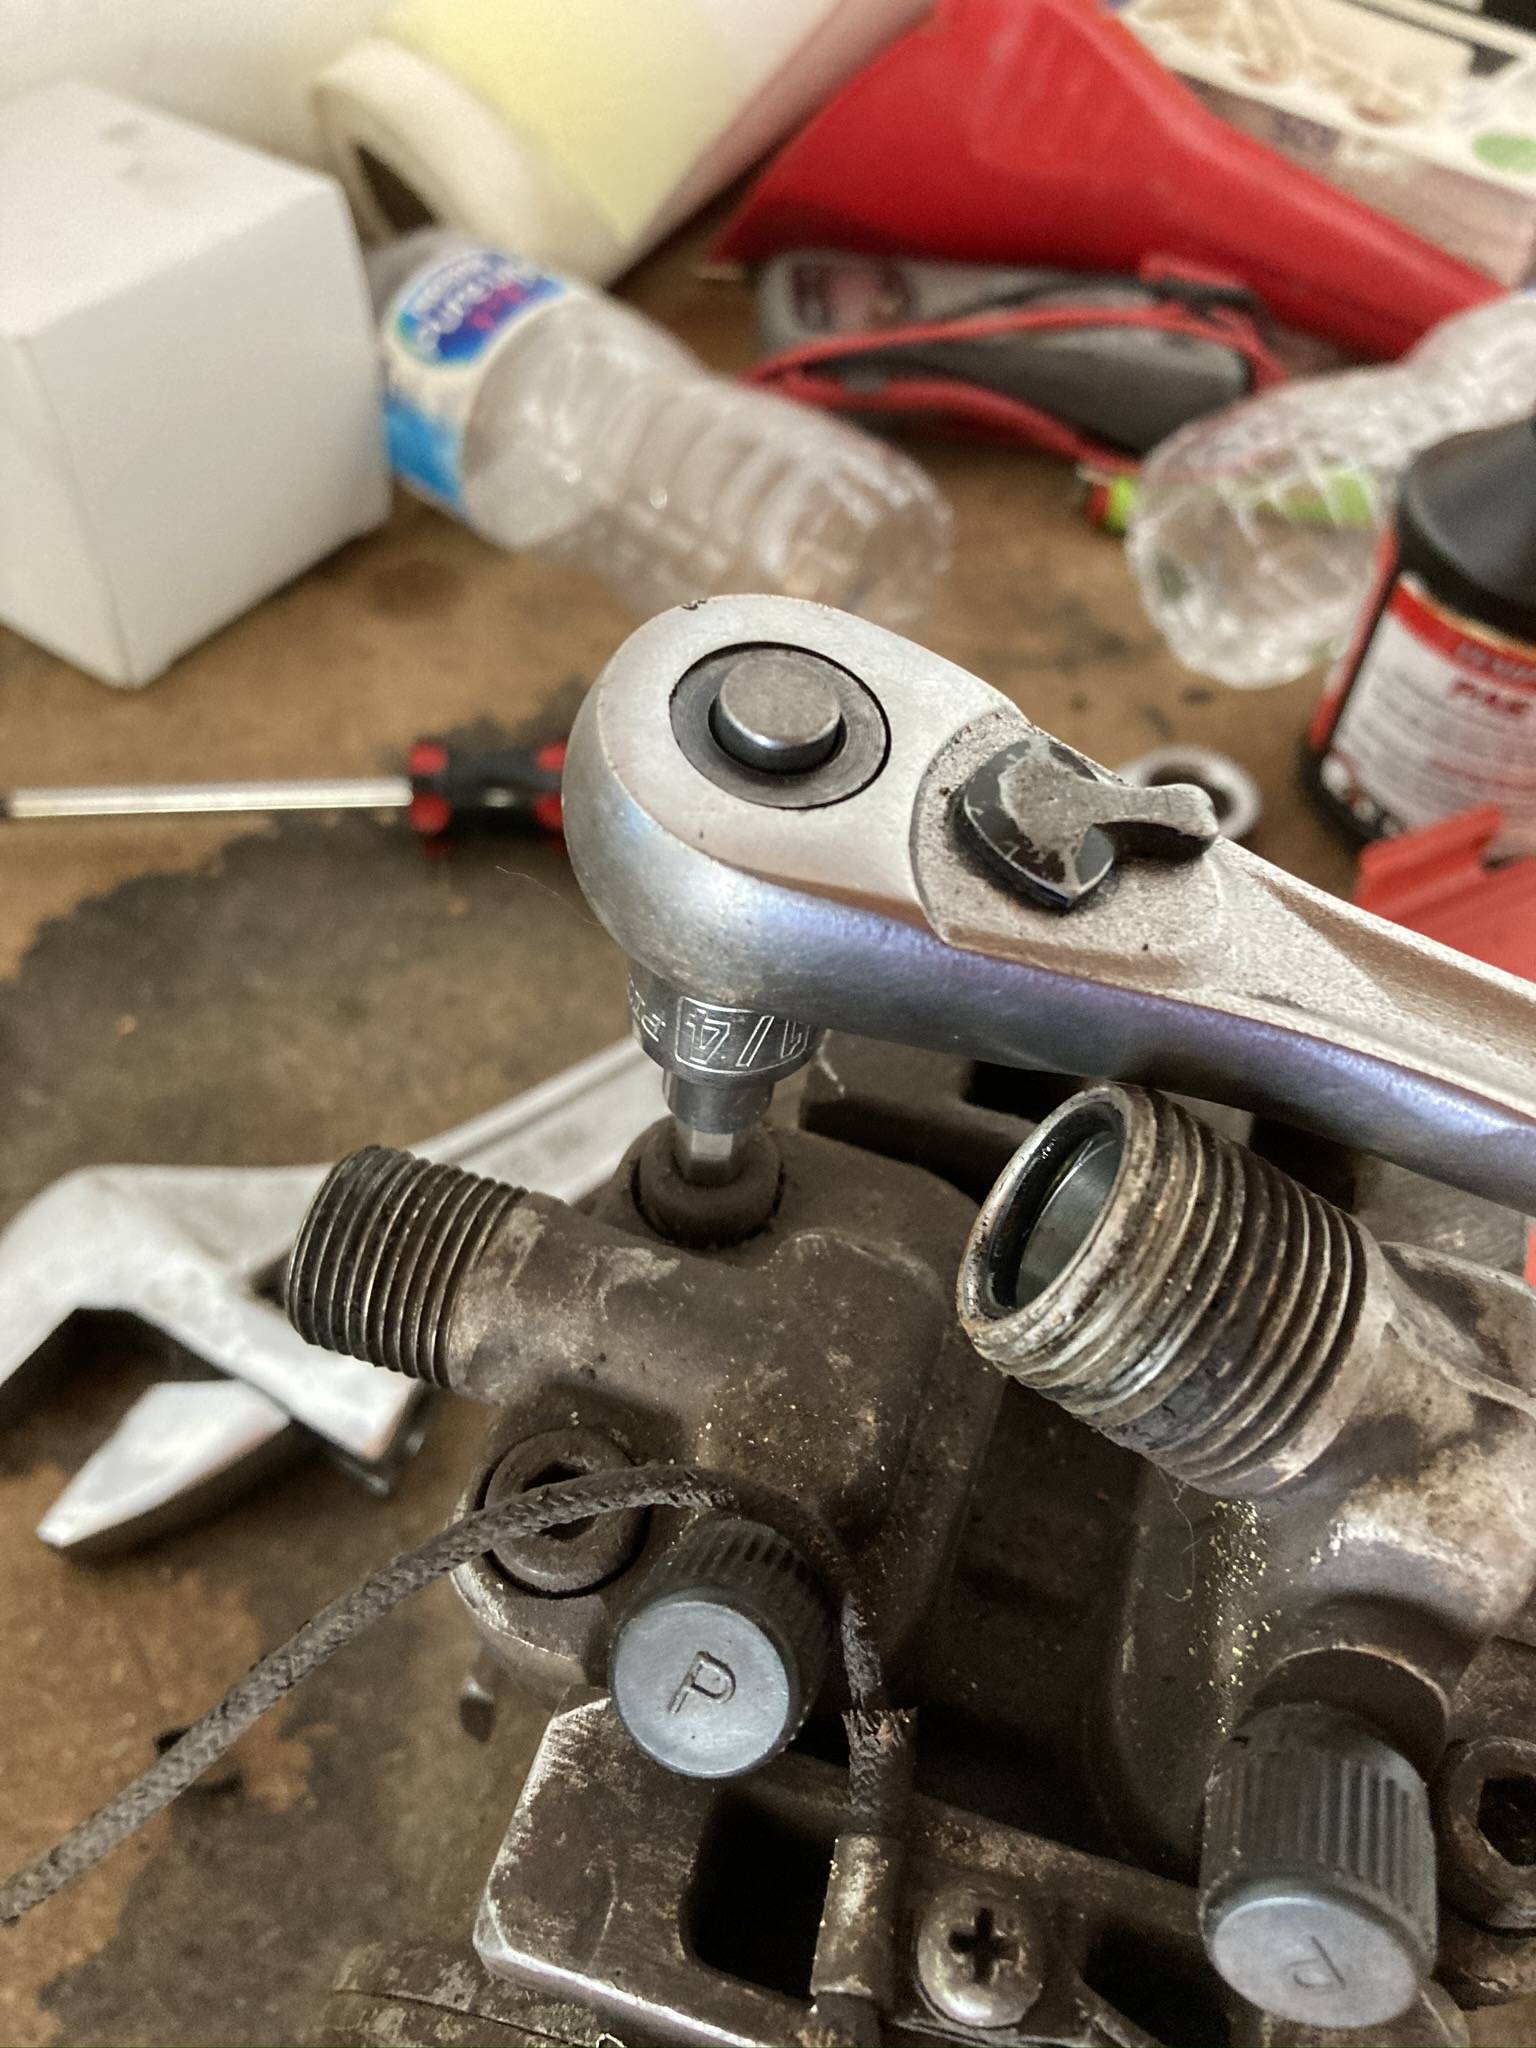
You’re going to need to remove those fitting off of the old compressor and install them on the new one. To remove them you’re going to need a #7 metric allen key and a socket to break those screws loose. Once they’re loose, take them out and they’re going to pop right off the old compressor. You’re also going to remove the caps on the new compressor.
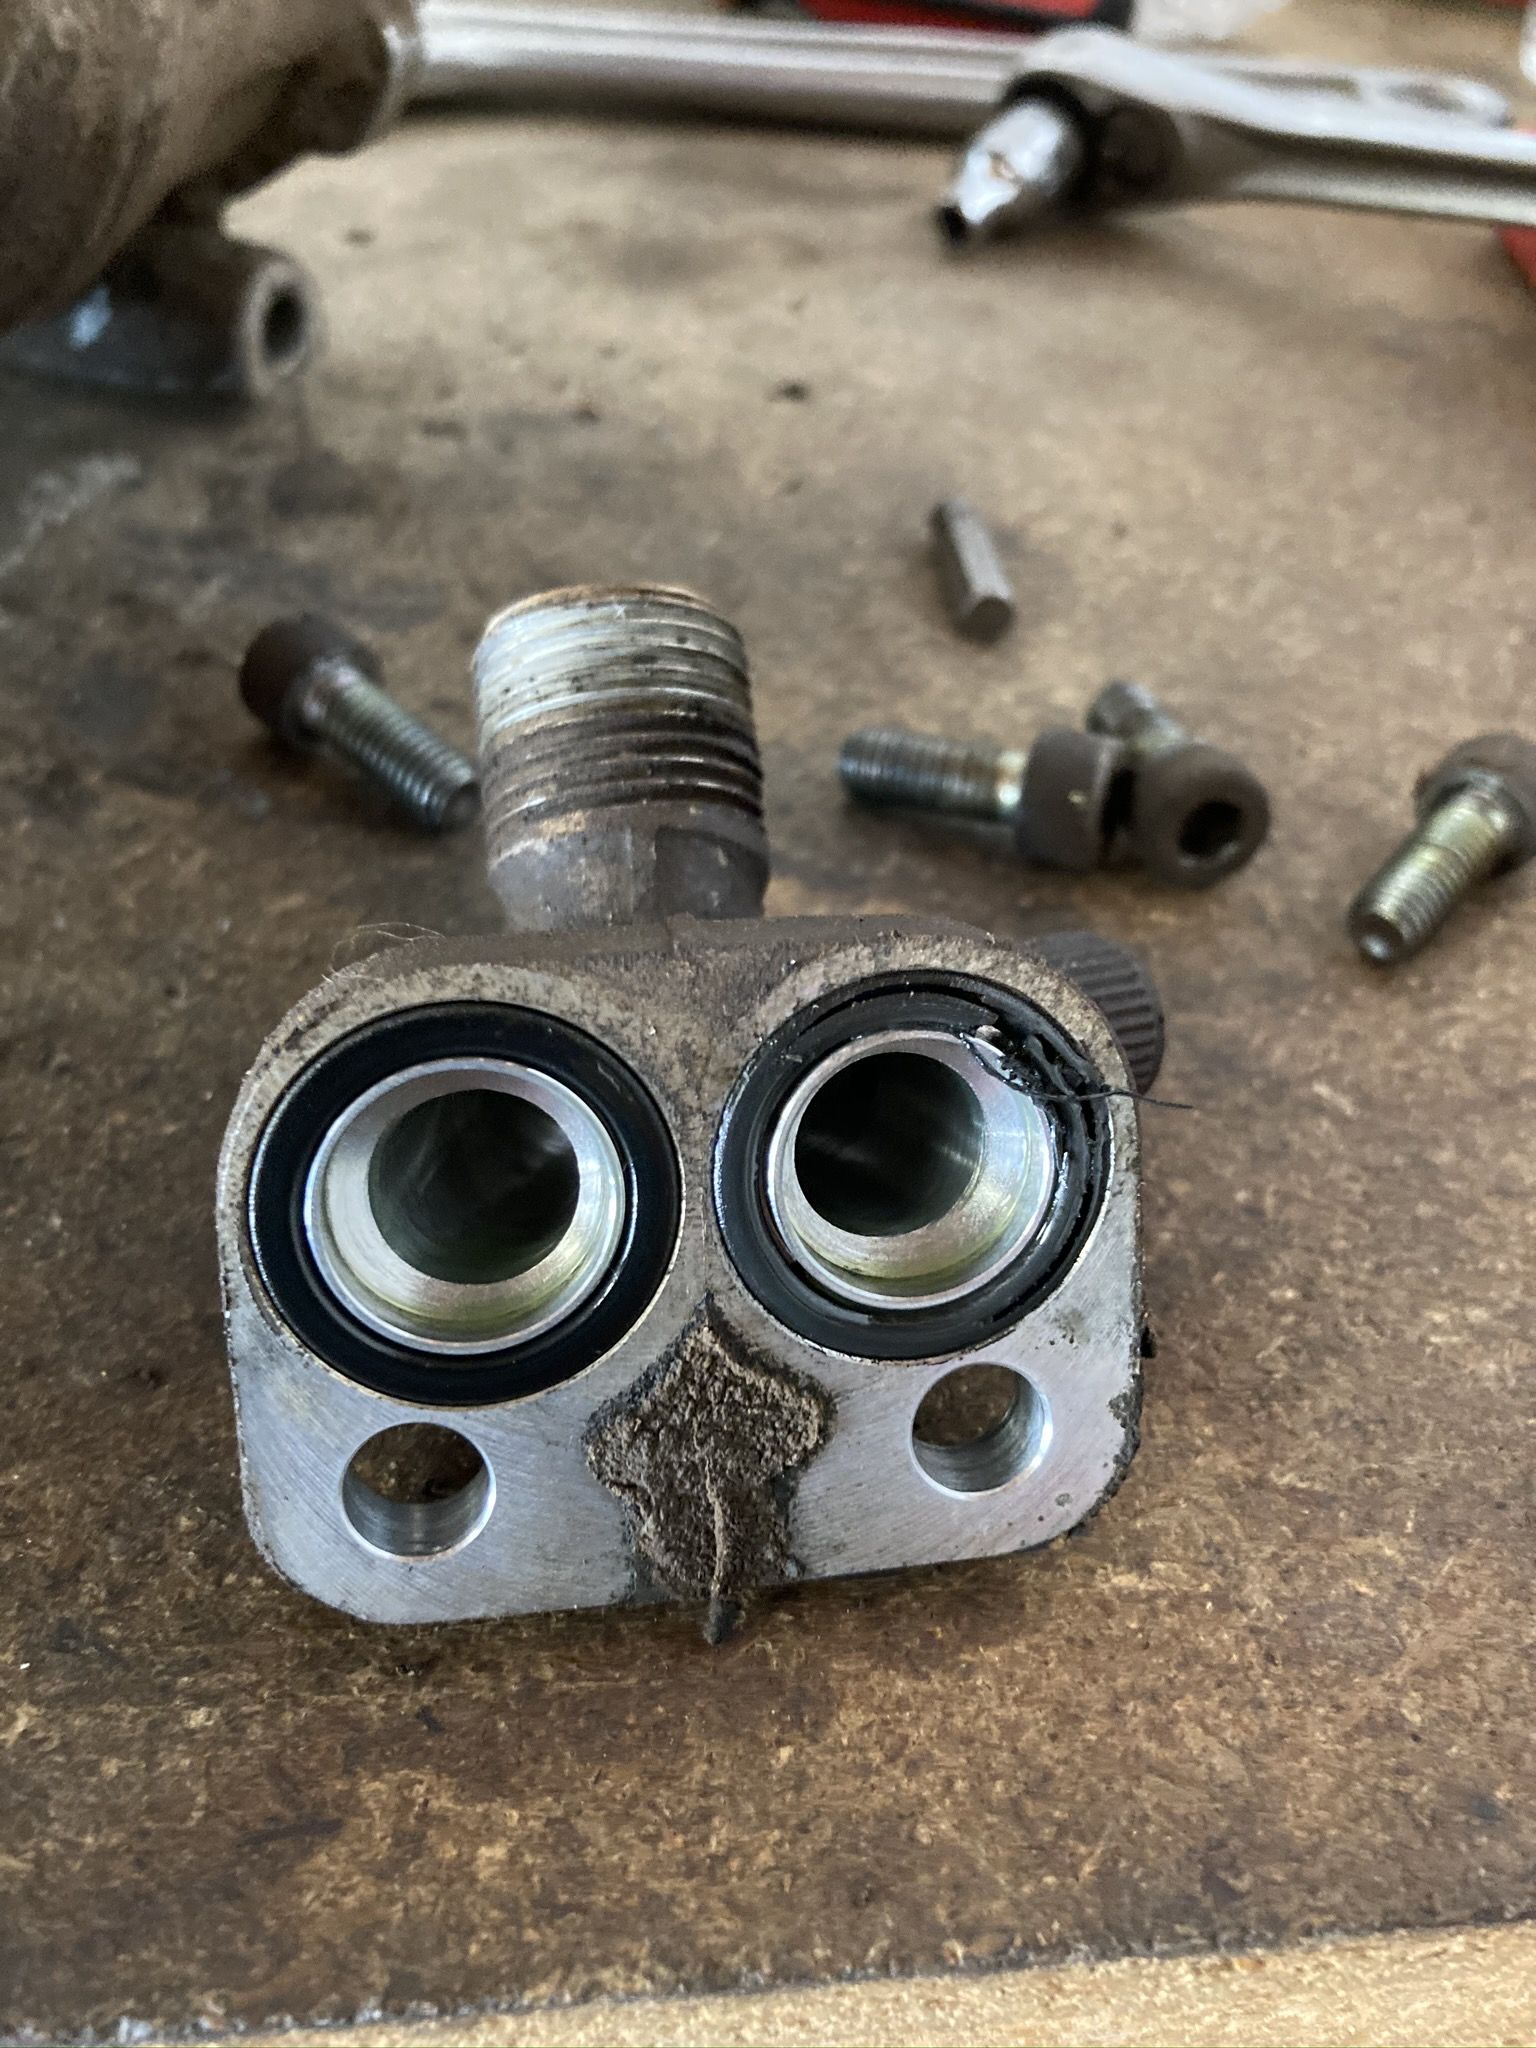
With these fittings off I cleaned them off with some brake cleaner and a rag. DO NOT use any type of brush to clean these. You don’t want to scuff the mating surface where they meet the new compressor. Replace the O-Rings on these and reinstall them on your new compressor.
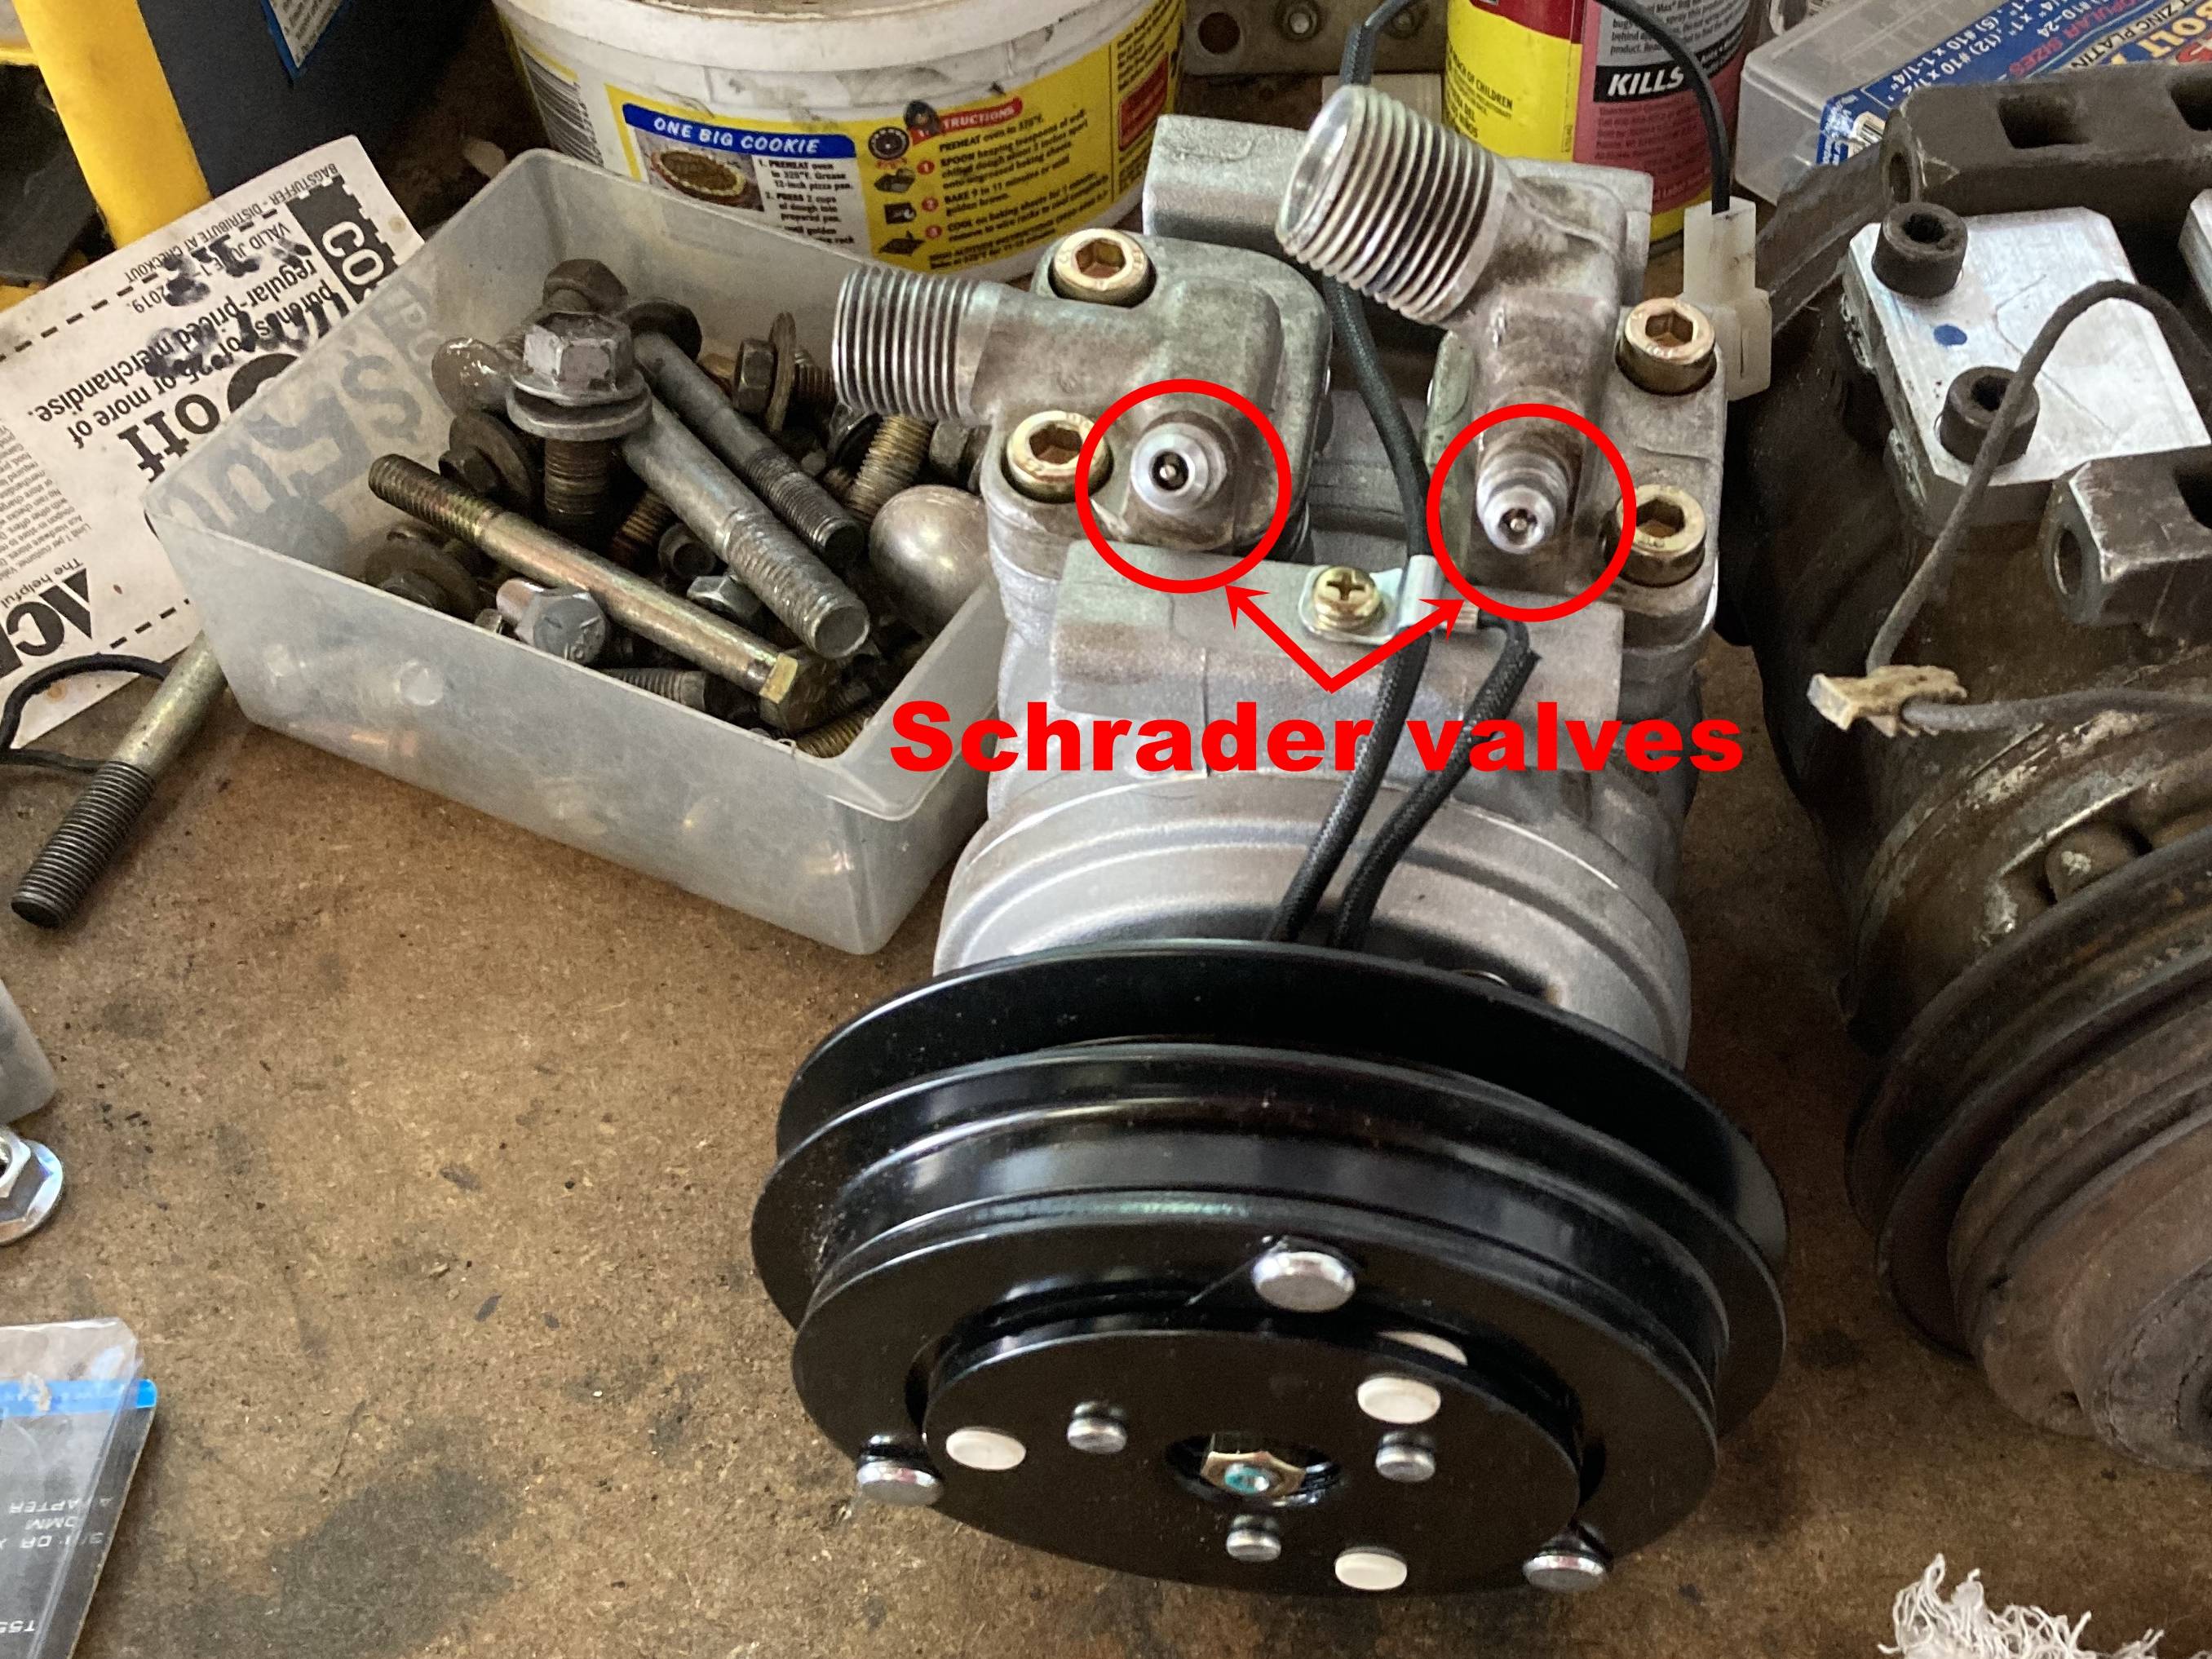
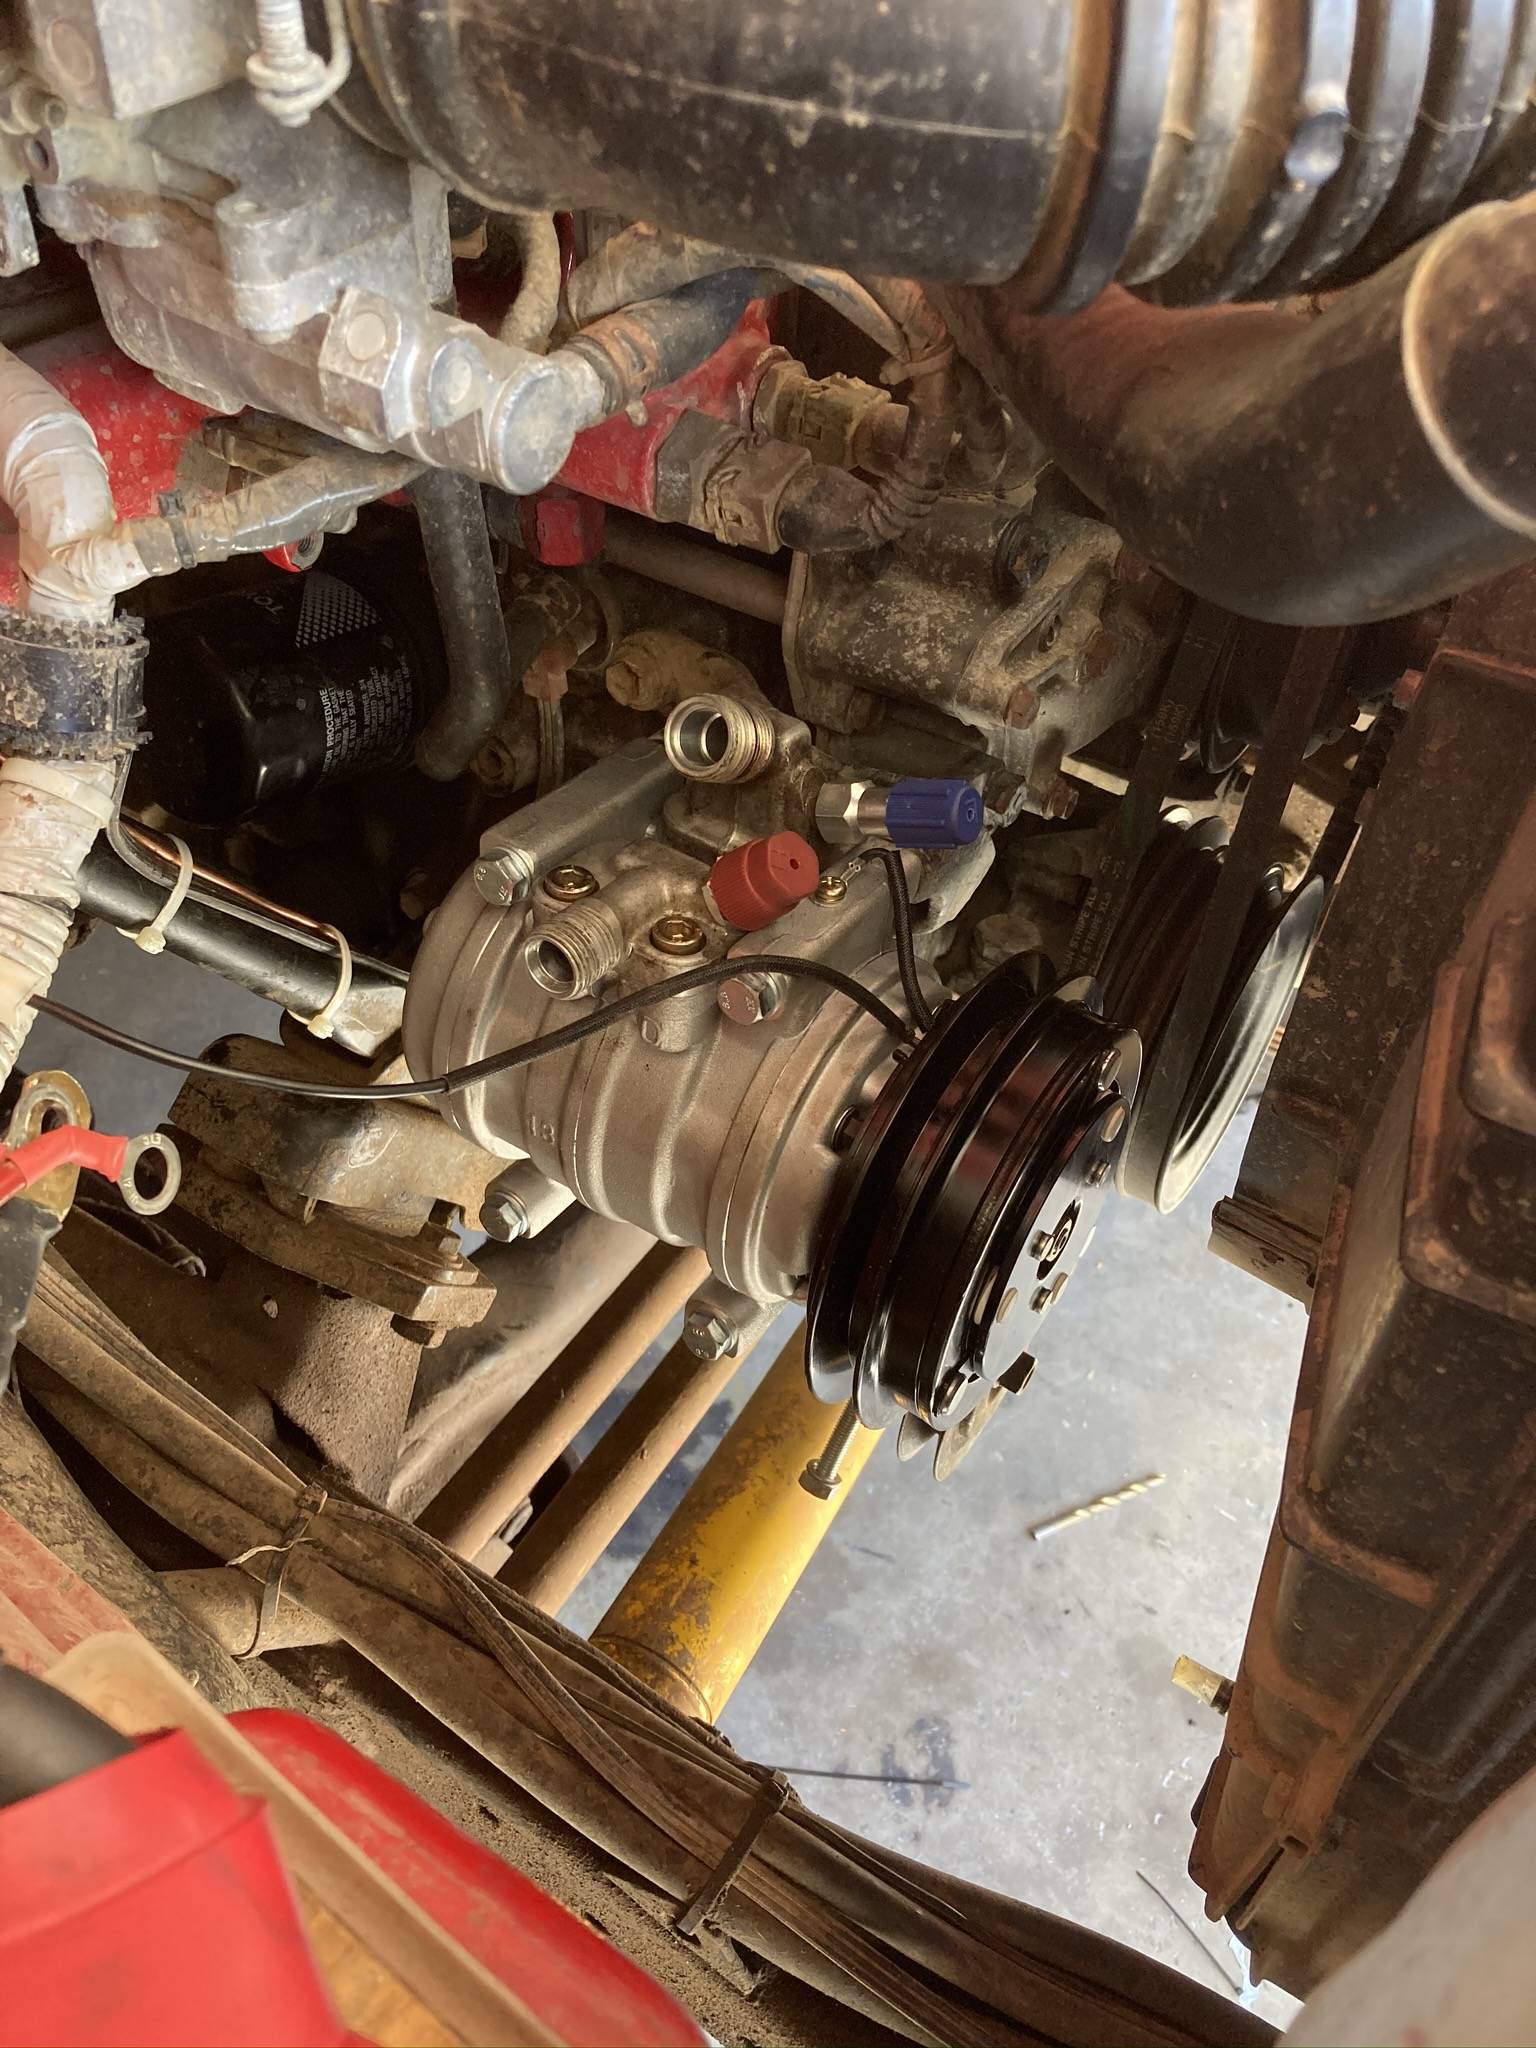
Also on the line fittings are two valves which are used to charge the system with Freon. Using a valve core removal tool remove these valves and replace them with the ones provided in the kit. I also installed my R134a conversion fittings on the compressor as well.
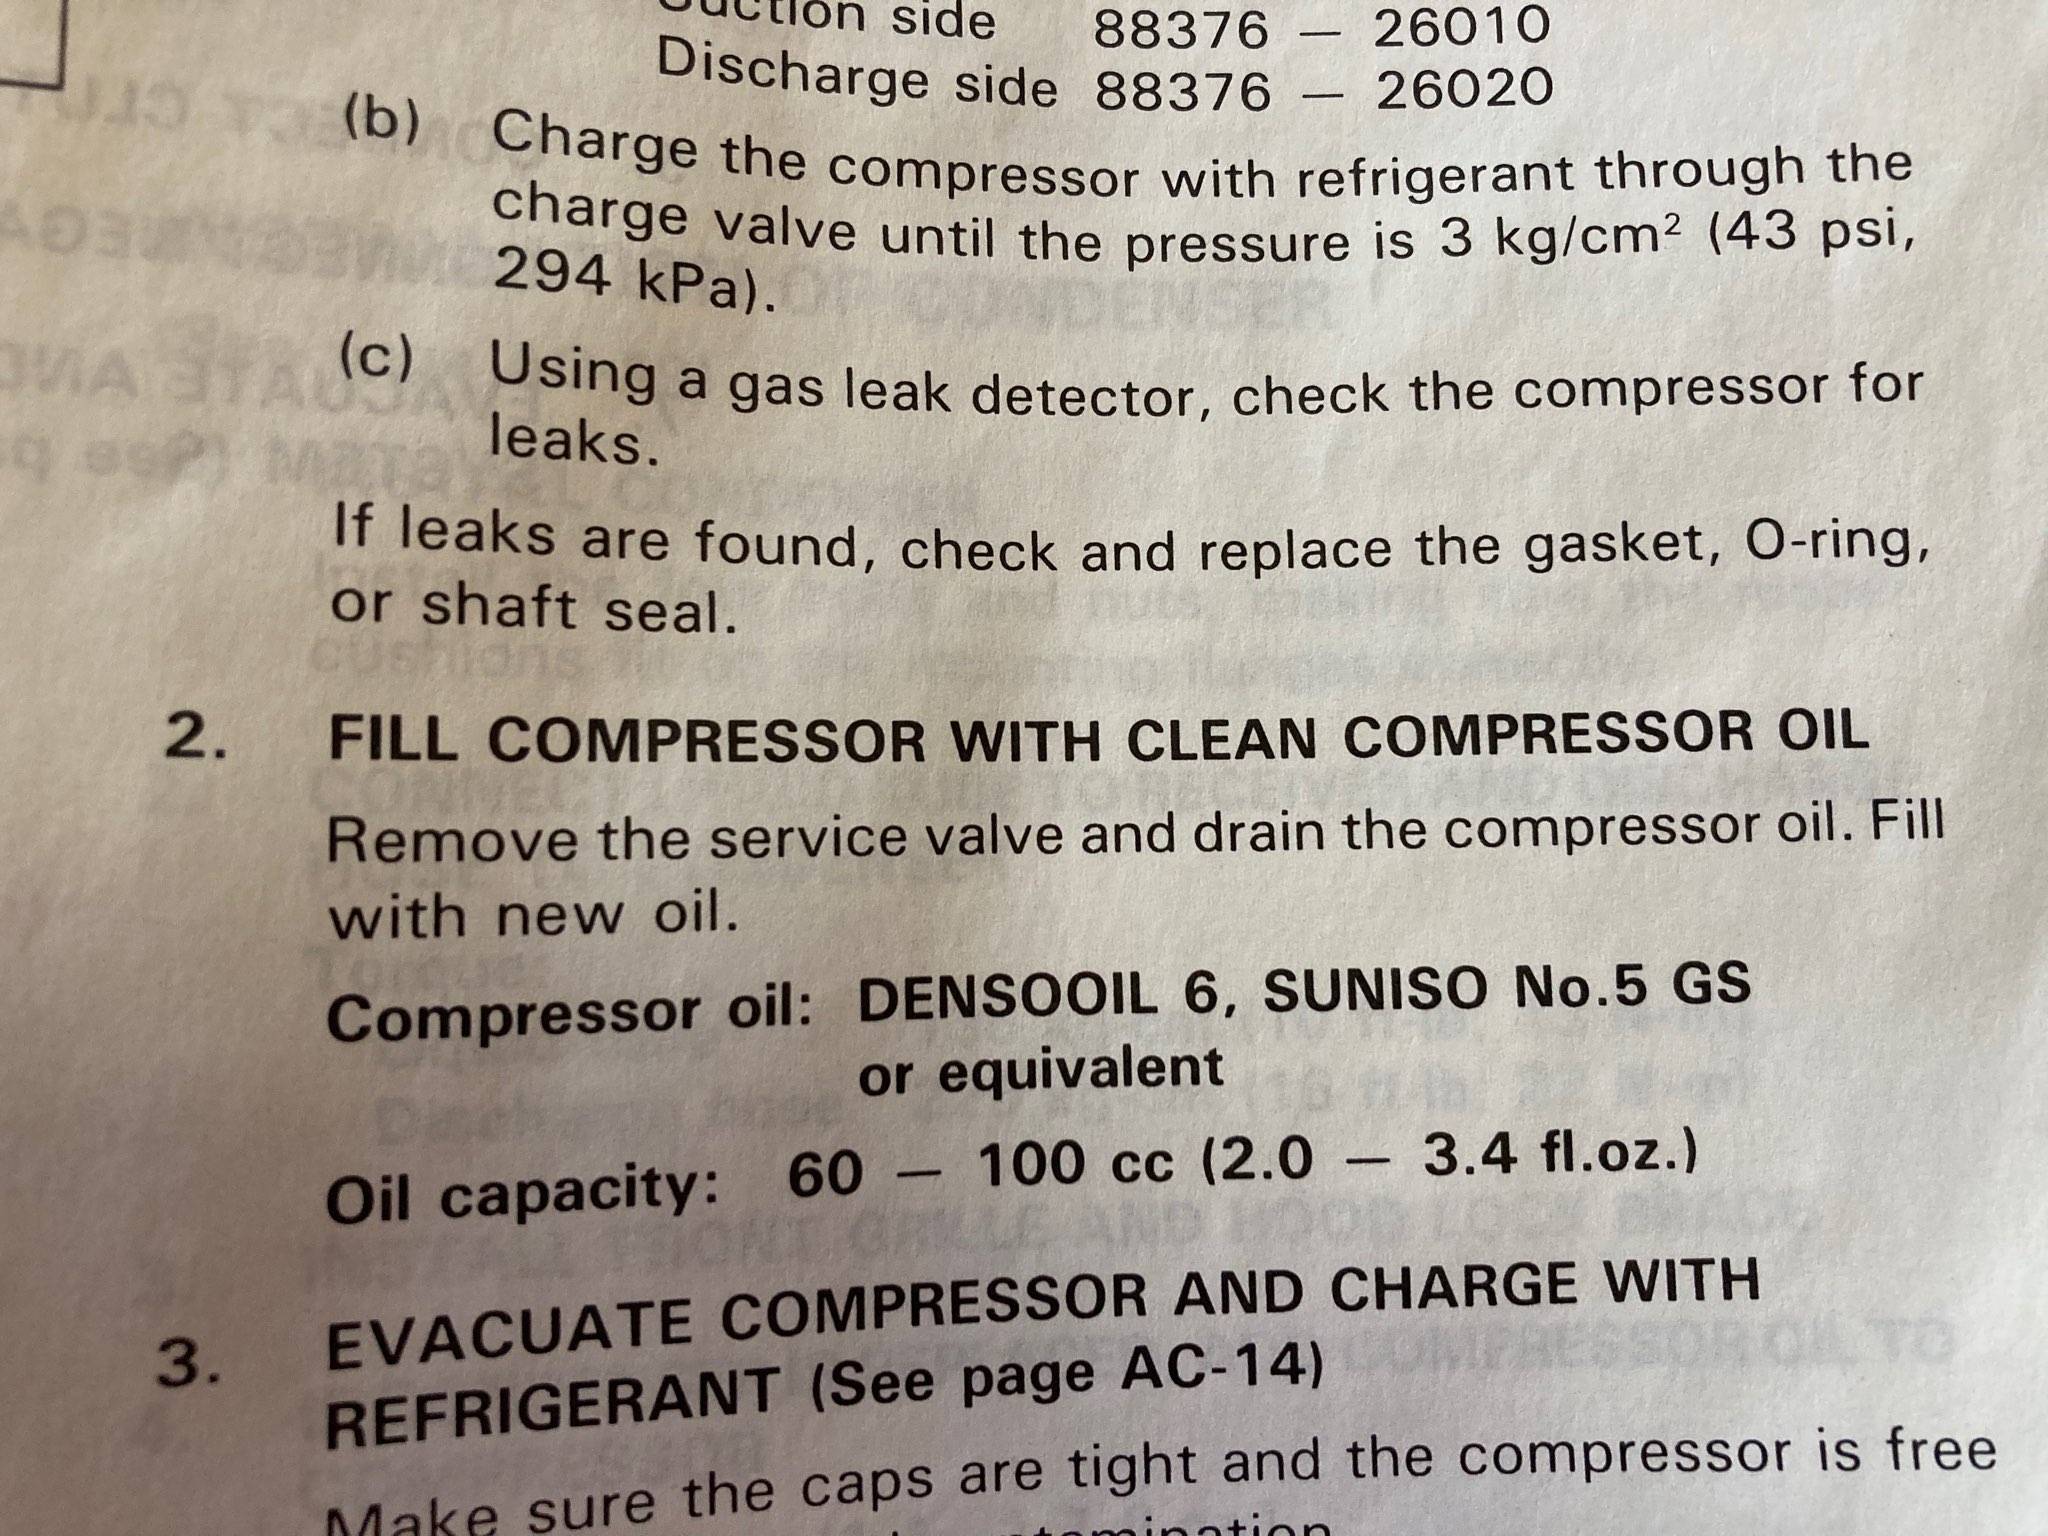
The compressor that I bought had no oil inside of it. After reading the FSM it calls for 2.0 – 3.4 fl oz of PAG oil in the system. I’m going to be putting in 2.9 oz (86 ml) of oil in my system as I feel that should be sufficient. Using a ML pouring cup I poured 40 ML into the suction side of the compressor and turned the clutch. The compressor has markings on each side so you know which is which. I’m going to put the remaining 46 ML of PAG oil in the drier to ensure that the system is properly lubricated per the compressor manufacturer’s instructions.
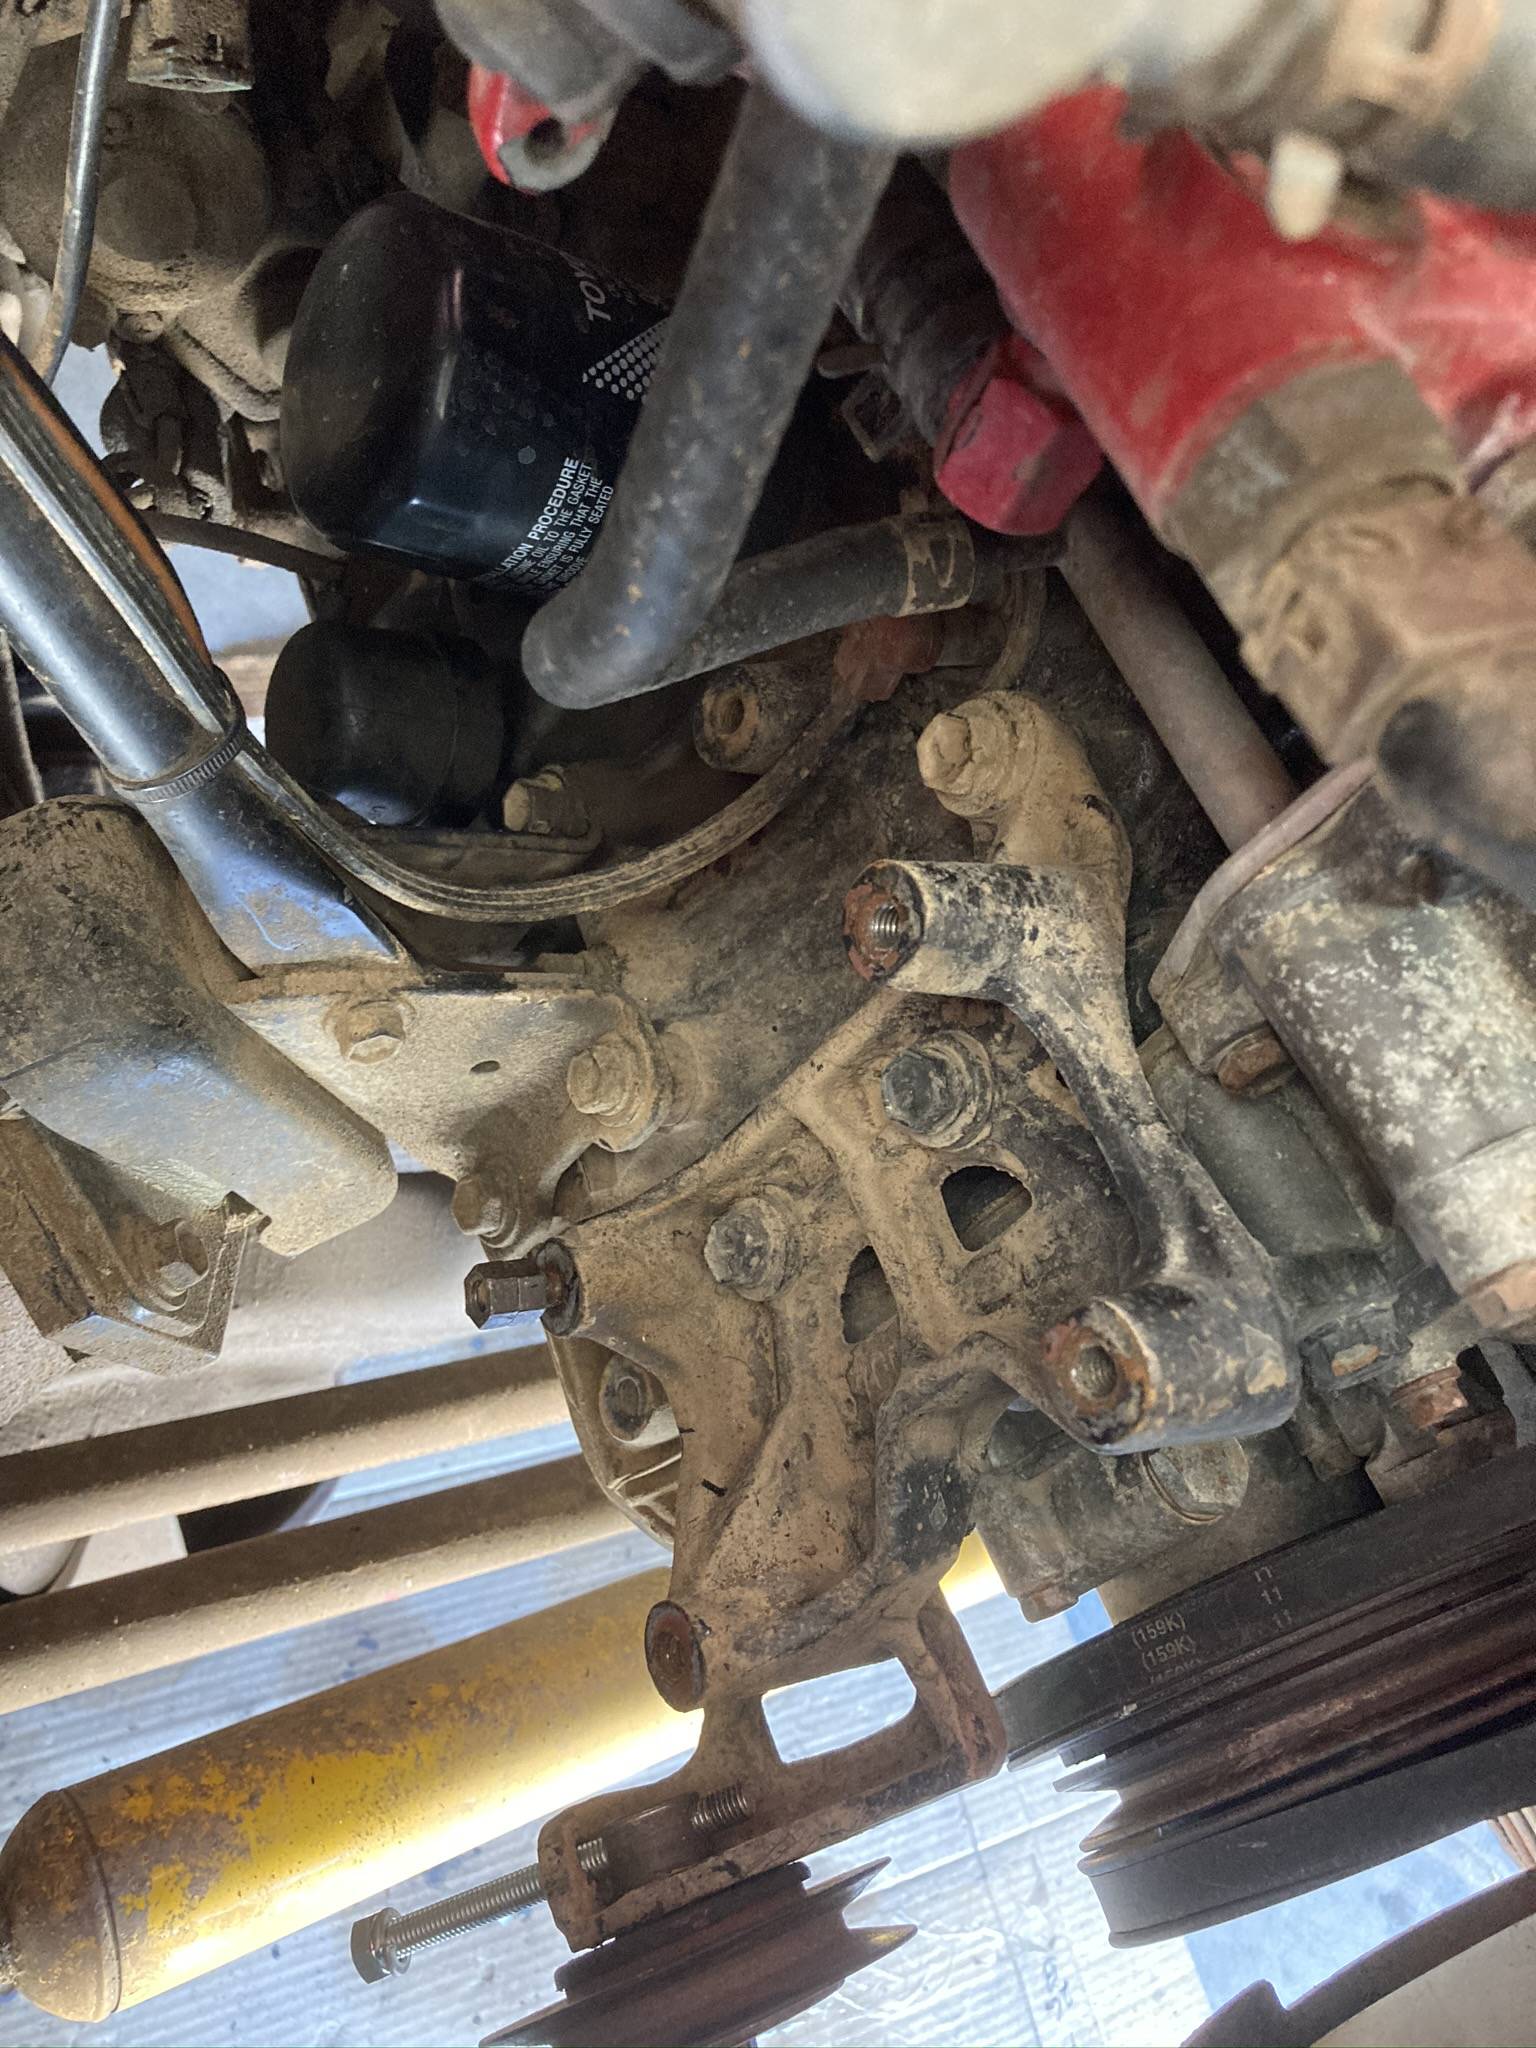
Once the compressor is oiled and everything is good to go, attach it to the A/C bracket on the side of the engine block using 4 M8 x 1.25 x 90 bolts with a washer. KLF kept the original A/C bracket on the engine and had it fitted with a custom bracket for the York compressor he was going to use on his OBA system. I had to remove some studs on the bracket before I was able to bolt on my compressor. If your truck never had A/C, you’re going to need to install the correct bracket on your engine block. The bracket that I have on my 22RE has the idler pulley right below it.
Once you’ve bolted on the compressor, you’re ready to move on to installing the condenser.