Michael B
SILVER Star
Also track which push rod and lifter came from which hole. It is important that they all go back in their original place.
Follow along with the video below to see how to install our site as a web app on your home screen.
Note: This feature may not be available in some browsers.
This site may earn a commission from merchant affiliate
links, including eBay, Amazon, Skimlinks, and others.
Will it be straightforward to re-seal the plate with the gear still on the crank? Now that I look closer it seems it's pretty doable.You don’t need to remove the crank gear; the plate has a hole in it for the gear to pass through.
You ABSOLUTELY DO need to turn the crank/ flywheel to top dead center so the alignment marks on the crank and cam synch BEFORE YOU PULL THE CAM.

I'll look back and see if I can see what the number for them was, but I'm pretty sure they were oem replacement for those flat head screws.In four decades of wrenching on cruisers I have never seen those screws before Aaron.
I learned something new today!
 forum.ih8mud.com
Yes you beat me to it.@airon23 @65swb45 @Honger
Here you go, post #97:
How not to build the 2F
Yes, the CR goes up directly the same % as the increase in displacement. So if the displacement is increased 10% on a Model T ford, the CR would go from 4.0 to 4.4 (phffft). Increase displacement 10% on a modern engine, the CR goes from 9.5 to 10.5.
So helpful!! Thanks a bunch. Replacements ordered!Also while you're in there be ready to remove these which could be a real PITA. Be ready to replace with the factory replacement hex bolts instead to avoid this next time.
View attachment 2780950
They might get boogered up like this
View attachment 2780953
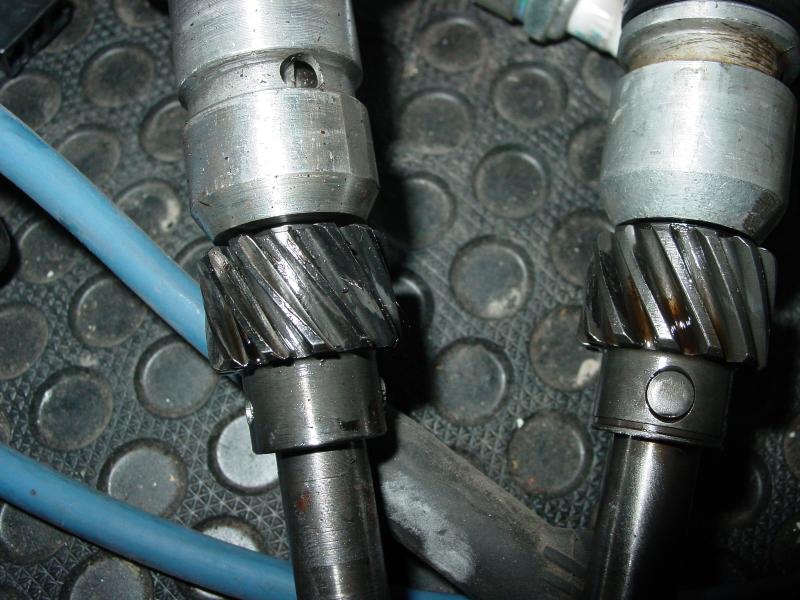
A couple more pics for your reference
View attachment 2780954
View attachment 2780955
View attachment 2780960
I’d forgotten this thread… epic read.@airon23 @65swb45 @Honger
Here you go, post #97:
How not to build the 2F
Yes, the CR goes up directly the same % as the increase in displacement. So if the displacement is increased 10% on a Model T ford, the CR would go from 4.0 to 4.4 (phffft). Increase displacement 10% on a modern engine, the CR goes from 9.5 to 10.5.
I can't now recall, but I want to say I used just a very light layer of the sealant like @Michael B mentioned.Hey @airon23 or @65swb45 or @Michael B or anyone else...
Do you do the OEM gasket sealant on both sides of the gasket for the end plate? Also for the timing cover cork gasket, right?
I read @Poser's thread in the FAQ for the side cover and oil pan gaskets, so know where to use the sealant there.
Would love more thoughts/input on best practices for preventing future leaks.
I usually apply sealant to both sides of a gasket. But I have never worked in that particular area of a 2F before.
So I went with a light application of OEM sealant on both sides. Really don't want to be this far into the 40's engine again anytime soon.I can't now recall, but I want to say I used just a very light layer of the sealant like @Michael B mentioned.


