Got a moment to play tonight...
Took 1500 grit to it for about 15 minutes wet sanding
Then took 2000 grit to it for about 15 minutes wet sanding
Then cut with Meguiars Ultra Cut Compound on the DA Polisher for another 15 or so minutes
Then polished/cleaned with Meguiars Fine Cut Cleaner on the DA Polisher for about another 15 or so minutes...
So this is what the orange peel looked like at first...
 Untitled
 by
Greg Fisicaro, on Flickr
 Untitled
 by
Greg Fisicaro, on Flickr
 Untitled
 by
Greg Fisicaro, on Flickr
And this is after all the above....
 Untitled
 by
Greg Fisicaro, on Flickr
 Untitled
 by
Greg Fisicaro, on Flickr
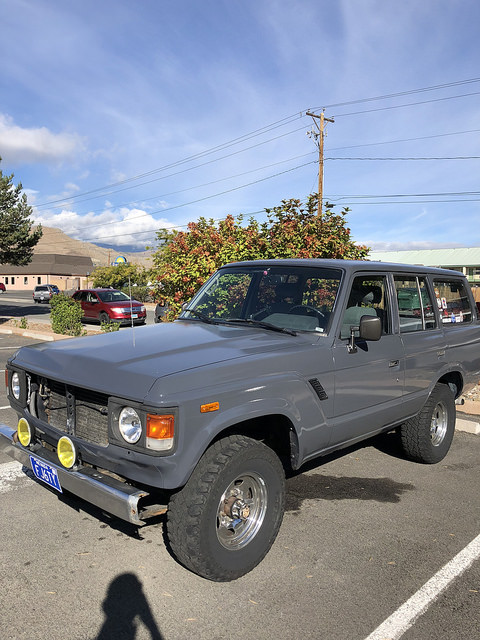
Not bad at all!!! This was just on the front portion of the hood. Was just kinda seeing what I could do, feeling out the DA and what everything felt like. Moderate pressure with both wet sanding and the DA. Still has a bit of orange peel to it but I would consider it more "period correct."

 Untitled
 Untitled
") . You’re always welcome to call if I can be of any help. I’ve made many many mistakes and continue to learn from them. Glad to share anytime. Thanks. Jimmy
. You’re always welcome to call if I can be of any help. I’ve made many many mistakes and continue to learn from them. Glad to share anytime. Thanks. Jimmy Untitled
 Untitled
 Untitled
 Untitled