Box Rocket
SILVER Star
- Thread starter
- #701
Nice. the 1Tons changes things obviously.I don't want to muck up your thread, but there will be a SD60/14B and of course alot of fabrication involved, including of course panhard attachment and D60 high steer.
Where's the pics? Hows it feel on the freeway?
Driving on the freeway feels great. Not really any change since this doesn't alter caster or anything else really. Just location. But it's nice and stable and tracks straight.


 Bumper
 Bumper
 Bumper
 Bumper
 Bumper
 Bumper
 Bumper
 Bumper
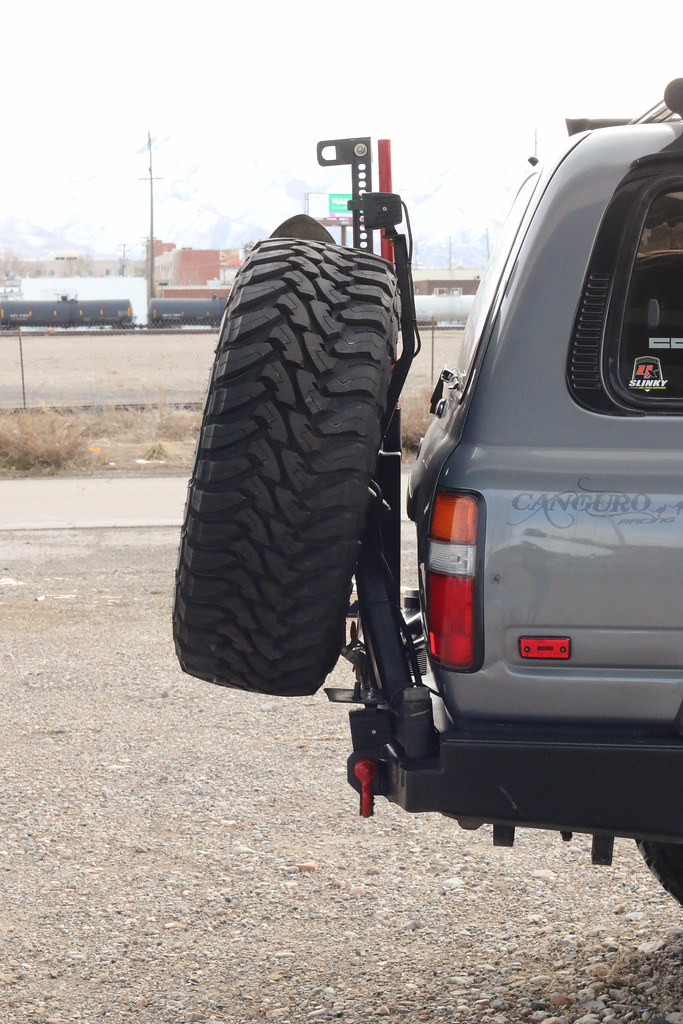 Bumper
")


 Honestly though, I wonder if the HD Blackhawk rear swaybar was also a big factor? Body roll has been minimal since adding the swaybar.


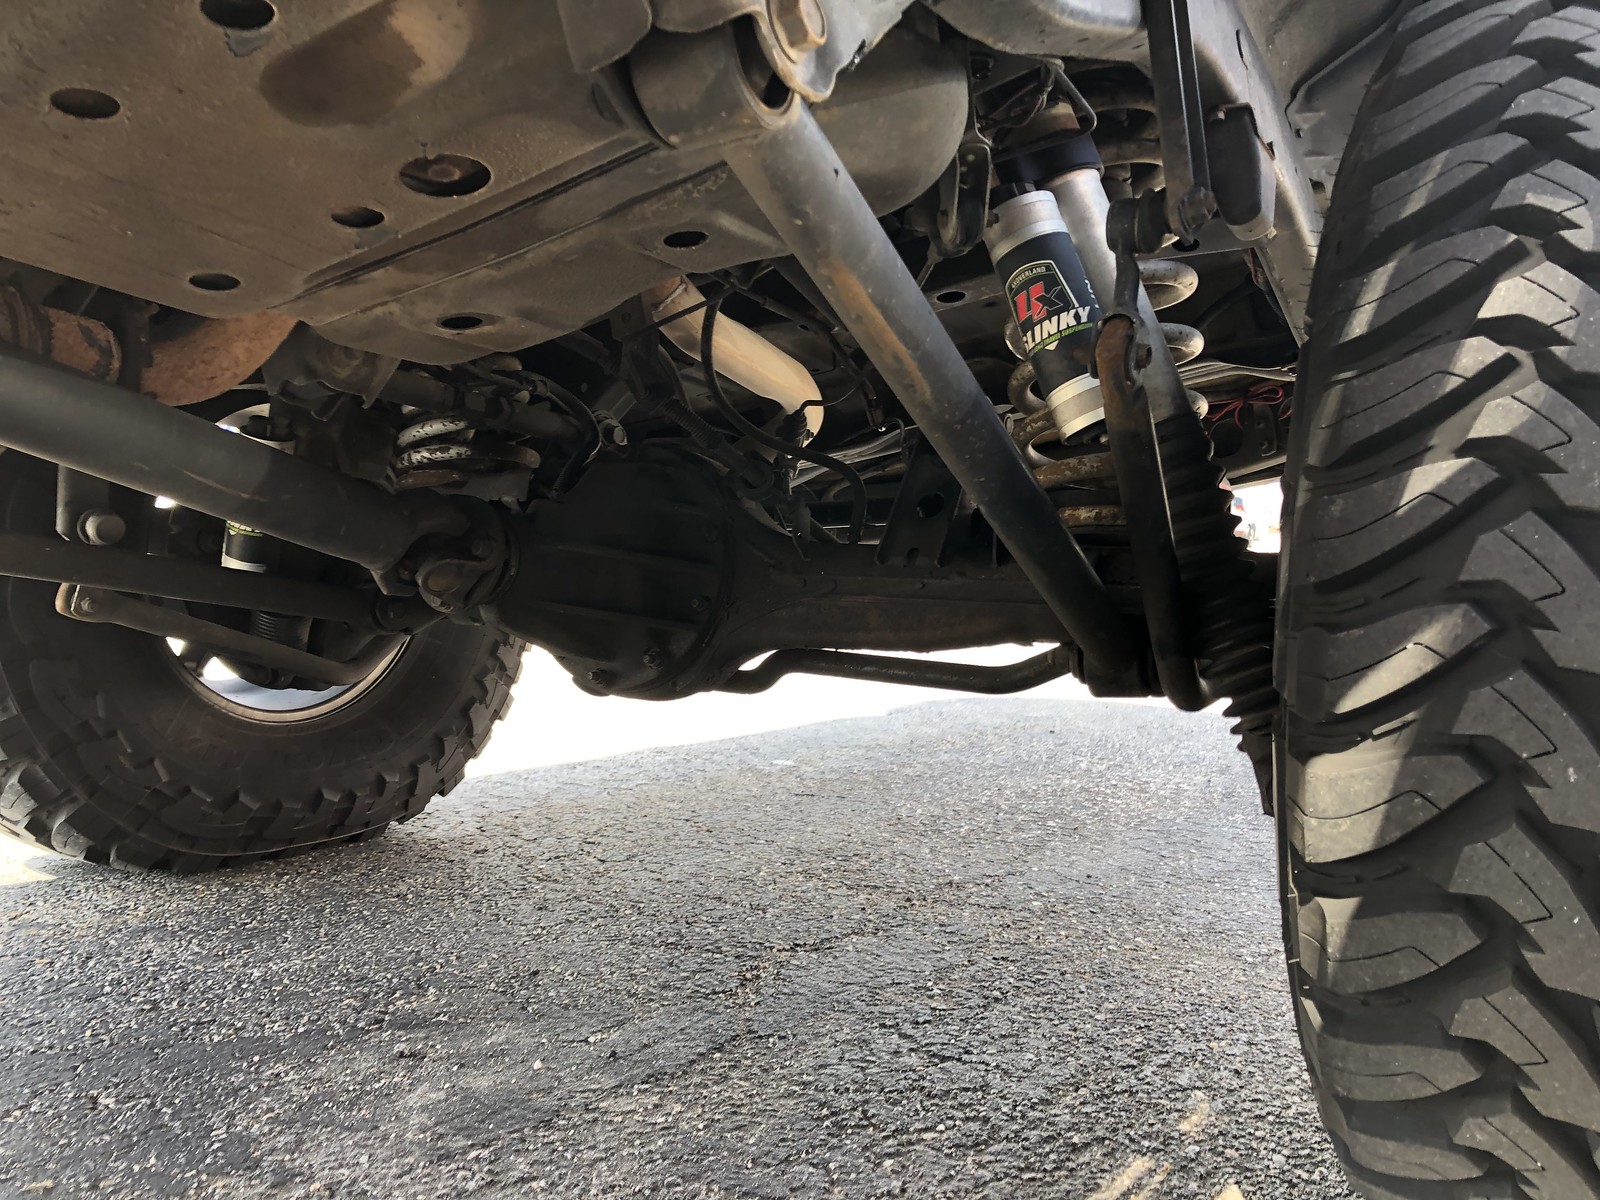

 37’s and bumpstops
 37’s and bumpstops
 37’s and bumpstops
 37’s and bumpstops
 37’s and bumpstops
 37’s and bumpstops
 37’s and bumpstops
 37’s and bumpstops