
Navigation
Install the app
How to install the app on iOS
Follow along with the video below to see how to install our site as a web app on your home screen.
Note: This feature may not be available in some browsers.
More options
You are using an out of date browser. It may not display this or other websites correctly.
You should upgrade or use an alternative browser.
You should upgrade or use an alternative browser.
Dissent off-road no cut rear bumper installation instructions (1 Viewer)
- Thread starter benc
- Start date
This site may earn a commission from merchant affiliate
links, including eBay, Amazon, Skimlinks, and others.
More options
Who Replied?I have the aluminum version with dual swingouts. Does anyone know what these are and where they go? I couldn't find any reference to them in other pictures or the instructions. Thanks
View attachment 2975357
Those are the recovery locations at the bottom of the bumper. See images below. Since you got the aluminum this is the method Ben and his crew came up with. I think its a solid solution for the recovery. Place a d ring and tell your friend to "PULL"

Will they sell those separately? I don't think they were available when I got my aluminum bumper two ago. I've just used a warn tow hitch shackle for recovery
Thanks so much.Those are the recovery locations at the bottom of the bumper. See images below. Since you got the aluminum this is the method Ben and his crew came up with. I think its a solid solution for the recovery. Place a d ring and tell your friend to "PULL"
I would give Ben a ring and ask.Will they sell those separately? I don't think they were available when I got my aluminum bumper two ago. I've just used a warn tow hitch shackle for recovery
License plate brackets on the swing armI have a couple more left over pieces, any help would be appreciated. Aluminum bumper, tire swing out and Jerry can swing out.
View attachment 2976011
Perfect, thank you.License plate brackets on the swing arm
trdcorolla
SILVER Star
Installing my aluminum rear bumper tomorrow. Any tips on bolting the swing arm nut plates to the bumper? I can't get any sockets on the bolt, they won't fit, not enough room, I can only get wrenches on it. Not sure how I would torque that to 100ft lbs with wrenches.
Had this same problem, torque to a few grunts was the best I could do. Should be fine.Installing my aluminum rear bumper tomorrow. Any tips on bolting the swing arm nut plates to the bumper? I can't get any sockets on the bolt, they won't fit, not enough room, I can only get wrenches on it. Not sure how I would torque that to 100ft lbs with wrenches.
CruiserDM
Supporting Vendor
Just wanted to drop in and say I’m about halfway through my install! This thing is no joke, definitely a lot of work but the payoff is huge.
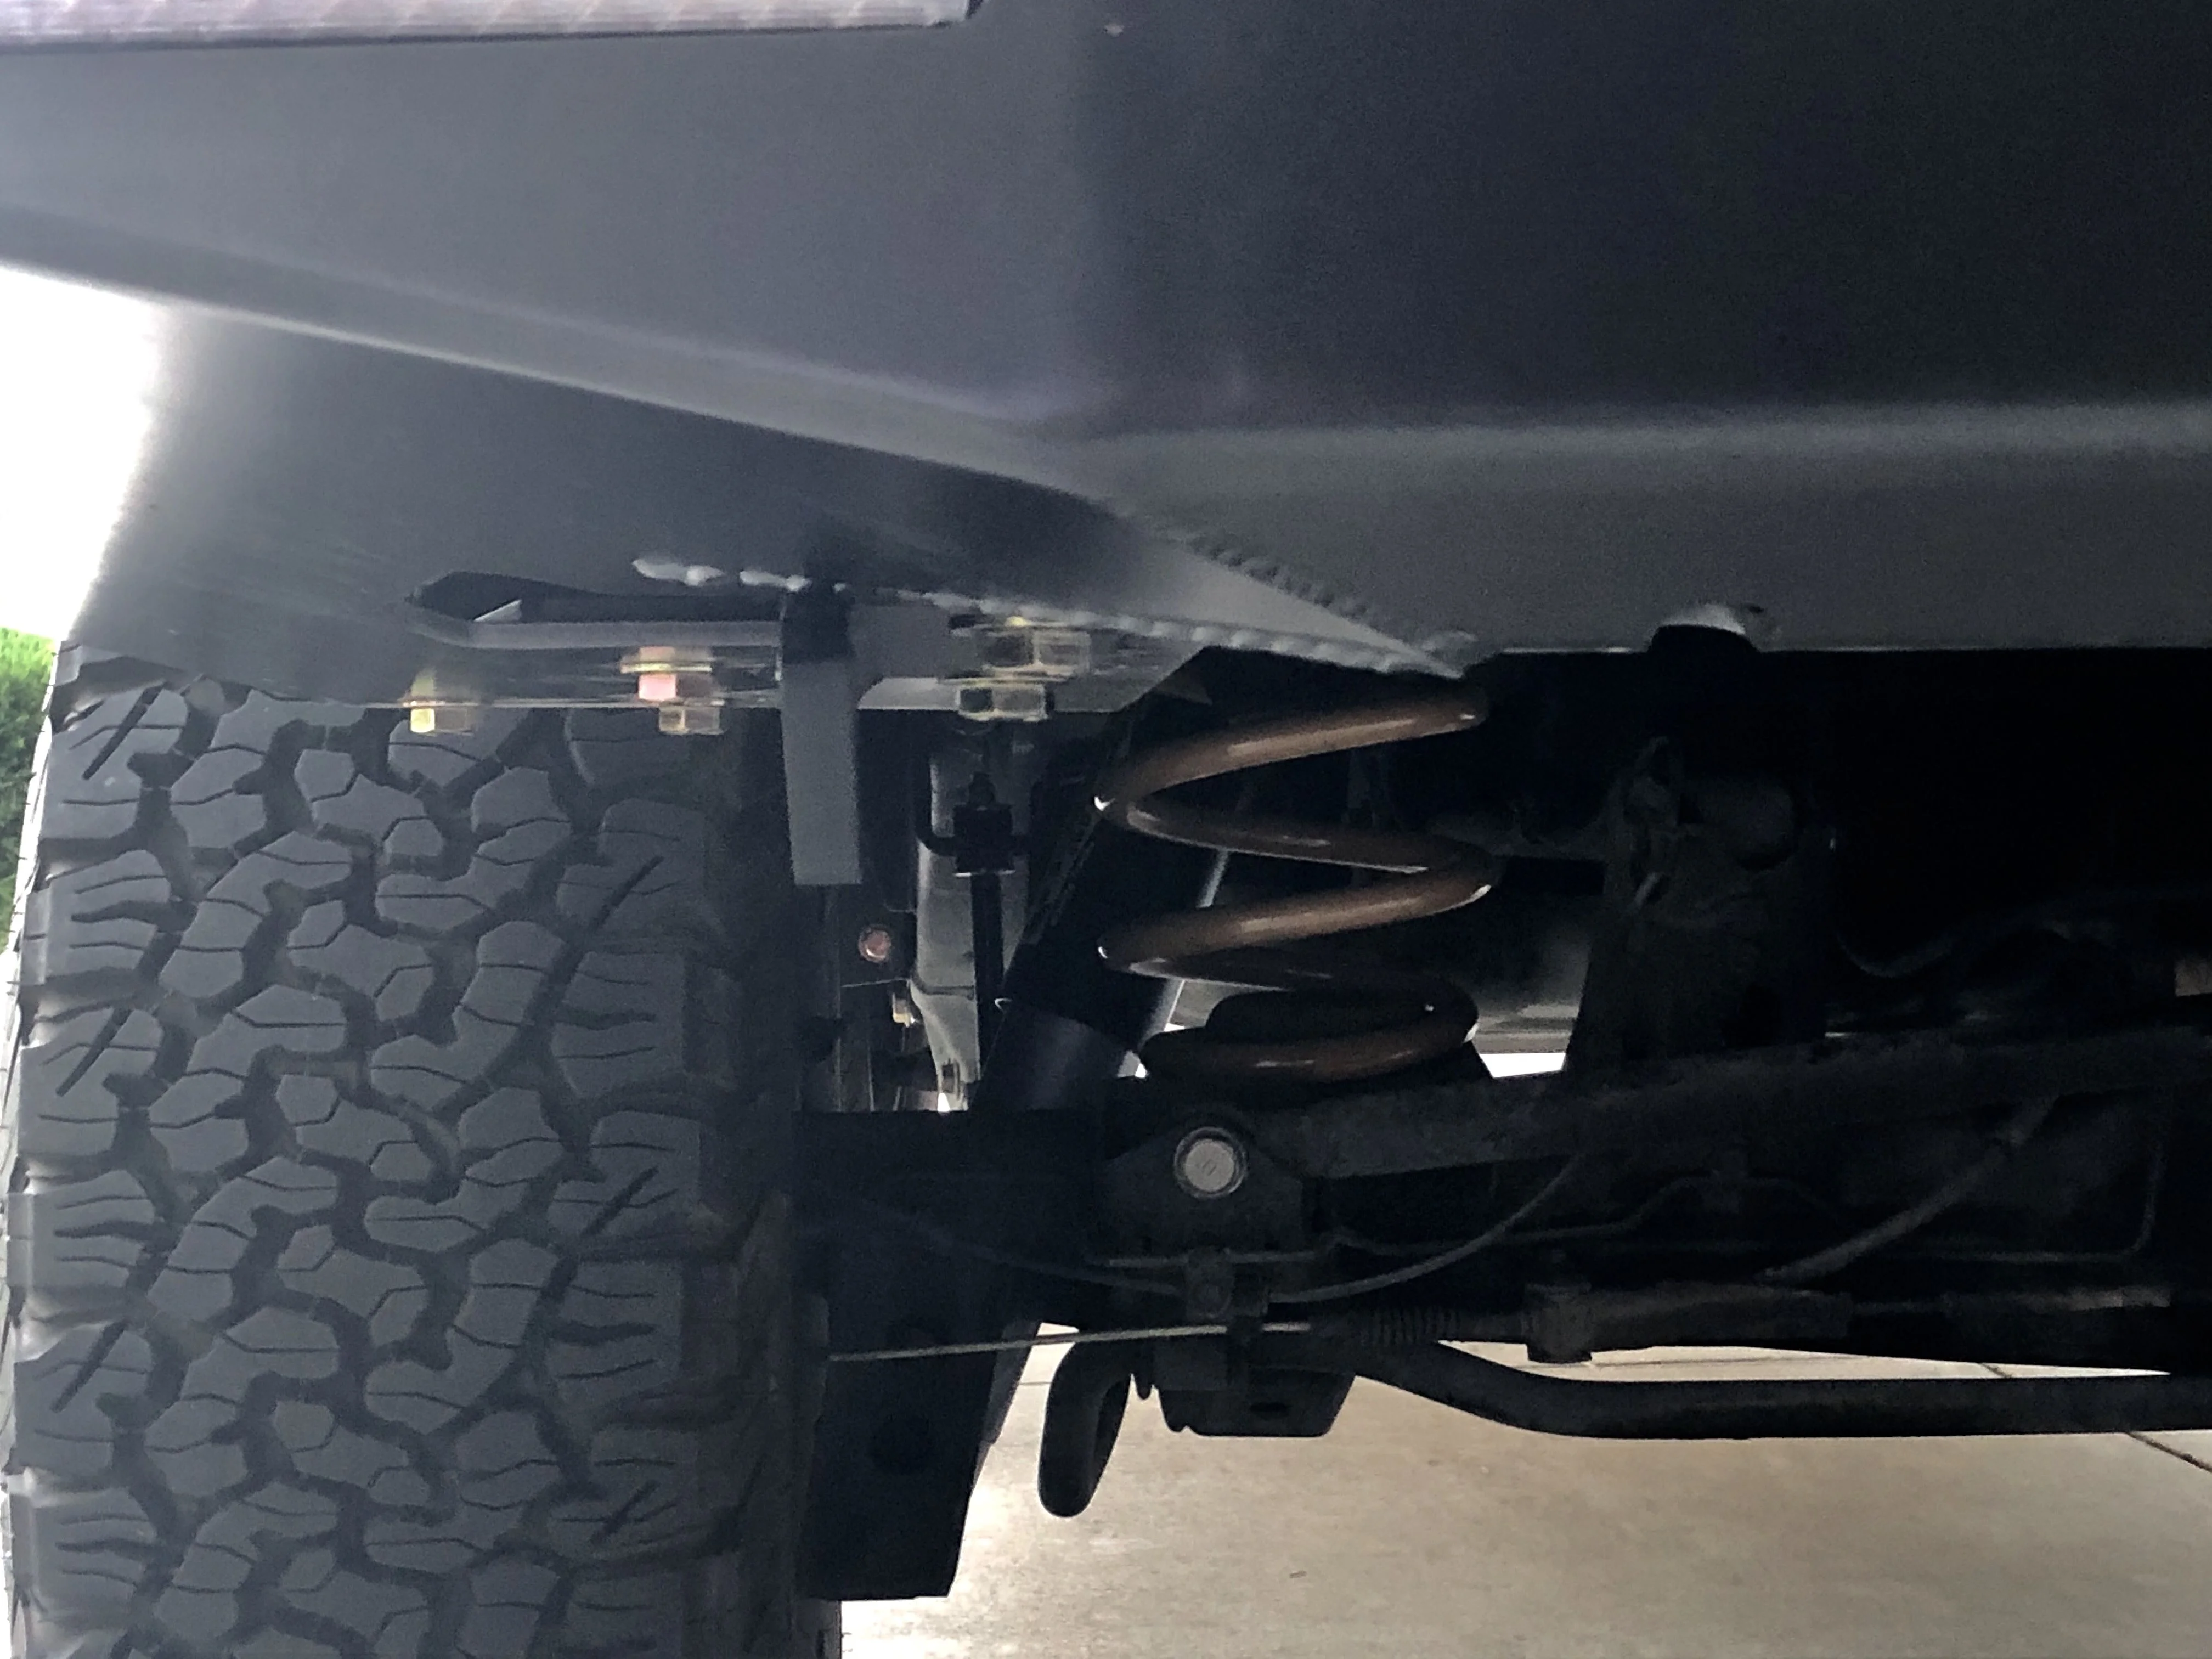
One thing I’ve been struggling with is this step in the instructions. It says Install the three lower M14 bolts but believe it or not, the rearmost bolt was M14 but on my rig the forward two captive nuts were actually M12! The threaded nut horizontally in the frame that the wing stiffener bolts to was also M12.
 N
N
With all that being said my LX is a 1998 and this could just be something with the very first 100’s? Anybody else run into this? Maybe I’m doing something wrong? I was short a couple M12 bolts but got it together and will grab a couple sometime soon. Super pumped to get the swingarm accessories up.

Edit: Talked to Cole at Dissent and apparently they've only seen this on two other 1998 100 Series, and that they must've reused nut plates from the 80 series.
Either way, he's hooking me up with a few more M12 bolts. Great CS per usual from Dissent.
One thing I’ve been struggling with is this step in the instructions. It says Install the three lower M14 bolts but believe it or not, the rearmost bolt was M14 but on my rig the forward two captive nuts were actually M12! The threaded nut horizontally in the frame that the wing stiffener bolts to was also M12.
With all that being said my LX is a 1998 and this could just be something with the very first 100’s? Anybody else run into this? Maybe I’m doing something wrong? I was short a couple M12 bolts but got it together and will grab a couple sometime soon. Super pumped to get the swingarm accessories up.
Edit: Talked to Cole at Dissent and apparently they've only seen this on two other 1998 100 Series, and that they must've reused nut plates from the 80 series.
Either way, he's hooking me up with a few more M12 bolts. Great CS per usual from Dissent.
Last edited:
My dissent steel rear bumper started giving me trouble. The side wing of the bumper started hitting the body. This is the side of the tire carrier is. Appears to me the weight of the tire pushes the side up and hits the body near wheel-well. I removed the high-lift jack from the tire carrier to reduce the weight but still, it hits hard. See attached pictures. Has anyone else had this issue?

Hi Gang,
slowwwwly starting the install.
One thing I have notice w/r no cut alum base install, I see no call outs for lockwashers in the instructions nor deepsouth's and brady adventures youtube videos.
What's the thinking here?
slowwwwly starting the install.
One thing I have notice w/r no cut alum base install, I see no call outs for lockwashers in the instructions nor deepsouth's and brady adventures youtube videos.
What's the thinking here?
3/4 the way done w. the dual swing out bumper install.
w/r to the swing out spindles, these came preassembled. I'm going to grease gun 'em.
Anyone know how to tell if there is enough grease in there (other bearing you see grease just start to come out of the seals)?
Just bought a mini-gun....wondering if I should of just bought a full sized cartridge for my old full sized gun.
whirlybirdbrewing
SILVER Star
Once you put the swing arms on, start pumping the grease. Full sized cartridge and go with the parenthetical COA you were hoping to avoid. Your spindles will thank you for the lube.
You’ll need to grease them periodically. You should be greasing the drive shafts and U-joints every 5k anyways so just put a squeeze or two in the spindles while you’re at it.
Your truck is a half elegant machine and a half big, dumb animal that will go forever with a little bit of petroleum products applied in the right spots.
so is the entire bearing cylindrical housing between the upper and lower bearing seats to be filled w. grease (that be a lot of grease)?Once you put the swing arms on, start pumping the grease. Full sized cartridge and go with the parenthetical COA you were hoping to avoid. Your spindles will thank you for the lube.
You’ll need to grease them periodically. You should be greasing the drive shafts and U-joints every 5k anyways so just put a squeeze or two in the spindles while you’re at it.
Your truck is a half elegant machine and a half big, dumb animal that will go forever with a little bit of petroleum products applied in the right spots.
Also, been around the block a few times but never heard the phrase "parenthetical COA"
 . Wiki somewhat explained the phrase, but could not make heads/tails out of the "COA" part. Please enlighten me
whirlybirdbrewing
SILVER Star
Ha. COA = Course of action.
Yeah, it’s a fair bit of grease especially the first time hence the recommendation to grab the adult sized tube. There isn’t that much space inside the spindle but it’s really the only way to keep those bearings packed full of grease. I could be mistaken but I think you should be able to hand pack the bearings with grease before you put them in then just top off via the fitting.
Yeah, it’s a fair bit of grease especially the first time hence the recommendation to grab the adult sized tube. There isn’t that much space inside the spindle but it’s really the only way to keep those bearings packed full of grease. I could be mistaken but I think you should be able to hand pack the bearings with grease before you put them in then just top off via the fitting.
Similar threads
Users who are viewing this thread
Total: 2 (members: 0, guests: 2)