
Yes, heard back from Ben. No installation work for foreseeable future.
Navigation
Install the app
How to install the app on iOS
Follow along with the video below to see how to install our site as a web app on your home screen.
Note: This feature may not be available in some browsers.
More options
Style variation
You are using an out of date browser. It may not display this or other websites correctly.
You should upgrade or use an alternative browser.
You should upgrade or use an alternative browser.
Dissent off-road no cut rear bumper installation instructions
- Thread starter benc
- Start date
This site may earn a commission from merchant affiliate
links, including eBay, Amazon, Skimlinks, and others.
LCT
SILVER Star
Love it! Painted or powder coated? Would you post more pictures of your rear bumper?@cruzerDave I ended up doing something subtle. Evo Grey for the wings and Center was BLK1.
View attachment 2293207
@LCT its powder coated. More pics are on my build thread!Love it! Painted or powder coated? Would you post more pictures of your rear bumper?
If the swing arm aligns too low in relation to the strike pad, where is the adjustment I need to make? I can get it closed, but have to manually lift the swing arm onto the strike pad to close the latch.
LCT
SILVER Star
Ladder risers and accessory panels - $500.
LCT
SILVER Star
Anyone know if the pinch weld mentioned in post # 1 will have to be cut on both driver and passenger side?
I cut the drivers side. A few seconds with a sawzall and paint on the cut to prevent rust.Anyone know if the pinch weld mentioned in post # 1 will have to be cut on both driver and passenger side?
I need to trim the pinch weld and realign the passenger side. I'll pull it and redo it after I move in a few weeks and have another garage to work in. I also have an aluminum rear bumper AND my LX470 had the in frame receiver hitch, so two variables from the standard install.
Last edited:
LCT
SILVER Star
Thanks! I had to remove the hitch as well. Something didn’t look right after I took the plastic bumper off, so watched the YouTube video uploaded by @samP504 and realized that hitch had to come off too.I cut the drivers side. A few seconds with a sawzall and paint on the cut to prevent rust.
I need to trim the pinch weld and realign the passenger side. I'll pull it and redo it after I move in a few weeks and have another garage to work in. I also have an aluminum rear bumper AND my LX470 had the in frame receiver hitch, so two variables from the standard install.
View attachment 2660921
I have the other hitch which mounted in the frame; it uses an adapter bolted in place to hold a receiver ball-mount. The four hole pattern on your standard rear frame (without the square cutout) and the frame with the square hole cutout for the adapter are different, which is why the holes on the center piece and the bumpers pieces are slotted to accommodate both patterns. All four holes on my frame were threaded, so the installation of the center piece is different (no through bolts or use of the spacers; just use the four captured nuts in the frame). He covers that in the instructions.Thanks! I had to remove the hitch as well. Something didn’t look right after I took the plastic bumper off, so watched the YouTube video uploaded by @samP504 and realized that hitch had to come off too.View attachment 2660958
View attachment 2660959
Rear frame showing the hitch adapter:
adapter removed showing just the square hole in the frame:
Last edited:
Ladder risers and accessory panels - $500.
Has Ben documented the options available for the swing arm and I missed it? I emailed him a few times for options and pricing (admittedly not in a year or so, hasnt been top of my list) and I never heard back.
On his site. Try him again, his number and email are on the site. He's slammed but always got back with me.Has Ben documented the options available for the swing arm and I missed it? I emailed him a few times for options and pricing (admittedly not in a year or so, hasnt been top of my list) and I never heard back.
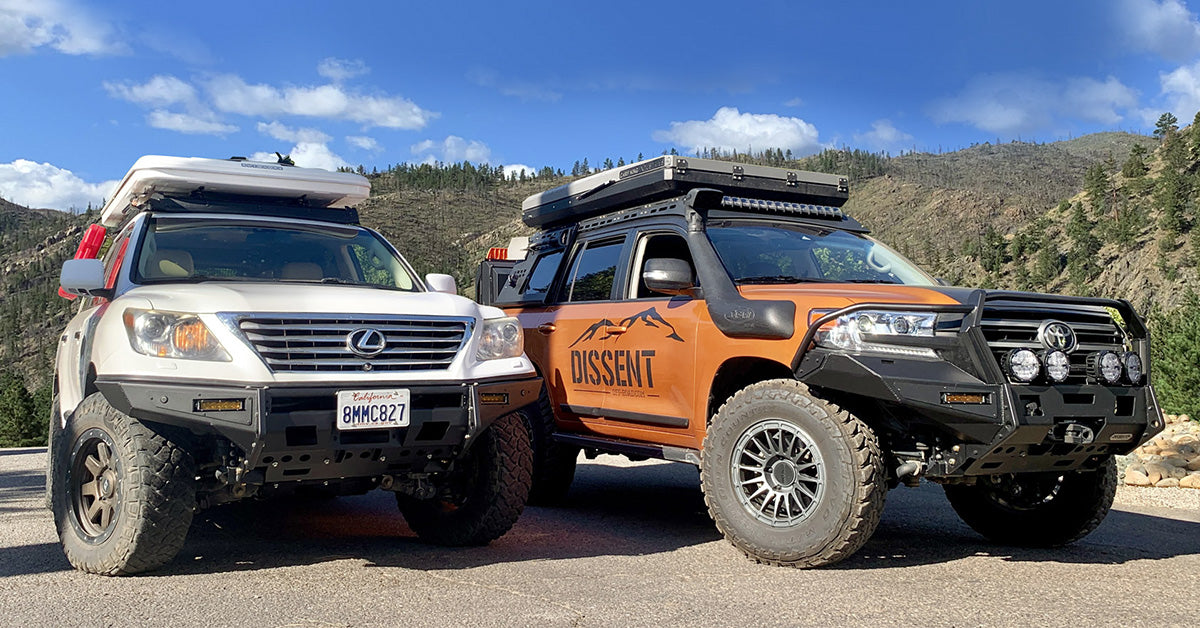
Dissent Off-road. Quality Toyota Armor. Explore with Confidence.
Dissent specializes in manufacturing the highest quality off-road armor for Toyota 4runner, Tacoma, Land Cruiser, Lexus LX 470, LX 570 & GX 470. Aluminum & Steel Off-Road Bumpers. Explore with confidence when you equip your vehicle with Dissent Off-road. Tested off-road, Made in the USA.
 dissentoffroad.com
I have a front and rear bumper from Ben - to be clear I am not complaining about his service, he always responded to texts or calls when I was installing the bumpers and for support. I am a satisfied customer and recommend him all the time.On his site. Try him again, his number and email are on the site. He's slammed but always got back with me.
Dissent Off-road. Quality Toyota Armor. Explore with Confidence.
Dissent specializes in manufacturing the highest quality off-road armor for Toyota 4runner, Tacoma, Land Cruiser, Lexus LX 470, LX 570 & GX 470. Aluminum & Steel Off-Road Bumpers. Explore with confidence when you equip your vehicle with Dissent Off-road. Tested off-road, Made in the USA.
I am just being factual, its not a slight at Ben - I know whats on his website, but if you look at his IG and his 200 series builds he's doing a lot of different stuff for that accessory swing arm - and email is often easier for me than sitting on the phone during work hours. When I bought my bumpers he always responded to emails.
Has Ben documented the options available for the swing arm and I missed it? I emailed him a few times for options and pricing (admittedly not in a year or so, hasnt been top of my list) and I never heard back.
Try looking at the 200 series offerings. The options are similar if I recall.
Try looking at the 200 series offerings. The options are similar if I recall.
There's nothing on his website that lists 200 series offerings.
Guys I am in my 30's, I'm not geriatric. I can use the internet. If you have a link to a list of all the different configs that I somehow missed, please post it. If not, just a PSA: I can search and go to Bens website on my own.
Big boy stuff over here, I know.
Has Ben documented the options available for the swing arm and I missed it? I emailed him a few times for options and pricing (admittedly not in a year or so, hasnt been top of my list) and I never heard back.
I have a front and rear bumper from Ben - to be clear I am not complaining about his service, he always responded to texts or calls when I was installing the bumpers and for support. I am a satisfied customer and recommend him all the time.
I am just being factual, its not a slight at Ben - I know whats on his website, but if you look at his IG and his 200 series builds he's doing a lot of different stuff for that accessory swing arm - and email is often easier for me than sitting on the phone during work hours. When I bought my bumpers he always responded to emails.
People tried to help you when you ask a question. Your first post was vague and we cant guess that you already bought bumpers and know where to find the information you're asking for. big boy stuff and all.There's nothing on his website that lists 200 series offerings.
Guys I am in my 30's, I'm not geriatric. I can use the internet. If you have a link to a list of all the different configs that I somehow missed, please post it. If not, just a PSA: I can search and go to Bens website on my own.
Big boy stuff over here, I know.

Last edited:
People tried to help you when you ask a question. Your first post was vague and we cant guess that you already bought bumpers and know where to find the information you're asking for. big boy stuff and all.
I dont think it was vague at all... I asked if he has documented all the options for his accessory swing arm and I missed it. That is pretty specific.
Judging by the responses, I guess I did not miss it.
LCT
SILVER Star
@bamabrock Did you have to drop the resonator to drill a half inch hole in the frame on passenger side? Wondering if I could somehow mark the center of the hole on the outside and drill it from outside in instead of inside out.
I didn't have to touch the resonator, I just drilled form the outside in.@bamabrock Did you have to drop the resonator to drill a half inch hole in the frame on passenger side? Wondering if I could somehow mark the center of the hole on the outside and drill it from outside in instead of inside out.
Last edited:
I realize its almost a year old since this tip was posted... but I also agree it would be nice to have a spacer inside the "box"...So update to the spare tire angle...
I installed this 1” OD, 1 3/4” 18-8 spacer and it made a word of difference. I didn’t even bother sliding it up the forward “adjustment” bolt, I just put it on the stationary bolt. After I torqued down the nut, the square tube deformed a bit (as it had previously) and everything tightened up fantastically.
Spacer installed:View attachment 2295839
Final angle:
View attachment 2295837
Close up of clearance:
View attachment 2295838
This thing ain’t moving or rubbing. Exactly what I was looking for.
I looked up what a stainless spacer in this spec would cost, and McMasterCarr was coming up with $34 each. No Bueno.
Also, the "perfect" interior dimension (if your box isn't crushed yet) seems to be near 1 7/8". Mine is still new and being assembled,
and I plan to use a 1 7/8 Coupling Nut with a 3/4" ID hole as my Spacer...
At $6 each.. I'll get 2 and grind the end if its a tad too snug. Also plan to paint it for an extra layer of corrosion resistance.
McMaster-Carr - https://www.mcmaster.com/91034A130/
...but so far so good.. assembly is going well.