What have you done to your Land Cruiser this week? (88 Viewers)

This site may earn a commission from merchant affiliate
links, including eBay, Amazon, Skimlinks, and others.

OEM Weatherstripping on the doors is done.
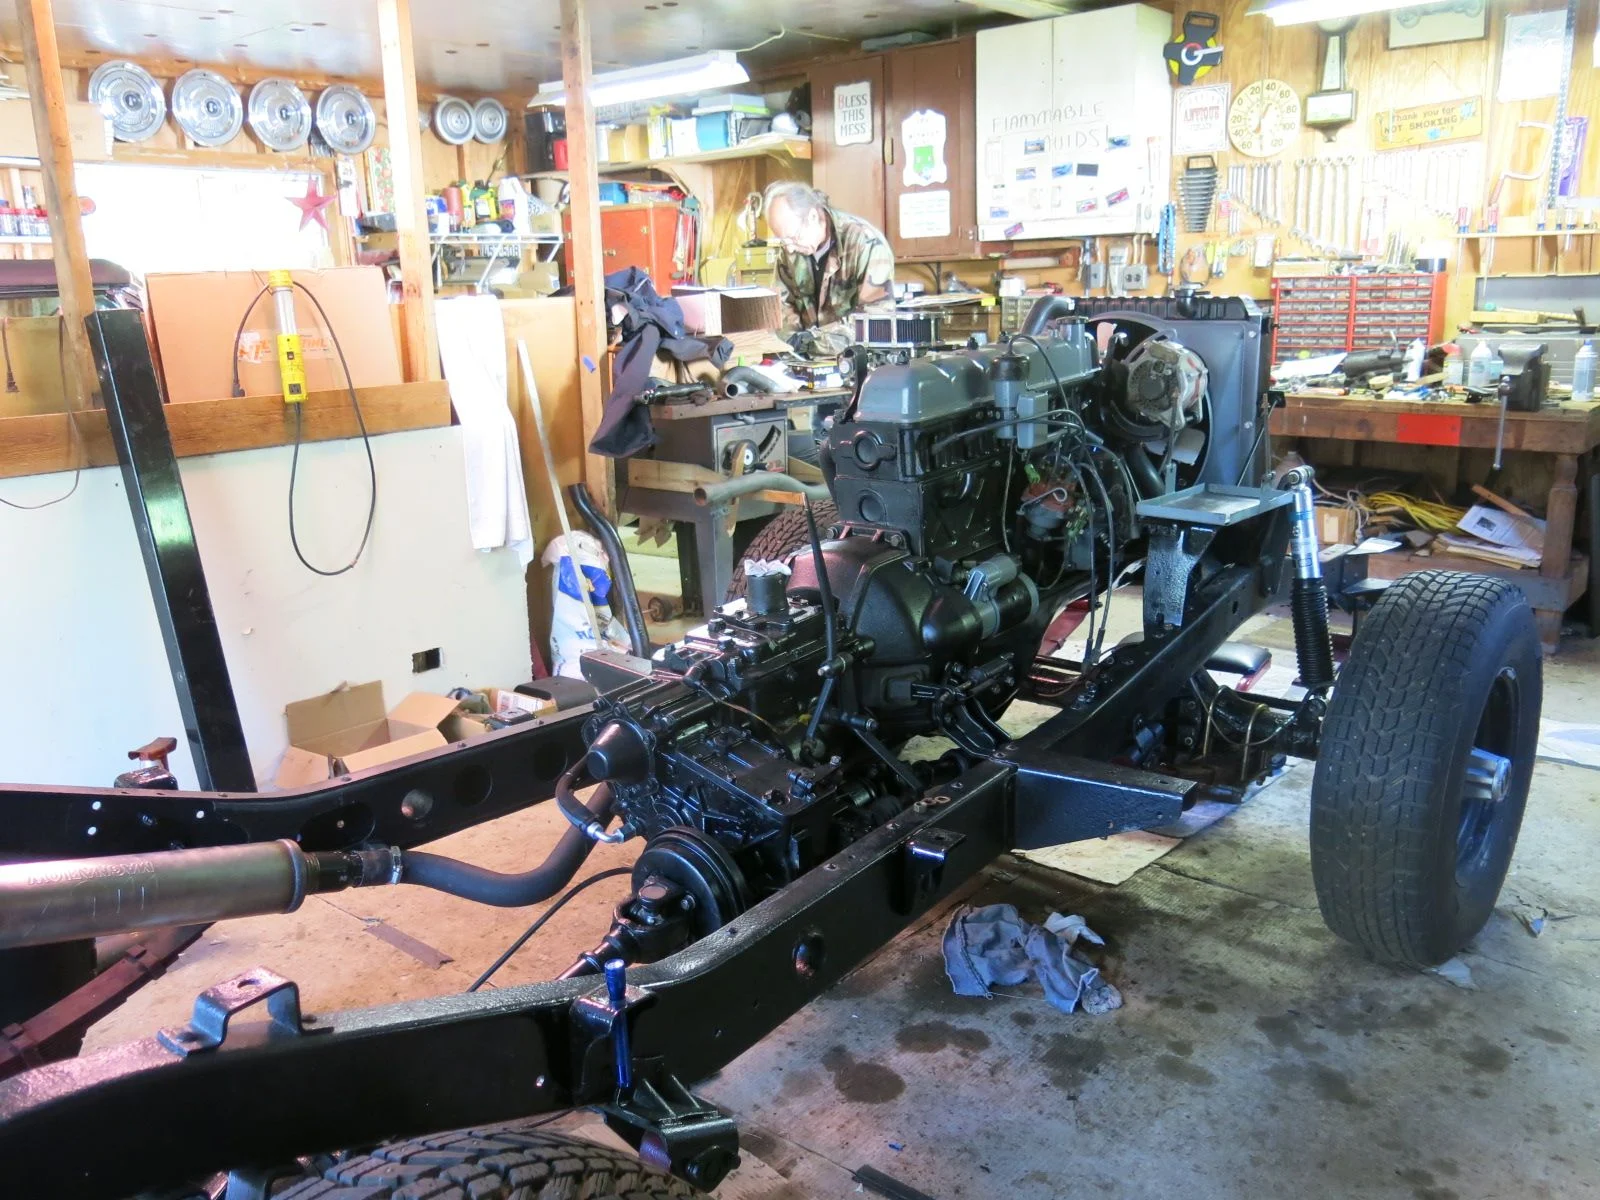
I'm going to install a new electric fuel pump and by pass the mechanical. It's currently running a duel system but it's not getting enough fuel to the carb on a consistent basis. Then it's topping off the fluids (all of them) then its one final buff on the drivers side. then it's done! At least I think it is... :)

20171009_231512.jpg
 
Gorgeous build. Its done but, they are never really done...................................
 
@thecrazygreek where did you score your pewter paint for the carrier? Looking for some in aerosol. Thanks!
 
Received a care package today from www.superbrightleds.com. They sent LED lights for the license plate, side markers and front turn signals. Everything is bright except for the turn signals, the lights stay on but I need to get an electronic flasher so I have turn signals.

In case anyone in interested, here are the part numbers:

License plate - 67-CW12-G Cool white color but I believe they might have a brighter version. Still is quite bright.
Side markers - 67-R12-G (Red rear side marker), 67-A12-G (Amber front side marker)
Turn signals - 1157-A27-T Amber

The pricing was fair and the customer service I received was excellent. Shipping was quick and priced fairly. Overall I would buy from them again if needed.

DSCN0457.JPG
DSCN0458.JPG
 
@thecrazygreek Where did you source the weatherstripping? I see that SOR has a complete kit for the door.
 
Hey there..

@thecrazygreek where did you score your pewter paint for the carrier? Looking for some in aerosol. Thanks!

Yes, I found this aerosol that is a dead match with jtoutfitters stuff. Which allot of people love. I'll get a pic later today.
 
Last edited:
Ok, here's what I use, and a side by side pic of the cans and spray outs.

The bottom of the plate is jt outfitters the top is the duplicolor. I just painted that 10 minutes ago.

The code on the duplicolor is SS100

20171010_200545.jpg
20171010_194722.jpg
 
Last edited:
Oh, and its important to note one is 20 + shipping and one is 6 bucks and available anywhere.
 
@thecrazygreek When your stainless steel paint dryed was the painted surface smooth? I tested the exact same stuff and felt like it went on like christmas tree flocking. It didn't lay down to leave a smooth finish. It flashed as soon as it hit the metal leaving paint particles visible. I like the color, just didn't care for the rough finish.
 
I had "flocking" occur with some CruiserCorp paint. So I made a shaker with old sawzall I mounted on a heavy bench. If I shake it for several minutes just before spraying it did lots better
 
@thecrazygreek When your stainless steel paint dryed was the painted surface smooth? I tested the exact same stuff and felt like it went on like christmas tree flocking. It didn't lay down to leave a smooth finish. It flashed as soon as it hit the metal leaving paint particles visible. I like the color, just didn't care for the rough finish.

The Duplicolor laid down nice, the JT stuff did what you mentioned. Sort of a flocked surface. The JT stuff also shoots out a bunch of floating metallic particles... Another reason I prefer the Duplicolor. Neither gives you a gloss surface. If you look at my tire carrier pic, that is duplicolor, with a 2k Dupont Clear over the top.
 
Well ive been dealing with a slow leak out of my transfer case for a while now. Figured it was time to see what you guys thought.

Here you can see where it is leaking from
full


So I have tried swapping crush washers and trying a new crush washer with a bit of thread sealant. Been putting ~1 quart in and luckily it can drain back into the bottle with a funnel.

But it starts dripping after a couple hours of being drained and refilled. The drip is pretty slow. I dont have the drip rate to be honest though but its definitely longer than 1 drip every 5 minutes as thats as long as i kept track for.

SO what do you guys think for a fix? Am i missing something? maybe some JB weld around the "lip"? Not really wanting ot replace the T-case as it has a decent amount of new parts and for such a small drip seems like there should be something that would work.
 
After 5 years of owning/operating a small hotel in Costa Rica I decided to sell and begin my retirement years building and restoring land cruisers. We have a few protects including a 45 and a troopy but my old BJ40 was first to get attention. Here are a few pics.
Satin white, 4" lift, front disc, OEM 16" steelies, 35x10.5, new fabricated jump seats, OEM roll bar (not common in CR), custom power steering pump bracket, and many other items to come. 2 months into the rebuild, not body off restore as I still like to explore the beaches and jungles.

IMG_0566.JPG


IMG_0642.JPG


IMG_0650.PNG


IMG_0651.PNG


IMG_0652.PNG
 
Last edited:
Installed the electric fuel pump, then did some adjusting on the carb. Seems to be better. Was getting some stall outs when braking which points to vacuum... This has a Weber on it, and I have read some posts that the double adapter can have issues with vacuum leaks. Will prob pull the carb and the adapters and do a base tune on it, then re-install with new gaskets etc... Anyhow, I think I will take her to cars and coffee up in Wilsonville this Saturday. Weather looks good, and she needs a good test run.
 
Messed up...

Twice...

image.jpeg


image.jpeg


Never honed anything before - and I'm not off to a good start. The outside of these bushings wore through the cladding before the inside would accept the input shaft, even though I was careful not the let the honing stones get too far out of the bore.

Using this brake cylinder hone and lots of ATF. Any tips/tricks?

image.jpeg


I just posted this over in my "transfercase nose cone" thread but figured I'd post here too.

This is a cry for help! :bang:
 
Getting close to my self imposed deadline for getting my 78 FJ40LV-KCJA rebuild completed by October 31
The rolling chassis is 95% complete The Aqualu 3/4 tub has been primed with the "green death" and under coated with Napa Rust Proof MD, sprayed. The Cowling floor, posts and body mounts restored The mating of the cowling and tub will occur next Monday and my restoration shop owner made some dies on the lathe and made some real decent front door skins We think we can make these for a lot less than the major vendors are selling them for and maybe provide them to FJ40 restorers will keep you posted. Will bring the tub over to the shop and see how close we are to the frame mounting holes, then the tub floor will be bed lined including the wheel wells and everything else will be primed and top coated with Toyota Olive Green 637 Nason Ful-thane 2K single stage urethane... I was going to paint it 2014 FJ Cruiser 6V7 but why not paint it an original option color?!! Cruiser-less all summer.....can't wait!
 
Messed up...

Twice...

View attachment 1553852

View attachment 1553853

Never honed anything before - and I'm not off to a good start. The outside of these bushings wore through the cladding before the inside would accept the input shaft, even though I was careful not the let the honing stones get too far out of the bore.

Using this brake cylinder hone and lots of ATF. Any tips/tricks?

View attachment 1553854

I just posted this over in my "transfercase nose cone" thread but figured I'd post here too.

This is a cry for help! :bang:

Local machine shop, you need a rod hone for connecting rods...
 
Local machine shop, you need a rod hone for connecting rods...

Not saying this isn't the ideal situation - but I know there are several folks here who use a similar hone to the one I have (with significantly more success). Still curious if there's anyone who has done this at home! I was using a hand drill, I'm wondering if mounting it in a press would keep it straighter in the bore and maybe help? Otherwise, maybe I'll take it to a shop. At $20 a bushing, it would be money well spent to not destroy two more...
 
Last edited:

Users who are viewing this thread

Back
Top Bottom