Trunk Monkey
Moderator
Bought new clips and 3m auto adhesive tape.
Follow along with the video below to see how to install our site as a web app on your home screen.
Note: This feature may not be available in some browsers.
This site may earn a commission from merchant affiliate
links, including eBay, Amazon, Skimlinks, and others.
Gotcha I’m trying to figure out if I could use my old ones on new fenders if I can get them off carefully enoughBought new clips and 3m auto adhesive tape.
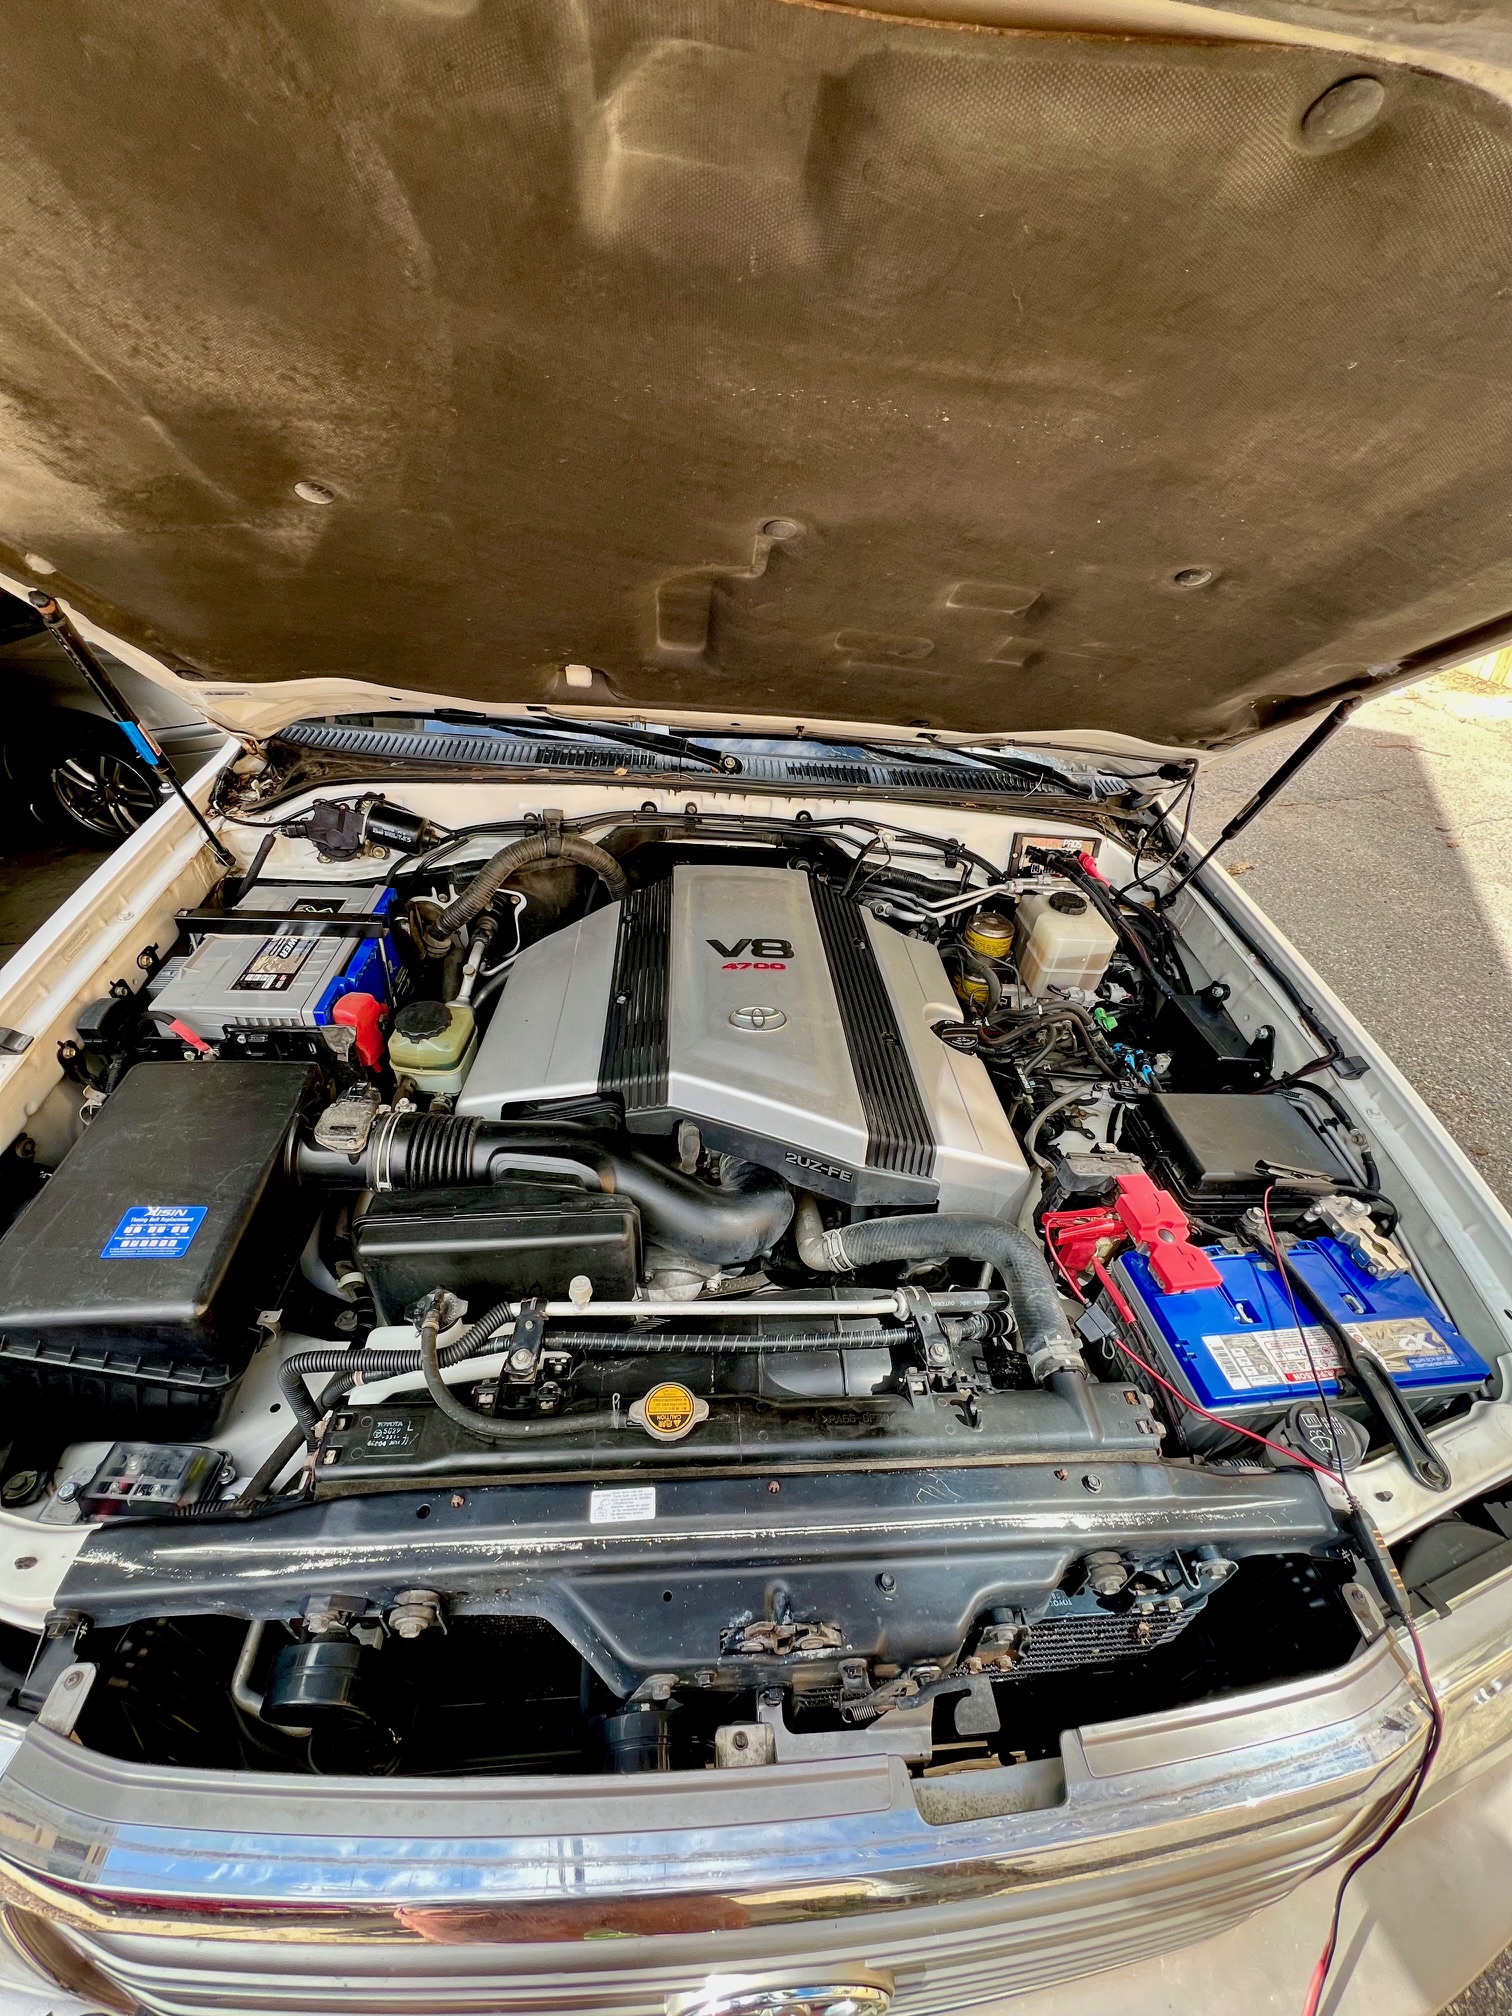
What is the MASSIVE 2nd battery kit? Would like to get a bigger 2nd battery for my cruiser, the 35 group is just so small.Spring cleaning day. Engine bay washed. Clay bar the paint and a coat of wax.
I have a hole in the same spot of my frame. I wonder what it is about that specific spot because the rest of my frame is in relatively excellent condition.Replaced the seized spare tire winch with a brand new one. Ignore the hole in the frame. The previous owner hid it well.
View attachment 3646261View attachment 3646265
It is common from what I've read. The PO cut out the rot so it's a perfect rectangle opening. Ive got a buddy that will weld it for a 6 pack of Modelo.I have a hole in the same spot of my frame. I wonder what it is about that specific spot because the rest of my frame is in relatively excellent condition.
Lucky it was a straight shot
")
I do have one, PM me. I'll dig it out from the parts pile if interested.if anyone has a spare tire winch lying around after putting a swing-out on, I'd be very interested in it.
Finished it up except for the stop for max open and maybe adding a strut to help. I'll definitely go with a larger latch next time but it's functional and happy with how it turned outWorked on transferring this swing out from a 1st gen 4Runner to work on the cruiser. Lots of small projects to make this work but it's coming along! Will be easy to pull on and off the spindle so I don't have to drive around town with it on all the time. Thanks to my buddy and leftover metal I'm only at $50 for the latch and some hardware!
View attachment 3641853
View attachment 3641854
Finished it up except for the stop for max open and maybe adding a strut to help. I'll definitely go with a larger latch next time but it's functional and happy with how it turned out
View attachment 3646992
View attachment 3646995
View attachment 3646998
I keep seeing these @plaidwagon replacement nets and keep telling myself I really don't need themInstalled a pair of seat backs from Kyle / @plaidwagon - nice piece of kit!
View attachment 3646889View attachment 3646890

I got lucky! Lost my front in a mud hole at one point and they sent me front and rear plates and registrations for only a couple bucks to replace.Two sets of tags? I was thinking of doing the same thing so I can cruise around without my swingouts (when I get my LX back from the shop) but the CA DMV only provides one set of tags.