I need to reroute the exhaust to support installation of the sliders... plus the OEM configuration traveling under the frame in 2 locations was odd. New exhaust from the headers back, Y pipe for the O2 sensors, single cat and a fairly quiet muffler.


Last edited:


 .
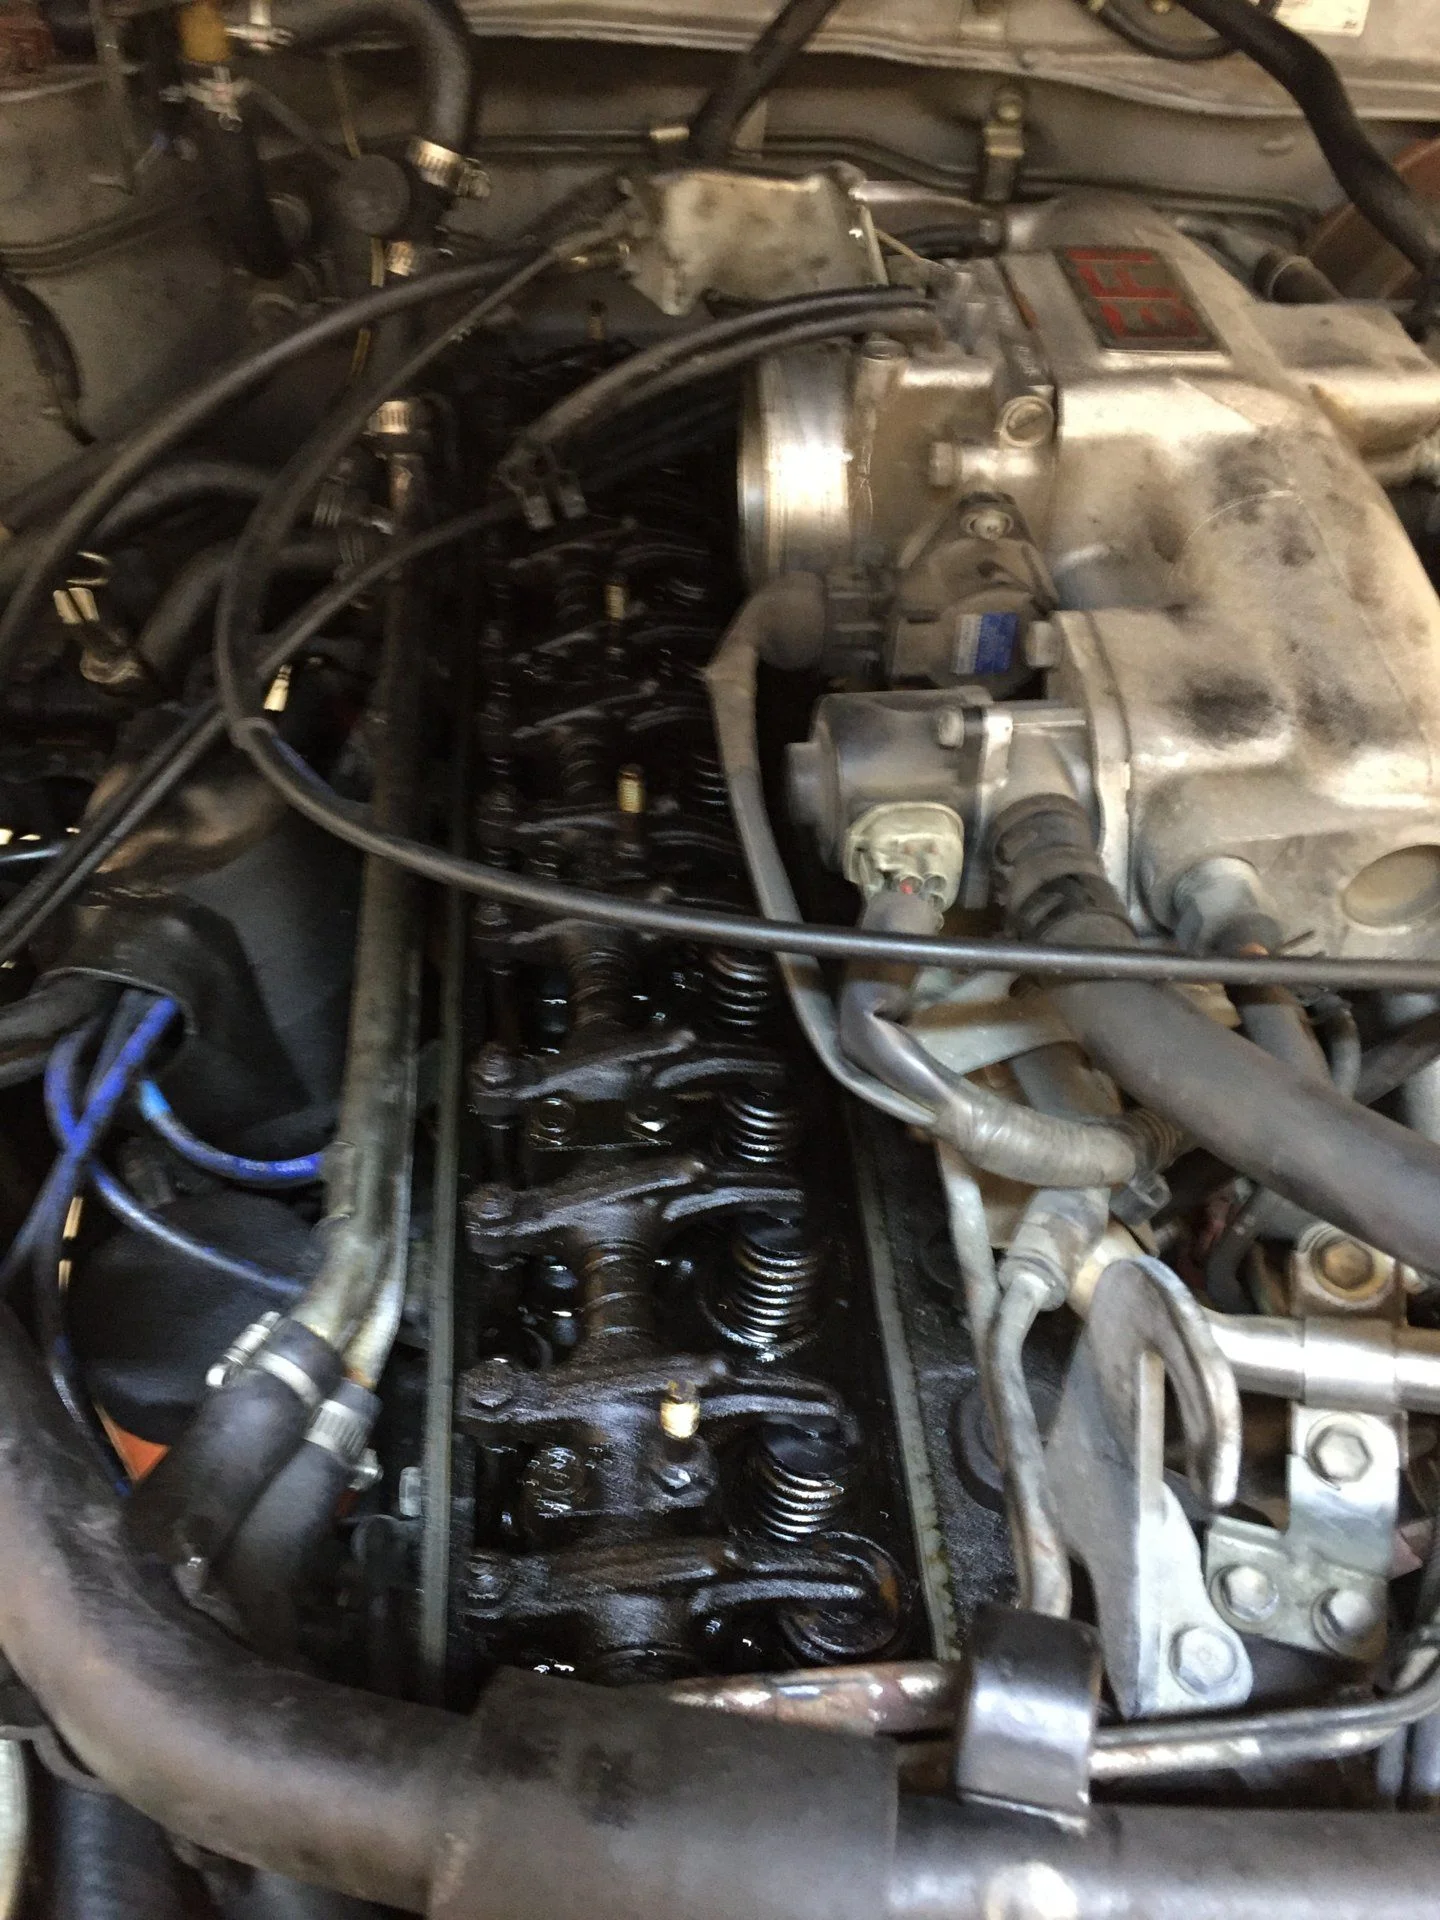
.") The pipe itself seems to be in nice condition thanks to a healthy coating of oil.
The pipe itself seems to be in nice condition thanks to a healthy coating of oil.