Hello all
So, I've been lurking around reading on and off here for a couple years, and finally taken the plunge. I'm going to document the process so that others know more about what they are in for when doing the whole vehicle immigration thing. For starters, I will tell the story about how it got here, before getting into what I've done with it since it arrived.
For the last 11 1/2 years I've owned a 2005 GMC Jimmy ZR2, brand new off the lot, and it has served us well, taking us many places. Having two new children however, made the practice of using a little 2-door SUV pretty much an impossibility. After our first camping trip with the firstborn, I knew things would need to change. Over the course of the next nearly two years, I had spent a long time reading about different options, trying to come up with the perfect vehicle to use as the new "Family Adventure Vehicle". A newer 4-door Tacoma was seriously considered, one of the brand new GMC Canyons would also have been a nice idea, as was a newer 4Runner, but all those would have had some problems: seriously expensive, IFS fronts and lacking in character. We are going to miss that little ZR2 when the day comes to sell, but life must go on.
I started looking at the Cruisers for obvious reasons. Something that was already local would have been miled out, and overpriced here; seriously, people are asking over $20k for something with 300,000kms, especially if I wanted a diesel. They were also popping up extremely rarely in the classifieds, so having known people who have played the import game, I started looking at bringing one in for myself.
I got in touch with William at JDM Connection, and started the process of looking through Japanese Auction sites trying to see any interior photos that would indicate the magic switch being in place. Looking specifically for something that was a 95-97, with the lockers, in decent looking shape, hopefully owned by a non-smoker, all the good stuff if possible. Made a couple of bids on vehicles, but didn't hit their reserve prices, eventually seeing this gem roll up, and ended up winning the bid.
Final auction sale price: 1,014,000 JPY. Roughly $12,000CAD in today's market.
Paid that up via a wire transfer, paid for some shipping costs (which are high, thanks to the size and weight of the vehicle), and eventually I found out the vehicle was loaded onto a RO/RO ship called the Dalian Highway.
Shipping is an interesting thing, there is actually websites that track different vessels, so once you know what boat the vehicle is on, you can watch it online as it's GPS location gets updated. I watched it float to San Diego, then on up the coast stopping a few times on the way before being unloaded on July 1 in New Westminster - Vancouver.
At this point it had been around 6 or 7 weeks since I had "purchased" the vehicle, but let me assure you waiting 4-5 business days for customs feels like an eternity. I get the email stating that customs has been cleared, and I am given contact info for a company named WWL - Wallenius Willhelmson Logistics. This is on a Tuesday, I arrange for my vehicle pick up on Friday the 8th. Hop onto a loyalty points redemption website and purchase a single one-way ticket to Vancouver from Edmonton for 6AM Friday morning. Go get me some insurance papers and an In Transit registration.
Friday morning I leave home at 3:45AM for the long drive to the airport, and all the fun that is involved with travel. Make sure to stop at the little pub in the airport that serves alcohol 24 hours a day and put back a pint at 5:00AM because the novelty of such a thing is too good to pass up. Get onto my FIRST CLASS seat (which comes with free checked baggage for my big duffle bag of tools, filters and assorted bits), and enjoy the complimentary breakfast and OJ that the rest of the flight doesn't even have the ability to purchase, and before I know it I'm landing at Vancouver International. Hail a taxi, who ends up being a really friendly guy, who drives me to the Annacis Island port location of WWL and drops me off at the door, for a cool $55.
I'm a little early, so hang around and marvel at the INSANE AMOUNT OF VEHICLES. Seriously, look this up on google maps:
Google Maps
That little star is exactly where the vehicle was waiting for me, but look at the massive lot around it. Imported vehicles all over, from all sorts of Asian manufacturers as far as the eye can see. The RO/RO ships are insanely big as well and really cool to see up close. I wanted to take a bunch of pictures of the area, but security told me that was a no-go.
So, at this point I have keys, I have my paperwork, I can hop into my new truck and drive it away. Turn the key over: the batteries are completely, 100% dead. The lot does not provide a boosting service officially, but one worker came over and suggested I try their battery cart; a dolly with one battery and a little solar pack on it. For lack of other options, I hook it up, and leave it for a while to hopefully charge up both batteries enough to turn it over. Try calling a roadside service company, he won't come past the security gate, try getting ahold of extended family living in the area, they are busy at work on a Friday. Then, thankfully, Ben from Fraser Valley Imports shows up to pick up a vehicle of his own, and offers a spare battery to help me out. Using the charger pack and his battery to boost it, the beast fires up immediately.
If you are doing the import game, have boosting arrangements figured out ahead of time. One of the dock workers told me that out of 180 used vehicles on the boat, 105 of them were completely dead. He suggested that it looks like the Japanese exporters put in garbage batteries on purpose to get rid of them without paying disposal fees. Almost every vehicle needs to be boosted, will work long enough to drive off the boat, then parked and repeat.
I head to the closest Wal-Mart to buy batteries, but they had nothing. Luckily, the short drive charged me up enough to start the vehicle again, and off to the closest Ukranian Tire I can find and purchase two new batteries, the 27 and 27F. I grab those, along with many, many liters of Shell Rotella, ATF Fluid, Coolant, Brake Fluid, some diesel conditioner and other things I couldn't put on the plane, swap the batteries in the Cambodian Tire parking lot, go buy some fuel, and hit the highway. You guys aren't kidding when you say these vehicles are slow, but I'll get into that more later.
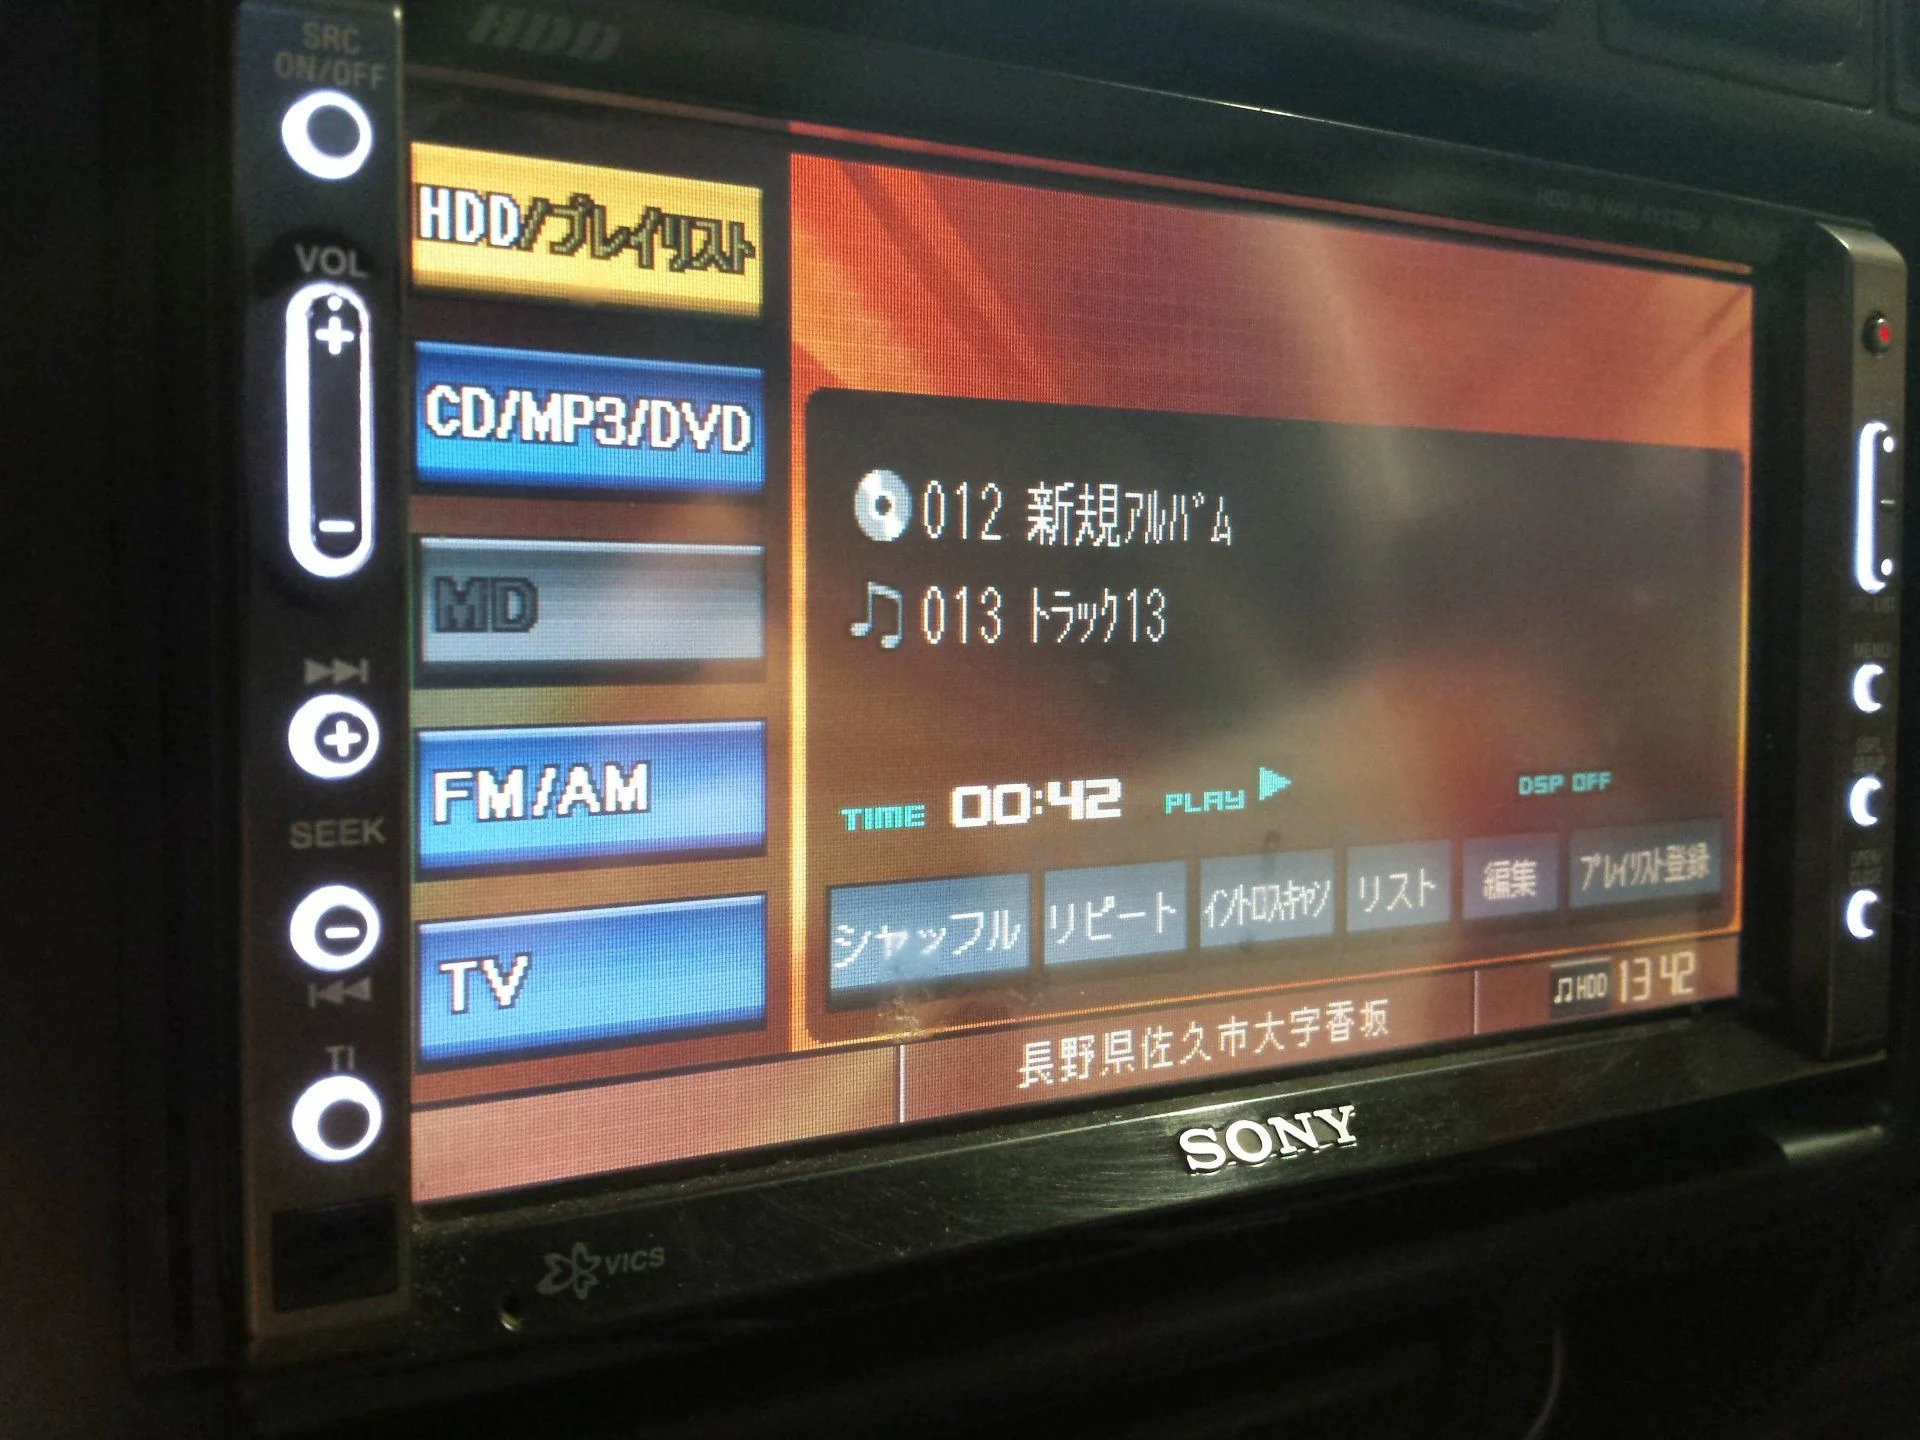
Drive mostly non-stop, having a couple breaks for meals, and some pictures along the way, back to Edmonton. The stereo in the vehicle, being for Asian markets, won't pick up any local radio stations, won't play any of my MP3 CDs that I burned for it, doesn't have an AUX in or USB port, but has a HDD built into it that just happens to be loaded up with music.
So, I listened to Japanese Pop music for 12 hours.
Walked in the door at home at 3:15AM the next day. My 23 1/2 hour journey to get it home was complete.
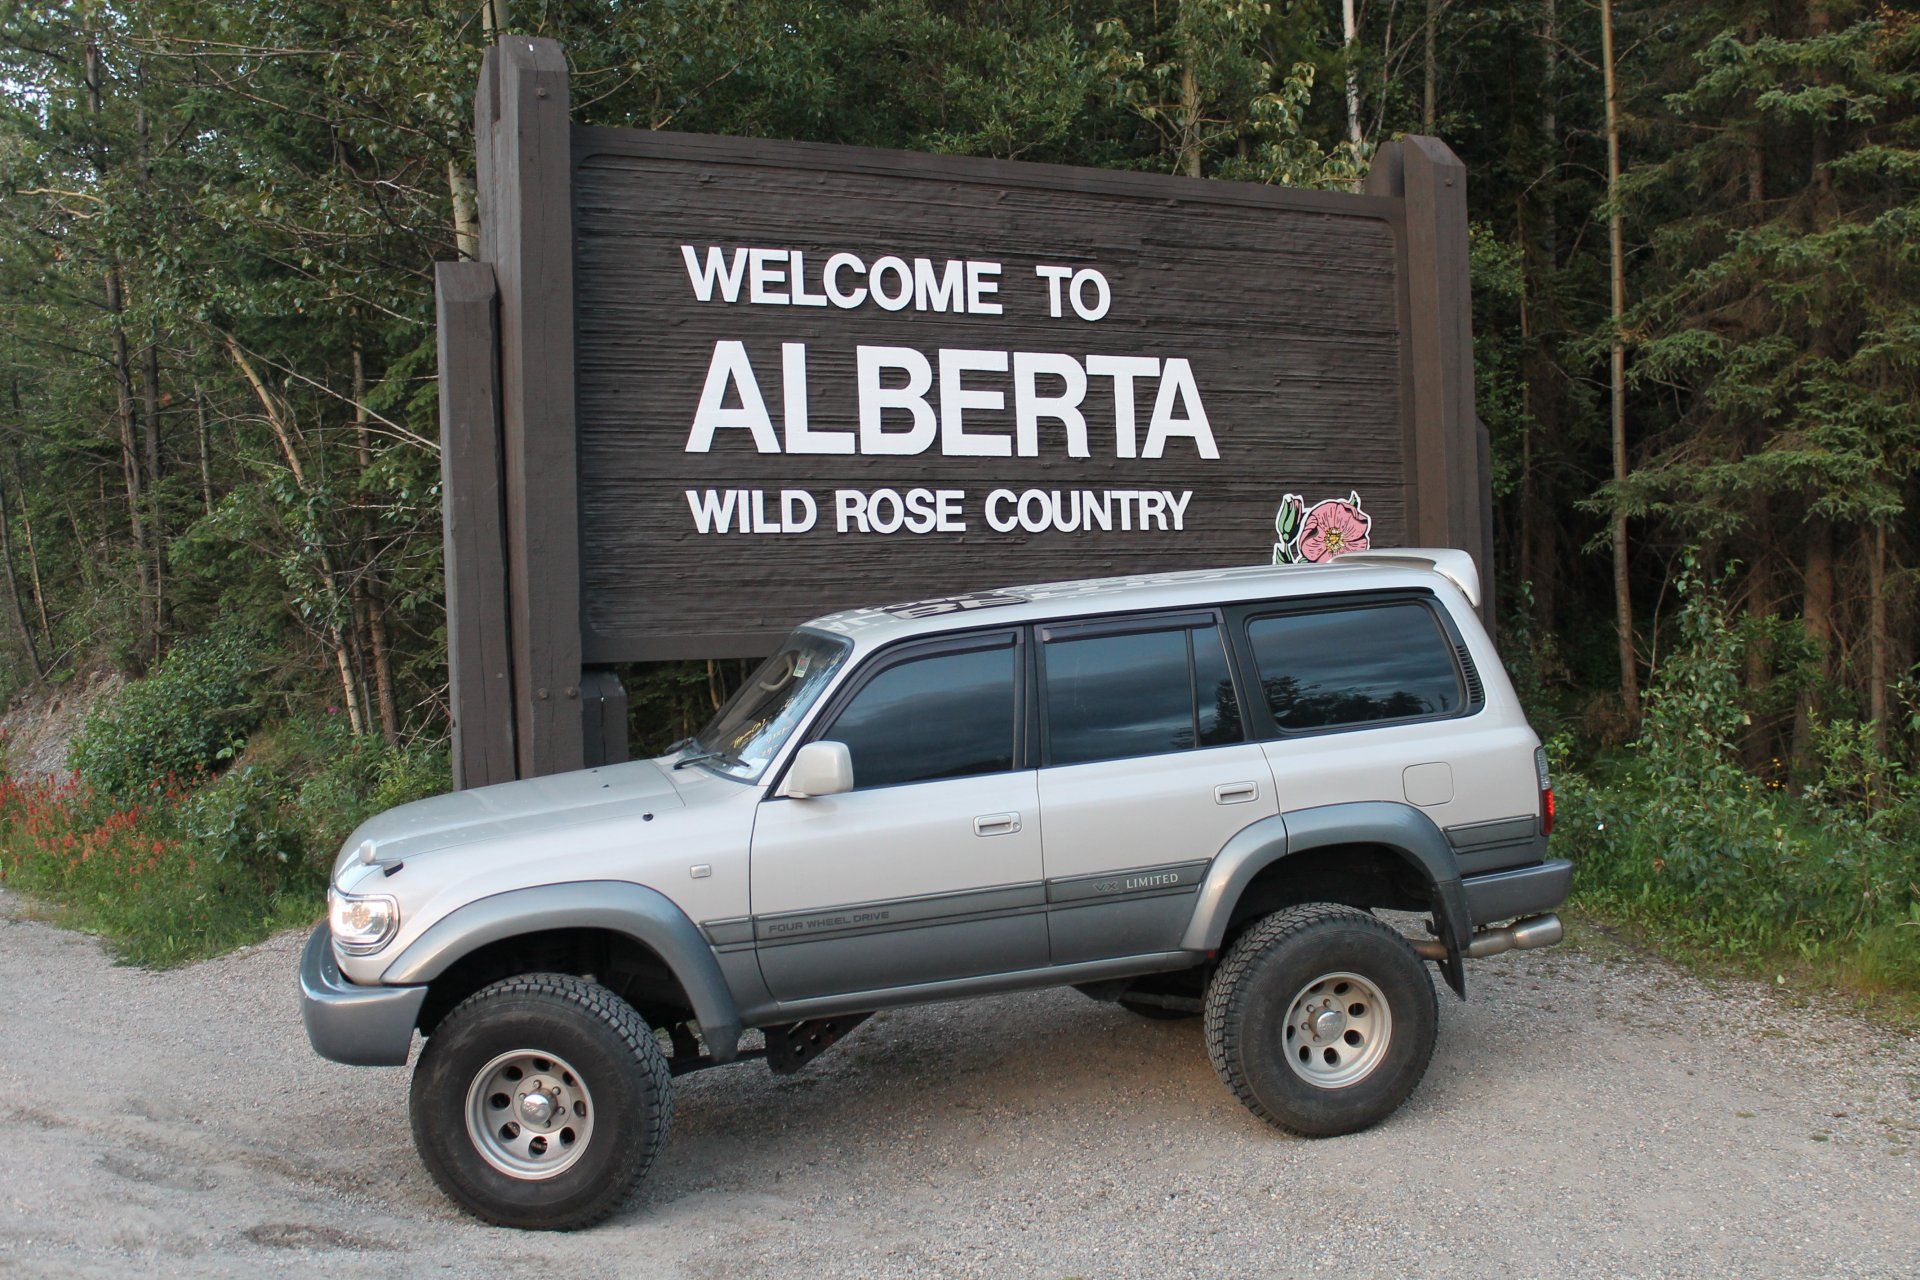
And now, since everyone loves pictures, and most of you probably skipped that whole pre-amble, here's what it looked like during the drive home:


Much more to come...
So, I've been lurking around reading on and off here for a couple years, and finally taken the plunge. I'm going to document the process so that others know more about what they are in for when doing the whole vehicle immigration thing. For starters, I will tell the story about how it got here, before getting into what I've done with it since it arrived.
For the last 11 1/2 years I've owned a 2005 GMC Jimmy ZR2, brand new off the lot, and it has served us well, taking us many places. Having two new children however, made the practice of using a little 2-door SUV pretty much an impossibility. After our first camping trip with the firstborn, I knew things would need to change. Over the course of the next nearly two years, I had spent a long time reading about different options, trying to come up with the perfect vehicle to use as the new "Family Adventure Vehicle". A newer 4-door Tacoma was seriously considered, one of the brand new GMC Canyons would also have been a nice idea, as was a newer 4Runner, but all those would have had some problems: seriously expensive, IFS fronts and lacking in character. We are going to miss that little ZR2 when the day comes to sell, but life must go on.
I started looking at the Cruisers for obvious reasons. Something that was already local would have been miled out, and overpriced here; seriously, people are asking over $20k for something with 300,000kms, especially if I wanted a diesel. They were also popping up extremely rarely in the classifieds, so having known people who have played the import game, I started looking at bringing one in for myself.
I got in touch with William at JDM Connection, and started the process of looking through Japanese Auction sites trying to see any interior photos that would indicate the magic switch being in place. Looking specifically for something that was a 95-97, with the lockers, in decent looking shape, hopefully owned by a non-smoker, all the good stuff if possible. Made a couple of bids on vehicles, but didn't hit their reserve prices, eventually seeing this gem roll up, and ended up winning the bid.
Final auction sale price: 1,014,000 JPY. Roughly $12,000CAD in today's market.
Paid that up via a wire transfer, paid for some shipping costs (which are high, thanks to the size and weight of the vehicle), and eventually I found out the vehicle was loaded onto a RO/RO ship called the Dalian Highway.
Shipping is an interesting thing, there is actually websites that track different vessels, so once you know what boat the vehicle is on, you can watch it online as it's GPS location gets updated. I watched it float to San Diego, then on up the coast stopping a few times on the way before being unloaded on July 1 in New Westminster - Vancouver.
At this point it had been around 6 or 7 weeks since I had "purchased" the vehicle, but let me assure you waiting 4-5 business days for customs feels like an eternity. I get the email stating that customs has been cleared, and I am given contact info for a company named WWL - Wallenius Willhelmson Logistics. This is on a Tuesday, I arrange for my vehicle pick up on Friday the 8th. Hop onto a loyalty points redemption website and purchase a single one-way ticket to Vancouver from Edmonton for 6AM Friday morning. Go get me some insurance papers and an In Transit registration.
Friday morning I leave home at 3:45AM for the long drive to the airport, and all the fun that is involved with travel. Make sure to stop at the little pub in the airport that serves alcohol 24 hours a day and put back a pint at 5:00AM because the novelty of such a thing is too good to pass up. Get onto my FIRST CLASS seat (which comes with free checked baggage for my big duffle bag of tools, filters and assorted bits), and enjoy the complimentary breakfast and OJ that the rest of the flight doesn't even have the ability to purchase, and before I know it I'm landing at Vancouver International. Hail a taxi, who ends up being a really friendly guy, who drives me to the Annacis Island port location of WWL and drops me off at the door, for a cool $55.
I'm a little early, so hang around and marvel at the INSANE AMOUNT OF VEHICLES. Seriously, look this up on google maps:
Google Maps
That little star is exactly where the vehicle was waiting for me, but look at the massive lot around it. Imported vehicles all over, from all sorts of Asian manufacturers as far as the eye can see. The RO/RO ships are insanely big as well and really cool to see up close. I wanted to take a bunch of pictures of the area, but security told me that was a no-go.
So, at this point I have keys, I have my paperwork, I can hop into my new truck and drive it away. Turn the key over: the batteries are completely, 100% dead. The lot does not provide a boosting service officially, but one worker came over and suggested I try their battery cart; a dolly with one battery and a little solar pack on it. For lack of other options, I hook it up, and leave it for a while to hopefully charge up both batteries enough to turn it over. Try calling a roadside service company, he won't come past the security gate, try getting ahold of extended family living in the area, they are busy at work on a Friday. Then, thankfully, Ben from Fraser Valley Imports shows up to pick up a vehicle of his own, and offers a spare battery to help me out. Using the charger pack and his battery to boost it, the beast fires up immediately.
If you are doing the import game, have boosting arrangements figured out ahead of time. One of the dock workers told me that out of 180 used vehicles on the boat, 105 of them were completely dead. He suggested that it looks like the Japanese exporters put in garbage batteries on purpose to get rid of them without paying disposal fees. Almost every vehicle needs to be boosted, will work long enough to drive off the boat, then parked and repeat.
I head to the closest Wal-Mart to buy batteries, but they had nothing. Luckily, the short drive charged me up enough to start the vehicle again, and off to the closest Ukranian Tire I can find and purchase two new batteries, the 27 and 27F. I grab those, along with many, many liters of Shell Rotella, ATF Fluid, Coolant, Brake Fluid, some diesel conditioner and other things I couldn't put on the plane, swap the batteries in the Cambodian Tire parking lot, go buy some fuel, and hit the highway. You guys aren't kidding when you say these vehicles are slow, but I'll get into that more later.
Drive mostly non-stop, having a couple breaks for meals, and some pictures along the way, back to Edmonton. The stereo in the vehicle, being for Asian markets, won't pick up any local radio stations, won't play any of my MP3 CDs that I burned for it, doesn't have an AUX in or USB port, but has a HDD built into it that just happens to be loaded up with music.
So, I listened to Japanese Pop music for 12 hours.
Walked in the door at home at 3:15AM the next day. My 23 1/2 hour journey to get it home was complete.
And now, since everyone loves pictures, and most of you probably skipped that whole pre-amble, here's what it looked like during the drive home:
Much more to come...
Last edited:


 So, do I either pick up another Mickey Thompson Classic III wheel, and then sell the tires, or do I grab a whole new set of everything, and either keep these for winters, or sell them as a set? I'm leaning towards all new stuff right now. I know I'm going to go 315 Duratracs, I've been really happy with them on the other vehicle, but wheels I'm still undecided.